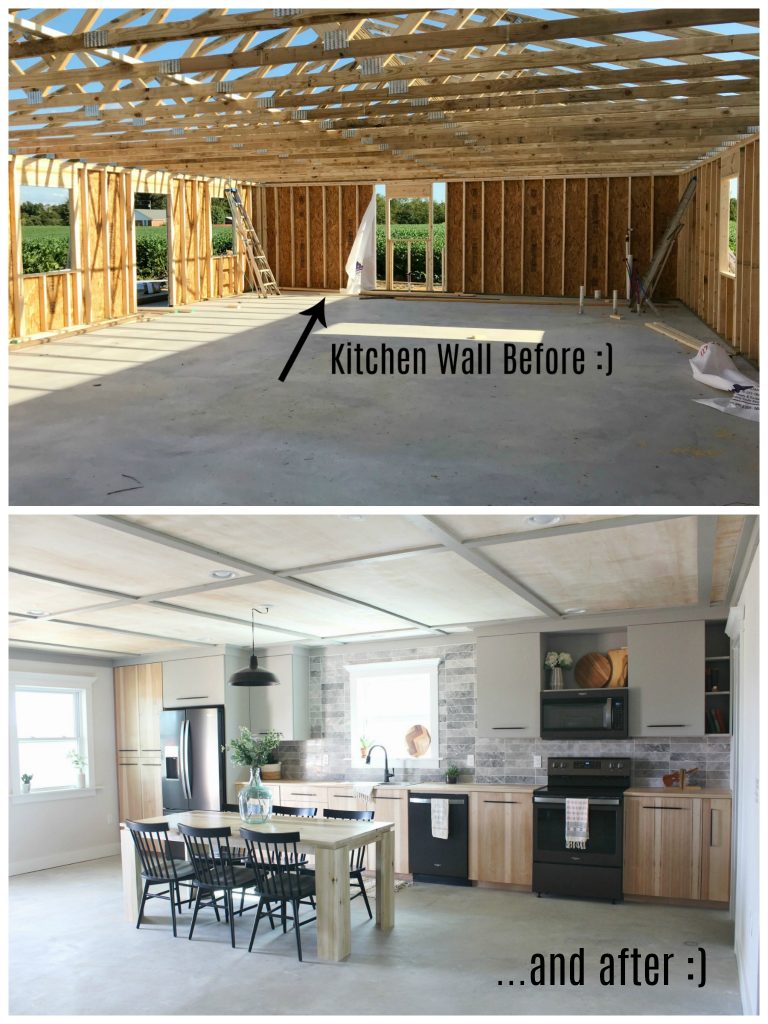
IT’S REVEAL DAY!!! For six long, sweaty, physically exhausting, expensive, and stressful weeks we have been building our new garage apartment house and focusing mainly on getting our kitchen finished for the Fall Renovation Challenge with Jeffrey Court.
.
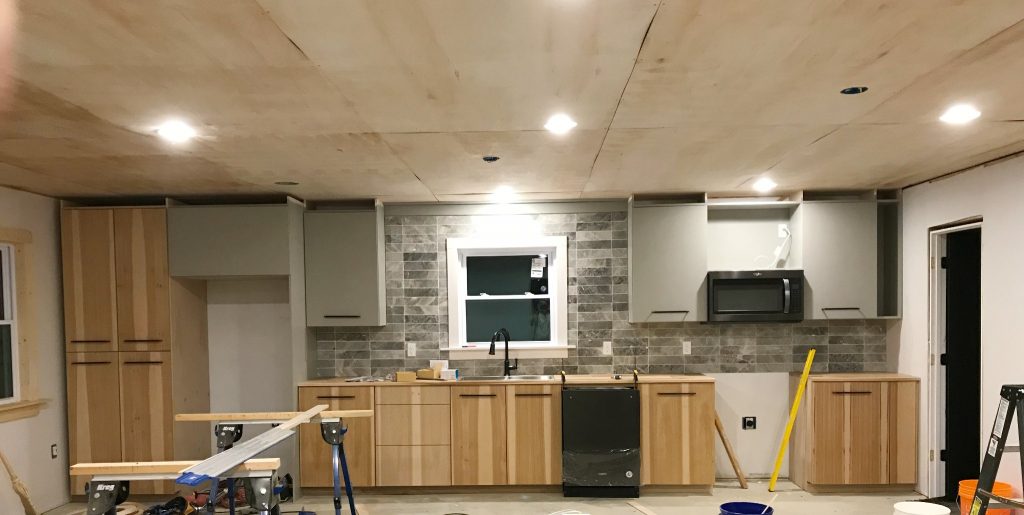
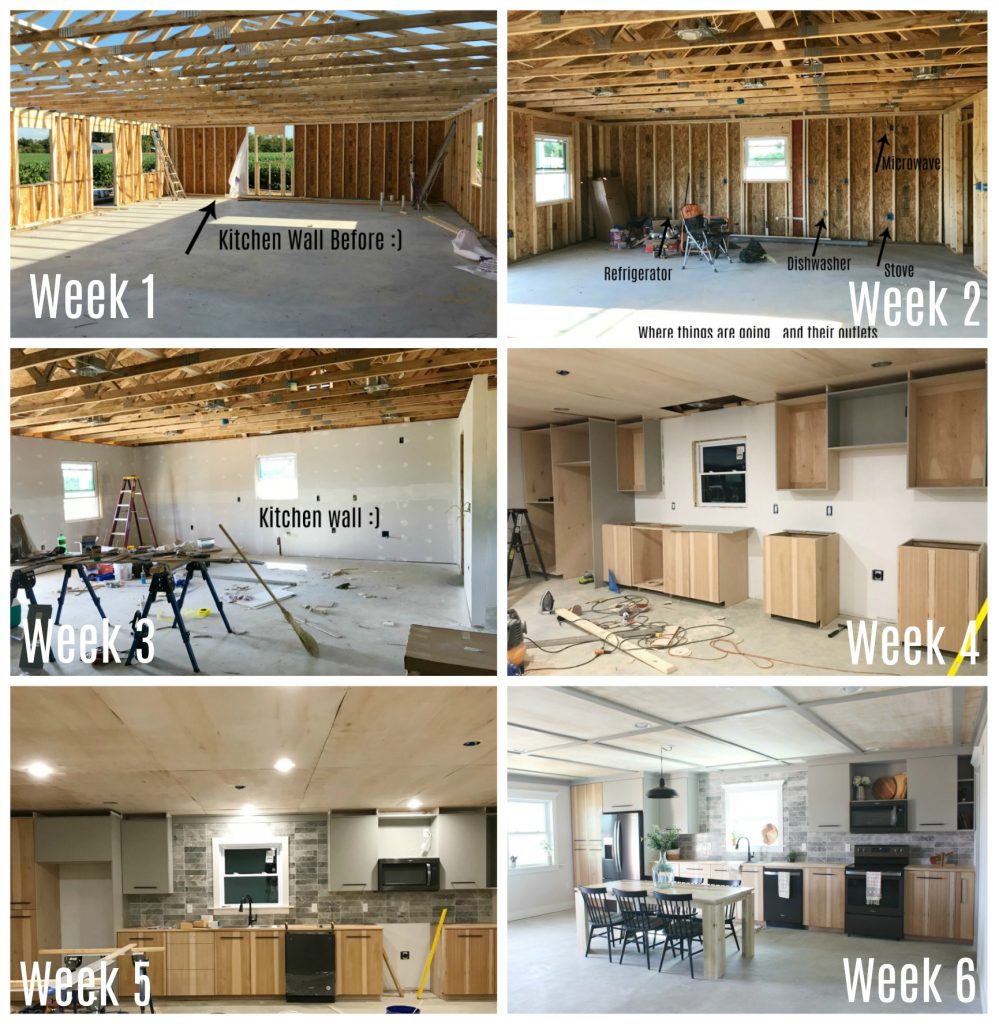
Around week 3, I’ll be honest, I wasn’t sure we would make it to today with anything to show that looked remotely like a finished kitchen. We didn’t have power, water, or cabinets at that point and things were a little overwhelming.
.
But, you guys, today we made it. And I’ve got a finished and functional kitchen and I couldn’t be more excited to be about to move into our new home!!
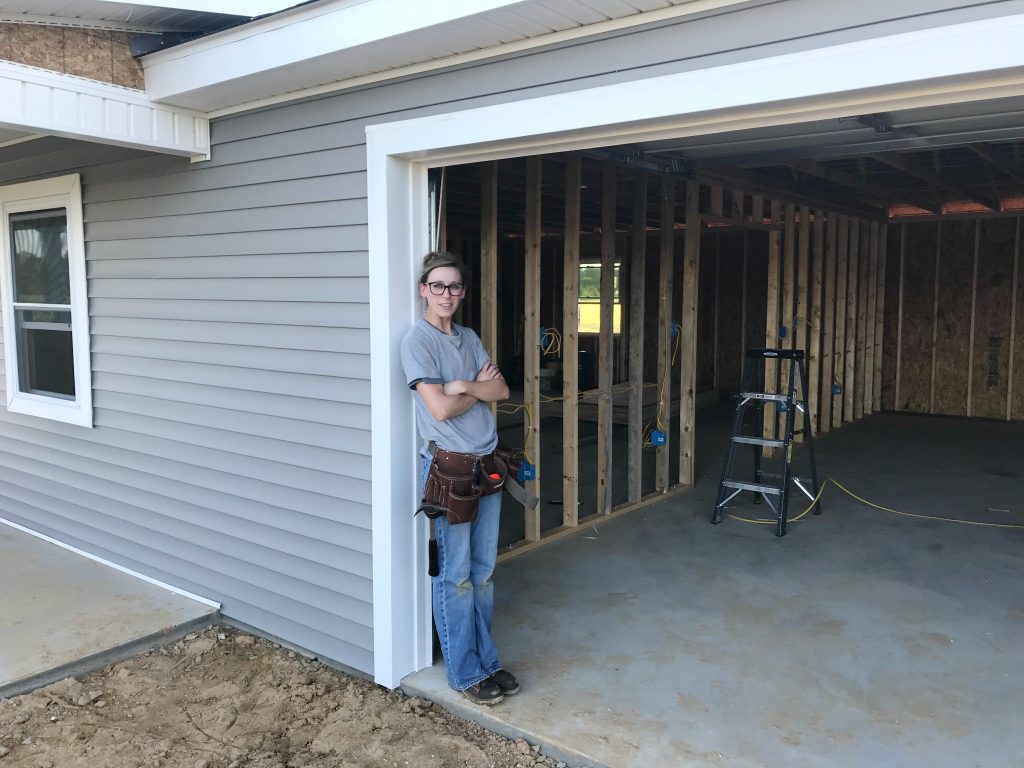
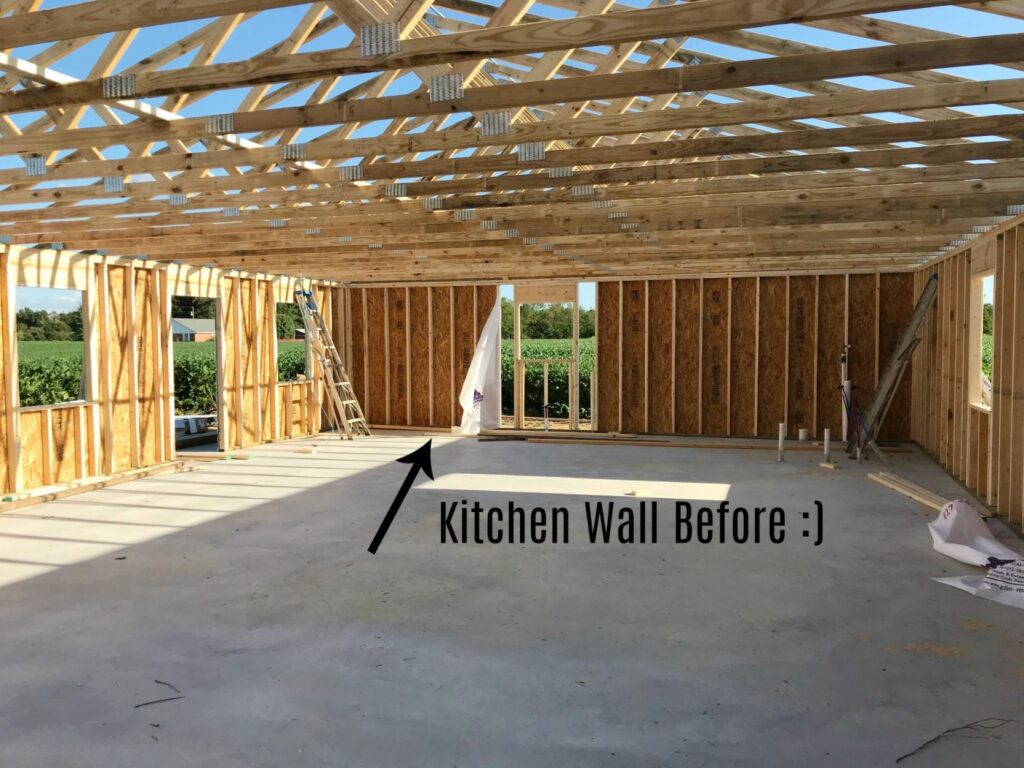
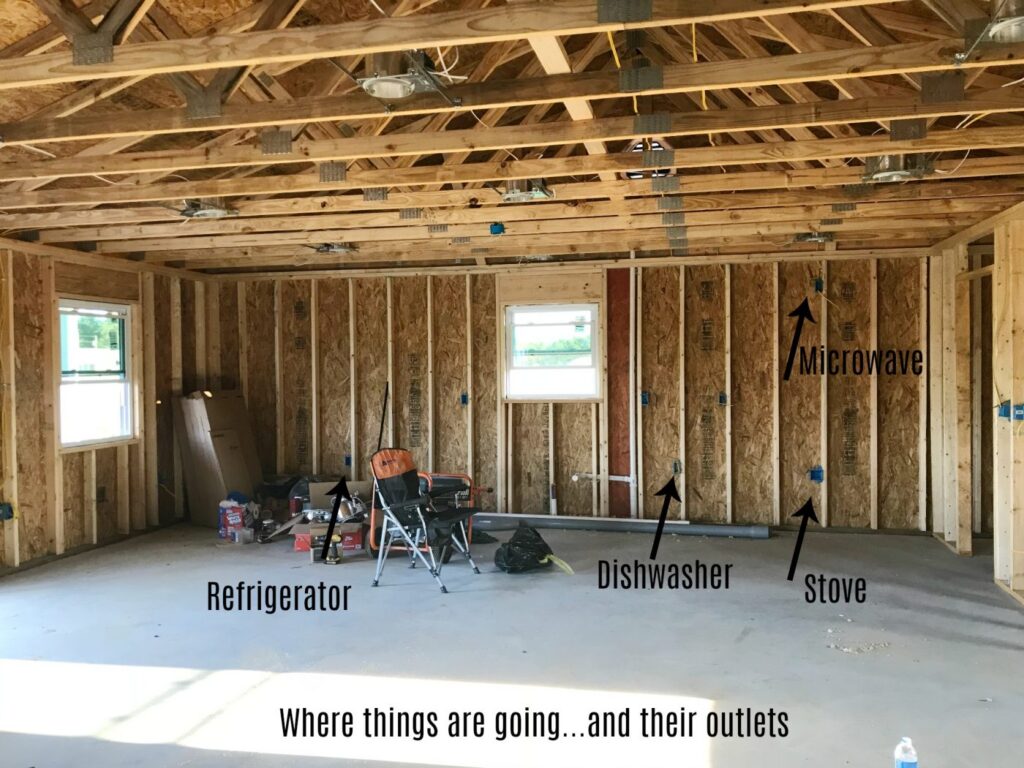
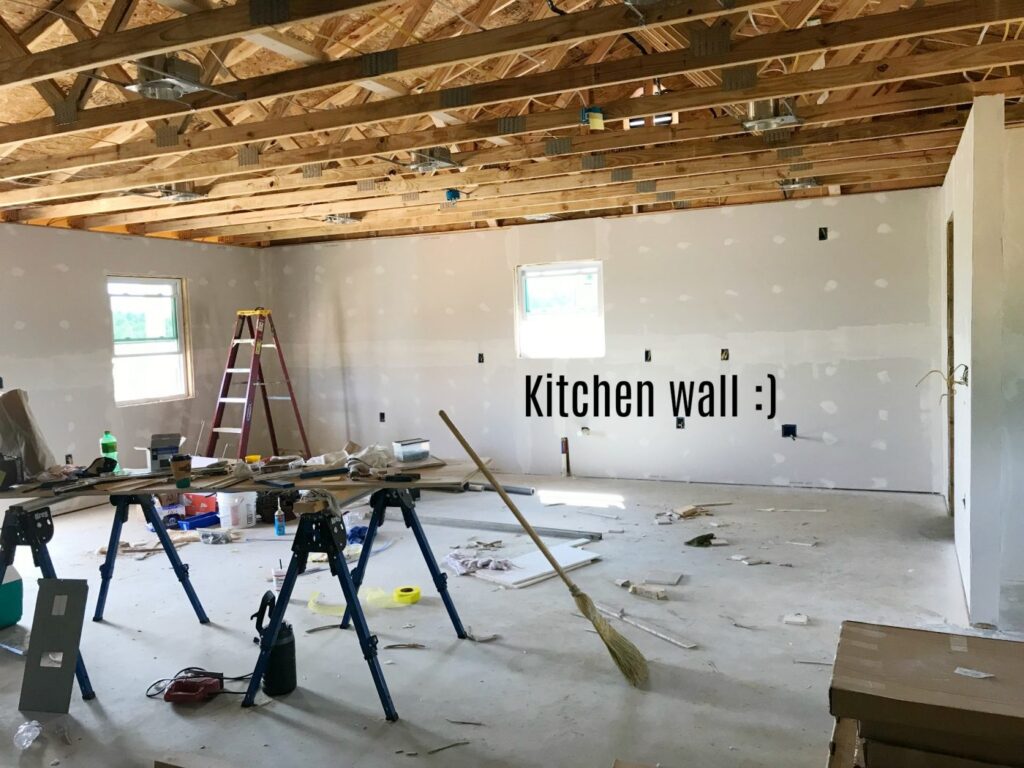
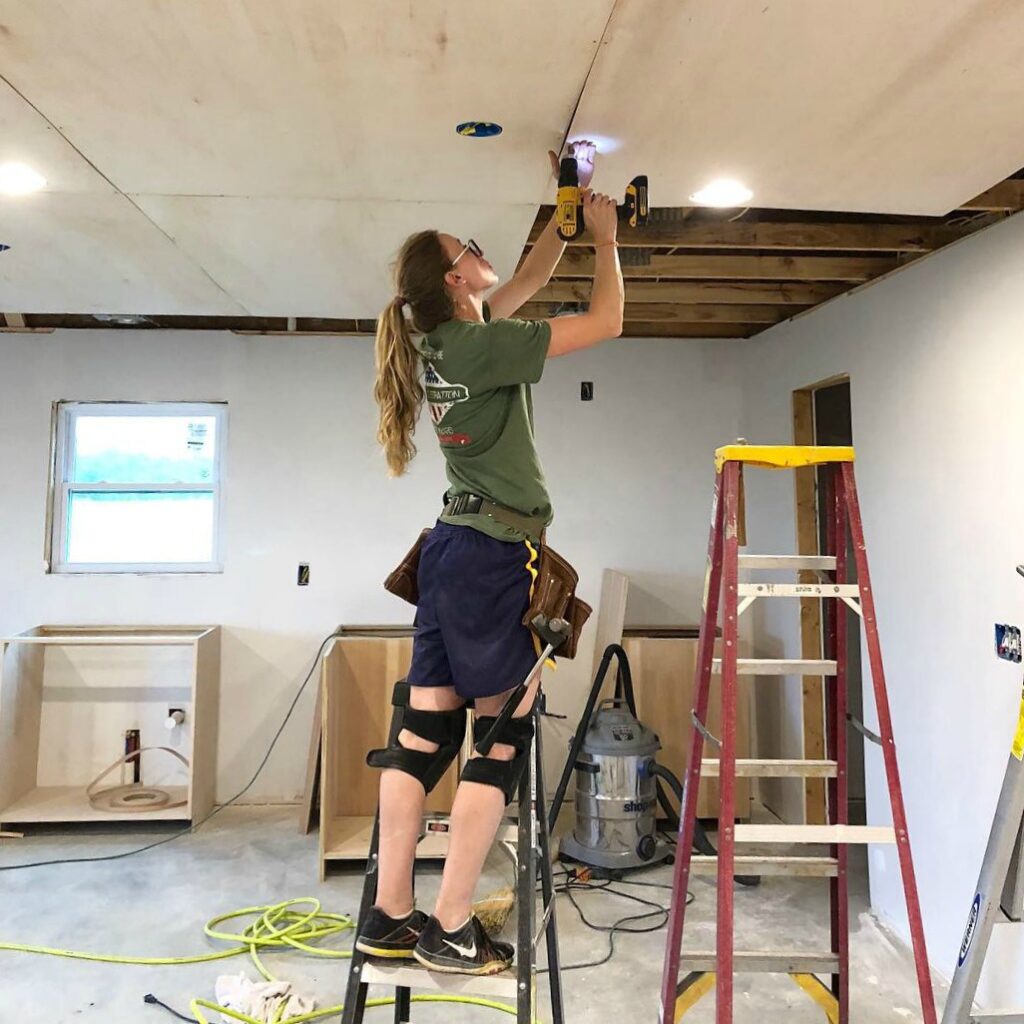
But first, before I spill all the beans, let’s look back over the last six weeks to appreciate a little bit better where we are. I’ve partnered up with Jeffrey Court to bring you weekly updates of our kitchen along with 11 other bloggers who are all participating in the Fall Renovation Challenge. To summarize the last six weeks in photos, here’s week 1:
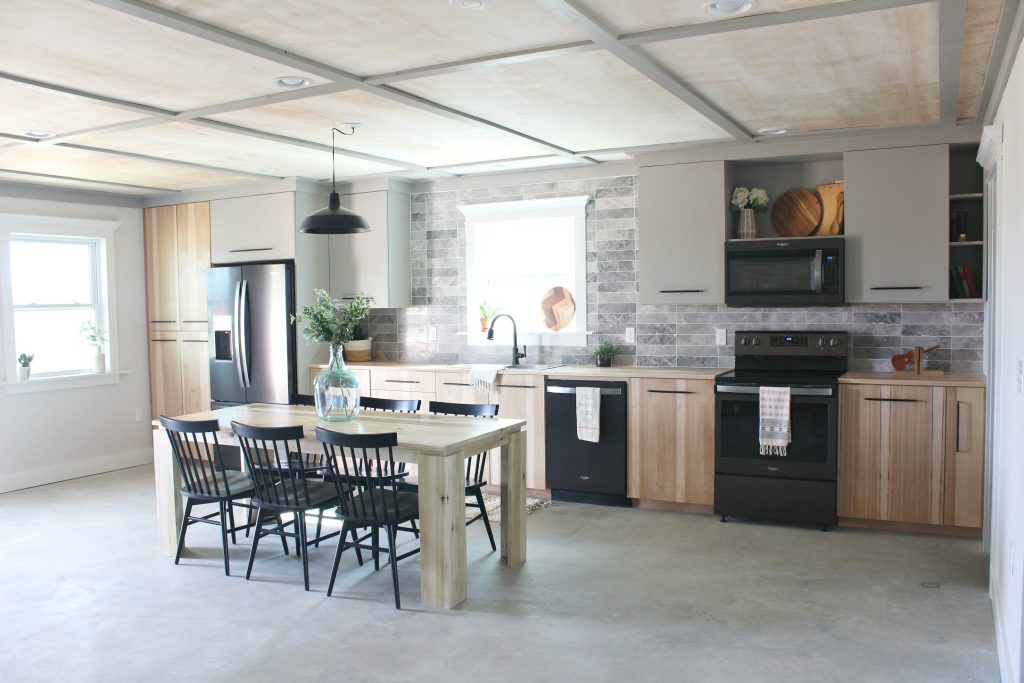
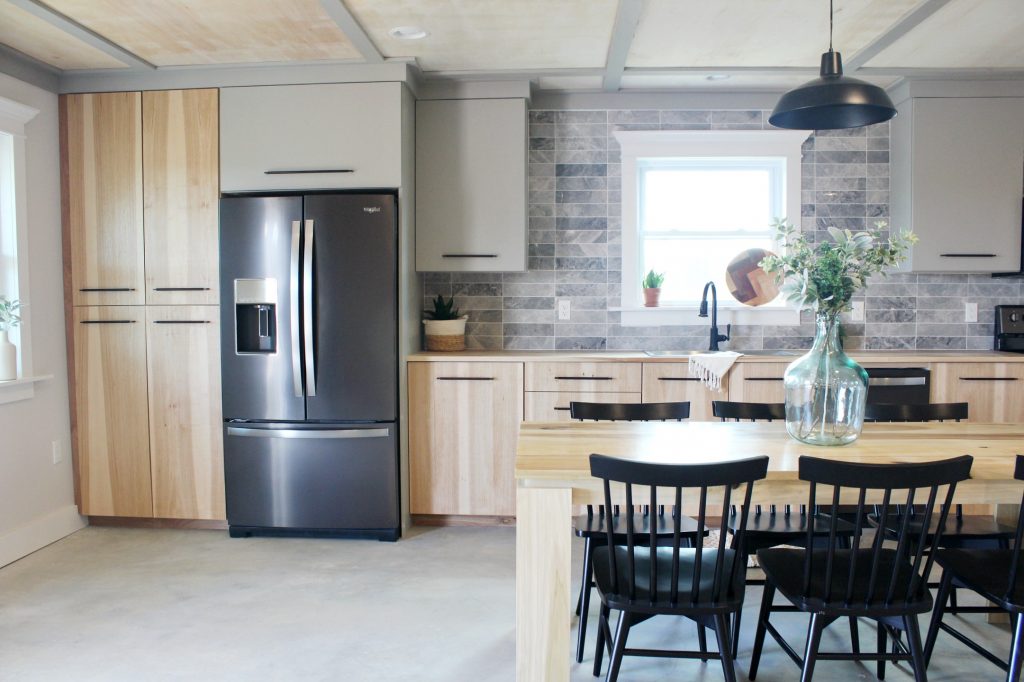
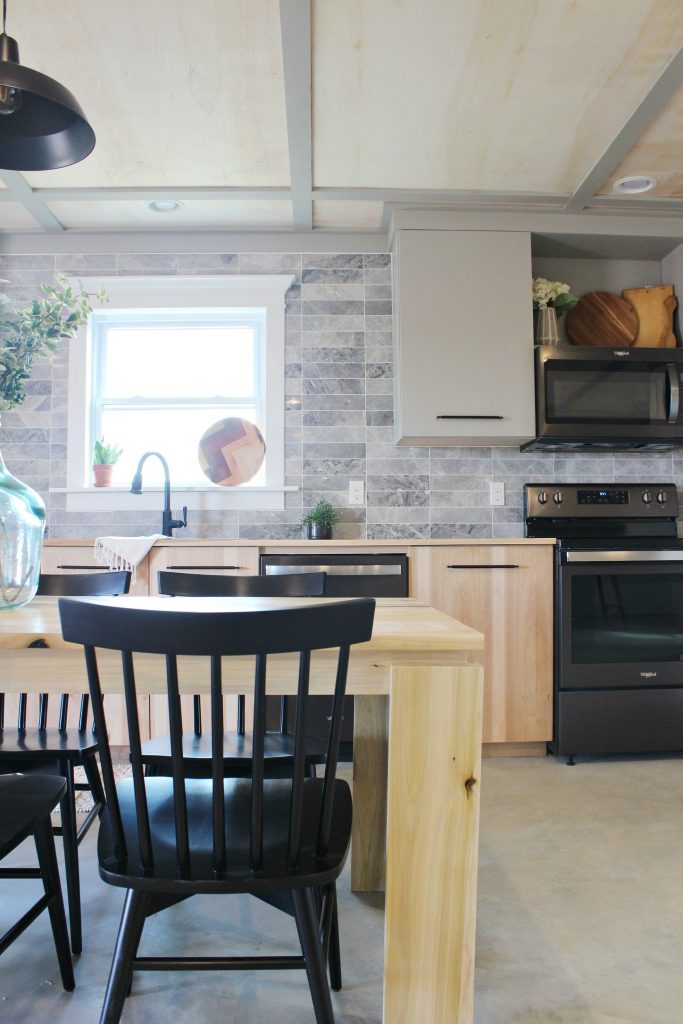
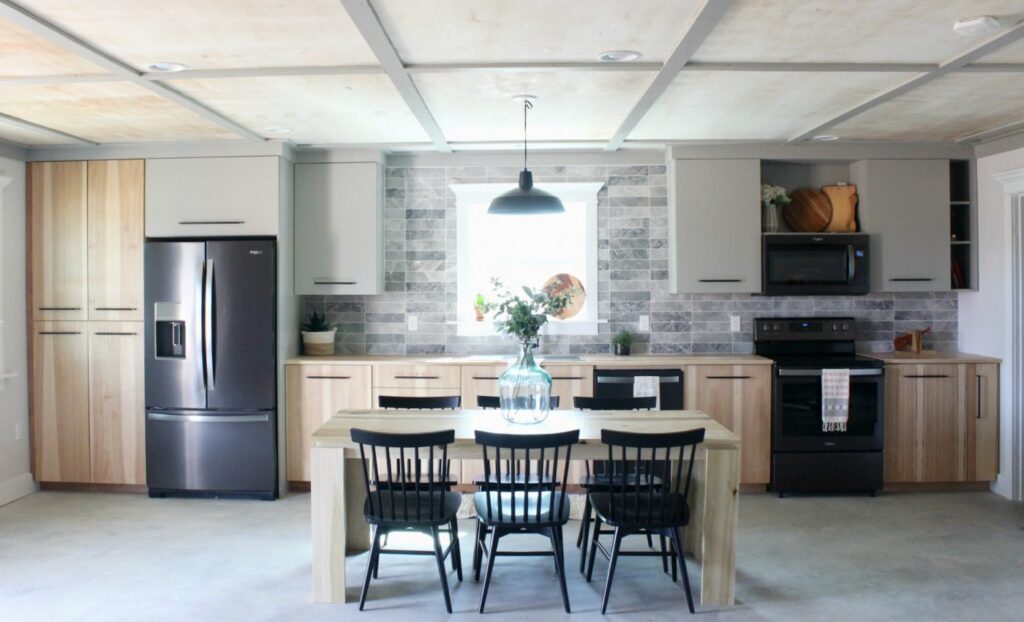
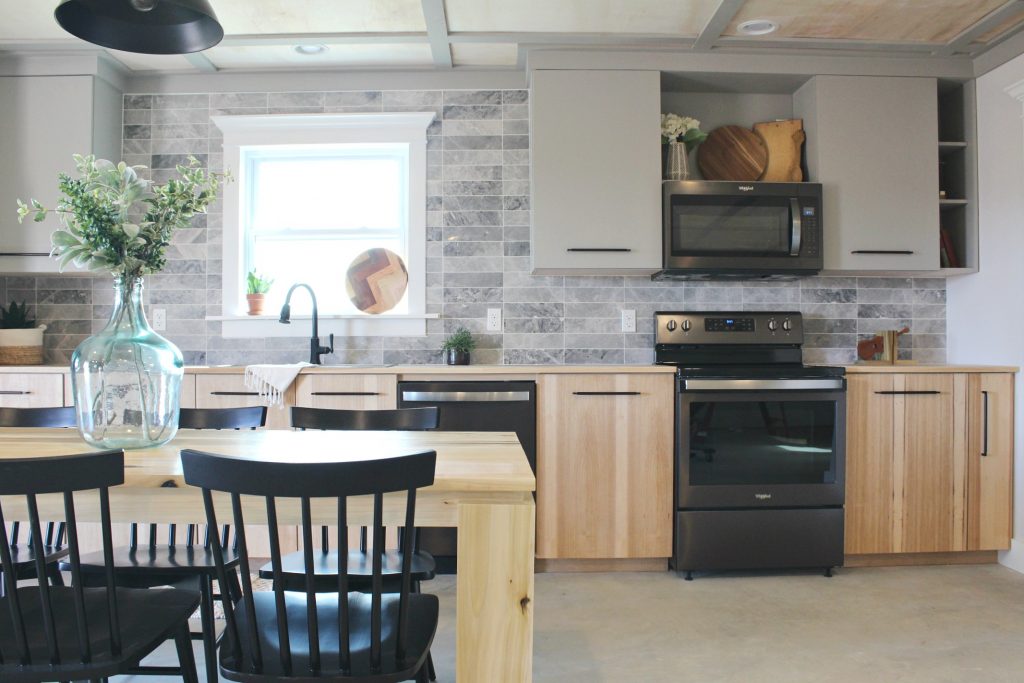
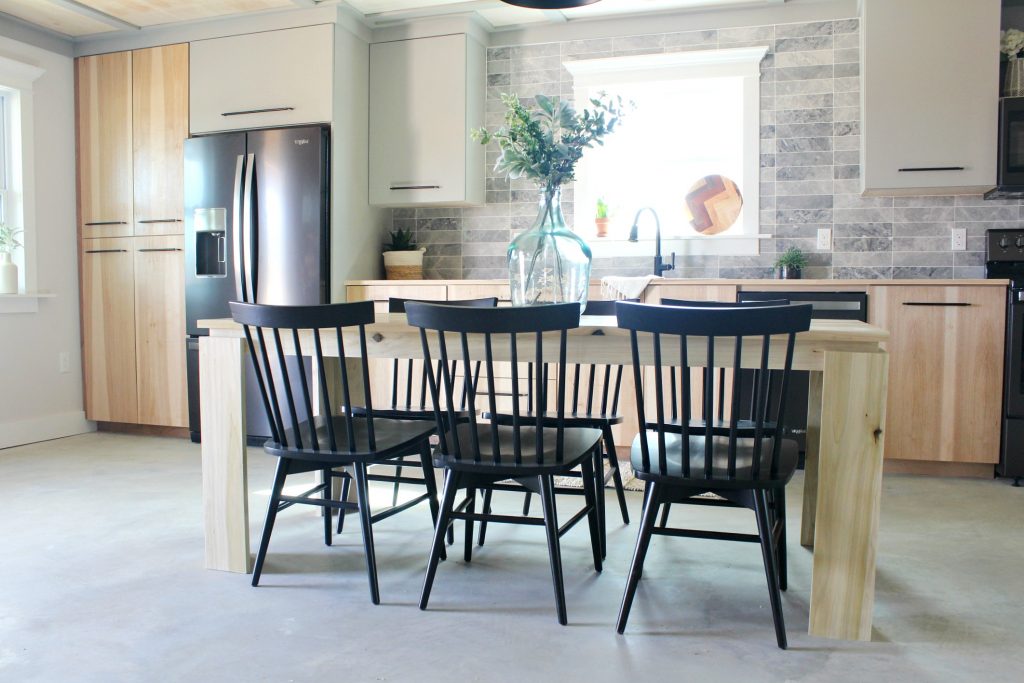
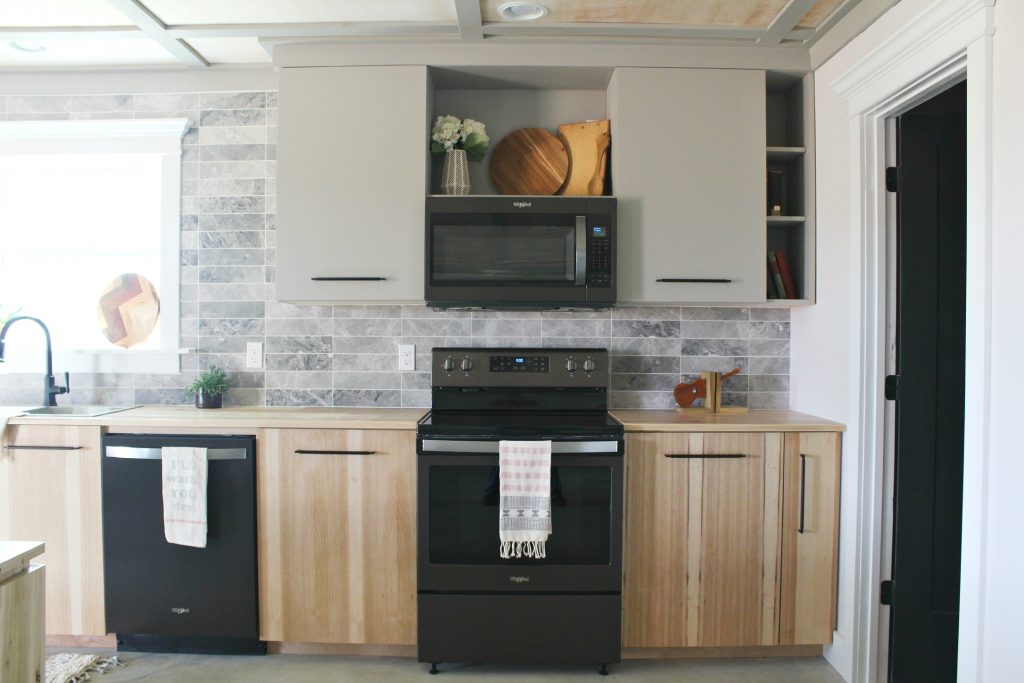
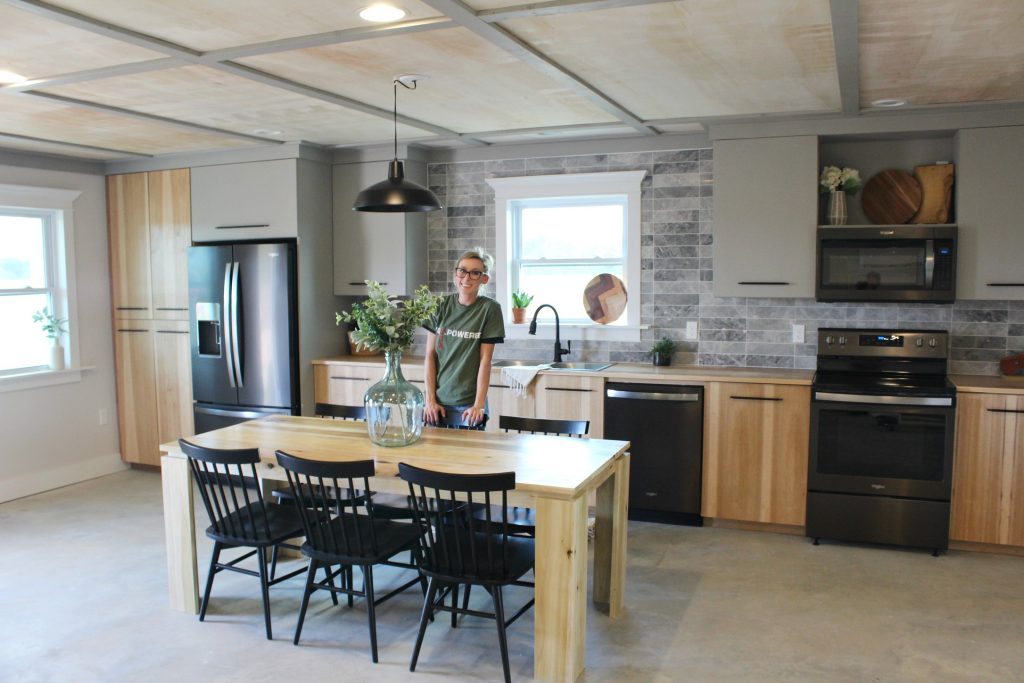
AND, finally, here’s what it looks like at the end of the six weeks!!!
While I had my head down doing all the work, I just kept putting the pieces together and hoping they looked okay. Once I finally took a step back and took it all in, I was so excited to see that it really turned out better than I expected!
We were very lucky to not run into any major snags along the way, but with new construction, I guess you get what you see, so there were no hidden “secrets” to find in this reno like you might in an older home. However, with new construction, you also have to start completely from scratch which means, you have to work to get power, work to get water, work to get lights, outlets, walls, etc. Pros and cons, I guess.
.
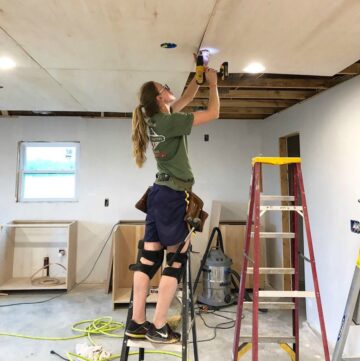
For the first few weeks, we worked after work each day and on the weekends until it got so dark we couldn’t see since we didn’t have power for lights. I was finishing drywall with the flashlight on my phone one night. I don’t recommend that HAHA.
.
I’d take my tool batteries home each night to my mother in laws (where we’ve been staying while we build) to charge to get ready for the next day. The struggle was real.
.
They dug our new well the same week we got approved for power, but it took over a week for them to get us power once we were approved, so we had water, but not power to pump it out. That was pretty frustrating.
.
BUT, we survived, and we FINALLY got power around week three or four (I’m sleep deprived and I don’t remember), and then things really started moving. We could stay and work after dark each day so we gained a couple hours in our work day. We were exhausted, but productive haha.
.
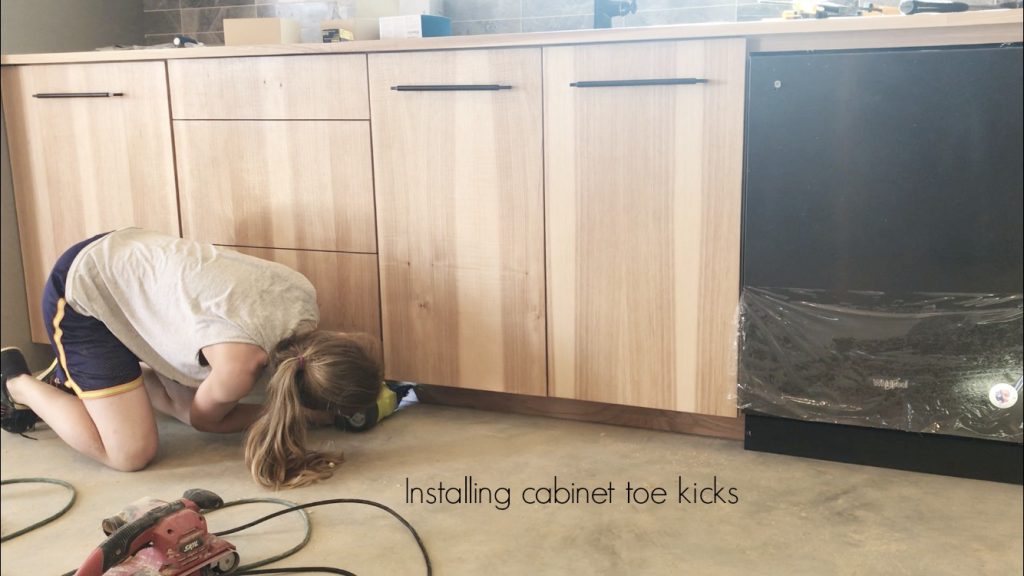
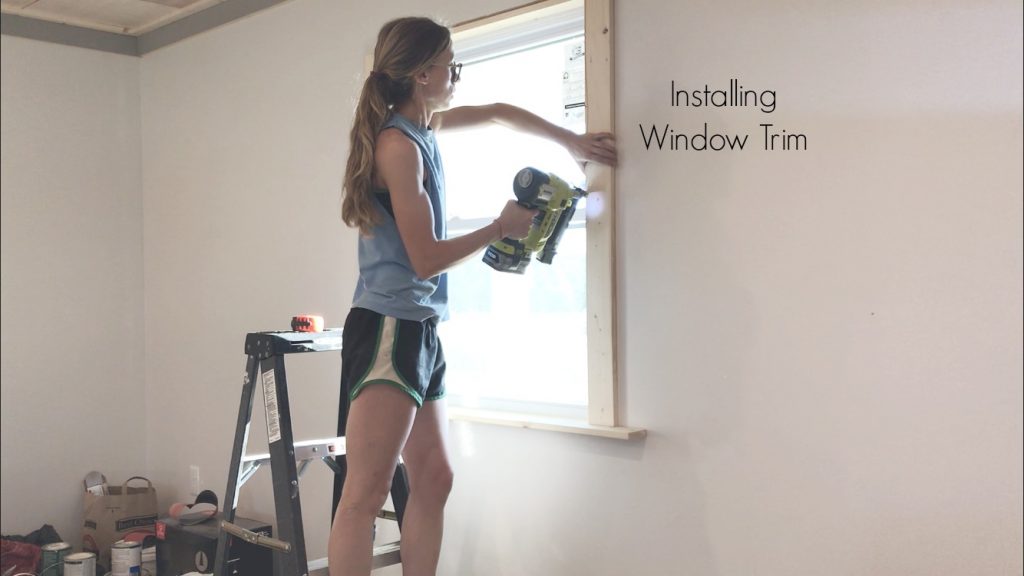
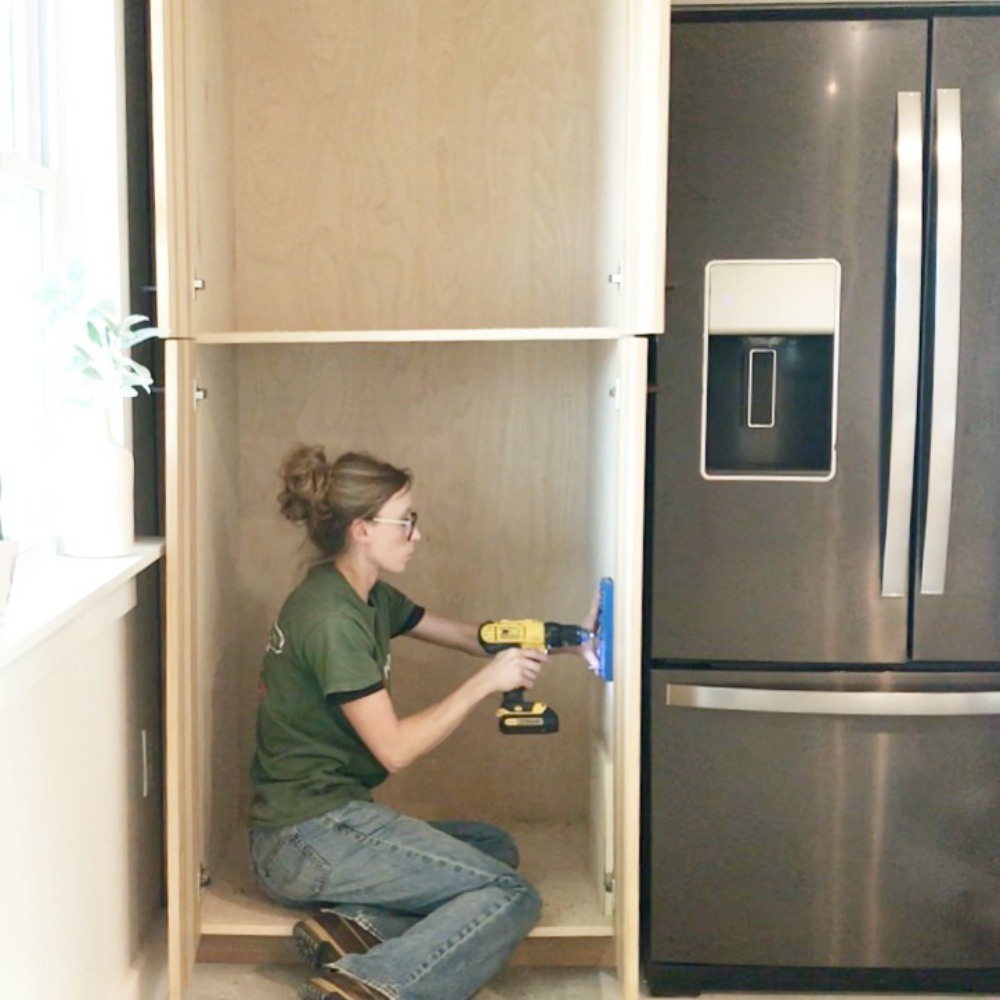
During this last week of the reno, I focused on finishing touches, like adding toe kicks and drawers to the cabinet boxes I built, window trim, ceiling trim, etc.
Danny focused on getting the plumbing hooked up and getting everything finished for our final electrical inspection. This was the week where all those little things we kept putting off doing had to be done.
.
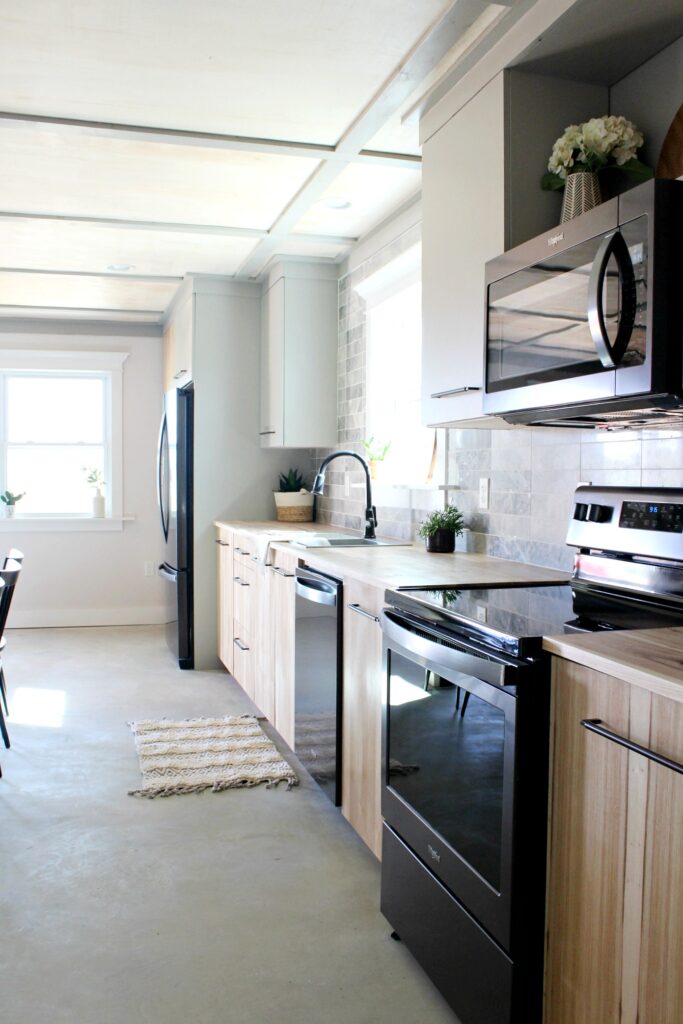
Oh, and we also got the rest of the appliances installed. Black stainless is the way to go, you guys. It’s GORGEOUS in person. Also, side note: having the fridge hooked up and not having to haul a huge cooler of water to work here each day was life changing haha. What did we do before refrigerators?!
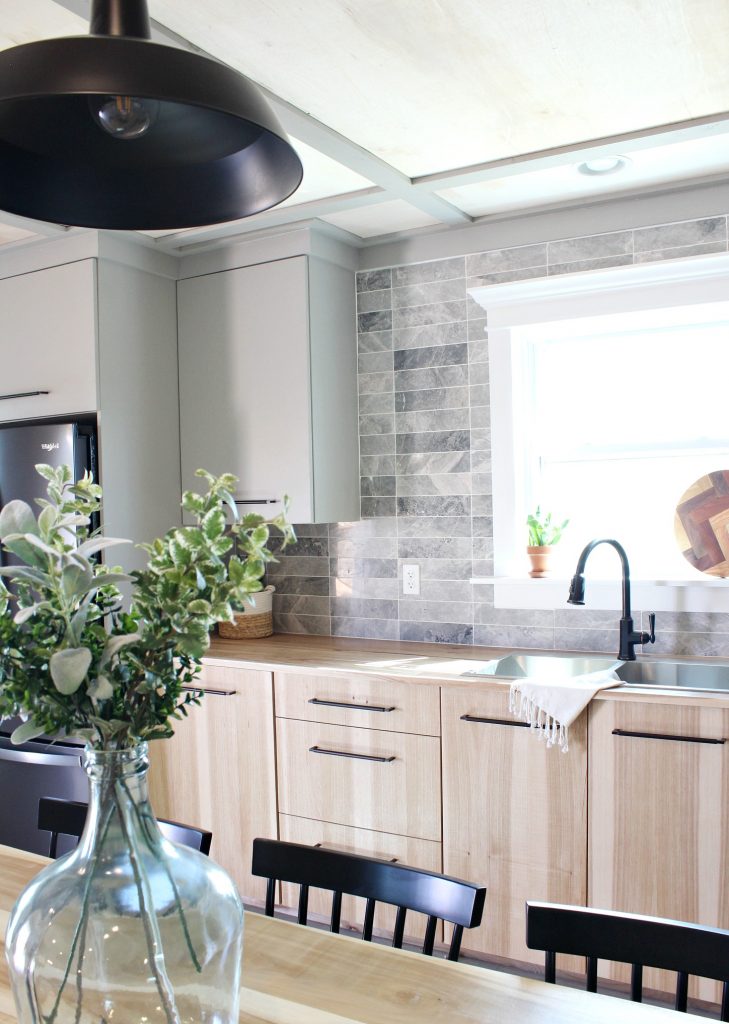
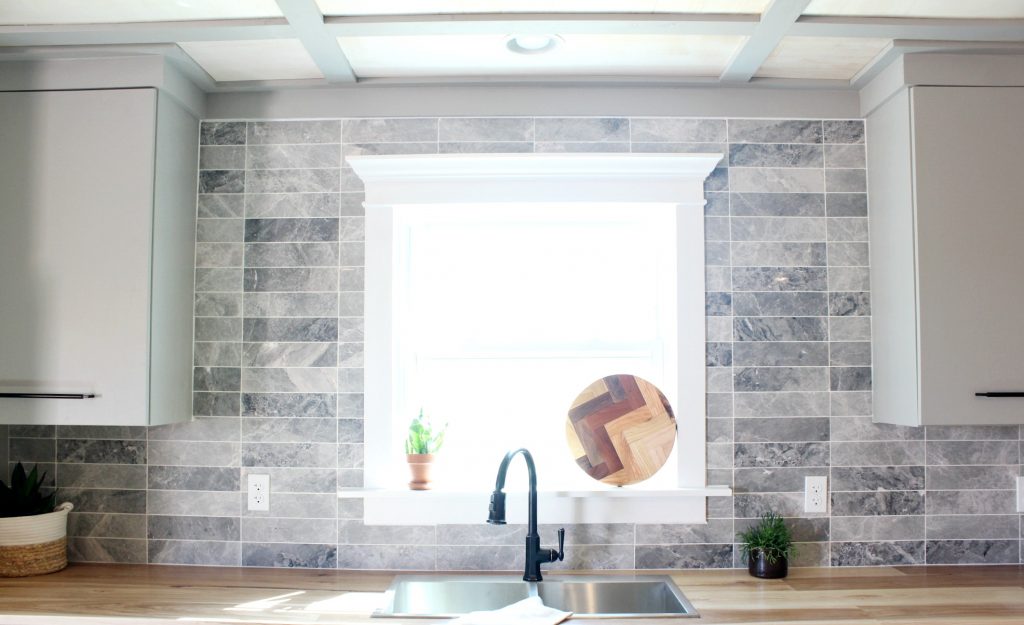
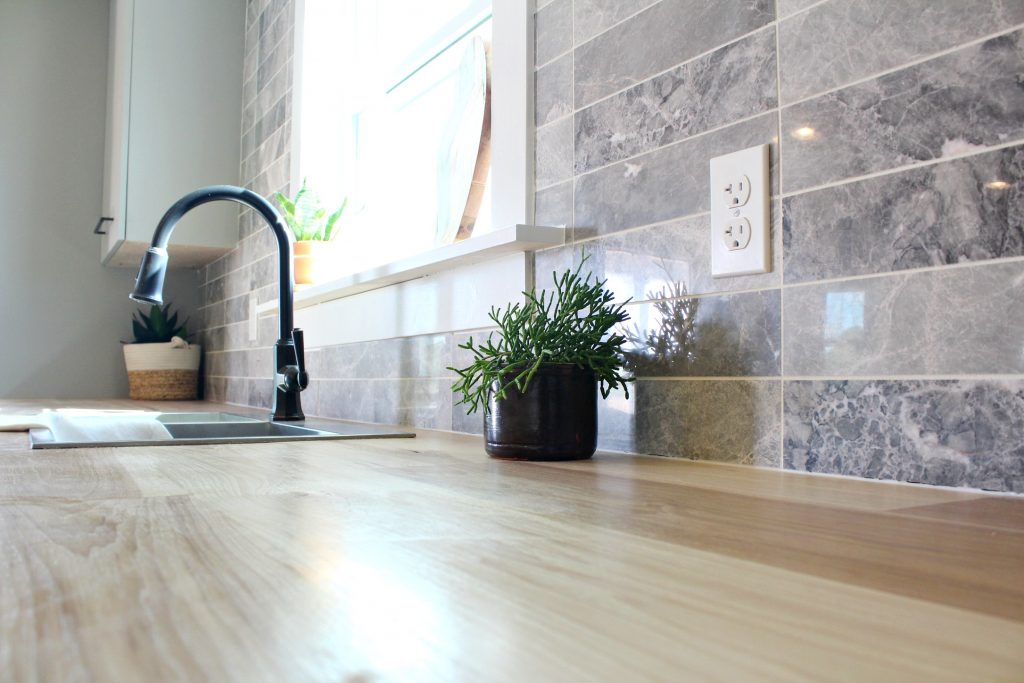
One of the things that goes along with the trimming is the caulking. No good trim job is complete without caulk. But, also, no good tile job is complete without caulk either. I had to caulk around the edges where the tile met the countertop, trim, and cabinets. Caulking is time consuming, but definitely makes your job look more finished. Really, I’m just telling you all this so that I can show you this gorgeous picture of the tile. I used Tundra Grey tile from Jeffrey Court and it looked SO GOOD!
Doesn’t it give you all the heart eyes? Everyone we’ve had come in to do our final inspections has commented on the tile. And the cabinets that I built myself…but I’m trying not to brag 😉
.
Our goal with this kitchen was to create a clean, modern space that wasn’t “too little” or “too much,” but juuuuuuuust right. I had this idea in my head with warm wood cabinets on bottom and grey on top and some grey tile and black hardware. But I really couldn’t see it all together in my head, so I wasn’t 100% sure about it until it was done…not really a good time to be sure, but this time, we got lucky HA.
Oh and remember that table I was building last week? I got it finished and I’ve got building plans and a tutorial for you guys coming soon! 🙂
The biggest obstacle (besides having no power, no water, and no air conditioning in 90+ degree weather building a house…) we faced during the reno was the fact that the kitchen window wasn’t where we originally planned for the garage builder to put it. It was only 6″ off, but when you design cabinets based around the location of the window/sink, it kind of throws you off.
.
I ended up making the pantry cabinet more narrow and moving the cabinets down. This caused me to have to move the dishwasher outlet in the back of a cabinet. And it also left a gap on the right side of the kitchen, so I added a narrow baking sheet cabinet on the bottom and a narrow shelf for cookbooks and decor on the top to fill the spaces. I really think it worked out nicely and doesn’t look TOO much like an afterthought haha. You and I know the truth, but maybe guests won’t notice 😉
And remember when I told you about the light above the stove a week or so ago? Well, I decided to do the right thing (instead of being lazy like I really wanted to) and move the light centered over the stove. I’m glad I did, but this whole window location thing really drove me nuts. Note to self…measure the window BEFORE you lay out your outlets, lights, and cabinets. That tip was free…it won’t cost you anything haha.
.
So, let’s go back to the beginning and check out our to do list ONE MORE TIME and see if we got everything.
.
Here’s all the to dos we started out with:
Install divider wall between kitchen and bathroom
Get electricity
Wire outlets, switches, and lights
Finish plumbing
Insulation
Drywall
Paint
Build cabinets
Finish (paint and poly) cabinets
Install cabinets
Install appliances
Install countertops
Trim out window
Install tile backsplash
Build dining table
Move in
.
WE DID IT!!! We marked everything off the list….EXCEPT move in. We didn’t have time to actually move in yet, but the weekend is coming and that’s what weekends are for 🙂
.
I can’t believe we did this in six weeks. I’m EXHAUSTED. But I’m also SO EXCITED to use our new space, get moved into our new home, and get back to our normal life. Which means getting back to furniture building tutorials and woodworking projects SOON.
If you’ve followed us on this journey, THANK YOU. If you’ve cheered us on, voted for us, admired our work, THANK YOU. And if you are looking forward to the upcoming tutorials for the table, cabinets, hardware installation, window trim, etc from this renovation, THANK YOU. Give me just a minute to get caught up, take a nap, eat a REAL HOME COOKED MEAL (it’s been three months since I cooked my own meal on my own stove) and I’ll get those posted ASAP 🙂
.
In the mean time, let’s take a minute to look at what a difference six weeks makes.
WOWZA. That’s a lot of blood and sweat (no tears, surprisingly) crammed into one graphic haha. I still can’t believe we pulled this off in just six weeks.
.
It’s bittersweet that this challenge is ending. I’ve enjoyed working and updating and feel a little strange that it’s over. But when one project ends, another begins. Stay tuned for what’s next! 😉
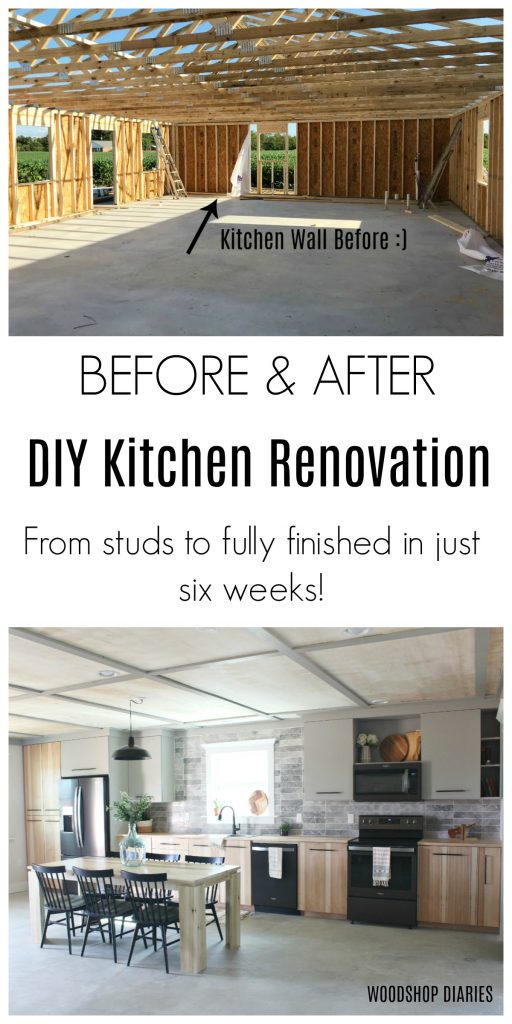
In the mean time, I’d so appreciate it if you’d pin any of the images from this post to share about our renovation 🙂
Until next time, happy renovating! 🙂


I have followed the whole project. AMAZING job! I am so proud for you!!!! Takes my breath away!
Oh friend! Thank you so much for following along and thank you so much for the sweet comment!!
What a fantastic job you did. Turned out beautiful and I can’t believe you did it all from scratch!!!! You deserved to win big time! My husband and I built a two story garage plan “turned”guest house to live in until we built our home on the property as well. What we didn’t realize when we were through with our little cottage that It Was All We Needed! We never built the house. We worked without power, heat and running water and it was tough! But you my dear are amazing. We bought and installed cabinets but you built everything from dust! Loved watching your progress and outcome!
Thank you so very much! We had so much fun building our little home. We love it! We’ve heard so many people tell us they bet we never build the actual house after we get settled in. They may be right! Haha! Thank you so much for following along and I so appreciate your sweet comments 🙂
C O N G R A T U L A T I O N S !!! You deserved this win. ( I voted for you) What a wonderful job you did. Your kitchen is beautiful. You have always amazed me with your extreme talent, but this is over the top. Your cabinets are awesome. The ceiling is too. I love it! So very happy for you.
I wish you a very Happy Thanksgiving. The kitchen will be even better when it smells like roast turkey and pumpkin pie…ha ha.
Thank you so very much! You are so sweet! I hope you had a wonderful Thanksgiving and I wish you a Merry Christmas as well 🙂 Also, thank you so much for voting and following along!
Impressive! You did an amazing job! The kitchen looks amazing! I love the look and the openness of the room.
Thank you so very much!
Your kitchen looks AMAZING! Your ceiling treatment would be a cost effective way to ‘finish’ off our basement ceiling.
Thank you so much!! Yes, the plywood ceiling turned out so much better than I expected!
you did an absolutely amazing job on this kitchen build! You not only did one heck of a lot of work, but your finished design knocks it out of the park! I am loving those tiles, your cabinetry, and the black handles. Stunning!
Thank you so so much!!!