It’s week FIVE of the SIX week fall renovation challenge I’m participating in with Jeffrey Court. Did you catch that? Week five of six. That means only ONE. WEEK. LEFT. Don’t panic, don’t panic, don’t panic.
.
I’m panicking.
.
I would love it if you’d take a few seconds to click on this link and vote for me to win the challenge. As much fun as it’s been participating, I’d still love to win the bragging rights 😉 So I’m shamelessly begging for your vote!
.
I think we will make it to the deadline (IT’S NEXT WEEK!), but it’s going to be close. This week things finally started to feel like we were making progress. But the more that got done, the more we realized there needed to be done….like trim. TRIM EVERYTHING…doors, windows, ceilings, baseboards, cabinets. It’s never ending!!
.
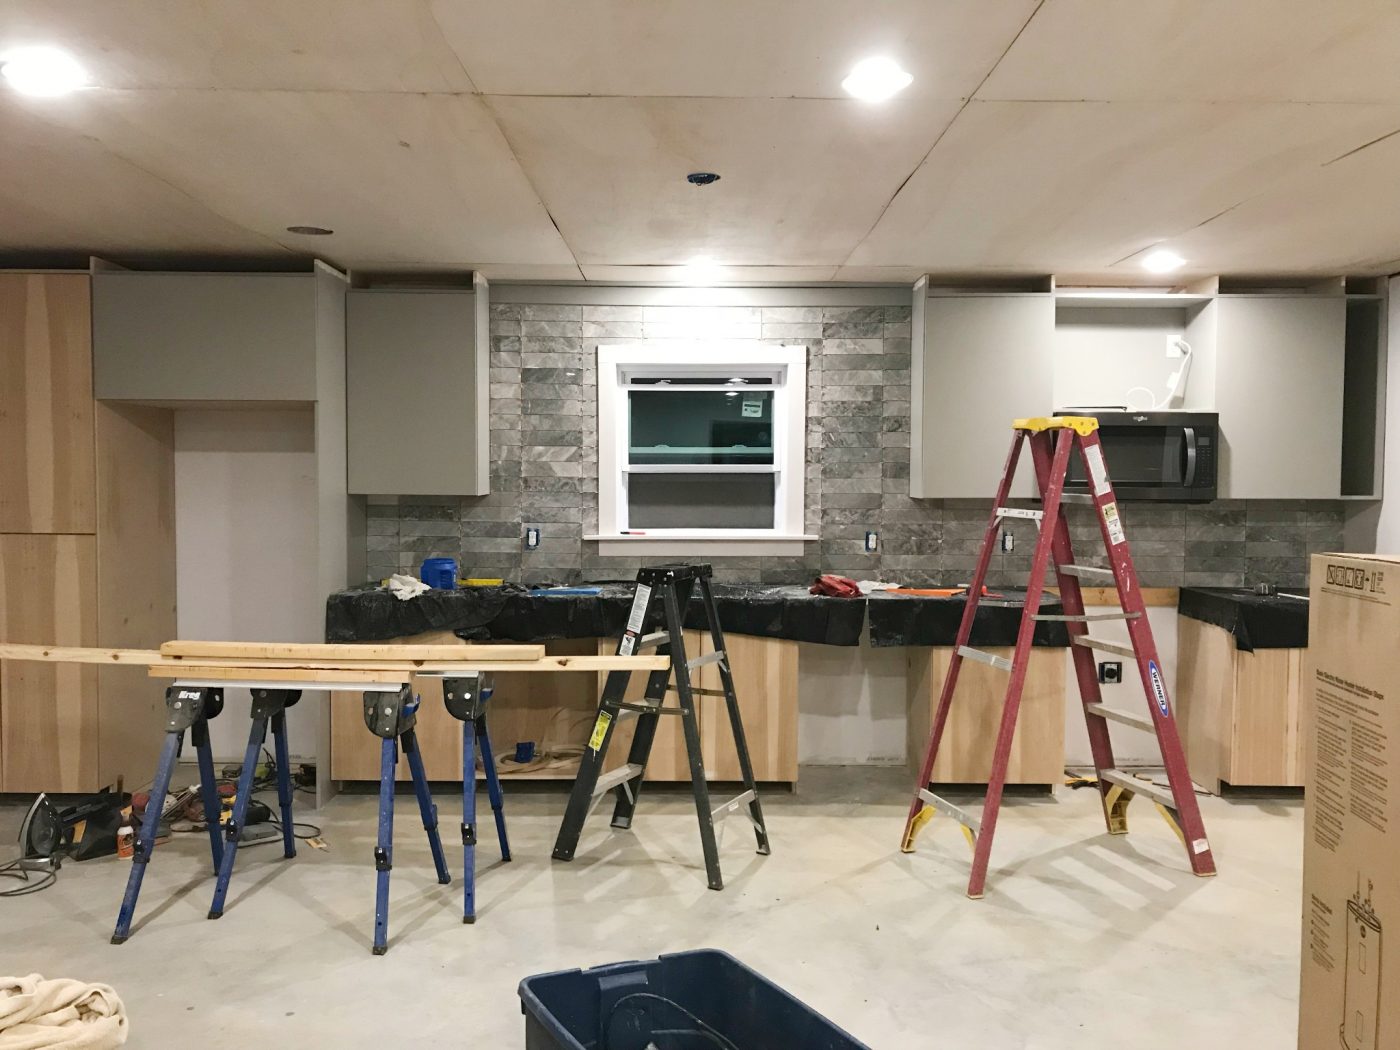
But, let’s take a second to get everyone caught up. If you are just joining me, check back at the past weeks’ progress posts and get all the details on our kitchen renovation. If you’ve been following along, you will remember from last week that we ended here.
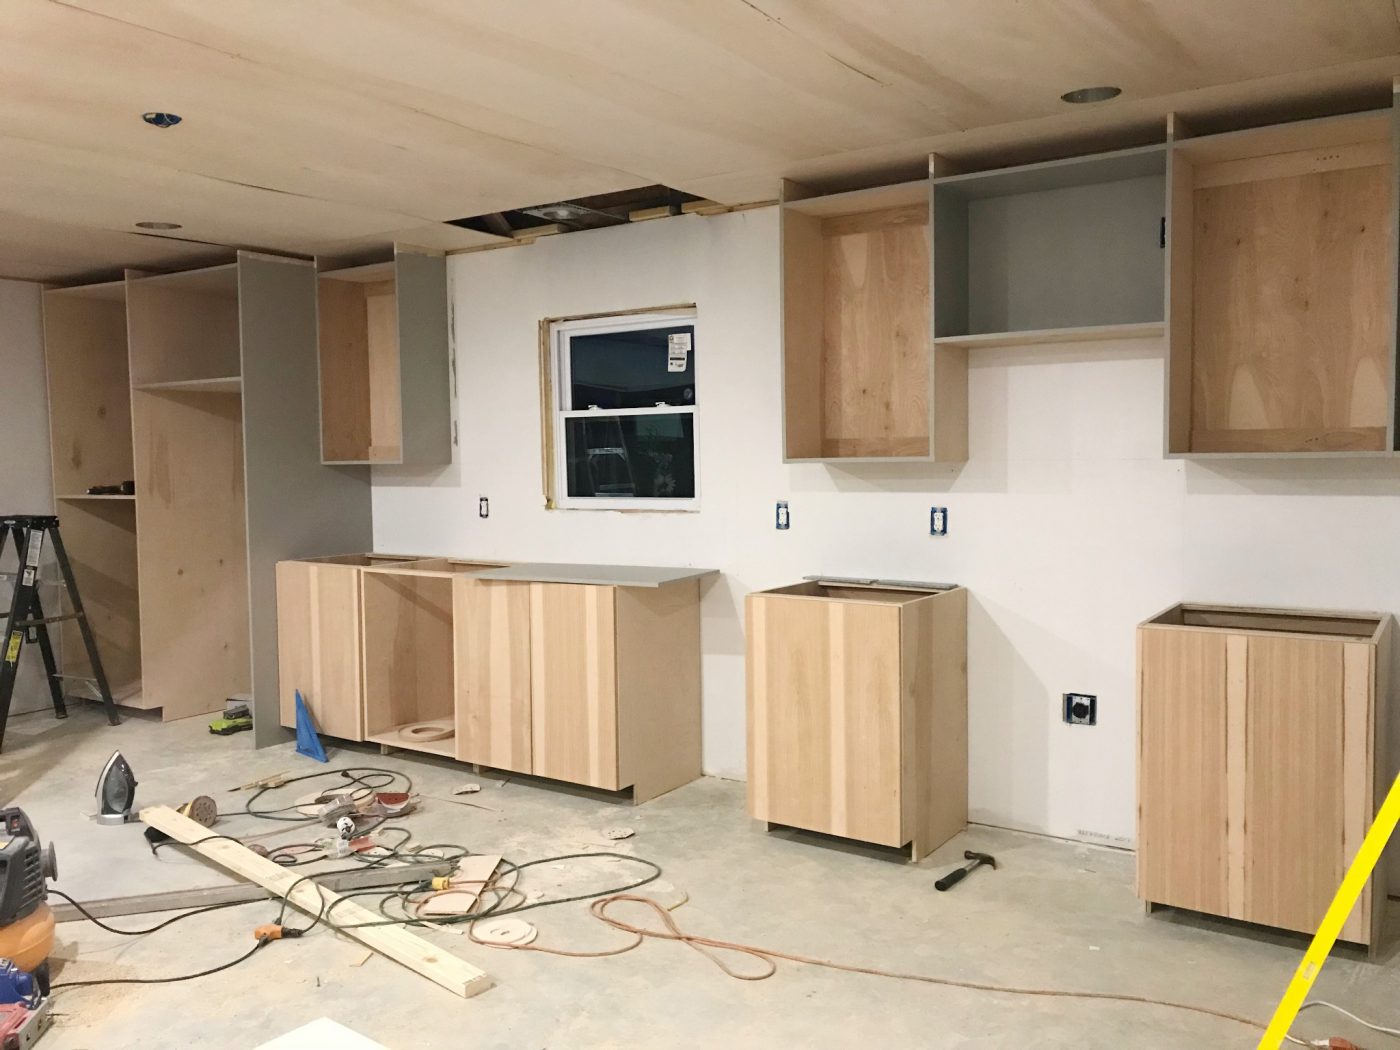
We had most of the ceiling hung and few of the cabinets installed. It felt like a productive week. But this week, things really started to take shape!.
.
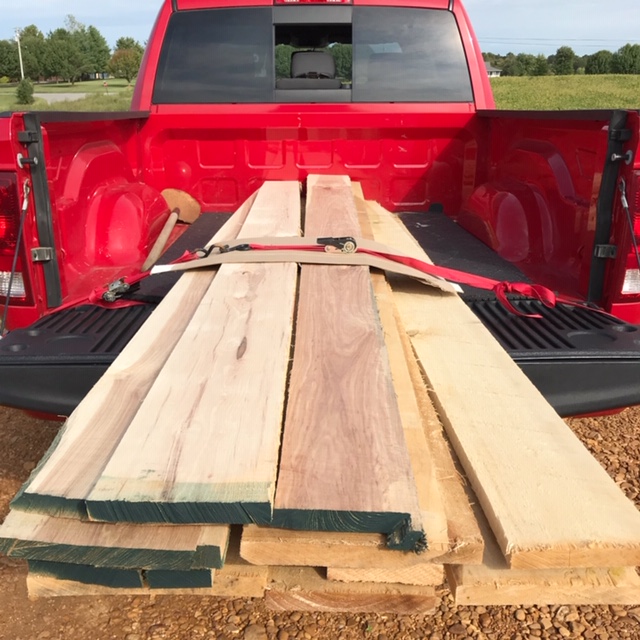
This week, I bought the wood for the countertop and dining table…can you see it in that pile? You have to look REALLY hard 😉 haha.
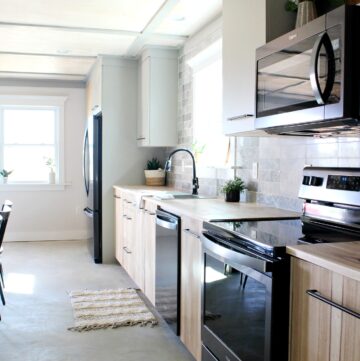
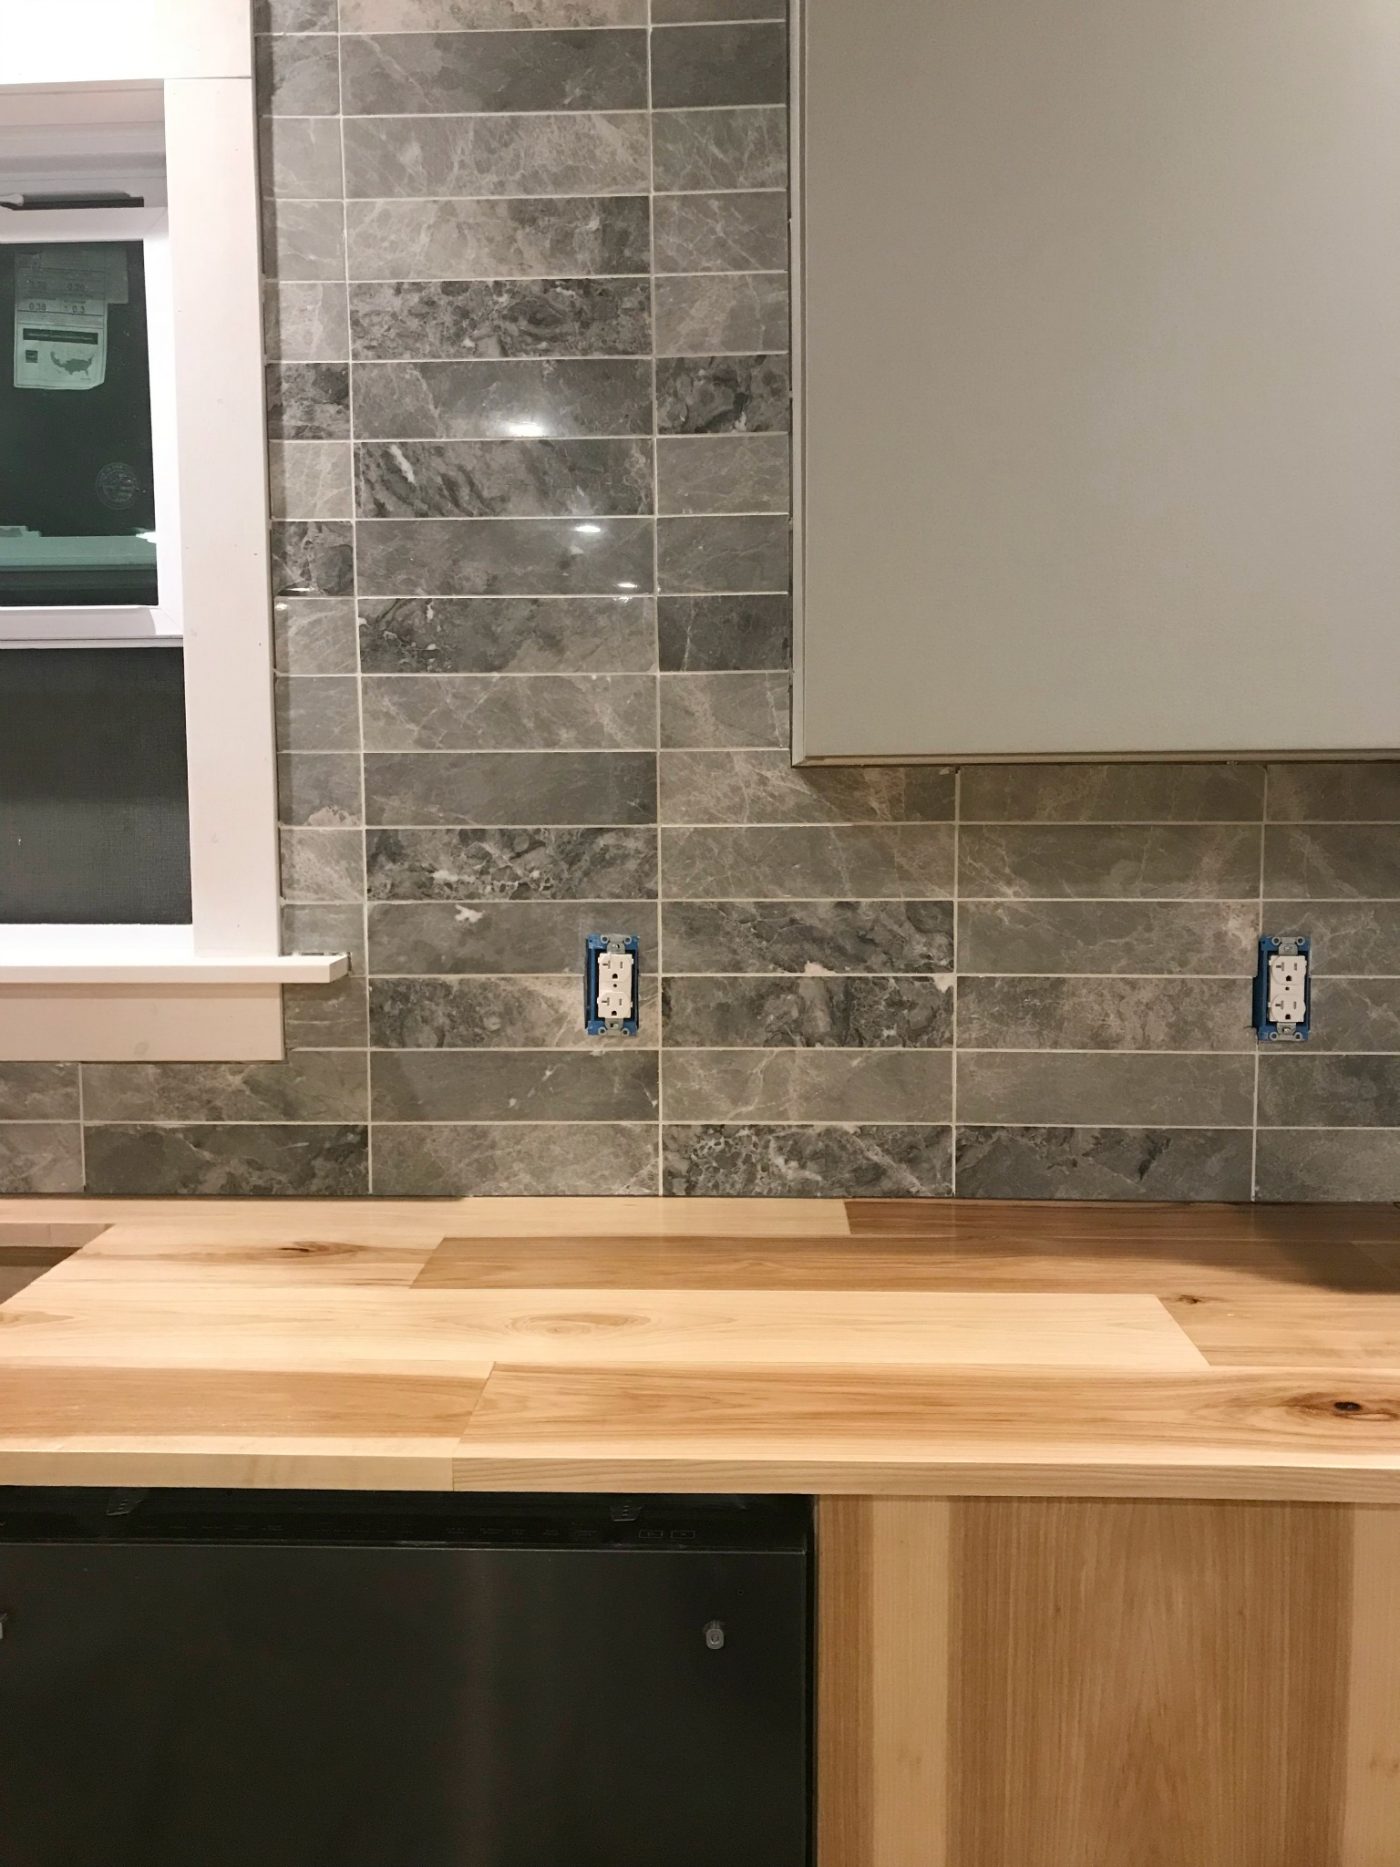
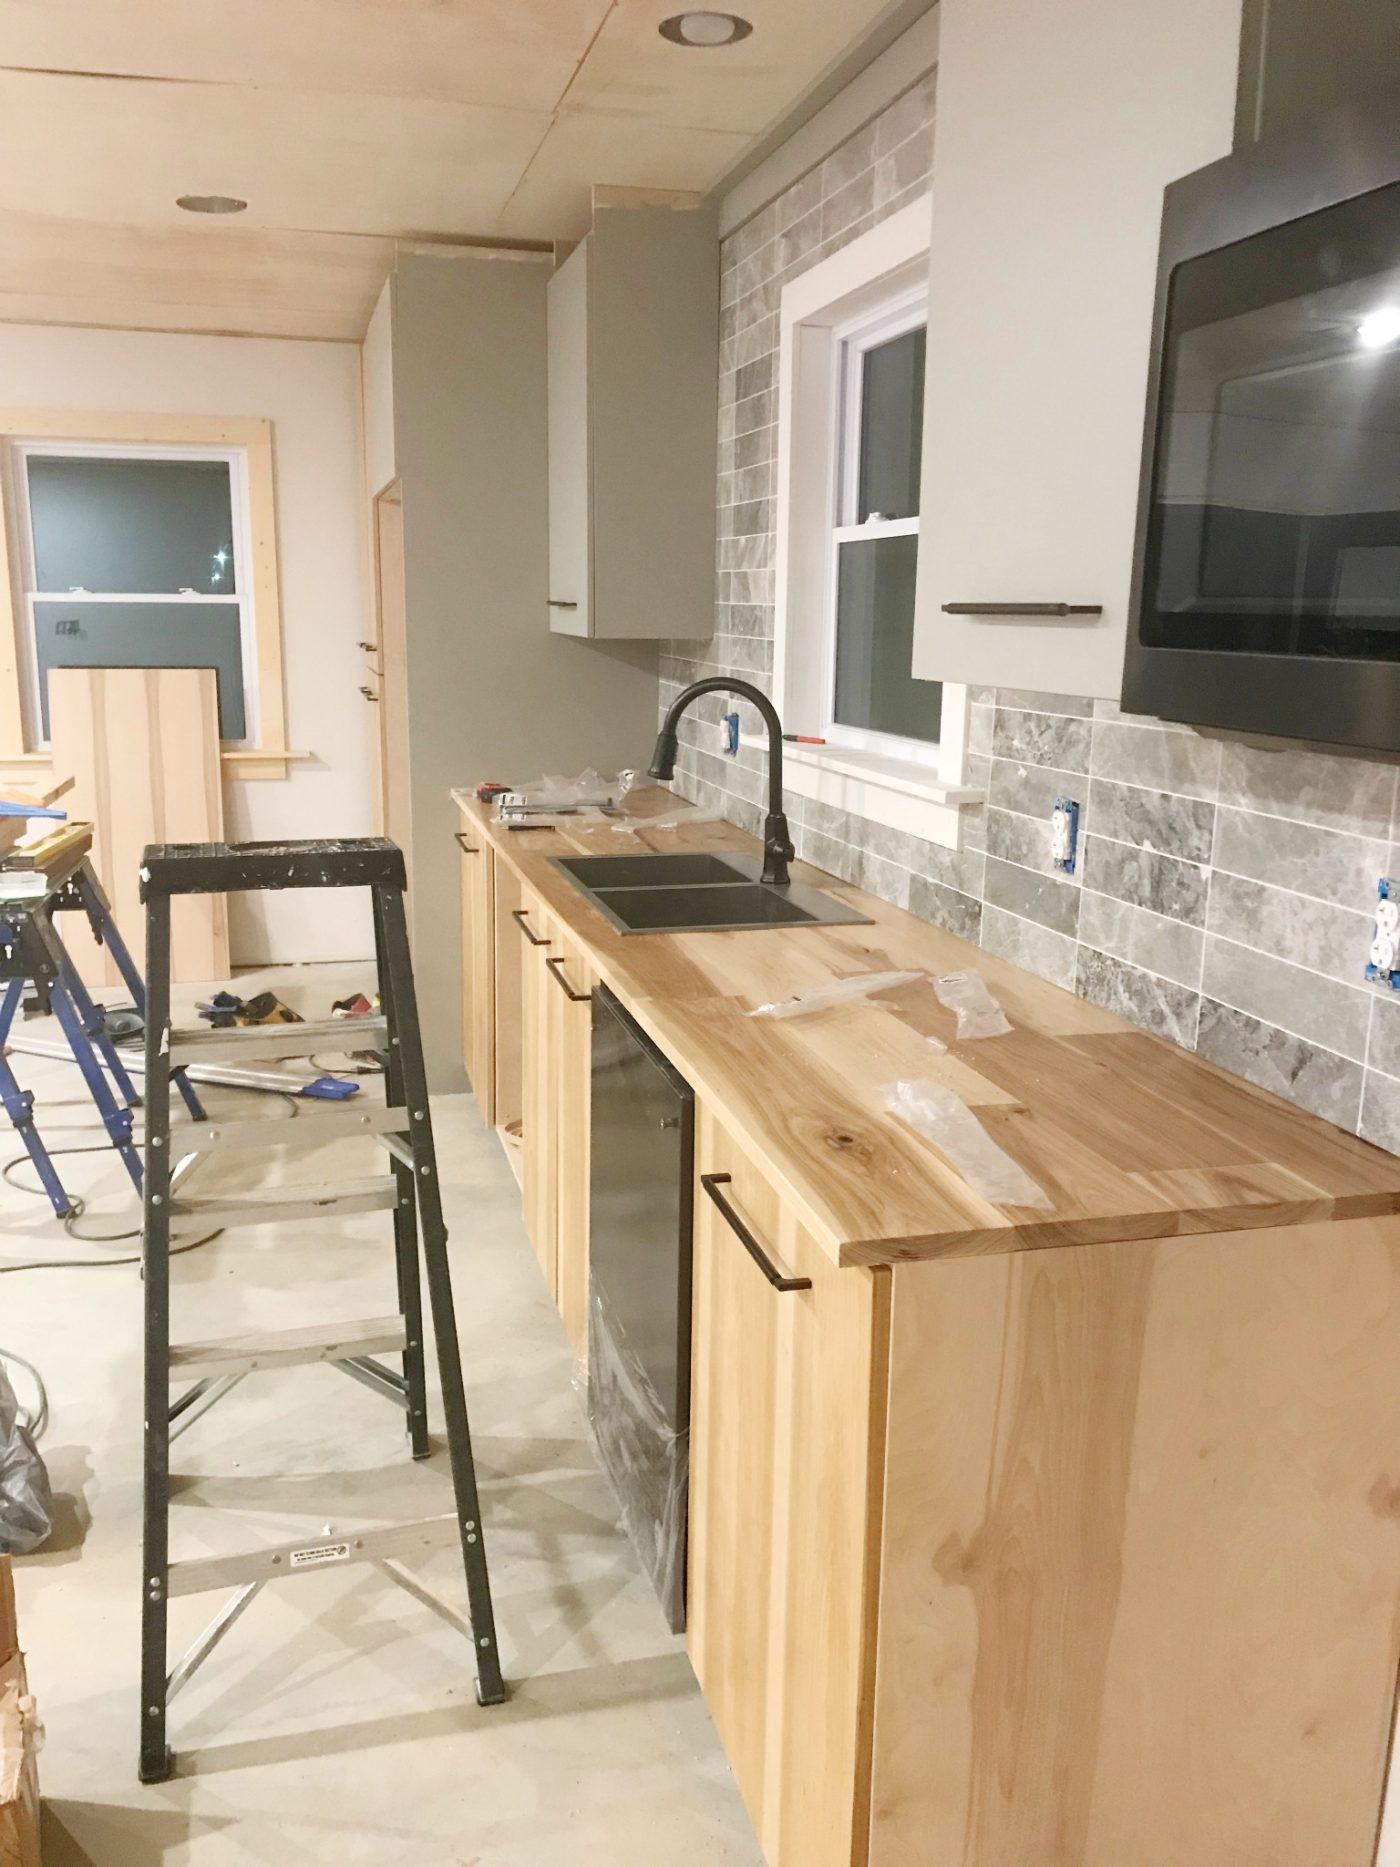
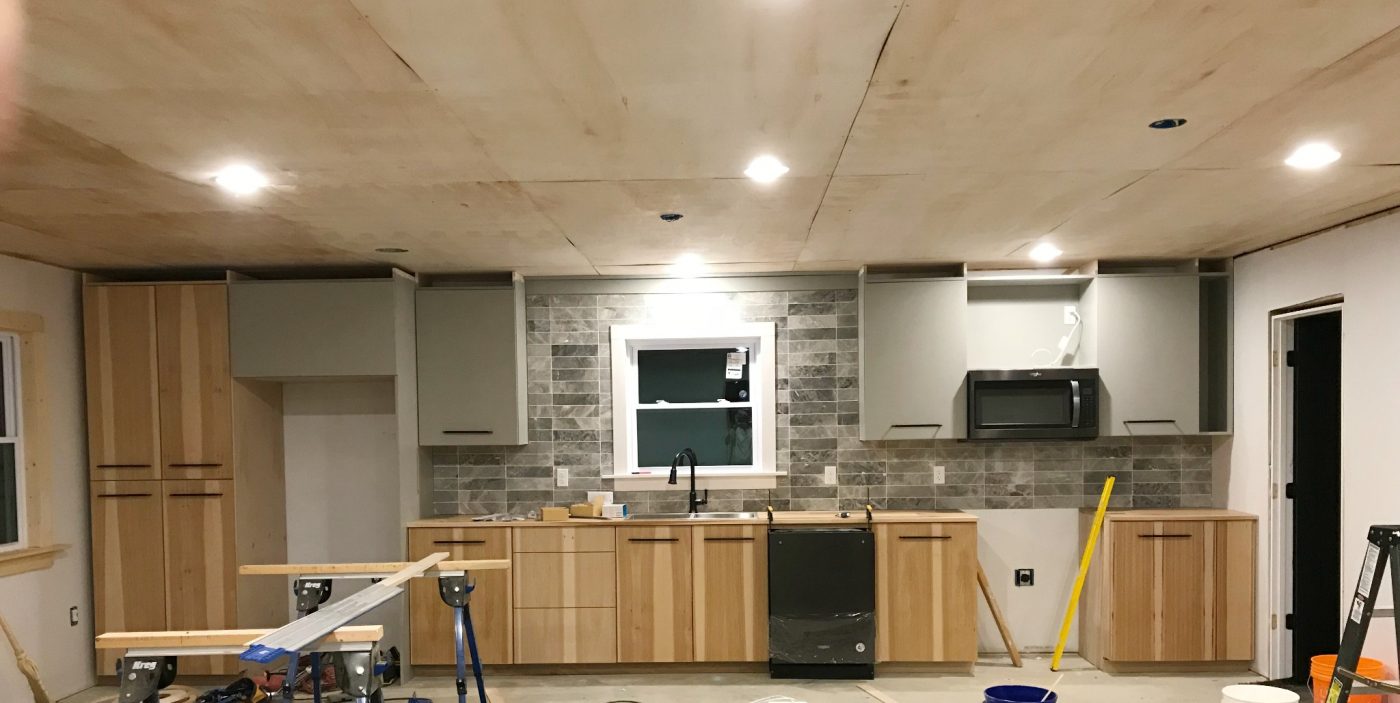
Then, I built the countertop, finished building and installing the cabinets, installed the countertop, sink, and….wait for it….the BACKSPLASH. All the heart eyes.
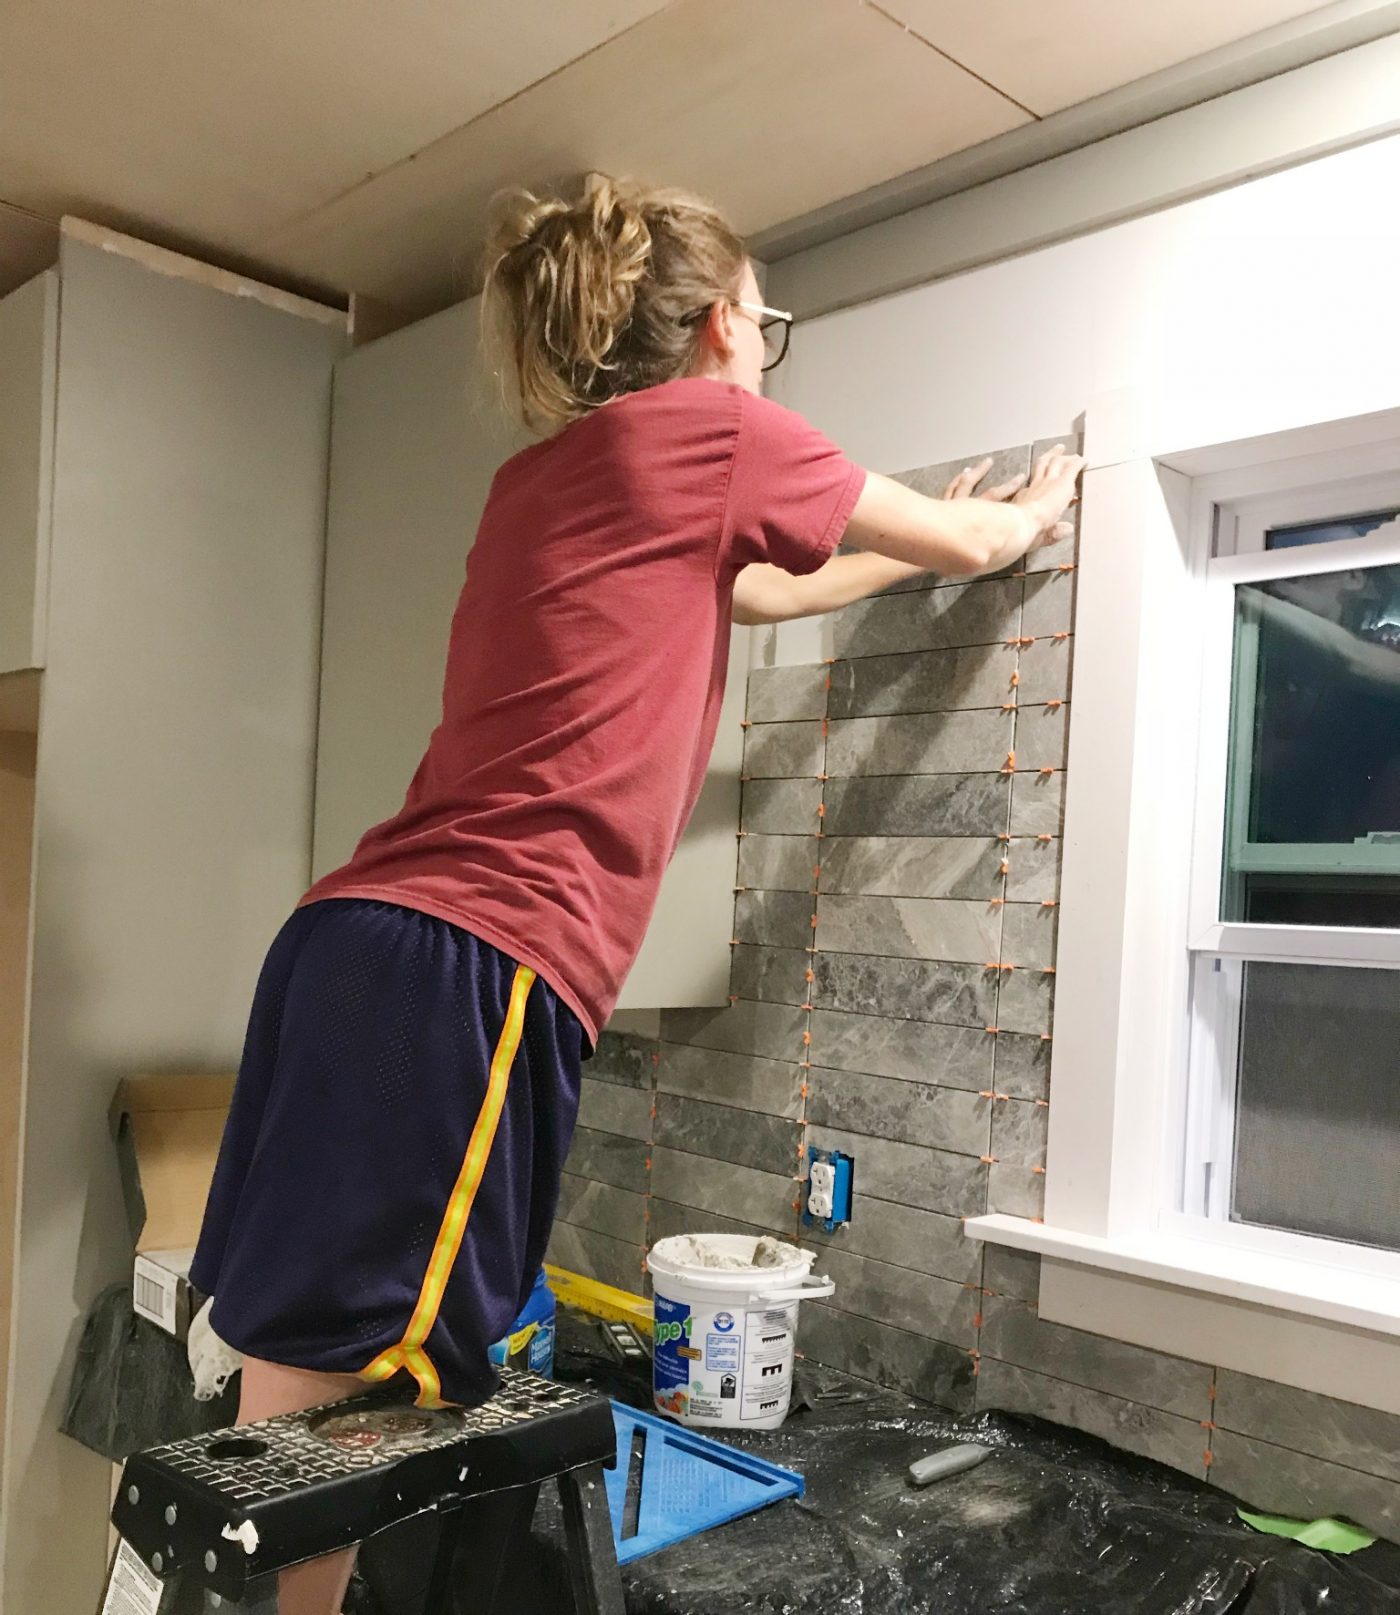
The tile saw is my favorite part…despite what my face looks like HAHA. I was concentrating…apparently REALLY hard.

When I painted the cabinets, I really started freaking out that the tile color and cabinet color weren’t going to look good together. The paint color almost looked tan when the paint was wet. But the tile was DEFINITELY GREY. Not a good combination. (Side note…I love grey…I also HATE tan)
.
But thankfully (for mine and Danny’s sanity), once the paint dried, it looked a lot more grey. I wasn’t about to switch tile (I loved this tile!), but I had no idea how to pick a new paint color in a split second and repaint the cabinets. So I went with it anyway. I was still a little hesitant, but once the tile started going on, I had no doubts. This tile is GORGEOUS and worked perfect with the paint color. It’s Tundra Grey by Jeffrey Court and I LOVE it with the white grout.
You’ll have to forgive the dark daylight free photos. My apologizes, but after working all day at the day job, then working all afternoon on the space, the progress photos are always taken after the sun goes down. And if you think it looks good in the dark, it looks even better in the daylight haha. Promise I’ll get some better photos this last week!
.
We also got the microwave and dishwasher in place this week too as you can see. I was so excited to see everything start coming together because I was honestly afraid that it was going to look like a train wreck and I was pleasantly surprised it didn’t HA.
Things went pretty smooth this week, although I didn’t get as far as I had hoped (of course…story of my life haha). So I don’t have any great stories from the project to share…except to tell you about how I decided to take down the ceiling piece from last week with the stove light, move the light and cut another piece of ceiling because I just couldn’t stand that it was so far off center of the stove. Remember that?
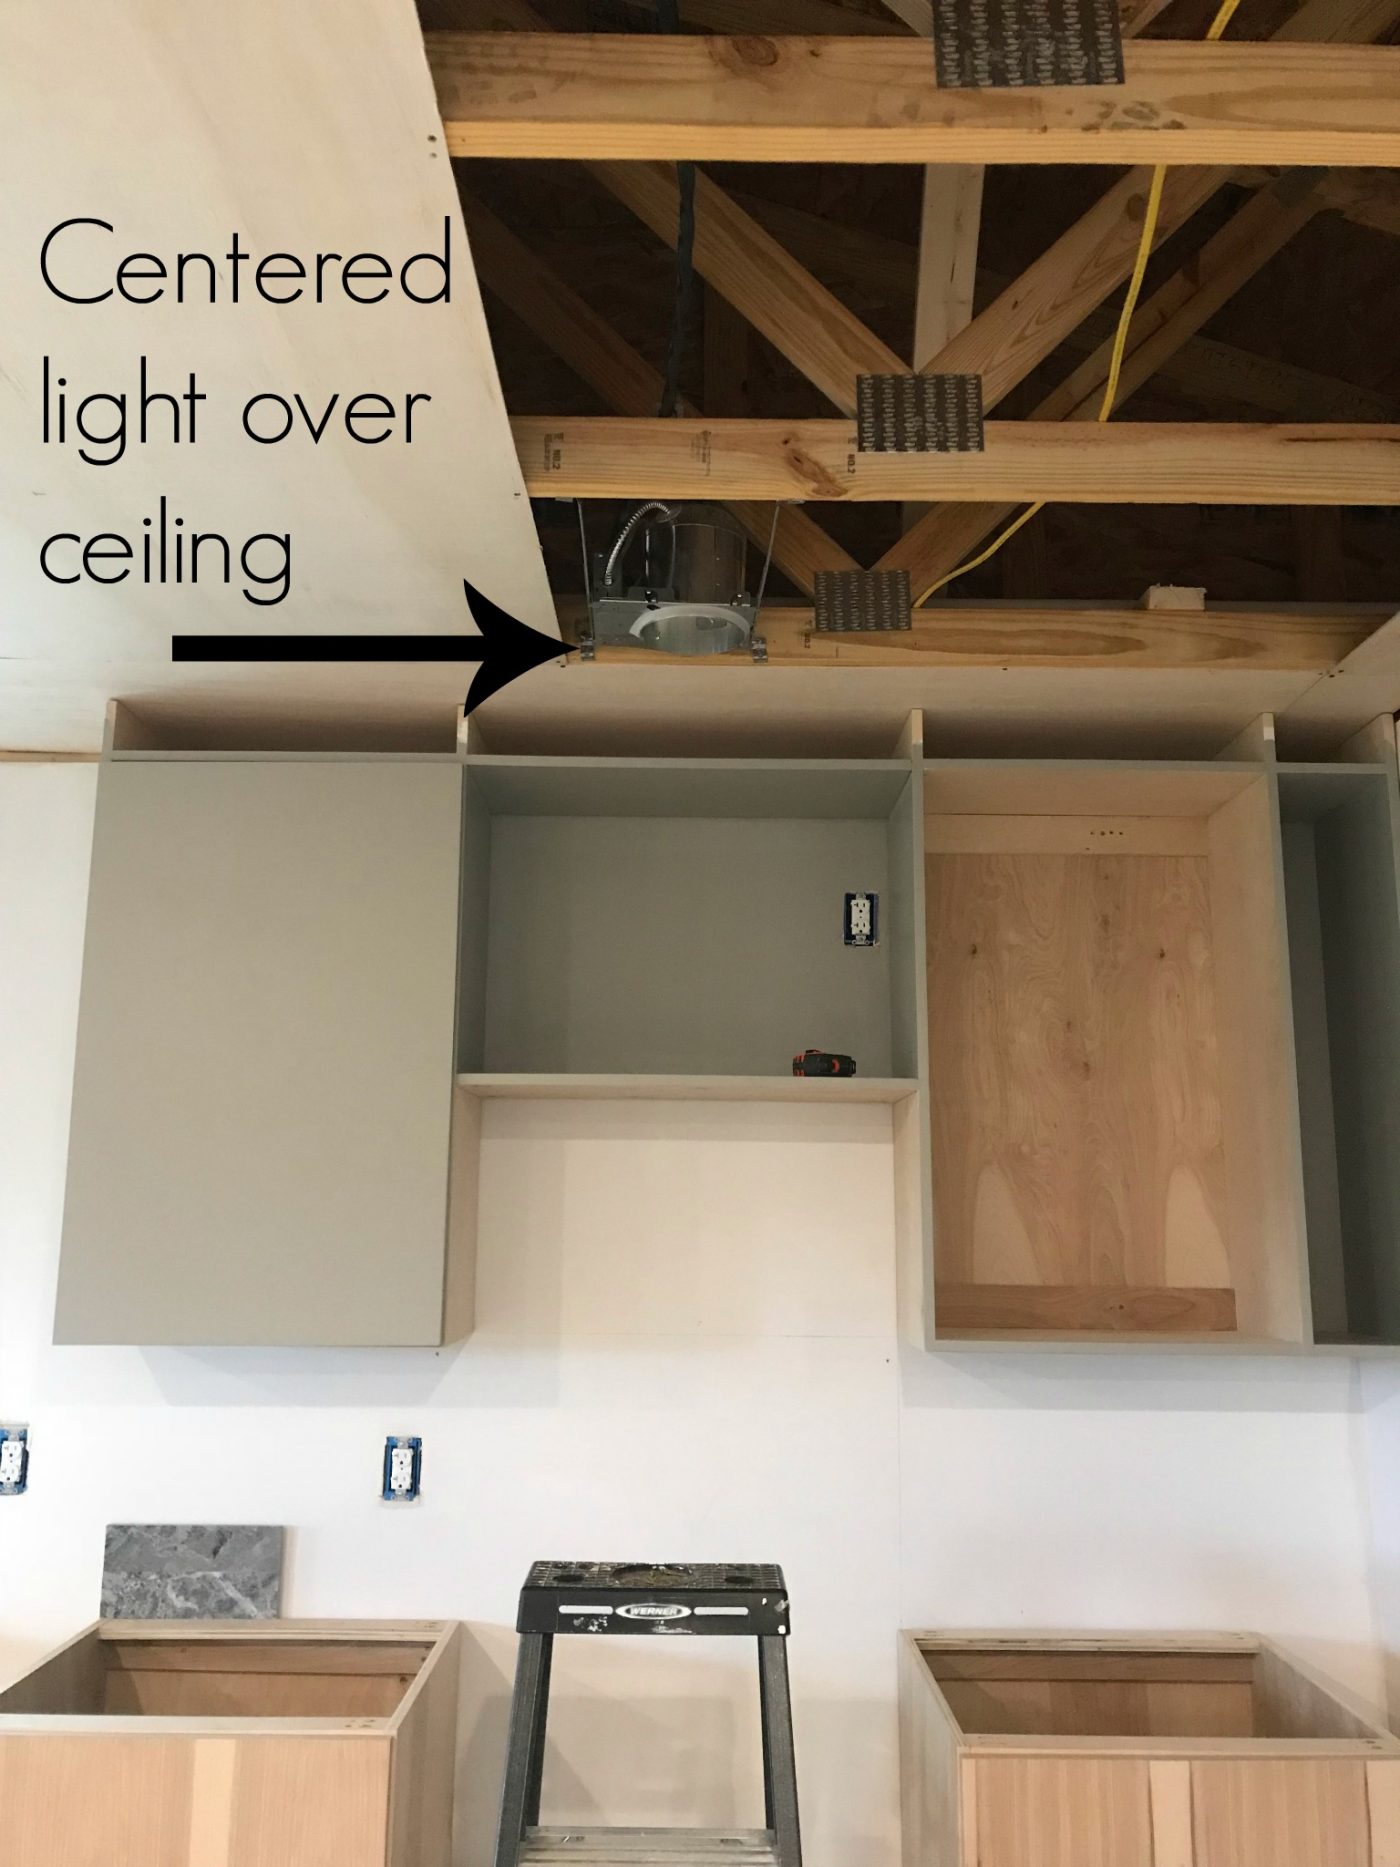
I am glad I did that. It was time consuming and I wasted a sheet of plywood on the ceiling, but I think it was the right decision. But not everything I did this week was right…I do have a few screw ups to mention.
.
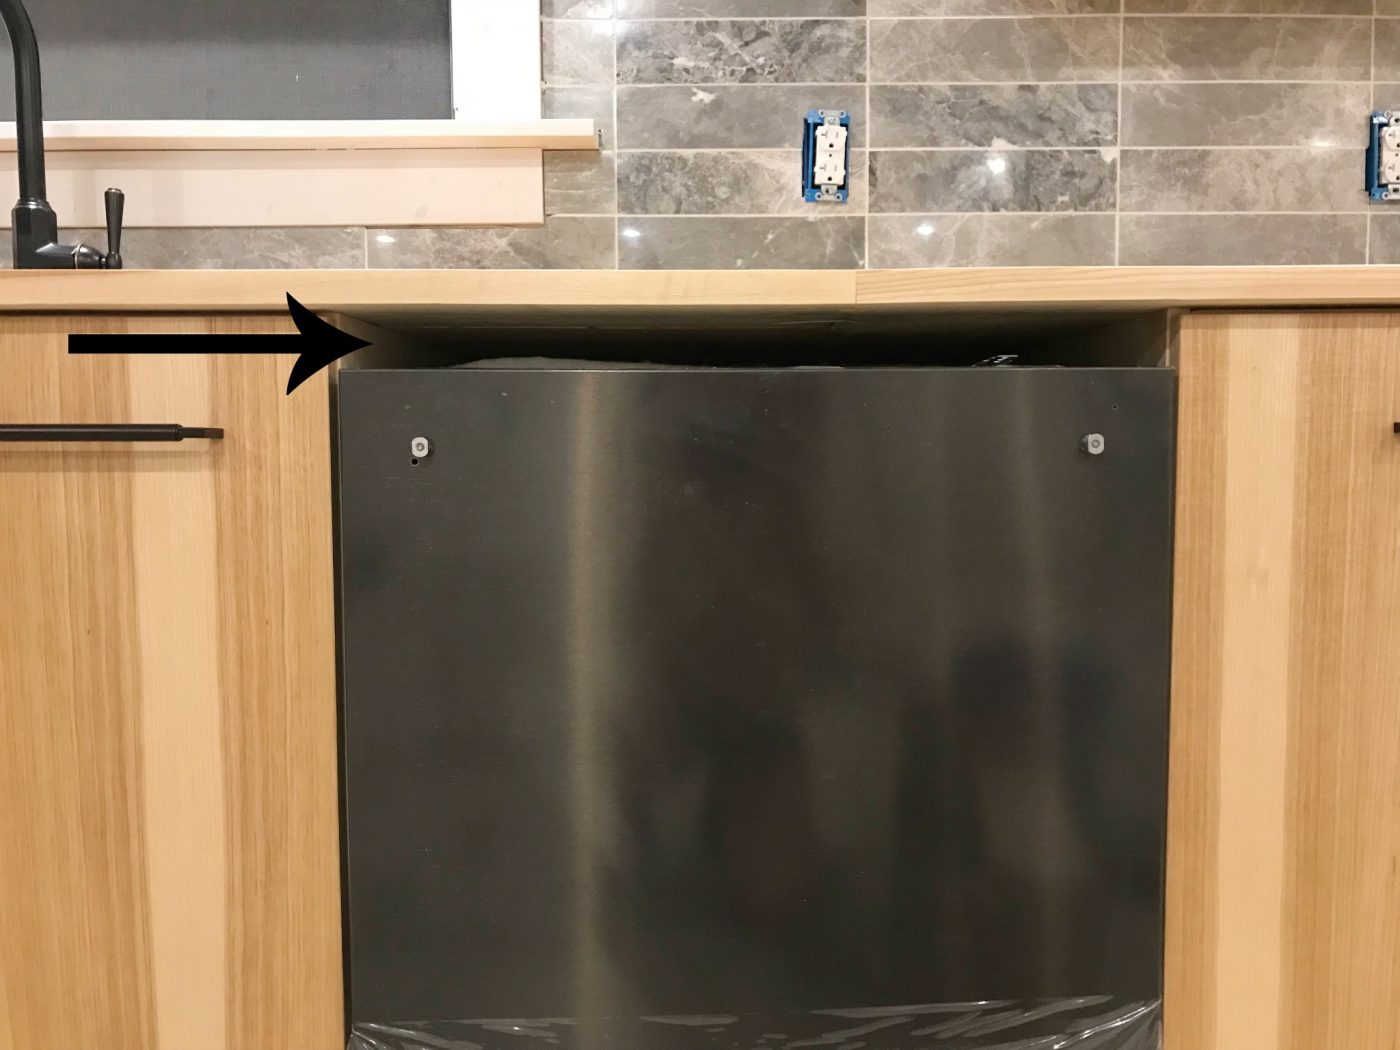
Since I built the cabinets in the kitchen (which, I’m pretty proud of, not going to lie), I deviated a little from the standard dimensions. I didn’t think this would be an issue until the dishwasher was installed and there was about a 2″ gap between it and the countertop. Whoops.
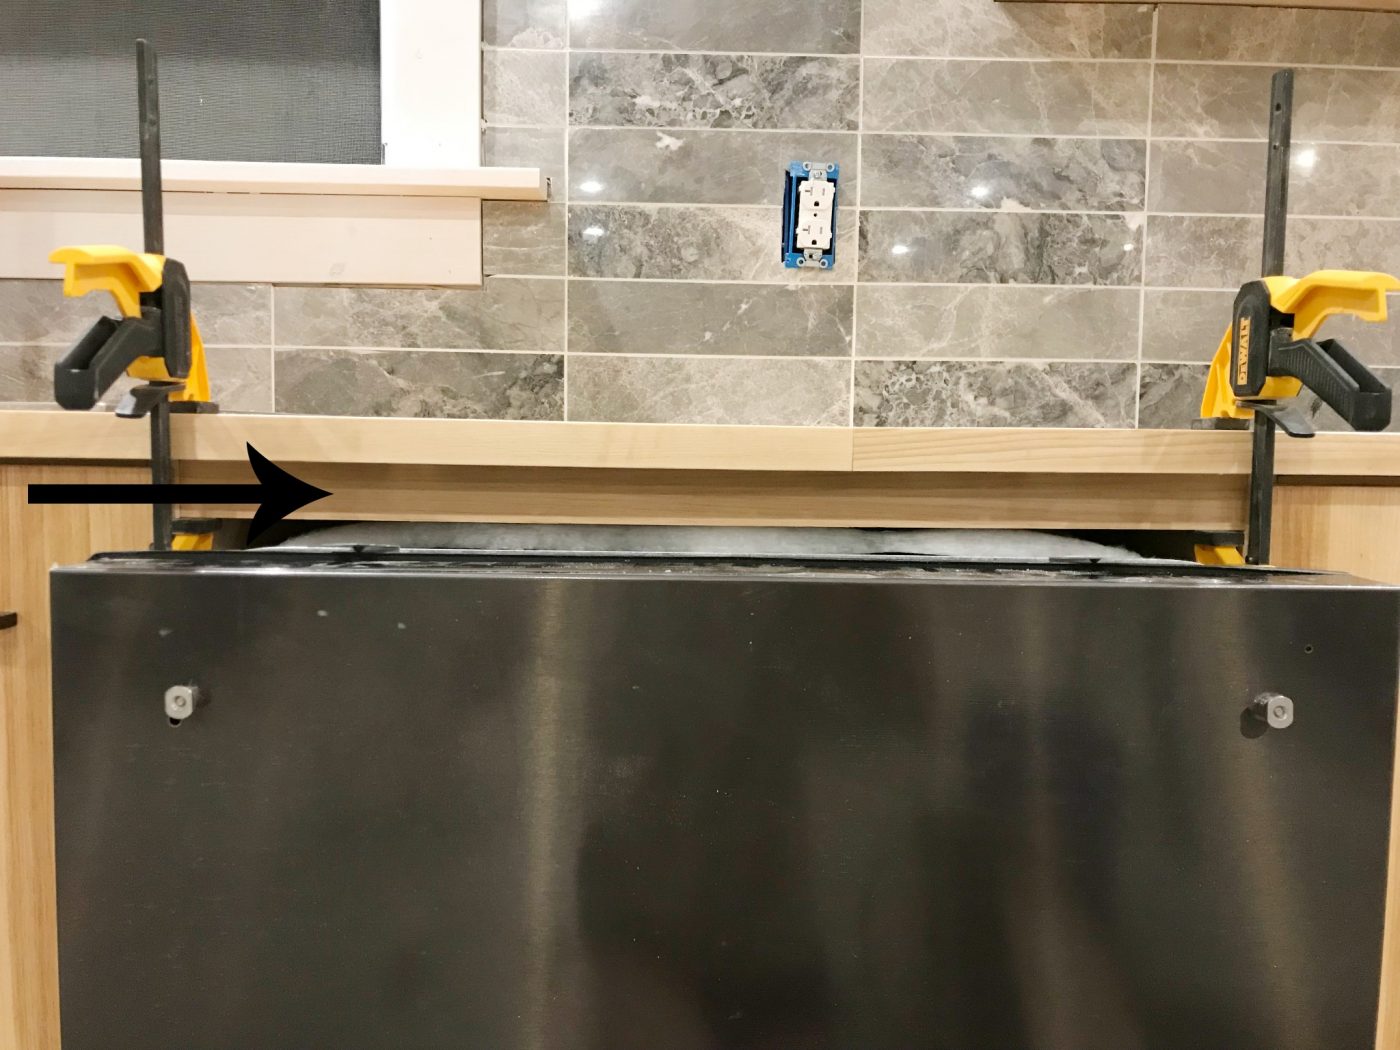
So I carefully cut a little piece of trim to glue on the top to cover the gap and now it looks like nothing ever happened 😉 but you know the truth. My Dad always said the difference between an amateur and a pro is that a pro knows how to cover their mistakes HAHA. I don’t consider myself a professional, but I’ve made enough mistakes to have to figure out a few ways to cover them up.
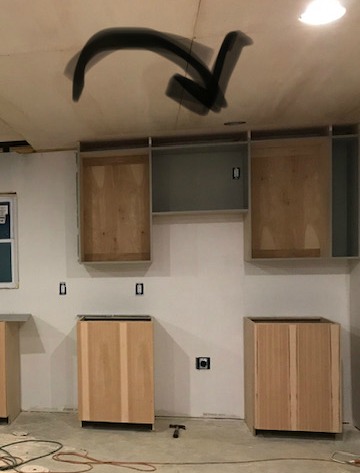
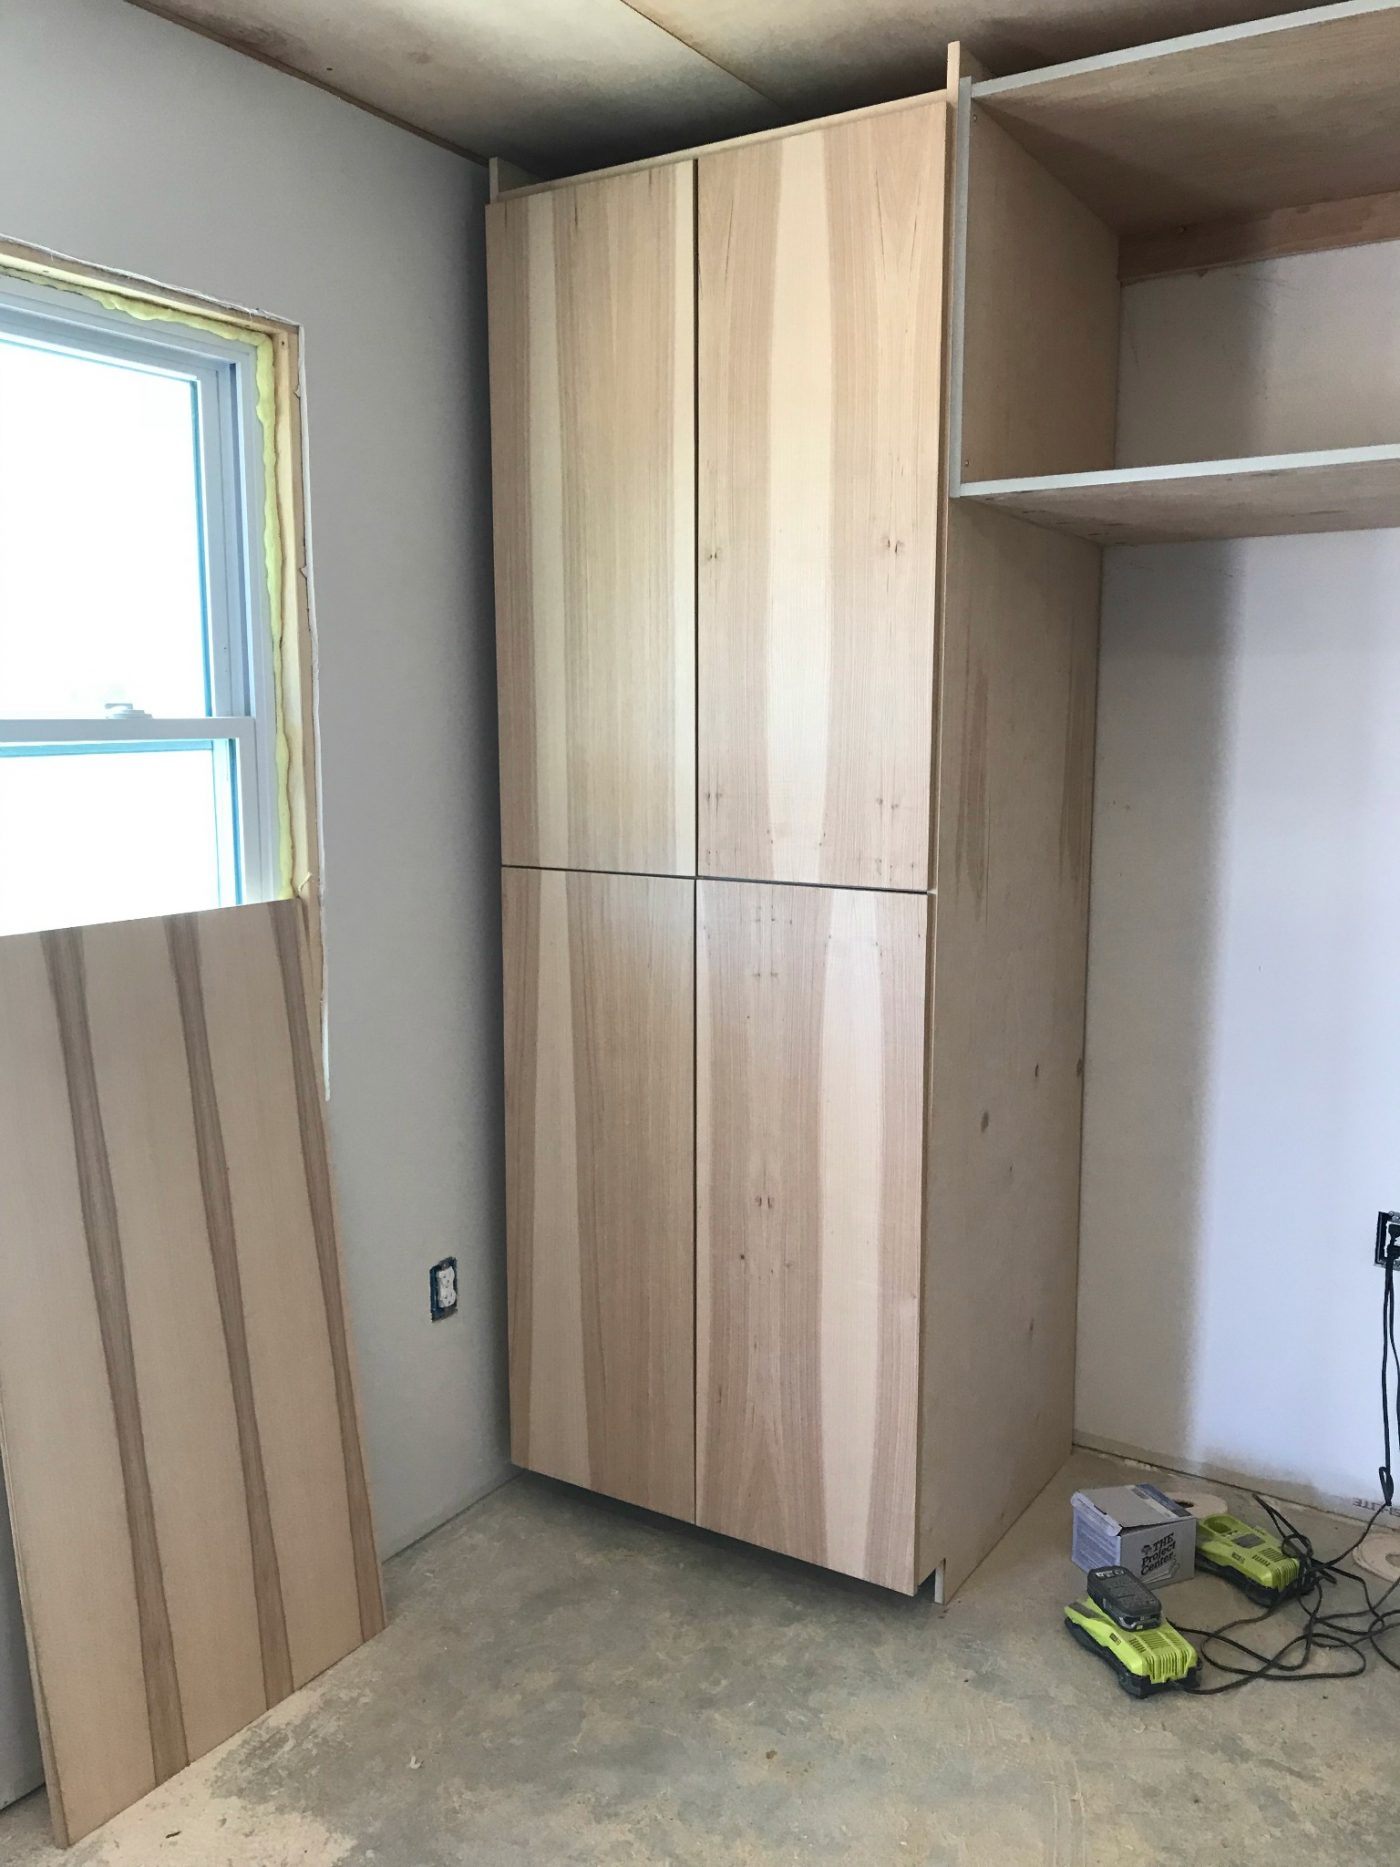
Also, let’s not talk about how long it took to get those pantry doors halfway square and lined up. I didn’t take as much time as I should have getting my cabinet installed perfectly square…that makes a difference when it comes time to install doors. Who knew? *face palm*
But nothing worth doing is going to be easy and that’s part of it 🙂
.
So let’s review our to do list and see what we were able to check off up until this week.
Install divider wall between kitchen and bathroom
Get electricity to the space
Wire outlets, switches and lights
Finish plumbing
Insulation
Drywall
Paint
Build cabinets
Finish (paint and poly) cabinets
Install cabinets
Install appliances
Install countertops
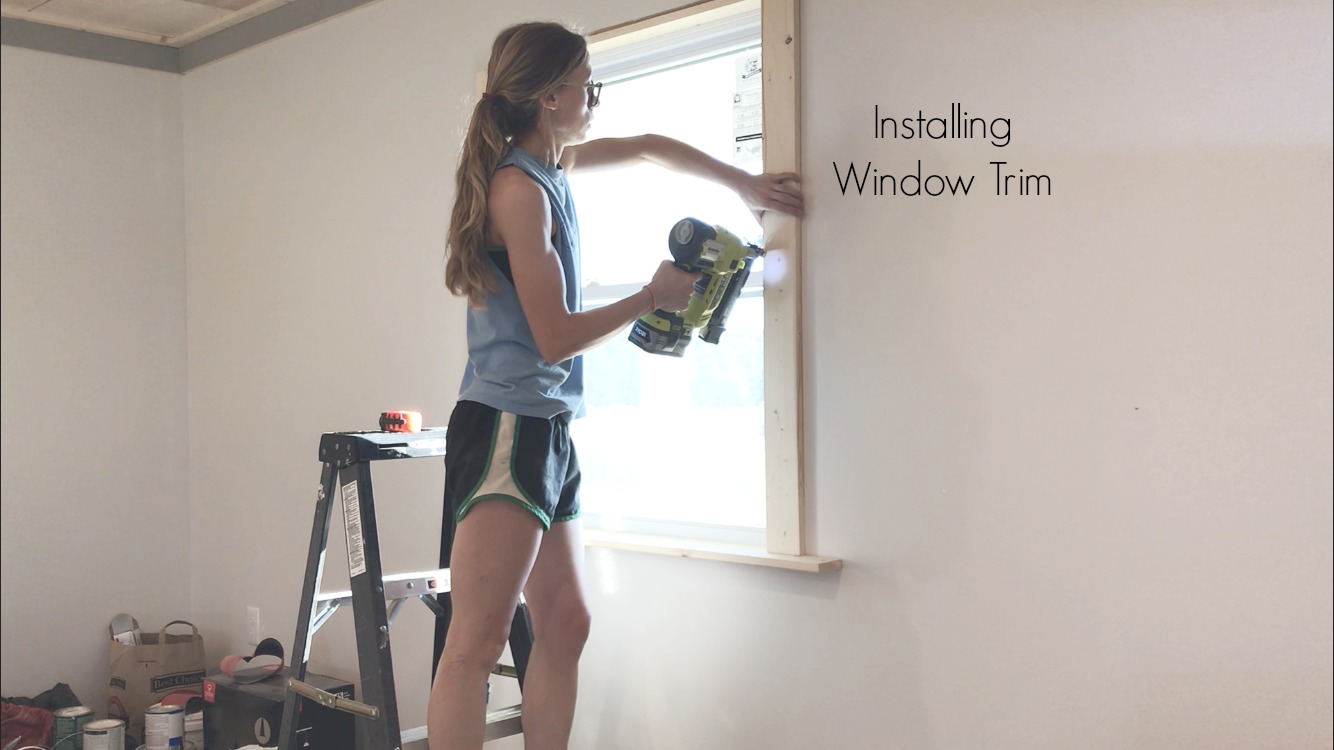
Trim out window
Install tile backsplash
Build dining table
Move in
.
When I look at the list, it looks a little frustrating because so many of them are halfway done, but almost doesn’t count (except in horseshoes and hand grenades), so I can’t mark them off quite yet.
.
For example, the window trim…it’s halfway done…and has been for a week haha.
Also, the appliances (we still have to install the stove and fridge…), and the dining table.
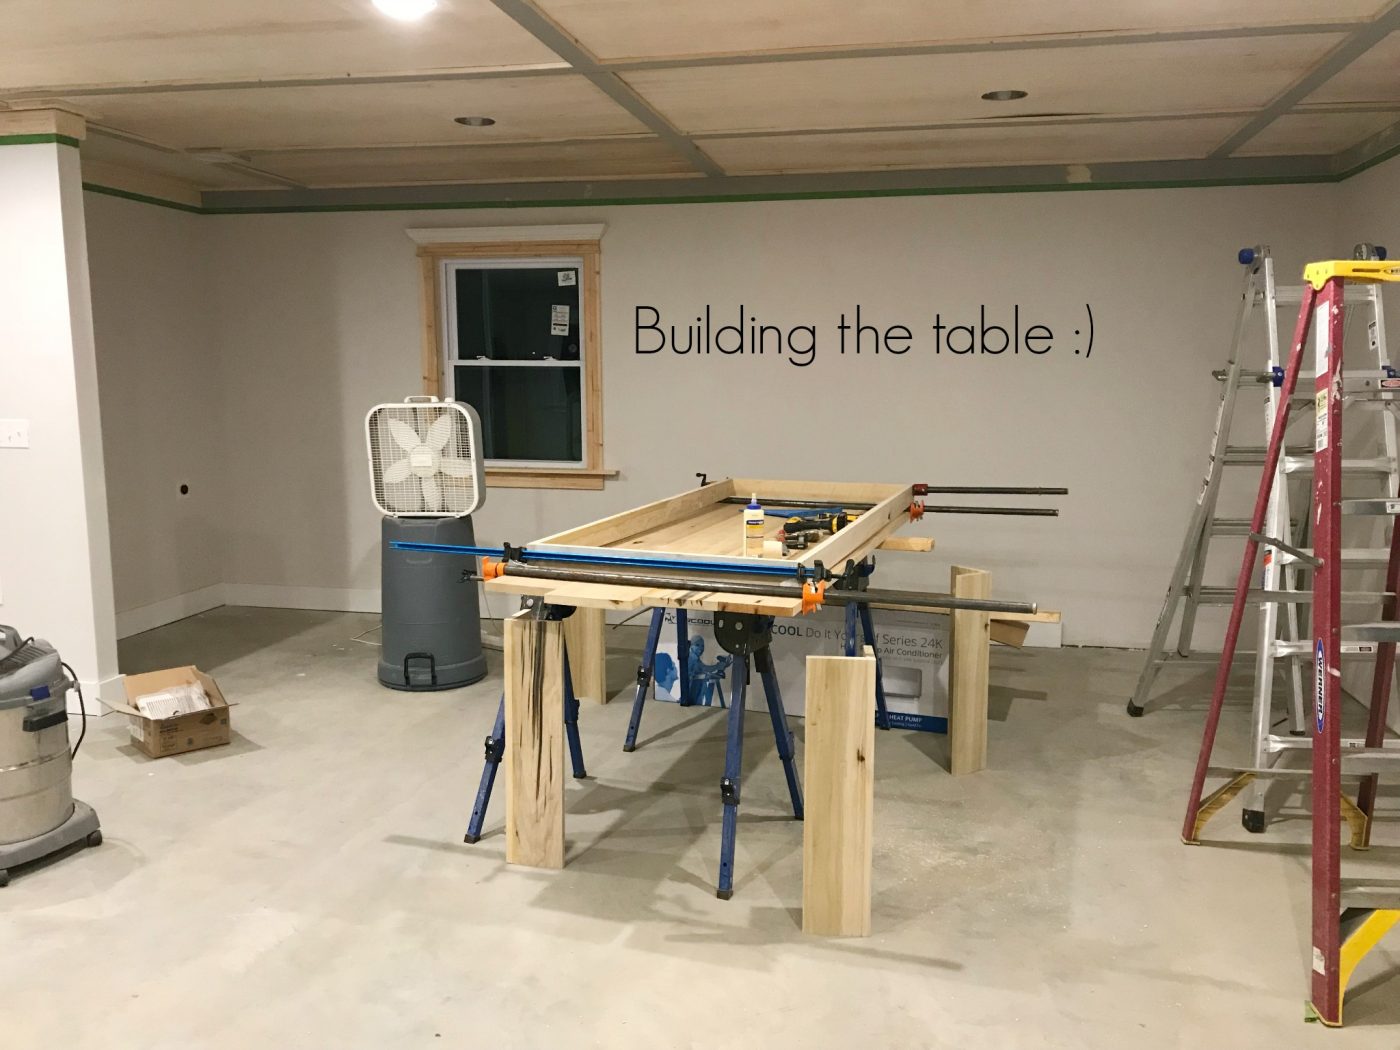
By the way, stay tuned for tutorials on the window trim, cabinets, dining table, and more details on the appliances we chose and why 🙂
.
BUT, things we can totally mark off never to remember again after this week 😉 are:
Finish plumbing (our final plumbing inspection is tomorrow!!!)
Build cabinets
Finish (paint and poly) cabinets
Install cabinets
Install countertops
Install backsplash
.
It doesn’t look like much is left, but I assure you, there is. Take a look at the ceiling…needs trim. And the cabinets…need toe kicks and handles. No baseboards, window trim needs to be completed and painted. Everything (I mean EVERYTHING) still needs caulk. And my dining table needs to be built. Then, I need to dig out my decor from the storage unit to stage it for final photos because…priorities haha.
.
Wish us luck as we head into our final week!!! Here’s to knocking this thing out and meeting that six week deadline. Think we can do it? I think so, maybe, but only if I stop typing so much 😉 I’ll stop right here with a final image of week five.
Stay tuned for next weeks FINAL REVEAL and all the design details for the space!
.
Until next time, happy building! 🙂