
They say the kitchen is the heart of the home. I say that in my case, my kitchen is like the heart…and the lungs…and all those other important organs (you know, besides like the appendix) of my home! Why? Because we are going to be living in a studio garage apartment and the kitchen is basically the entire space.
.
If you’ve read my blog post where I explained our plans for our new home, you’ll know we are building a garage and finishing out half to live in and half to work in (temporarily 🙂 ). We opted for a studio style living space (where everything is open except for a bathroom–for obvious reasons) so that when we build our future house, my woodworking shop can move into this space and it’ll be open to allow room for my tools and furniture pieces.
.
Since it is all one big room, I wanted a kitchen that would serve as a nice focal point of the space, but not be so busy that it would take away from the rest of the room. We are trying to go simple, clean, and minimal, so we don’t want too much going in in such a small space that it makes it feel stressful. I THINK I’ve got some good ideas…but we will see haha.
.
I’m so excited to be partnering up with Jeffrey Court to bring you our kitchen renovation (more like our kitchen built from the ground up) over the next six weeks! Each week I will update you on the progress and tell you about how it’s going–if there have been any freak out moments, funny stories, or close calls. You can check out the other 11 bloggers I will be competing with for this reno project over at this link.
.
And at the end of the six weeks, we will see if I survived, if Danny survived, and if all my kitchen ideas were awesome…or awful HAHAHA…that’s me nervous laughing because I’m honestly not sure how this will turn out HAHA <–see? there it is again.
.
Okay, so now that you’ve got the general information, let’s look at specifics. How about we start with some before pictures of this kitchen?
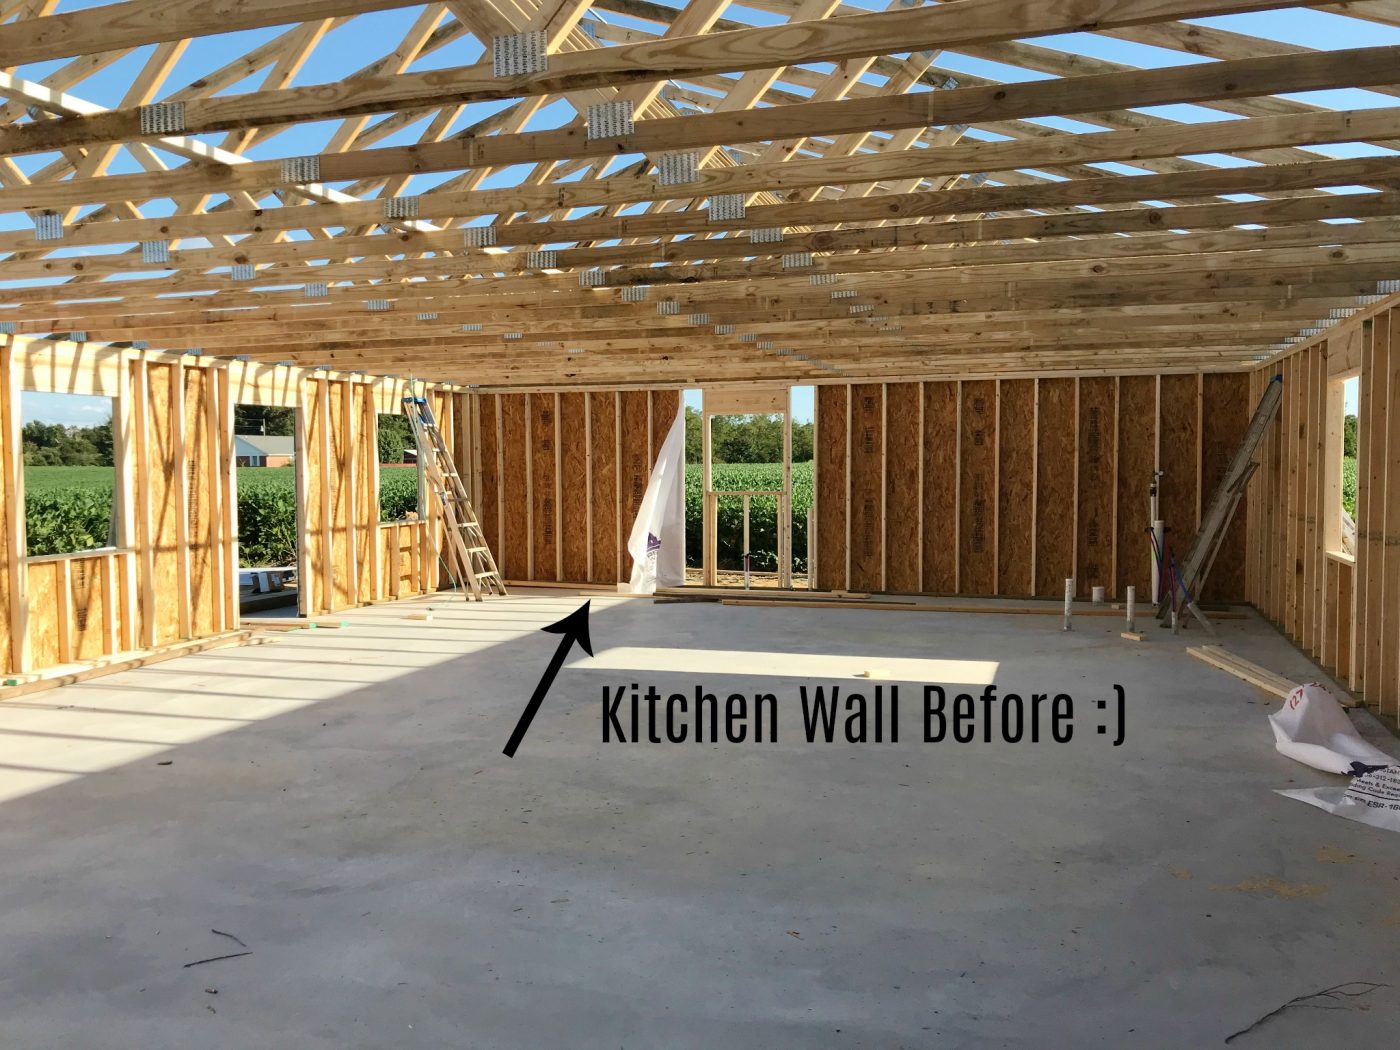
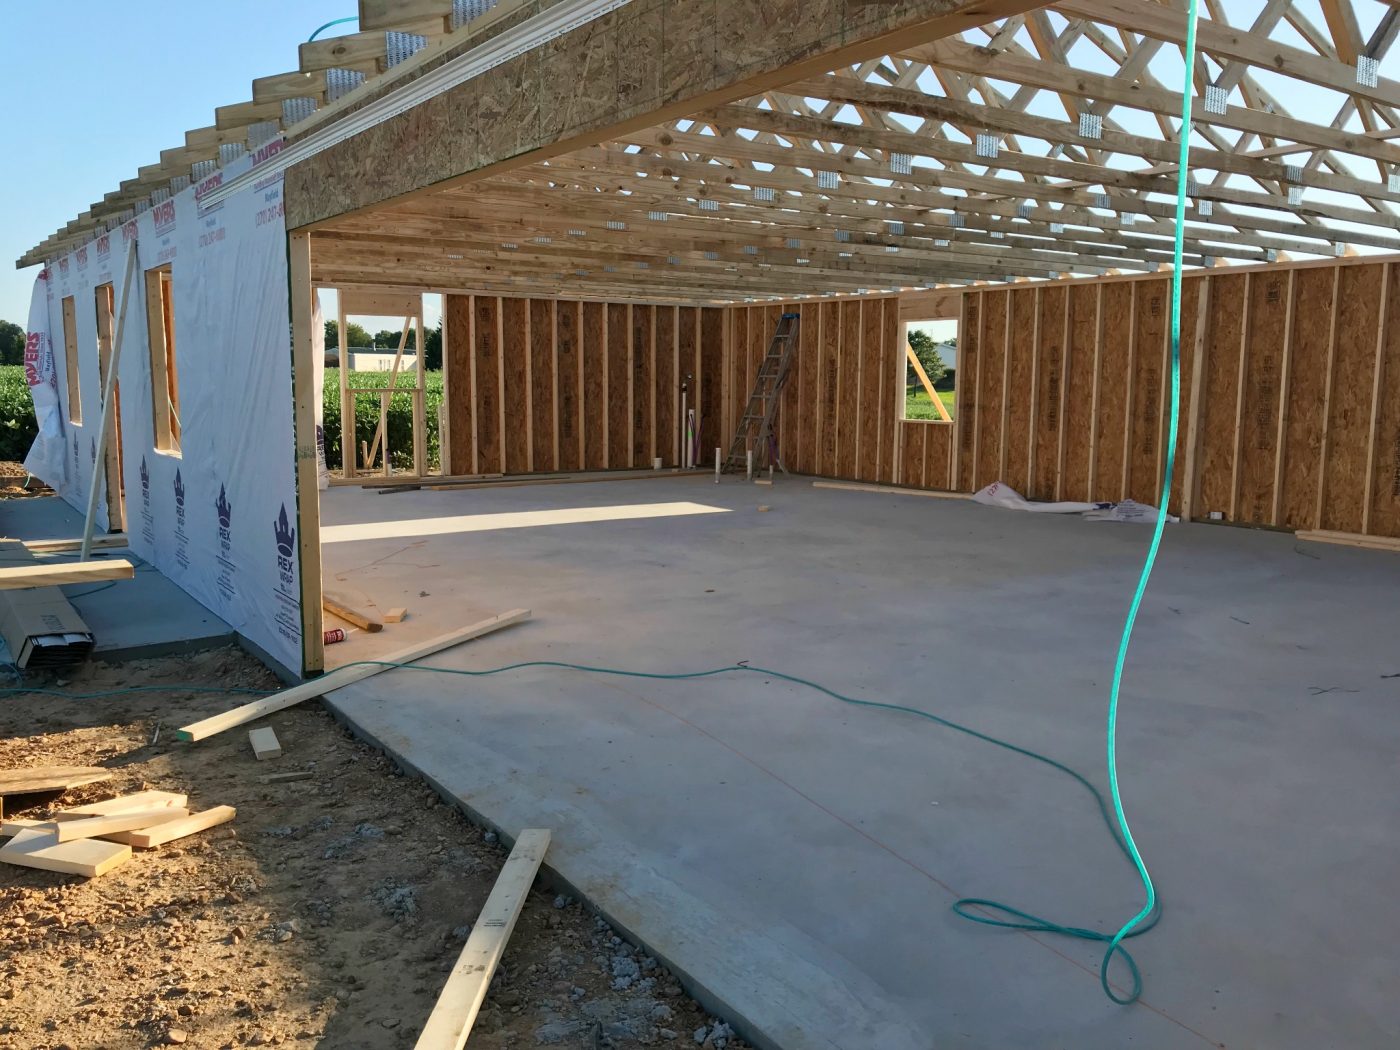
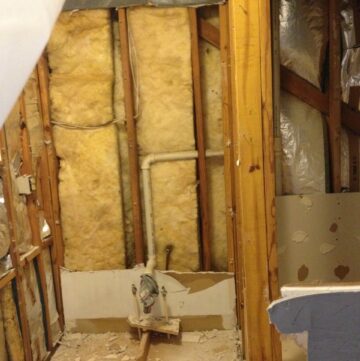
This is the living space of the garage. Not much to see but studs and trusses. (But, when you’ve been living with your mother-in-law and all your stuff has been in storage for 2 ½″ months, those studs and trusses sure do look good going up.)
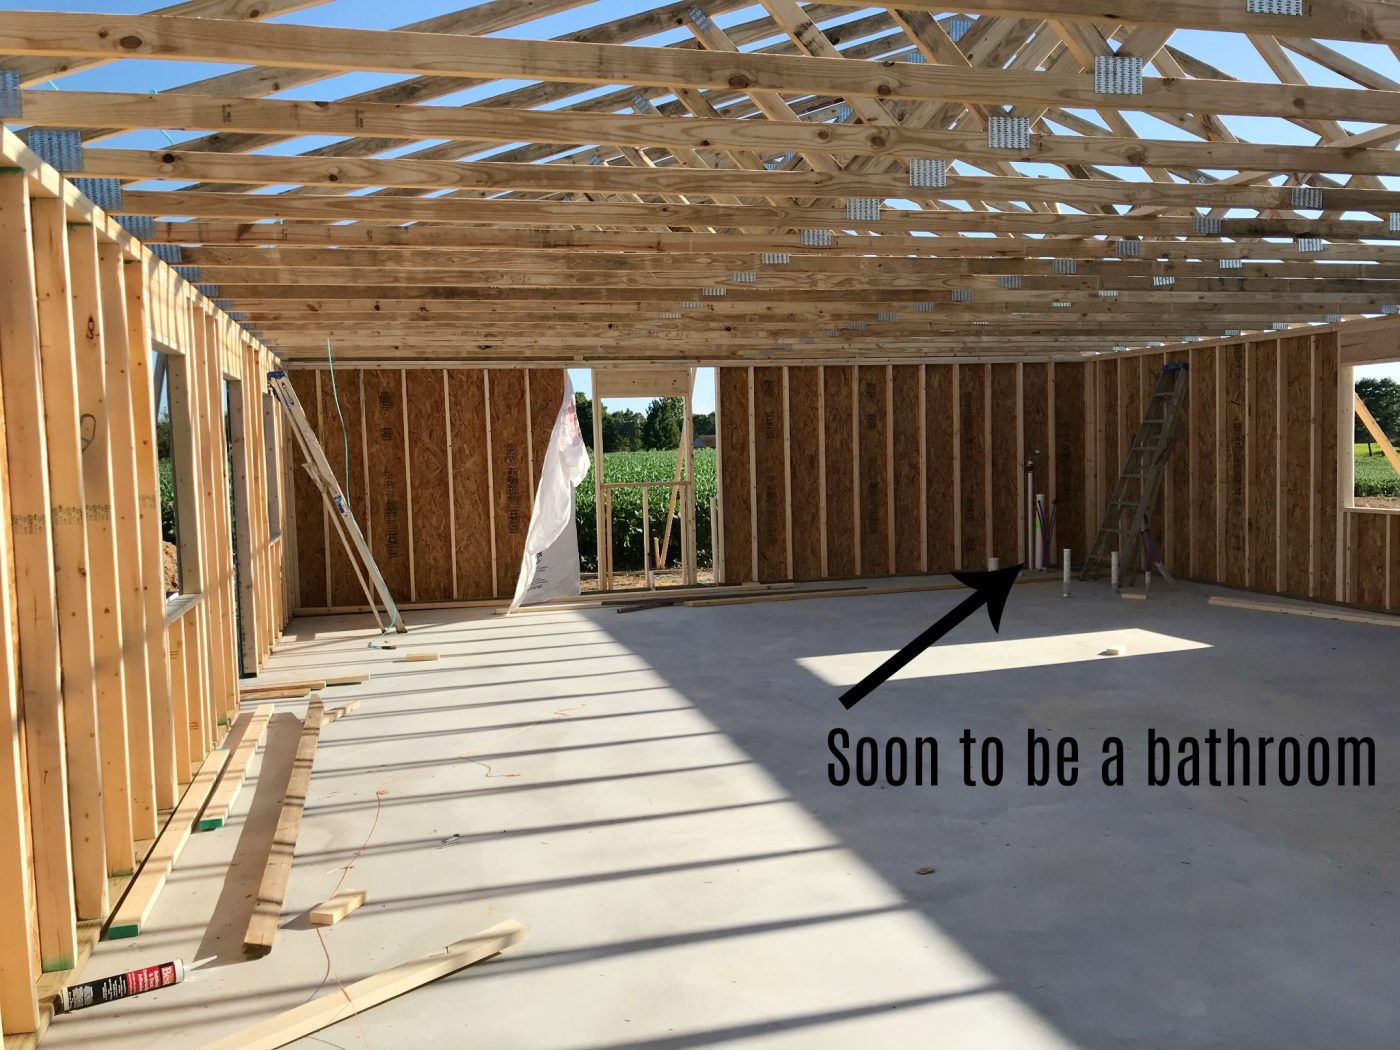
Our kitchen space will be along this wall right here and the bathroom goes in this back corner where all the plumbing pipes are. It’ll be about 22′ of kitchen cabinets, so it’s a good sized kitchen, but due to the space and layout constraints, we opted for a single wall kitchen instead of an L or U shaped kitchen. And instead of an island, we will have a dining table that we can take with us when we move into our future house later and this space becomes my shop.
As far as style and color, the plan is light colored woods, greys, blacks, and whites. I’m attempting to make this a very modern/European style space. I’ll be building the cabinets myself (pray for me), so simple not only fits the style, but also makes it easier on me while building. Win-Win!
.
I’m thinking medium grey upper cabinets, wood toned bottom cabinets and matching wood countertop. I’m also thinking white walls and dark grey backsplash tile in a fun, unique design. We’ve got black and oil rubbed bronze hardware and fixtures and black stainless appliances. In my head it looks pretty cool. Hoping that transfers to real life 😉
.
Right now, with just our stud walls, the to do list seems overwhelming, but we will try to take it one step at a time.
Things we need to get done:
Install divider wall to separate kitchen and bathroom
Get electricity to the space
Wire light fixtures, outlets, switches
Finish plumbing
Insulation
Drywall
Paint
Build cabinets
Finish (paint and poly) cabinets
Install cabinets
Install appliances
Install countertops
Trim out window
Install tile backsplash
Build dining table
Move in 😉
.
That last one is the main one I’m working towards haha. We cannot wait to have our own home again! Stay tuned for next week to see how much progress we’ve made on our kitchen…or how much setback we’ve run into HA. Hopefully I’ll have more to show than just some stud walls 🙂
.
In just six short weeks, I’ll be showing the full reveal…can you believe it??? ME EITHER. I gotta get to work!
.
Until next time, happy (and hopefully quick!) building 🙂

laura says
I saw you on the JC/Home Depot email! Congratulations. Can’t wait to watch the progress! so cool! laura in CO
Shara, Woodshop Diaries says
Thank you so so much for following along on this project!!