Welcome to Workshop 101! This is part 3 of a five part series I’m excited to be sharing! Part 3 will cover workshop MVPs and the tools you need to improve your quality.
.
This post is sponsored by The Home Depot and contains affiliate links. See policies.

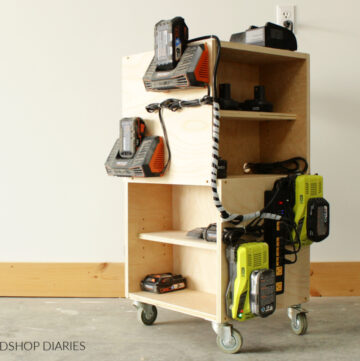
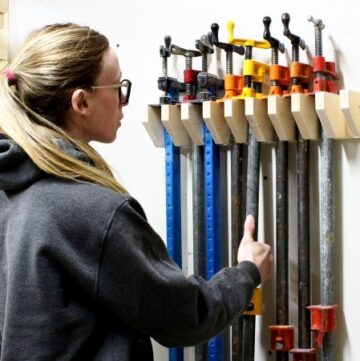
After building my sister’s kitchen cabinets a few weeks ago, my shop was a complete wreck. Nothing was organized, everything was covered in sawdust, and I had misplaced several of my favorite tools while transporting them between her house and my shop. #hotmess

So I decided to get my crap together and get my shop back in shape. And that’s what sparked me to write this series. Each Wednesday for five weeks, I’ll be covering the topics listed below here on the blog, but I’ll also be giving my shop an overhaul behind the scenes so that at the end of the series, I will reveal my own shop before and after.
Today is workshop MVPs, but we will be covering the following topics in the coming weeks:
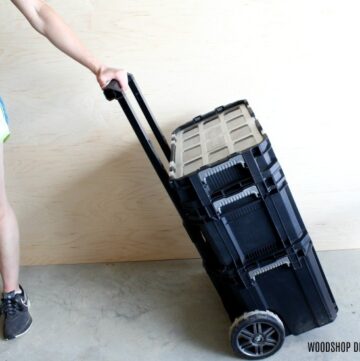
Part 4: Workshop On The Go
Part 5: My Before and After Workshop Overhaul
.
Let’s get to part 3 of the series—workshop MVPs. I assume you already know that MVP stands for “most valuable player.”
.
But what does that have to do with your workshop? Well, there are a few key players in your shop that can make a big impact (both positive and negative) on your quality and it’s good to know that you’re getting the best bang for your buck when it comes to these items.

And spoiler alert—you don’t have to upgrade to more expensive tools to improve your quality. You can make the most of what tools you already have by simply upgrading a few key accessories.

What are those accessories? Saw blades, sandpaper, router bits, and a tape measure. Trust me when I tell you that once you upgrade these things, you will never go back. I’ll share with you what I’m using in my own shop below.
1. Saw Blades
Whether you’re just starting out and only have a $30 jig saw (that’s exactly how I started out), or you are working with a few thousand dollars in professional equipment, your cuts are only as good as your blades. A bad blade on a good tool will still make a bad cut.
.
So make sure you’re using the best blades you can. Personally, I use Diablo saw blades in my shop for cutting both wood and metal. They carry a variety of blade types, but here’s what I’m using in different tools.
.
For wood: Because I cut a variety of wood types (pine, hardwood, plywood, etc) on my table saw and it’s the hardest blade to change, I keep a Diablo general purpose 10” 40 tooth blade installed so I don’t have to change them out when I change materials.

I’ve had some bad luck with table saw blades in the past warping and causing my rip cuts to be bowed. So I switched to Diablo blades a while back and found that these blades don’t get as hot as my old blades, are less likely to warp, and they cut cleaner, longer and straighter than the blades I have used in the past. I highly recommend using good blades in your table saw…you don’t want to mess around with possibility of kickback due to a cheap blade.

But my miter saw is a bit different. I typically make finish cross cuts (which are most likely to have tear outs) on my miter saw, so I like to keep a Diablo Ultimate Finish blade on it to reduce splinters and the amount I have to sand on my final pieces. It’s impressive how smooth pieces come right out of my miter saw with this blade.

And lastly, I typically keep a plywood blade on my circular saw because I use it mostly for cutting down large sheets of plywood to more manageable sizes. But since my circular saw blade is the easiest to change out, I keep a variety of specialized blades for it in case I’m cutting something unusual.

Like…Metal: I don’t cut a lot of metal in my shop, but when I do, my main concern is heat and sparks. With all the sawdust, I try to avoid any potential fire hazards…aka flying sparks.

So, I use a smooth cutting Diablo Steel Demon blade on my circ saw to get the job done. It’s advanced technology allows it to stay cool even when cutting tough steel and it gives a smooth cut with minimal sparks (MUCH fewer than a cutoff wheel). And smooth cuts means no grinding is required as well. #grindingstinks

2. Sandpaper
I think the biggest difference I’ve noticed between an amateur and an experienced woodworker is their sanding process. When I was first starting out, I never sanded anything. Now I sand A LOT. I think you just get a little more picky about things the more you do it haha.

But, when you get into sanding, you have to know that not all sandpaper is created equal. I use my orbital sander A LOT, so I keep plenty of 5” disc sandpaper on hand. And I hate sanding, so anything that makes it easier is a win in my book.
.
I’ve recently discovered Diablo SandNet sand paper and it lasts much longer than the standard paper discs and sand much faster, too. They are great for hardwood and resin (they don’t “clog up” like regular paper discs and you can wash or blow them clean and reuse them if they do).

However, I’ve found that they do tend to leave some “fuzzies” on plywood (I think because of their cloth-like texture), so I keep Diablo paper discs handy for using on plywood and SandNet discs handy for everything else. Here’s a visual to help you remember…paper on plywood, SandNet on hardwood. Easy as that 🙂

3. Router Bits
Just like with saw blades, your router cuts are only as good as your bits….no matter how good your router may be.
.
Make sure you are getting the best bits you can. Again, I’ve tried several brands, but I’m a fan of Diablo router bits. (Honestly, I’m just a big fan of Diablo in general…can you tell? Haha) They cut clean and they last much longer than the standard cheap bits I used to get.

Router bits, in general, can be pricey, but spending twice as much for one that will last three or four times as long is still a good investment. You do that math on that one 😉
4. Tape Measure
Last but not least, let’s talk about tape measures. They’re definitely not the most exciting tool in the shop. BUT, I dare say they may be the most important. I mean, I would be lost without my tape measure. But, just like saw blades, sandpaper, and router bits, not all tape measures are created equal.
.
When you get into building furniture and making things that require a little more precision, it’s important to have a tape measure that is accurate and precise. You can only build as precise as your tape measure. So if it only reads to the nearest ¼”, you will only be able to build to specs +/- ¼”.

Make sure you’re using a tape measure that measures AT LEAST to the nearest 1/16th of an inch or 1/32nd is even better. Then, make sure you are measuring, marking, and cutting to that precision as well 😉
.
I’m sorry for such a long post, but I’m pretty passionate about this topic. I wish someone had told me sooner how important it is to invest in good blades, bits, etc. It would have saved me a lot of time and money over the years. And that’s why I’m telling you now.

Now that we’ve covered the workshop MVPs, I hope you will go forth inspired and eager to improve your quality with a few small upgrades.

Next up, we will be covering how to take your workshop on the go with you if you are going to an off site job or install. I hope you’re enjoying this series and are finding it helpful! Stay tuned for the last two parts and be sure to pin this for later to keep up with the whole series.

Until next time, happy building 🙂