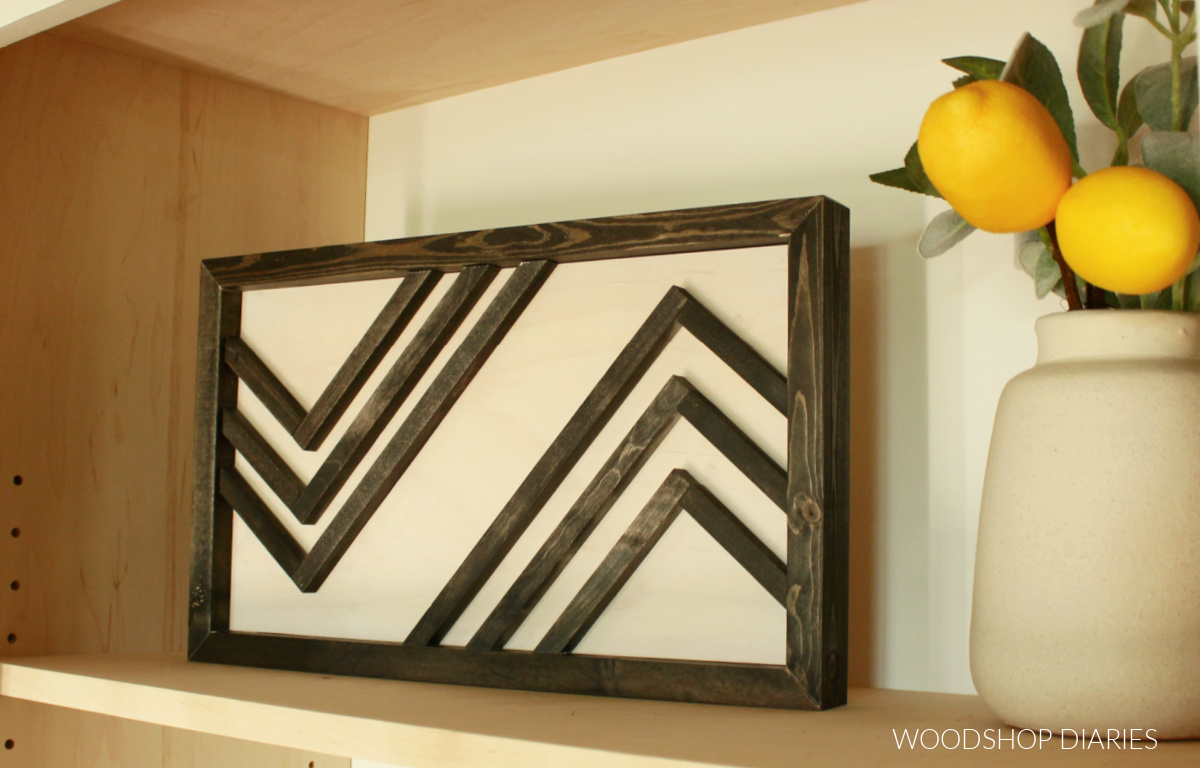
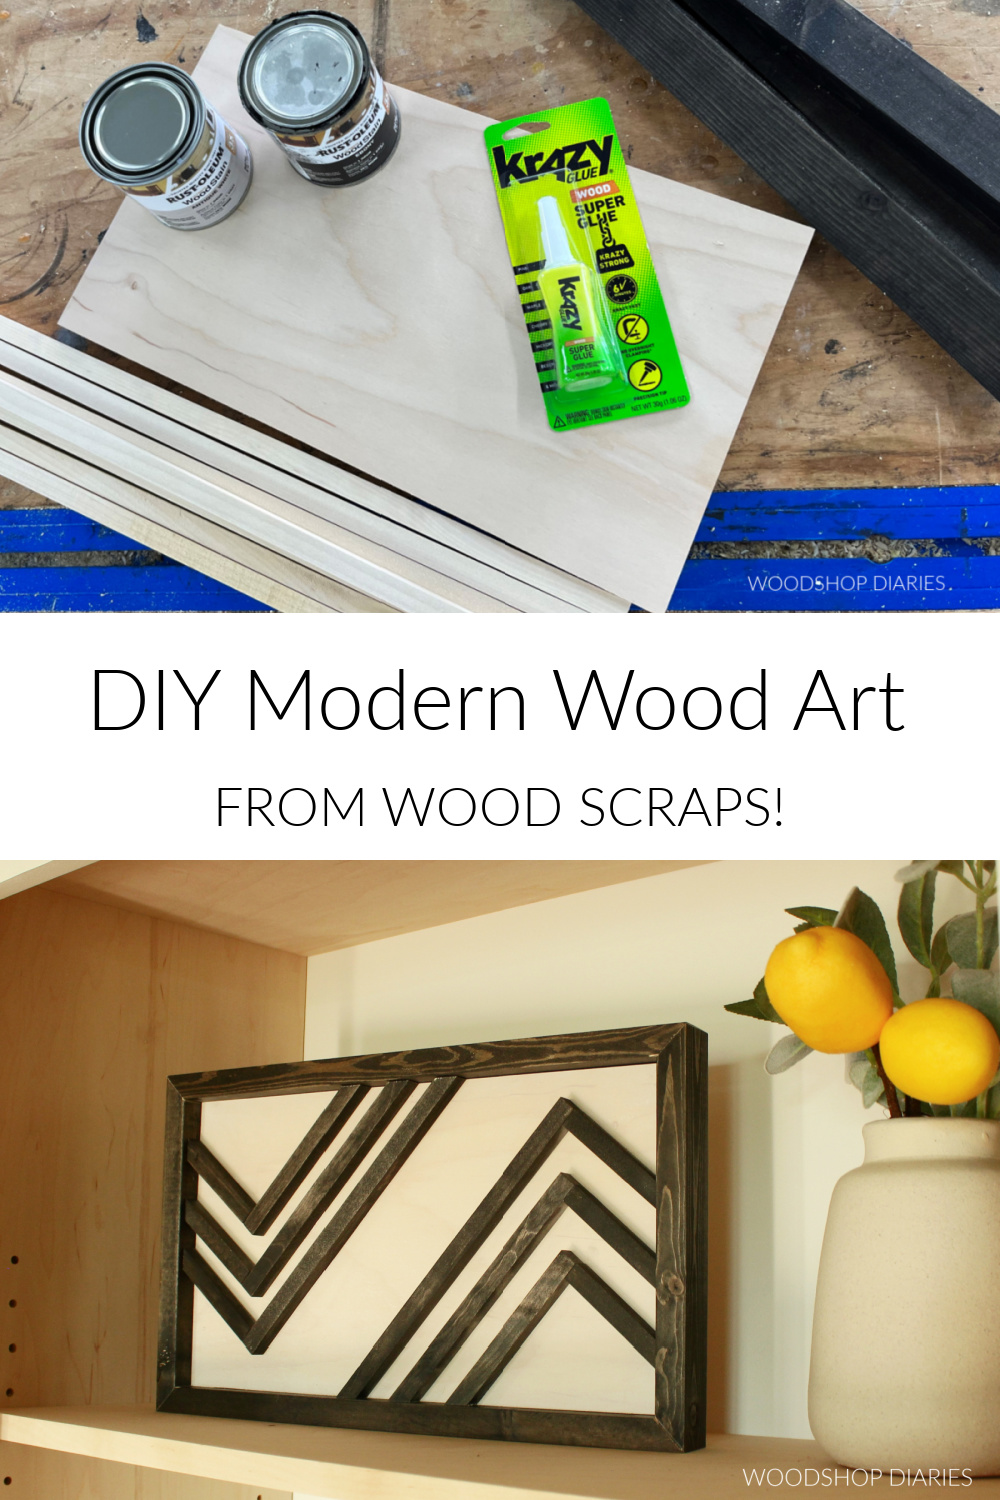
In this post, I’m sharing how to make your own DIY geometric wooden art pieces from scraps!
If you’re looking for some simple décor for your empty shelf, look no further than your scrap wood pile!
.
This easy DIY geometric wooden art project is a fun way to use up even those tiny scrap pieces that you don’t want to toss in the trash (or am I the only one that hangs on to those??).
.
Feel free to get creative with your size, shape, and stain/paint colors to make your own custom geometric wooden art piece!
.
What Type of Scrap Wood to Use for Geometric Wooden Art
There is no “right” or “wrong” way to do this. It really just depends on what you’ve got to work with in your scrap pile and the design you’d like to create.
.
For this project, I used a scrap piece of ¾″ plywood for the back–the main “canvas” I guess you could call it. But 1x material, or ½″ plywood would work as well.
.
For the geometric design, I used some ½″ square dowels that I had leftover from when I made a modern sliding glass panel door.
Of course, if you don’t have ½″ square dowels, you could use any small, thin wood pieces to create a unique design or cut down some of your larger scraps to this size.
.
And for the frame, I used some leftover 1x2s from when I made my large custom picture frames.
Tools & Materials:
*This post contains affiliate links. See website policies.
Tools:
- Miter saw
- Brad Nailer (optional)
Materials:
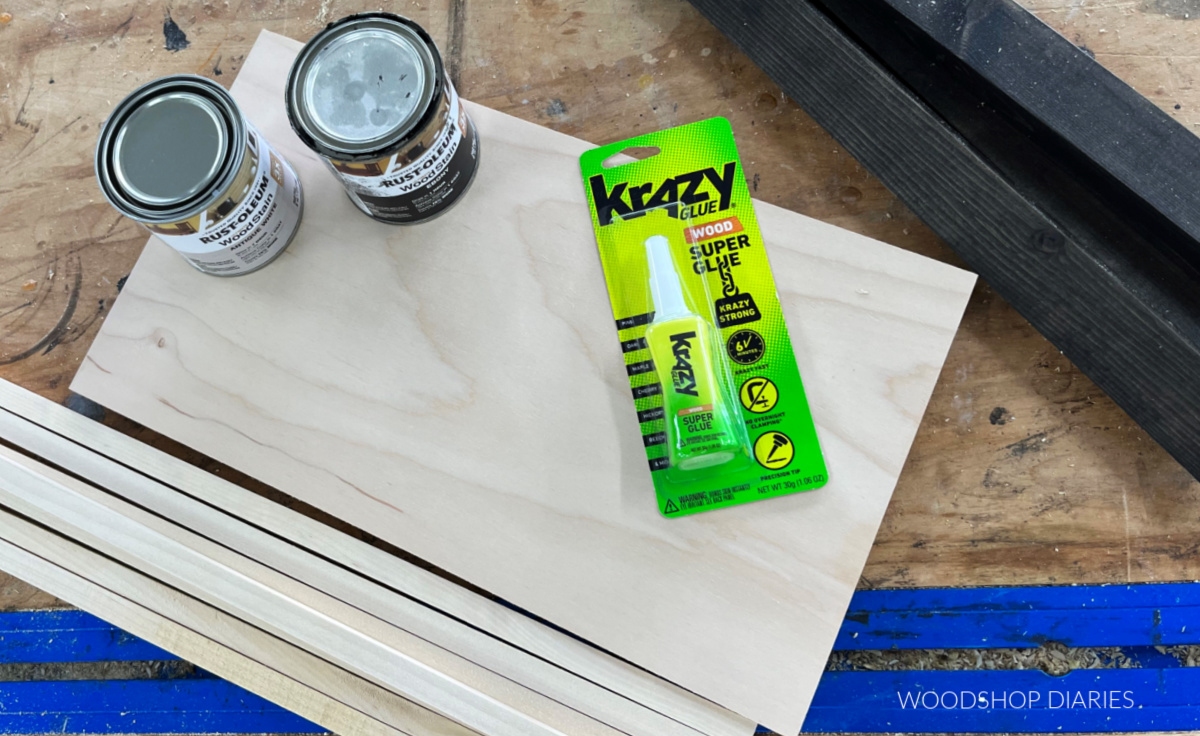
- Wood scraps (see notes above)
- Wood Glue
- Wood stain/paint as desired
- Brad nails (optional)
How to Make Scrap Wood Geometric Wood Art
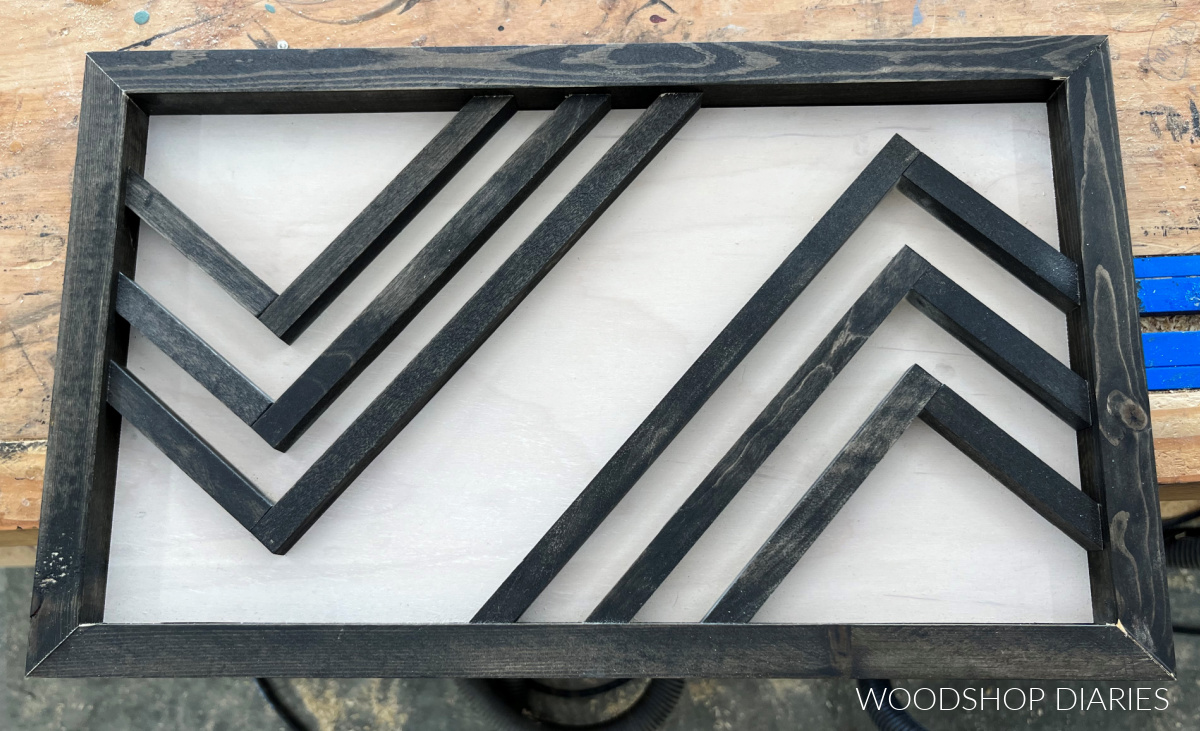
The tutorial below will walk you through how I made this “chevron pattern” DIY geometric wooden art.
.
But, this same process can apply to any pattern…not just chevron.
.
Prefer to watch?? Here’s a video of the process!
Step 1: Cut and Finish Back Panel Board
I mentioned earlier that I used ¾″ plywood for the back panel of this art piece.
.
But, you can also use ½″ plywood or scrap 1x material, etc.
.
Whatever material you decide to use for this, trim it to your desired size, sand it, and apply a finish, if desired.
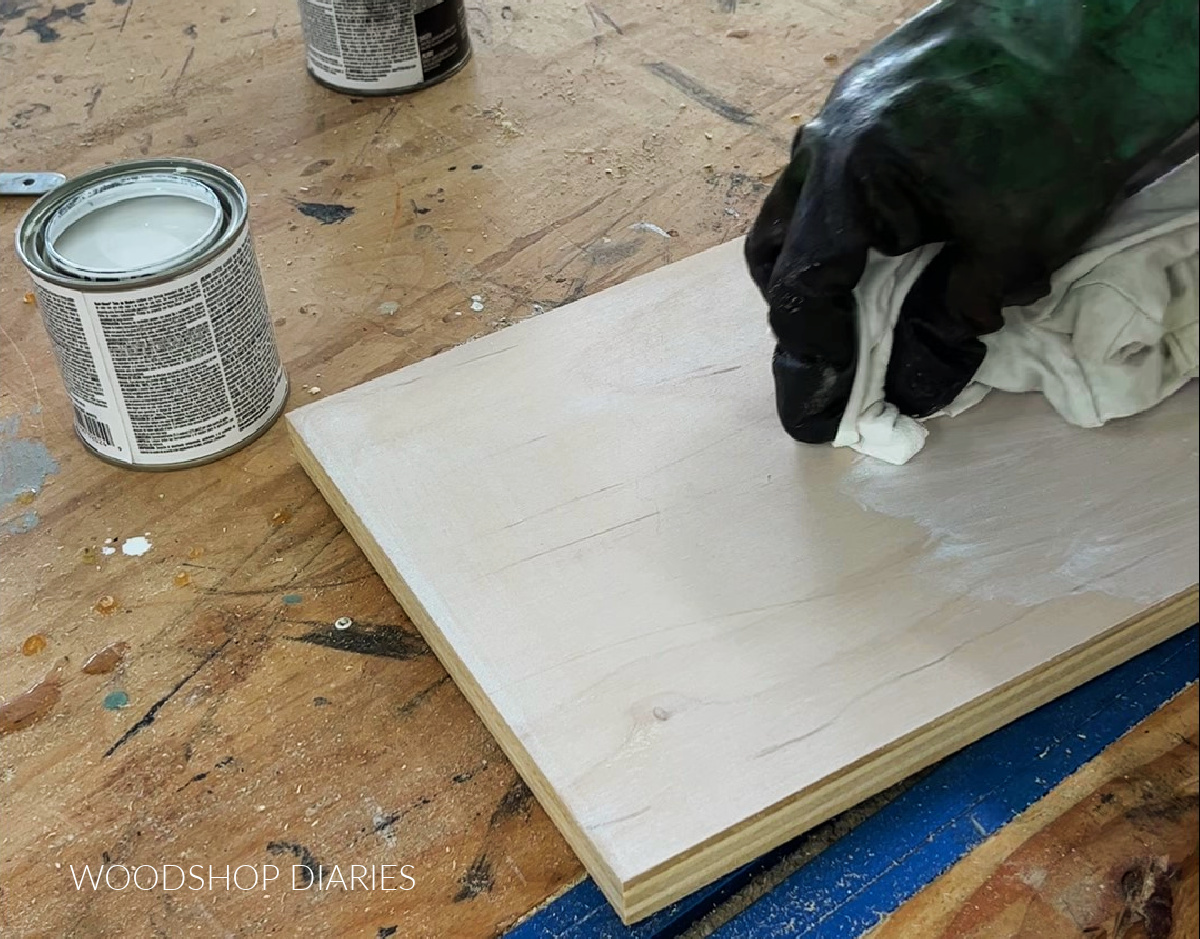
It’s going to be MUCH easier to stain/paint this back panel now than after the pieces are attached.
.
I stained my piece Rustoleum Antique White to just lighten up the back ground to contrast the dark pieces I was putting on top.
Step 2: Layout and Cut Geometric Art Design
I used ½″ square dowels to create my geometric pattern. So first, I laid them out on the board from step 1 and kind of figured out what kind of shape(s) I wanted to create with them.
.
I marked where to trim the dowels and trimmed them a little long on the miter saw.
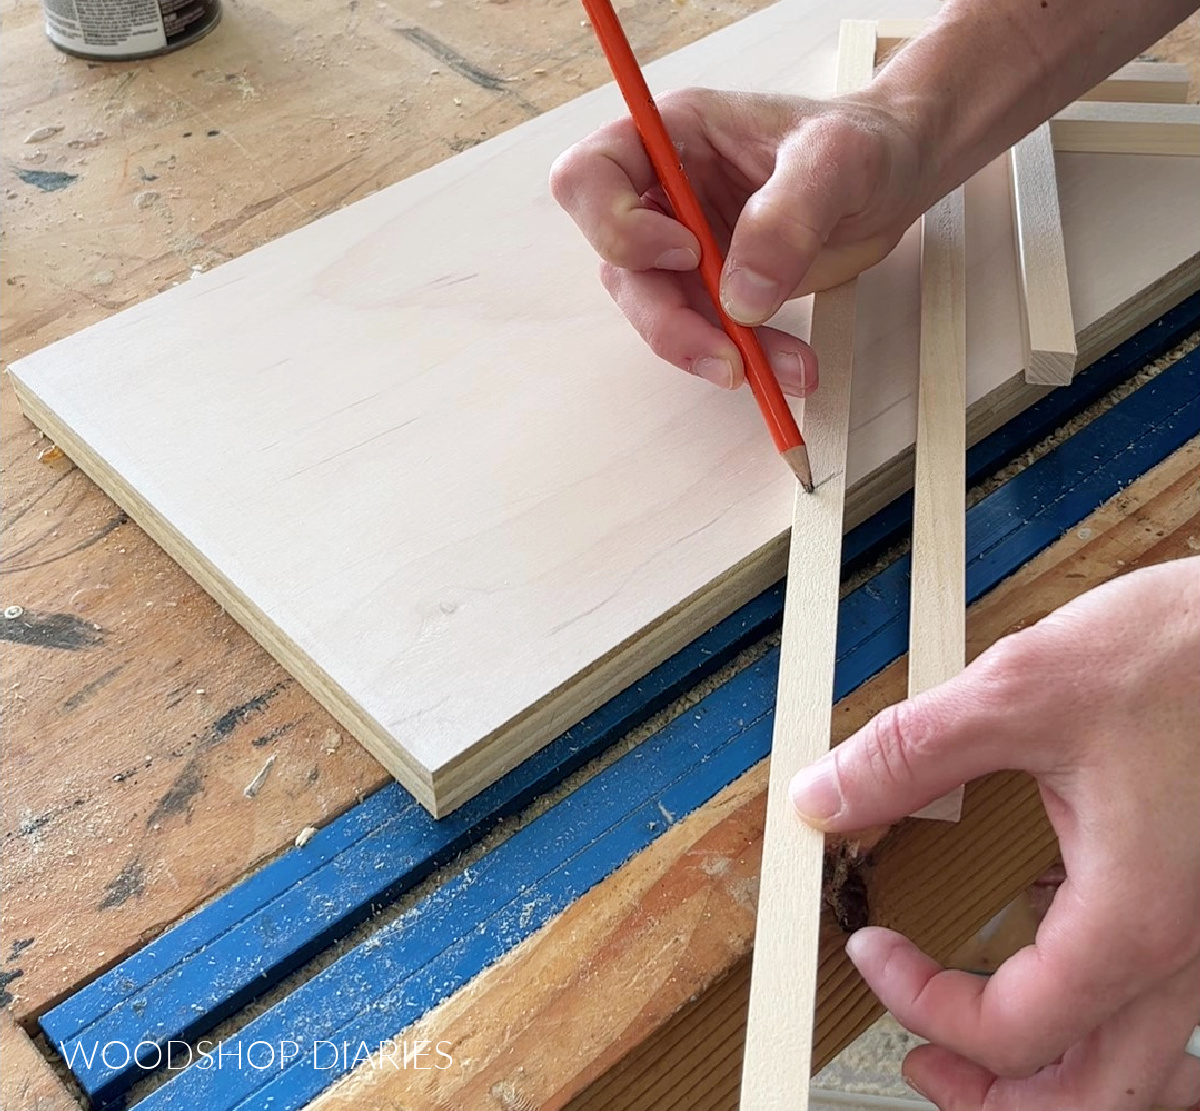
You don’t have to cut these at and angle. You want them to hang off the edge just a little when you glue them in place.
.
You’ll be trimming it flush later.
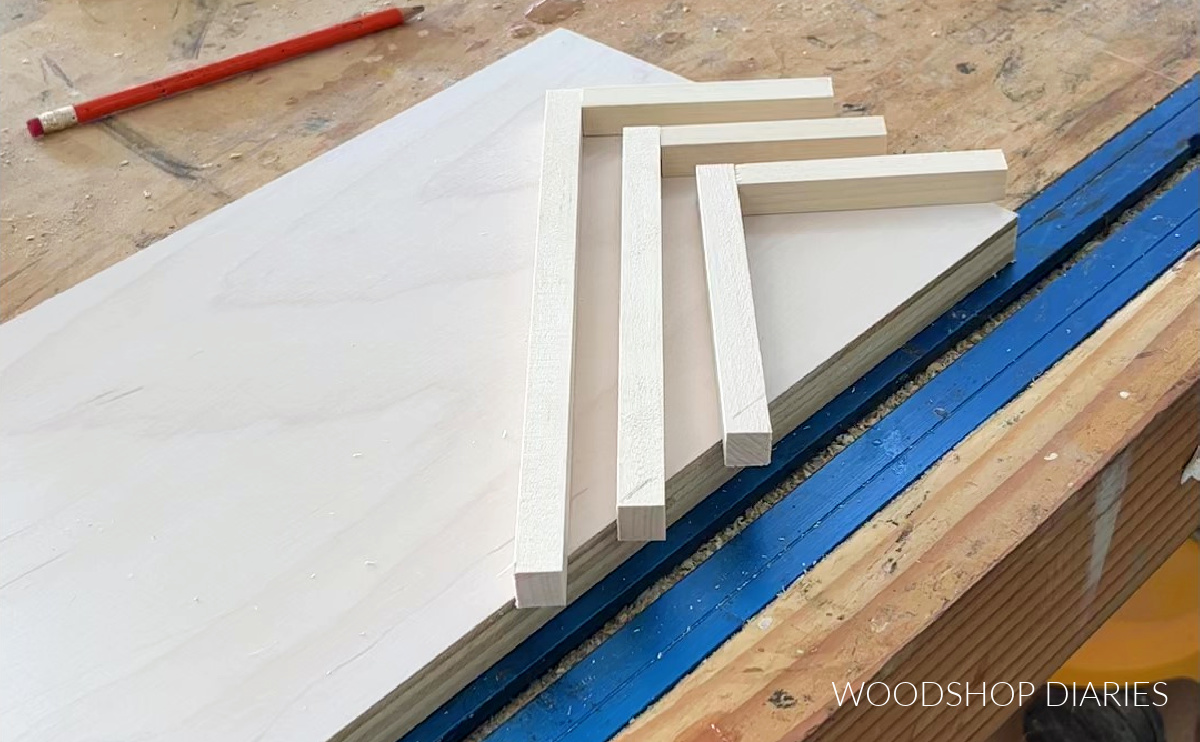
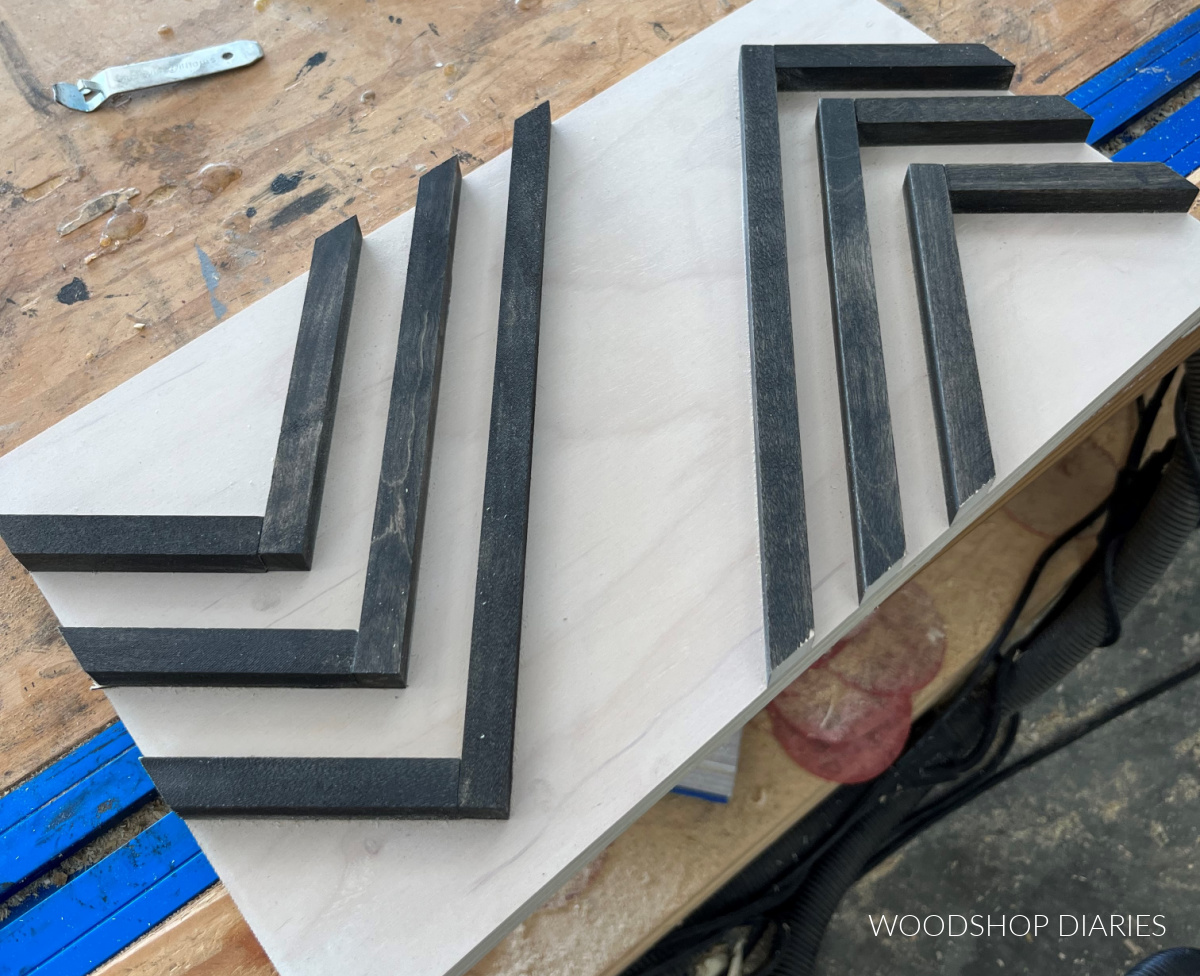
Once I had these pieces trimmed to rough length, I stained them Rustoleum Ebony.
Step 3: Attach Wooden Geometric Design and Trim Edges
After the stain had dried (kind of…I’m not that patient haha), I laid them out on the board how I wanted them and used some Krazy Glue Fast Dry Wood Glue to secure each piece in place one at a time.
You can use regular wood glue for this, but a fast drying wood super glue makes this quick and a lot less messy.
.
After I got one section glued on, I took it to the miter saw and trimmed the edges flush where the dowels were a little long.
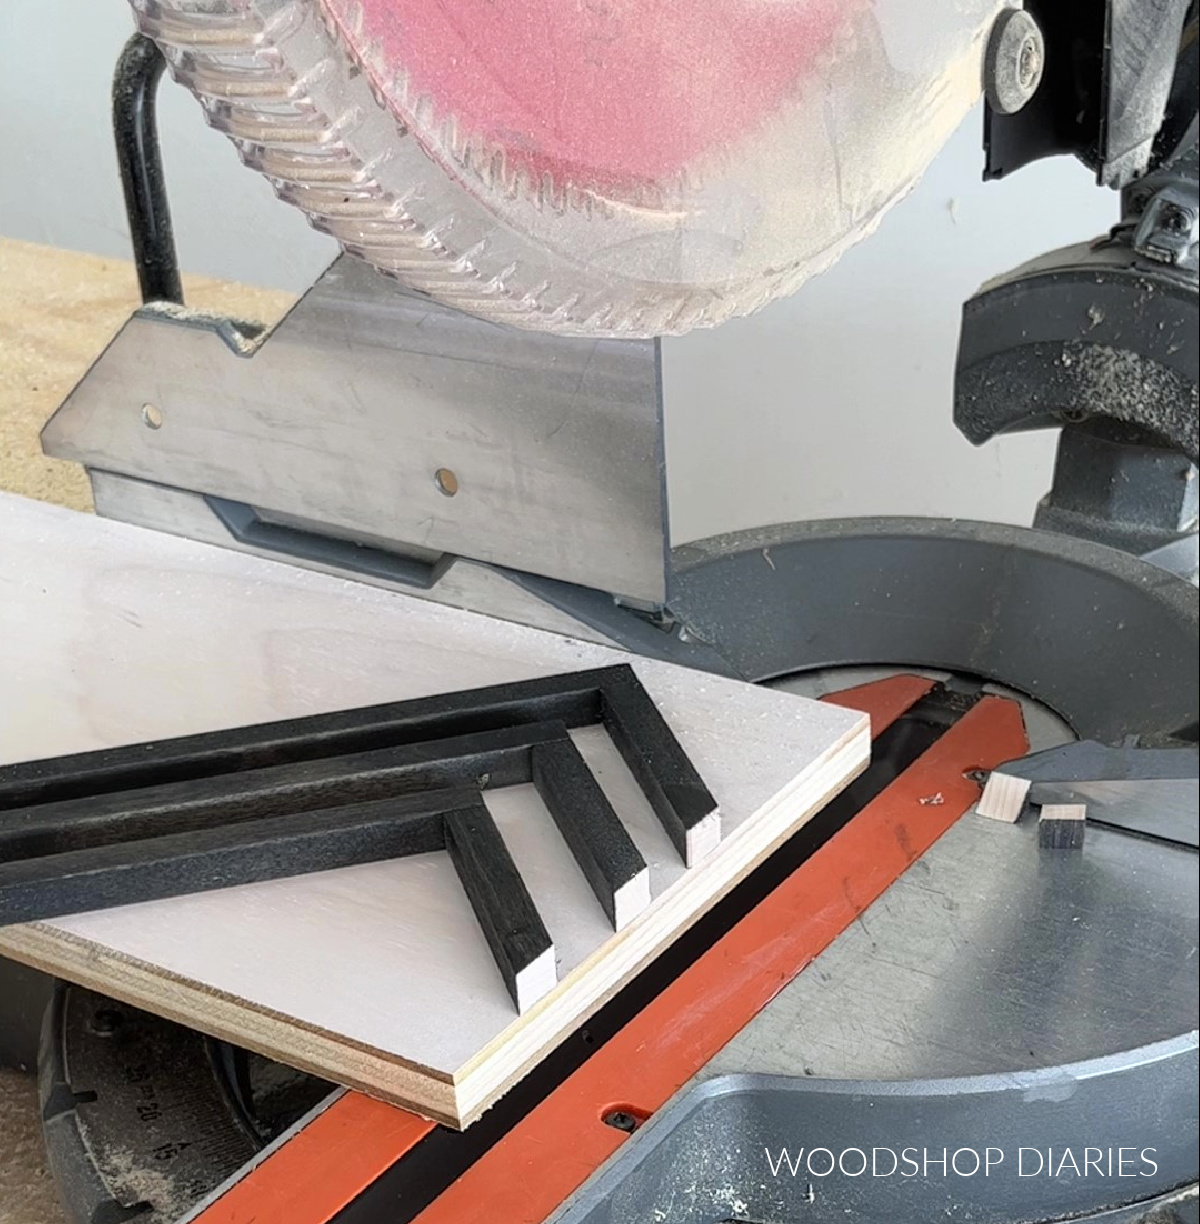
Then, I repeated for the rest of the pattern and trimmed those sides as well.
PRO TIP: Don’t glue and trim them all at once. If you have pieces hanging off all sides, it will be difficult to sit square in the miter saw to trim the edges.
.
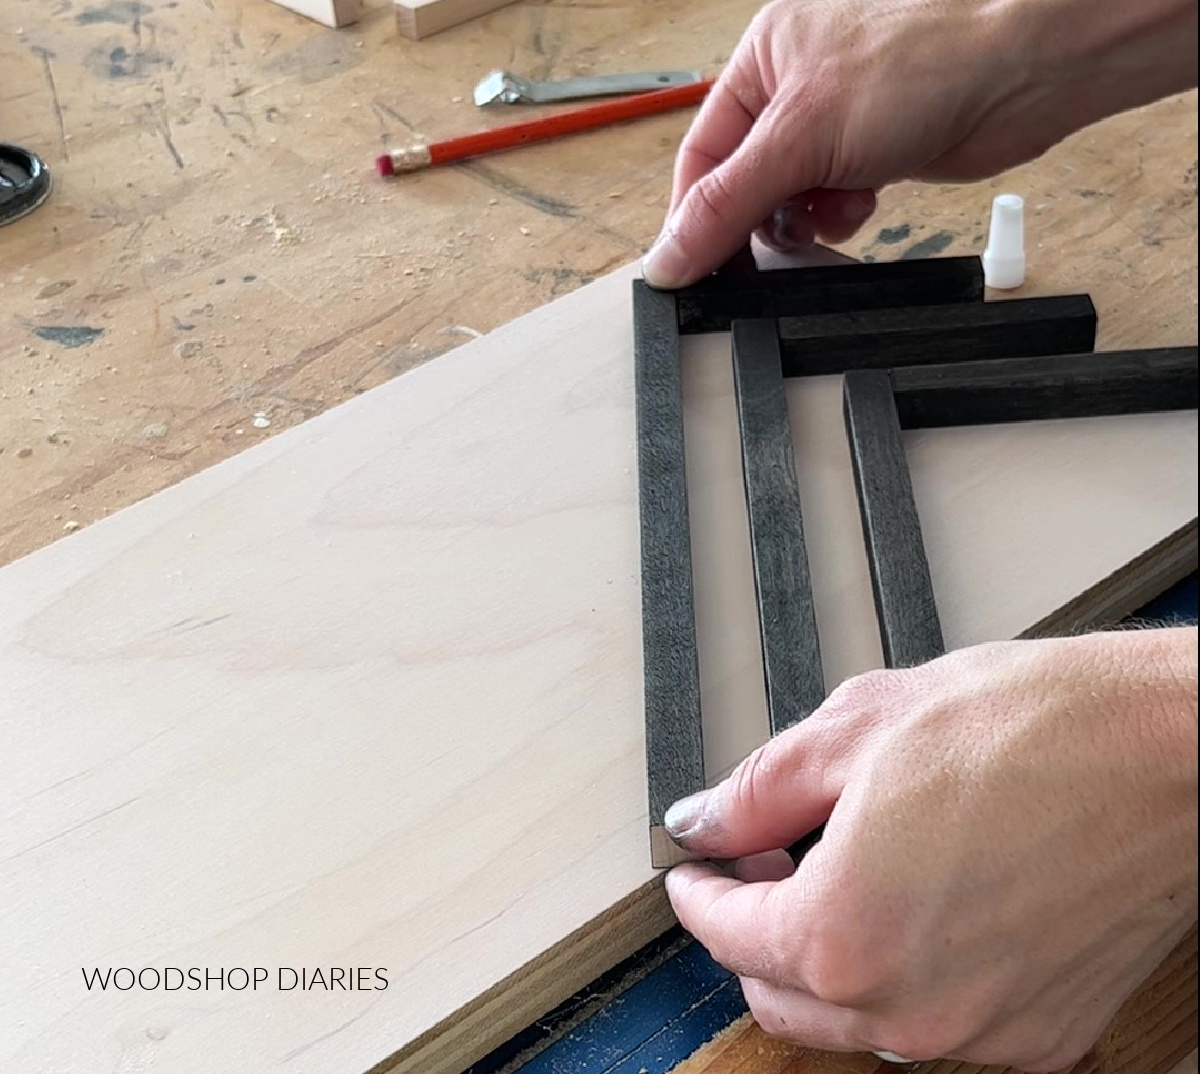
Step 4: Add Frame
Once all sides were trimmed flush, I cut to fit scrap 1x2s around the edges with 45 degree mitered ends to frame it out.
.
These pieces were left over from when I did the exact same thing to make large DIY custom picture frames so they were already stained black from that.
.
But, I recommend once you dry fit the pieces around the edge, stain or paint them as desired before attaching.
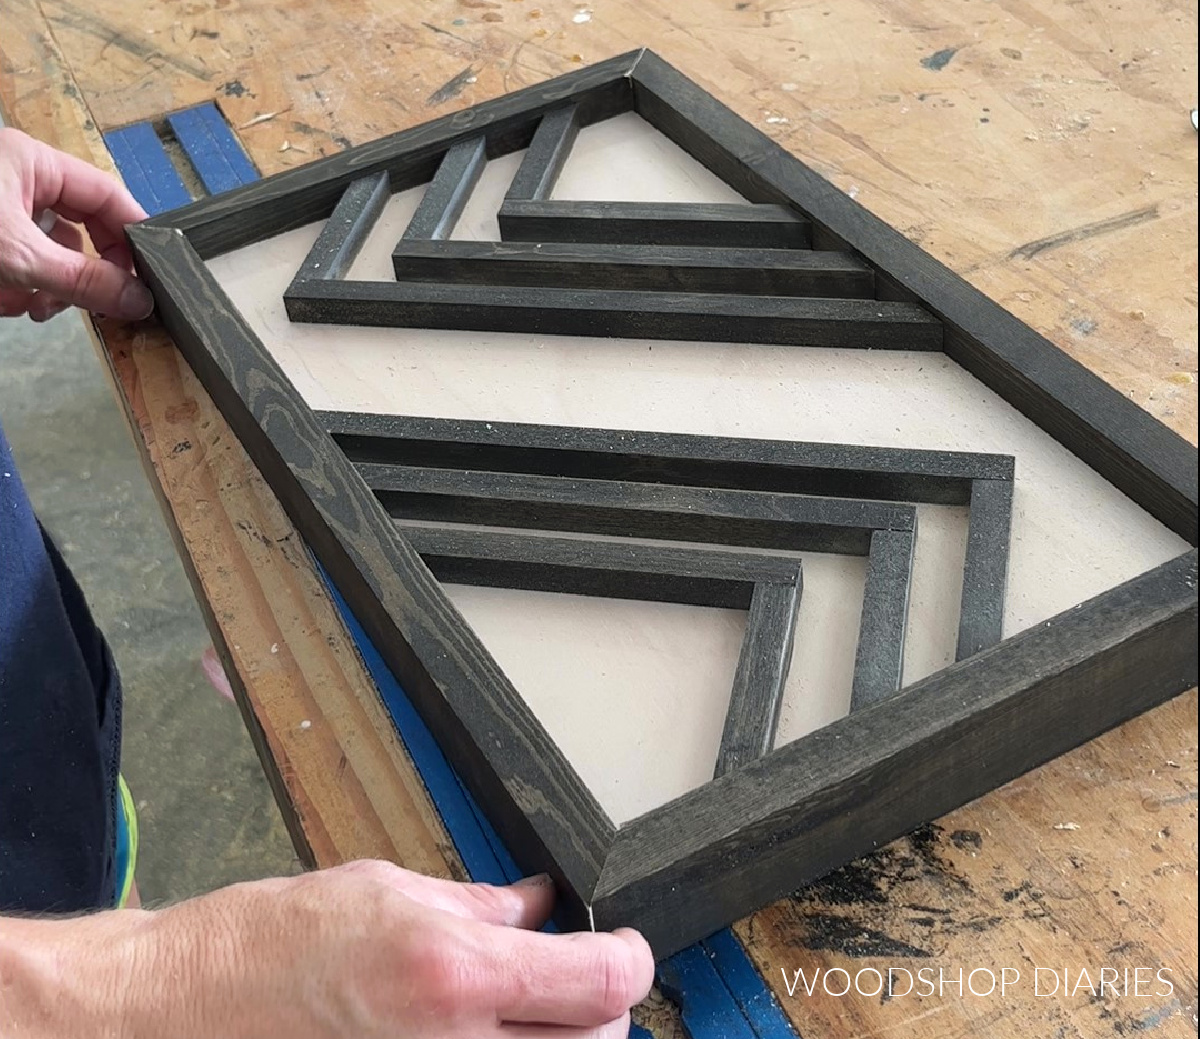
I used Krazy Glue Fast Dry Wood Glue again to simply glue these pieces around the edge so they were flush on the back side.
.
If you wanted, you could also use a brad nailer to nail these pieces in place as well.
Step 5: Finish and Display
And with that, I wiped away all the dust and it was ready to sit on the shelf! If you wanted to seal it (that’s optional), I’d recommend something like Minwax Polycrylic spray sealer.
It will be difficult to brush sealer on this design, so spray is probably the easiest option to cover all surfaces evenly.
.
If you preferred to hang this instead of just sitting it somewhere, you can certainly attach hanging hardware on the back and use a roofing nail or a screw into a stud (or a drywall anchor) to hang this on the wall.
This would make a great little gift idea, and you could use different colors, designs to swap out for the seasons!
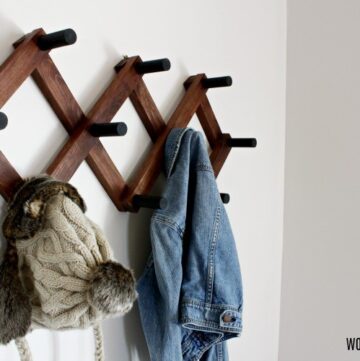
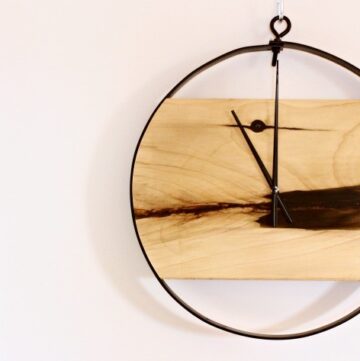
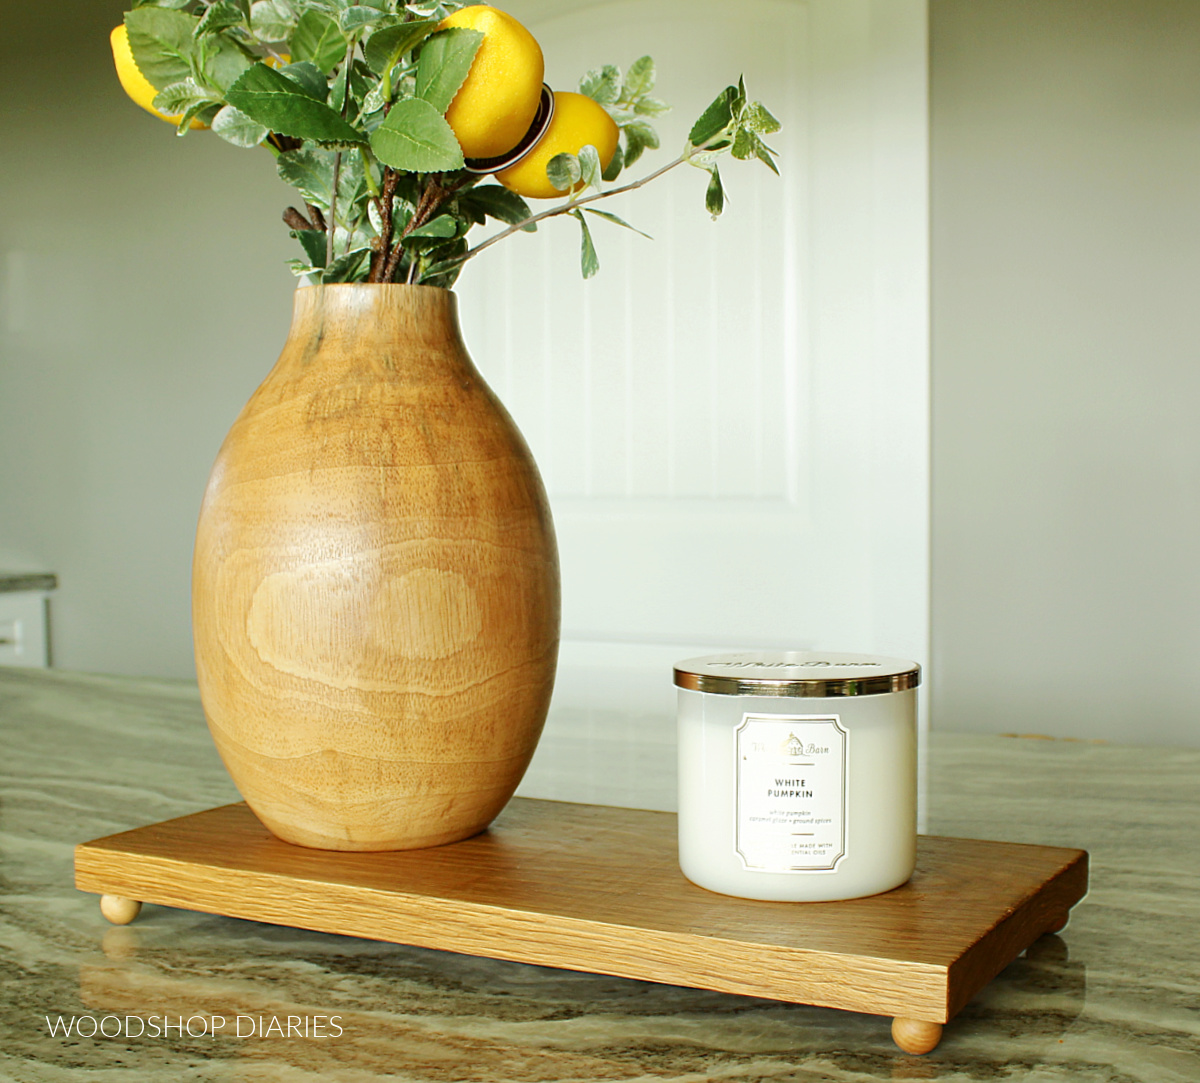
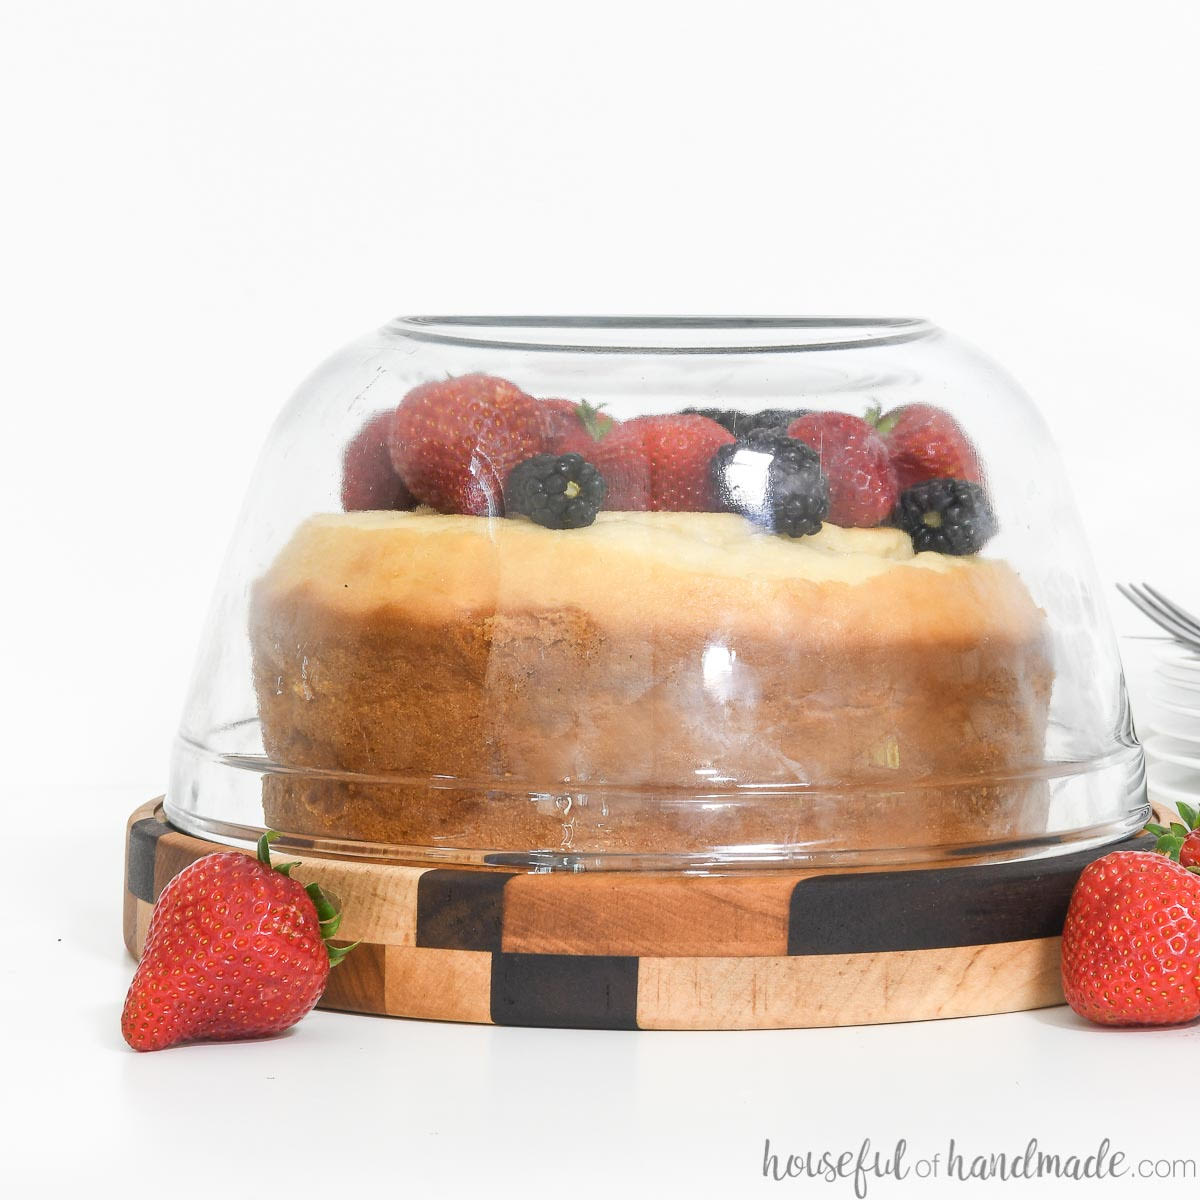
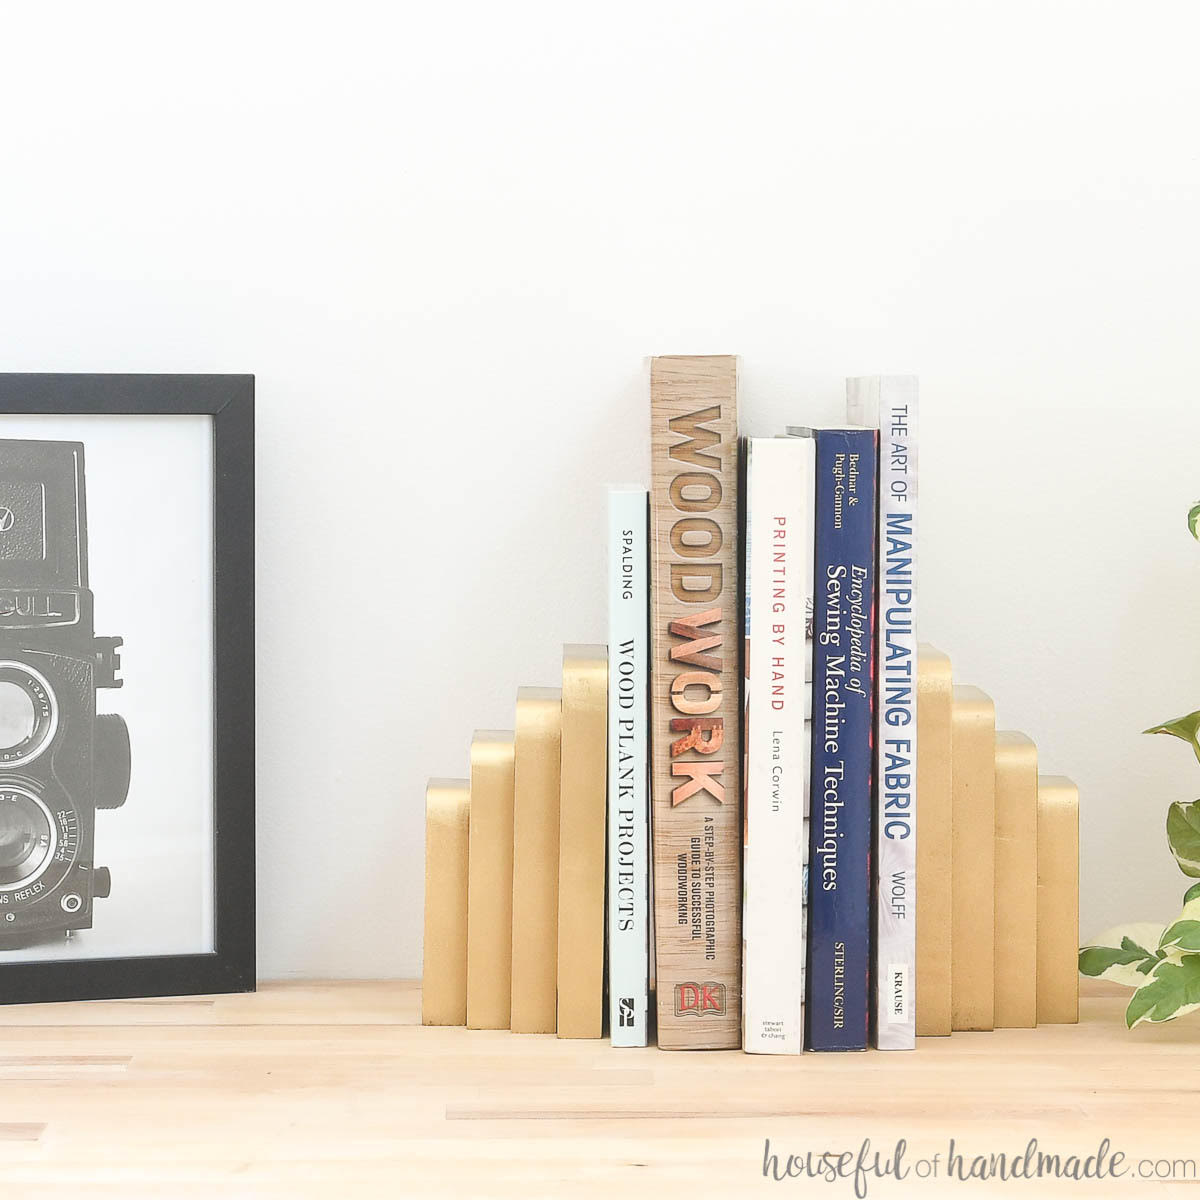
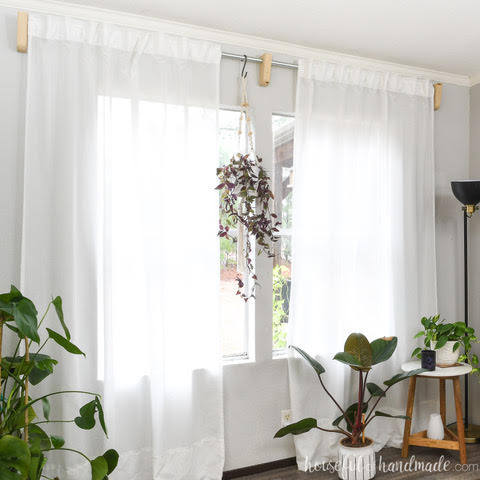
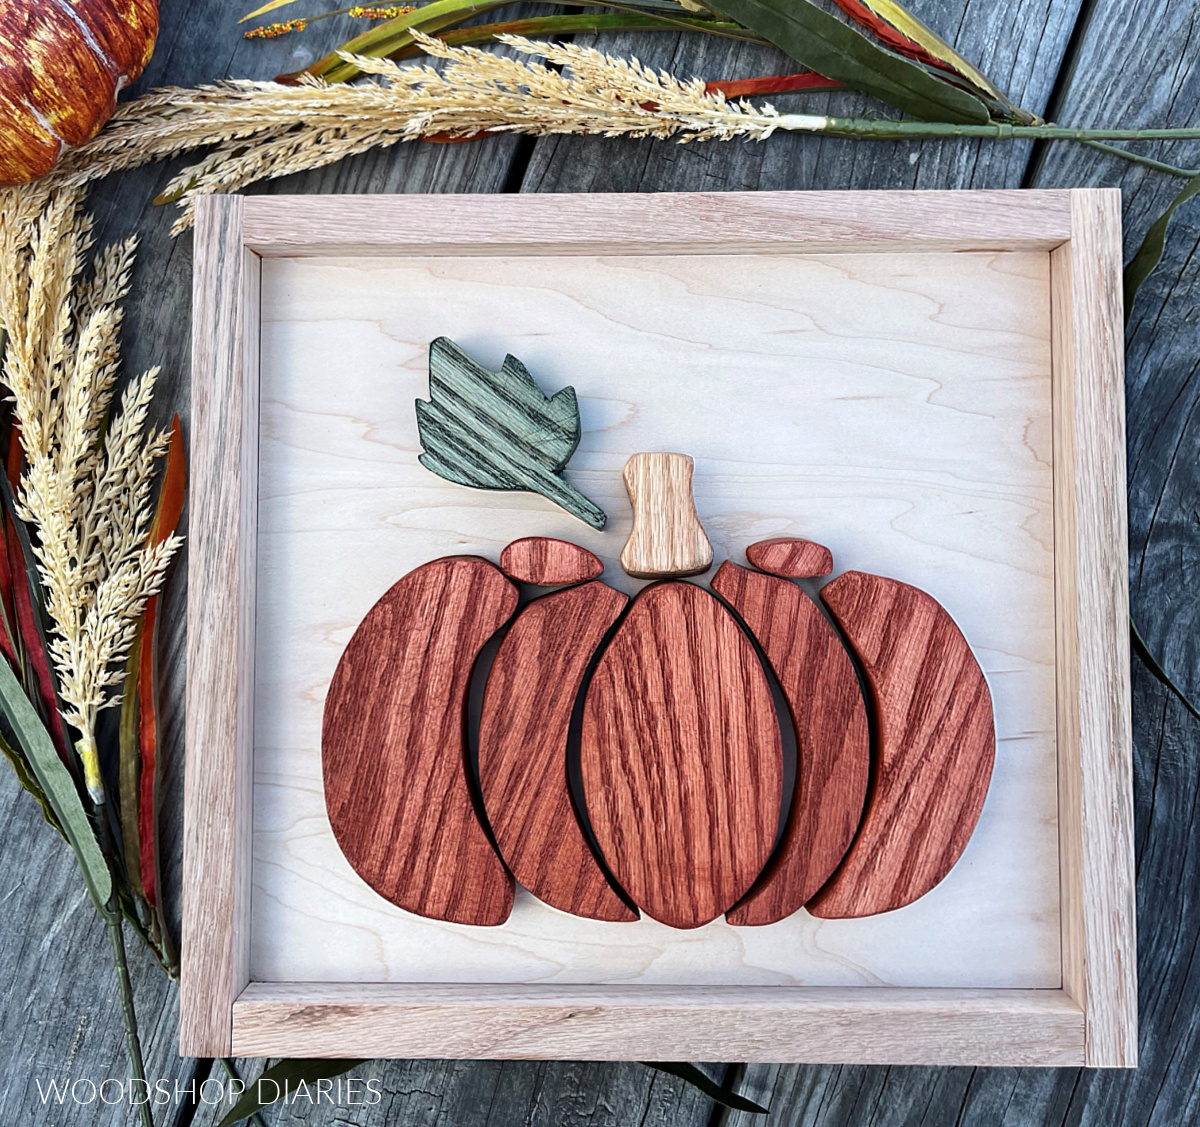
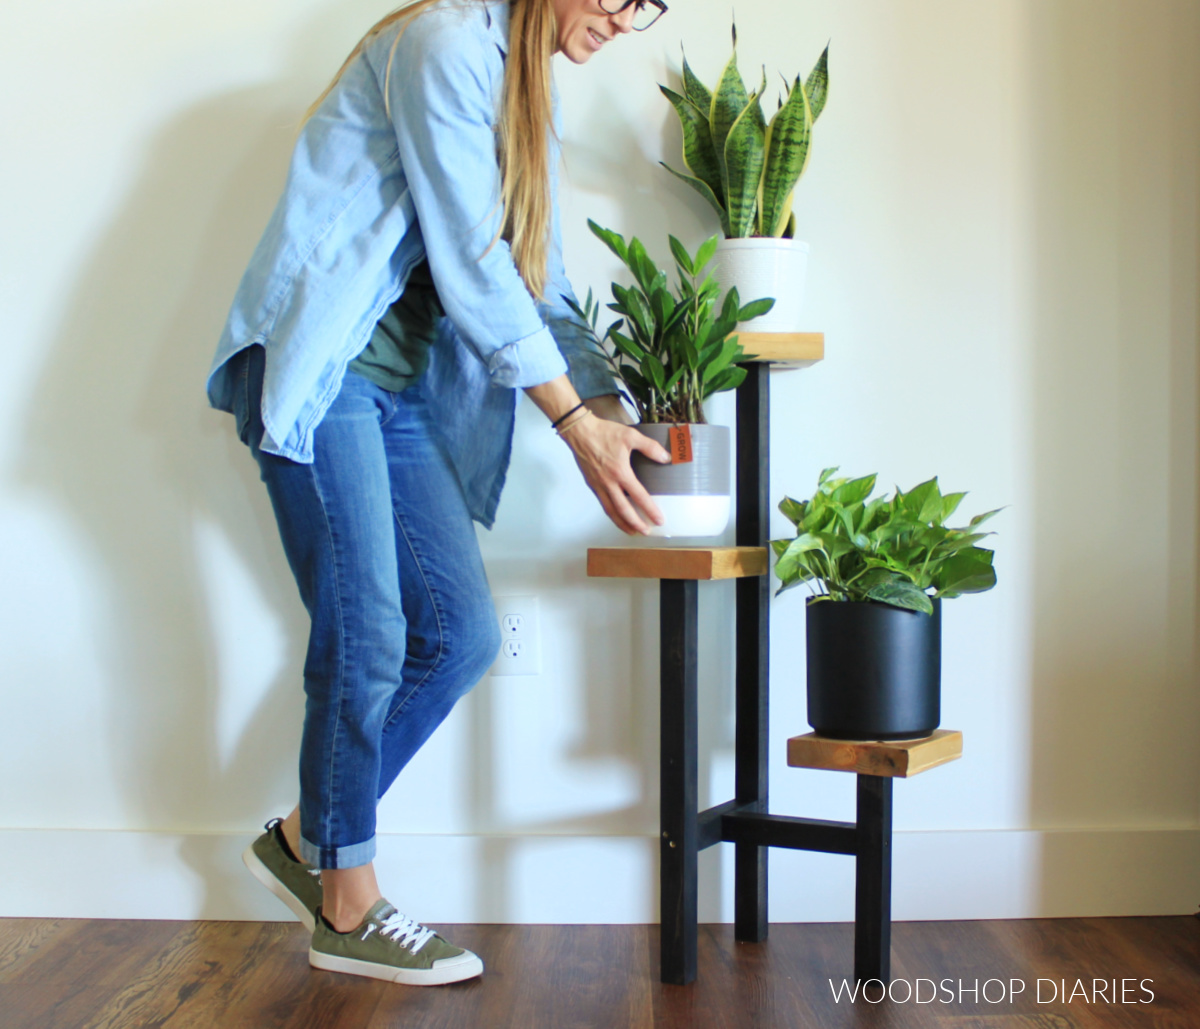
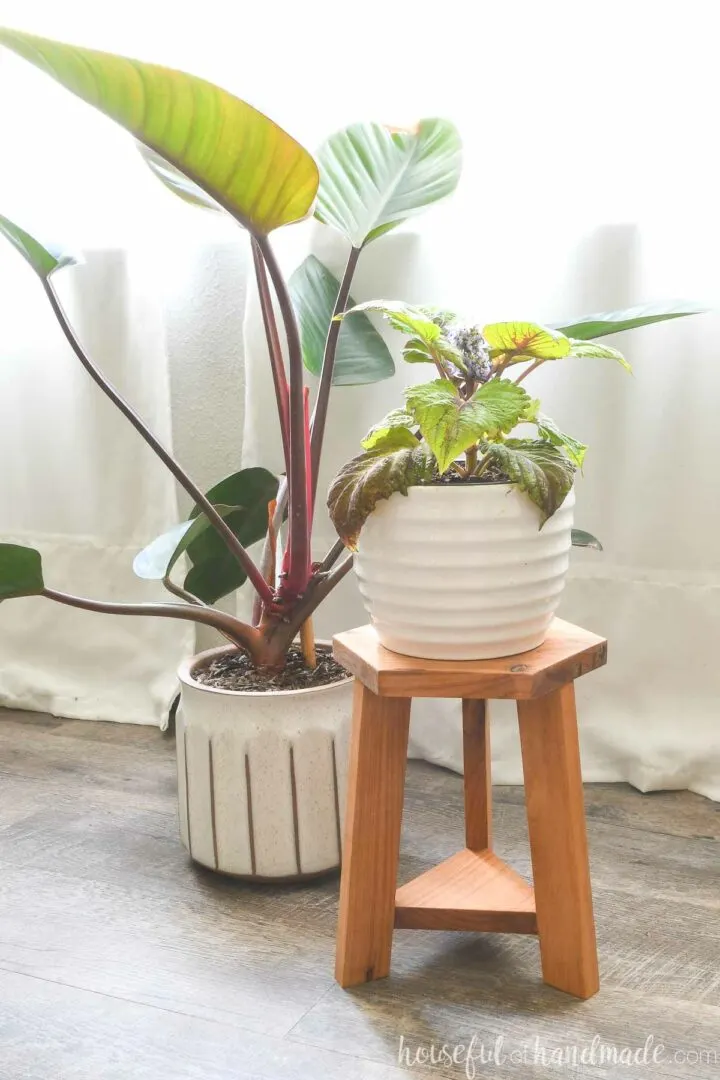
More Fun With Scrap Wood
Can’t get enough scrap wood projects?? I’m teaming up with my friend, Kati, from Houseful of Handmade all month long to share some “Scrap Wood Summer” Projects!
.
Check out all the projects in the series so far below. Click on an image to learn how to make each one!


We will be posting new Scrap Wood Summer projects every Tuesday through this entire month.
.
Subscribe to the newsletter to be the first to know when the new scrap wood projects come out!
I hope you enjoyed this simple scrap modern art project and if you’d like to save it for later, don’t forget to pin it or share to your favorite social channel!
Until next time, friends, happy building!