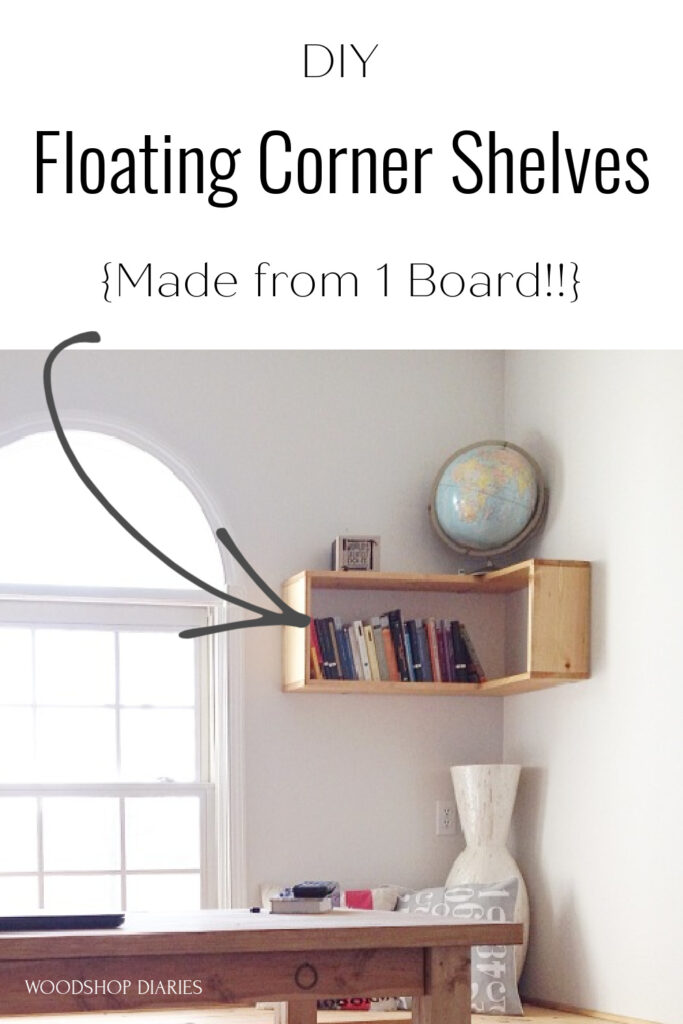
In this post, I’ll share how to build these unique DIY floating corner shelves with just one board!
This office space used to be “nacho cheese yellow.” Not even kidding–that’s the name written on the paint can we found in the basement after we bought the house.
.
I wasn’t a huge fan of the color, or the boringness of the empty space, so I decided to give it some much needed style and function.
.
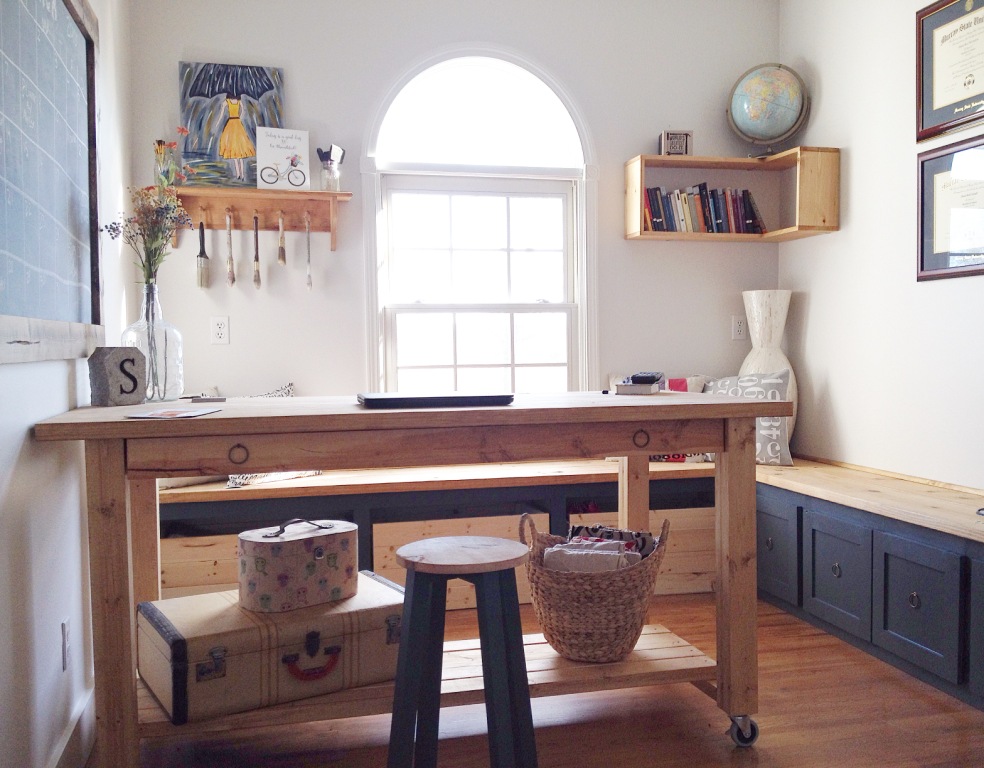
First, I remodeled the room, then I built a new desk, and finally, I added these floating shelves to display some of my favorite items and books.
.
These aren’t your typical floating shelves, but what’s really cool about this boxy style is that you can install them on an inside corner or around an outside corner as well!
.
So if you want to build your own, grab a board and let’s get building 🙂
.
This post contains affiliate links. Please see disclosure policy for more details.
To Build These DIY Floating Corner Shelves, You Will Need:
- 1x8x8
- Miter saw (or chop saw)
- Drill
- Kreg Jig for Pocket Holes
- 1 ¼″ pocket hole screws
- L-brackets for hanging
- 1 ¼″ wood screws
- 2 ½″ or longer screws for hanging
Step 1: Cut Corner Shelf Pieces
I cut my 1×8 board into pieces:
- (2) 28″ long
- (4) 10″ long
Now, a typical 1×8 is 7 ¼″ wide, so these shelves are 7 ¼″ deep. If you want deeper shelves, you can use a wider board like a 1×10 or 1×12.
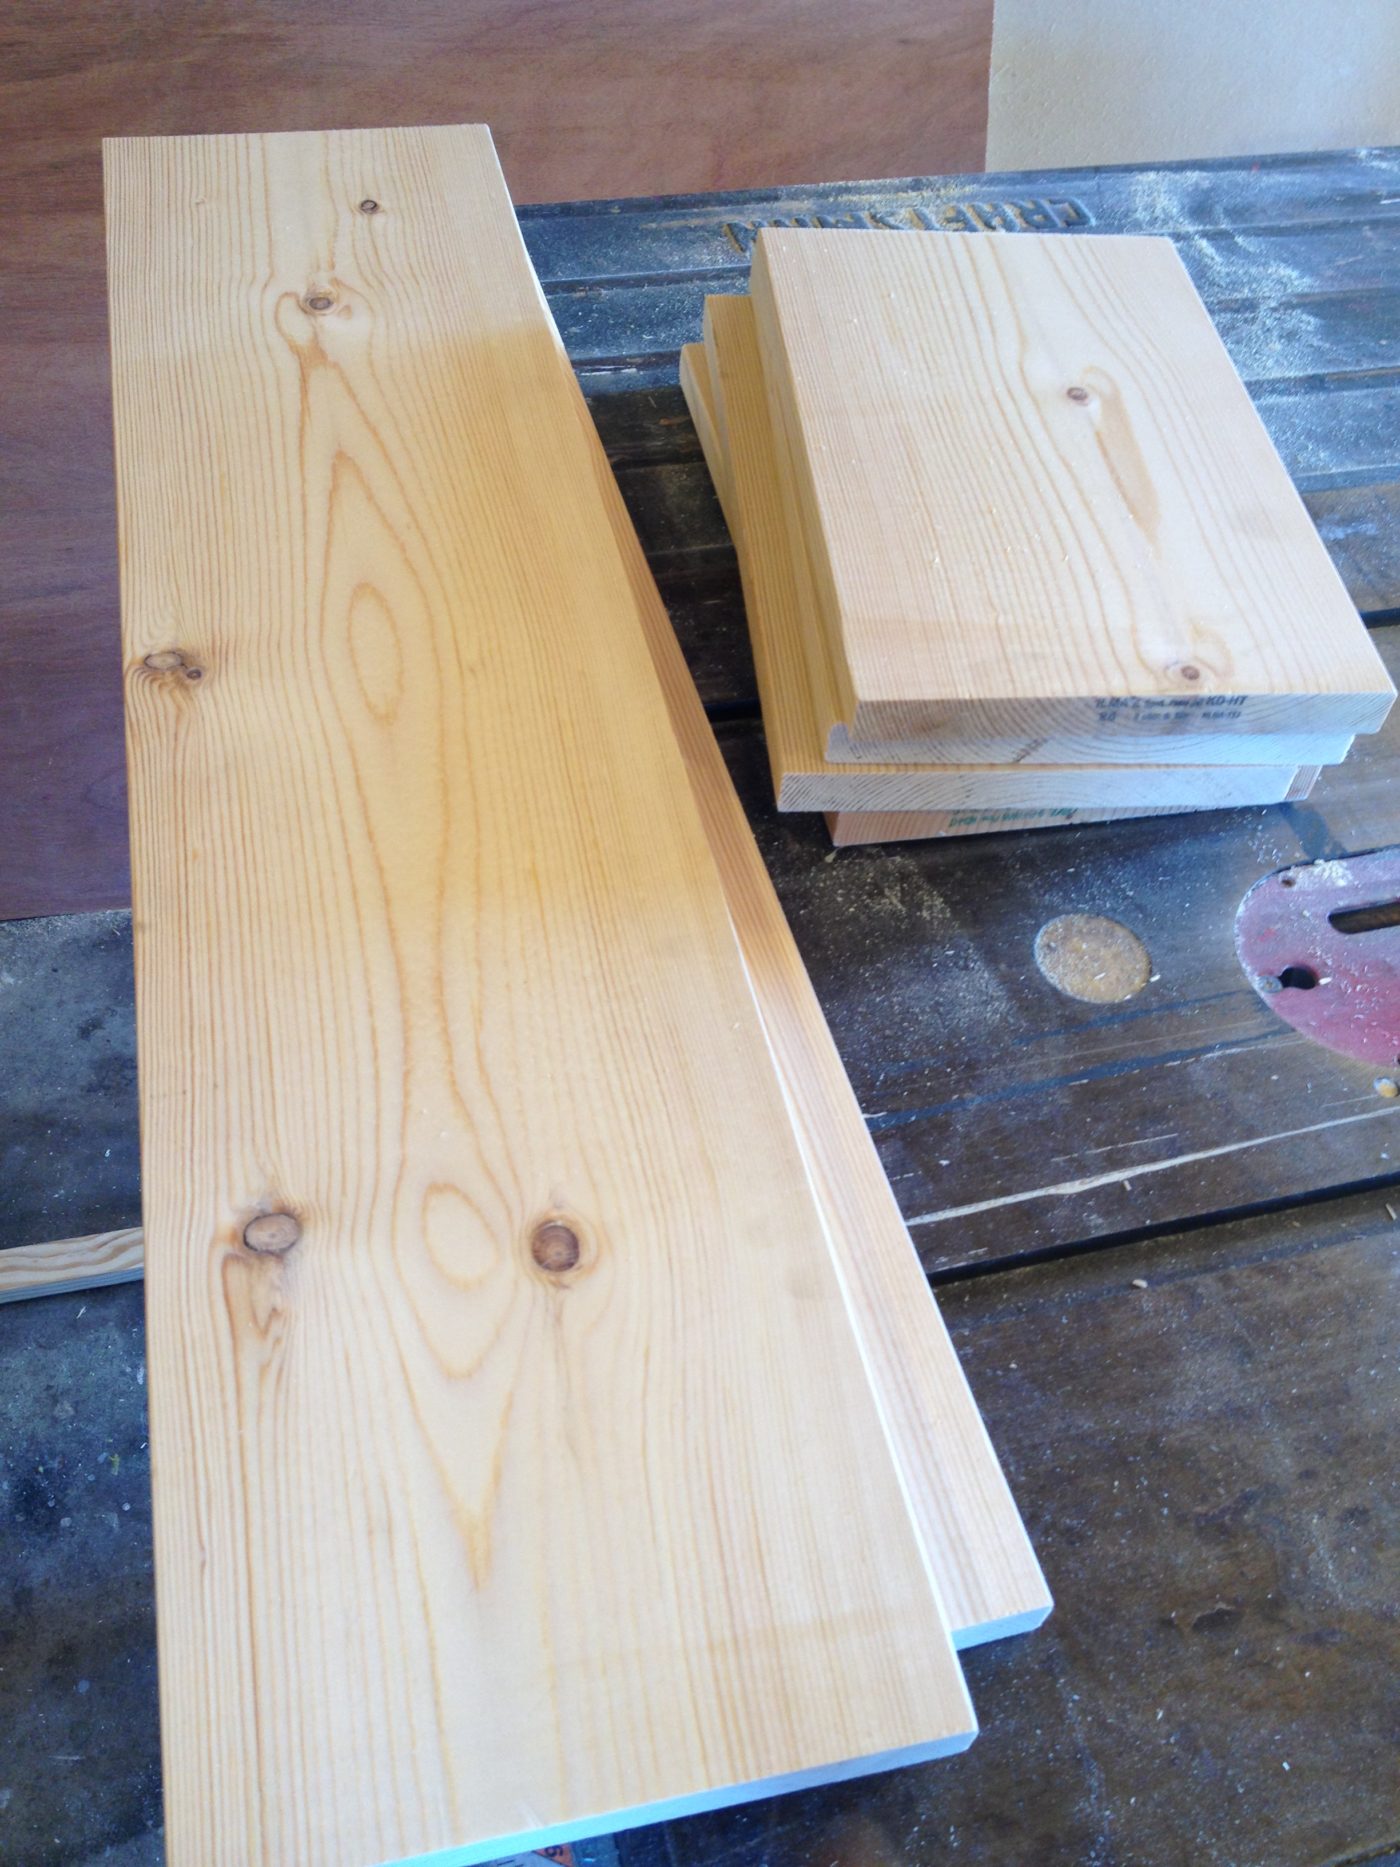
A 1×8 is 7 ¼″ wide, so these shelves were 7 ¼″ deep. However, if you want a deeper shelf, feel free to use a wider board–like a 1×10 or 1×12.
Step 2: Assemble Long Shelf Side
I screwed the 28″ pieces onto the ends of one of the 10″ pieces with 1 ¼″ wood screws like shown in the image below. Feel free to use wood glue as well if you want.
.
I could have used pocket holes and screws here, but it would be hard to get the drill in that small space after the first 28″ piece was on.
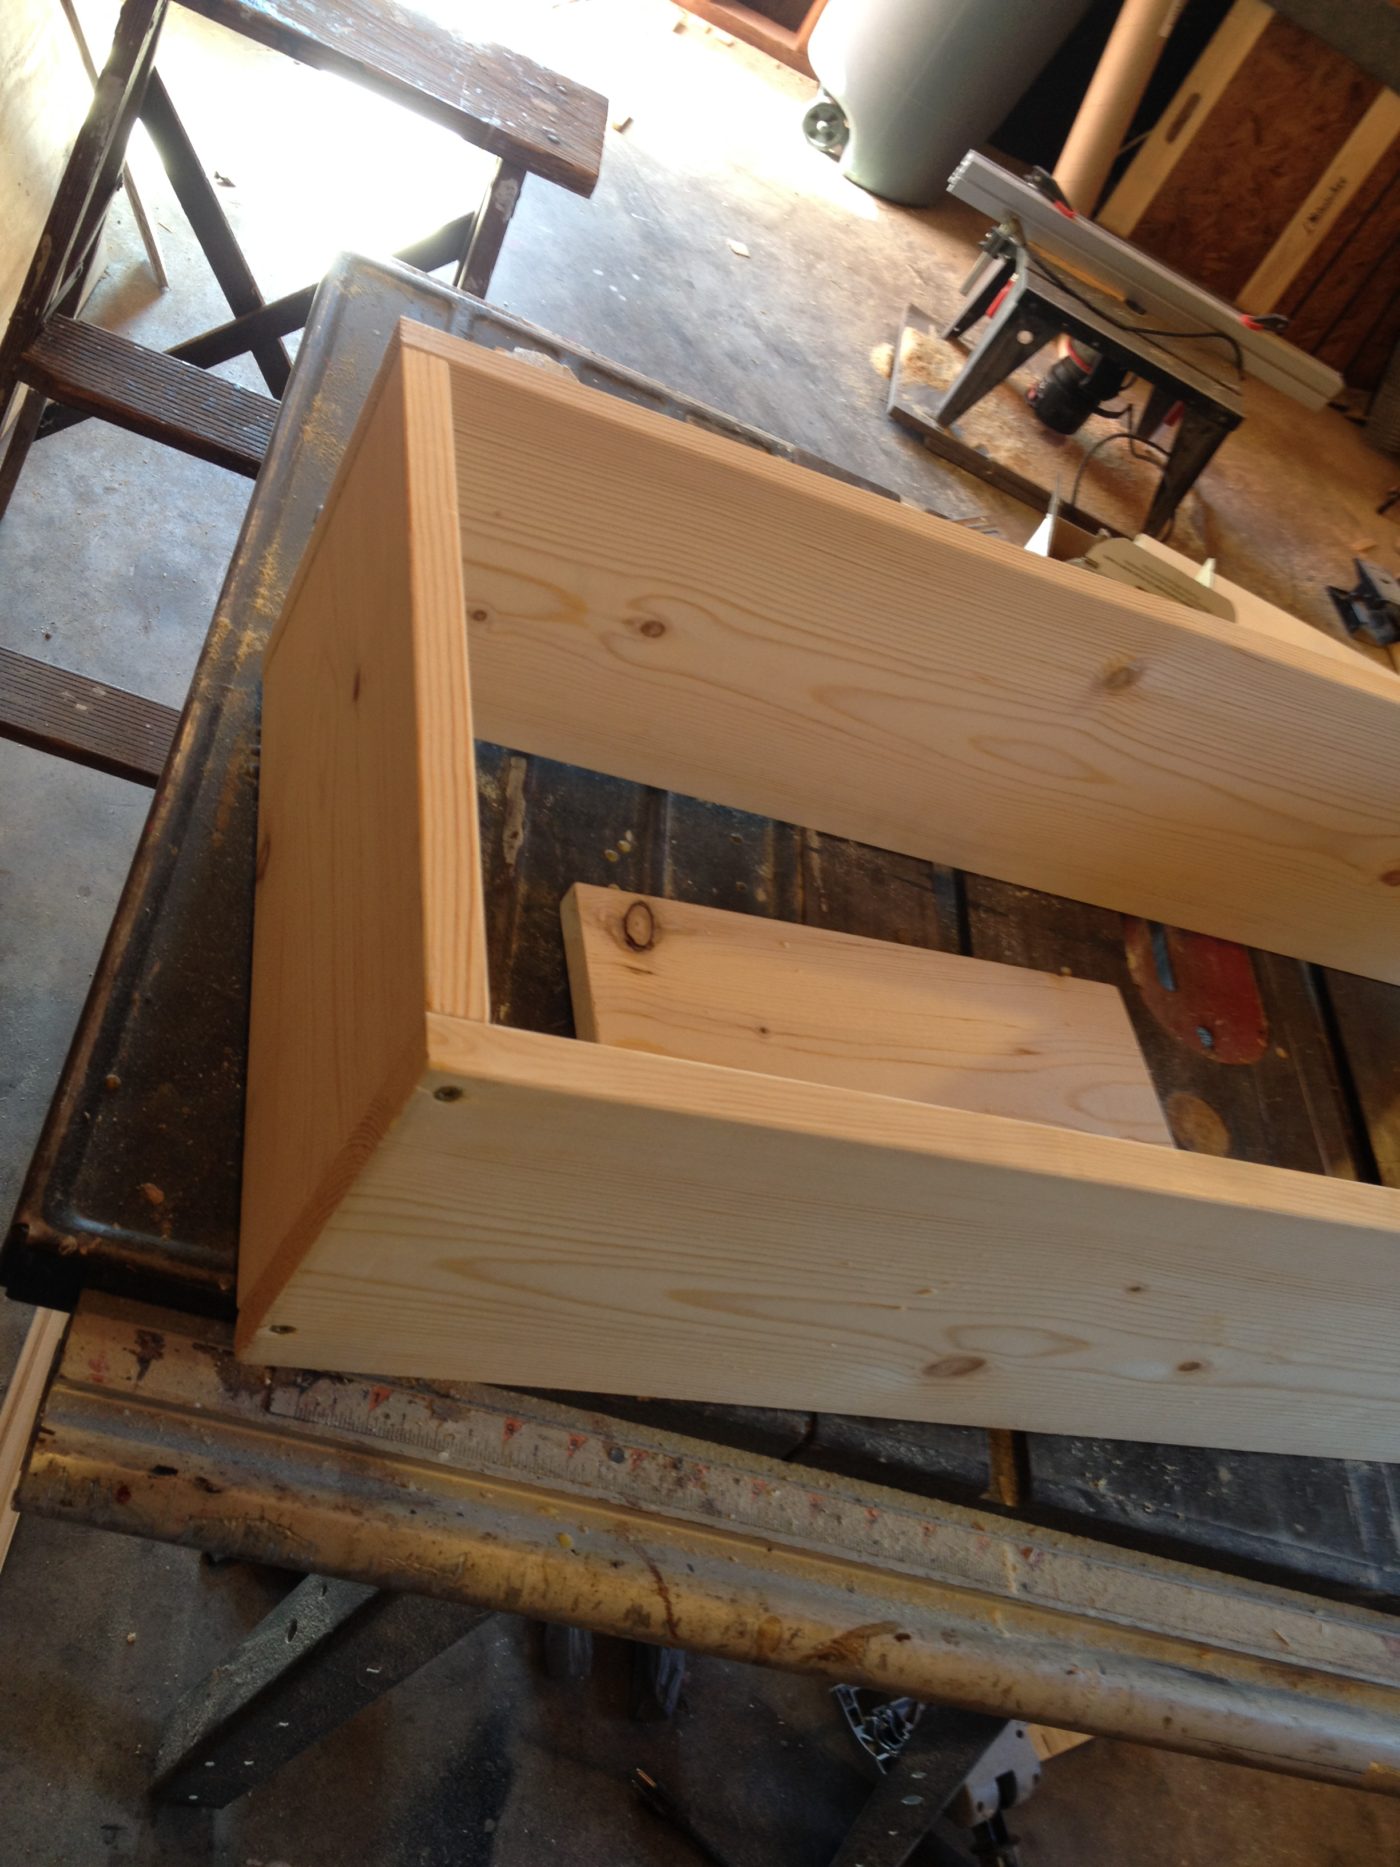
HELPFUL TIP: Don’t forget to predrill here! Those screws in these thin boards will split easily if you don’t!
Step 3: Add Short Corner Shelf Side
I used a pocket hole jig to drill ¾″ pocket holes into the ends of two of the 10″ boards. Then, I used 1 ¼″ pocket hole screws to attach them to the other end of the 28″ pieces like shown below.
RELATED: Learn how to use a pocket hole jig in this post!
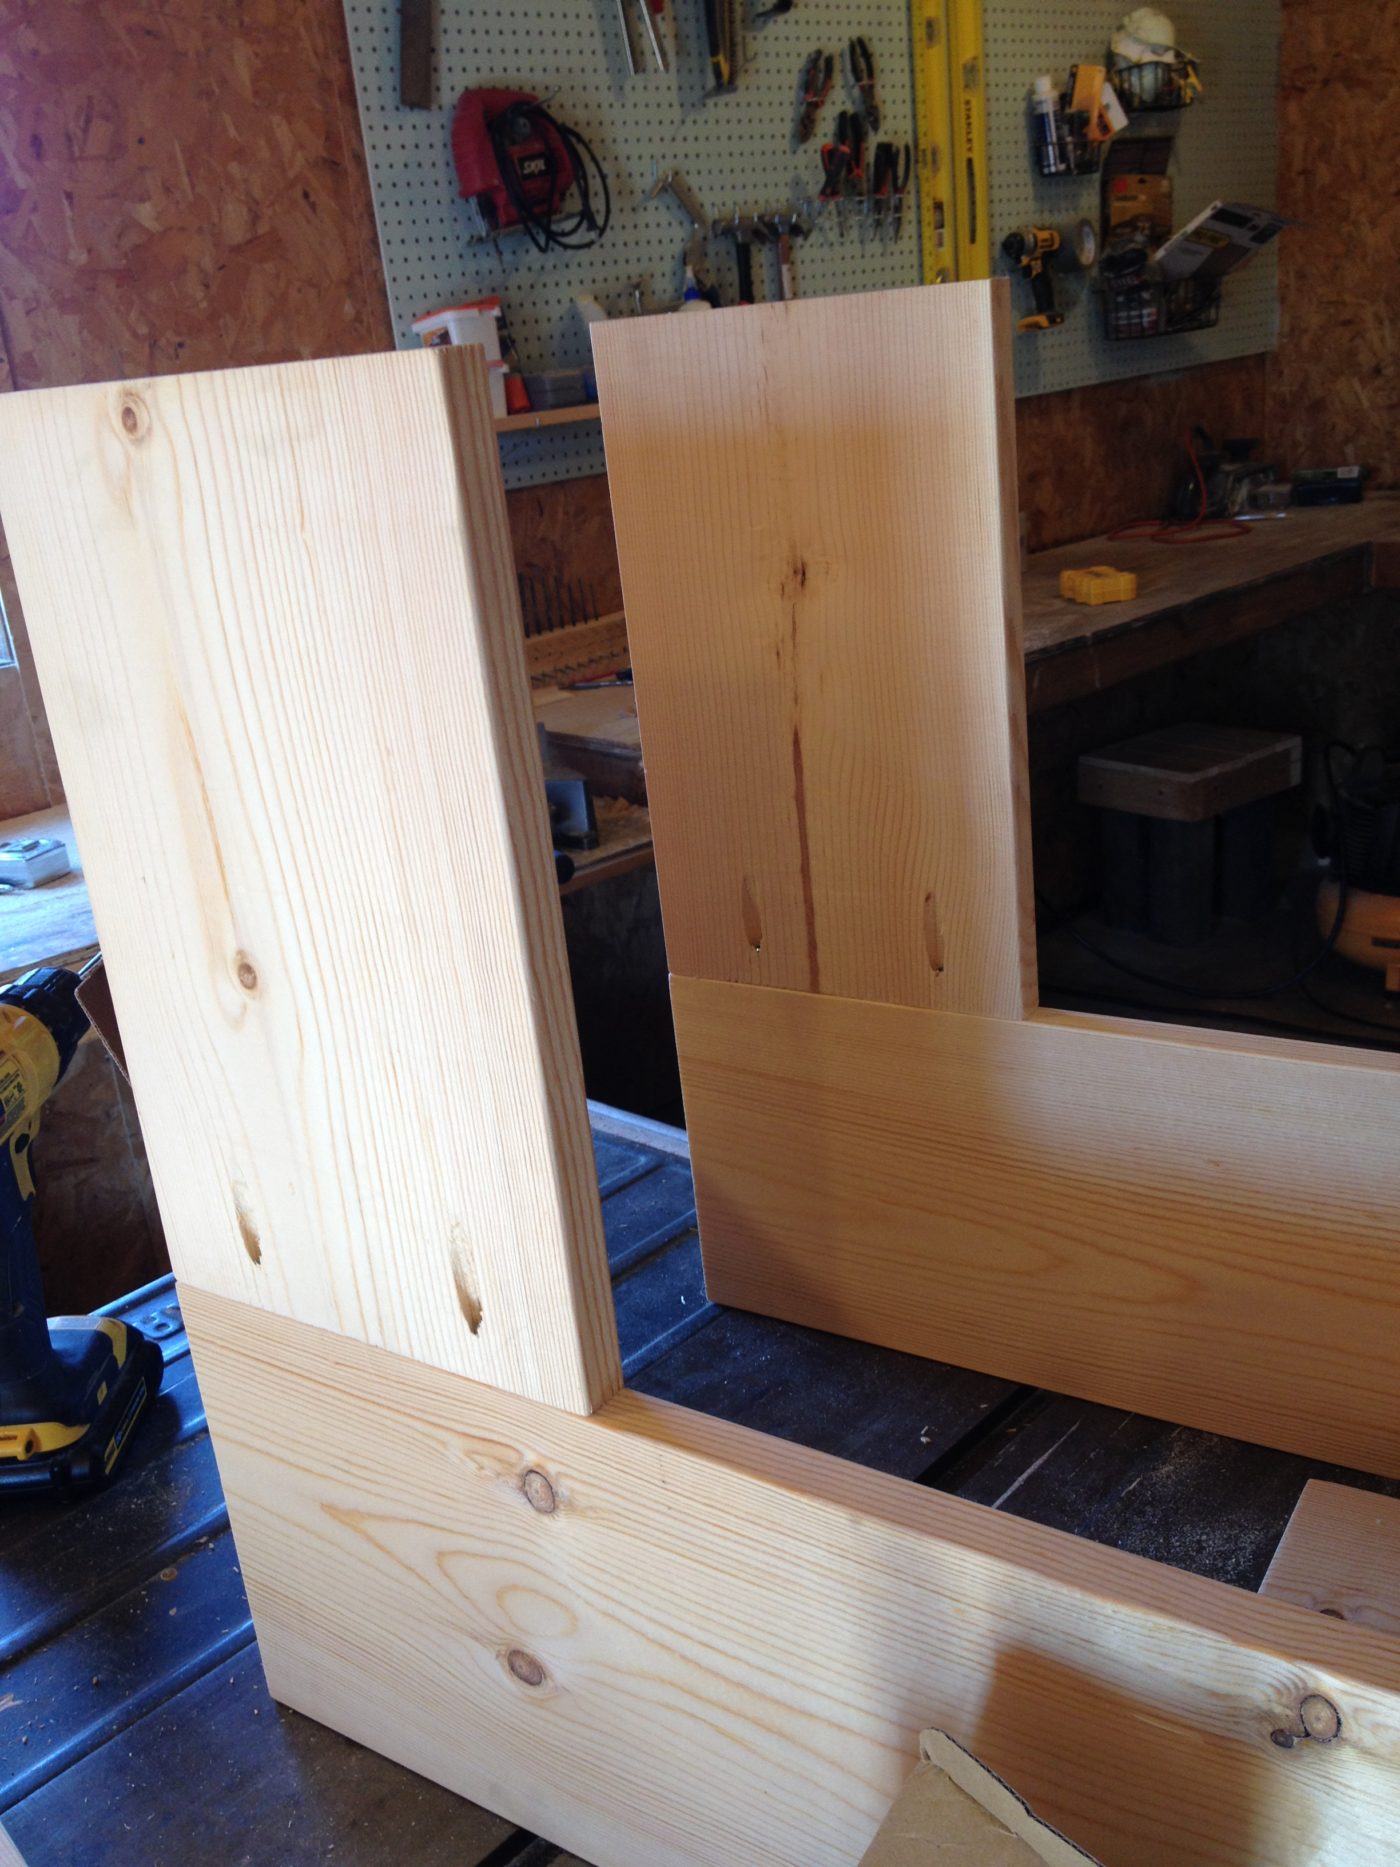
HELPFUL TIP: Think about how you want to hang your shelves and have the pocket holes face up. This way, you can set something on the shelf to cover the hole on the bottom pieces and you wont see the top of the top piece if you hang it eye level or higher.
.
Or, if you’d rather plug these pocket holes so they’re hidden, check out this post for 4 different ways you can plug your pocket holes.
.
Then, I screwed the last 10″ piece between these two short boards using 1 ¼″ wood screws.
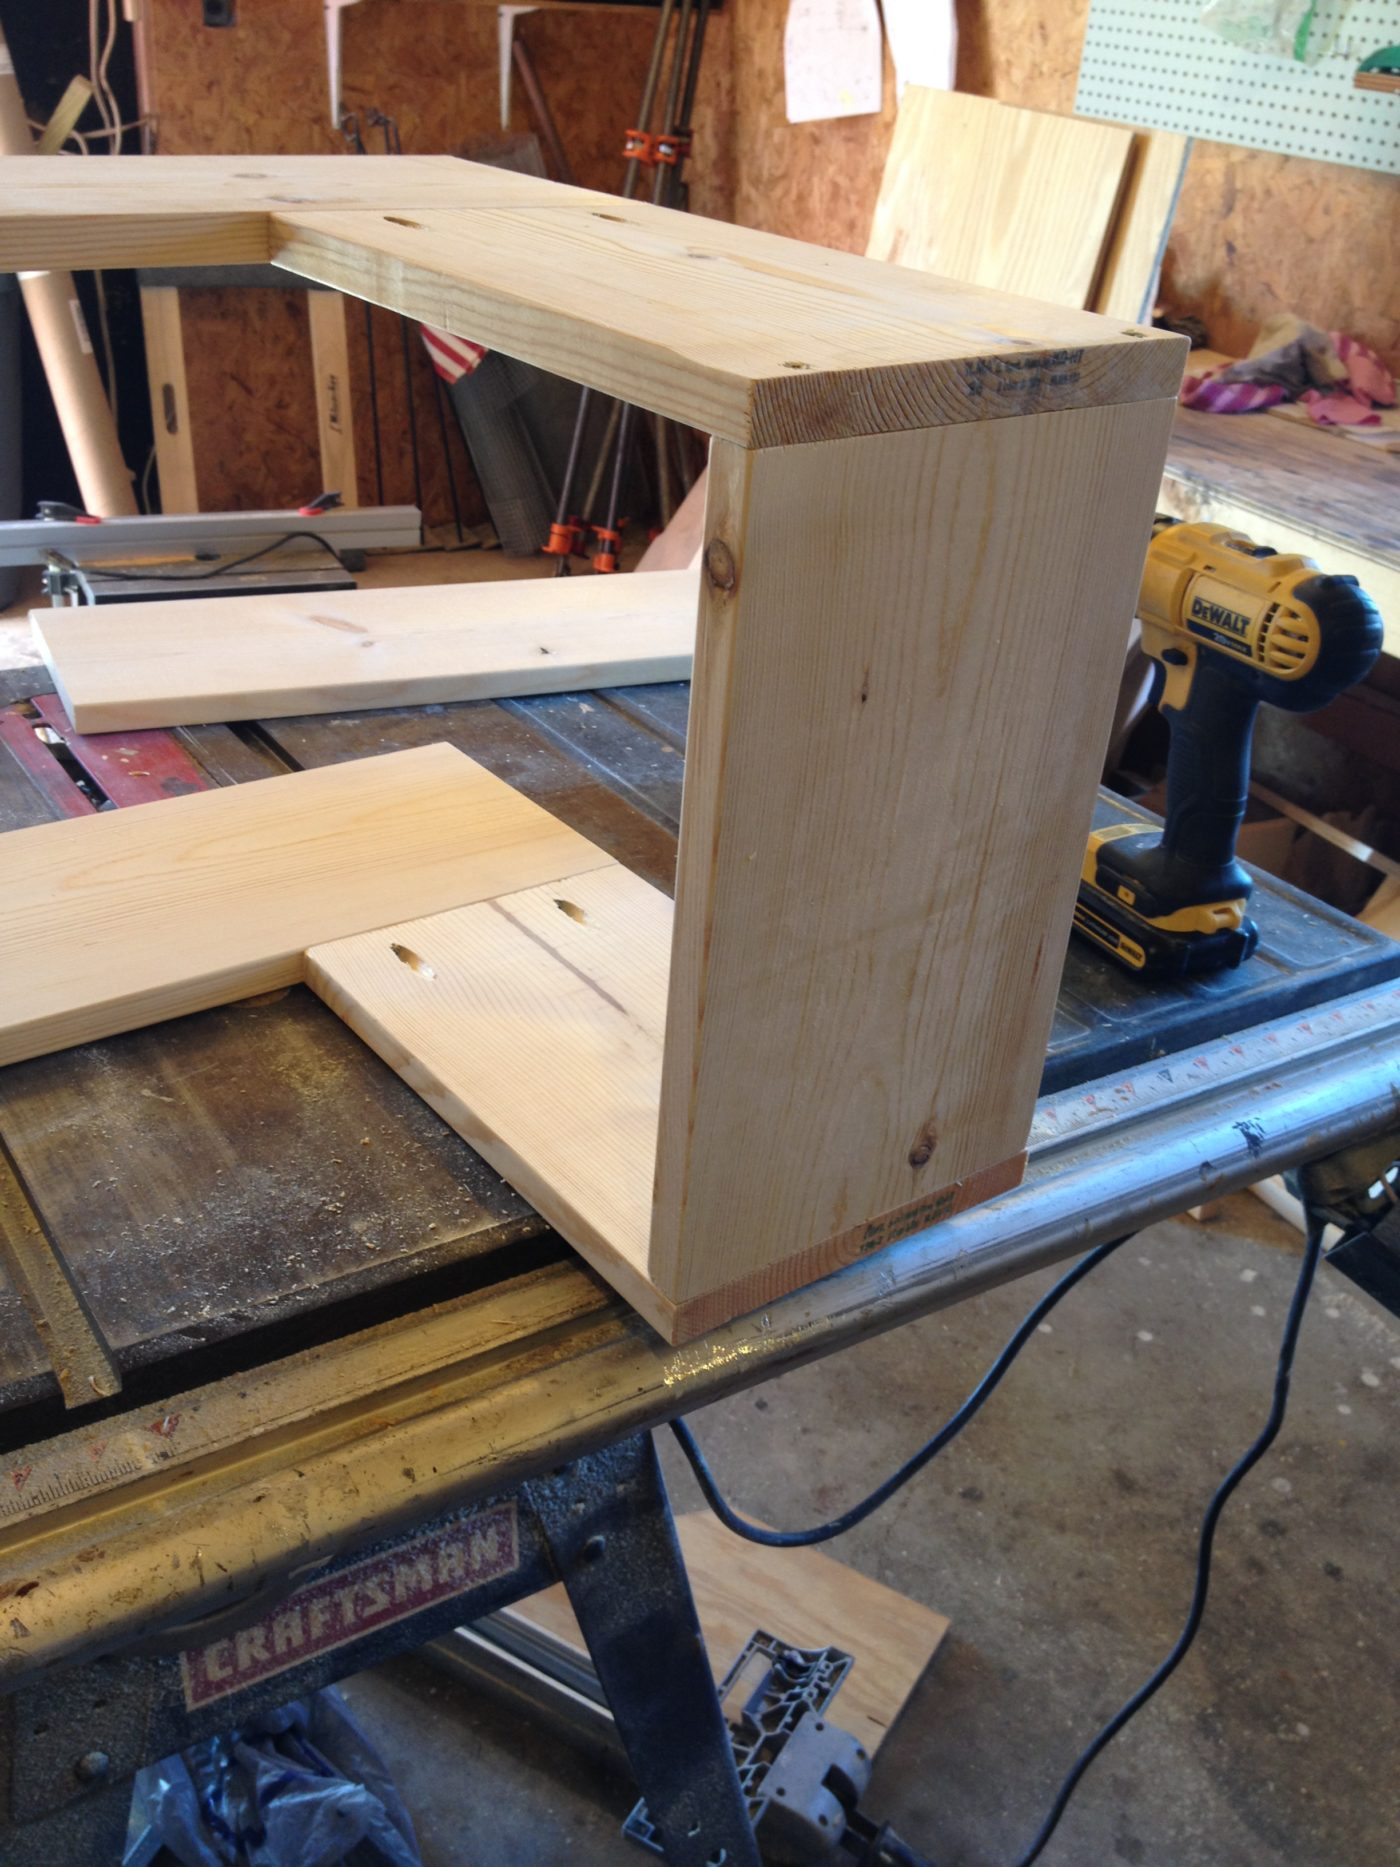
Now, you can stain it or paint it as you wish before you hang it.
Step 4: Hang DIY Floating Corner Shelf
To hang these corner shelves, I screwed L brackets into the studs where I wanted my shelf to hang (make sure you use at least 2 ½″ long screws to secure it into the studs!)
.
If you don’t have a stud where you want your L bracket, use a drywall anchor. Then, I placed the shelf on the brackets and screwed them in. You can see the brackets underneath the top shelf in the picture below.
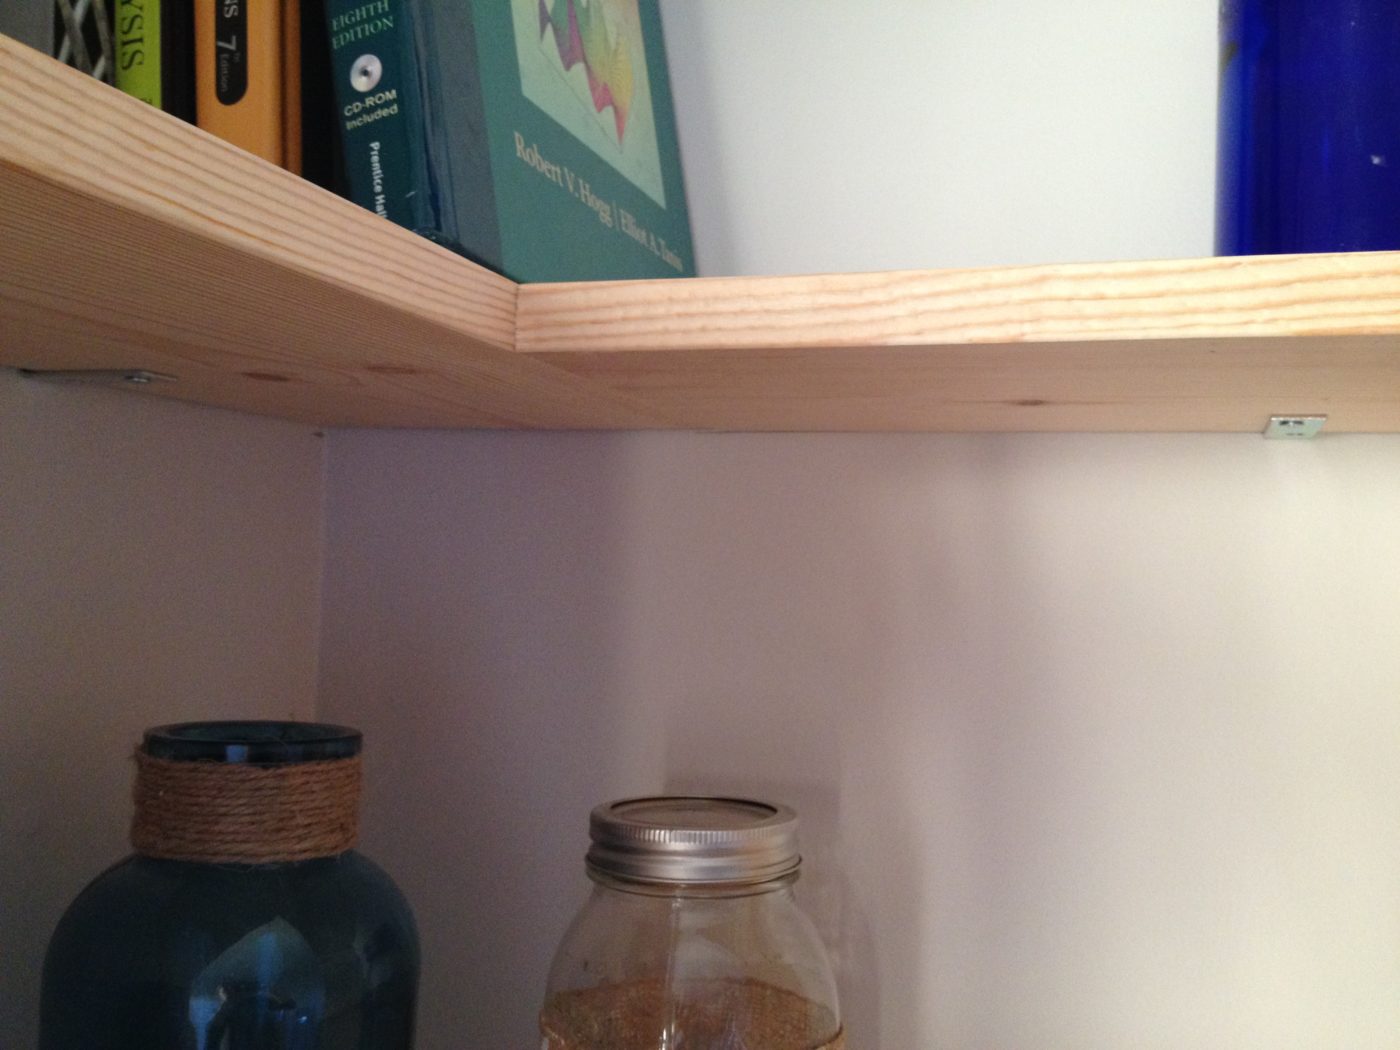
You will need to use two L brackets on both the top and bottom shelves here–so at least 4 brackets total.
.
I found it easiest to hang the top brackets on the wall first, rest the top shelf on them, then screw in the bottom shelf brackets in order to get the spacing between the shelves right.
.
Now, I wouldn’t weigh these down with tons of heavy stuff, but this was plenty to hold a few books and decor items like you see in the pictures.
.
If you didn’t want to use L brackets, you could also use pocket holes and screws drilled into the shelves where the studs will be. You can see an example of how I used this method to install floating shelves under a bathroom mirror.
.
Now that the shelf is hung, use it to display your favorite books and decor.

These would work great in a home office, a kids room, or in an entryway to toss keys and mail onto if you don’t have floor space for a table!
If you’ve enjoyed this DIY floating corner shelves project and want to see more shelving ideas, check out these DIY shelves for more ideas and build plans!
.
And if you want to save this for later, don’t forget to pin it!
Until next time, happy building 🙂


Cool blog! Is your theme custom made or did you download it from somewhere?
A design like yours with a few simple adjustements
would really make my blog jump out. Please let me know where you
got your theme. Appreciate it
Thank you!! I purchased my theme from etsy. It’s called Maryanne by BlogShopbyGeorgiaLou. I highly recommend it and the service I got from them while installing and customizing it was very good as well.
I just came across your site through a pin. Love the shelves and as soon as I saw them, I realized that’s what my overstuffed office/craft room needs. I happen to like the look of both corner shelves installed, but agree with a reply about using a plant. So a Spider Plant or a fluffy Asparagus Plant will sit on top and help clean the air. I am quite excited to make this, however, I will wait until it isn’t 20 degrees C. below zero and I can use the garage to do this without turning into a peoplesicle. Thanks for the inspiration! I’ve signed up for your newsletter.
Thank you so much!! So glad you enjoyed the post and will try these yourself! I’d love to see how they turn out 🙂 PS I agree with waiting until it’s a little warmer outside…woodworking in 20 degrees is not fun 😉
Do you have a “how to” for your work table? I would certainly make one.
Yes I do! You can find a link on my projects page 🙂
Great job! Thank you for sharing your terrific plans. I did not read all the comments so, please forgive me if I have repeated another’s thoughts. My opinion – the shelves are congruent with the desk & bench, but not with the window trim, crown, or chandelier. Perhaps painting the shelves to match/blend into the wall? Too much going on with the various trim, wood, sheld decor, etc.
Thank you for your suggestions! I had considered painting the shelves. I may try that!
I have no talent for decorating and can’t “visualize” a finished room, but … since the window wall is smaller, … could the “short” side of the shelves be put on the “window wall?”
That’s a good idea! I may try that!
In the photo they look to me like they are placed very high and sometimes symmetry is just boring. While you’re trying different options, try assymetrical – put both shelves on the same side (on the right) so the effect, combined with the bench underneath, is more like a bookshelf. Then balance the other side with a (fairly large) picture and other objects. Just my two cents ….
Thank you! I may try that idea!
Love your shelves. If this was my place, I would remove the shelf on the right and place a large potted plant such as a fiscis tree on top of the bench in the right corner; or I would hang a large hanging plant such as a Boston or Asparagus fern above the bench in the corner. I feel the room needs something large and flowy (is that a word?) by that gorgeous window such as the greenery suggested above. I also feel this will soften the hard lines of the shelf and your beautiful desk as well as bring a little outdoors into the room. Just my opinion. Keep up the good work!?
I think you are right about adding some plants. I think plants add a lot to a room. The only issue is I’m terrible at remembering to water and take care of them haha! Maybe I will try something inexpensive first and see if I can even keep it alive 🙂 Thank you for the ideas!
I agree with Tom Clarke. One shelf with a picture of some sort will keep the room occupied without cluttering. I recommend decorating the shelf as you did in your first picture and don’t put anything else on them. I find the more shelves I put up/use the more junk or as I say decorative items they accumulate. Simple is better.
Thank you for your input! I think I may try this idea for a few days and see if I like it 🙂
I think one of the reasons you feel that this is visually cluttered is that they are hanging above a bench designed to be a place to sit. The room is office size aka small with regular height ceilings… I think if you followed your original plan for a set of built in bookshelves it would have had a more formal style but items on the shelves could still have been “visual” clutter.
I think you need to decide on the feel you want for this room… formal traditional “office” or I think like the rest of your home relaxed modern farmhouse. If it the latter then take them both down and if you need storage build a “bookcase” unit using the right side of the room so it isn’t the first thing you see, you will still have storage and who needs two walls of window bench 🙂
You are crazy talented and you will make a good decision that fits your style.
Thank you for your input! I am going to play around with it for a little bit and see if I can figure out what makes me happy in here haha. I feel my style is changing and I want this room to tie into the others in the house, but I also want some quirkiness to it as well. We will see what happens…I have a feeling I’m going to have to live with it several different ways and see what I like best.
okay shara my dear, first off you are awesome the stuff you do with wood is utterly amazing, i happen to like both of the shelves up put the globe on your desk and hang the cross picture under the mason jars remove the box or case from the book shelf and move the books from the mason jar shelf to the top of the book shelf in the corner then leave everything for at least a week then you will know if you have to move something or if it can stay xx
I vote for just the one on the right. To balance it out put a picture on the left. One other thing – do you ever do projects that don’t have pocket screws? I hate pocket screws but understand sometimes they are a necessary evil
I do use a lot of pocket screws. They save ALOT of time and I don’t have to use anything fancy to join boards. I hate the holes they leave, but otherwise, I don’t have issues with them, so I use them for quick, strong joints.
Thanks for your input! I may try that for a few days and see if I like it that way!