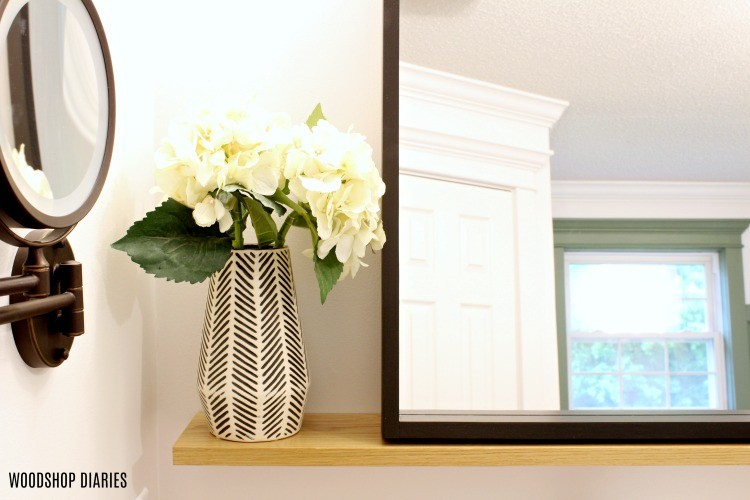
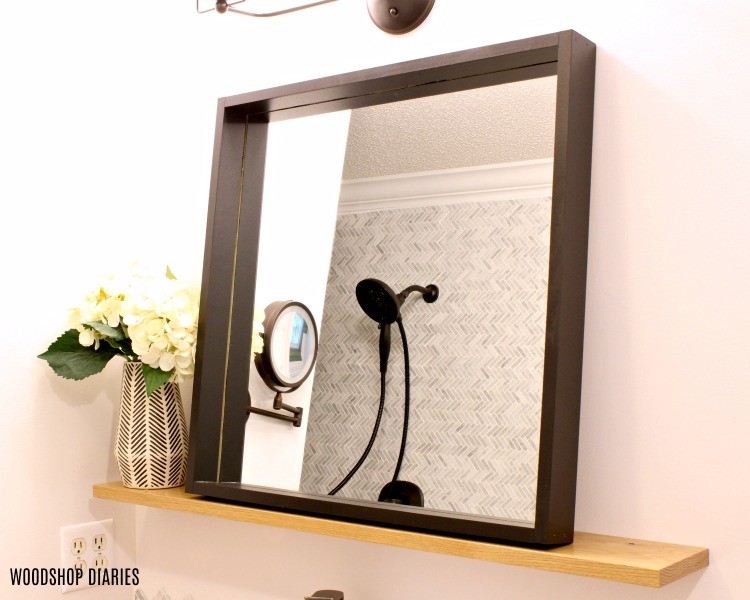
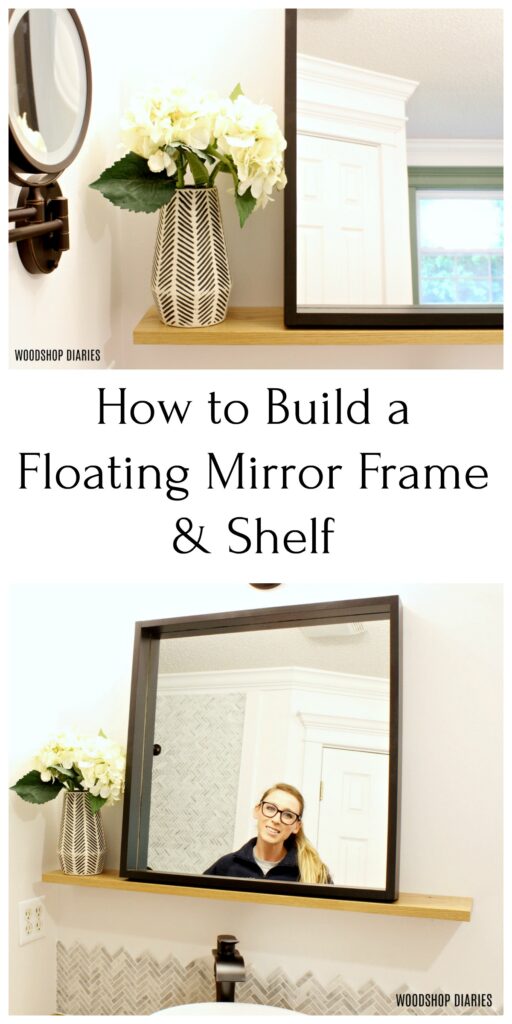
Looking for an inexpensive way to update your bathroom? How about a scrap wood DIY bathroom floating mirror shelf!
My parents recently asked me to help them design and remodel their master bathroom. And although remodels aren’t my FAVORITE DIY project, I do like a good before and after so I agreed 🙂
.
You may also like…For more before and afters, check out some of my previous renovation projects:

Six Week Kitchen from Scratch 
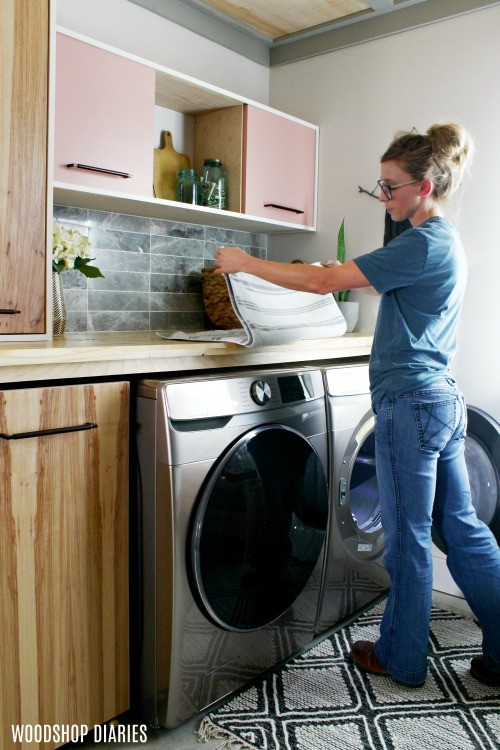
Laundry Nook Refresh 
DIY Tiny Bathroom Renovation

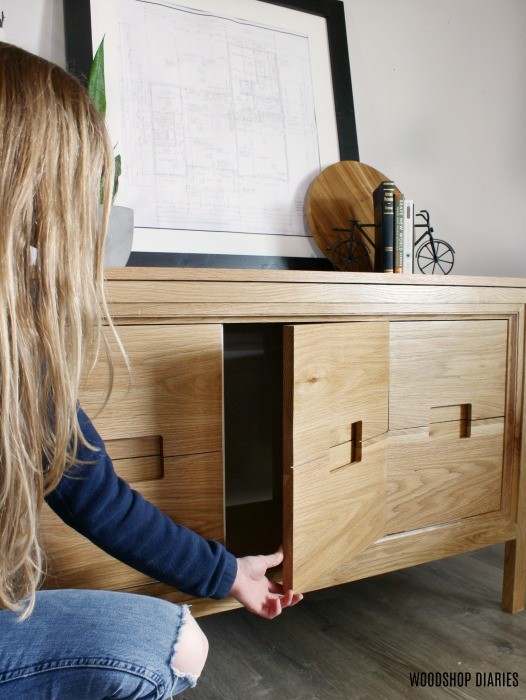
If you remember recently when I posted this modern console dresser, I mentioned that these would soon become my parent’s vanities. Well, once we got them installed, I needed to give them a nice modern mirror to complement its style.
So I built a simple black frame to set on a simple floating mirror shelf and I’m honestly impressed with how scrap wood can look this high end.
.
Now, this isn’t an earth shattering super amazing, never seen before project. But if you need a inexpensive way to update your bathroom, this is legit one of the easiest projects I’ve ever done. So if you’re ready to get building, let’s go. I’ve got the tutorial and video below:
This post contains affiliate links. See policies page.
.
For this Floating Mirror Shelf, you will need:
- Scrap plywood OR 1×3 boards for frame
- 1×6 scrap for shelf
- 24″ x 24″ (or other size) mirror–I purchased mine from my local glass store ⅛″ thick
- Kreg Pocket Hole Jig
- Drill
- Nail Gun
- Table Saw OR Router
- Miter Saw
- 2 ½″ pocket hole screws
- Stud Finder
- Edge Banding
- L brackets
Step 1: Cut Dado for Mirror Frame Pieces
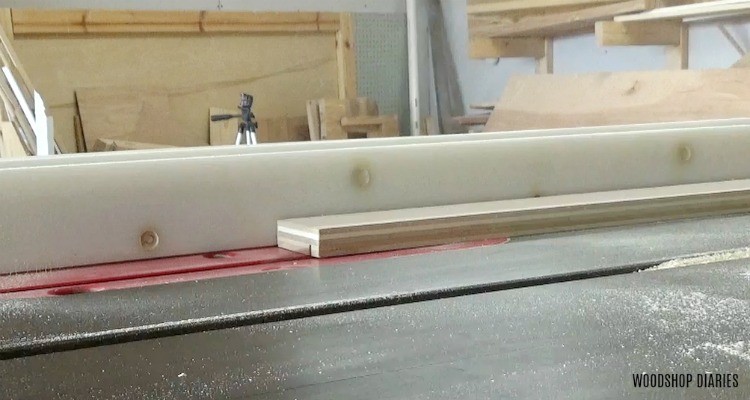
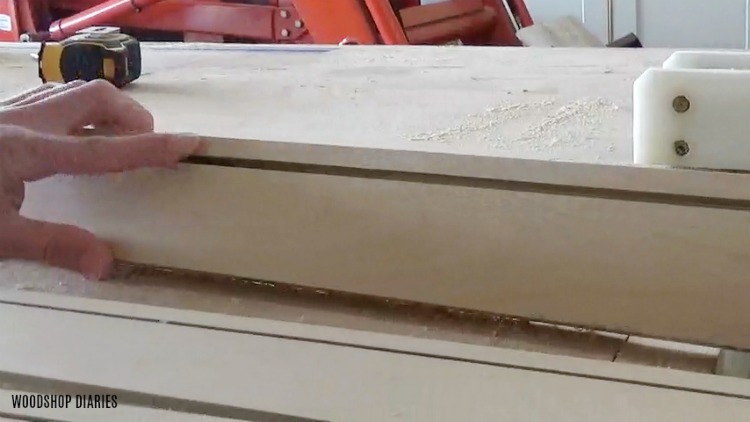
I had some leftover plywood strips in my scrap pile and since I was painting the frame, I decided this would be a good choice to use for it. I was making two frames for two mirrors for the two vanities…so I ripped enough plywood strips to make two frames on my table saw. I ripped these to about 2 ½” wide—or a 1×3 if you’d rather use solid wood for this.
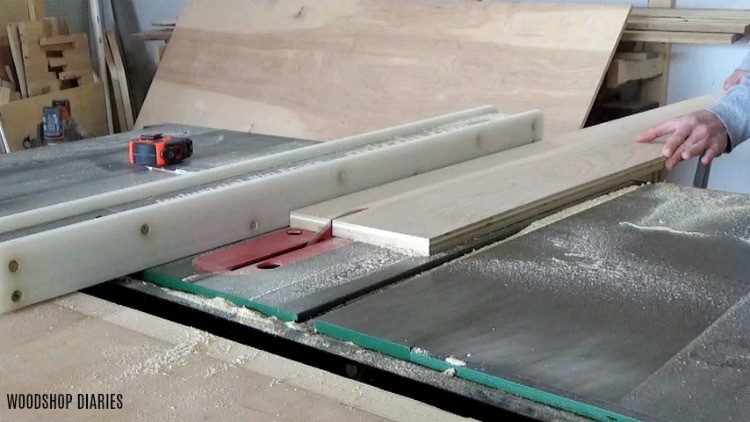
Then, I adjusted my table saw blade to ¼” high and moved my rip fence to 2” from the blade. I cut a ¼″ deep dado in the strips and test fit the mirror. (FYI, you can also use a router for this instead if you prefer.)
I had ordered 24” x 24” x ⅛” thick mirrors from my local glass shop. If you’re looking to purchase just a mirror, check local windshield or window repair places and see if they can cut you a mirror.
.
I tried to slide one of my mirrors in this dado and it was too small. So I adjusted the rip fence about half a blade width further from the blade and ran it through again. This time, the mirror fit and I was ready to cut these strips down.
Step 2: Cut Mirror Frame Pieces to Length
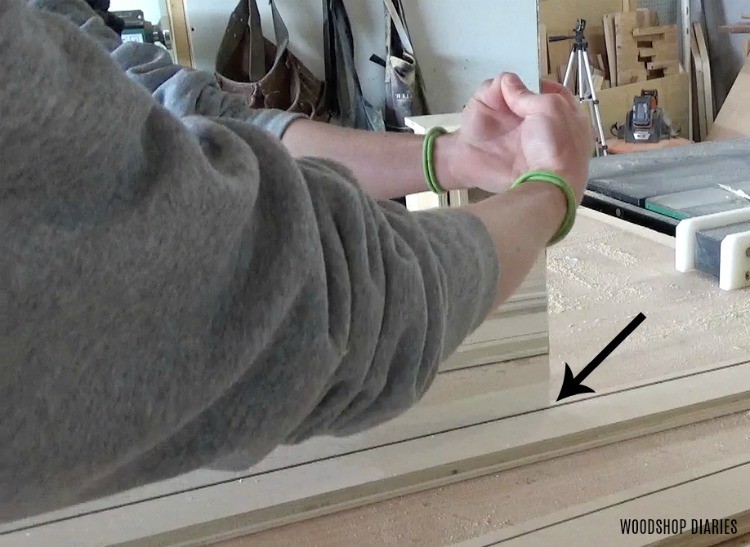
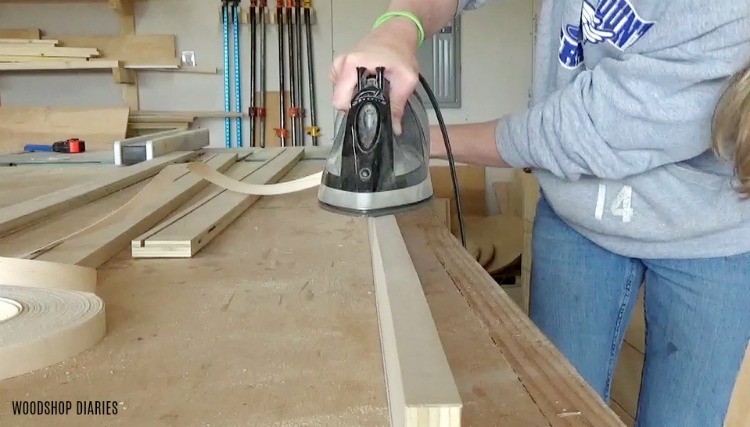
But before I cut anything, I went ahead and applied some edge banding across the front edge of these plywood strips. This will give me a cleaner finish later when I paint.
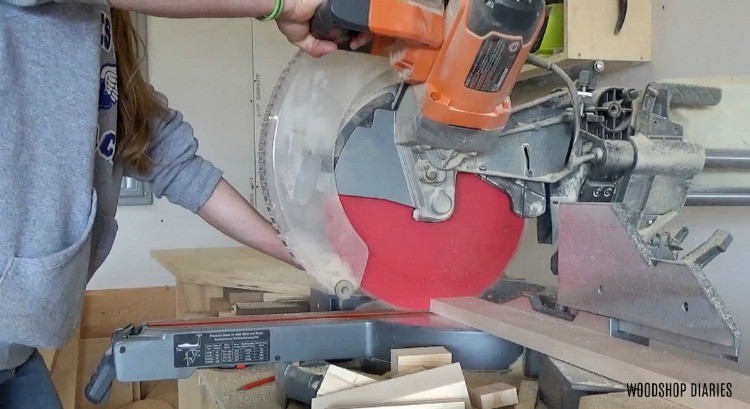
I double checked that my mirrors were, in fact, what I had ordered—24” x 24” (one should never assume haha) and took my plywood strips over to the miter saw. I cut four pieces to make each frame—two 25” and two 23 ½”.
.
NOTE: I was butt jointing these boards. If you wanted mitered corners, miter the ends 45 degrees and all four should be 25″ long. Also note: if you have a different size mirror, to figure your lengths, cut two boards 1″ longer then the height and two boards ½″ shorter than your width 🙂
I test fit the mirror into these pieces before painting. There’s nothing worse than finishing something then realizing later that it doesn’t fit haha.
Step 3: Finish Mirror Frame Pieces
Once I verified everything should fit well, I primed and painted these boards. Now, because I didn’t miter the corners of these boards, four of the edges will be exposed…but two will be sitting on a shelf unseen and two will be too high up the wall for anyone less than 7 ½’ tall to see. So I was okay with that. BUT, if you wanted to, you could miter the corners instead of doing a butt joint.
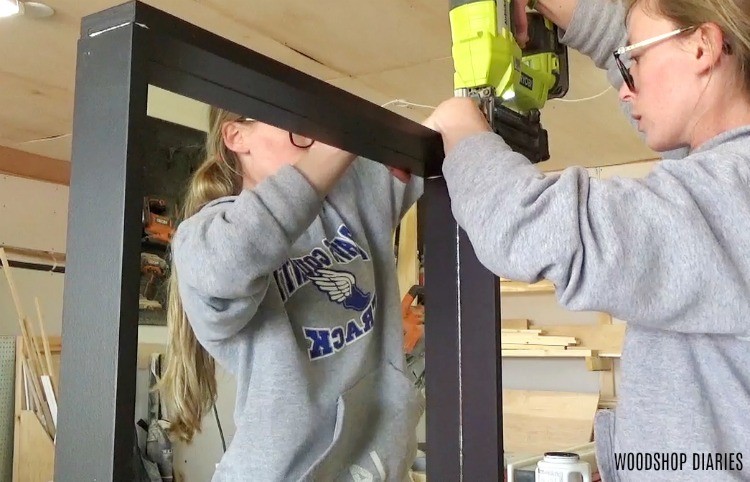
Step 4: Assemble Mirror Frame
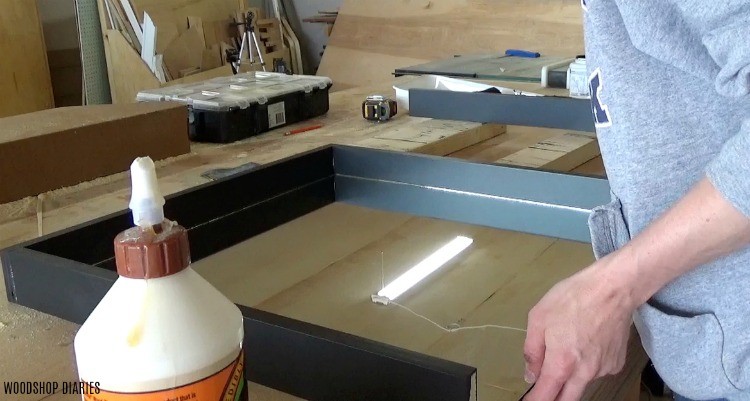
Once the paint was dry, I glued and nailed three sides of the frame together. Again, there are lots of ways to join this frame. But in my opinion, the frame only has to be as strong as what’s inside of it and the mirror is pretty fragile. So I wasn’t worried about this being super strong. If it fell and the frame broke, the mirror had to break, too, so you’d be remaking another anyway, so glue and nails here were fine with me. But feel free to beef this up if you prefer something stronger.
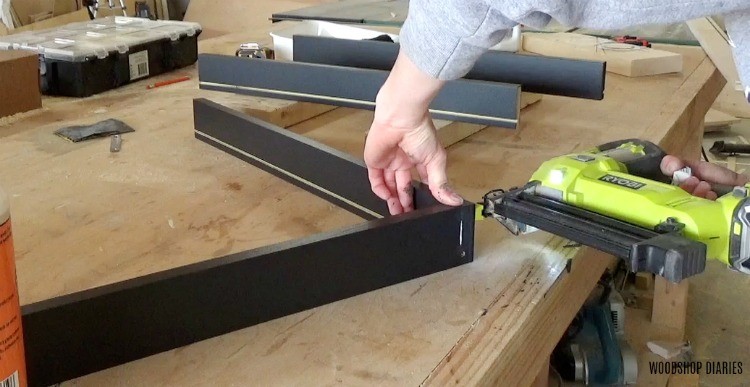
I nailed the 25″ long pieces into the 23 ½″ long pieces. So when it’s assembled, its overall size will be 25″ x 25″.
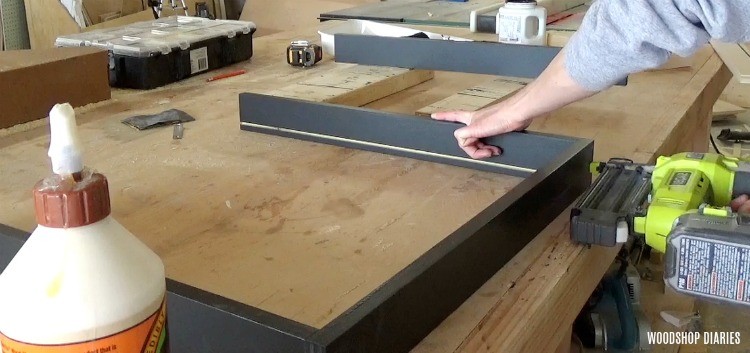
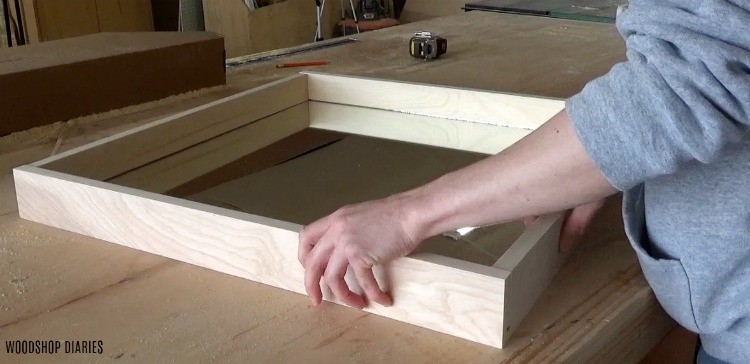
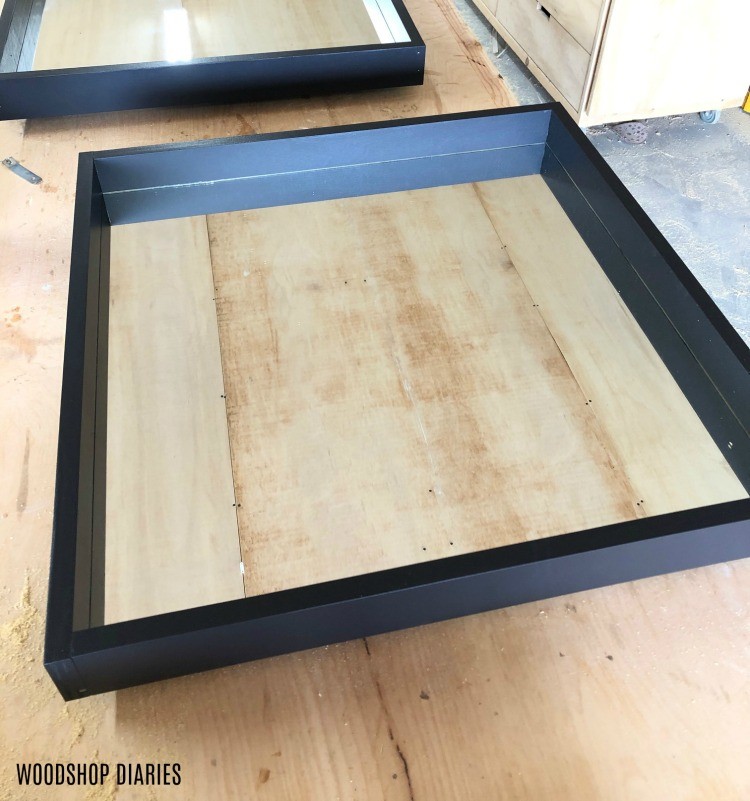
After assembling three sides, I slid the mirror into the dadoes and installed the last piece of the frame. I touched up any paint scuffs and set it aside to dry.
Now, the bottom and top ends of the mirror have holes where the dadoes were cut. Again, these will be hidden on the shelf and at the top of the mirror. But, if you wanted, you could putty these holes, let dry, and paint to hide them.
Step 5: Cut and Finish Floating Shelf
For the shelf, I wanted the wood to match the vanities. So I pulled out a leftover piece of white oak I had after building these vanities and cut it in half. Then I ripped it to 5 ½” wide on my table saw. (You could also just use a 1×6 for this.)
.
These will be the shelves. After sanding and applying a clear coat poly, I packed up a few tools and headed to install them in my parent’s bathroom.
Step 6: Install Floating Mirror Shelf
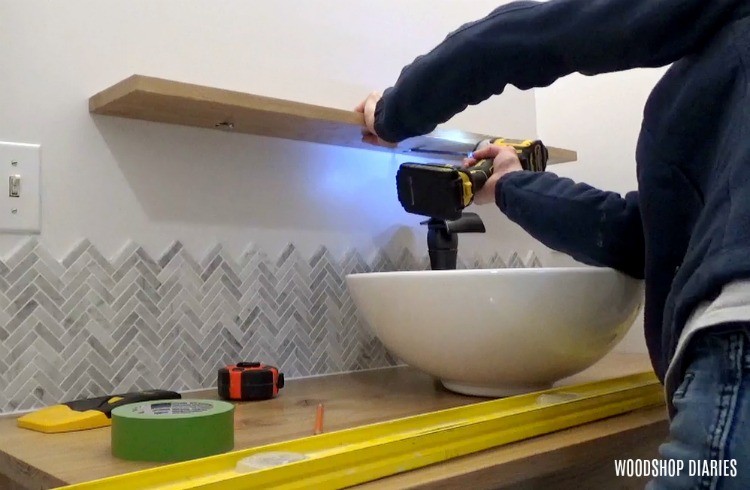
We already installed the vanities and the sinks, so all that as left was the floating mirror shelf. So I measured down from the light fixture to make sure there would be enough room for the mirror and marked where I thought the shelf should go. Then I used a stud finder to find and mark at least two studs.
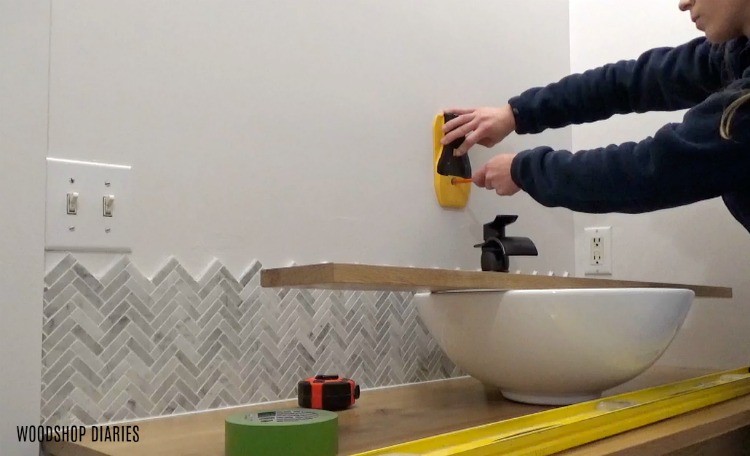
I marked these on the wall, then held the shelf up and transferred the marks to the board. This is where I needed to drill the pocket holes so that they would hit a stud.
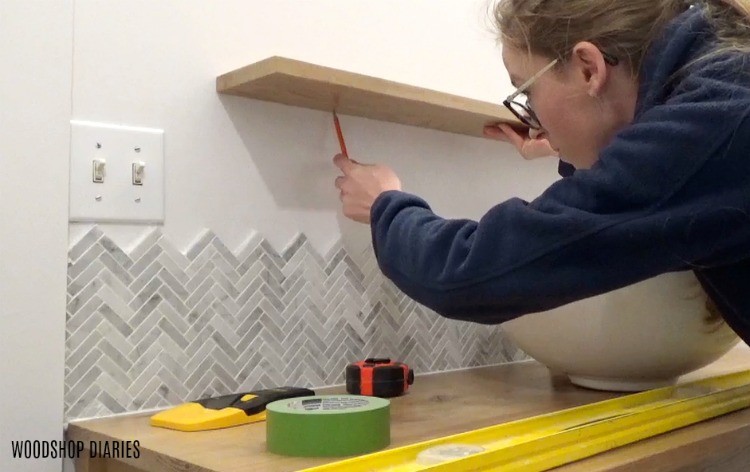
So I took the board over to my pocket hole jig and drilled two ¾” pocket holes at these marks. I started two 2 ½” pocket hole screws in these holes and brought it back to the bathroom.
.
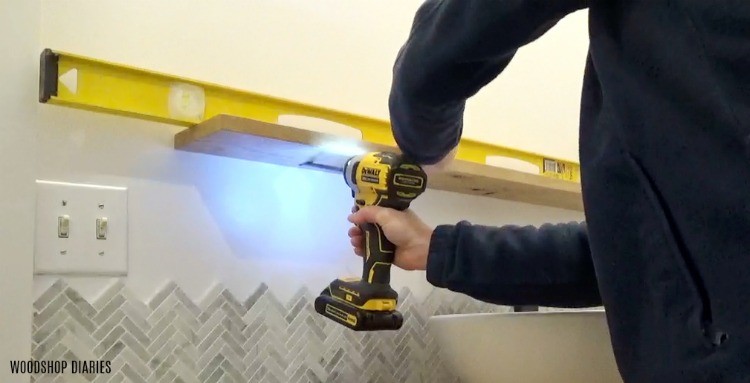
Once these holes were lined up with the studs and the shelf was the height I wanted it, I drove one of the screws in.
Then, I leveled it, and drove the other. I was hesitant that the pocket holes wouldn’t be sturdy enough with this just being a ¾” thick board, but with the 2 ½” screws, it wasn’t budging…I was actually pretty impressed.
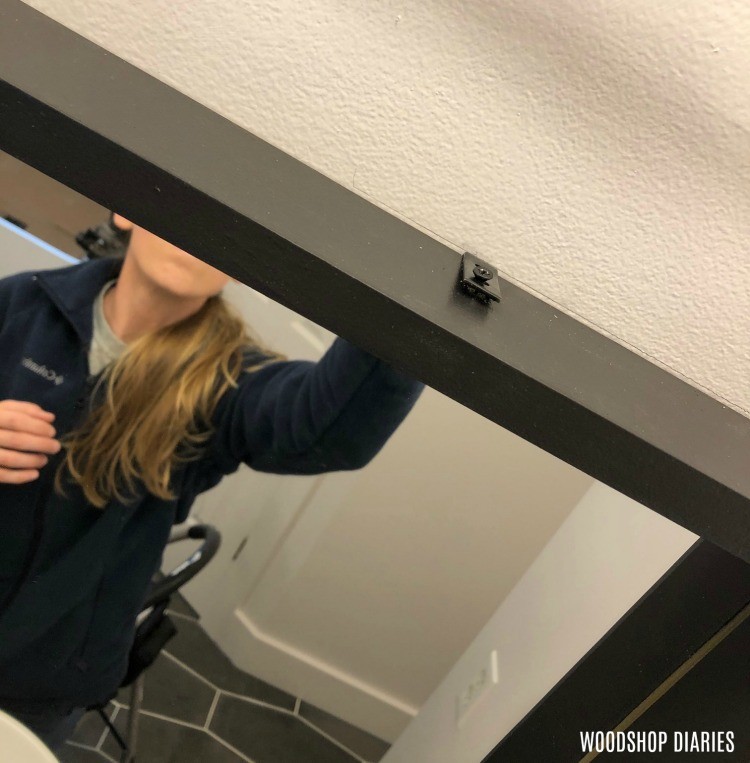
It would easily hold the weight of the mirror frame, but I wanted to secure the mirror to the wall still to prevent it from tipping over or falling off the shelf.
.
So I set the mirror on the shelf and traced a line along the top of it. I used an L bracket and secured it to a stud at this mark.

Then I set the mirror back in place and attached the other end of the bracket to the top of the frame. Everything seemed to be snug and holding well, so I handed it over to mom and dad and headed back to my own shop to build the next project.
This was such a simple project and while it could have been made a lot more complicated, it turned out pretty well for just a few hours of work.

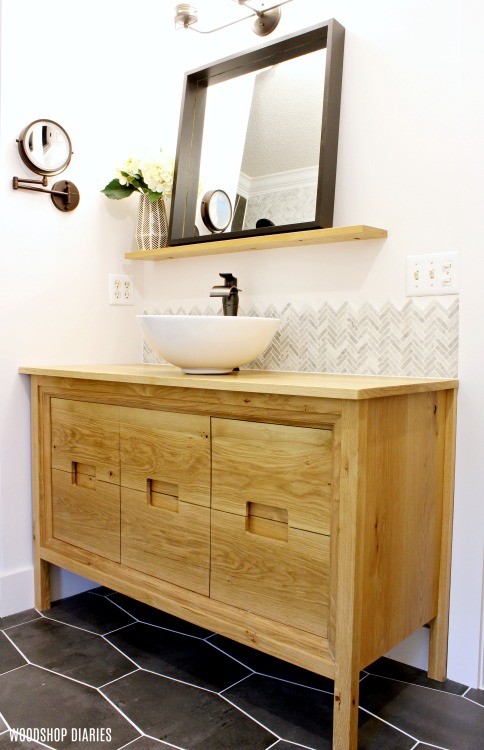
I’m glad mom and dad have a nice new bathroom set up and I’m really happy with the design. If you want to check out how that vanity dresser was built, be sure to head over to this post.
In the mean time, I’ll be working on my next project, so be sure to subscribe to my newsletter below so you don’t miss out on what’s coming next.
.
And if you loved this project, I’d love it if you’d pin this for later
Until next time, happy building 😊