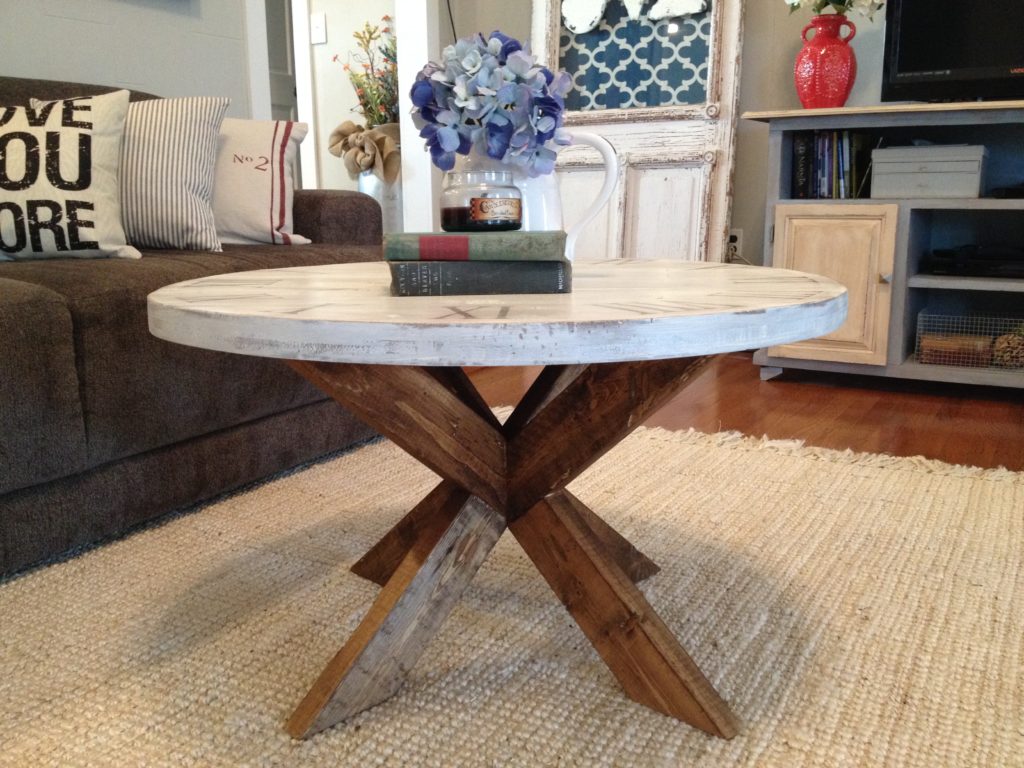
If you’re a frequent follower, you may notice that this DIY Coffee Bar Table isn’t really my typical “style” lately. I’m usually building more modern and clean lined pieces.
But many times, that modern design style doesn’t leave a lot of room for imperfections. And I’m far from perfect, so that can be a little…stressful at times. So, when a friend recently asked me to build a rustic style coffee bar table, I thought it was a good opportunity to build something a little less stress inducing and just have some fun.
.
The good thing about a rustic finish is that things don’t have to line up perfect. In fact, it’s actually helpful in the distressing process if there are a few uneven spots or ridges.
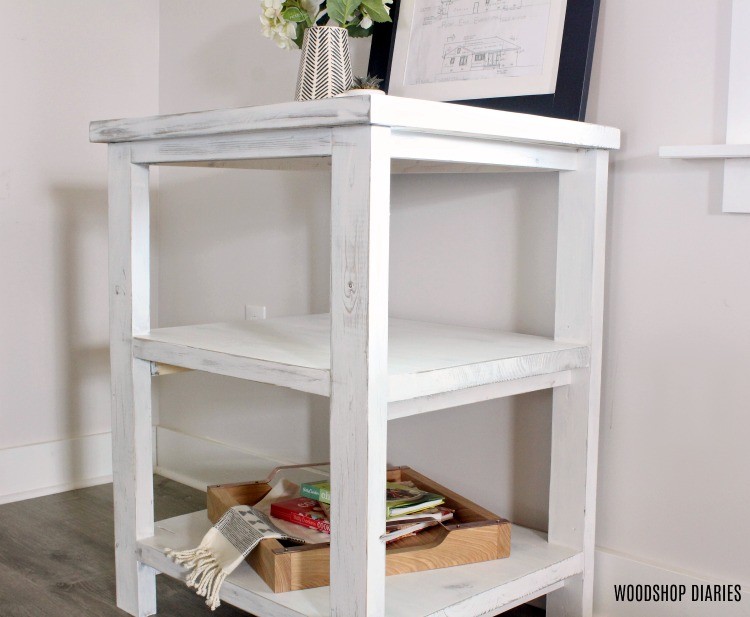
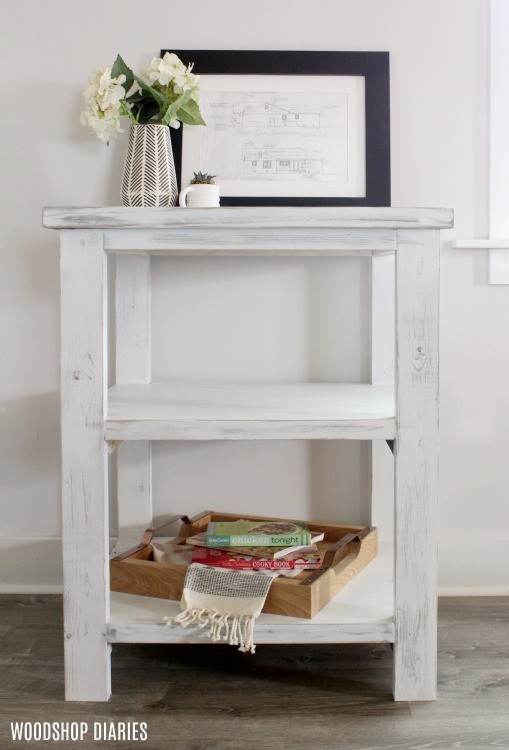
So if you’re looking for an easy build without any pressure, this is the one 🙂 Keep reading to grab the FREE PLANS! PS Check out how to build that EASY serving tray on that bottom shelf in this post.
.
Before we get to the how to, if you’re looking for more DIY inspiration, check out a few of these small tables, as well!

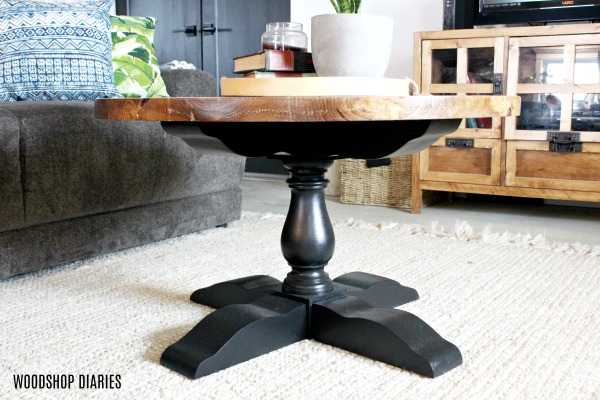
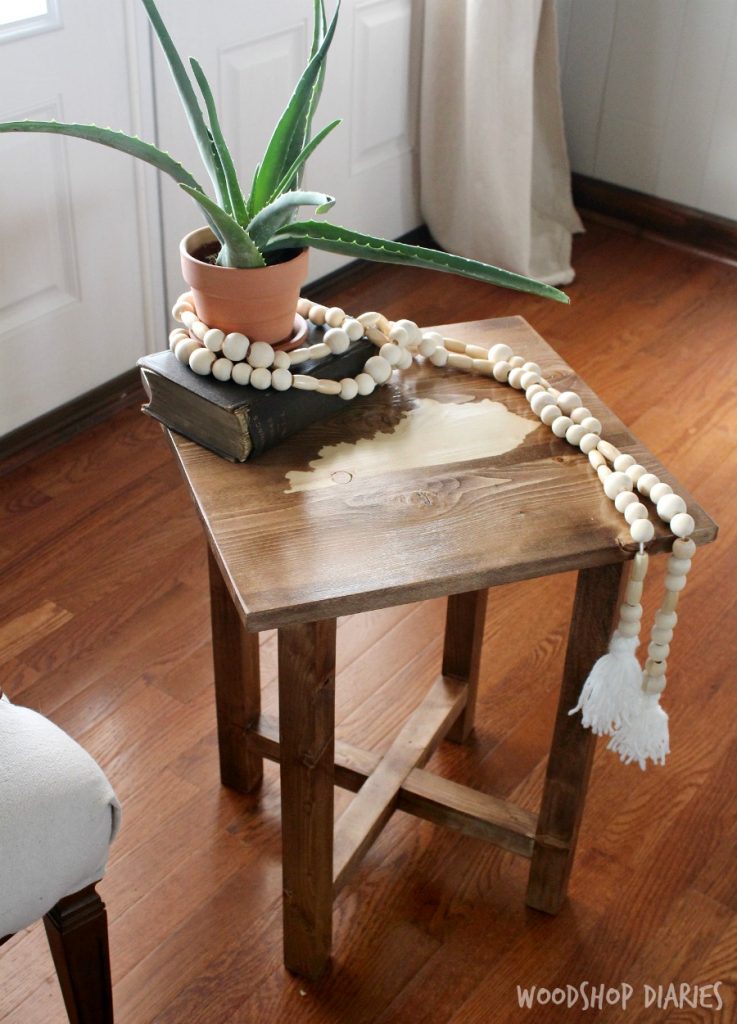
DIY Pedestal Coffee Table 
DIY Simple End Table 
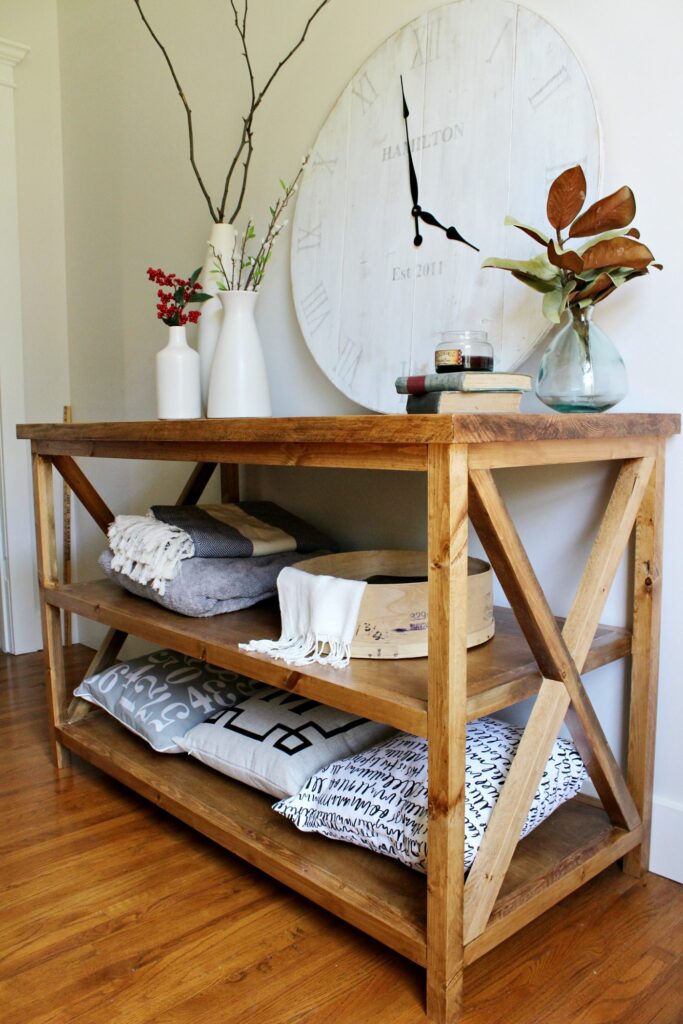
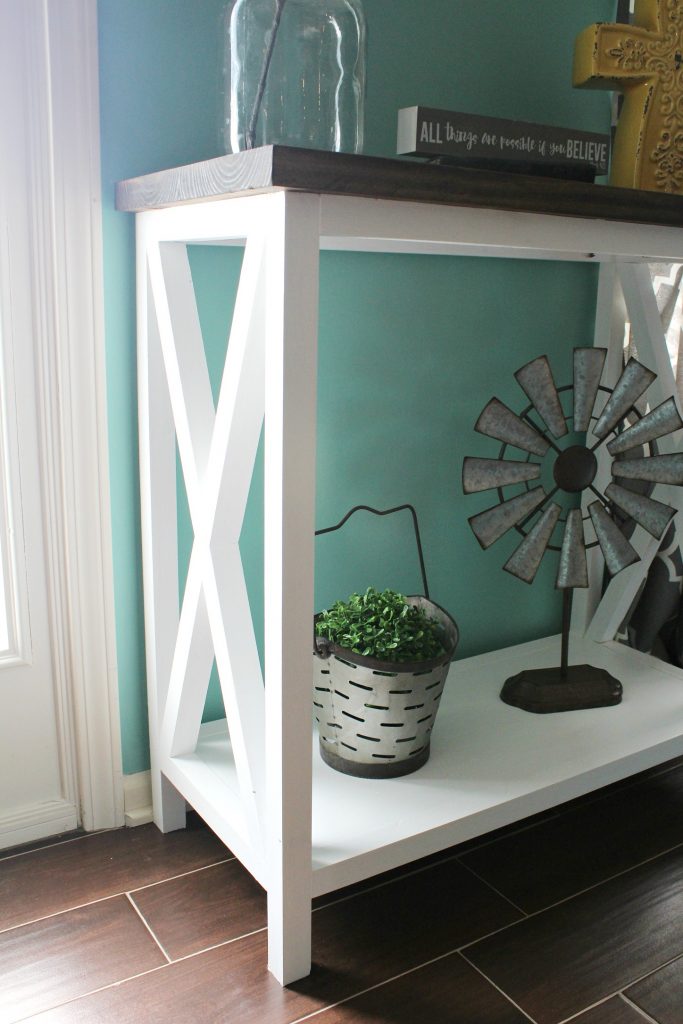
DIY X Base Console–Large DIY X Base Console–Small 
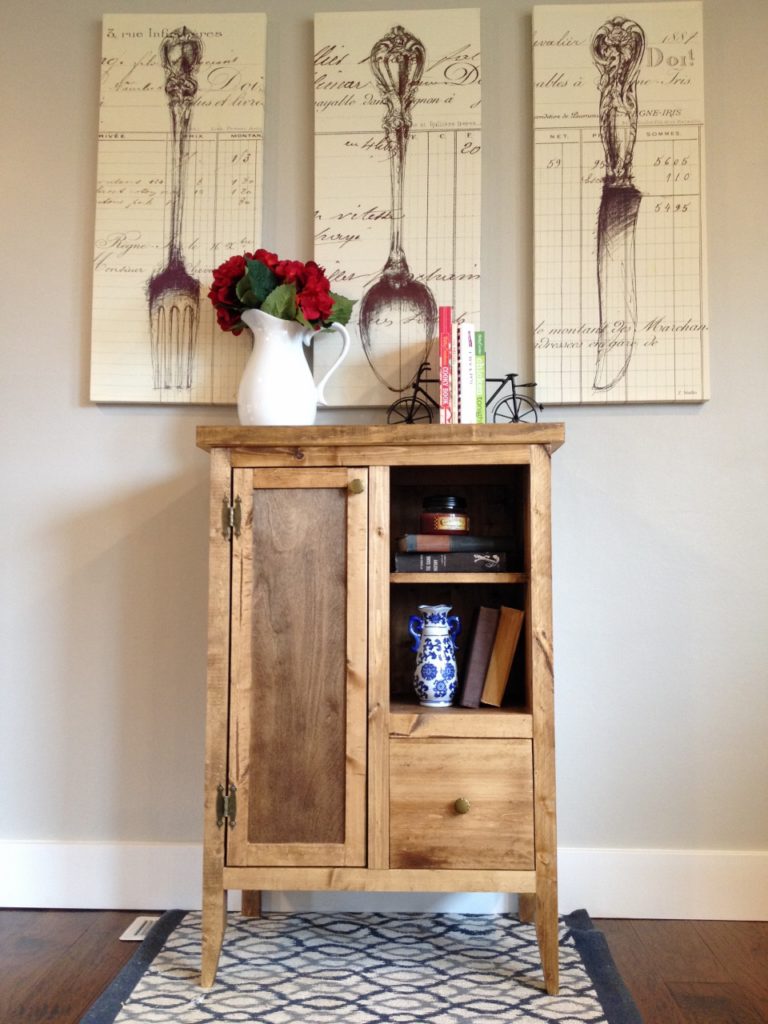
DIY Coffee Cabinet 
DIY X Base Coffee Table
I’m sharing the free plans below and the video tutorial here as well:
This post contains affiliate links. See policies page.
Tools & Materials:
- (3) 2x10x8 boards
- (2) 2x2x8 boards (I make my own)
- (2) 2x4x8 boards
- 2 ½″ pocket hole screws
- 2 ½″ wood screws
- Wood Glue
- Stain & Paint
- Miter Saw
- Table Saw (optional)
- Circular Saw and Saw Guide
- Drill
- Pocket Hole Jig
- Sander

Cut List for DIY Coffee Bar Table:
- (4) 2×4 Legs @ 34 ½″
- (6) 2×2 Frame Sides @ 20″
- (2) 2×2 Frame Front & Back @ 21″
- (9) 2×10 Top & Shelves @ 30-32″ (see step 1)
Now, let’s get to the build!
Step 1: Glue Up Top & Shelves
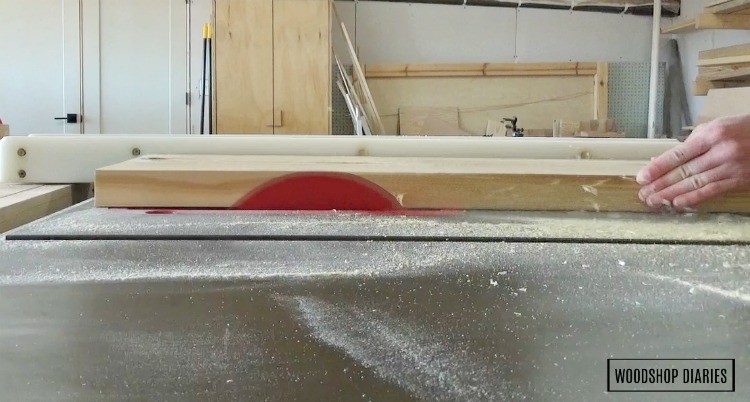
Some habits are hard to break, and although this table didn’t call for nice smooth edges, when working with construction lumber, I can’t help myself and I have to clean them up a little. Check out my post here about how to clean up edges on 2x material.
.
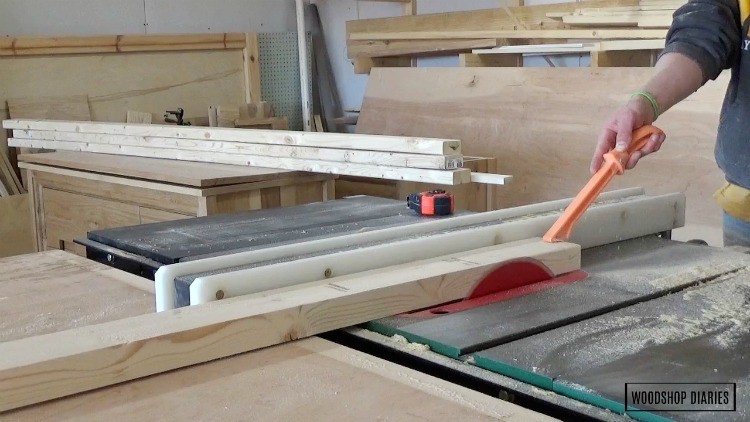
So after I rough cut my 2x10s to 9 pieces of about 30-32″ long for the top and shelves on the miter saw, I cleaned up the edges on the table saw to make a smoother glue up. By the way, I have a great post here about how to maintain and clean a table saw top for smoother, safer cuts.
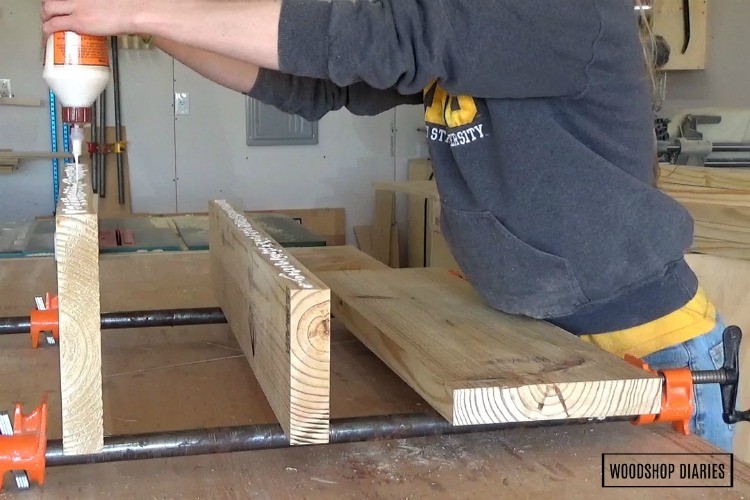
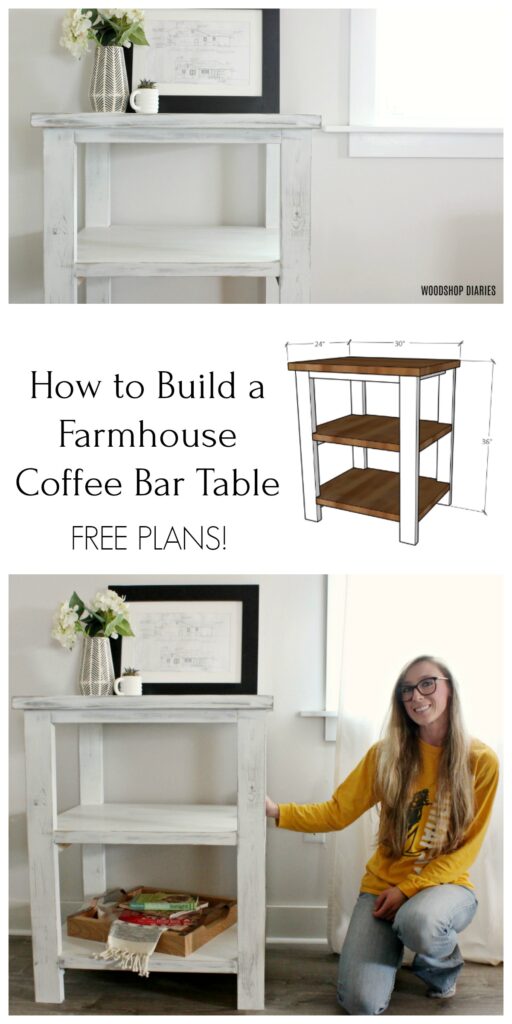
I glued up three panels for this project—one for the top, and two for the shelves. The overall size of the panels should be: top–24″ deep x 30″ wide & shelves: 23″ deep x 28″ wide.
.
It’s easiest to glue them up longer than you need, and trim the panel to the correct length once the glue is dry (see later steps). My longest panel is 30″ wide (for the top), so that’s why I cut my 2x10s roughly 30-32″ long.
.
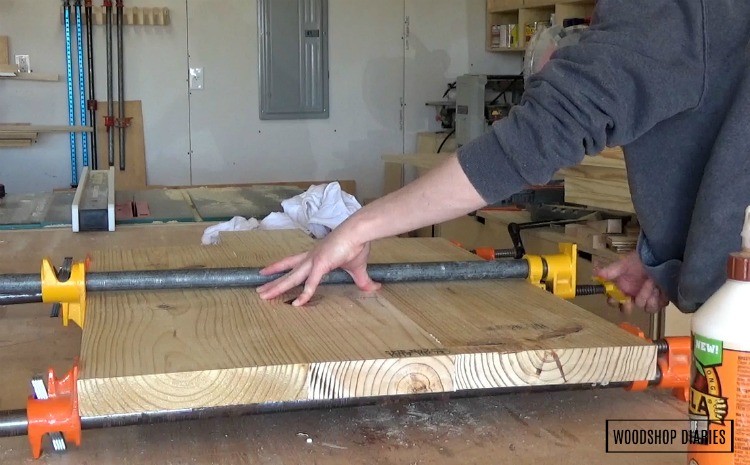
For the width, I ripped my 2x10s down to the right widths to make my top 24” deep overall and my two shelves 23” deep overall. But, if you don’t have a table saw to rip these boards down, you can glue them up full width and trim down later with a circular saw. I applied wood glue to the edges and clamped until dry.
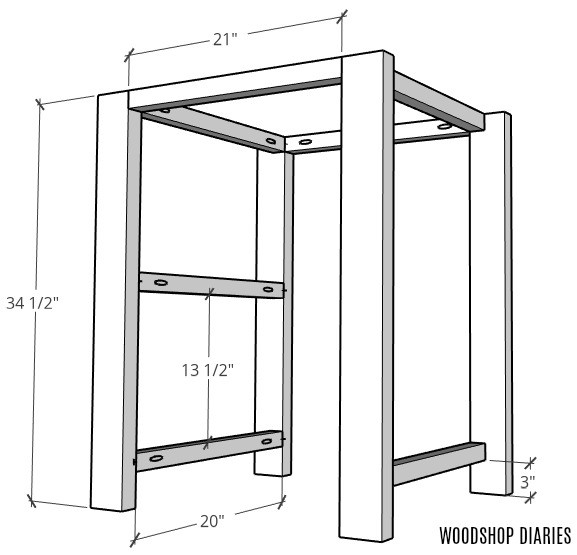
Step 2: Build Coffee Bar Table Frame
While the glue dried on the panels, I moved on to building the base frame of the coffee bar table.
.
This was made from 2x4s and 2x2s. So I trimmed the 2×4 legs down to 34 ½″ long and, again, ran them through the table saw to square and clean up the edges. Rustic or not, this is something I just can’t not do haha.
I gave them a good sanding, then trimmed the 2x2s for the frame. I drilled 1 ½″ pocket holes into the ends with my Kreg Jig and began assembling using wood glue and 2 ½″ pocket hole screws. NOTE: When using pocket holes in 2x2s, I find it helps prevent cracking to use one screw PLUS wood glue per joint vs two screws per joint.
Notice that one of the middle shelf supports is missing. I installed it in mine at this point of the build and had issues later getting the shelf into the frame. See video for that ordeal. So in hindsight, it’s best to leave one middle support out until you’ve gotten the shelf placed in the frame.
Step 3: Trim Coffee Bar Table Top and Shelves to Final Size
While I let the glue dry on the base, I trimmed down the top and the shelves to the correct lengths using my circular saw. By the way, if you’re interested in this track I’m using with my circular saw, check out my plywood cutting post for details on it.
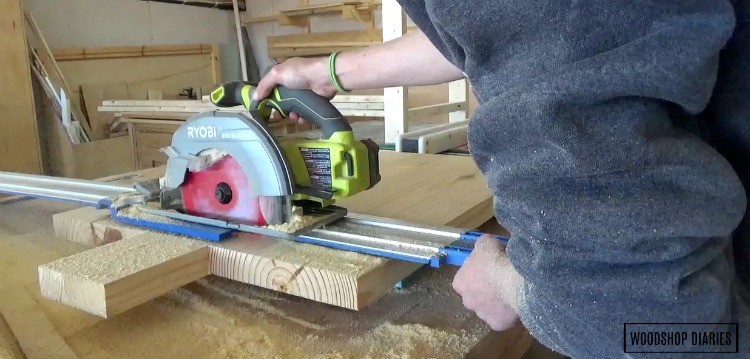
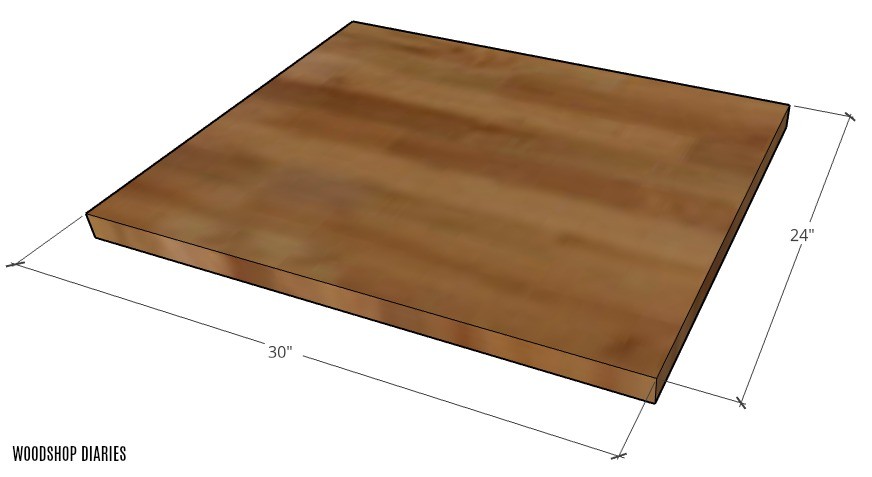
The top needs to be 24″ x 30″ and the two shelves should be 23″ x 28″.
But, because the shelves will kind of “wrap” around the legs at the corners, I needed to notch them out so they will fit. So I measured, marked, and used a jig saw to cut the corners of the bottom and middle shelf like shown. It’s best to cut to fit your exact dimensions here, but this gives you a rough estimate:
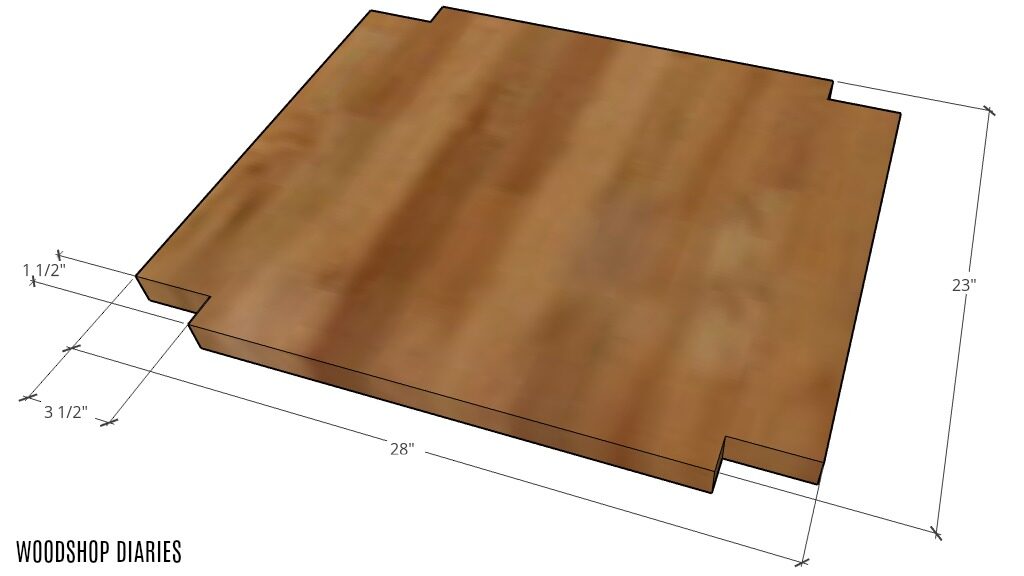
In hindsight, it might have been easier to make these shelves a variety of different ways…but hindsight is useless when your panels are already glued up haha. So I continued on.
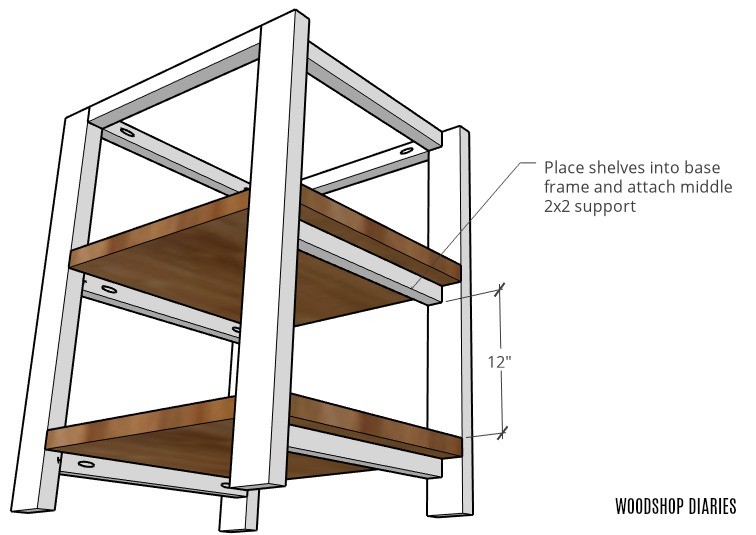
Step 4: Install Shelves into Coffee Bar Table
I gave the shelves and top a good sanding to get them nice and flat and smooth. Then, I placed the bottom shelf in and it fit great. So then I tried the middle shelf…and it DIDN’T fit because of that whole middle support thing from step 2 I mentioned.
.
So I ended up removing one of the middle supports so I could slide the shelf in place, then reattached the support. That’s why I told you to leave one out in step 2 😉 It all makes sense now!
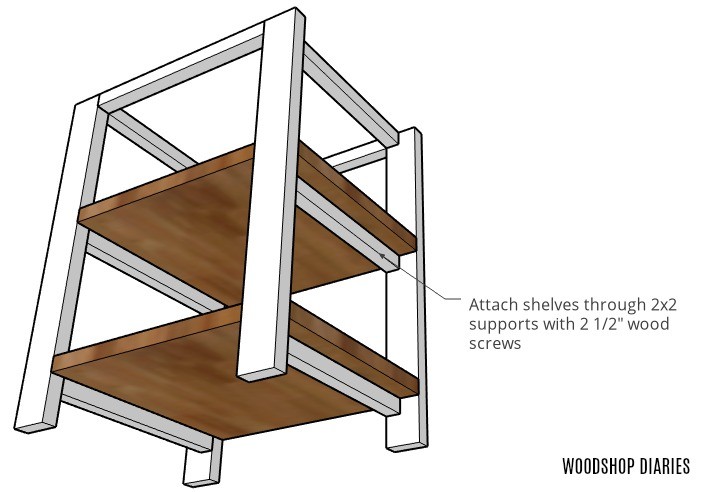
To attach these shelves, I screwed them in place through the bottom supports like shown.
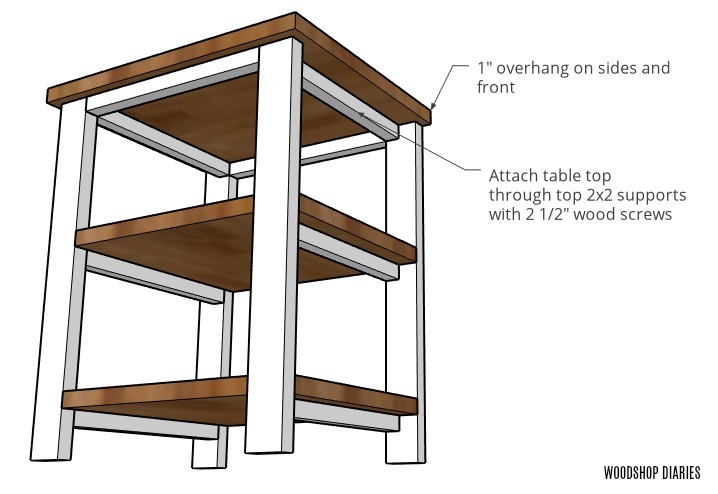
Step 5: Install Coffee Bar Station Table Top
Then, I placed the top on and checked that the overhang was the same on the sides and the front (1″ overhang on both sides and the front–flush on the back side), then screwed this in place through the 2x2s on the base.
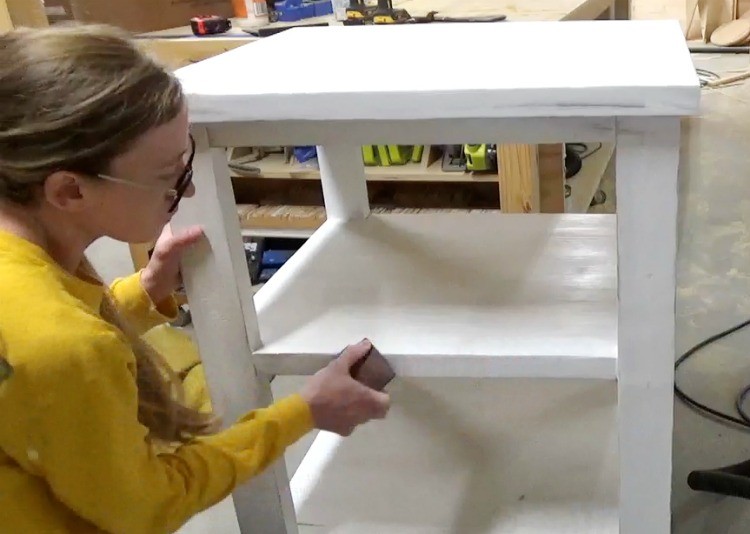
Step 6: Finish with Farmhouse Distressed Look
Assembly was complete at this point, but it still needed to be finished. When finishing a distressed piece, I stain the wood a dark color, so that when I sand the paint off in places later, the underneath is dark and shows up better than raw wood. That’s just how I’ve always done it.
So I stained the entire piece in Varathane Smoke gray. Once that was dry, I brushed on two light coats of white latex paint.
.
I came back the next day and gave the entire piece a light sanding, then took a piece of 80 grit sandpaper and hand sanded the corners, joints, and in random places all over the piece to give it a “distressed farmhouse” look.
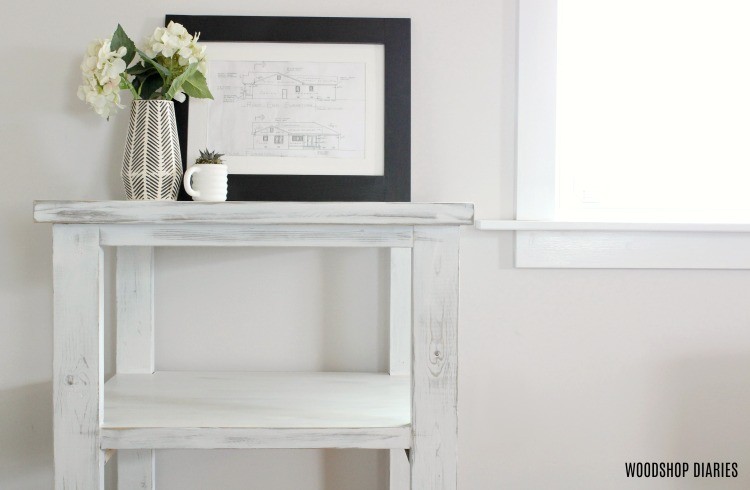
And, once it’s wiped down to get all the sanding dust off, it’s ready to use. My friend was using this as a coffee bar station table in her kitchen.
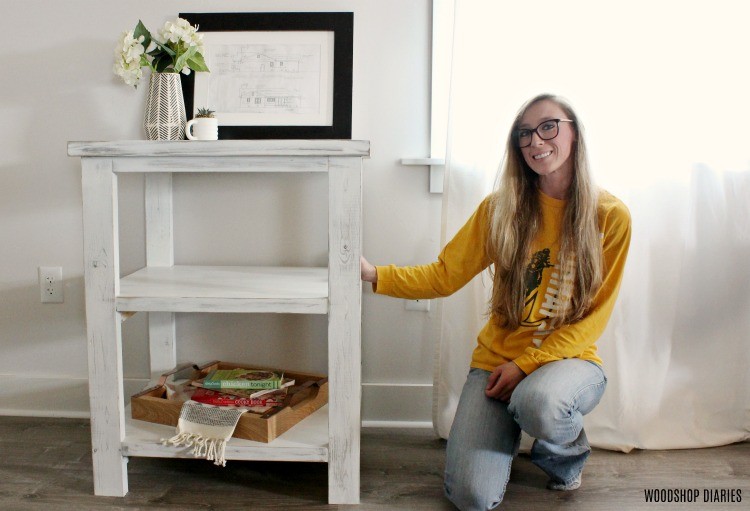
It would be great for something like that in the kitchen, or as a little entryway table to toss keys, etc on to when you walk in the front door.
Either way, it’s a super simple build I hope you’ve enjoyed seeing. I’ve got several more fun builds coming out soon, so I’d love if you’d subscribe to my newsletter below for updates on new posts! And if you want to save this for later, feel free to pin this and share it!
Until next time, happy building 🙂