It’s hotter than blue blazes in the shop lately, but I’ve been busier than ever!! When the sweat starts running, the sawdust just soaks it right up for me. It’s a good system I have going on.
.
Just kidding…it’s really itchy. It’s basically like covering yourself in a sweaty sawdust paste. Air conditioning would be a much better system HA…for real.
.
Anyway, let me get back on topic here…I’ve got another fun and easy furniture build for you today that won’t take you too long to do so hopefully, you can avoid the sweaty sawdust paste situation.
.
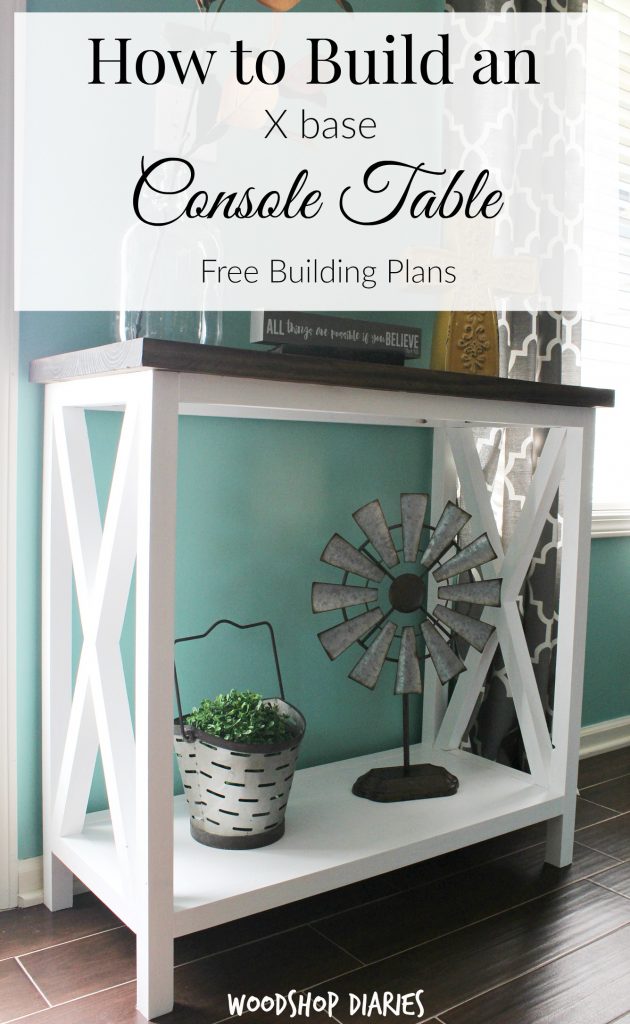
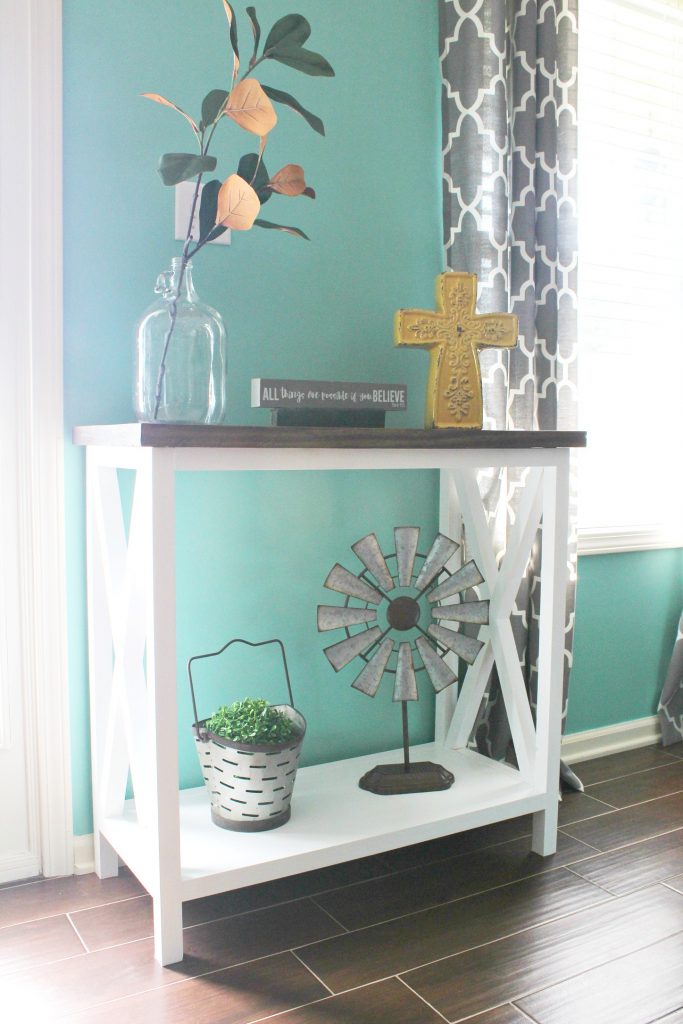
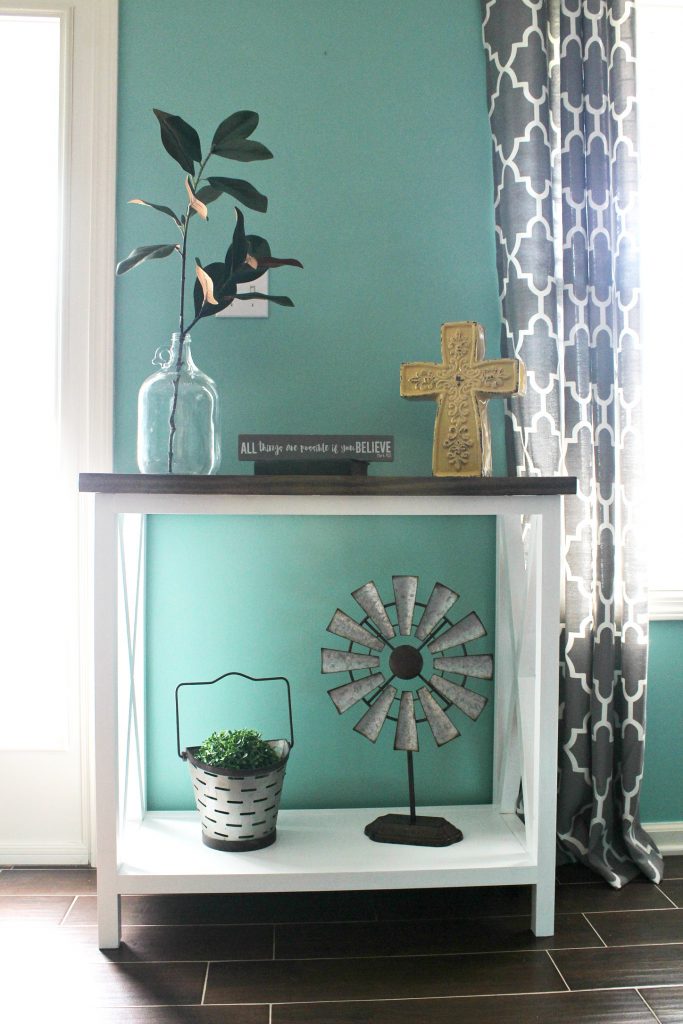
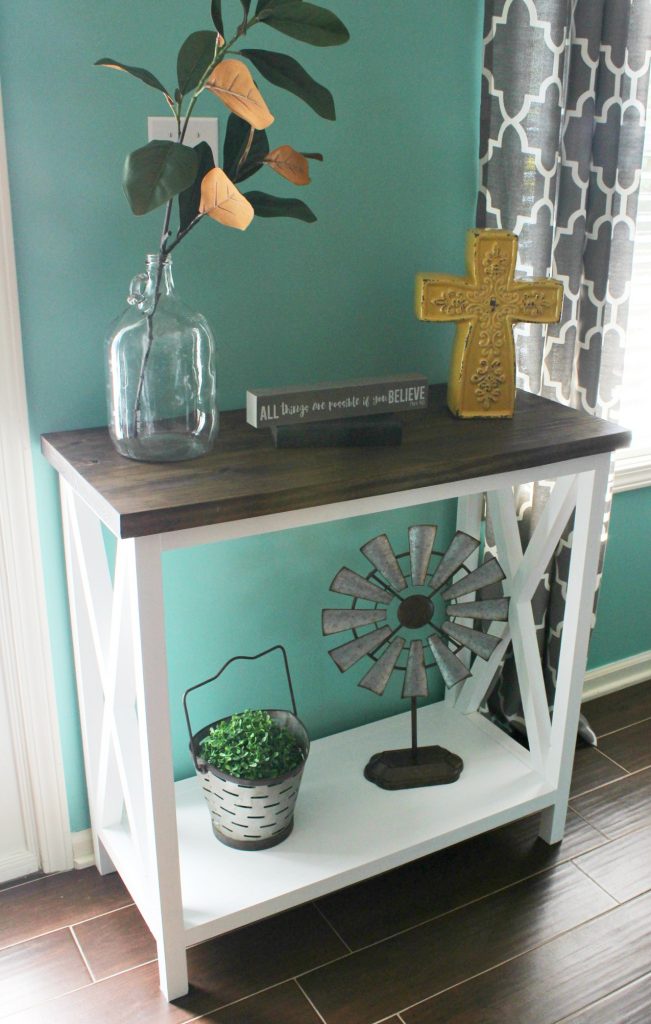
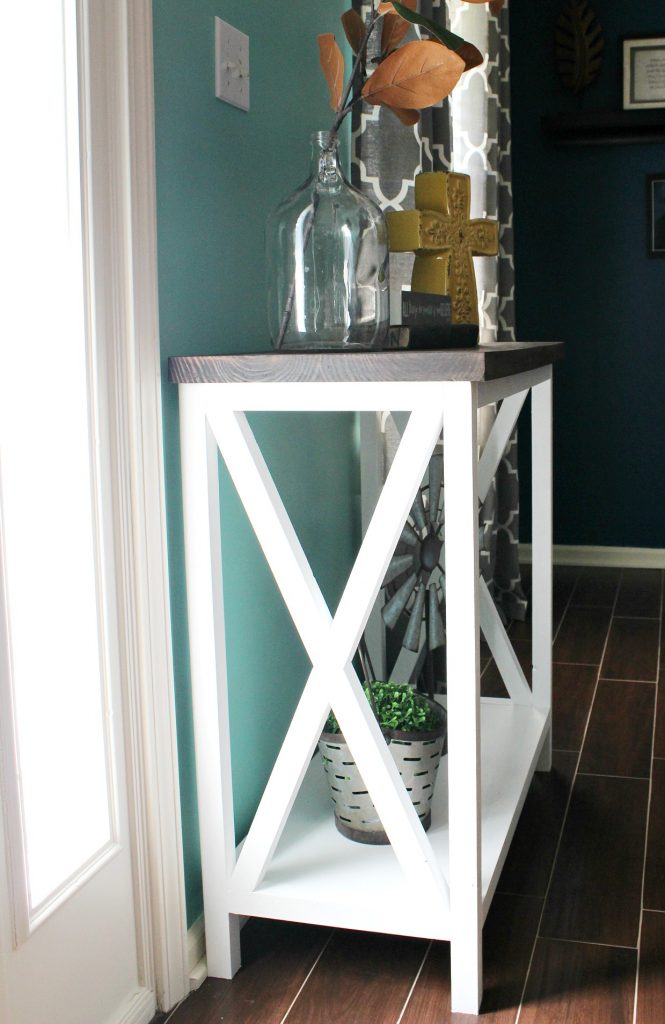
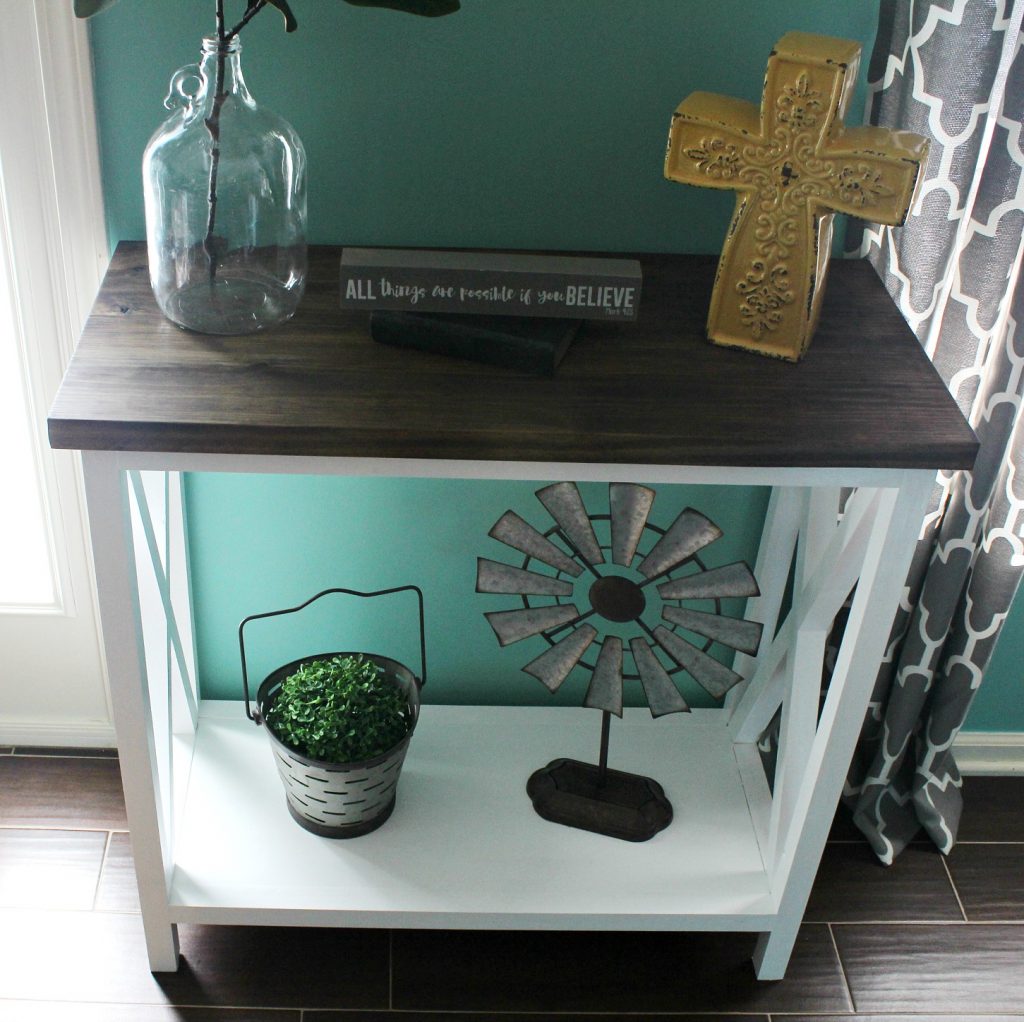
It’s a simple X base console table! The size is easily adjustable with these plans, but this one measures 34” tall, 16” deep, and 35” long. Ready to make your own?? Let’s get to it.
This post contains affiliate links for your convenience. If you purchase through some of these links, I may receive a small commission at NO extra cost to you. Thank you for supporting this site to help keep content free! See disclosure policy for more details.
.
For this build, you will need:
Tools and Materials
2 ½” wood screws (you need some that you can drive in flush to the wood)
1 ¼” wood screws (you need some that you can drive in flush to the wood)
Wood Putty
Measuring tape
.
(5) 2x2x8
¼ sheet ¾” plywood
(1) 2x10x8
.
Step 1: Cut X Base frame pieces
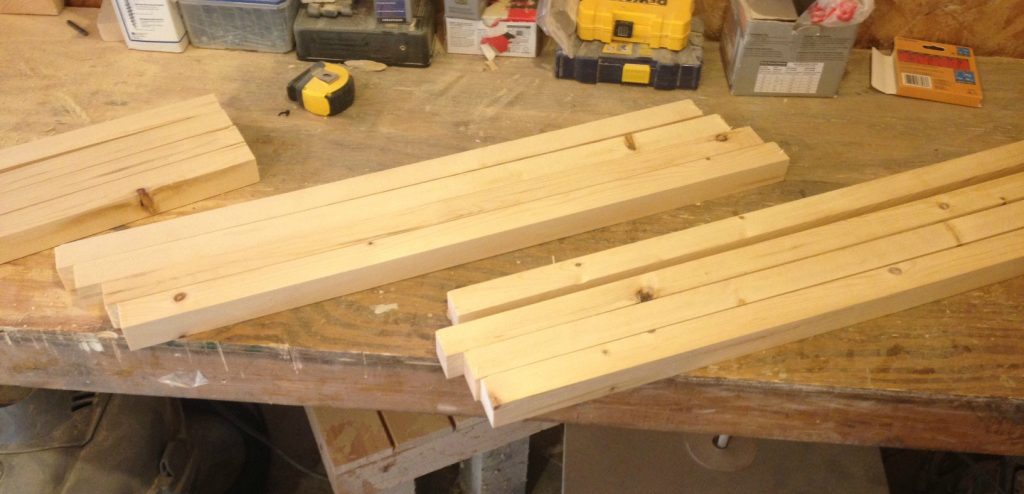
For the legs, cut 4 pieces of 2×2 at 32 ½” long. For the side supports, cut 4 pieces of 2×2 at 12” long. For the front and back supports, cut 4 pieces of 2×2 at 30” long.
Step 2: Assemble the X base frame
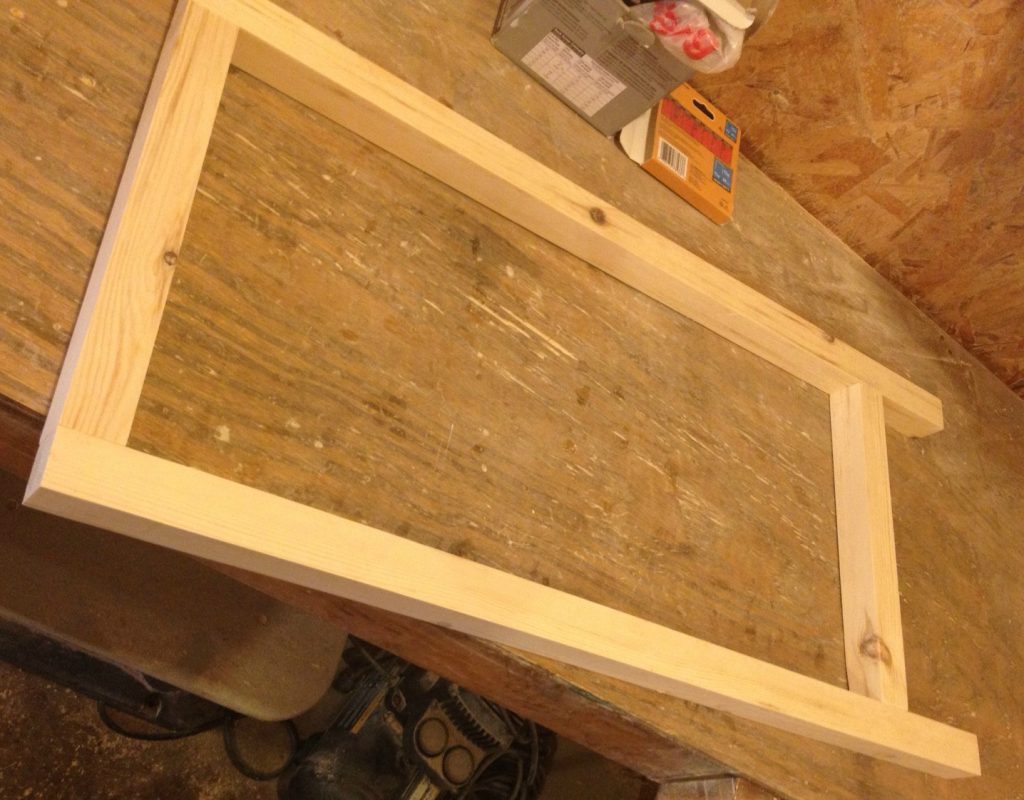
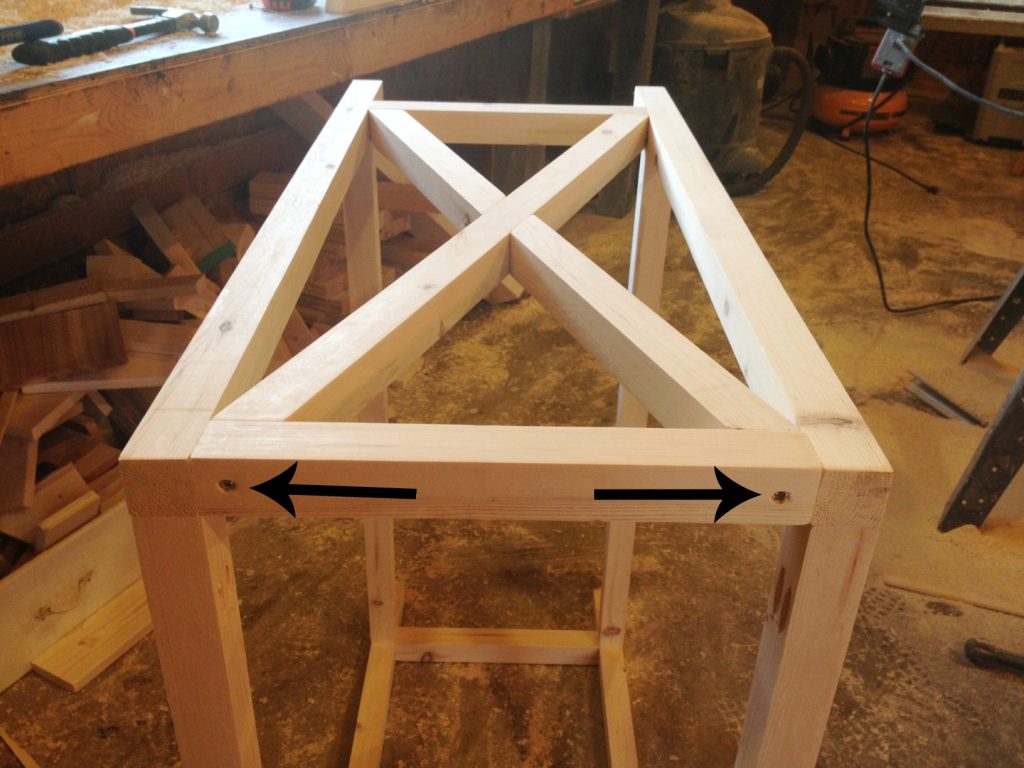
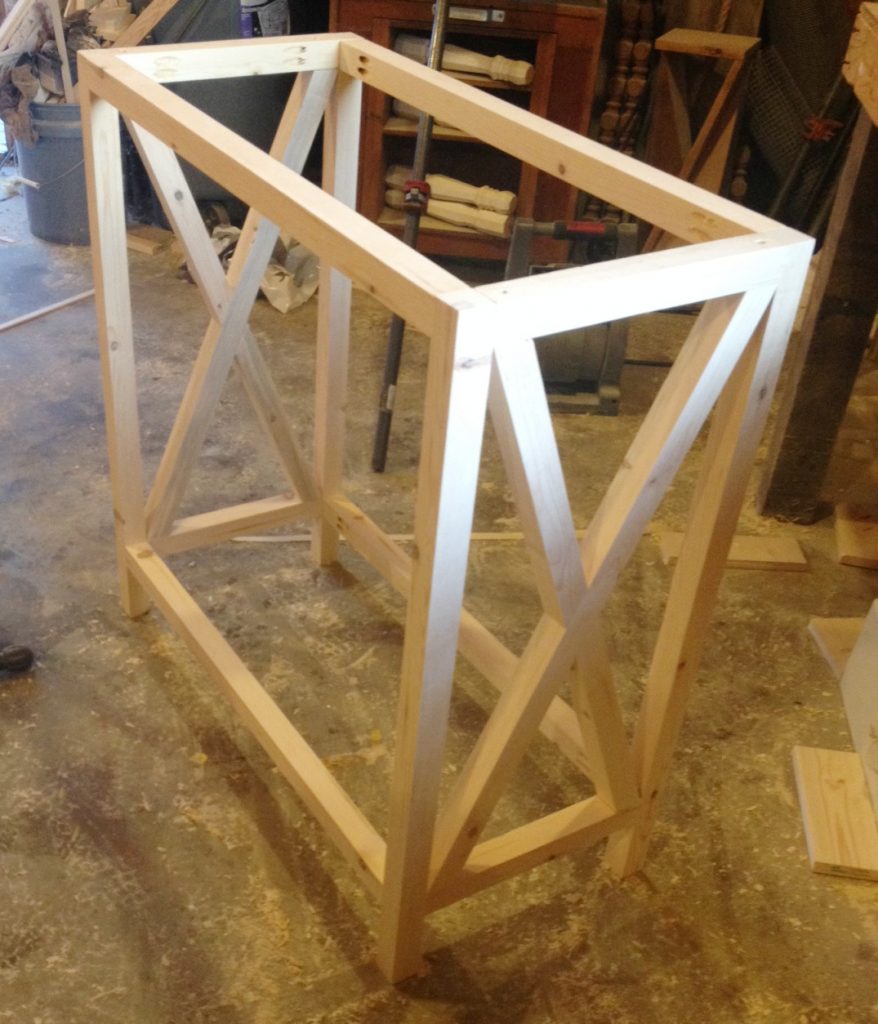
Drill 1 ½” pocket holes into both ends of the side and front and back supports. Using 2 ½” pocket hole screws, assemble two side “panels” using the legs and side supports like shown. The bottom support is screwed in so that there is 4” between it and the bottom of the leg.
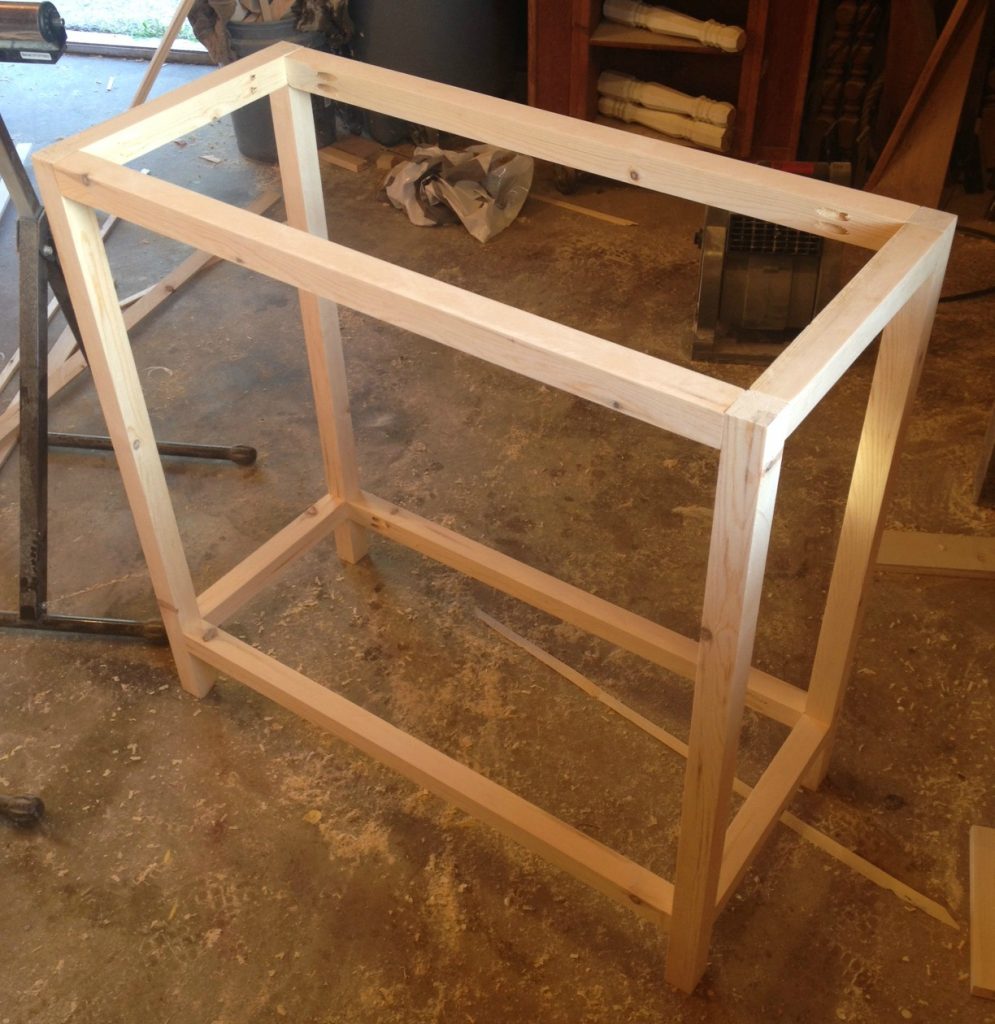
Once the side panels are together, attach the front and back supports like shown using 2 ½” pocket hole screws. Again, the bottom support is attached so that there is 4” between it and the bottom of the leg.
Step 3: Add the Xs
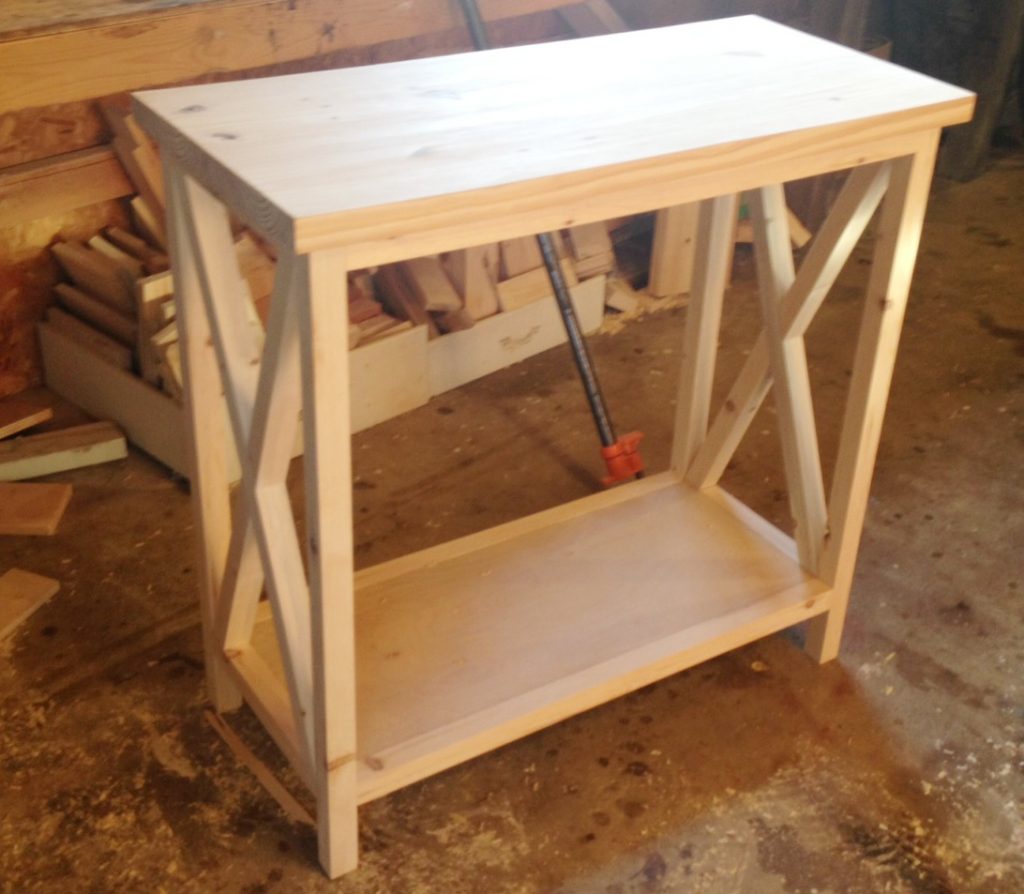
Here, it is easiest to mark and cut instead of me giving you the measurements. Hold a 2×2 up on the side making sure to line it up with the corners and mark where to cut. Mine ended up being ABOUT a 24 degree cut on both ends to fit. It’s easiest to cut long and trim off some to get a really tight fit.
.
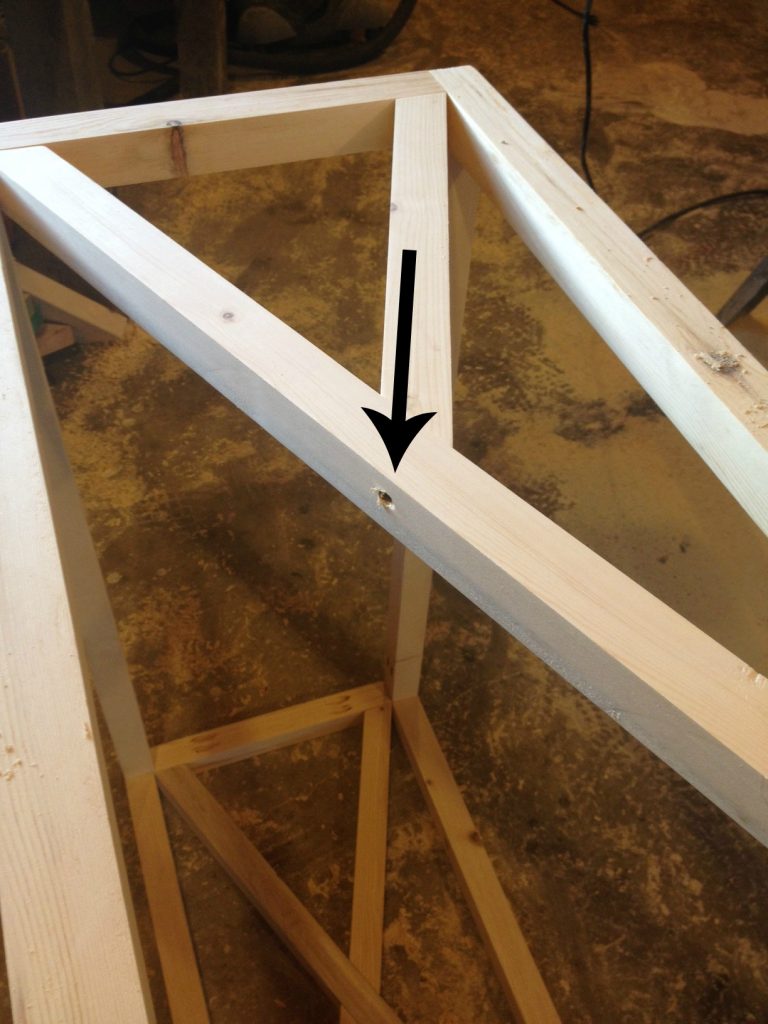
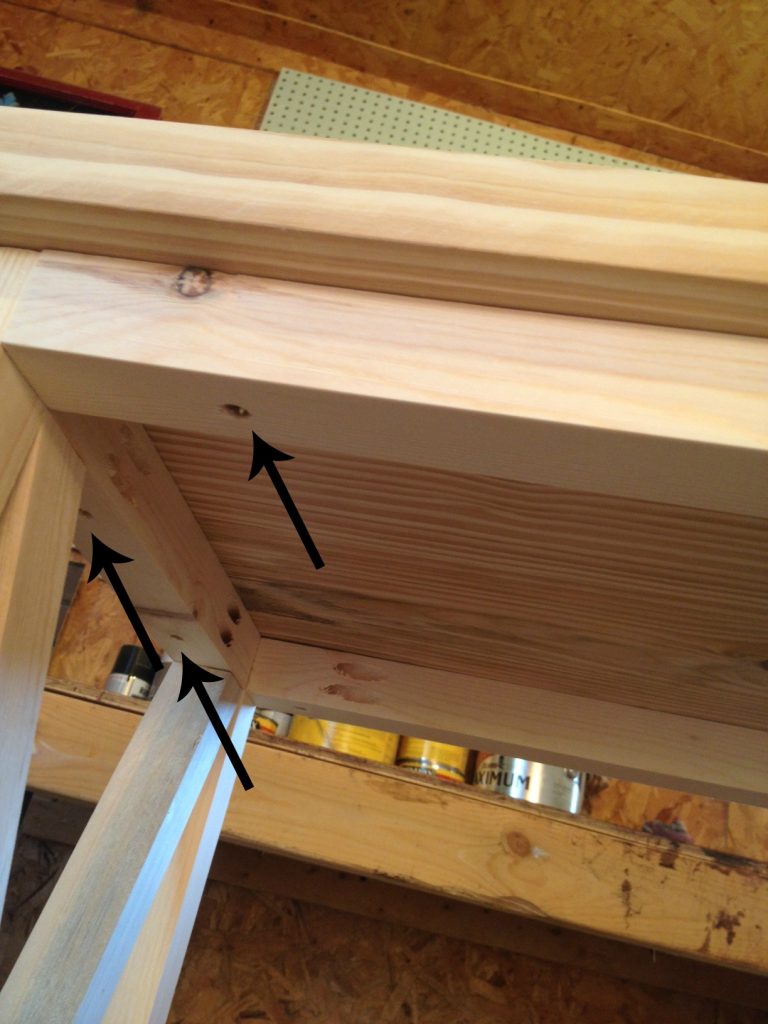
Once you get your main “cross” piece cut (on both sides), screw it in place with 2 ½” wood screws through the top and bottom side support pieces. You could use pocket hole screws, but this way is much cleaner so you don’t have to see holes. (Ignore that the whole X is screwed in here…imagine it’s only the one long piece.)
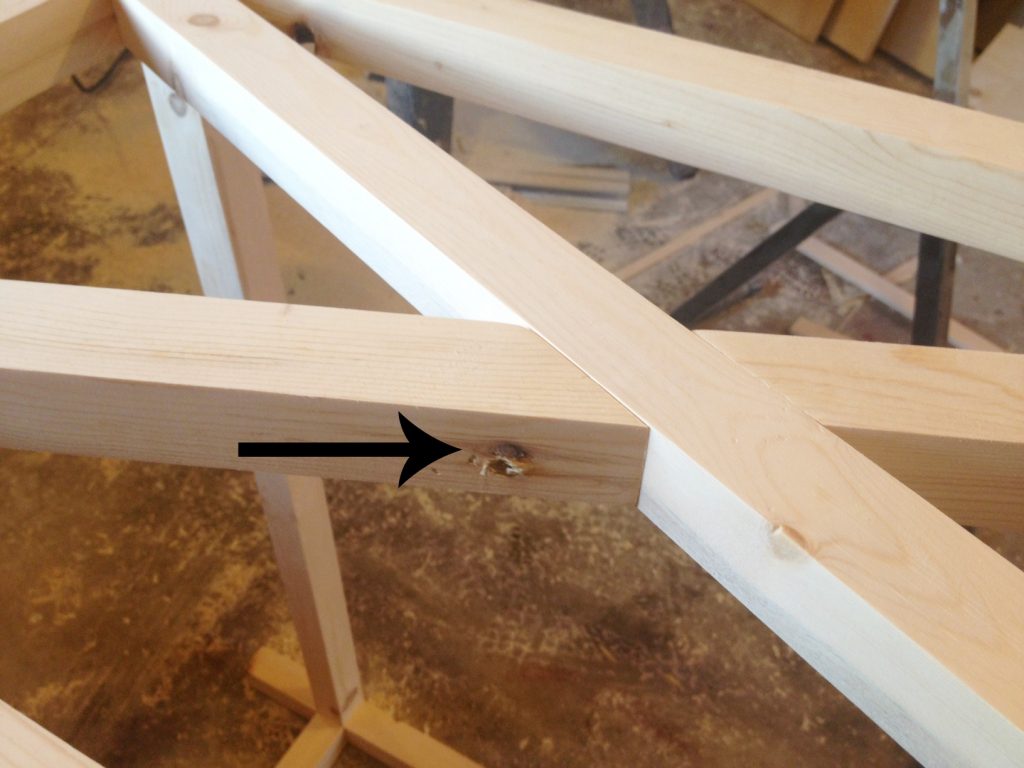
For the remaining “cross” piece, cut the same angle you cut for the main piece. In my case, it was about 24 degrees, and hold in place and mark the length it needs to be to meet the main X. You will cut this end at 45 degrees. Cut to fit the 4 pieces (2 on each side) just like this to make the rest of the X.
.
Screw the first piece in like shown with 2 ½” screws through the top or bottom support (like shown above). Then use another 2 ½” screw to screw the other end like shown through the main X piece.
For the last piece of the X, screw one end with a 2 ½” screw through the top or bottom support like shown. Then, use a 1 ¼” screw to screw FROM THE BACK SIDE (the side that wont be shown) into the main X. Putty over the screw
Step 4: Add Bottom Shelf
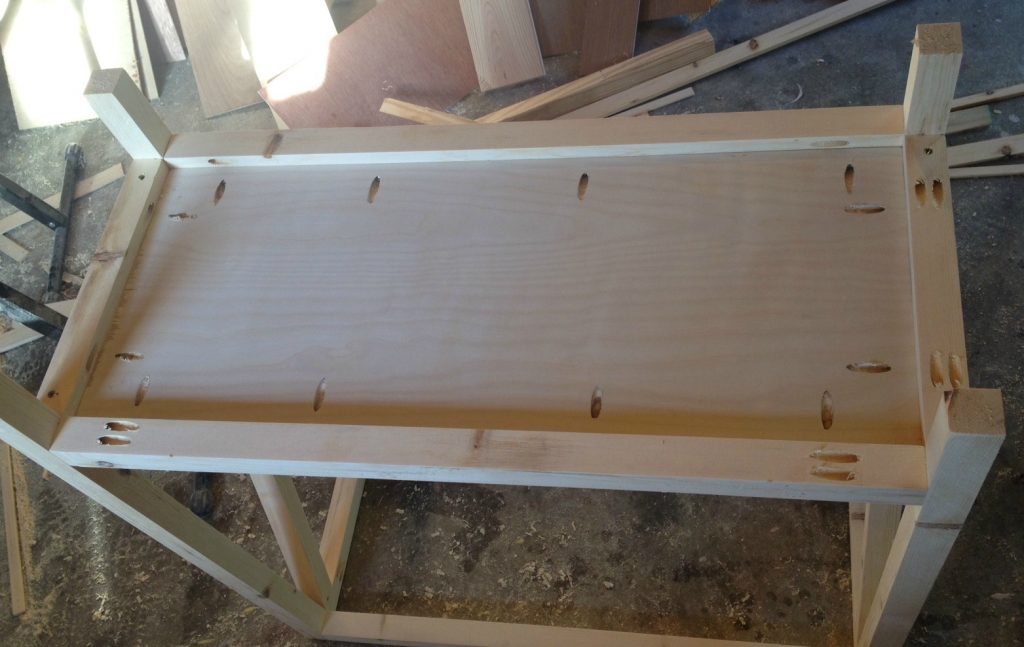
Cut a piece of ¾” plywood to fit the opening in the bottom and drill ¾” pocket hole screws along the edges. Using 1 ¼” pocket hole screws, attach so the top of the shelf is flush with the 2×2 supports.
Step 5: Add Top
Check out my post here on how I make table tops. Cut two pieces of 2×10 at 35” and either glue together (like I do in my post here) or use 2 ½” pocket hole screws to attach them. Once they are attached, trim down with circular saw (or table saw) to 16” wide.
.
Center the top on the base and using 2 ½” wood screws, screw the top on through the 2×2 supports along the top of the base.
Step 5: Finish the X Base Table
Putty and sand as needed. I let my friend finish this table since I made it for her. Plus, you know how I hate finishing (remember from this console cabinet post??).
This little table is the perfect size for an entryway table, or for a small kitchen or dining room to store décor or plates, etc. on. You could even stack some blankets or baskets on the bottom shelf for a living or bedroom. It’s super versatile.
So what do you think?? Is this a project you think you’ll tackle? If so, I’d love it if you’d pin this for later so you can find it when you’re ready to get building!
Let me know what you think in the comments below and what other kinds of projects you’d like to see plans for 🙂
…..
Until next time, happy building 🙂


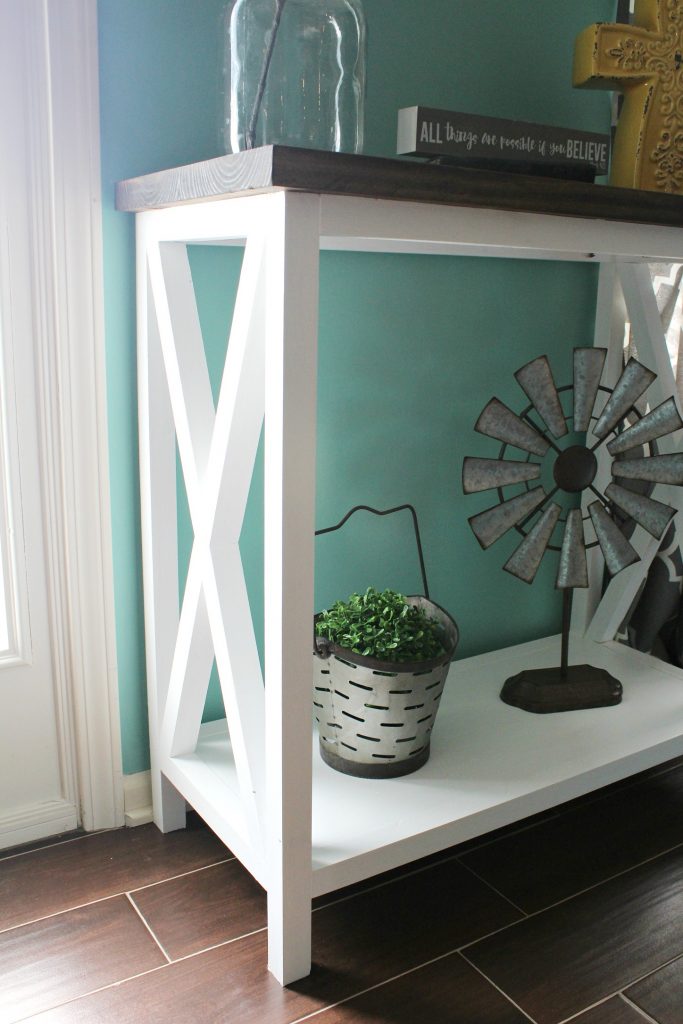
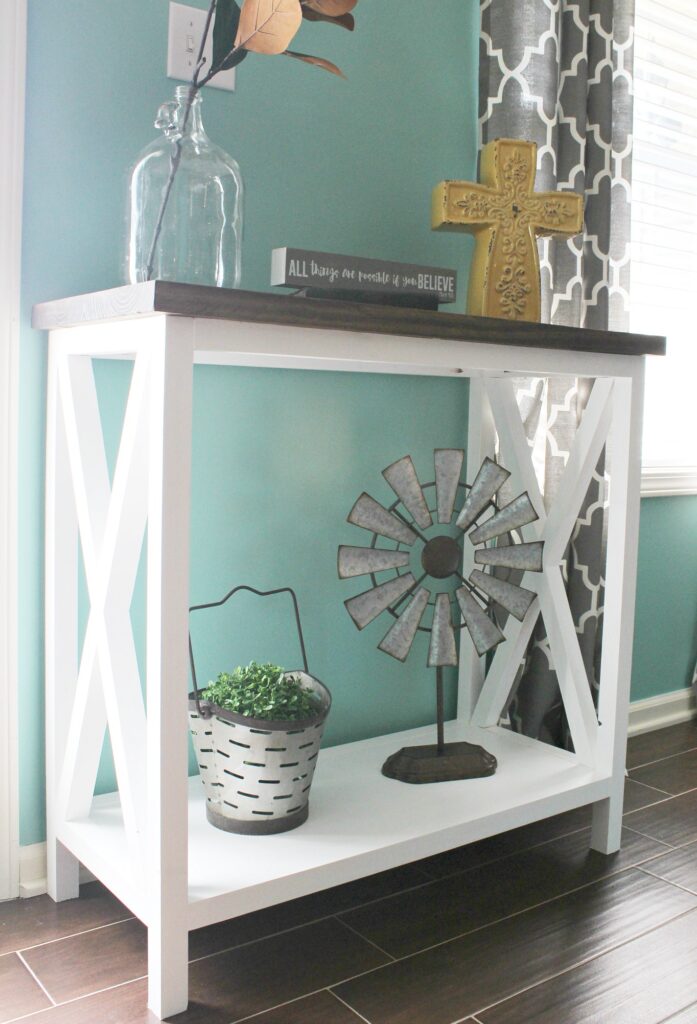

Loved the table! The X shape on furniture is so popular right now-even on ends of night stands, dressers and closed in side tables. I was just at Hobby Lobby today and saw a lot of the decorations used on the table. They have really changed the store and have sooooo many cute things!!!!! A lot of their stuff reminds me of what Jojo uses on Fixer Uppers.
Thank you Judy! Yes, Xs are the in thing right now! And I LOVE Hobby Lobby, too! I can’t take credit for the décor here, though. My friend (who I made this for) actually decorated it before I took pictures. She did an excellent job!
I love the look of your table! The black and white colors really are nice to look at. I too love the windmill and the way the table is decorated!
Thank you so much! I can take credit for the table build, but not the decorating. My friend (who I made the table for) decorated it and she did an excellent job! 🙂 So glad you like it!
Good job on the table it is so cute, you could even use it in a kitchen, maybe with a butcherblock top. I absolutely love the little windmill underneath the table where did you get it??
Thank you!! I made this for a friend and she decorated it before I took pictures. She said she got it from a local boutique store. I know that’s not much help…but maybe try Amazon or Hobby Lobby for something similar?