Okay, so it’s been another two weeks since my last post. I really had hoped to post SEVERAL things since the twisty table story, but I haven’t yet learned that things always take longer than expected. I’m really not sure that is a lesson that anyone ever REALLY learns 🙂
So, some backstory…Danny and I went on vacation a month ago to celebrate our 5th anniversary (which is actually in December, but December is always busy, so we celebrated early). I cannot believe it has been 5 years already!!! In those five years, we have lived in four different places, (between the two of us) we have had five different jobs, and LOTS AND LOTS of other “life changes.” Last year I actually tried to come up with a “12 Things Since We Have Been Married” song to the tune of “12 Days of Christmas,” but I was missing something for one or two of the numbers. I will try again this year 🙂 ha!
Oh, anyway, so I told you that we went on vacation last month, because that is when Danny finally agreed to let me redo the laundry room under two conditions: we keep the paneling, and we keep the closet. Of course…there are ALWAYS conditions… So this was A MONTH AGO. Remember we tore apart our entire kitchen and put it back together (not 100% finished, but at least back to functioning normally again) in about a month and a week?? Why is this stupid laundry room taking so long?!!? I cannot answer that. All I know is I had planned to show you all my 100% finished laundry room at least a week ago. But we are still probably about a week or more away from the “final reveal.” So, I thought I would at least show you the progress so far.
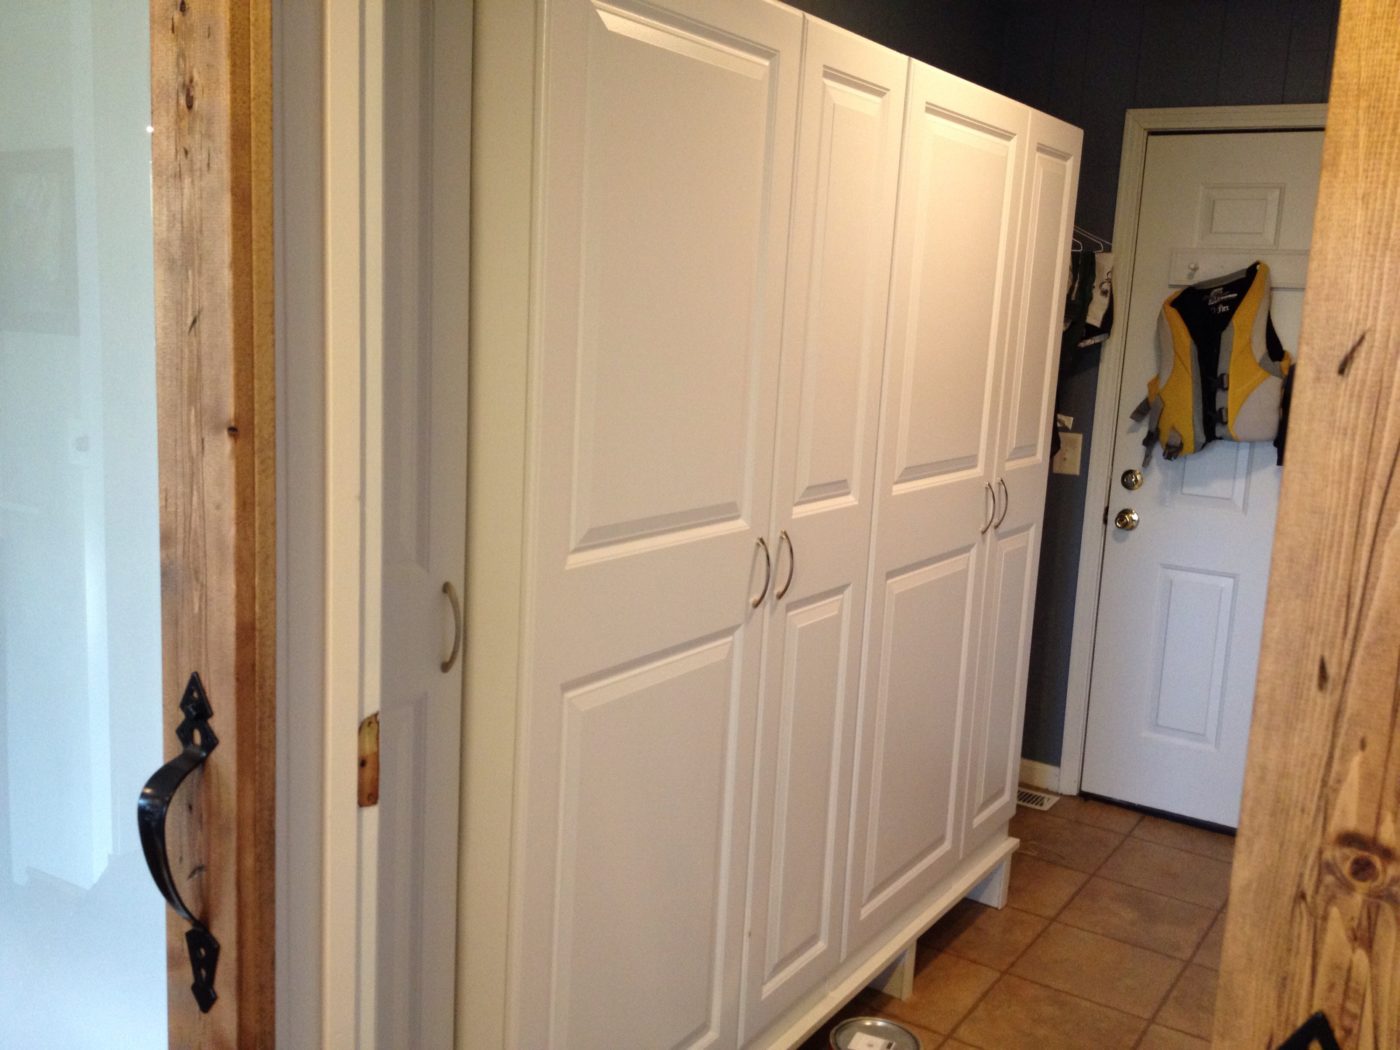
A little more backstory…When we bought this house, I was sooooooo excited to have a real laundry room. Our first apartment had a washer and dryer in our bedroom closet…convenient, yes, but not very pretty. Our first house had a laundry “closet” and that was it. I HATED IT. Our rental house had a little larger laundry closet, but it was still TINY. But, this house has a real ROOM for the laundry. However, it was full of utility cabinets that took up all the space in it.
These were nice and clean and excellent storage…..but not what I was going for. Plus they were made of MDF and I HATE MDF. These things were about $700 if you bought them brand new from Lowe’s–which it appears the previous owners did. We were able to sell them for about $300, which made my laundry room redo practically free. Win!
Next step was painting. Danny said we had to keep the paneling because he didn’t want to deal with drywall. And, also because there are ALOT of wires in the wall of this room going to the panel and he just didn’t want to mess with nicking one with a screw. I don’t know if you have ever painted paneling, but let me tell you…IT IS THE DEVIL. I puttied the holes and took a paint brush and brushed all the grooves in the paneling. I have yet to find an easier way to paint it besides having to brush the grooves. Is there a better way?? If you know of one, I would love to hear it.
By the way, look how much bigger the room looks without those massive cabinets!!!
I removed the trim and baseboards. This is one of my favorite parts of a room redo. I love prybars. In fact I love them so much that I have punched a few holes in the wall with them because I got in such a hurry to rip out the baseboards in the hallway. Danny wasn’t happy 🙂 No problem…I can totally fix that. I once heard that the difference between a amateur and a professional is that a professional knows how to cover up their mistakes. I am totally on the road to professionalism. I spend half my time making and fixing my mistakes….and looking for where I put my tape measure (I swear I JUST had it in my hand!!!)…
PS Props to whoever can find the tape measure in the photos below. Hint there it is in 7 of the pictures below, but one of them I’m pretty sure you will never find. I looked for about 15 minutes for it right after I took the picture.
After the paneling grooves were painted, we (I say we because at one point Danny helped me get the last coat on the wall) finished painting the rest of the room and then I started laying the floor. We had just enough flooring left over from our kitchen remodel to put it down in the laundry room, so that saved us on expenses. It took a few days to lay the floor because we kept having to move the washer and dryer around and cut boards like every other piece. Slooooow going…
By the way, please note this is NOT a fashion blog as I am clearly breaking every rule possible with this outfit. All my clothes were dirty and the washer was unplugged 🙂 Legit excuse.
Confession: the floor is still not 100% finished. We are replacing the exterior door in a few weeks, so the last part in the back of the room will be put in at that time while the existing door is out. Also…it would be a pain in the butt to put the floor under the water heater, so we cut the boards up to it and will finish underneath it whenever we have to replace it. When I am done with the room, it will make more sense. I will show you….if I remember 🙂
I used pocket holes and screws to add a 2×10 floating shelf above the washer and dryer. One good thing about paneling….the studs are SUPER easy to find. Just find where they nailed the paneling into them. And be sure you screw the shelf into the stud…this thing is a BEAST and wont hold unless you do.
I wanted to build my own cabinets to save us some money. And, who are we kidding, I wanted to be able to say I did it myself. Cabinets aren’t hard to build…BUT you have to be able to make very precise cuts. I quickly found that I wasn’t very good at that with my circular saw. I survived, but I learned a few lessons the hard way.
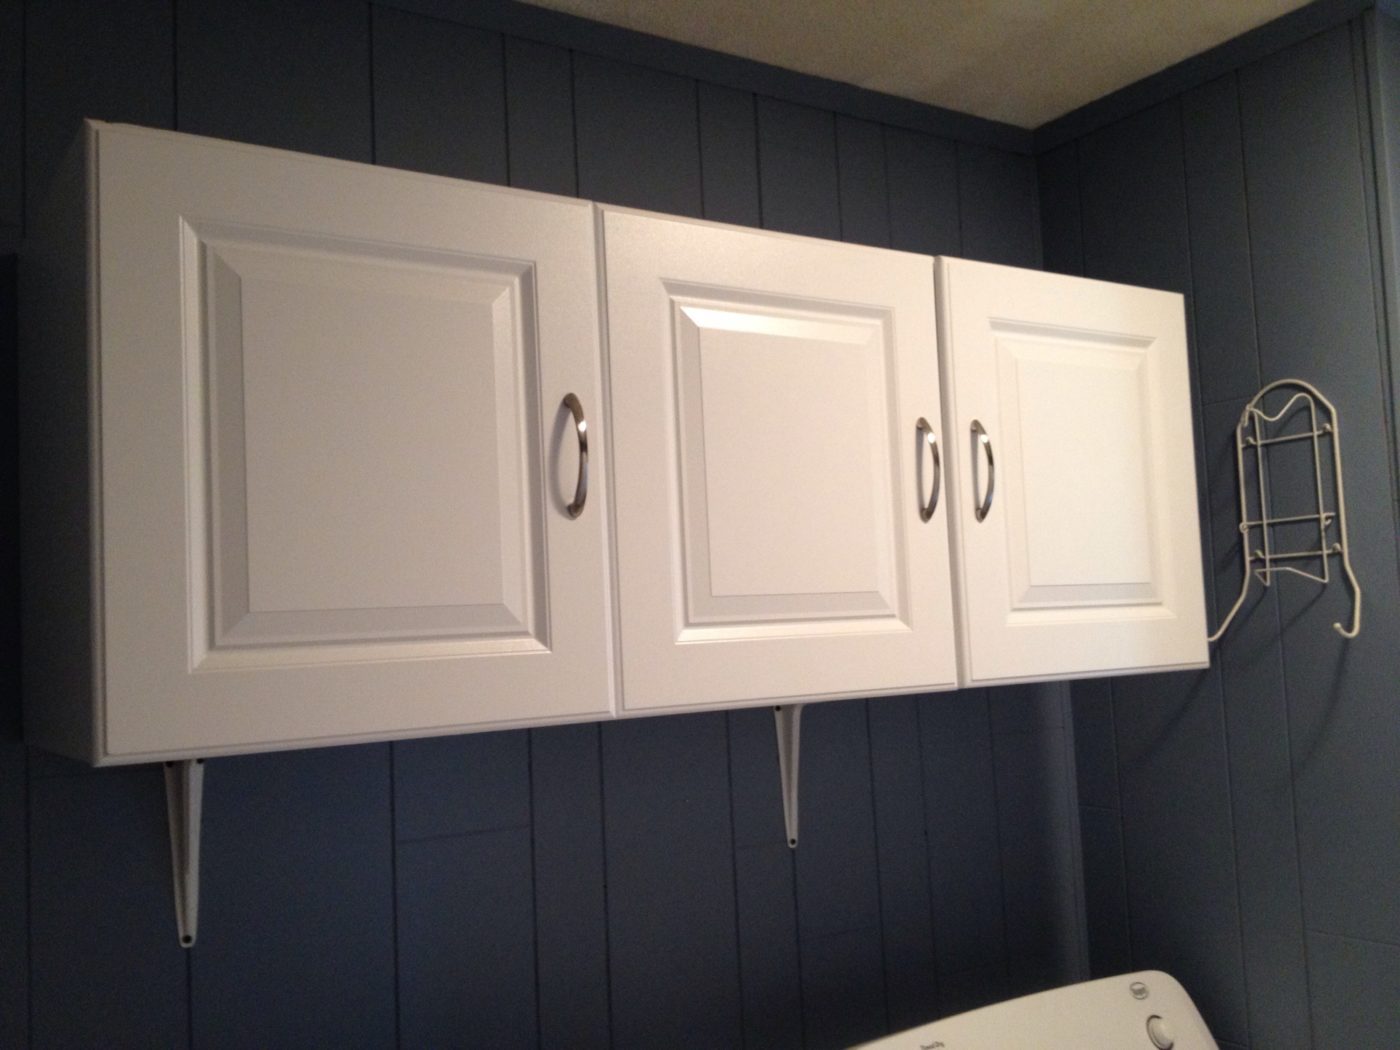
I made two upper cabinets according to this plan. I made the following changes: I made my cabinet 16″ wide, I nailed my face frame instead of using pocket holes, and I set my supports in ¼″ so that my plywood back set “inside” the cabinet so you couldn’t see its edges from the side of the cabinet. See pictures below.
Then I wrote my name in all the sawdust 🙂
For the side of the room where the huge cabinets used to sit, I wanted a counter height cabinet with a countertop. I wanted it to look more like a vanity than a kitchen cabinet, so I built it using this idea in my head. I don’t like toe kicks, so this didn’t have any. I made it in three sections. The two on the outside are identical and the one in the middle is a little bigger.
I ripped a bunch of 1x4s and 1x6s to make the face frames and door frames. I wanted to get birch planks (since that is the type of plywood I used) and stain the cabinets, but I couldn’t find birch anywhere (I called cabinet places and they would never call me back) and I was almost afraid to because I knew it would cost a pretty penny. So I just used spruce. Wood selection around here stinks.
I made the face frames as one solid piece pocket hole screwed together on the back side, then I nailed them onto the cabinets and I added crown molding to the upper cabinets and baseboard molding to the bottom cabinet. I primed and painted. That’s what takes so long….it took days. I only have a couple hours a day at the most to work on it and you paint one coat, then you have to wait for it to dry, so then you come back tomorrow and add another coat…see how this goes?
I glued two 2x12s together for the countertop. The boards were not cooperating, so I showed them who was boss. I should probably wear a helmet in the shop…
I apologize, I did not take pictures of making the cabinet doors, but I will when I make the rest of them. I only made the ones for the uppers so far. When I made the bottom cabinet doors, I will take pictures and give instructions. We finally got the cabinets hung and doors on. It only took like two weeks…not breaking any records here, but at least they are pretty!
I stained and polyed the countertop and got it put on. Now, if I can just get the doors made, it will be done closer to being closer to done 🙂
Remember the closet I mentioned earlier that Danny said I couldn’t get rid of? Well it had an old plain hollow core door on it, so I took it off and replaced it with a drop cloth curtain that I painted stripes on. Not bad for like five bucks. And now my vacuum, brooms, and mops are well covered. I had originally wanted to rip out this closet and put a sink here. I guess it was a good idea to keep it because if we hadn’t, I don’t know where my vacuum would go…sometimes Danny’s rules turn out to be a good thing. Don’t tell him I said that. And I will eventually put a sink in the new cabinet, so I still win.
There’s a really big sneak peek for you all. I think that’s more than a “sneak peek.” I really just wanted to remind you that I am still here although I haven’t posted in a couple weeks. I am still at work and I’m just in over my head in projects. I have a long list of them that I hope to bring to you soon. I just have to get this room done first! I am excited about the progress and can’t wait to show the finished room! By the way, if you haven’t already checked out the snazzy barn doors I made for the grand entrance to the laundry room, you should! Keep your eyes open for more updates to the laundry room hopefully coming soon 🙂 Be sure to follow along on Facebook and Instagram @chasingadreamblog I’d love your feedback!


![IMG_3782[1]](https://chasingadreamblog.files.wordpress.com/2015/10/img_37821.jpg?w=660)
![IMG_3807[1]](https://chasingadreamblog.files.wordpress.com/2015/10/img_38071.jpg?w=660)
![IMG_3820[1]](https://chasingadreamblog.files.wordpress.com/2015/10/img_38201.jpg?w=660)
![IMG_3833[1]](https://chasingadreamblog.files.wordpress.com/2015/10/img_38331.jpg?w=660)
![IMG_3844[1]](https://chasingadreamblog.files.wordpress.com/2015/10/img_38441.jpg?w=660)
![IMG_3918[1]](https://chasingadreamblog.files.wordpress.com/2015/10/img_39181.jpg?w=660)
![IMG_3937[1]](https://chasingadreamblog.files.wordpress.com/2015/10/img_39371.jpg?w=660)
![IMG_3952[1]](https://chasingadreamblog.files.wordpress.com/2015/10/img_39521.jpg?w=660)
![IMG_3957[1]](https://chasingadreamblog.files.wordpress.com/2015/10/img_39571.jpg?w=660)
![IMG_3938[1]](https://chasingadreamblog.files.wordpress.com/2015/10/img_39381.jpg?w=660)
![IMG_3951[1]](https://chasingadreamblog.files.wordpress.com/2015/10/img_39511.jpg?w=660)
![IMG_3955[1]](https://chasingadreamblog.files.wordpress.com/2015/10/img_39551.jpg?w=660)
![IMG_3962[1]](https://chasingadreamblog.files.wordpress.com/2015/10/img_39621.jpg?w=660)
![IMG_4035[1]](https://chasingadreamblog.files.wordpress.com/2015/10/img_40351.jpg?w=660)
![IMG_4036[1]](https://chasingadreamblog.files.wordpress.com/2015/10/img_40361.jpg?w=660)
![IMG_4039[1]](https://chasingadreamblog.files.wordpress.com/2015/10/img_40391.png)
![IMG_4060[1]](https://chasingadreamblog.files.wordpress.com/2015/10/img_40601.jpg?w=660)
![IMG_4059[1]](https://chasingadreamblog.files.wordpress.com/2015/10/img_40591.jpg?w=660)
![IMG_4032[1]](https://chasingadreamblog.files.wordpress.com/2015/10/img_40321.jpg?w=660)
Great job. The counter tops look great.
Thank you!