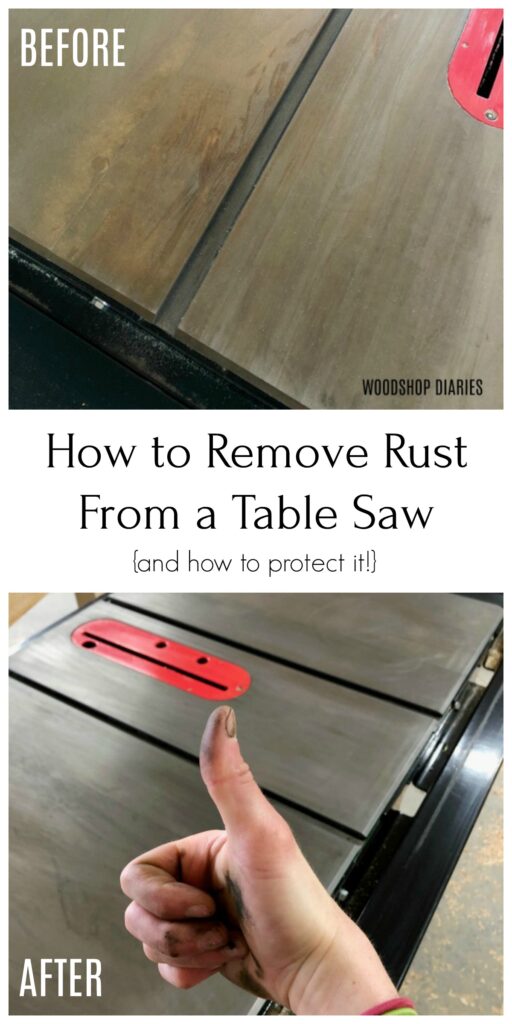
A good table saw is a big investment. It’s likely the most expensive tool in most woodworkers’ shops! But with nice cast iron table saws, rust is an ever present enemy. So I’ll show you how I remove rust from my table saw and protect it from future damage in this post.
A while back I wrote a post about doing routine shop maintenance to tools and equipment in your workshop. This is another routine task to add to the checklist. You can never permanently remove rust…it will always come back.
.
But routinely removing rust and protecting metal tool surfaces is a critical task to keep your nice tools running at their best–not just table saws, but lathes, bandsaws, miter saws, etc.
.
This post contains affiliate links. See policies for details.
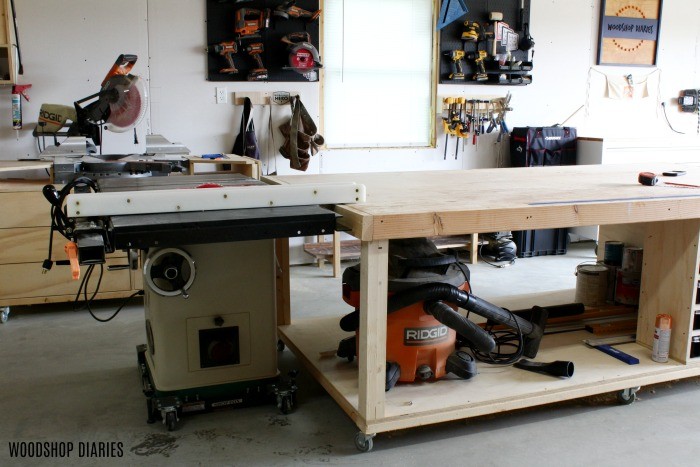
PS I’ve had SO many people lately ask me what kind of table saw I’m using. This is my current table saw set up. You can check out my workshop tour here.
And if you’re looking for some cool shop carts, shop storage, or tool stand builds, check these out:

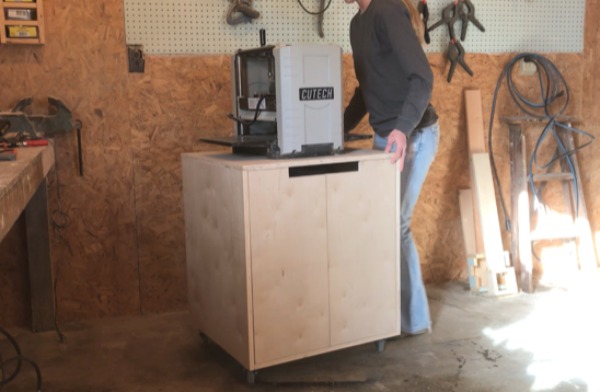
Mobile Tool Cart 
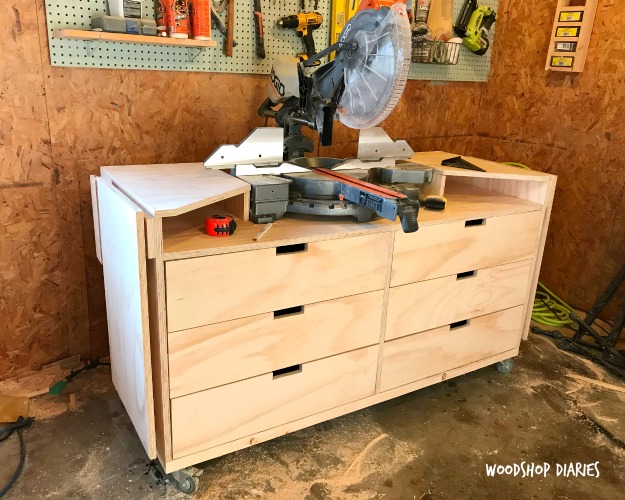
Mobile Miter Saw Stand 
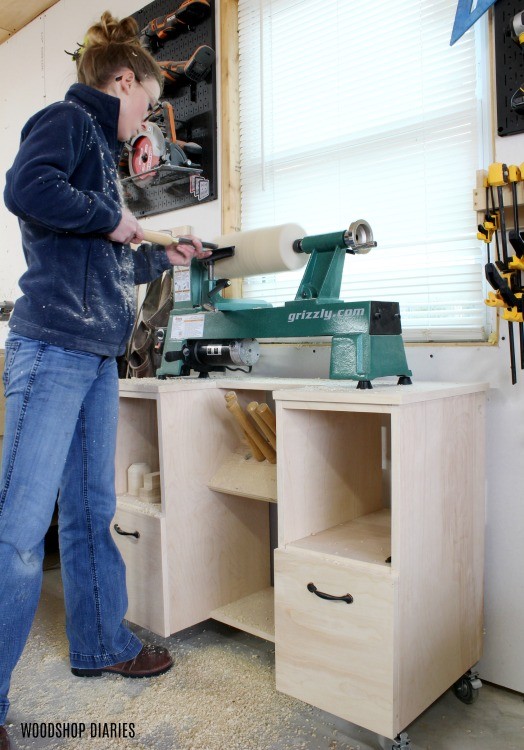
Mobile Lathe Stand 
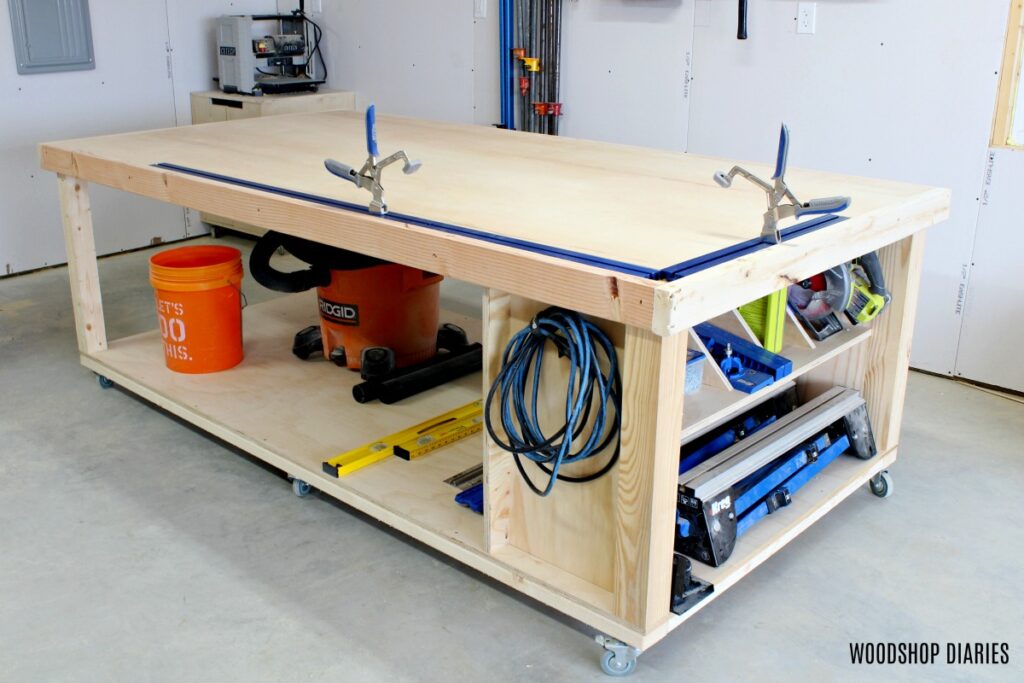
Mobile Workbench 
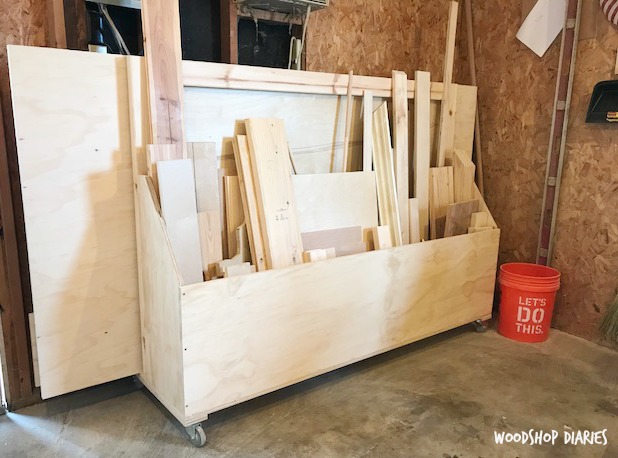
Scrap and Plywood Storage Cart
There are many methods for cleaning and protecting metal surfaces, but this is what I’ve found works well for me.
.
To Remove Rust from Table Saw, I use:
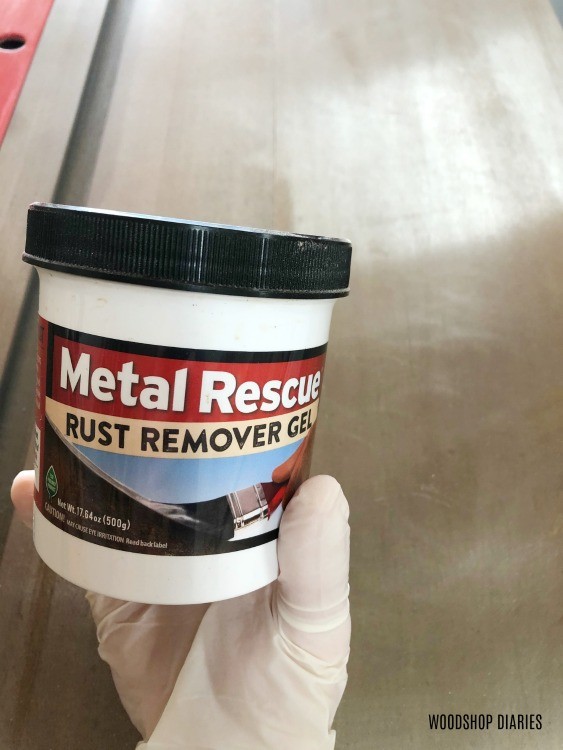
- Metal Rescue Rust Remover Gel
- Gloves
- Plastic Wrap
- Old Rags
- FINE grit sandpaper
- Johnsons Paste Wax
Step 1: Clean Table Saw Top and Examine the Damage
I’ll be the first to admit that I don’t take good care of my tools. It’s a bad habit, I know. But at any given time, my table saw is usually covered up with sawdust and wood chunks.
So first, I wipe away all debris and sawdust and clean off my table saw surface so I can see what’s going on underneath.
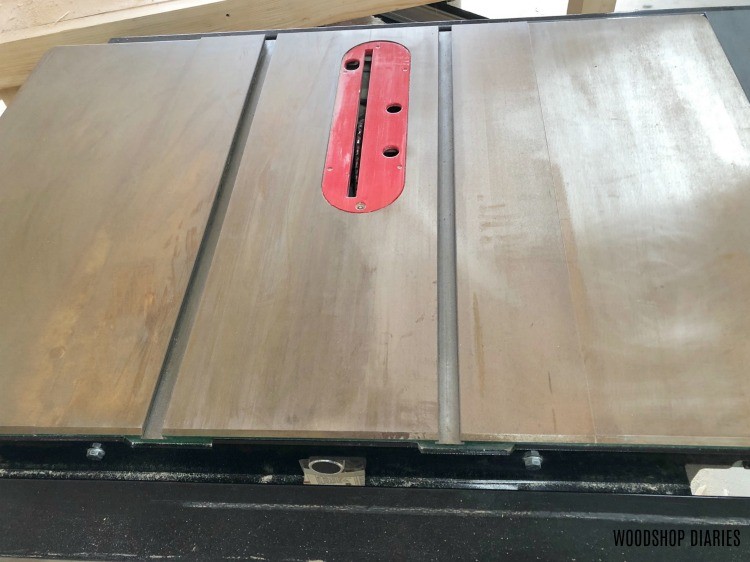
I live in a really humid part of the country and I like working with the garage door open. So my table saw can quickly get some surface rust like you see here. If left a long time like this, it can get a lot worse and need a little more elbow grease to clean it up.
That’s why it’s important not to let it go so long before cleaning it. I’ve let it get bad a few times and spent HOURS working on it. This time, I caught it early haha.
Step 2: Apply Rust Remover to Metal Surfaces of Table Saw
I’ve been using this Metal Rescue Rust Remover Gel and it works really well for me. I’d recommend applying it with a putty knife to get a more even coating, but every time I do this, I can’t find my putty knife and end up just using a gloved hand to smear it around.
I simply dip out some gel and apply it to the exposed metal surfaces (the table top and the rail) about ⅛″ thick according to the instructions.
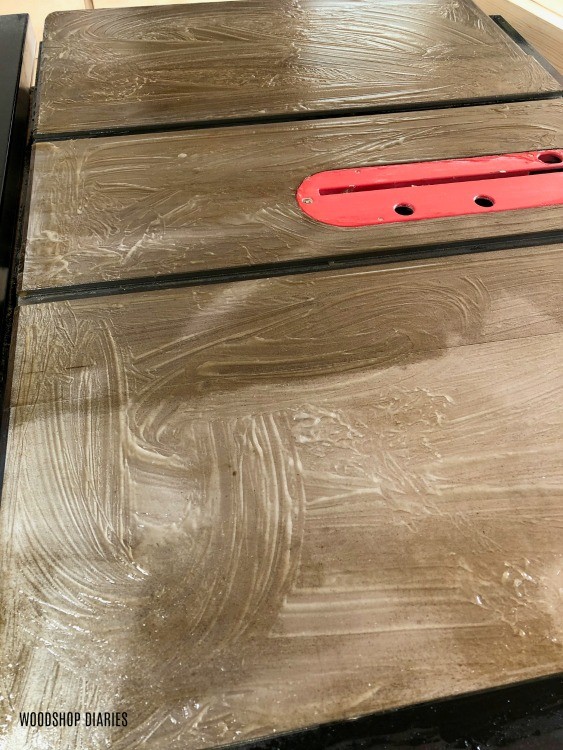
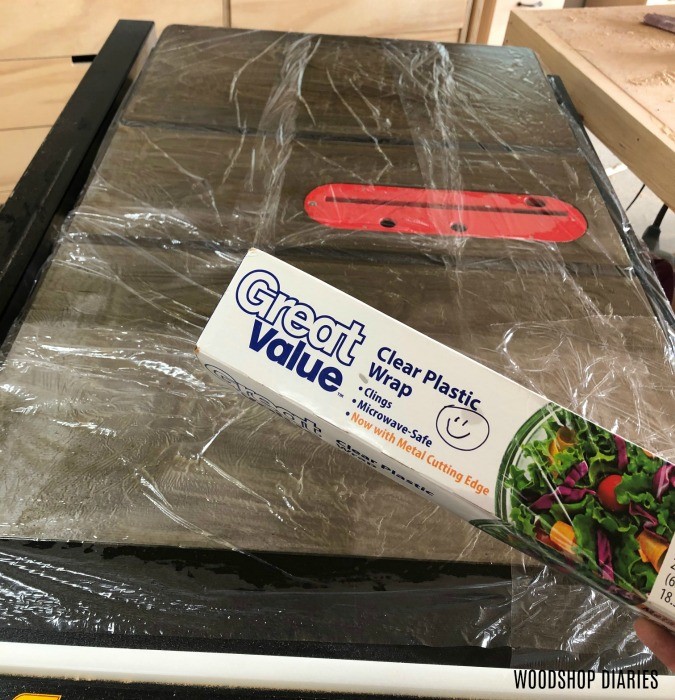
You’re not supposed to let the gel dry, so I cover it with plastic wrap while it works. For light surface rust, I leave it for an hour or two. But for heavier rust, you can leave it on for several hours. You just have to make sure the gel doesn’t dry out.
Step 3: Remove Rust Gel and Clean Table Top Surface
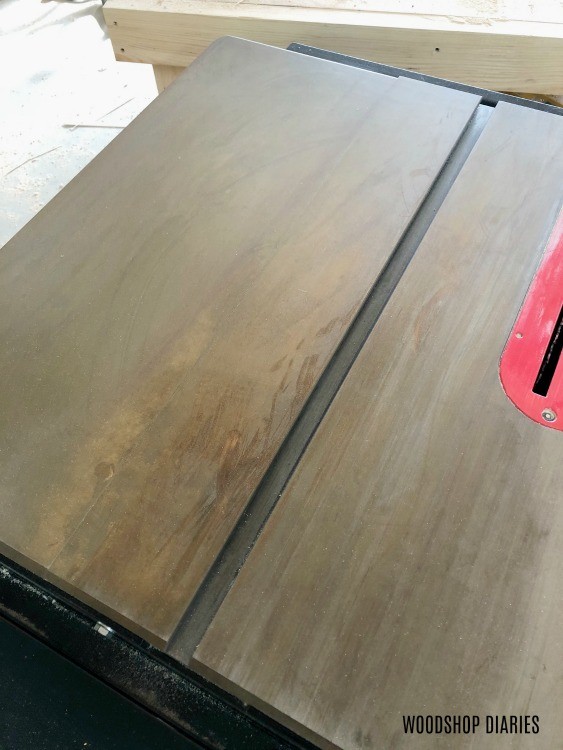
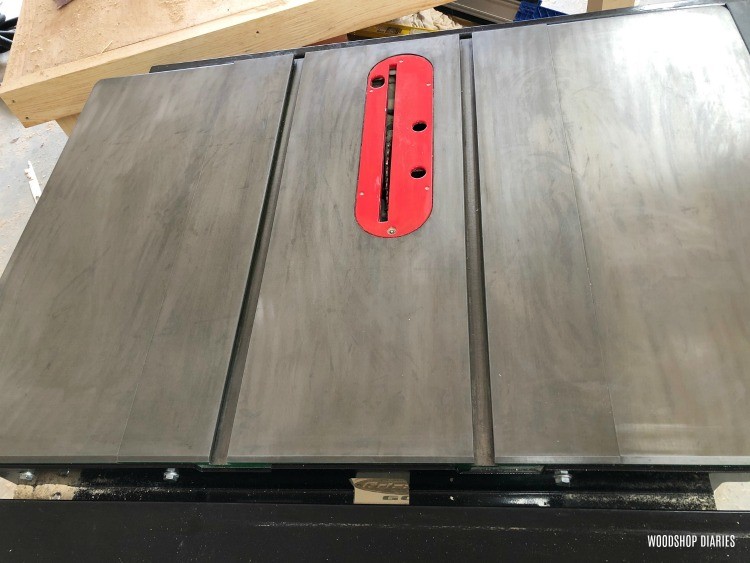
The gel will turn a darker color as it works. After a few hours (or however long you want to wait), I take an old rag of old t-shirt and wipe away the gel. It may require a little scrubbing in some places, but the VAST majority of the rust should come off clean.
Make sure to remove ALL the gel–on the table top around the edges, and anywhere else you put it.
.
You can see streaks on my table top above…I believe that is because I didn’t have an even layer because I used a glove and my fingers to spread the gel. That’s why it’s probably best to use a putty knife to evenly spread it.
.
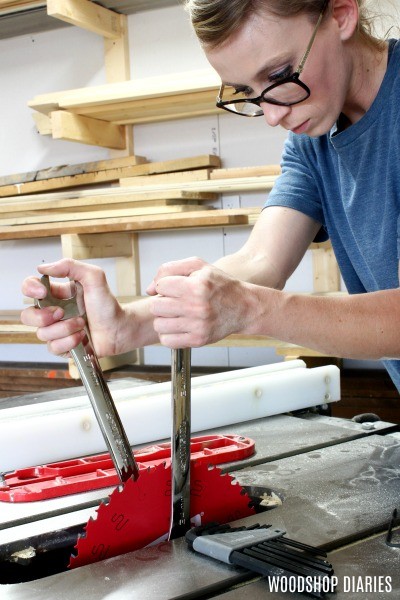
For any places with a little rust still on it, I take some fine grit sandpaper (400 grit or higher) and lightly sand it. If there is still quite a bit of rust, I may apply another coat of gel and repeat. But usually a little sanding will take what’s left off.
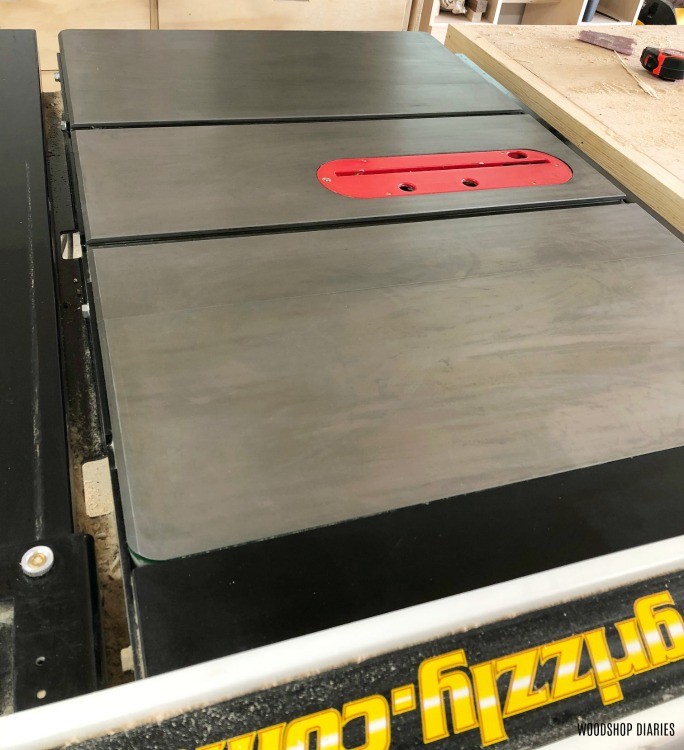
Step 4: Protect Table Saw Surface
Rust will never be a defeated enemy. It will eventually always come back. But you can protect it from getting really bad really quick with a protective coating.
.
It also helps keep the top smooth for smooth cutting 🙂
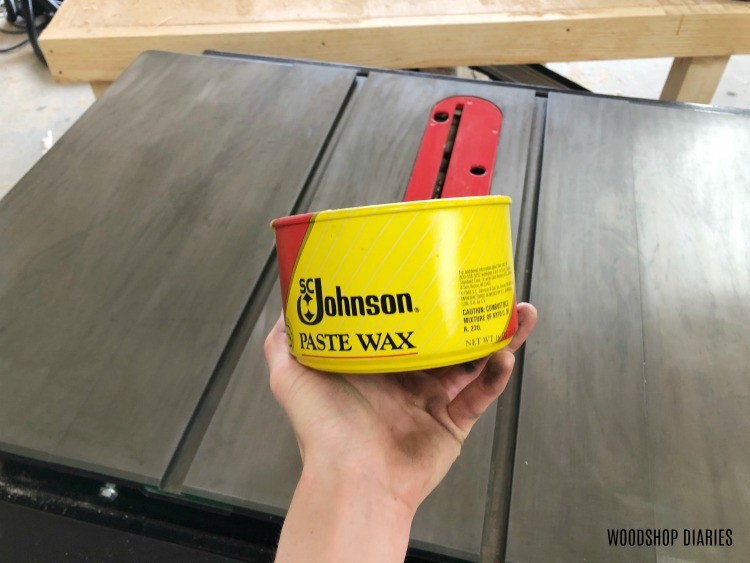
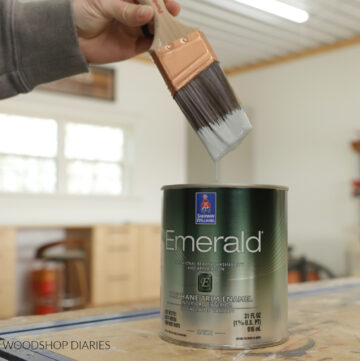
I use a rag to apply some Johnson’s Paste Wax on the table saw surfaces. I get this in all the nooks and crannies and simply wax on…wax off. This will kind of “seal” the metal to help protect it from rust and also leave a smooth surface for easy cutting.
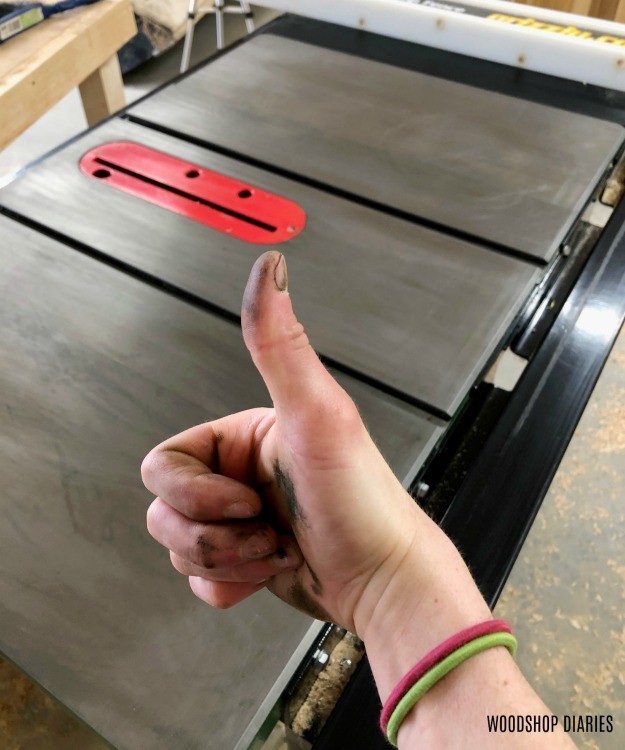
And that’s how to remove rust from a table saw. Cleaning and protecting your tools isn’t the most enjoyable task to do in your shop. But it helps keep things running more smoothly–both literally and figuratively–and protects your investments.
Don’t forget to check out my posts here on workshop 101 about maintenance, organization, and what items you shouldn’t skimp on.


I hope this has been helpful and I’d love if you’d pin this for later 🙂
Until next time, happy building 🙂