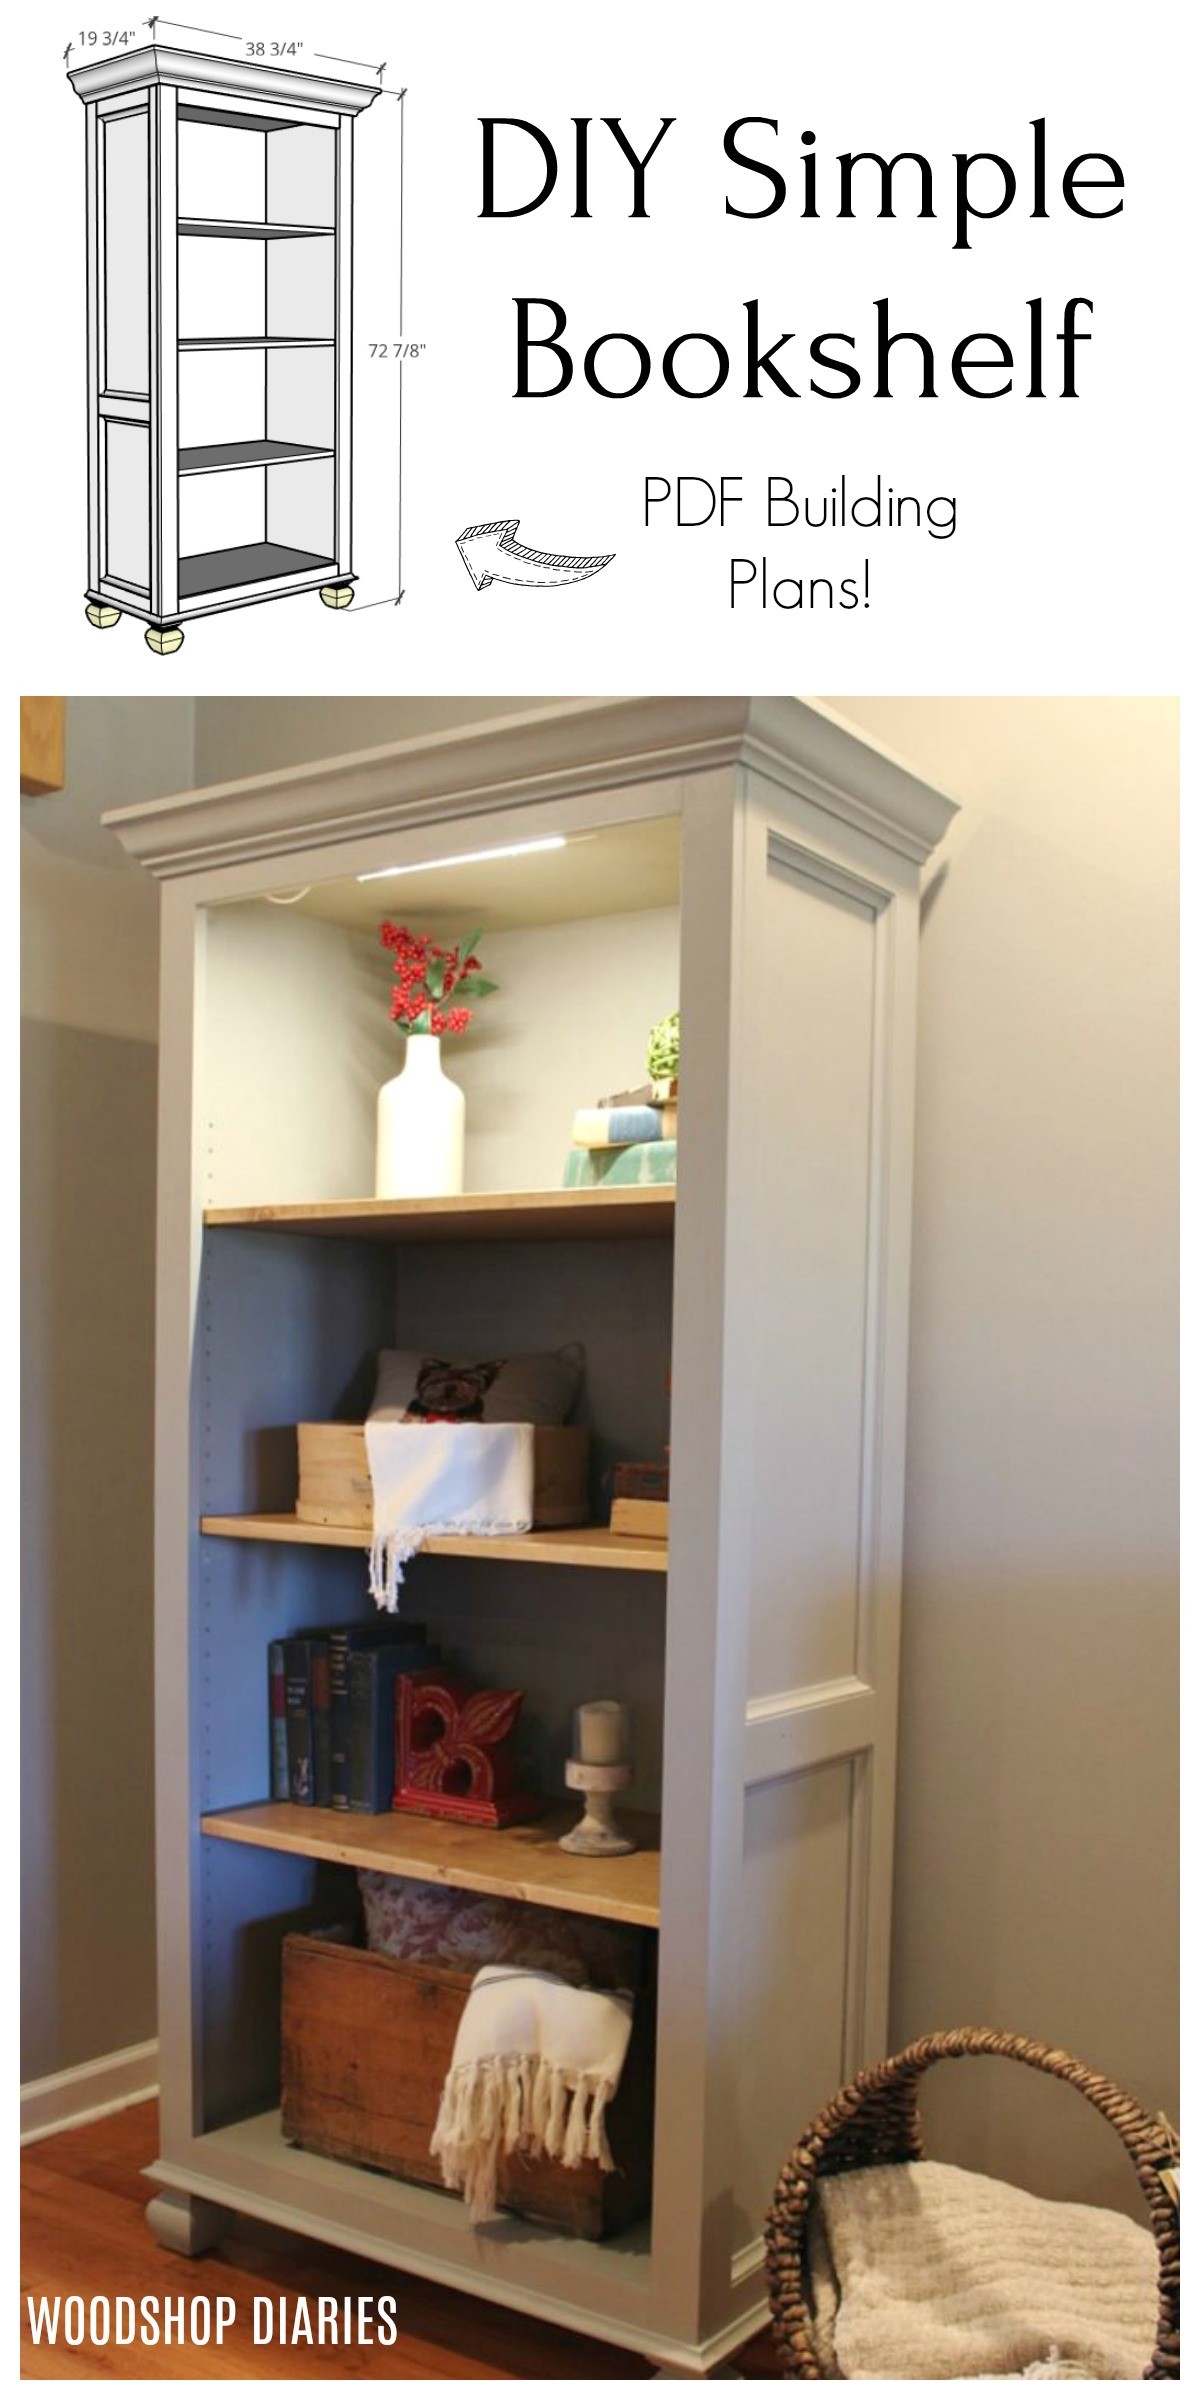
How to build a bookshelf from a single sheet of plywood in just 5 steps! This beautiful DIY shelf is a great way to display pictures and trinkets. Build your own Freestanding Bookshelf with the plans and tutorial!
.
If you’ve followed along for very long, you’ll know that somehow I always agree to build my parents new furniture. Maybe it’s the whole “they brought me into this world” thing, so I figure it’s the least I can do haha.
.
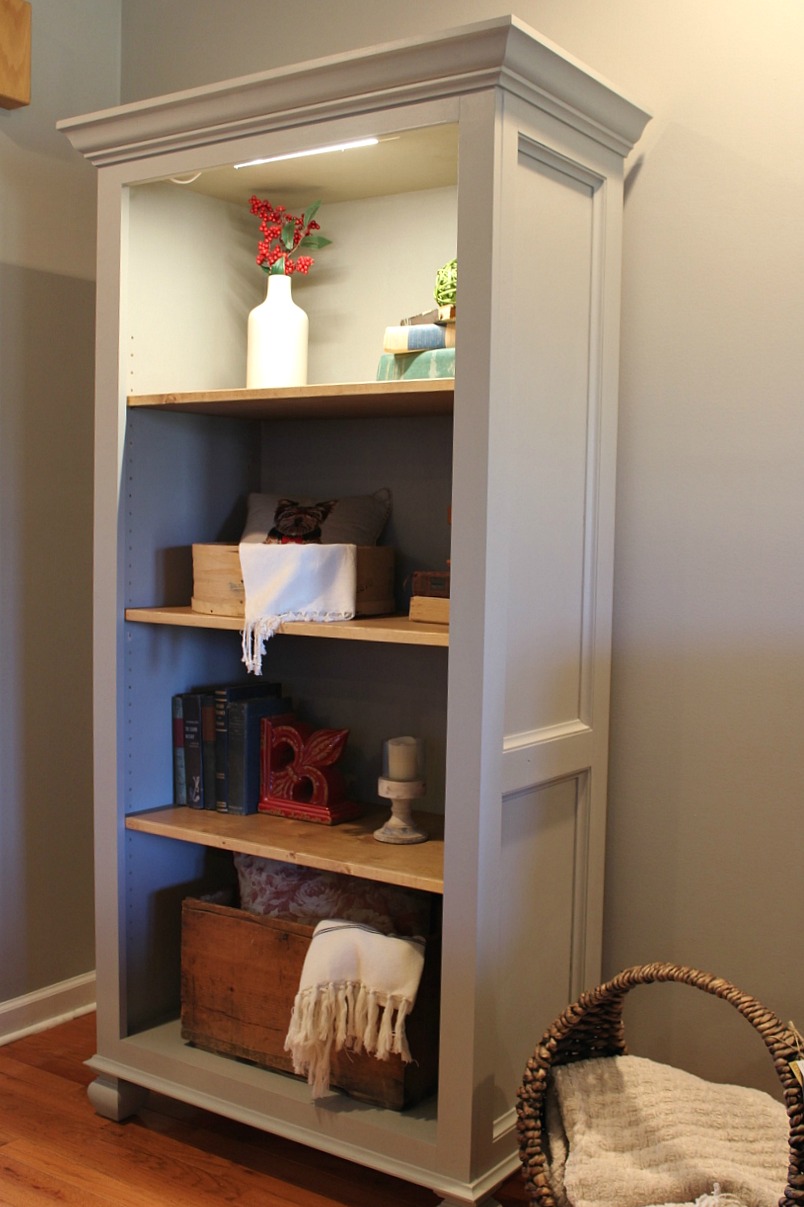
This is another “mom project” that I’m excited to share. She wanted a simple stand alone bookshelf for her living room to display pictures and trinkets and such. This was a pretty simple build and I’m sharing the plans below.
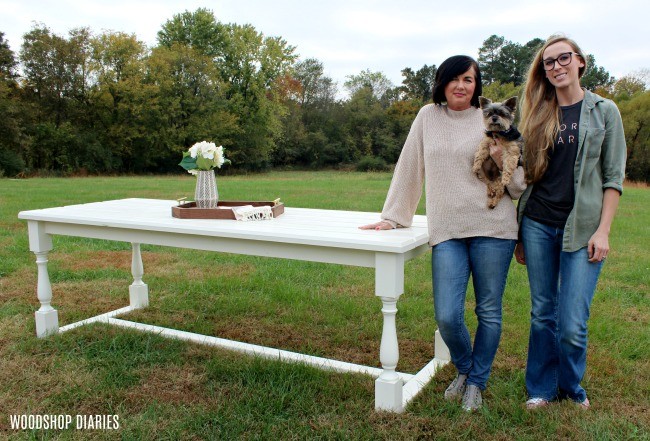
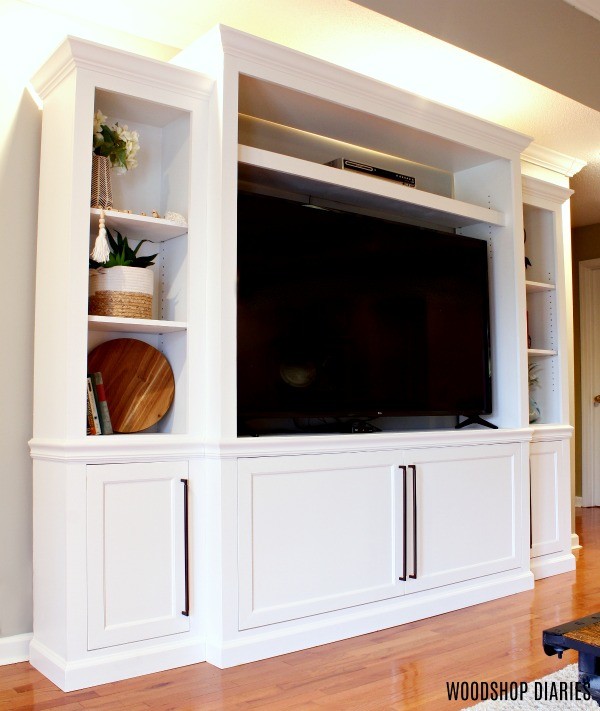
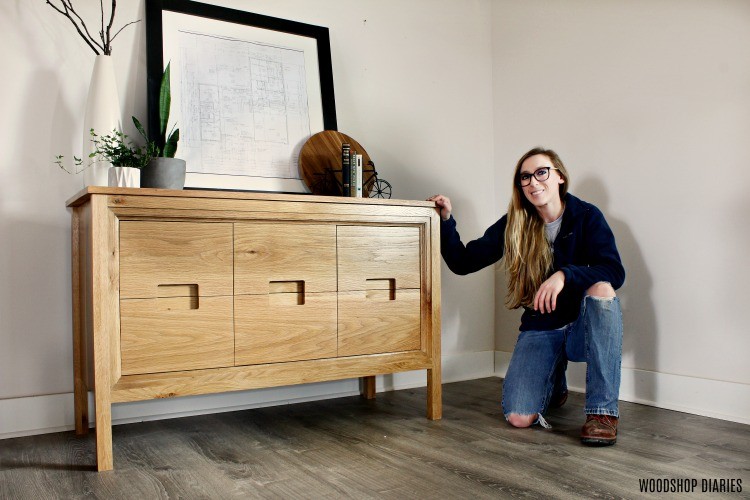
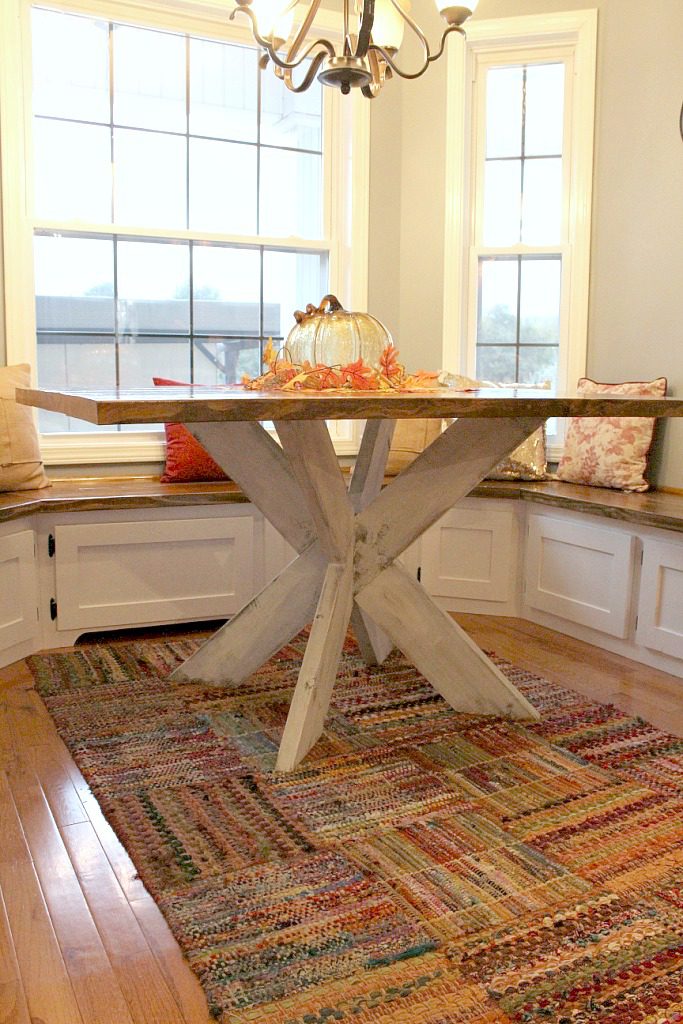
If you’re interested in the other projects I’ve built for my parents in the past, here are a few:


This post contains affiliate links for your convenience. Please see disclosure policy for more information.
How to Build a Bookshelf
Materials Needed to Build Freestanding Bookshelf:
- 1 sheet ¾″ plywood
- 1 sheet ¼″ plywood
- (5) 1x3x8
- (2) 1x2x8
- Crown molding (8 ft stick is plenty)
- Cove molding (Four 8ft sticks)
- 4 cabinet feet (I used part #4003 from Osborne Wood)
- 1 ¼″ pocket hole screws
- Shelf pins
Tools Needed:
- Drill and bits
- Circular saw (or table saw)
- Kreg Rip Cut (optional, but helpful to rip plywood)
- Miter or chop saw
- Nail gun
- Kreg Pocket Hole Jig
- Kreg Shelf Pin Jig
NOTE: This project required cutting down a plywood sheet in order to build. Check out my post here on how I quickly, and accurately cut down plywood sheets with a circular saw.
.
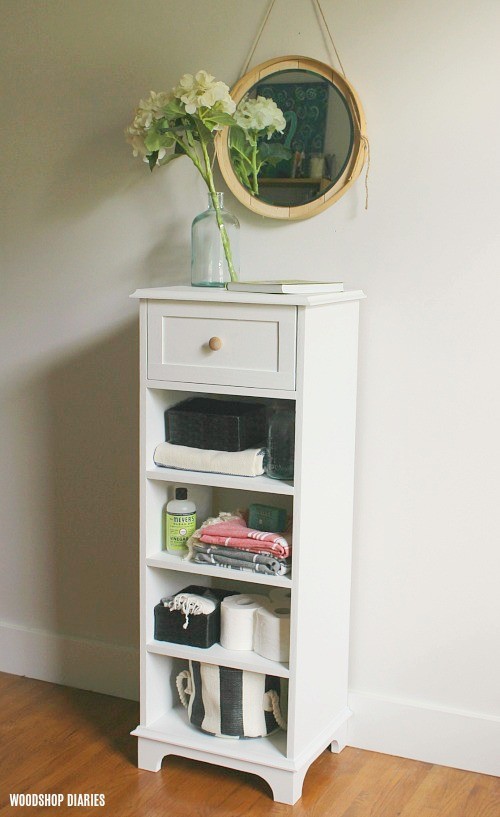
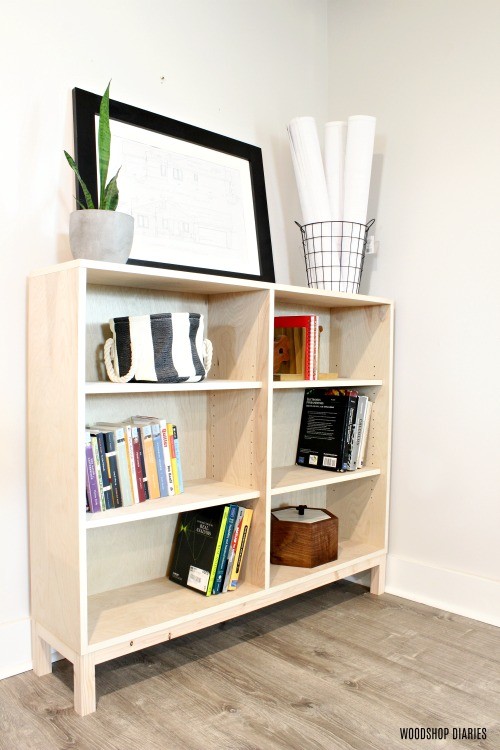
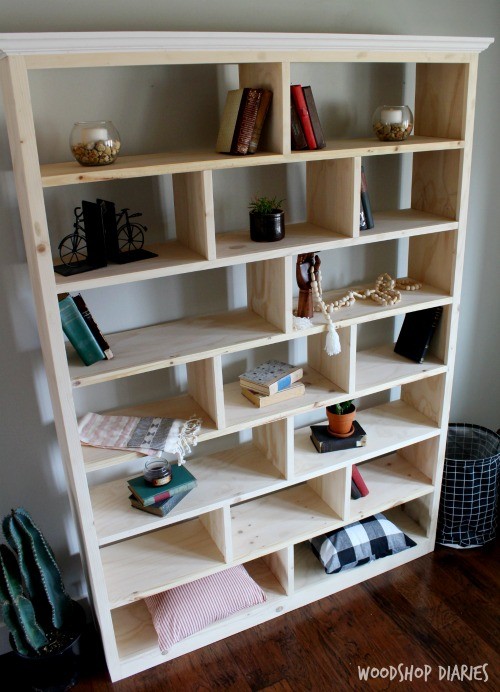
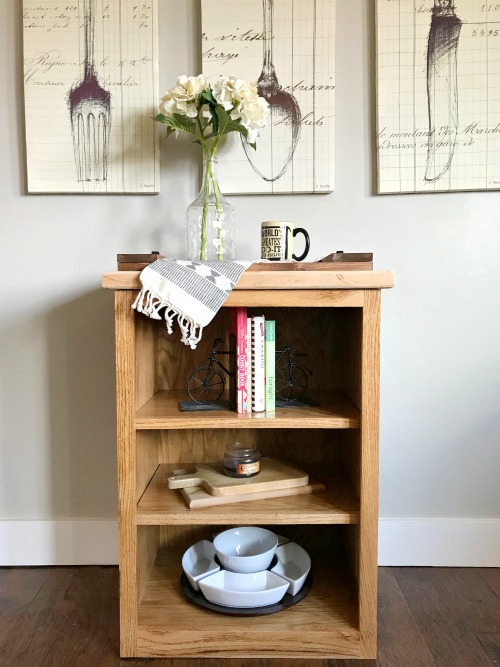
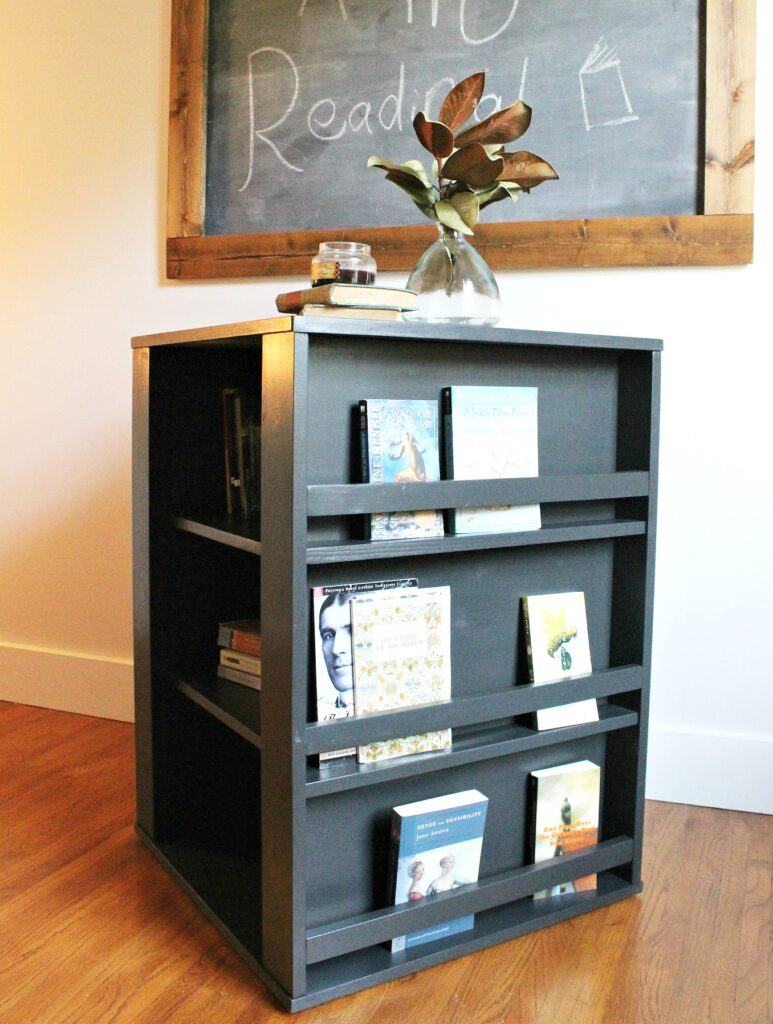
For more bookshelf projects, check out some of my favorite bookshelf projects here:
Check out the downloadable plans for this freestanding bookshelf project here:
These plans include plywood cut diagrams, detailed measurements and instructions to build this simple stand alone bookshelf. But, below is the tutorial.
Step 1: Build Bookshelf Carcass
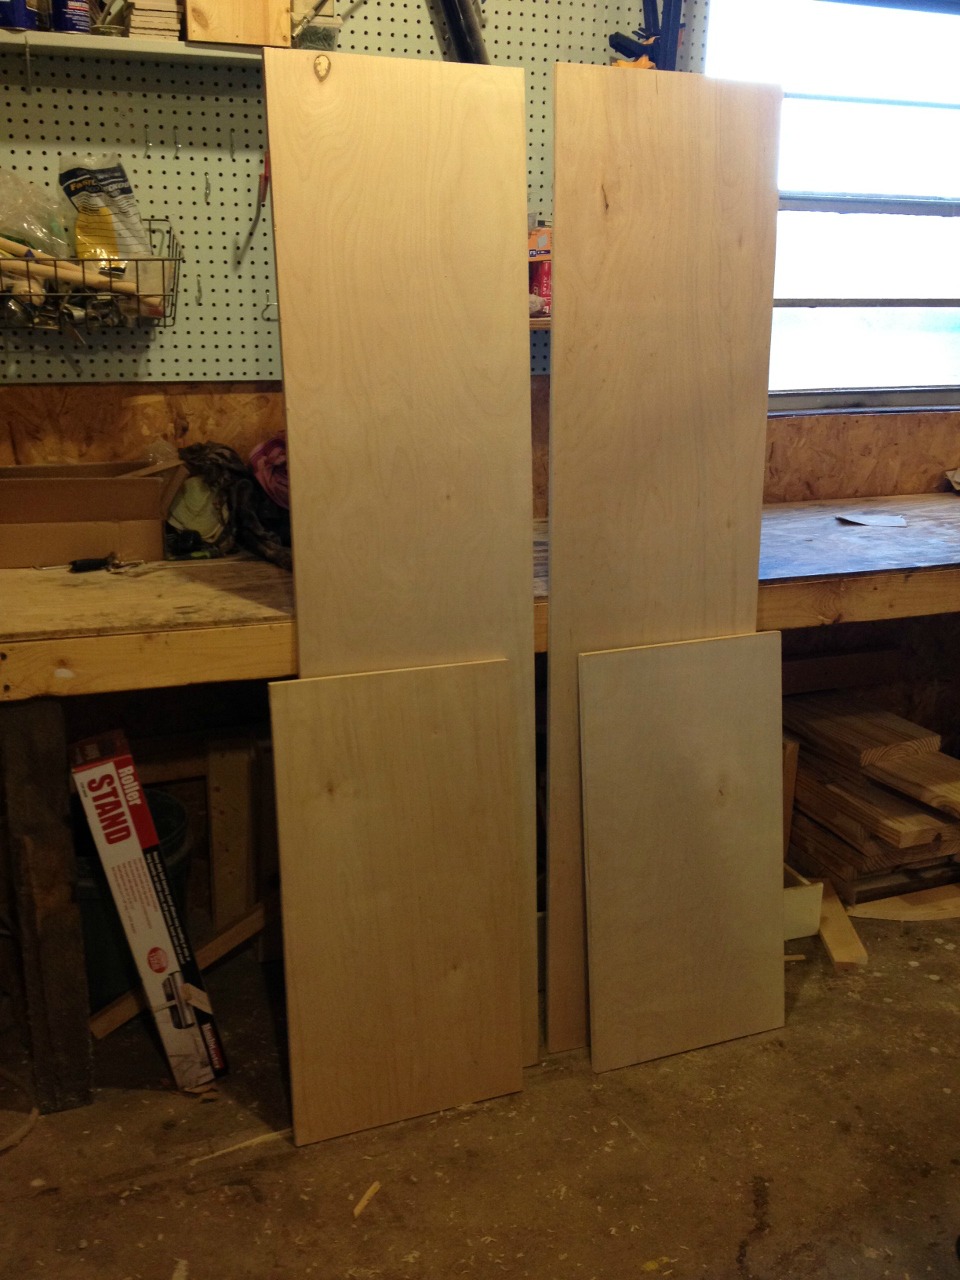
To get started, I ripped my plywood sheet into two 16″ wide strips and one 15″ wide strip using my circular saw and Kreg Rip Cut. If you aren’t familiar with the Rip Cut, head over to this post to see how I use it to cut down plywood sheets.
.
I set the 15″ wide strip aside to use as shelves later and cut my 16″ wide strips into two long side panels and two short top and bottom panels. Find exact dimensions in the plans here.
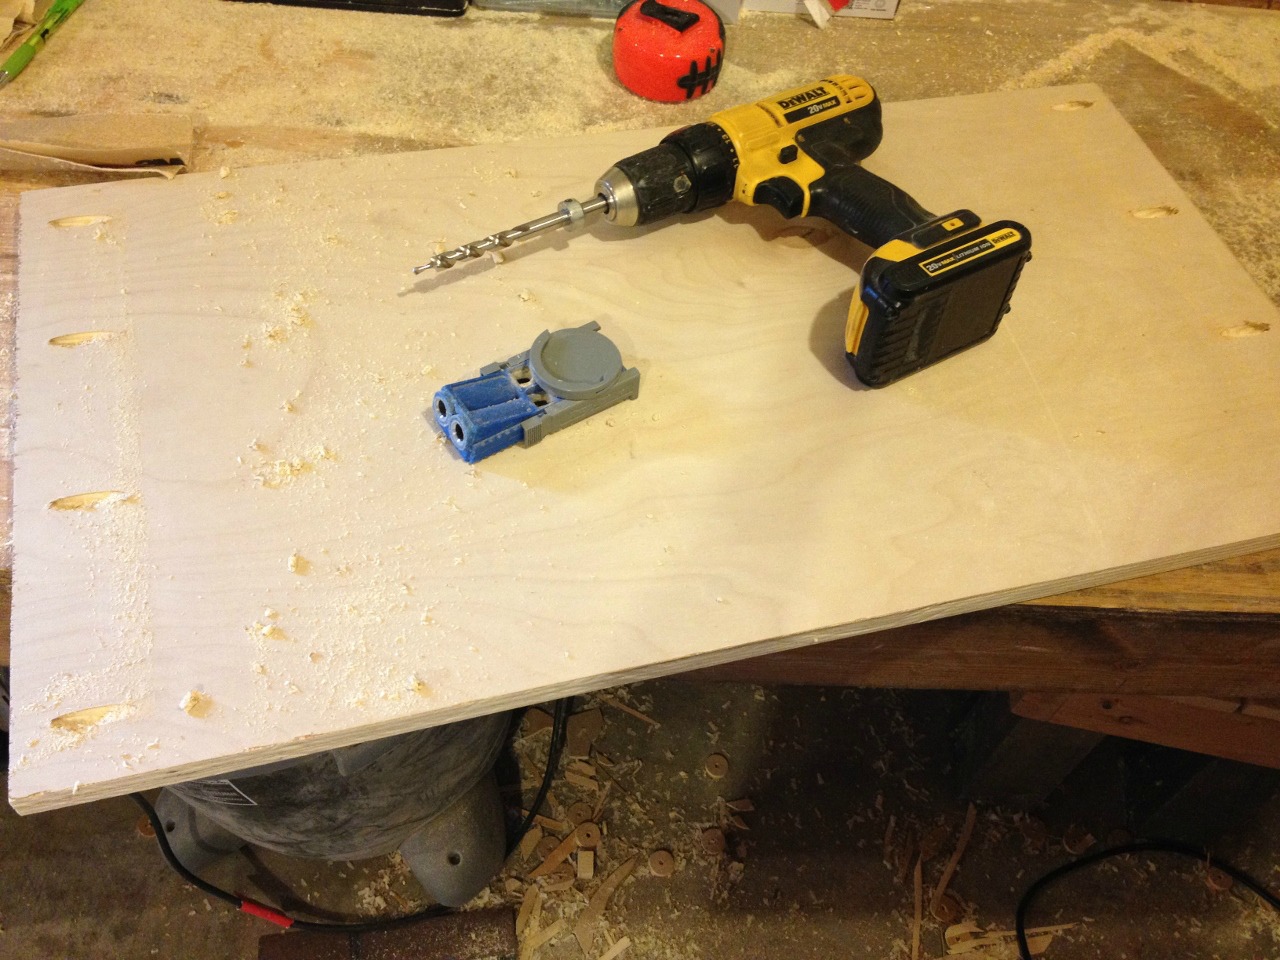
I used a Kreg pocket hole jig to drill pocket holes in the ends of the short pieces to use as the top and bottom of the bookshelf.
To assemble the freestanding bookshelf carcass, I screwed the four pieces together with 1 ¼″ pocket hole screws so that I had a “box” like shown below.
.
NOTE: the bottom was screwed in so that the top of the bottom shelf is 2 ½″ from the bottom edge of the plywood.
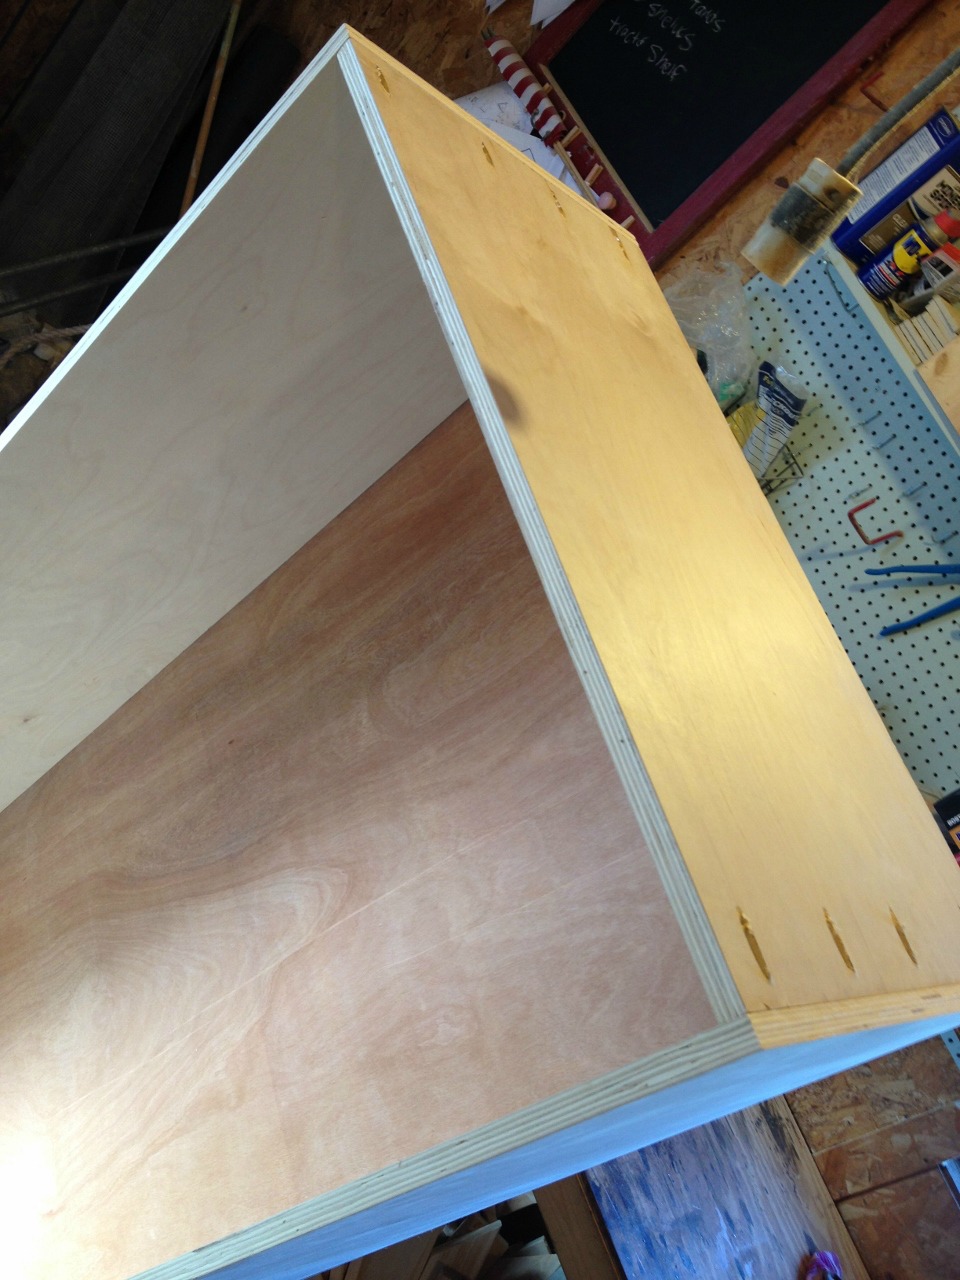
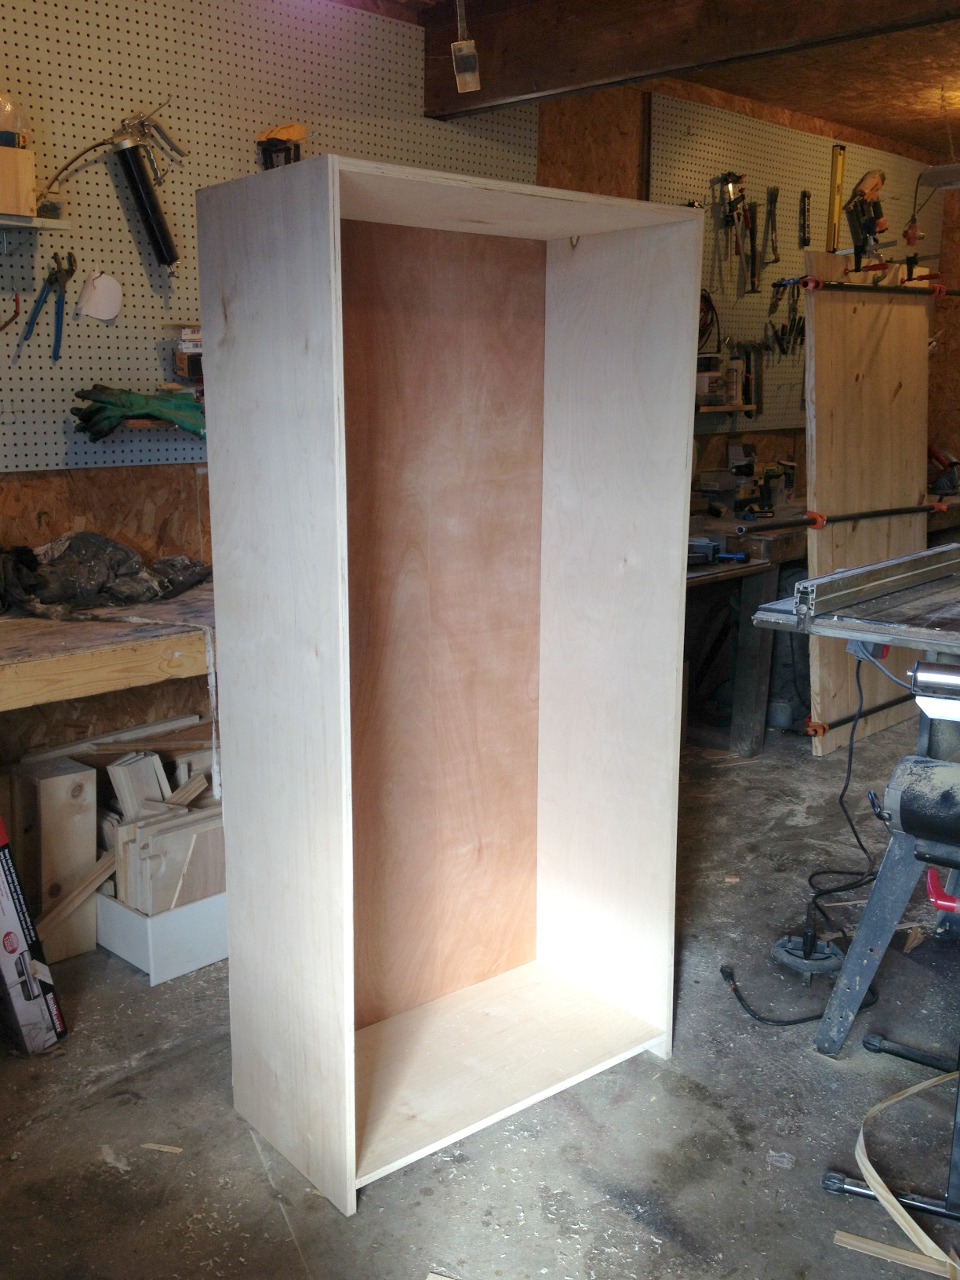
I cut a piece of ¼″ plywood from the sheet and stapled it onto the back (as shown above). And there I had a freestanding bookshelf carcass.
.
Side note: I love building cabinets because I like to be able to say the word “carcass” as often as possible. Try it 🙂 It’s fun.
Step 2: Add Trim to Bookshelf Sides
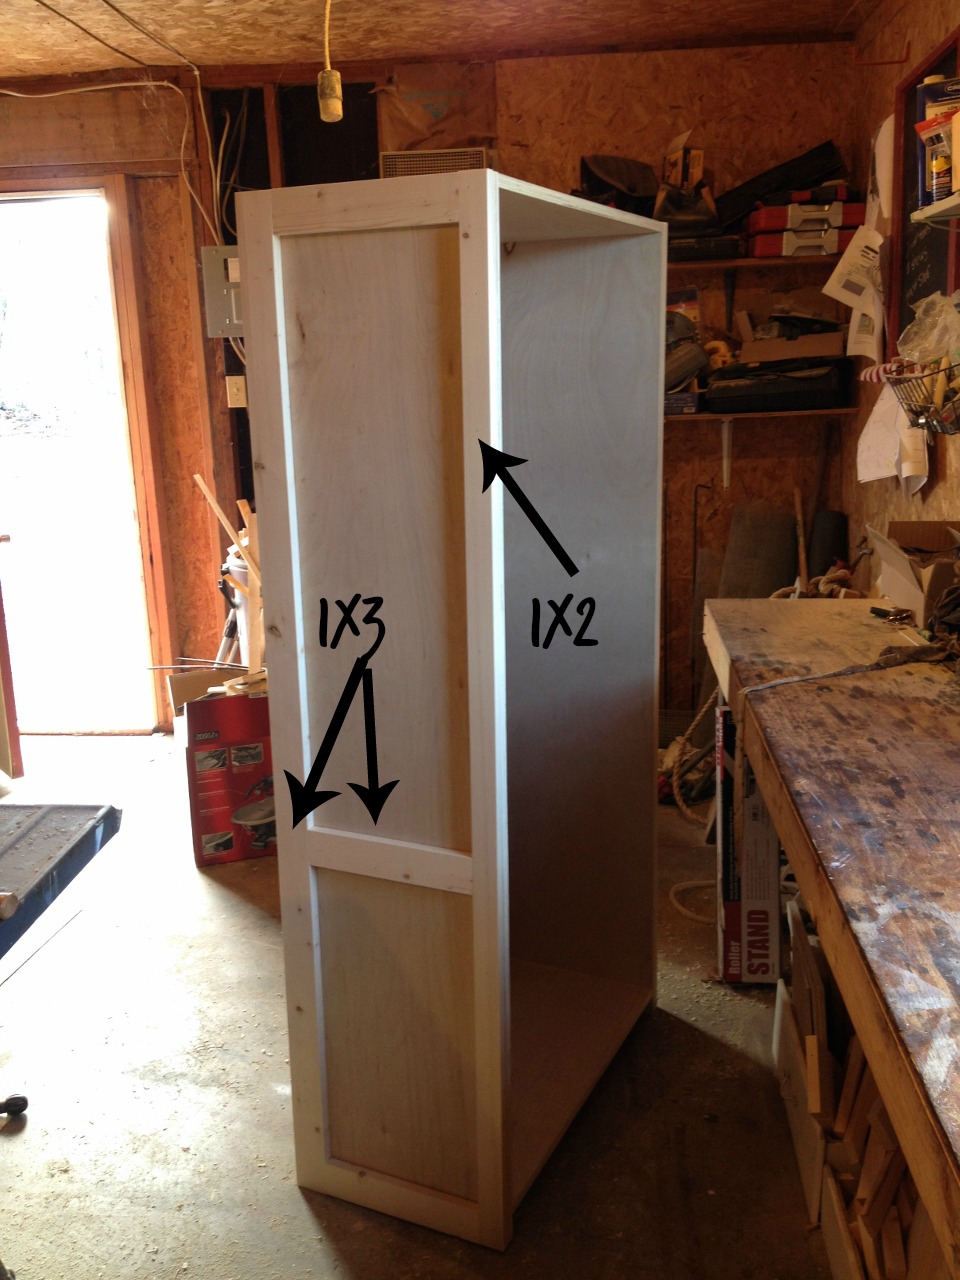
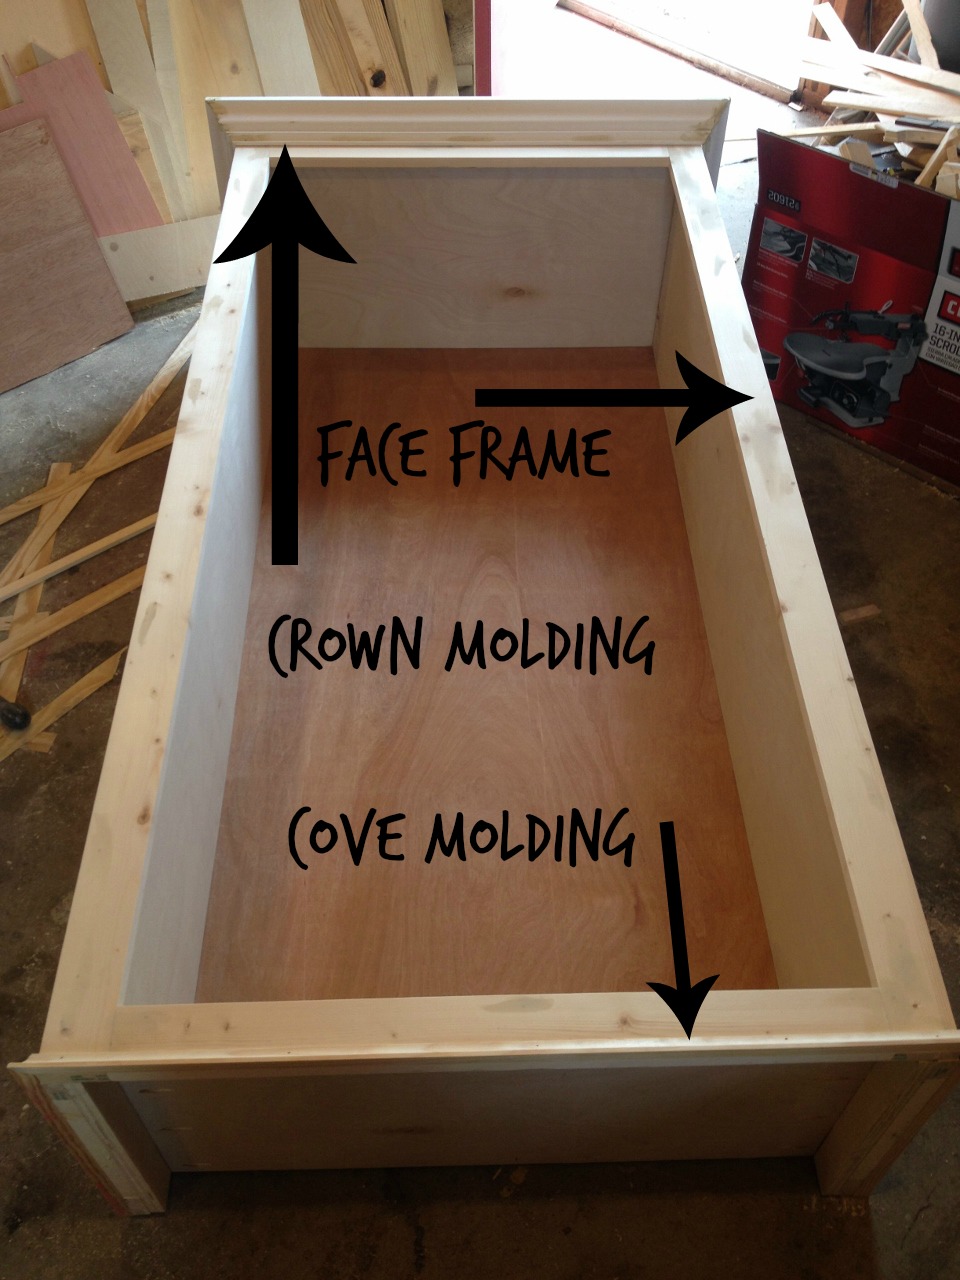
To trim out the side panels and give it a little visual interest, I glued and brad nailed 1x2s and 1x3s onto the sides. Everything was 1x3s except the piece on the front. I made this a 1×2 because the face frame will add some extra width later.
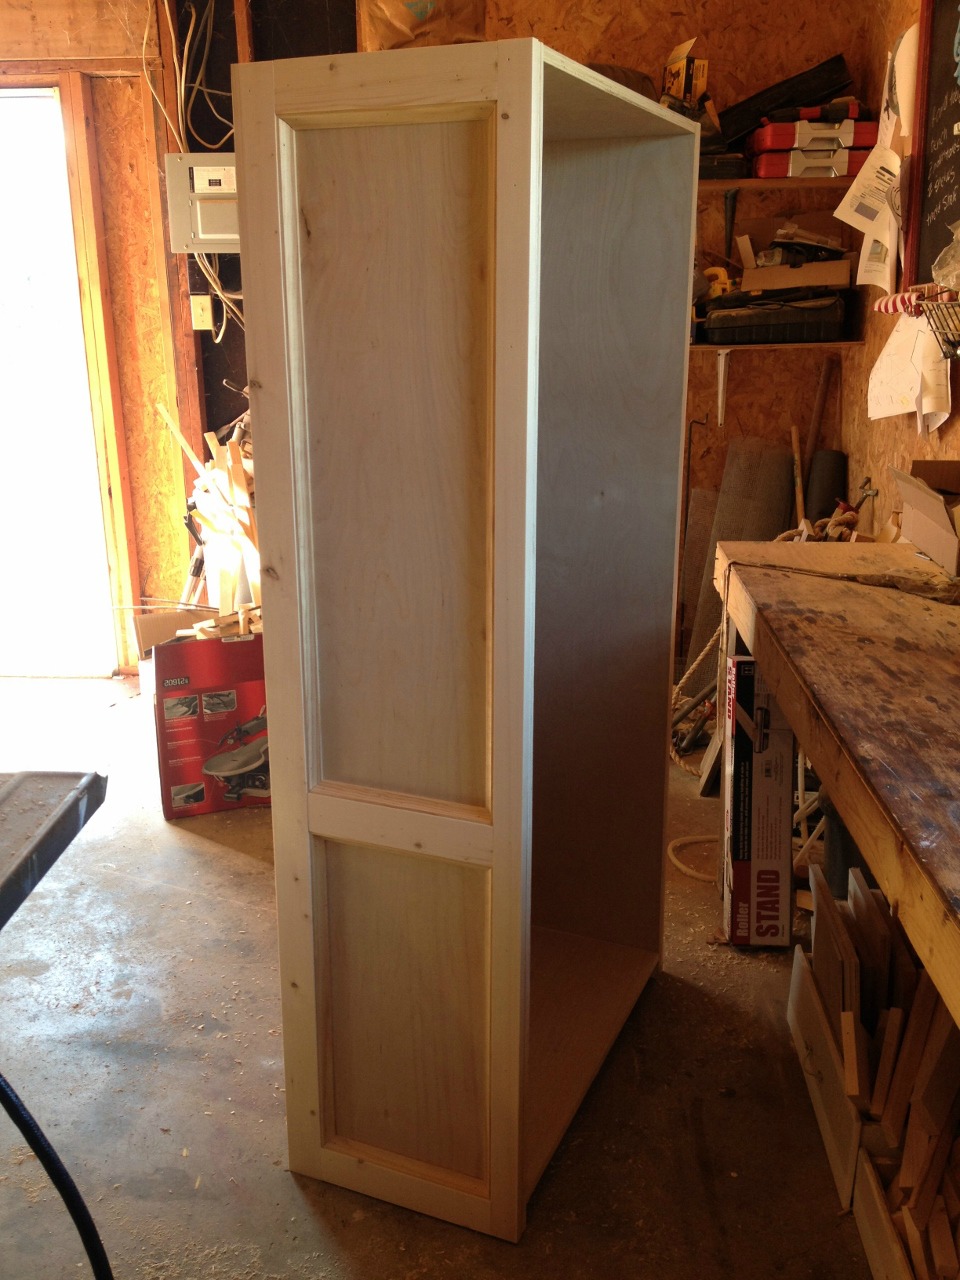
Then I lined the insides of the “boxes” with cove molding.
Step 3: Build and Attach Face Frame to Bookshelf
I built a face frame for the front and screwed it together with ¾″ pocket holes and 1 ¼″ pocket hole screws. The overall frame dimensions should cover the entire front.
.
Don’t forget to check out the downloadable plans here for exact dimensions and details on this bookshelf project:
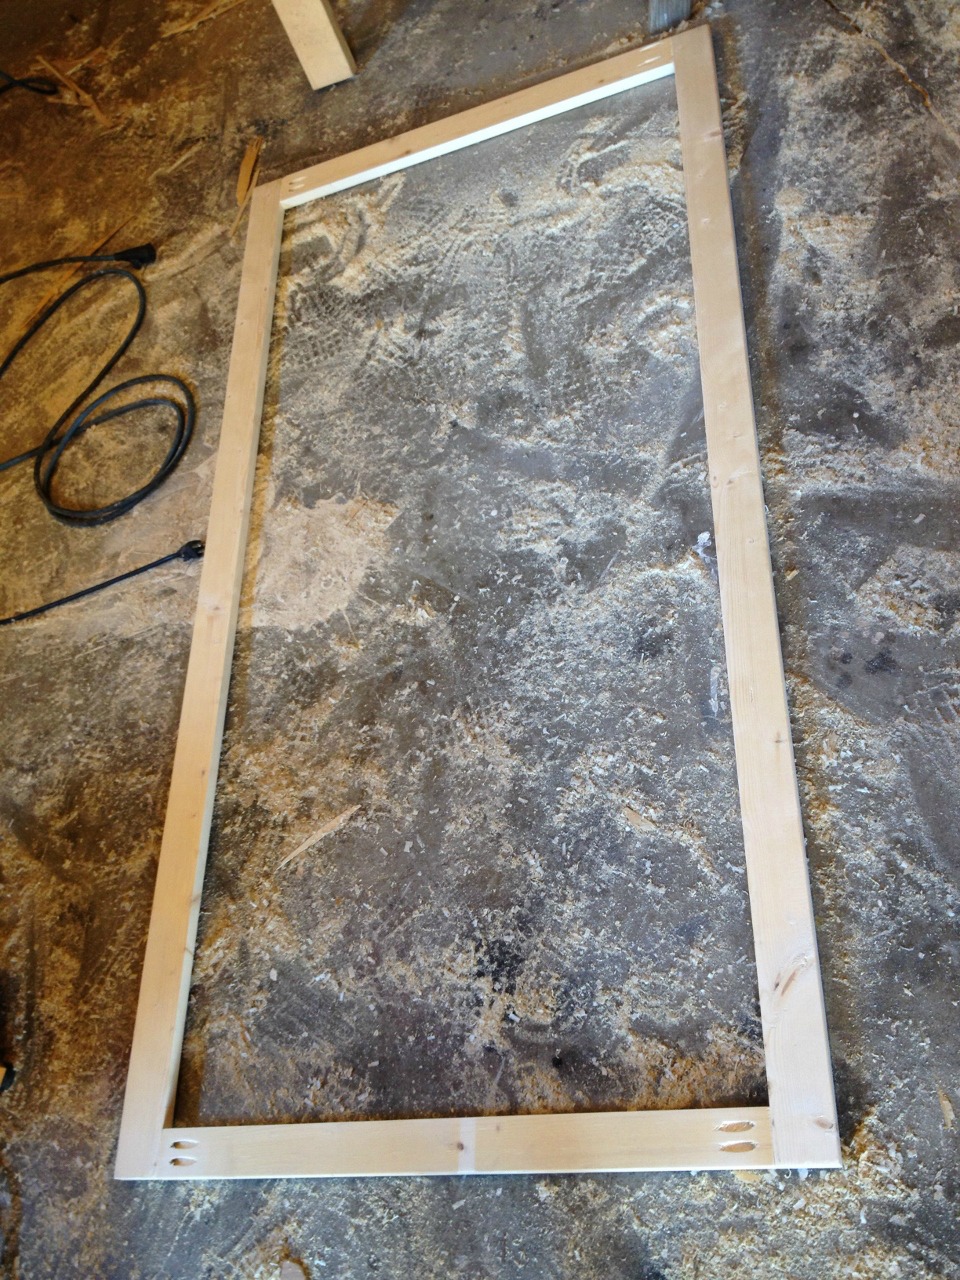
I glued and brad nailed this piece onto the front and then added cove molding around the bottom and crown molding around the top for some added detail.
Step 4: Add Feet to Bookshelf
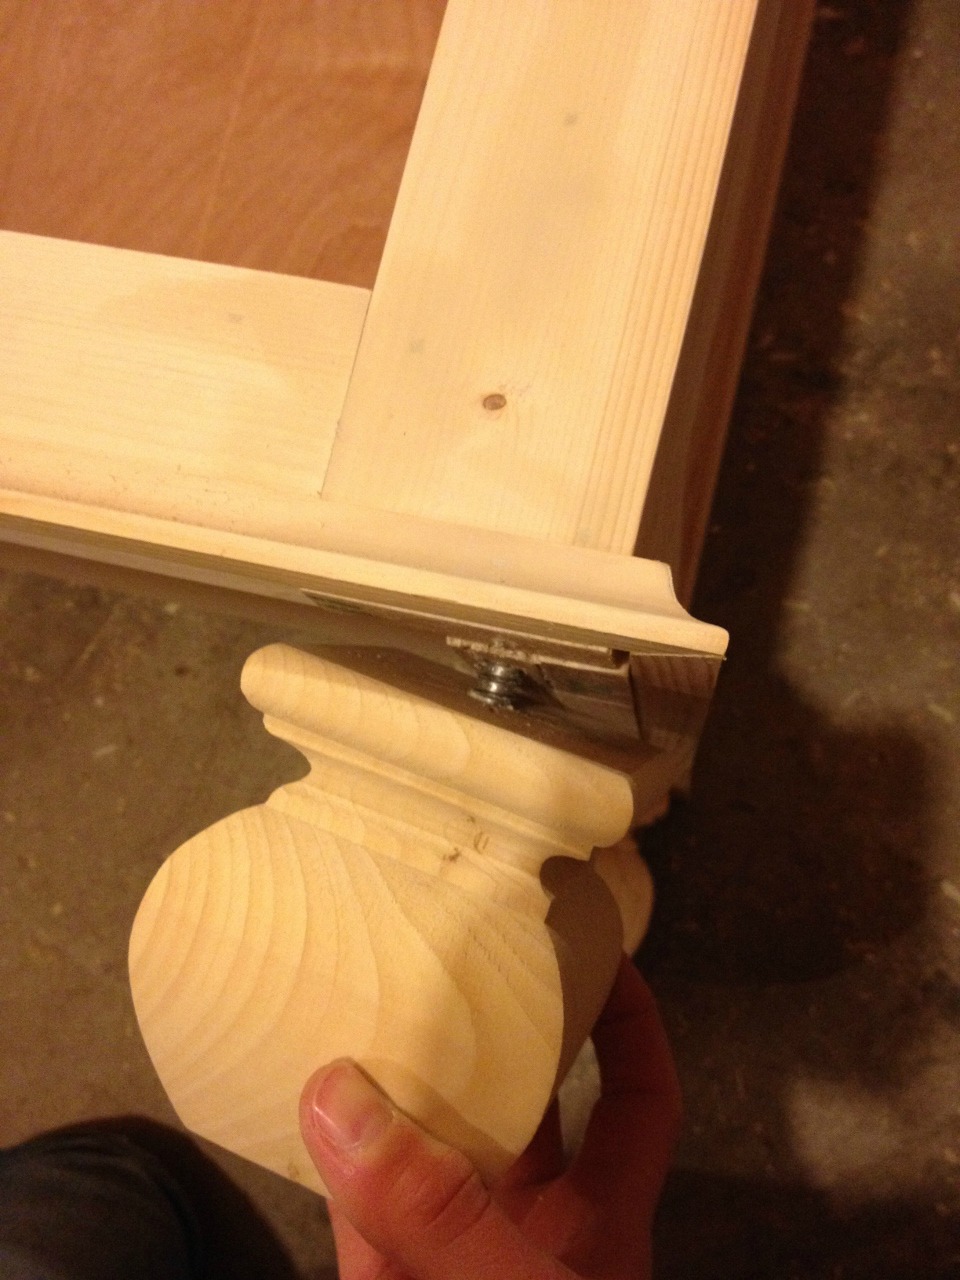
I added feet to the bottom for a little extra interest. I used these feet from Osborne Wood Products. They will add the screw dowels for you (be sure to ask for this) so all you have to do is screw them in!
.
OR (if you check out the downloadable plans), you can use a scrap block attached in the corners and glue and screw these feet in on the back sides to hide the screw heads.
.
In this case, I ordered these feet with screw dowels, so I predrilled a hole into the plywood bottom on all four corners of the piece. I made sure to use a drill bit SMALLER THAN THE SCREW DOWEL to predrill here.
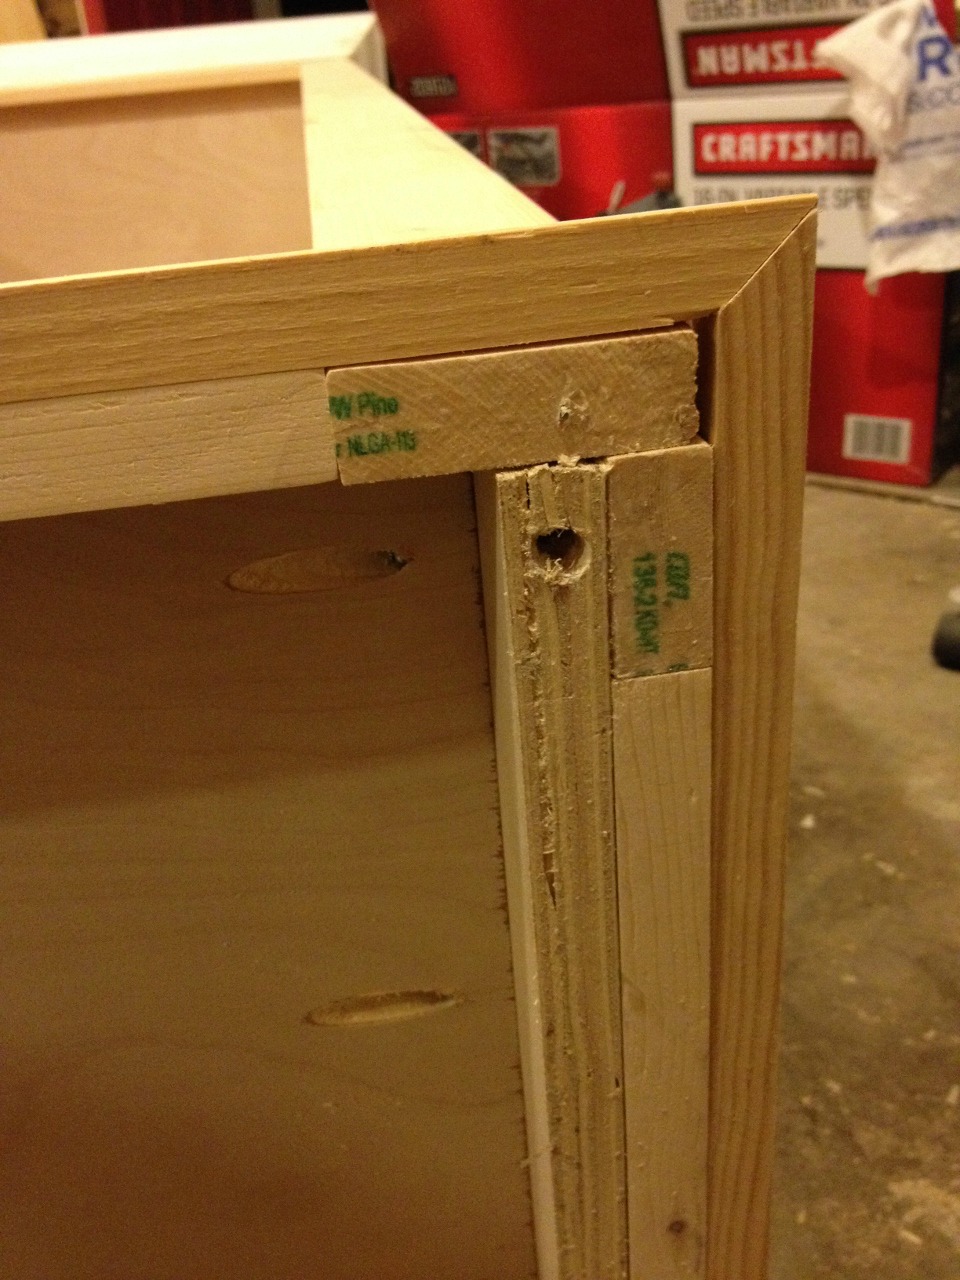
Then I screwed the feet into the hole. Since the screws were already in the feet, it made it super easy.
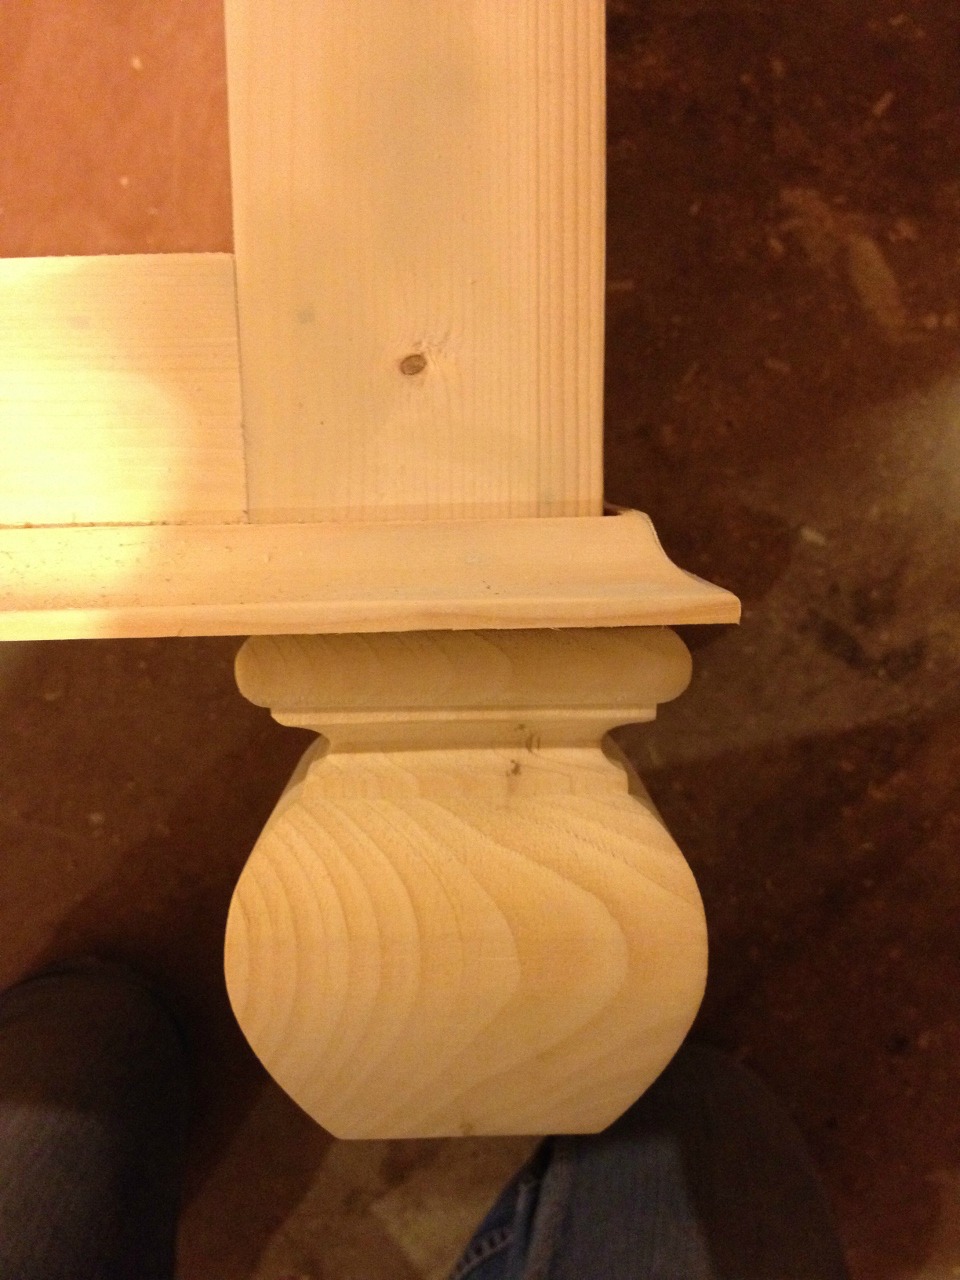
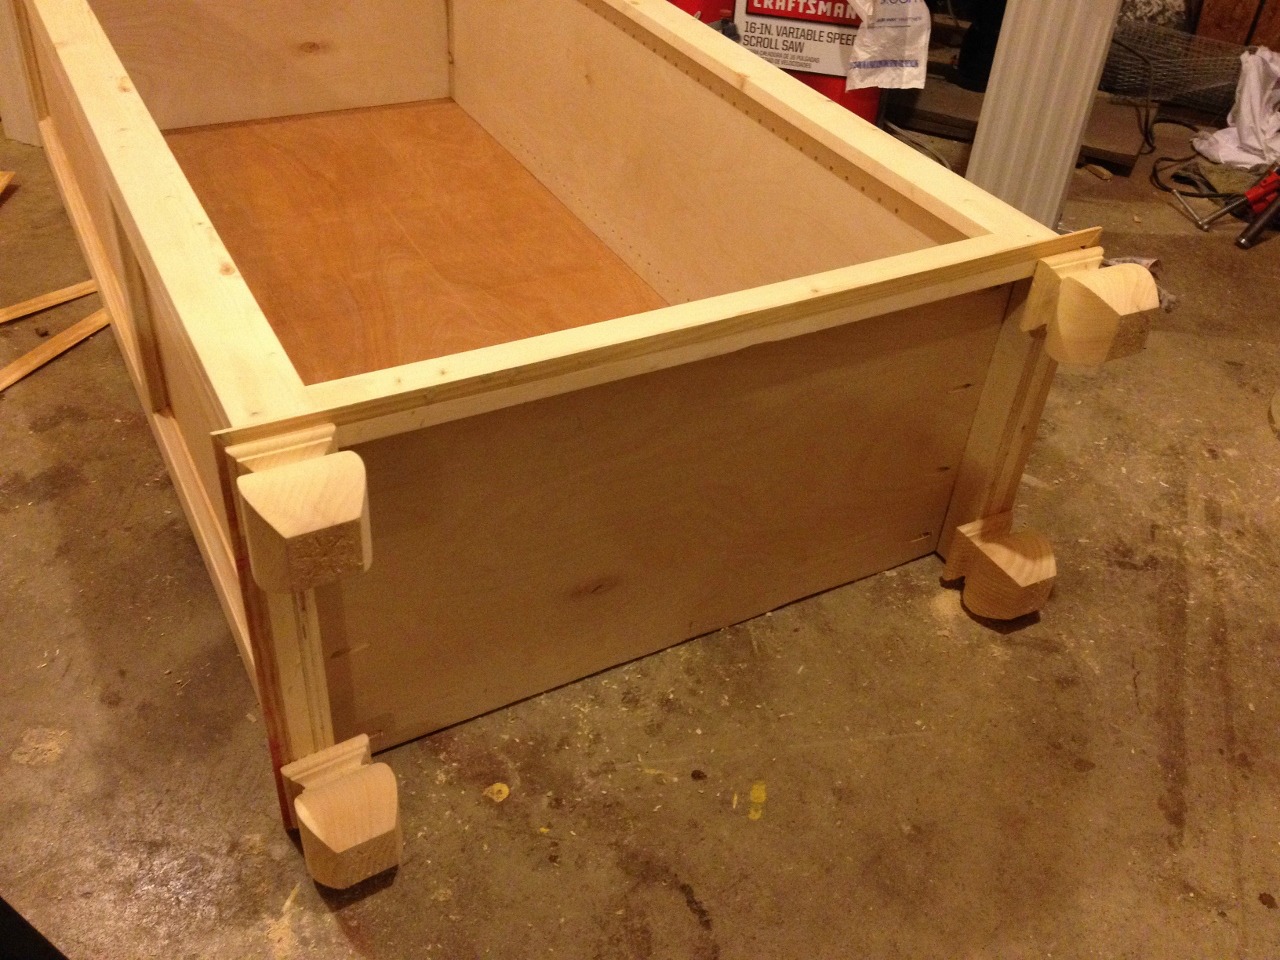
And now, it’s almost done!!! Deep breath everybody!!
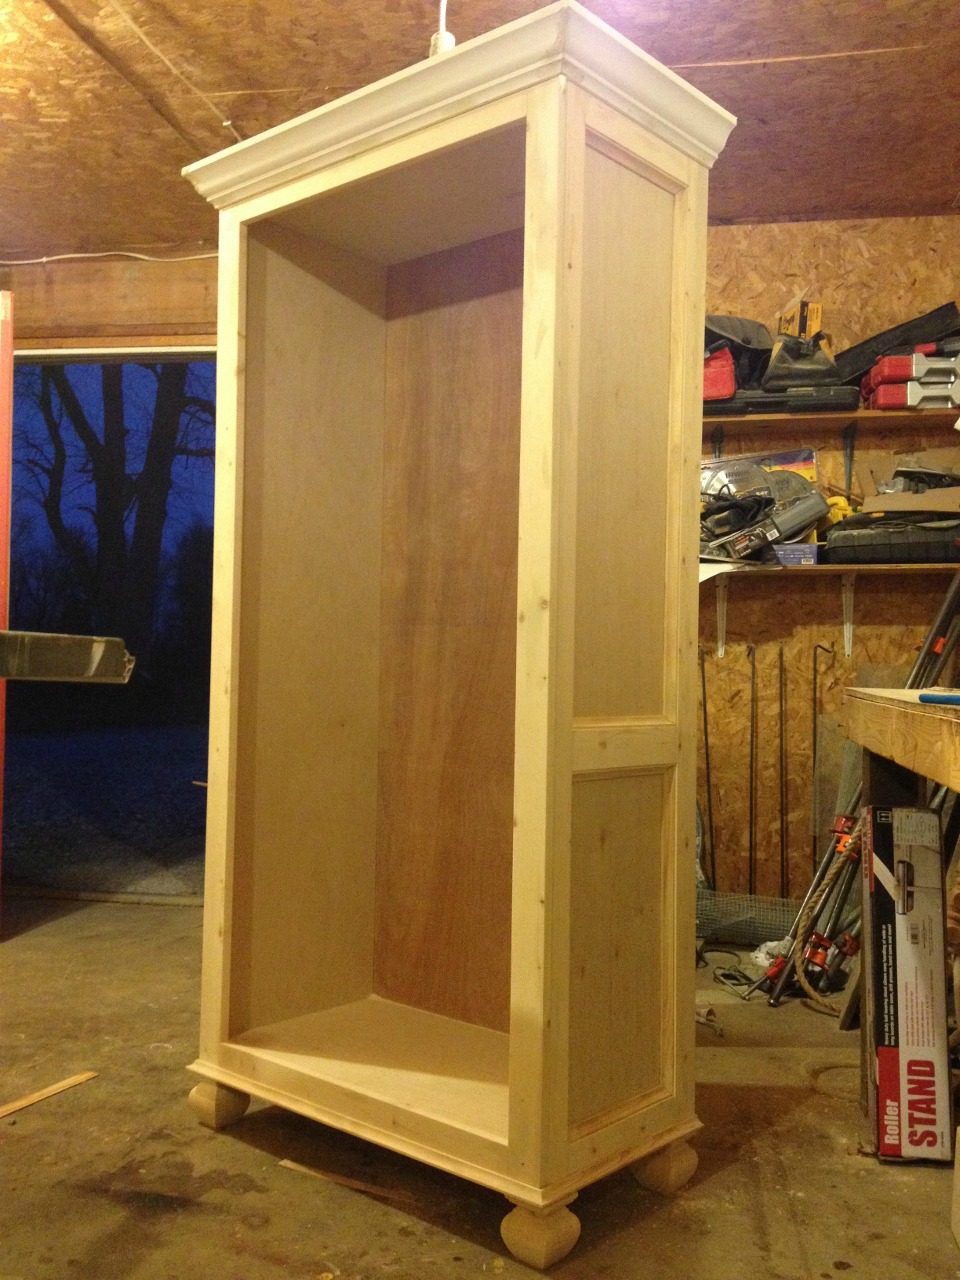
Step 5: Add Adjustable Shelves
I used my Kreg shelf pin jig to drill holes in the sides to make the shelves adjustable. I know my mom is even more indecisive than me (where do you think I got it from??), so I thought it would be good to allow the shelves to move.
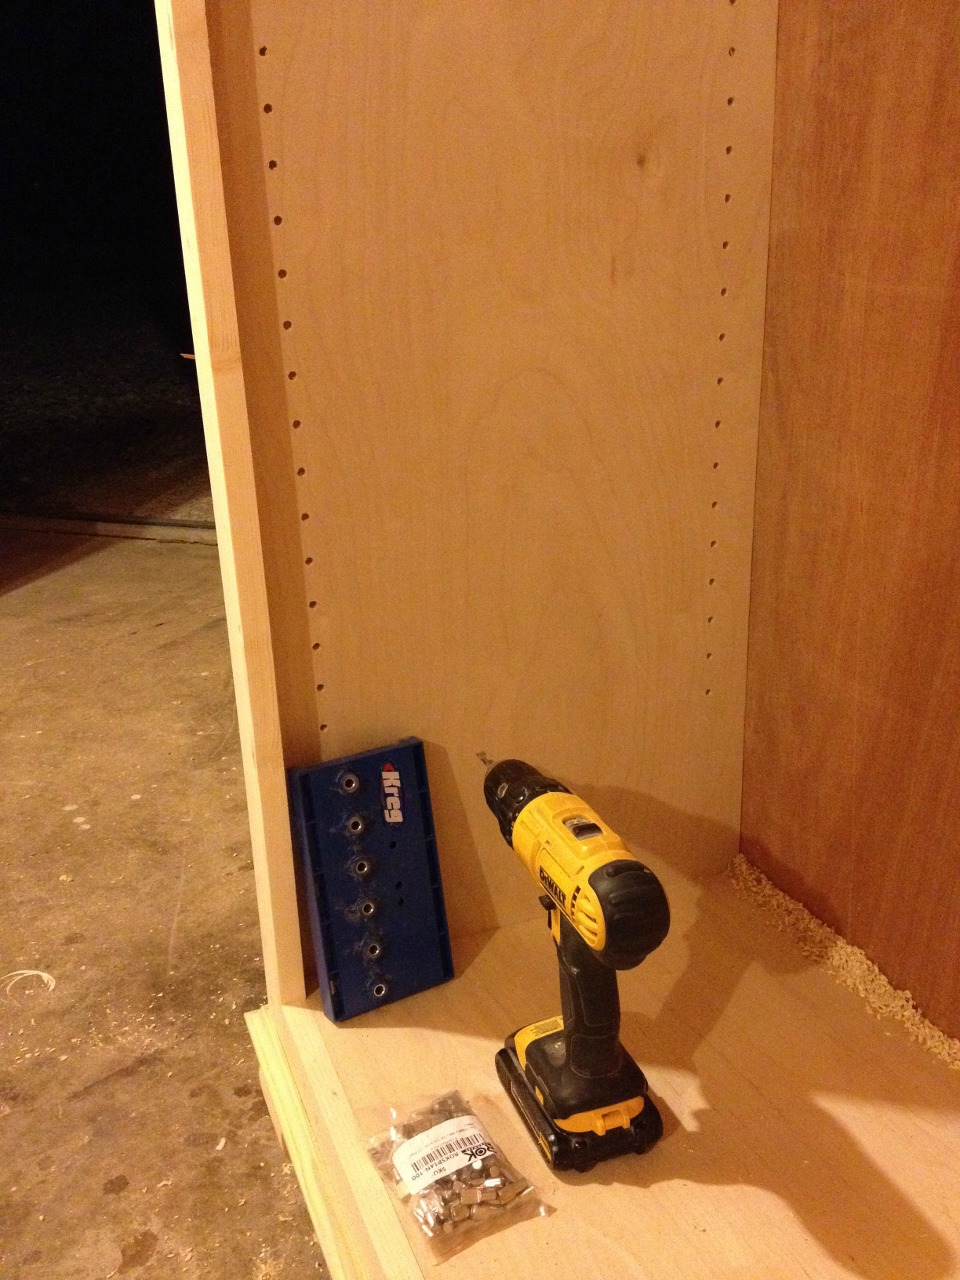
So remember that leftover piece of ¾″ plywood from step 1? I cut it into three pieces about 29 ¾″ long for the shelves. You could add edge banding to the front to cover the plywood edges if desired.I put shelf pins in and placed the shelves where I thought they looked good.
.
PS…a note about shelf pins. Kreg makes a shelf pin jig for 5mm and ¼″ shelf pins. Make sure you purchase shelf pins to match the size jig you’re using. If you’re using a 5mm jig, purchase 5mm pins. If you’re using ¼″ jig, purchase ¼″ shelf pins. 5mm is slightly smaller than ¼″.
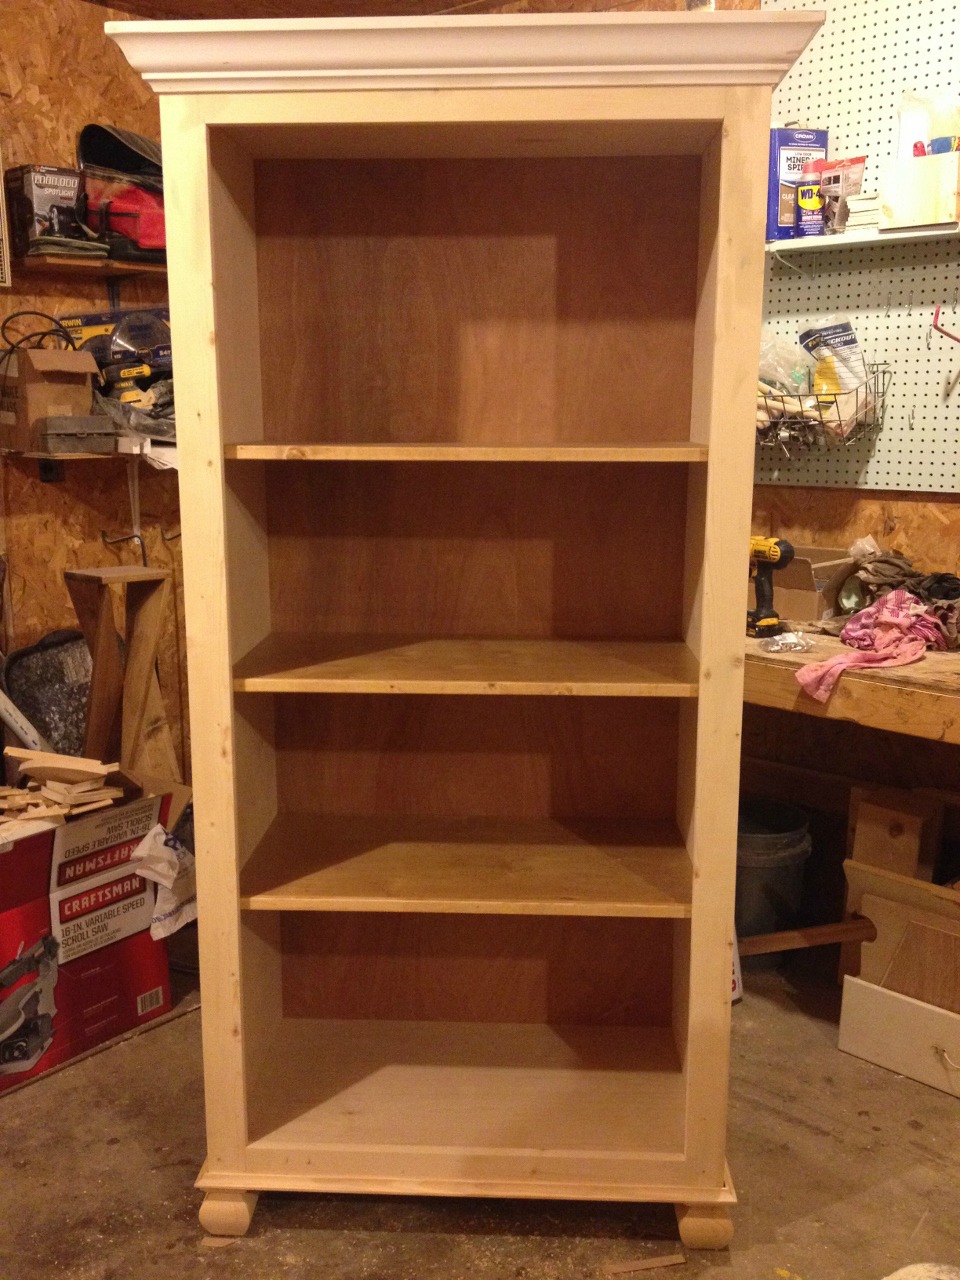
Step 6: Finish Bookshelf as Desired
As with everything, putty, caulk, and sand as needed. Then paint and/or stain. I stained the shelves and mom painted the piece.
.
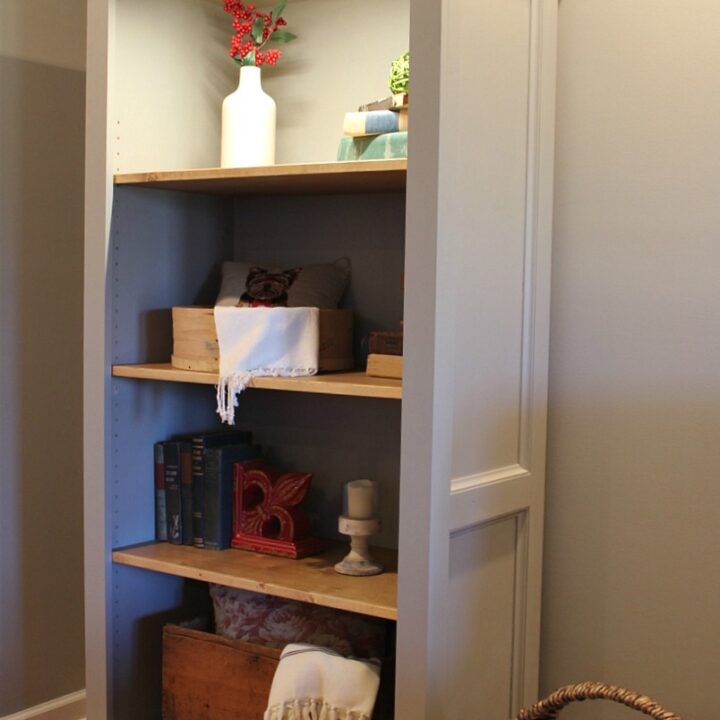
We disagreed about the finish. I said stained shelves and navy cabinet. Mom said white distressed cabinet. We compromised and ended up with this: grey cabinet, stained shelves.
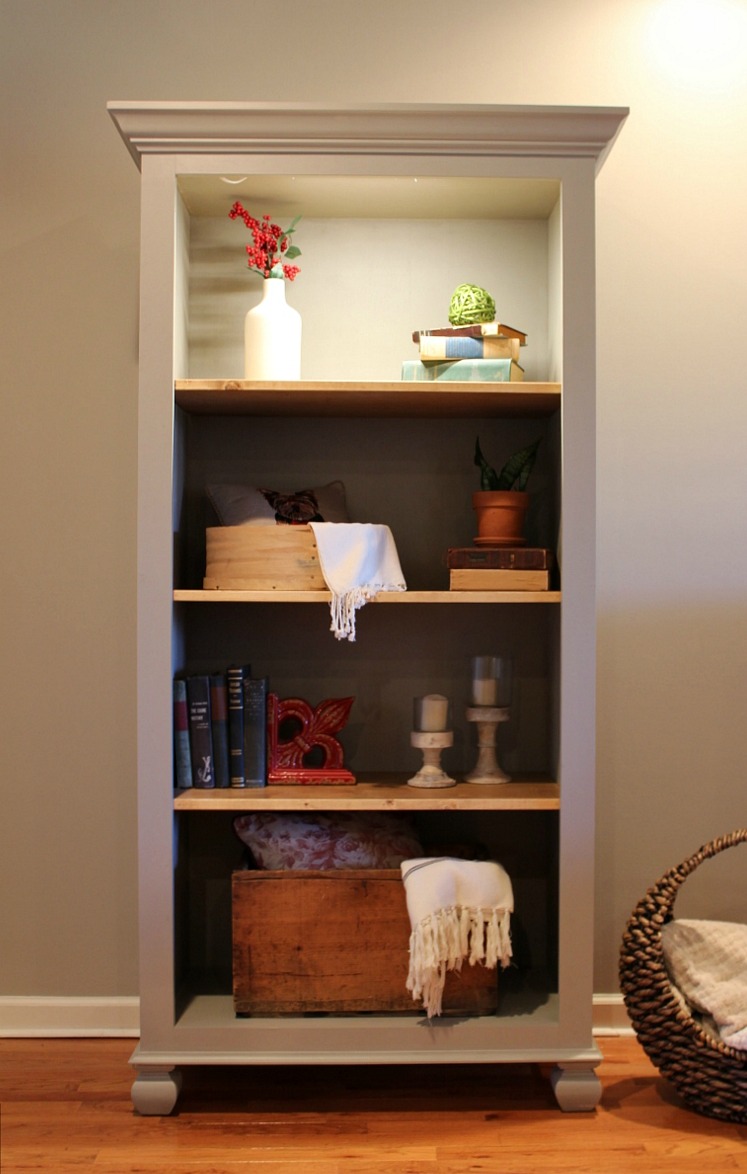
Dad added a light to the top…because he wanted to contribute something to the design haha.

But I think I like it without the light. To each his own 🙂 If you’d like to build one for yourself, be sure to head over and grab these printable PDF plans.
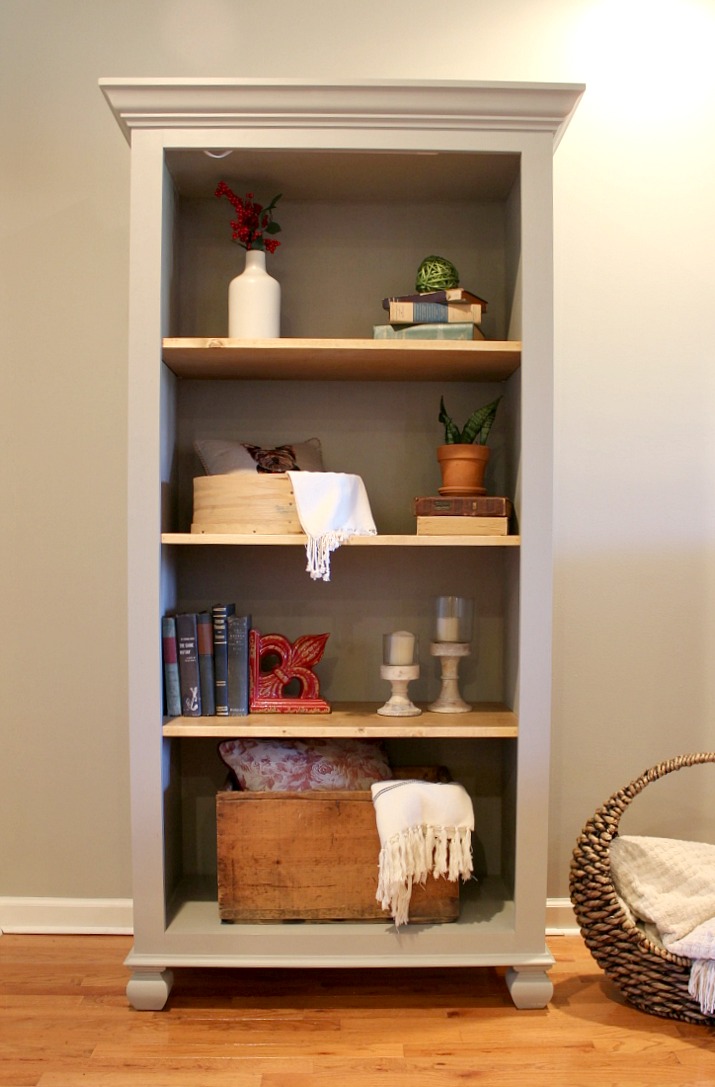
I do really like the two-tone look here and I’m glad she went with the stained shelves.
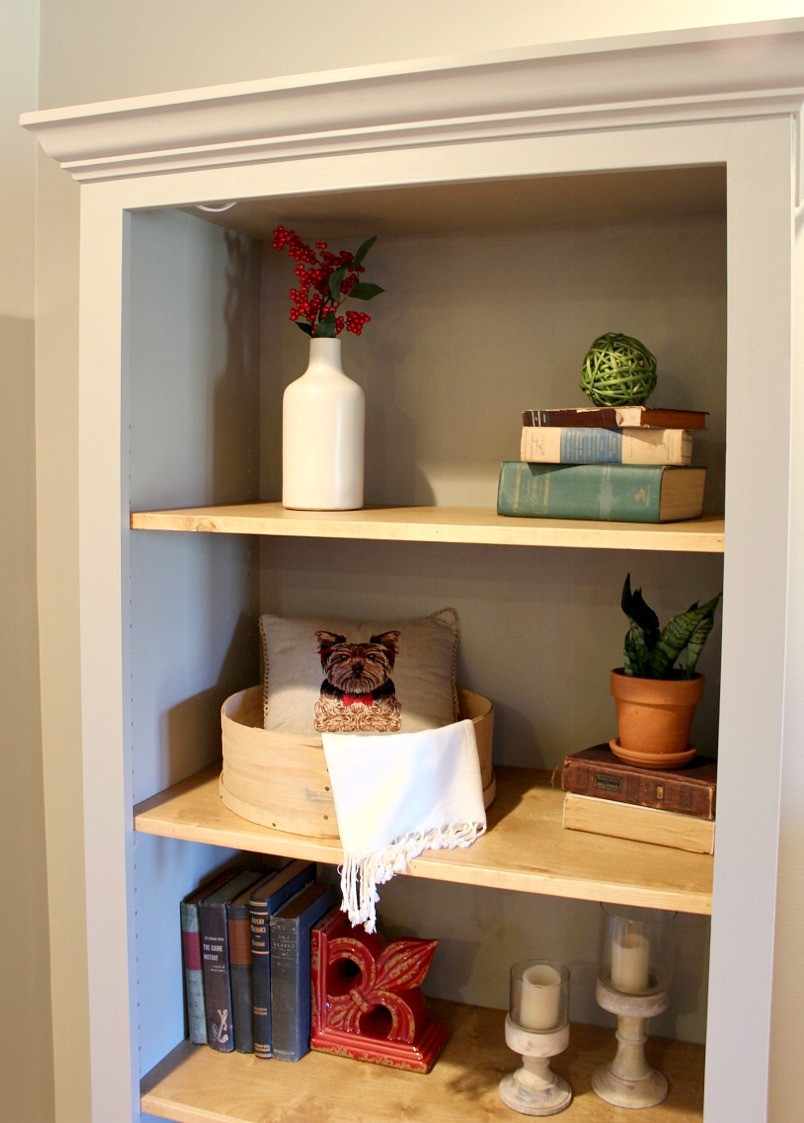
So if you’re looking for a simple addition to your living room, home office, bedroom, or entryway, this is a really simple build perfect for displaying trinkets, pictures, trophies, whatever makes your heart happy 🙂
.
I hope you’ve enjoyed this project and if you’d like to save it for later, don’t forget to pin this!
Until next time, happy building 🙂
DIY Simple Freestanding Bookshelf
How to build a bookshelf from a single sheet of plywood in just 5 steps! This beautiful DIY shelf is a great way to display pictures and trinkets.
Materials
- 1 sheet ¾″ plywood
- 1 sheet ¼″ plywood
- (5) 1x3x8
- (2) 1x2x8
- Crown molding (8 ft stick is plenty)
- Cove molding (Four 8ft sticks)
- 4 cabinet feet (I used part #4003 from Osborne Wood)
- 1 ¼″ pocket hole screws
- Shelf pins
Tools
Instructions
- Build the bookshelf carcass
- Add trim to the bookshelf sides.
- Build and attach face frame to the bookshelf
- Add feet to the bookshelf.
- Add adjustable shelves.
- Finish bookshelf as desired.


This is a lovely book shelf!
I just wanted to ask a question though. I built it last week and have found that it’s so wobbly. Did you add corner brackets (underneath the very bottom shelf) or anything else for support?
Also, do you have any tips for cutting the crown molding? (That’s the only part I have yet to do)
Thanks!
Hi Ashley!! So glad to hear you built your own!! I did not add any brackets. Mine sat flat on the floor, but was a little top heavy since it’s so tall. But I didn’t have any trouble with it wobbling. Have you tried felt pads under the feet as maybe one corner got a little higher than the others?? I do not have a tutorial (yet) on cutting crown molding, but there are TONS of videos on YouTube that can show you better than I could tell you. Basically, to cut crown molding, you have to flip it upside down on your miter saw and tilt it so that the flat parts that normally rest on the wall and the ceiling (if you were installing it along a ceiling) are sitting flat on your saw top and the backrest. Then you cut at a 45 degree angle. It will make better sense once you see a video. Just search Youtube for cutting crown molding and there are plenty of options to watch 🙂 Hope that helps!! If you have more questions, feel free to contact me!
Shara,
I think I should have worded that differently. The book shelf kind of sways, if that makes more sense. I checked to make sure my PH screws were properly screwed in. I’ve never had this happen with pocket hole joinery before, so I’m kind of stumped.
I thought maybe it would get better as the 1×3’s and 1×2’s and the face were added, but it didn’t.
I’m going to run some 2×4 support slats underneath and see if that helps.
Thanks for the awesome tutorial!
Hey Ashley, so it’s more like it’s not square, not necessarily wobbly?? Did you add the backing? Usually you can help square things up with a backing. Or maybe I am still misunderstanding. Hopefully you got it figured out already!
Being a literature student, I have a fair collection of books. I always wanted to create a decent bookshelf. Now I am able to create it to keep my books safe and also to decorate my bedroom with a great bookshelf.
It’s awesome to hear you liked the project!! Good luck on building your own. I’d love to see it when you get finished! 🙂
It looks great! 🙂 What would you think of putting mirrors on the back/inside of the shelves to reflect light? It seems a little dark in the shelves. Maybe not for your mom, but if I were to give this a try? I have not built any furniture – yet – but I feel like I can someday, thanks to your wonderful blog 🙂
Thank you! Mirrors in the back would be a good idea! It would help if the shelf was actually in an area where it might get some natural light, too. Where she had it placed, it is facing away from the window and in a dark corner. It would also help if it was painted a really light color, like white. But, your idea of mirrors sounds like a good one!
Shara: Another fantastic job. You have one lucky Mom! I love your dialogue almost as much as your work. Time to give up the Engineering. We want lessons!!
Thanks girl! I know, I’m slacking getting those lessons planned. I haven’t forgot though!! I have some fun things in the works this Spring 🙂