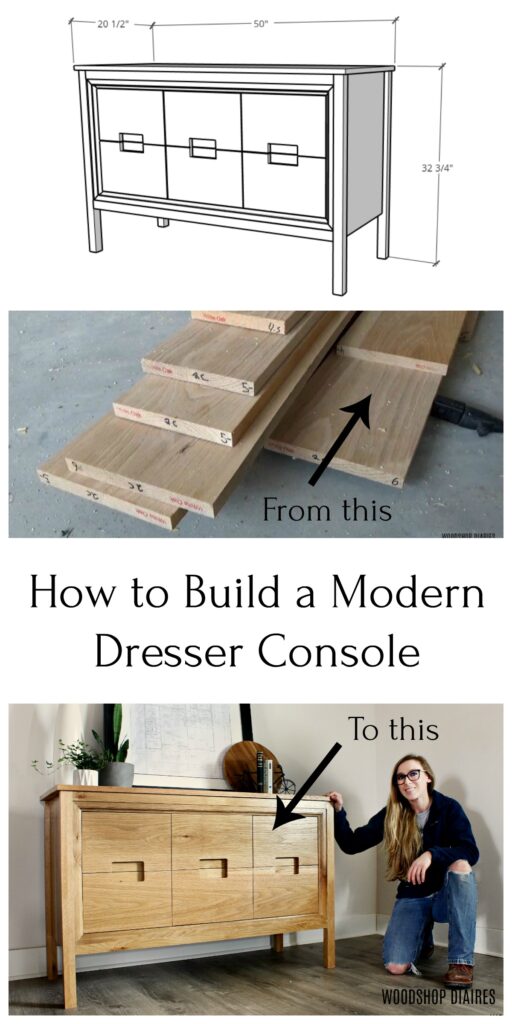
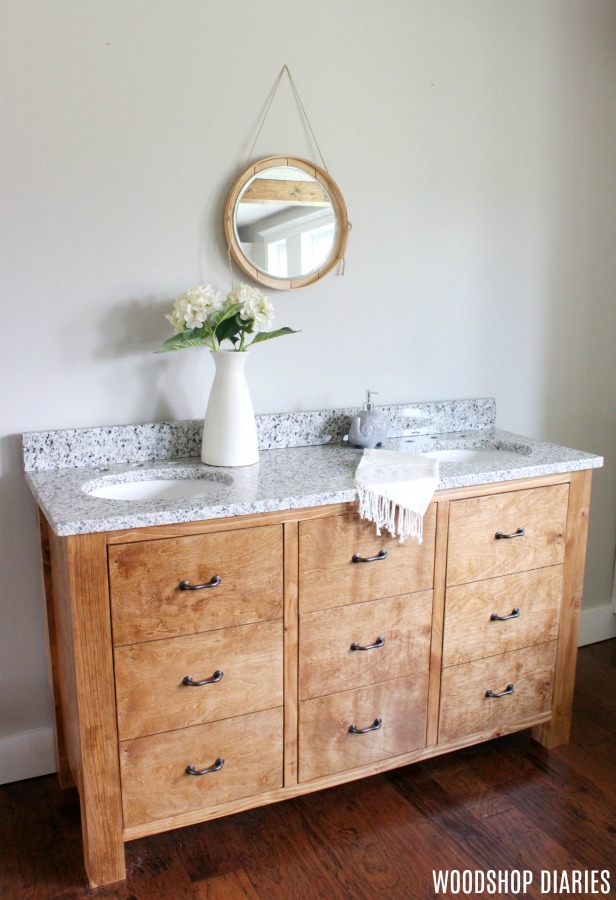
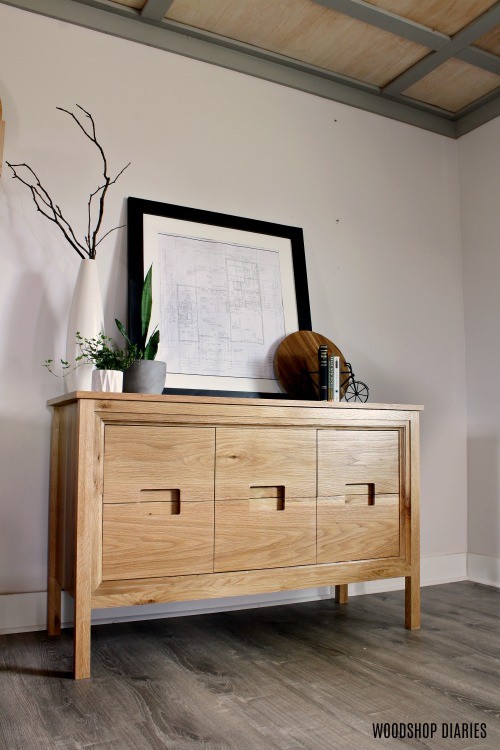
This DIY modern dresser console is actually going to soon become a master bathroom vanity.
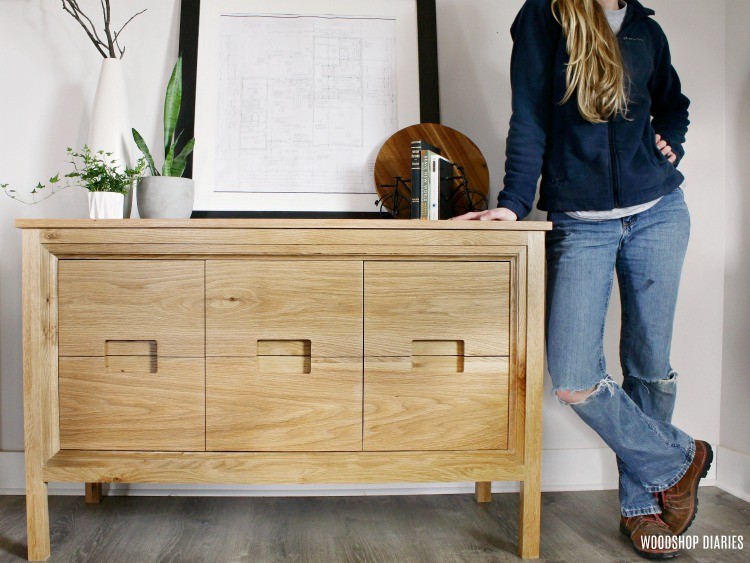
My parents and I are about to tackle their master bathroom remodel in a few short weeks, so I went ahead and put these together so they’ll be ready right after we tile the floor. But this design isn’t specifically a vanity. It would make an excellent modern dresser or console as well, so that’s what we are calling it.
.
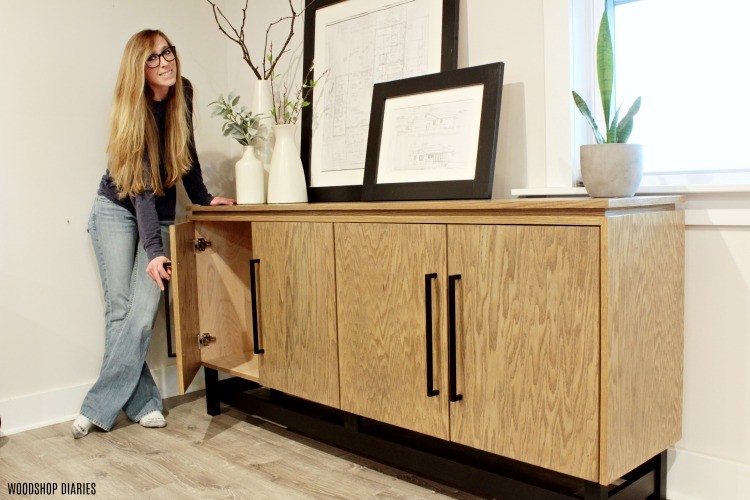
If you want to check out some other vanity or console projects, here’s a few favorites:
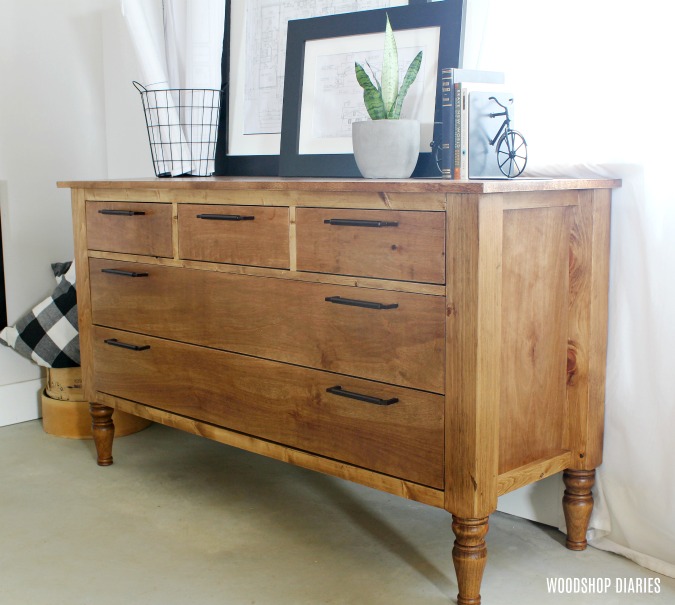
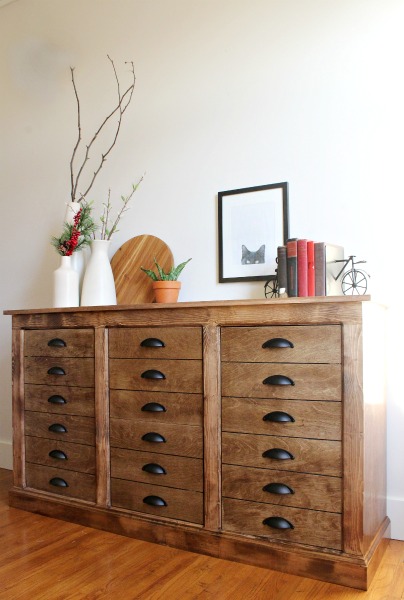
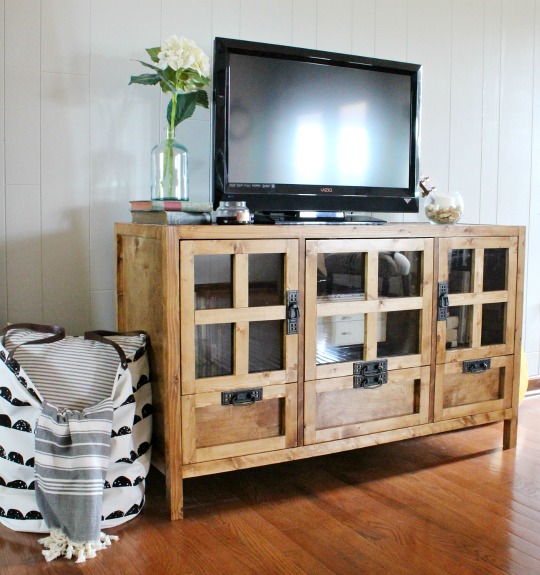
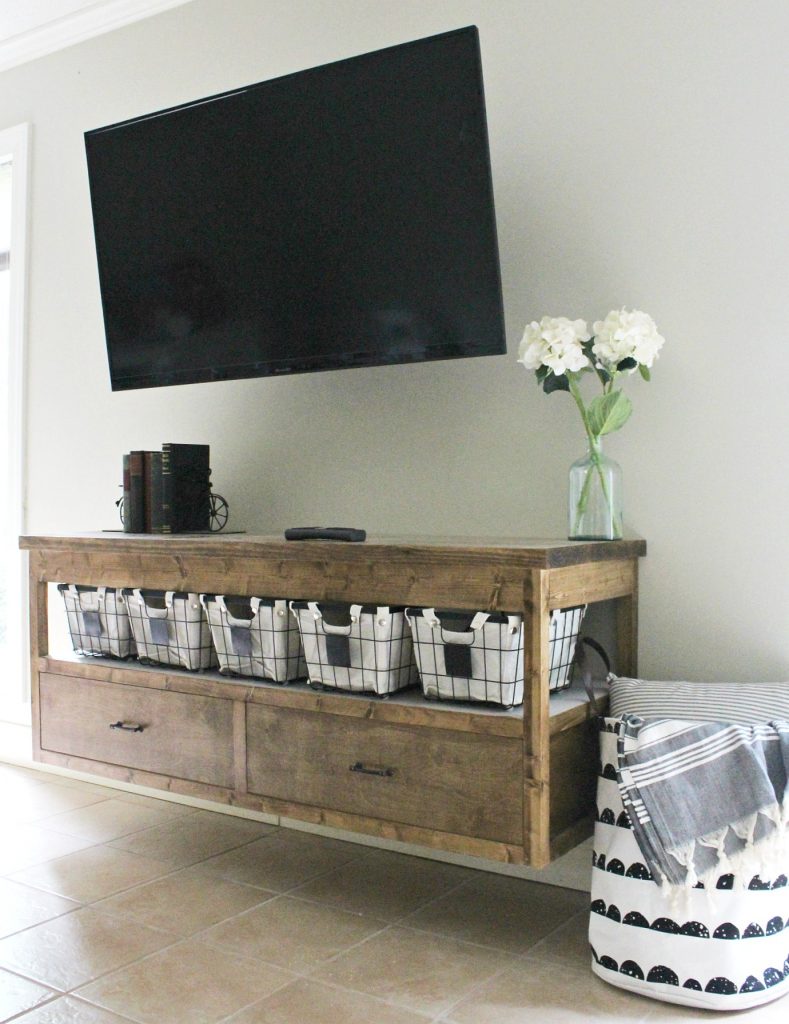
DIY Modern Console Cabinet DIY Dresser Faux Drawer Dresser DIY Media Console Floating TV Stand Faux Drawer Vanity
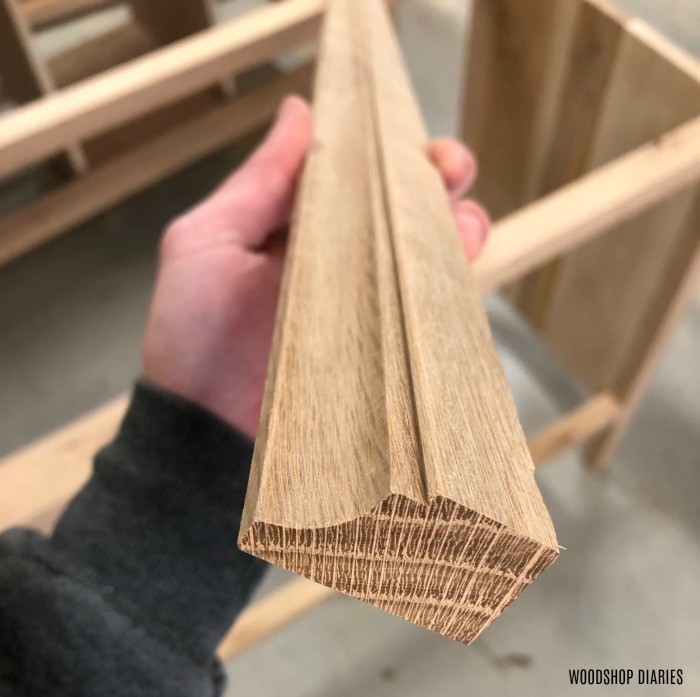
Whatever you call it, my entire design was based off of a little trim detail I had seen recently on a piece of furniture online. Basically I decided I was putting this trim around the front, and just built the plans backwards from there.
So I’m sharing the printable plans here, and the video and step by step tutorial below.
NOTE: For two of these identical DIY modern dresser builds, I purchased about 60 board foot of white oak from my local hardwood place in varying widths and lengths for these vanities. So the first thing I did was pick through my pile and measure each piece and label it for what I would use it for to keep things semi organized.
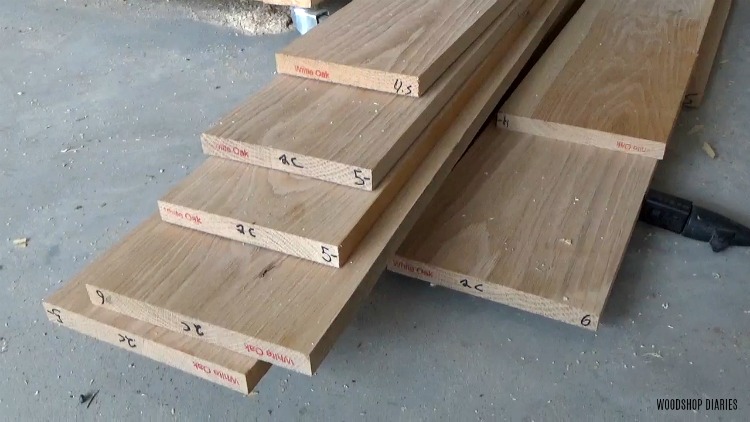
However, in the plans, I’ll show this as standard sized boards OR plywood to make it a little easier. Just be aware, there are different options for size combinations here depending on the type of lumber you are using.
.
This post contains affiliate links. See policies page.
For this build, you will need:
Materials Needed:
- (1) sheet ¾” plywood (if using solid wood options…or 2 sheets if using plywood option)
- ¼ sheet ¼” plywood
- Lumber: 30 board foot of lumber OR
- (4) 2x2x8 boards
- (1) 1x8x8 board
- (1) 1x3x8 board
- (2) 1x2x8 boards
- (2) 1x10x8 boards
- (1) 1x12x8 board
- Dowels and wood glue
- 1 ¼” pocket hole screws
- 1 ¼” wood screws
- 2” wood screws
- (4) pair 16” ball bearing drawer slides
- (1) pair concealed hinges for frameless full overlay doors
Tools Needed:
- Circular saw and cutting guide (cutting guides optional, but helpful)
- Table saw
- Router & ½” cove bit, chamfer bit, flush bit
- Miter saw
- Jig saw
- Dowel jig OR pocket hole jig
- Drill
- Concealed Hinge Jig
- Sander
- Clamps
Step 1: Glue Up Side Panels of DIY Dresser Console
The legs and frame for this dresser console are made from 2x2s. But, the side panels could be either plywood, or could be a glued up panel made from 1x boards. I was building mine from solid white oak, so I glued up my own panel.
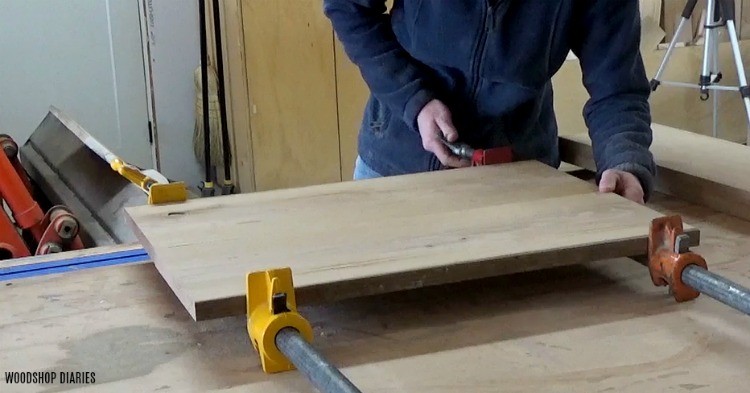
In my case, since I was cutting the boards I purchased down to the widths I needed, the hardest part of this build was trying to make the most of the lumber I had. Since these boards were all varying widths and lengths, I had to think through the most efficient way to cut and trim them to create the pieces I needed. However, in the printable plans for this build, I’ve suggested options for using standard board sizes to make things a little easier.
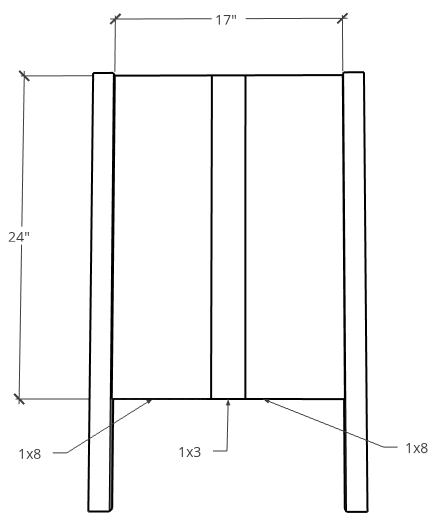
Once all the glue was dry, I attached the legs on each side of the side panels using wood glue and dowels. If you prefer, you can definitely use pocket holes and screws for assembly instead of dowels.
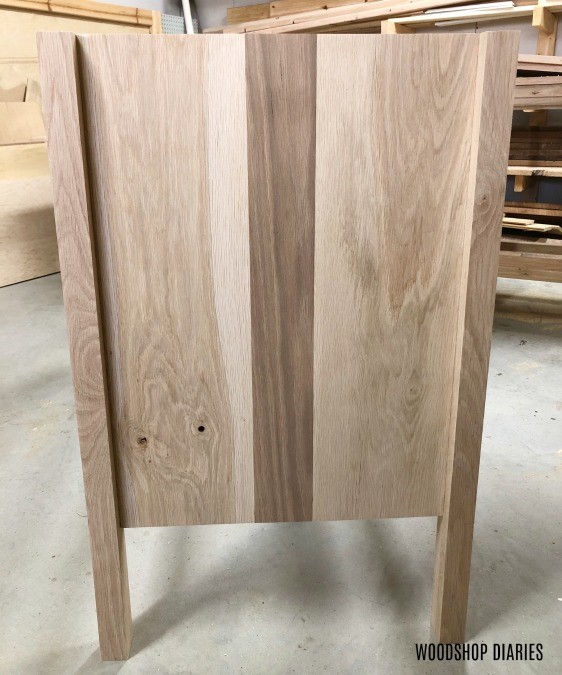
Step 2: Assemble Dresser Console Frame
Once the glue was dry on the side assemblies, I used dowels and wood glue again to attach the horizontal frame pieces between the sides. Again, pocket holes and screws would work fine here, too.
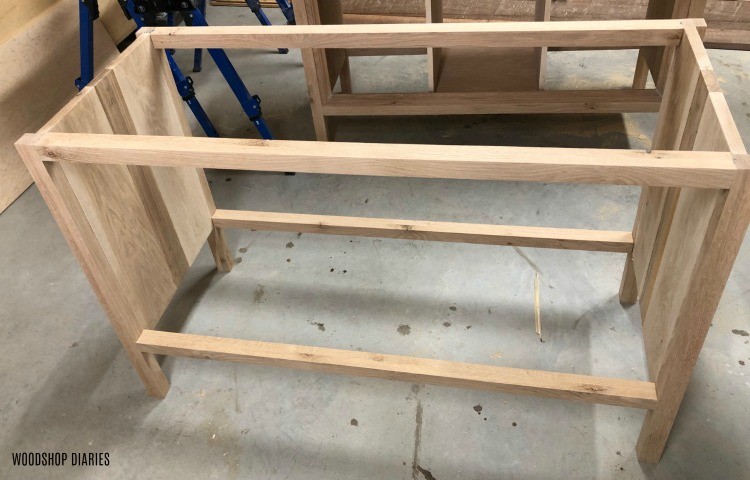
Step 3: Add Bottom and Middle Dividers to Console
Once the glue was dry on the dresser console frame, I started installing the bottom and dividers. Because hardwood is expensive, I built the INSIDE of this piece using plywood to save a few bucks—and some time from having to glue a bunch more panels together. Check out this post about how to cut plywood here.
.
So I cut a piece of plywood to install for the middle cabinet section and used pocket holes and screws to attach it in place. I only need a bottom in the middle because the side sections are for drawer boxes. But the middle section will be a cabinet.
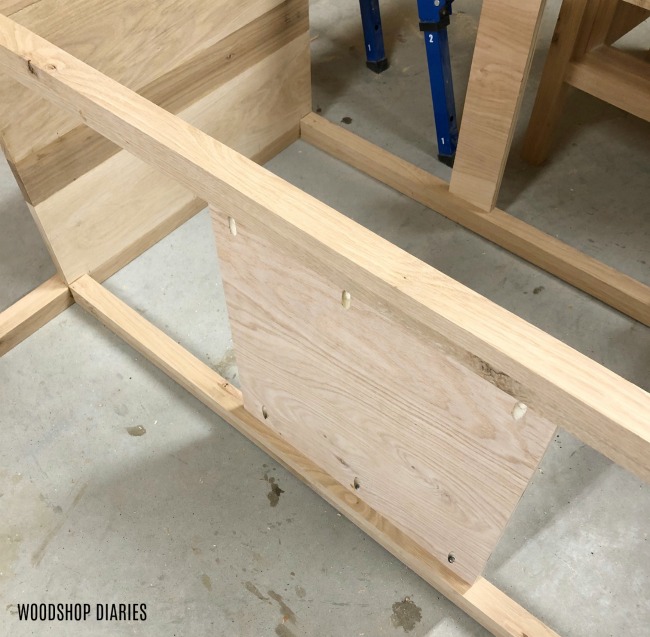
After the bottom was in place, I cut two scrap pieces to add to the top to be able to screw the divider panels into.
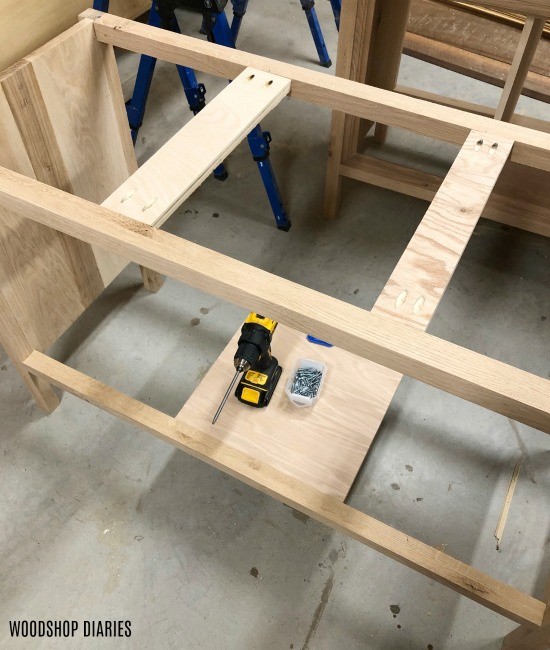
Then, I installed two section divider panels. I had to notch out a corner in the back for them to fit around the frame. So I just marked where to cut and used a jig saw to trim that corner off.
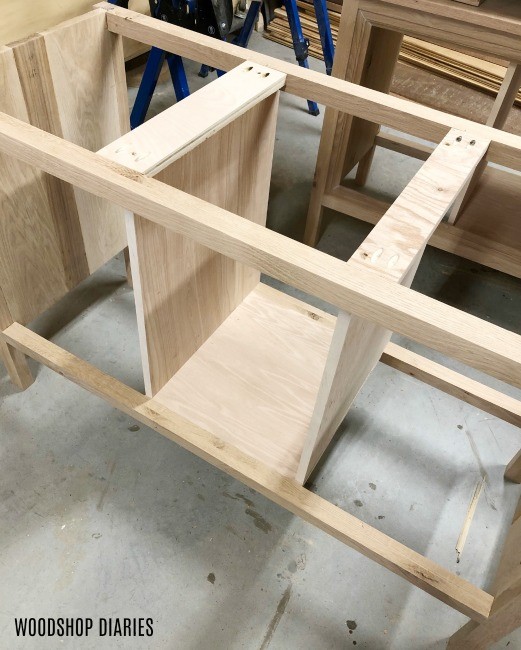
I installed these divider panels with 1 ¼” wood screws through the bottom panel and the top supports. You can see all of this in the video above. The key here was making sure to install these so that they were square and evenly spaced so that I didn’t run into issues installing the drawers later.
Step 4: Cut and Add Trim to Front
Now, this is where the trim I was talking about at the beginning comes in. My whole design was built around this trim. I usually buy my trim and molding pieces, but since this was white oak, I couldn’t find any trim to match—it’s mostly pine in my local stores—so I had to make it myself.
.
I wanted it to LOOK LIKE a piece of solid wood on the outside and cove molding on the inside.
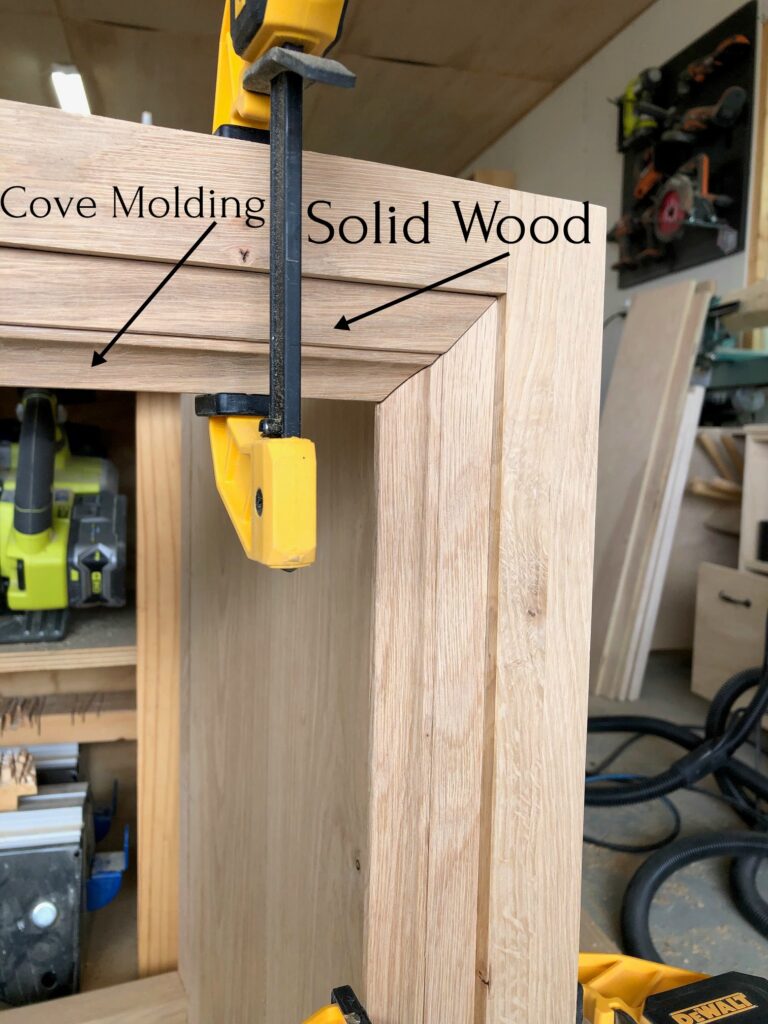
So first, I ripped down some 1 ½” strips to use for this trim. I adjusted the table saw blade to about ⅝” high and adjusted the rip fence so that only a blade width would be trimmed off the edge of the piece. Then I ran these pieces through to give me a little rabbet like shown here.
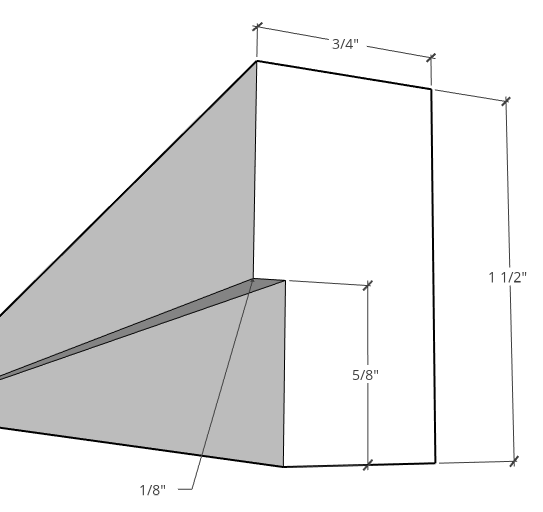
Next, I installed a ½” cove bit into my router and routed along the side I just cut. I had to route a little depth off at a time because if I tried to take it all out at once, the oak kept splitting on me. I did a few test pieces until I got it like I wanted. Check out my guide to using a router here.

Then, I cut enough trim to line the inside of the front of both vanities–about 12 ft worth. To install these, I adjusted my miter saw to 45 degrees and cut to fit these pieces around the inside of the front of the vanity. In order for the corners to match up, all ends had to be cut to 45 degree angles.
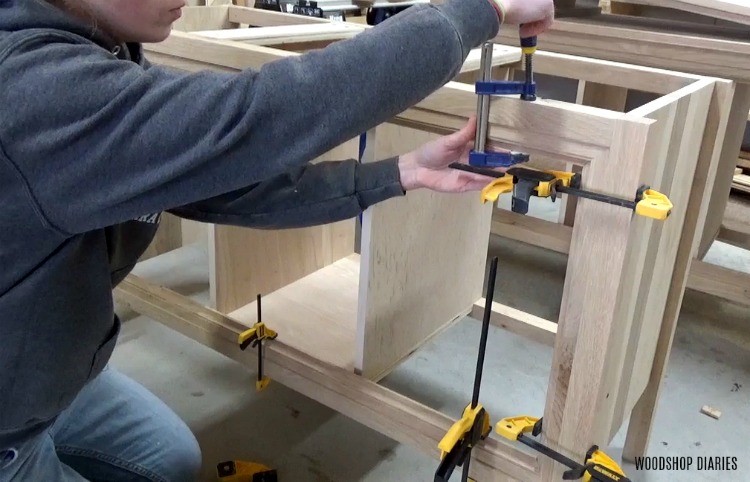
Once I had all the pieces cut and checked that they fit well, I glued and clamped them in place. I inset the trim pieces about ¼” from the front of the frame just for a little extra depth.
Step 5: Cut Drawer and Door Fronts for Dresser Console
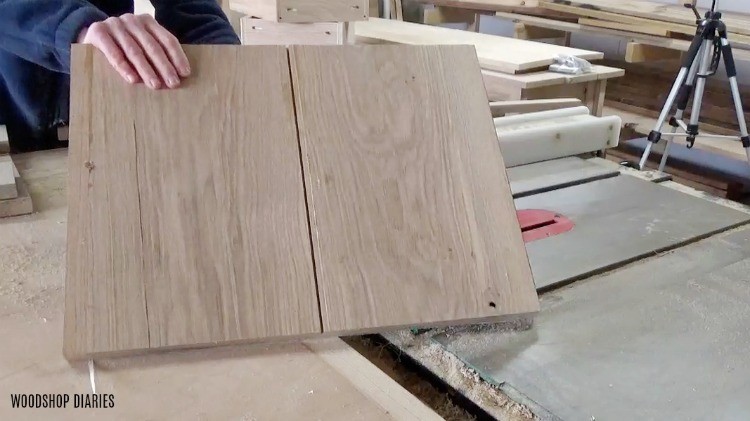
For the drawer and door fronts, I wanted a continuous grain pattern. So I measured the opening of the vanity INSIDE the trim and sorted through my boards to find the pieces I wanted to use for the fronts.
.
I glued up a panel the size of the opening using these boards. Once it was dry, I trimmed the edges clean and square using my Kreg AccuCut, then trimmed three equal size pieces for the drawer and door fronts.
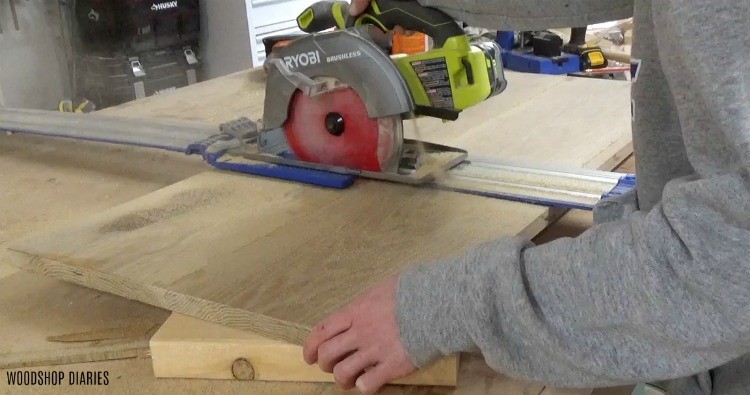
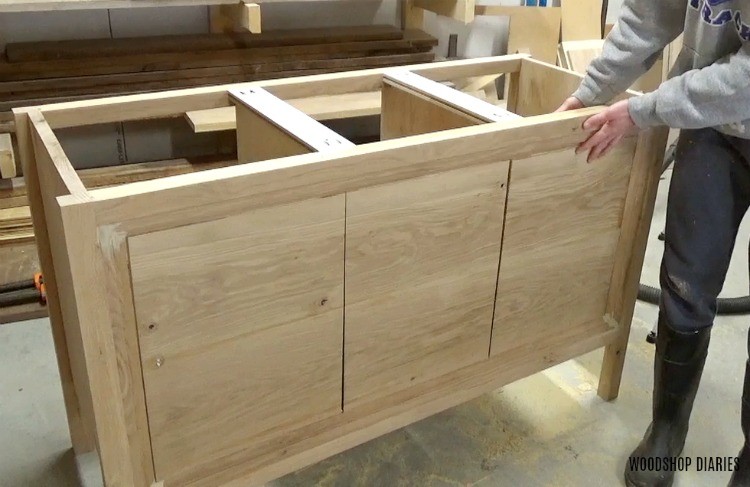
Thankfully, they fit. So I removed the two outside pieces and cut them in half to make the four drawer fronts. Because I wanted to make sure to keep these in that continuous grain pattern, I labeled each piece so I can keep up with which goes where.
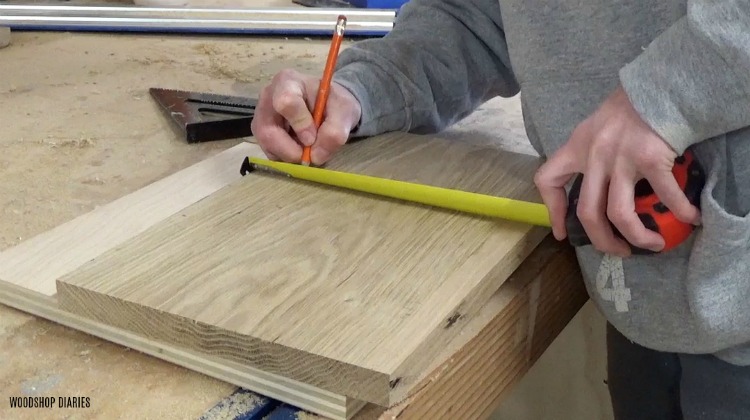
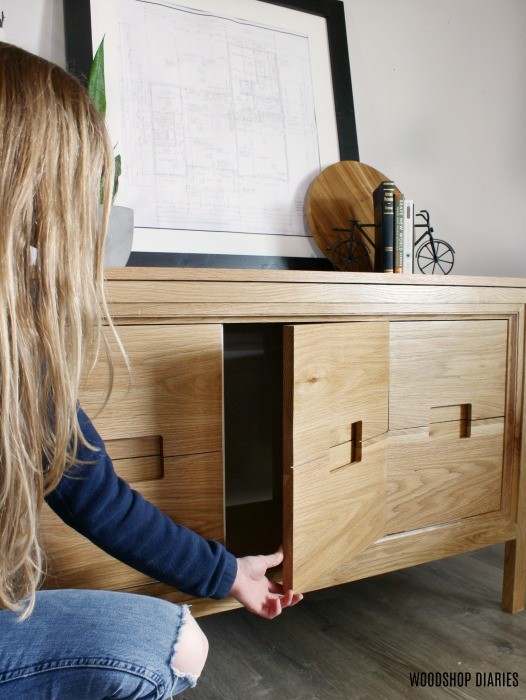
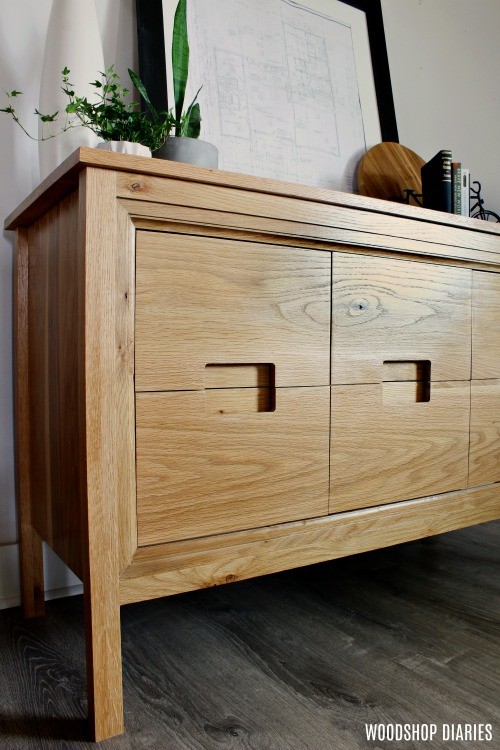
For this vanity design, I didn’t want to add drawer pull hardware. I wanted to use cut outs instead. So I traced out on one of the drawer fronts where I wanted to cut.
I’m horrible with a jig saw, so I built a little template using some scrap plywood.
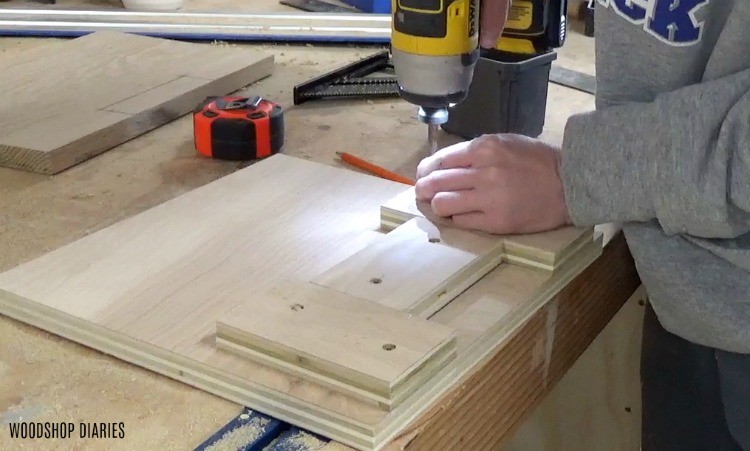
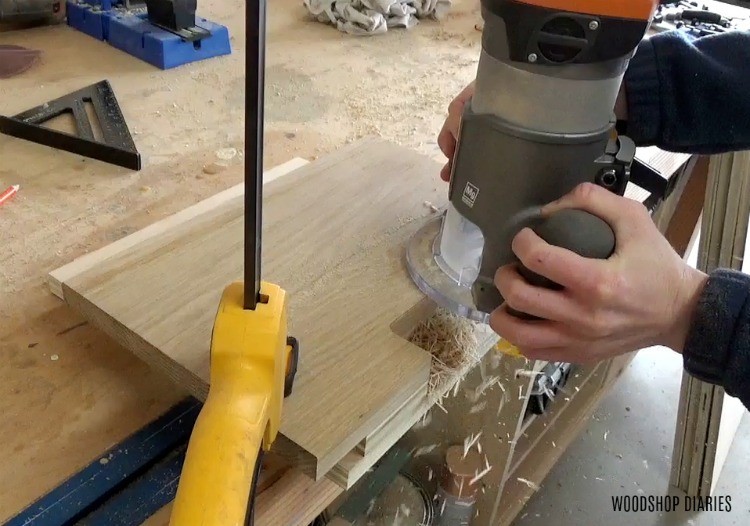
This allowed me to use a jig saw to rough cut the notch, then clamp it into this template and use a flush cut bit with my router to get a clean, straight notch. You can see more of the template in the video above.
So now, the drawer fronts are cut, but I also had do something with the door. I wanted it to LOOK like drawers here, even though it’s not.
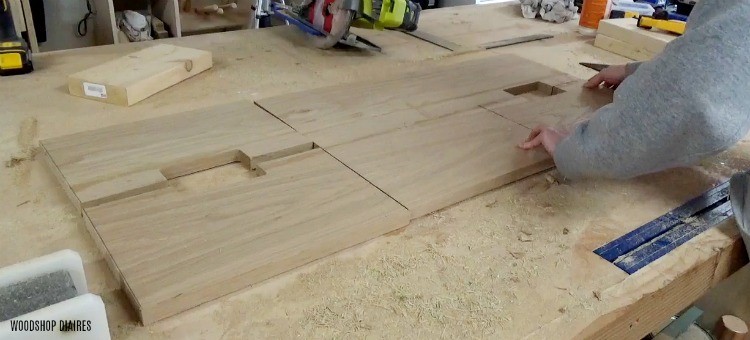
So, I cut a little dado along the middle to look like a gap between the drawers.
Then I used a jig saw to rough cut “notches” and the flush cut bit again to clean it up.
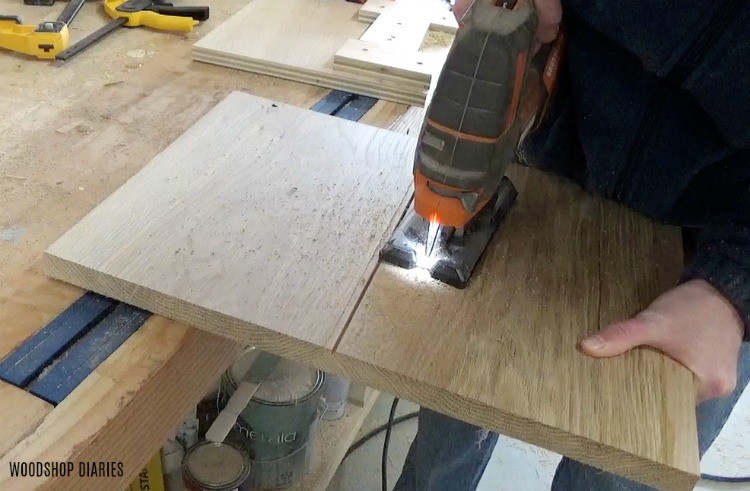
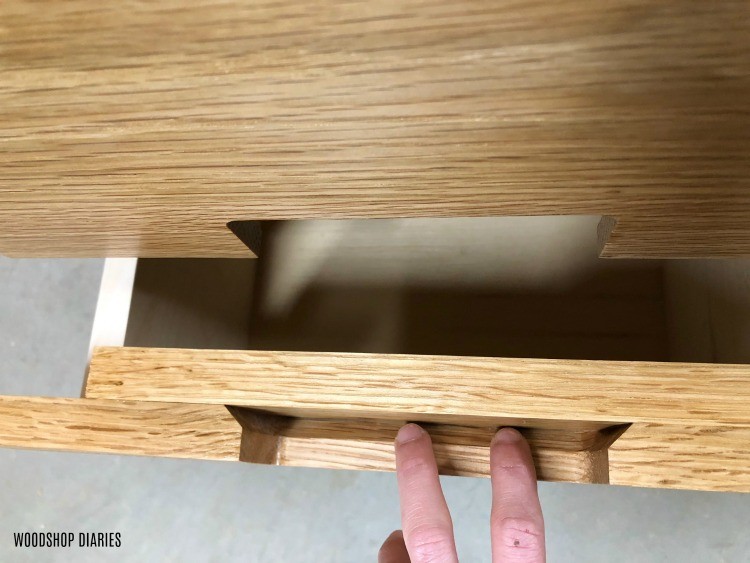
Now in a later step, I’ll be adding a piece of wood behind these notches. So to give it a little place to grip to open it, I used a chamfer bit with my router as well to chamfer the back side of the notch. Stay tuned…it’ll make more sense in a little bit.
Step 6: Build and Install Drawer Boxes for Console
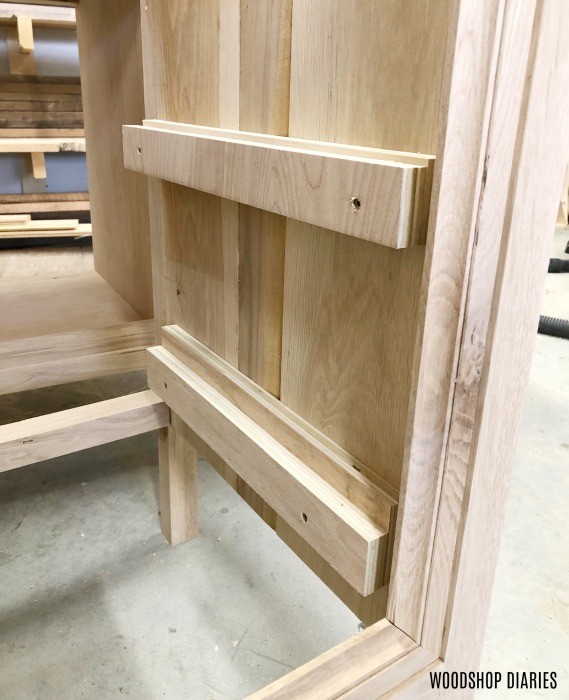
Because the trim piece doesn’t allow me to mount the drawer slide directly onto the side panels, I had to add some spacer blocks on the sides to mount the slides to. So for this, I just cut some scrap plywood pieces and glued and screwed them in place like shown.
I ripped some strips of plywood and cut them to length on the miter saw to build the drawer boxes with. I’ve actually got a super detailed guide for how to build and install drawer boxes that may will show how to measure, build and install slides and drawer boxes.
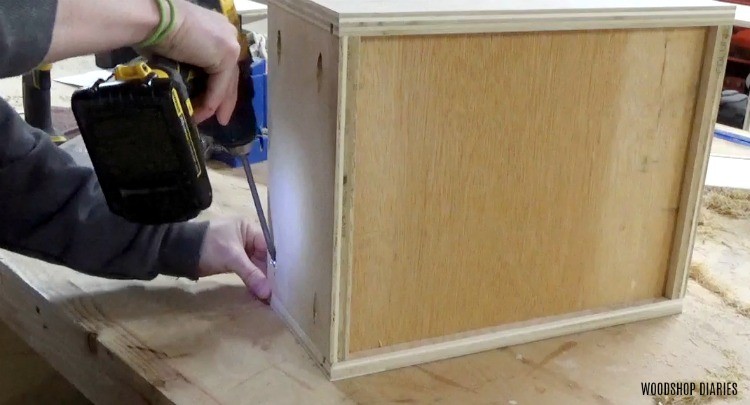
I attached the slides to the vanity, then installed the drawers onto them. Because of the notches on the drawer fronts, I made sure to install the top drawers almost all the way at the top of the cabinet. I didn’t want the drawer box covering any of the notch.
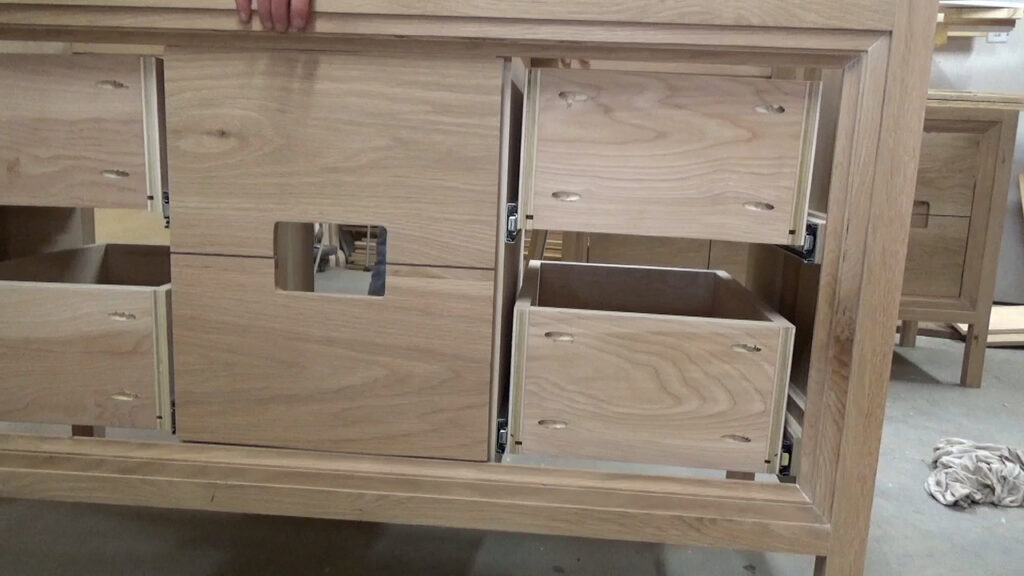
I went ahead and installed the door onto the cabinet before I installed the drawers because I was waiting on my drawer slides to be delivered haha. But you could install the door before or after the drawers. I used overlay hinges for this door since it sits on the front of the divider panels. I’ve got a post here on how to install doors with concealed cabinet hinges.
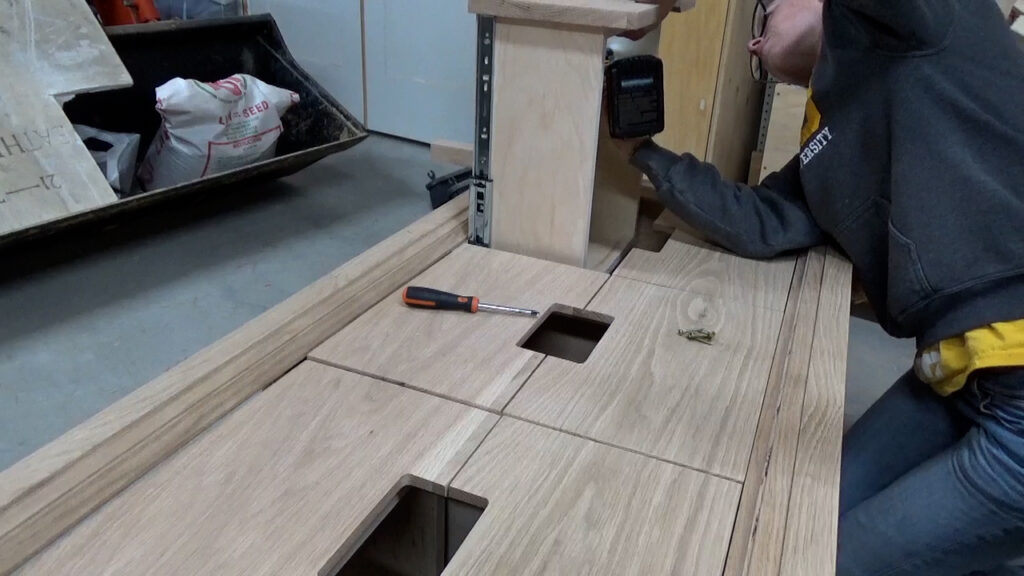
Lastly, I needed to add the fronts. So I flipped the vanity on its back and laid out my drawer fronts to get the spacing correct. Then I screwed them on from the inside of the drawer boxes.
Step 7: Add Backers Behind Drawer and Door Notches
I didn’t really like the big holes from the notches, so I cut some scrap pieces and glued them in place to cover the holes. If I had a bandsaw, I would have resawn these pieces really thin, but I don’t…so just glued the whole ¾” thick piece on. It is what it is haha.

This is why the top drawers had to be mounted so high and why I cut a chamfer on the back of these notches. I didn’t want the drawer boxes covering the notches and the chamfer gives a little space to grip to help pull the drawers out. Make sense now??
Step 8: Attach Top to DIY Dresser Console
The final step is to add the top. So I glued up ANOTHER panel to use as the top. There are a ton of ways to install the top and I’d recommend using figure 8 tabs or some other type of hardware to allow for wood movement. However, I’m not installing this top until I have it in place in the bathroom (since I’m using it as a vanity) so I can see if or how I need to trim it down to fit after it’s shimmed up and screwed to the wall. So for now, it’s just sitting on top.
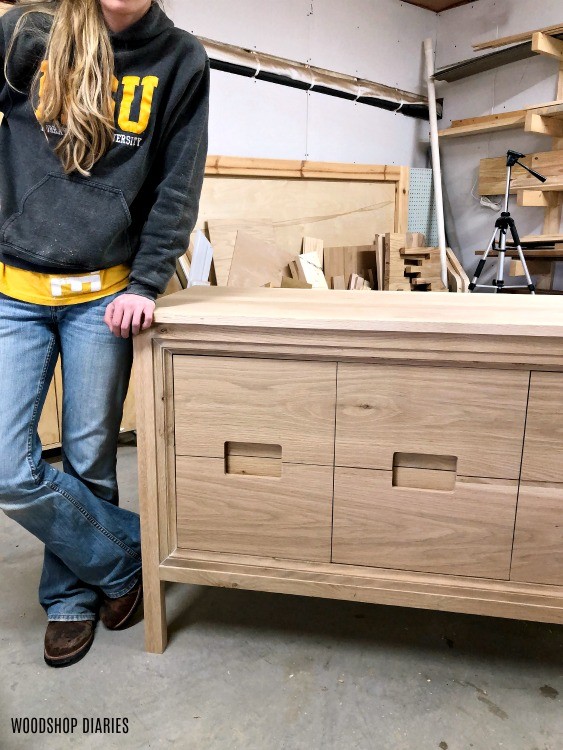
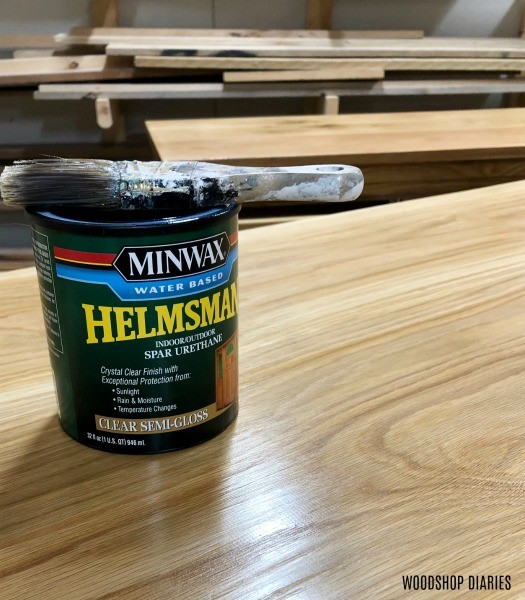
But it looks good sitting there haha. I gave everything a final sanding and finished it with Minwax Helmsman poly. I’ve used this on my wooden kitchen countertops and wooden bathroom countertop as well and it’s held up really well. So I used it here. But, feel free to finish however you wish. I’m not a finishing expert…it’s my least favorite part of any build haha.
And that’s it. Vanity…console…dresser…use it however you wish. I didn’t add a back since we will be installing plumbing in the middle section and the outside sections are just drawers. However, if I planned to use it as a dresser or console, I probably would staple or nail a ¼” plywood backer on.
I really love how this trim detail looks on this piece and while it did add a little extra work with making it and having to add the drawer spacer blocks, I think it was definitely worth it. This build was a little more involved than some of my other recent projects, so I’ve tried to cover everything between this post, the video and the printable plans.
I hope you enjoyed this project and if you want to see more, be sure to check out the YouTube video. And if you want to save this for later, please feel free to pin it for later 🙂
Until next time, happy building!




Concerned about your end panels and wood movement. They are rather tightly captured without room to expand. Personal experience has seen failures in similar construction, not always, just keep an eye on it. Very classic design, I personally feel most wood artist design on the fly, they also turn out the most exceptional pieces
As the side panels expand and contract, it will simply expand and contract the entire piece. Since there is nothing preventing it from expanding and contracting (it’s not restricted from moving), it’s allowed to move as it needs. The issue would be more with the top vs. the sides.
The Modern Dresser Console is beautiful. I’d love to see it with an addition on the bottom to lift it up to about 34 inches high. I’d put it on my covered porch. Love, love, love it.
Thank you so much!
Sooooooooo beautiful! I am going to consider making two of these as nightstands for my master bedroom. What scares me the most is the trim. I love yours, but will have to just buy that, as I cannot make it.
Thank you so much! Would love to see it if you build it!
Great job Shara! I enjoy your tutorials on various wood projects. Would love to see the bathroom remodel this (vanity) went into. Keep up the great work:)
I’ll be sharing about the bathroom once we get started this spring! I’m excited and nervous about it haha.
The “Dresser-Console-Vanity” is stunning! I really love the drawer handle cut out design! Hope you show it as the vanity in the finished bathroom space. Thanks for sharing another great design!
Thanks so much! I’ll be sharing about the bathroom once we get started on it this spring!