In this post, I’m sharing some fun and easy beginner epoxy projects and tips to getting the best results possible.
*This post is sponsored by The Home Depot as part of the ProSpective program and contains affiliate links. See website policies.
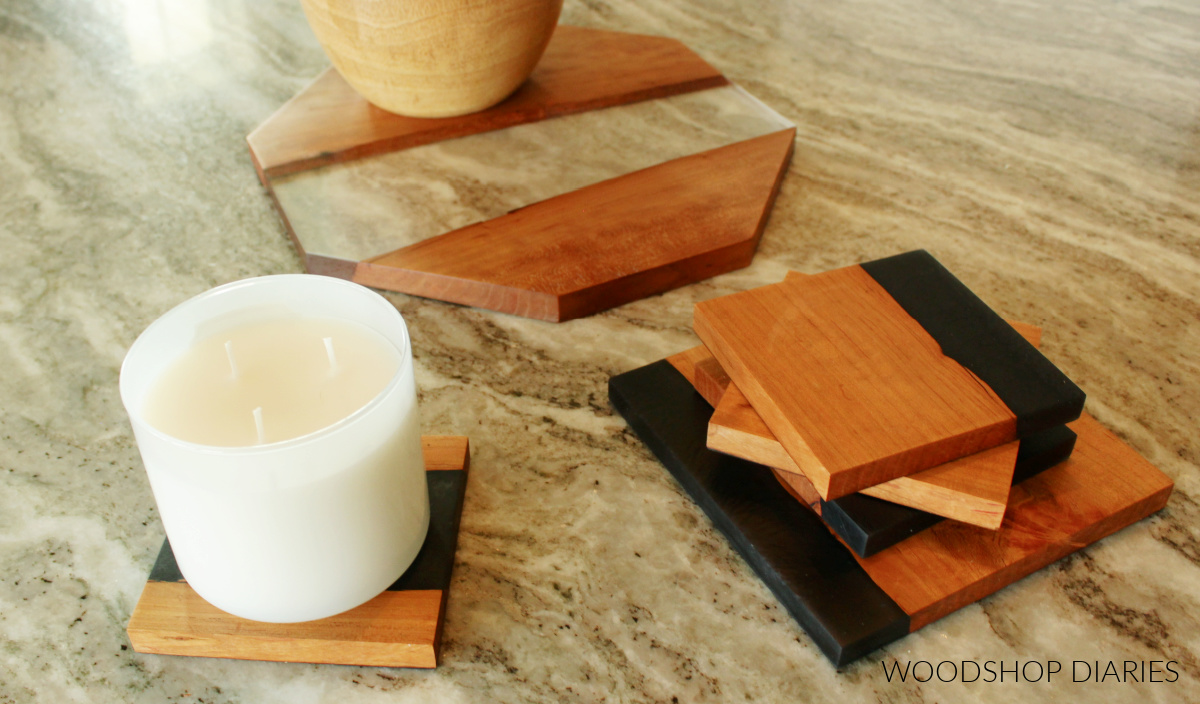
For the last few months, I’ve had so many requests for some easy beginner epoxy projects.
.
It’s been a while since I’ve worked with resin, but I finally gave in and decided to share an epoxy project again.
.
I say “again” because this isn’t my first epoxy project. I’ve done a couple in the past, but it’s been a while since I worked with it.
RELATED: Check out this “broken” resin leg desk!
.
The problem I have with epoxy resin is that I like using it clear, but I can never get it to look very nice after I sand it.
.
So, this time, I tried something different…a POLISHER!
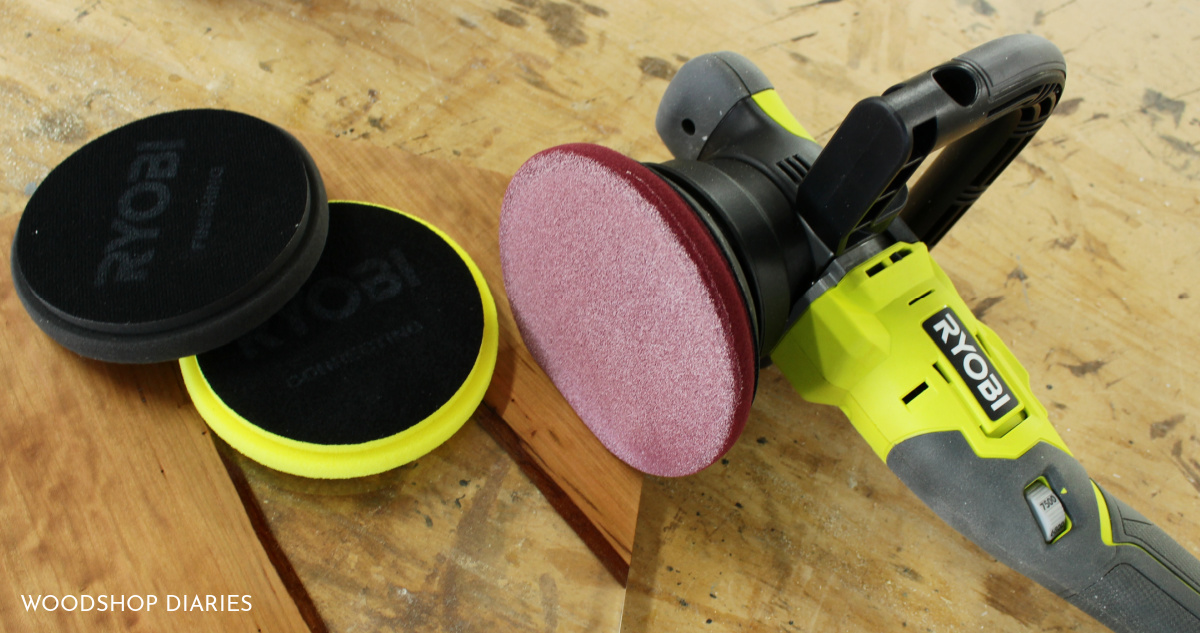
I actually got this cordless Ryobi Dual Action Polisher for using on my truck because “old red” needs a pick me up. But after all these requests for epoxy, I got to thinking maybe this can work on that too.
.
So, in this post, I’m going to share a simple beginner resin pour project, some quick tips, and explain how I did things differently this time to get a much nicer finished result than in the past.
.
You can check out tutorial here and the step by step tutorial below:
Tools and Materials:
Tools:
- Drill
- Saw (circular, miter or jig saw)
- Sander
- Ryobi ONE+ 18V 5 in. Dual Action Polisher
Materials:
- Deep Pour Epoxy Formula
- Mixing Cups
- Scrap wood for mold
- Tyvek tape
- Wood screws
- Silicone Caulk
- Sandpaper (80, 120, 220, 400, 600, 800, 1500 grits)
- Polishing compound
Notes about easy beginner epoxy projects:
You can get as creative as you want, but I just did two basic resin pours here—one clear and one with black mica powder–and made what I’ll call a “charger plate” and some coasters from them.
.
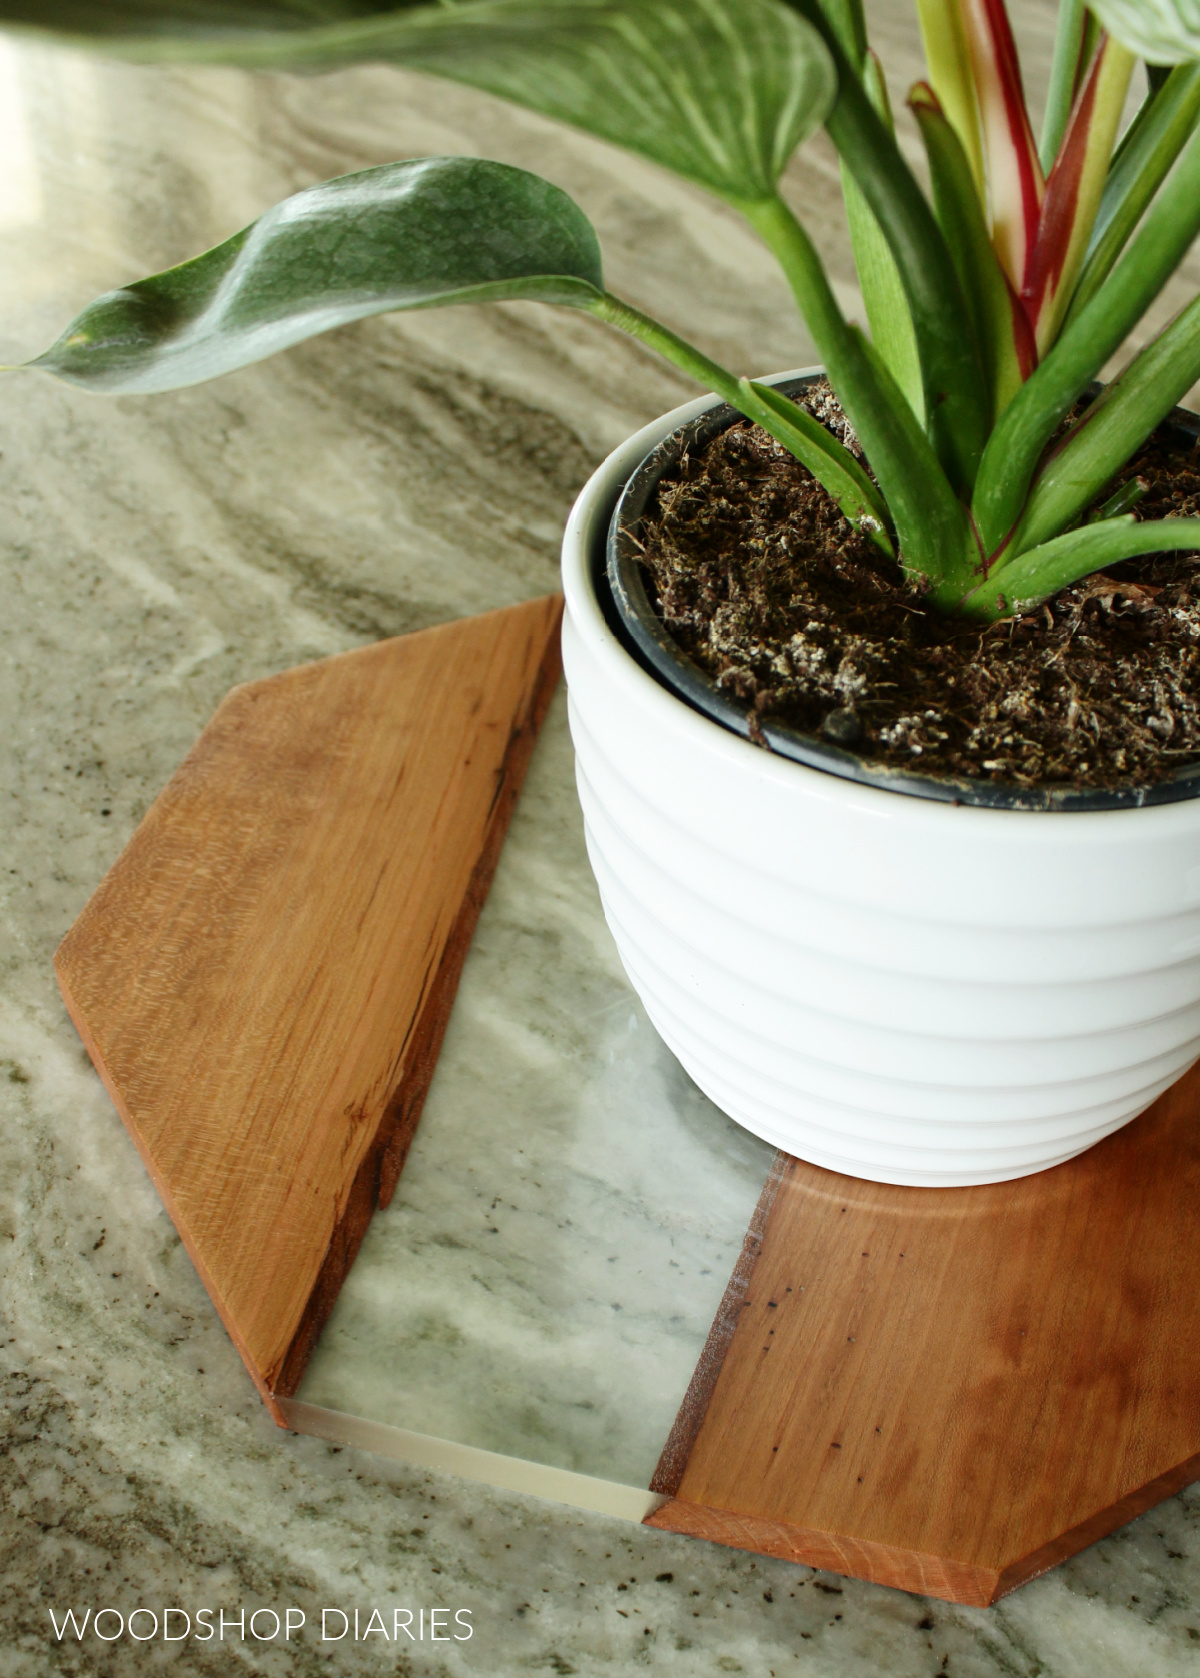
You could add handles and make yourself a tray, use them as little plant coasters, just use as display on your countertops—whatever your heart desires.
.
Before we dive in, I want to share these tips I’ve learned the hard way when working with resin. I’m sharing with you so that you don’t make the same mistakes I have 🙂
FIVE TIPS TO A SUCCESSFUL EPOXY PROJECT:
- Temperature matters! Make sure you pour at the temperature listed on the resin you’re using. Too hot and it’ll cure too fast. Too cold and it’ll cure too slow. A few degrees can make a big difference!
- Mix ratio matters! Different epoxy formulas will have different mix ratios. Follow the instructions closely and ensure you are mixing to the correct ratio of resin to hardener.
- Stir well. When mixing your epoxy, STIR REALLY WELL. If you’re pouring clear, and you don’t mix well, you will see the two different parts in your pour and it will look cloudy.
- SAND, SAND, SAND. Sand resin gradually up to a VERY fine grit (like 1500) to get it clear and scratch free.
- Protect your work surface to prevent scratches. Use a towel or old blanket under your resin pieces while you sand and polish to prevent scratching it by accident.
Step 1: Cut Wood to Use in Resin Pour
To get started, I grabbed an old board I’ve had in my shop for a while with a big crack in it.
.
If you don’t have a big, cracked piece of wood, you can cut some unique shapes using a jig saw to fake a live edge, or use plain boards.
RELATED: How to fake a live edge on a new board!
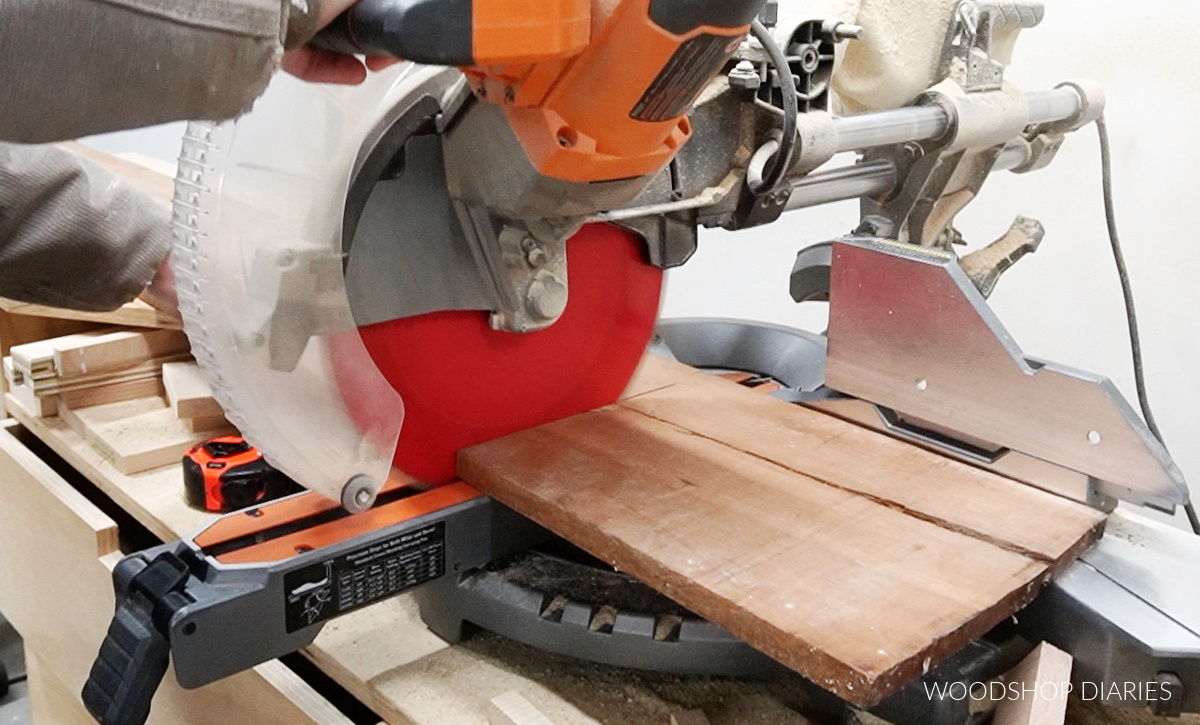
I used my miter saw to cut these two pieces off the board about 14-16” long. The end pieces were already broken in two after I cut them off, but I split the second piece down the crack to get four “live edgy” looking pieces from these cuts.
Step 2: Build Molds for Epoxy Pour
I cut down some plywood scraps to assemble some shallow trays to use as my molds for pouring.
.
The great thing about making your own molds is that you can make them any shape and size you want.
.
If you didn’t want to make your own mold, you can purchase silicone molds for resin pours online as well.
.
I lined the mold pieces with Tyvek tape because the resin will stick to the bare wood. But it won’t stick to the tape.
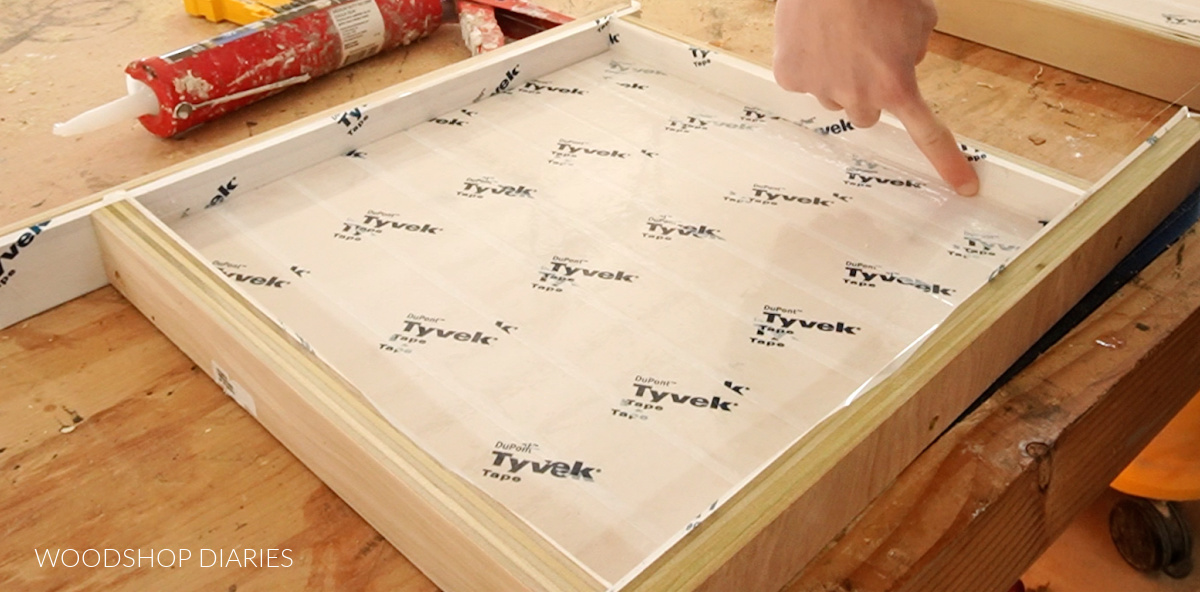
Then I just screwed together the two molds using wood screws and used some clear silicone along the corners to seal the corner joints. Sealing the corners will just help prevent the resin from leaking once it’s poured in.
Step 3: Pour Epoxy Resin into Molds
Before pouring, I made sure to sand the wood pieces and remove all the sawdust and dirt because I don’t want these getting into the resin once it’s poured.
.
Referencing tip number 1 above, I brought everything inside to pour because it was way too cold outside.
.
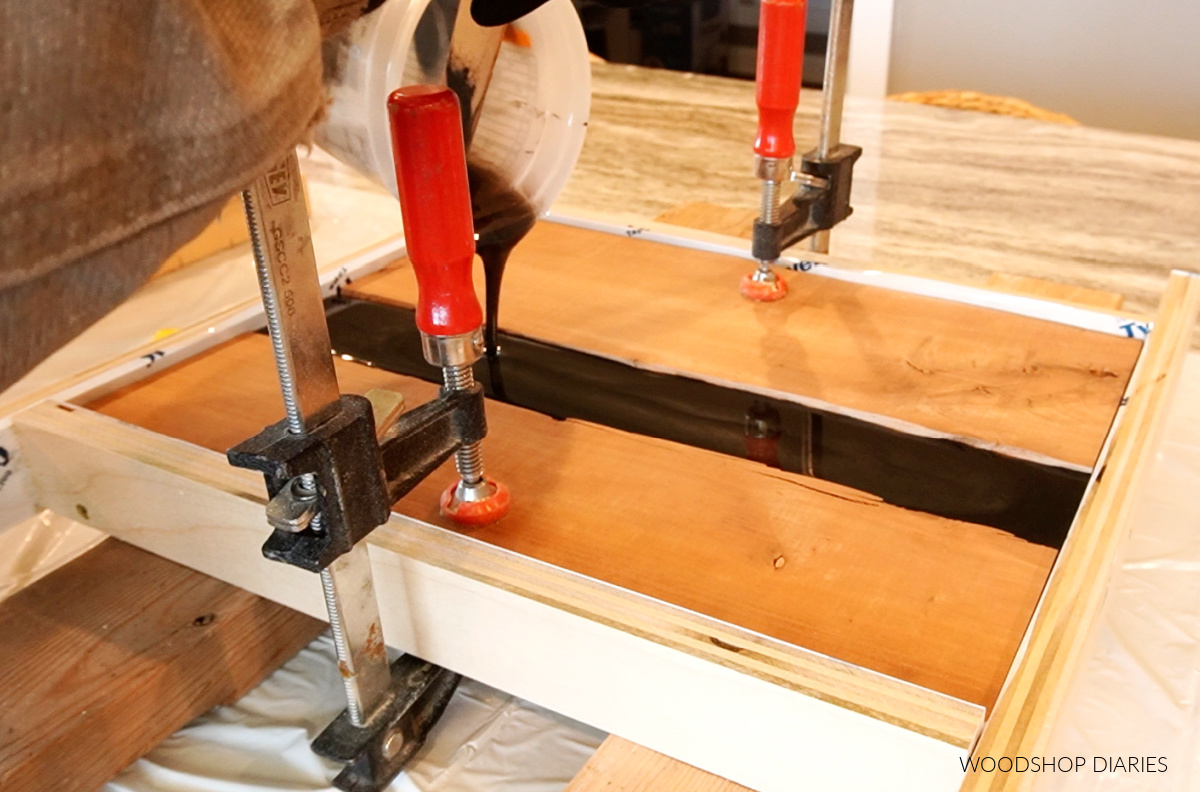
I set out some trash bags on my kitchen island clamped my wood pieces in the molds, and prepared to pour.
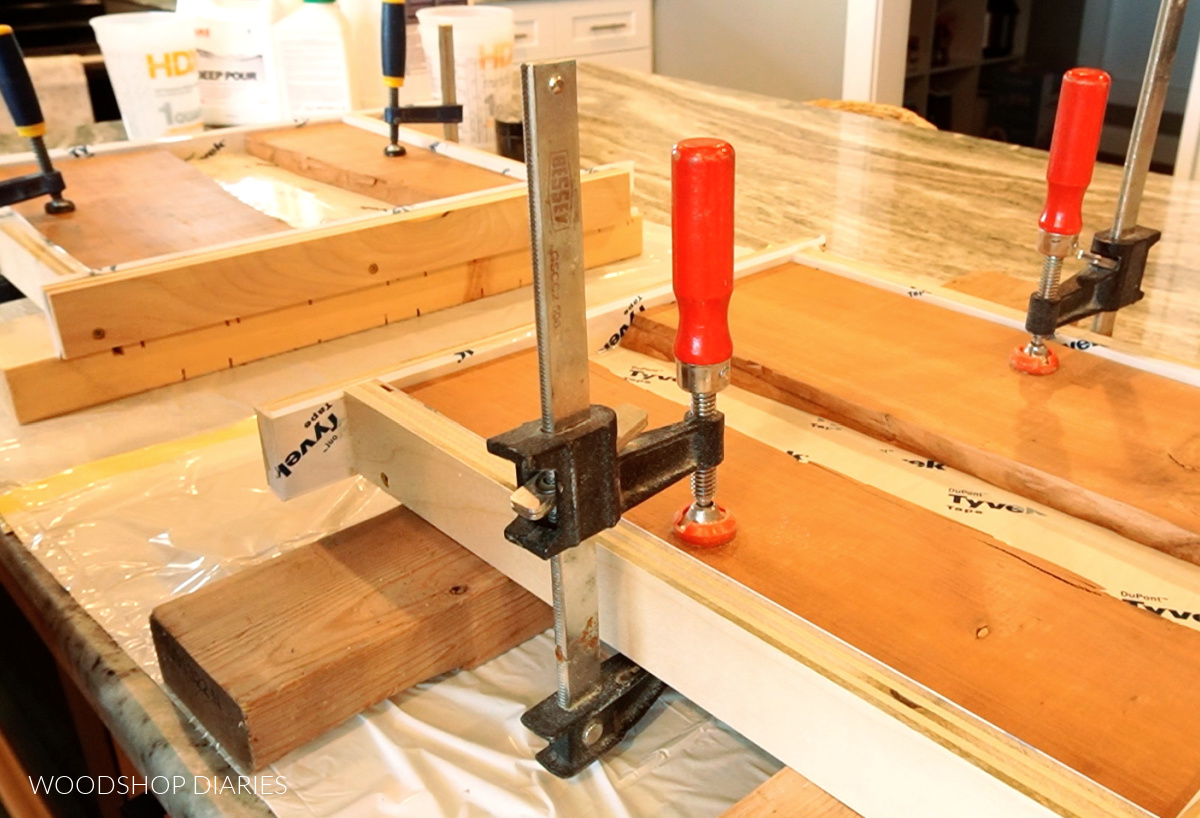
Because this board was about ⅝” thick, I used a deep pour resin formula. There are a lot of brands and options for pouring thick resin, but make sure that whatever you use can be poured as thick as your board.
.
If your board is really thick, you may need to do multiple pours. Pouring too thick can cause the resin to get too hot or not cure properly.
.
Be sure the read the instructions carefully on the resin you plan to use.
.
I didn’t calculate how much I was going to need here. To be completely honest, I just kind of eyeballed what was in the cup and what I needed to fill up in the mold and “guesstimated.”
.
It’ll take hours to start setting up, so if you need to add more, don’t panic. You can immediately mix and pour a little more in.
.
I filled this mold until the resin reached the top of the wood, then stopped.
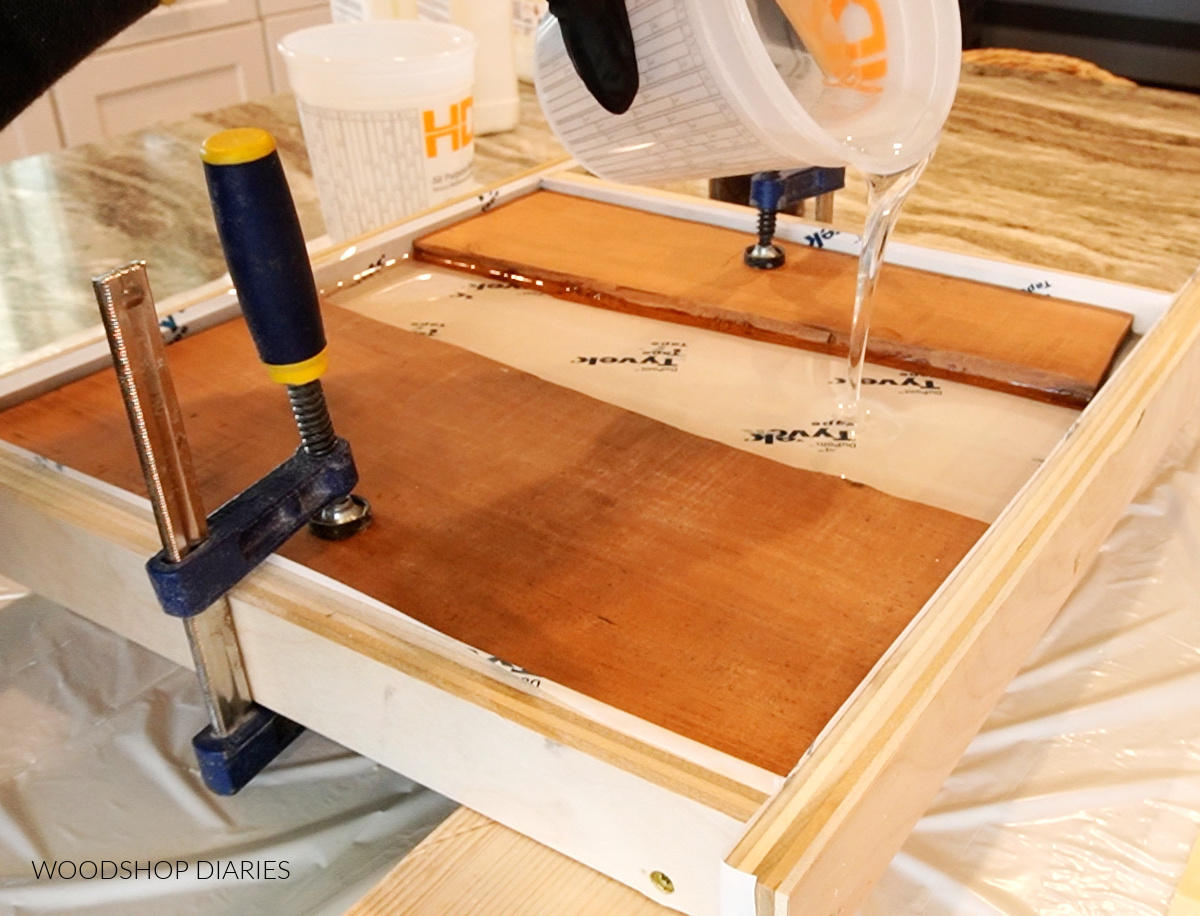
For the second pour, I did the same thing, but before I poured, I added in some black mica powder and stirred it in. You can get this powder in any color and you could also use alcohol ink or other methods to tint the resin your desired color.
.
It doesn’t take a lot, so just sprinkle a little in at a time and stir until it’s the color you want. Then, pour.
Step 4: Remove Epoxy Projects from Mold
Once they were poured, I waited a little bit to make sure nothing leaked at the corners, then set these aside to cure for about 4 days.
.
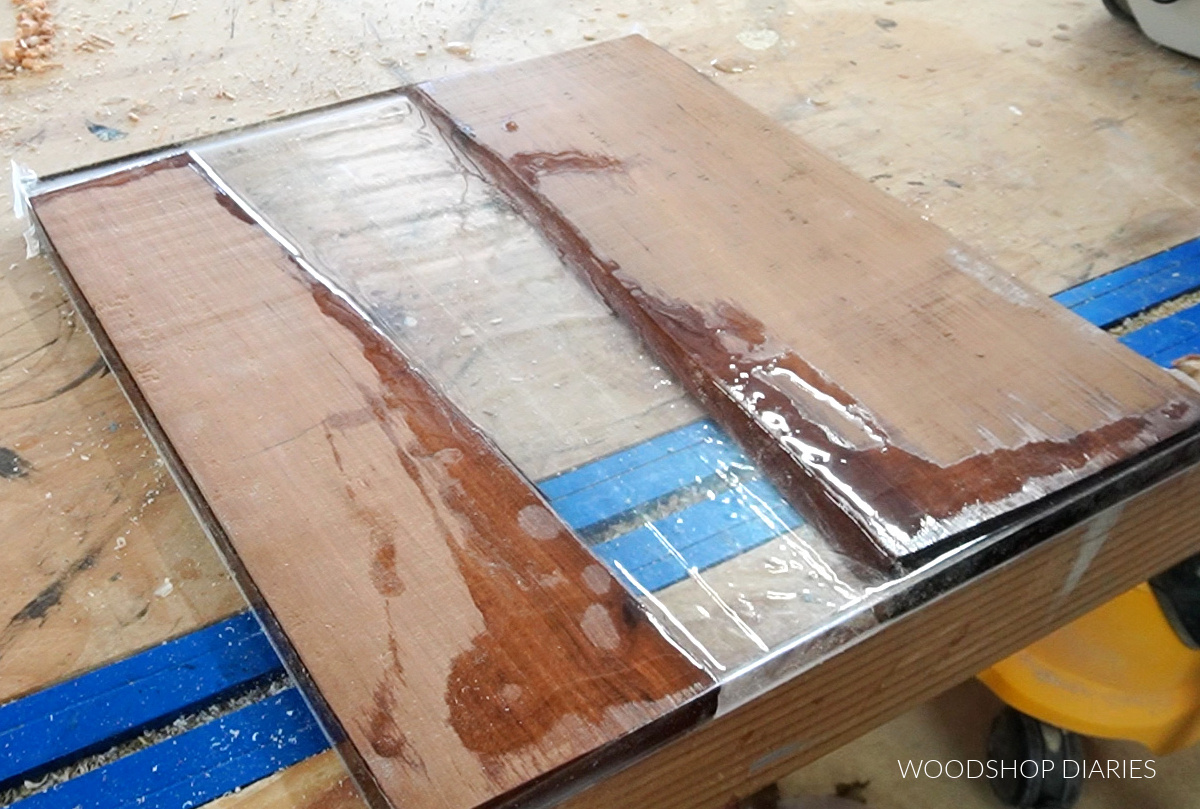
Then I carried them to the shop and unscrewed the molds and removed the pieces. The sides came off really easy with a rubber mallet, but I used a chisel to kind of pop the bottom off.
Step 5: Sand Epoxy Resin and Wood
Now, this is the part that bothers me the most—sanding. Make sure to wear a dust mask as resin dust is rough stuff. I used a belt sander first to help level out the top surface.
.
Then, I moved to an orbital sander. I started with 80 grit and sanded the top and bottom. The clear resin will look white and cloudy—which always makes me nervous.
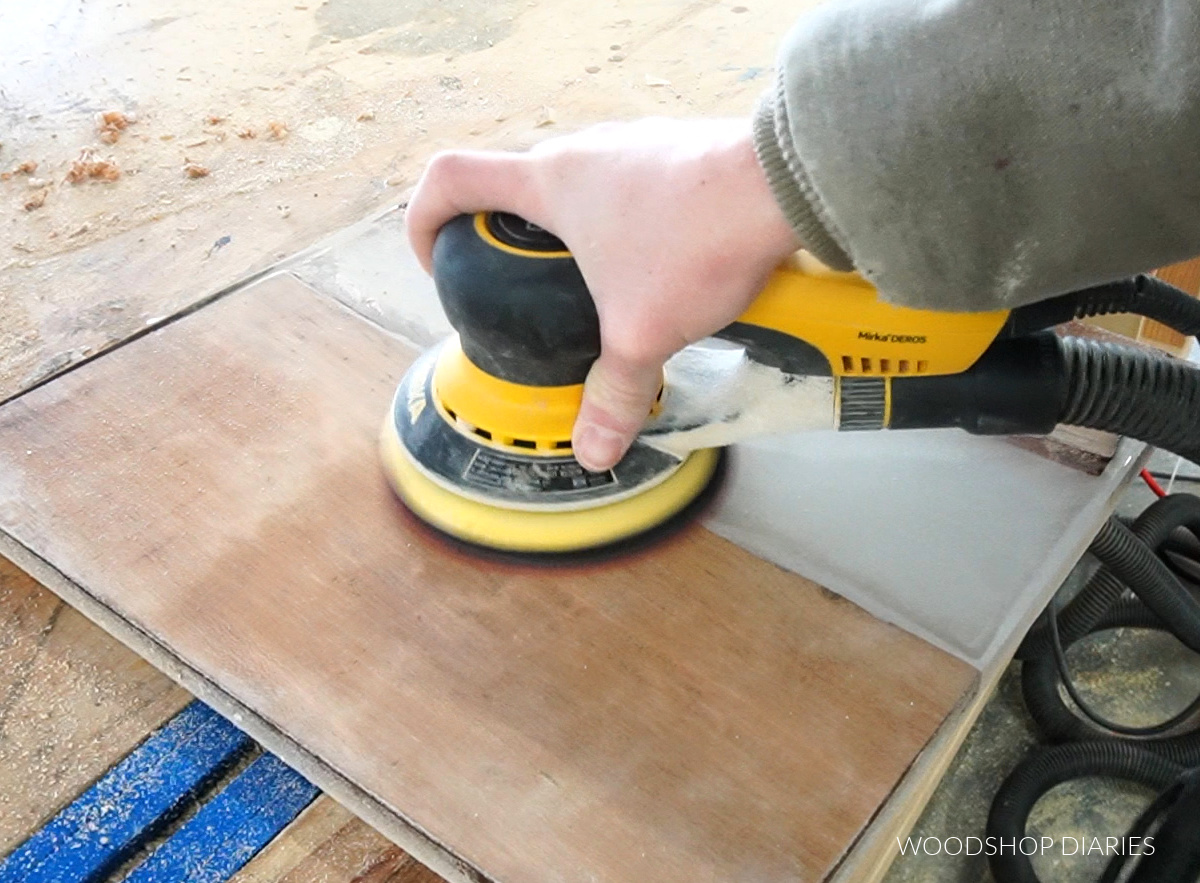
After 80 grit, I went over it again with 120. Then 180, then 220, 400, and 600. Sanding will take a while, but it’s important to sand through each grit, removing as many scratches left from the previous grit as you can. Allow plenty of time for sanding.
.
I only had sanding discs up to 600 grit, so I had to hand sand after the 600.
Step 6: Cut Resin Project to Size
Before I started hand sanding, I wanted to make sure I was only sanding what I needed to, so I trimmed this piece down. I trimmed my edges clean, then cut this into an octagon on my miter saw. You can leave it a square, make it a rectangle, cut it into a circle, whatever.
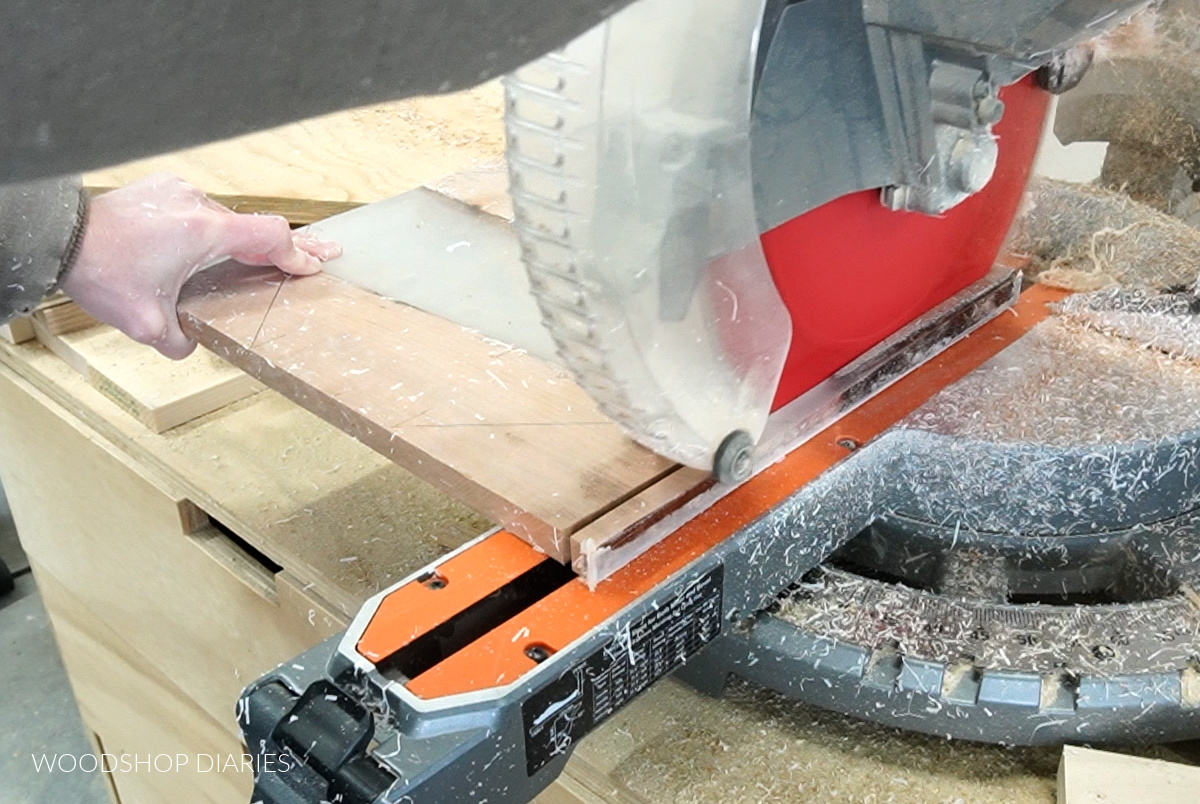
I actually cut my black resin piece into small squares to use as coasters. But I wanted the clear one to stay together as one large piece.
.
You can cut your resin/wood piece however you’d like.
Step 7: Wet Sand and Polish Epoxy
After it was cut to size, I dipped 800 grit sandpaper in water to wet sand it.
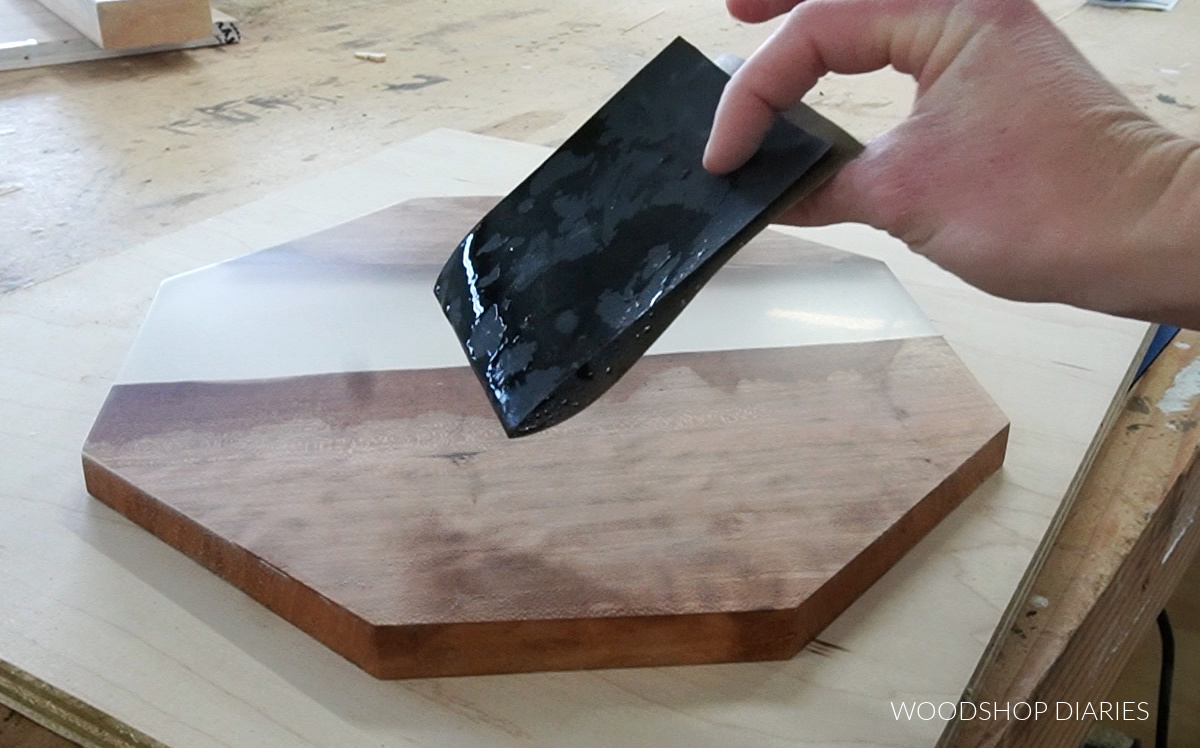
I started with 800 grit, then moved to 1500 grit. I tried my best to remove as many little scratches as I could on BOTH SIDES and the edges.
.
I didn’t have a polisher when I did my previous resin projects, so this is something that I did differently this time that I really think made a big difference in how bright, shiny, and clear this turned out vs my last attempt.
.
This Ryobi Dual Action Polisher comes with 3 pads—a cutting pad, a correcting pad, and a finishing pad. It has a variable speed for optimal control and can be easily adjusted from 3000 up to 7500 orbits per minute.
.
It offers a removeable, adjustable handle for various grip locations, and a lock on switch, so you don’t have to hold the button continuously.
.
The best part is that it’s lightweight—only 3.75 lbs—and cordless, so it doesn’t wear out your arms with continuous use, and you can move it around freely without having to worry with any cords.
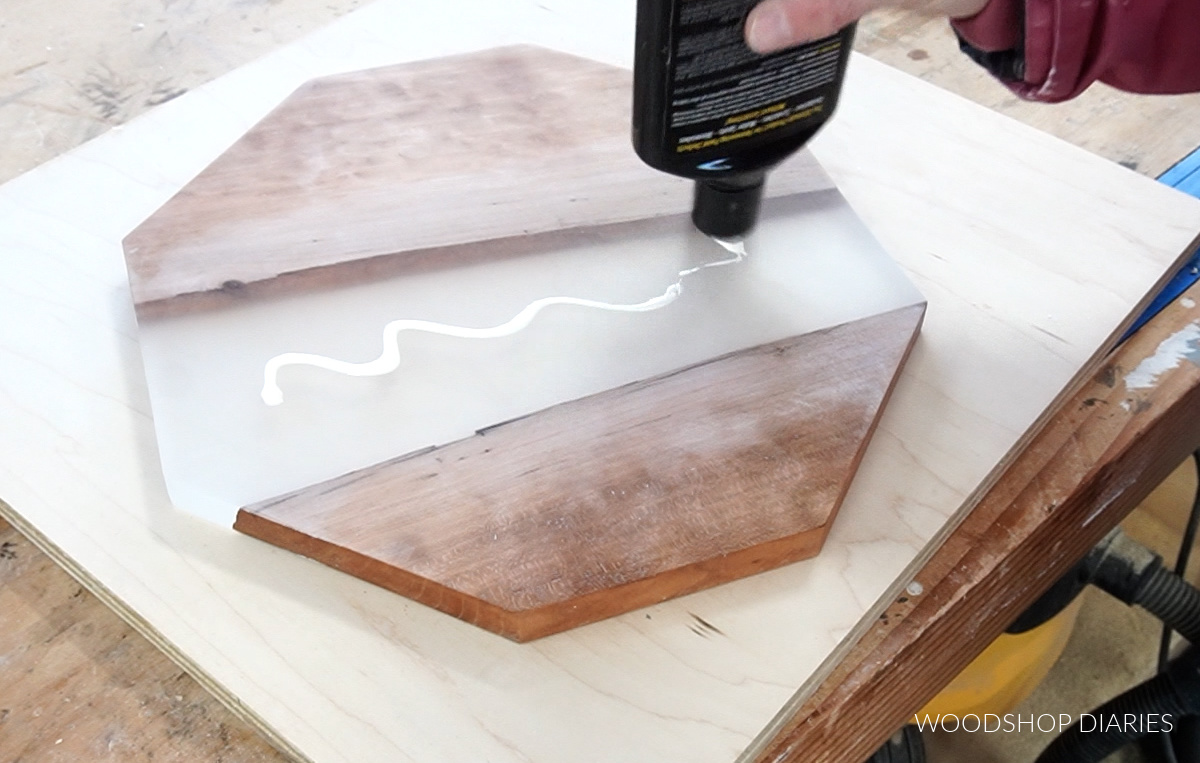
I added a little bit of compound each time, smeared it around some, and turned on the polisher.
.
I started it slow, then increased the speed once the compound was distributed. If it didn’t seem to be doing much, I added a little more compound, but not a lot.
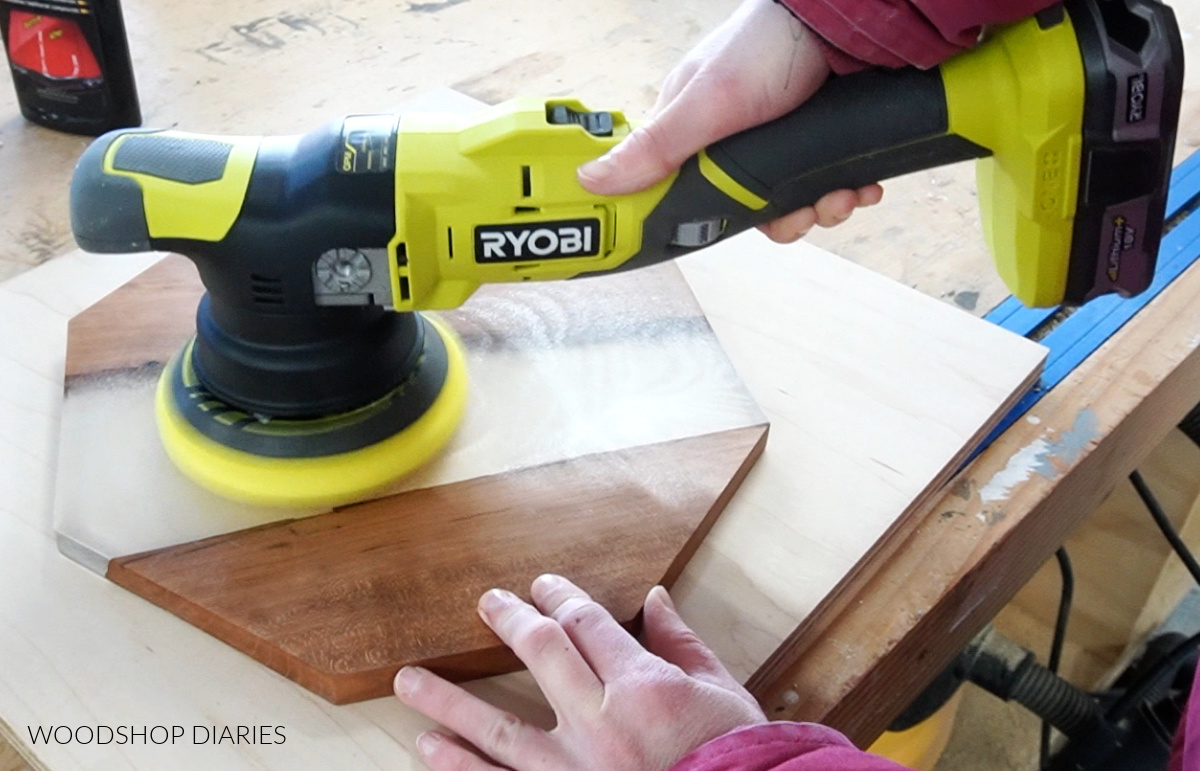
I worked my way through the different pads (cutting first, then correcting, and finally the finishing pad), polishing both sides, then when it was finished, I wiped it clean.
.
To seal and protect it, I applied some wax finish over the wood and the resin and buffed it in.
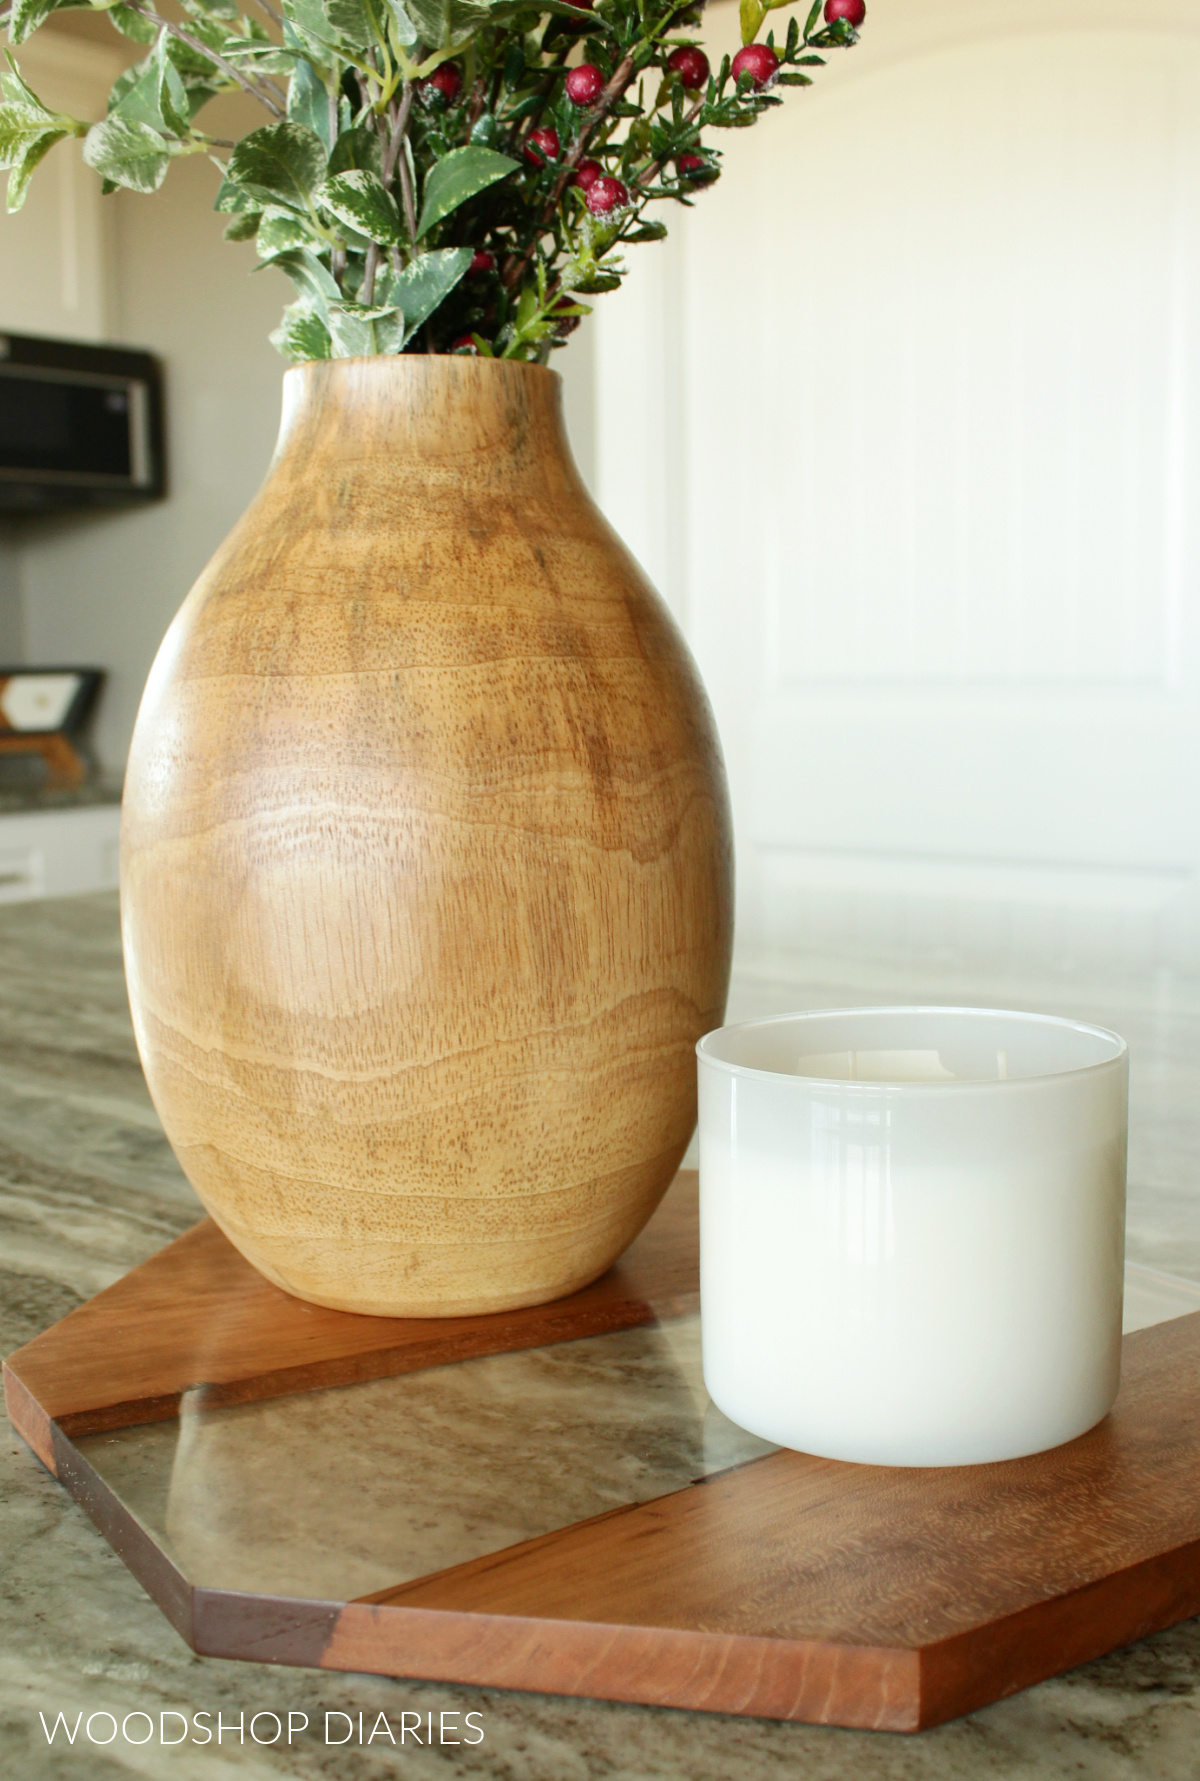
For the black resin piece, I followed the same process except that instead of making it one big project, I sanded it, and cut it into smaller squares.
.
And now they’re ready for use. I am actually really excited to have some little plant coasters to protect the surfaces I set my plants on, and also to protect my desk from my coffee and tea cups.
I really hope if you’re one of the many who have asked for some easy beginner epoxy projects lately, that this has given you some helpful tips and ideas.
.
Check out these other Easy DIY project ideas for more inspiration and be sure to subscribe to the newsletter to be the first to know when new projects go live!
Until next time, friends, happy building!


