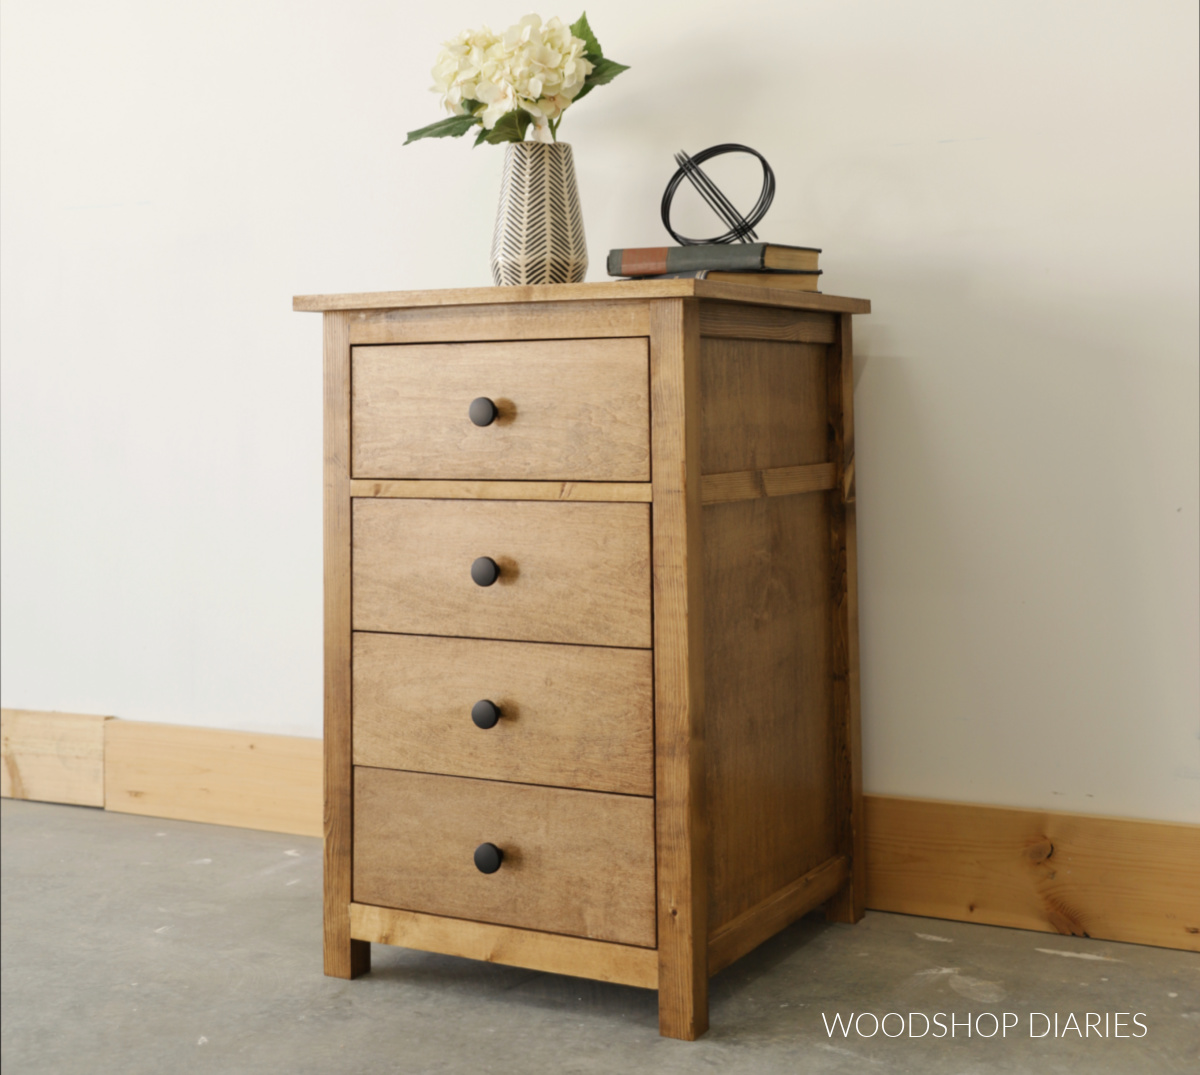
In this post, I’m sharing how to build a simple DIY end table with drawers!
This post is sponsored by my friends at Kreg Tool and contains affiliate links. See website policies.
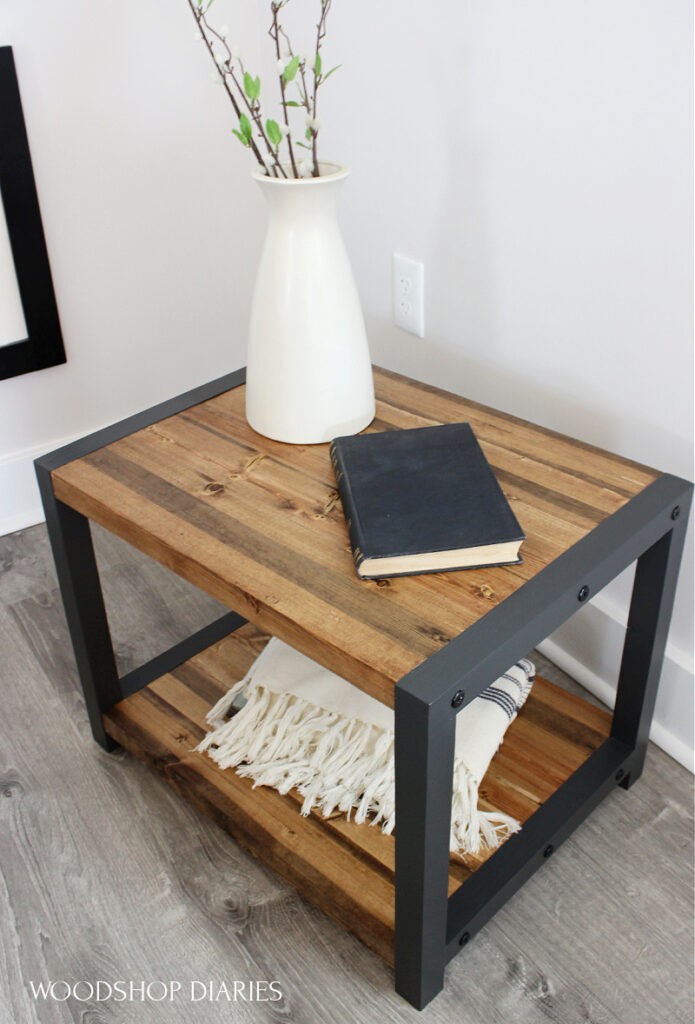
This adorable table is the perfect addition for adding a little extra storage next to your office desk, your couch, or even your bathroom vanity.
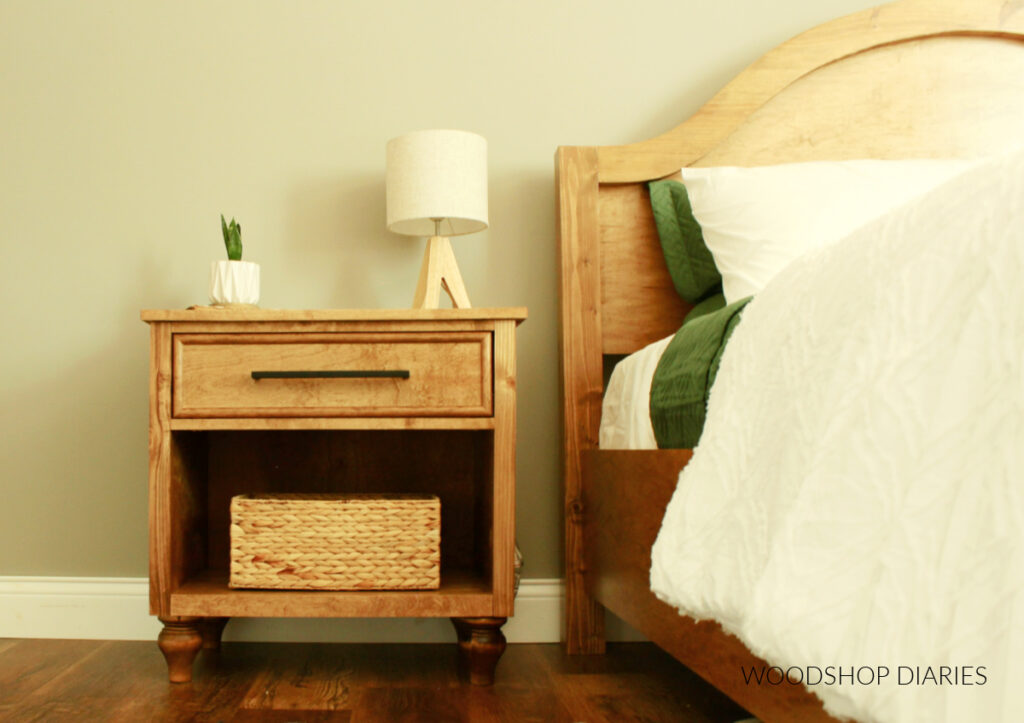
The tall, but skinny design packs plenty of storage without taking up a lot of floor space. The size and shape would even make a great nightstand or bedside table, too!
No matter what you use it for, it’s a really fun build and if you’re ready to see how it came together, let’s get building!
Tools & Materials
Tools:
- Miter Saw
- Circular Saw
- Cutting Guides (Kreg Rip Cut & Kreg Accu-Cut)
- Drill/Driver
- Kreg Pocket Hole Jig
- Brad Nailer
- Table Saw (optional)
Materials:
- (1) 4×8 sheet ¾″ plywood (birch used here)
- (1) 4×4 (half sheet) ¼″ plywood
- (2) 2x2x8 boards
- (2) 1x2x8 boards
- (4) pair 16″ ball bearing drawer slides
- 1 ¼″ pocket hole screws
- 2 ½″ pocket hole screws
- 2″ wood screws
- Wood Glue
- Iron On Edge Banding
What to Know Before Building an End Table with Drawers
This DIY end table build is an excellent weekend woodworking project. Made with basic materials and simple joinery, it’s a fairly quick build.
Tips on Building Drawers
If you’re second guessing this project because it has drawers, DON’T! This is the perfect project to practice and learn a little more about building and installing them.

Check out these posts for additional tips and videos on building and installing drawers:
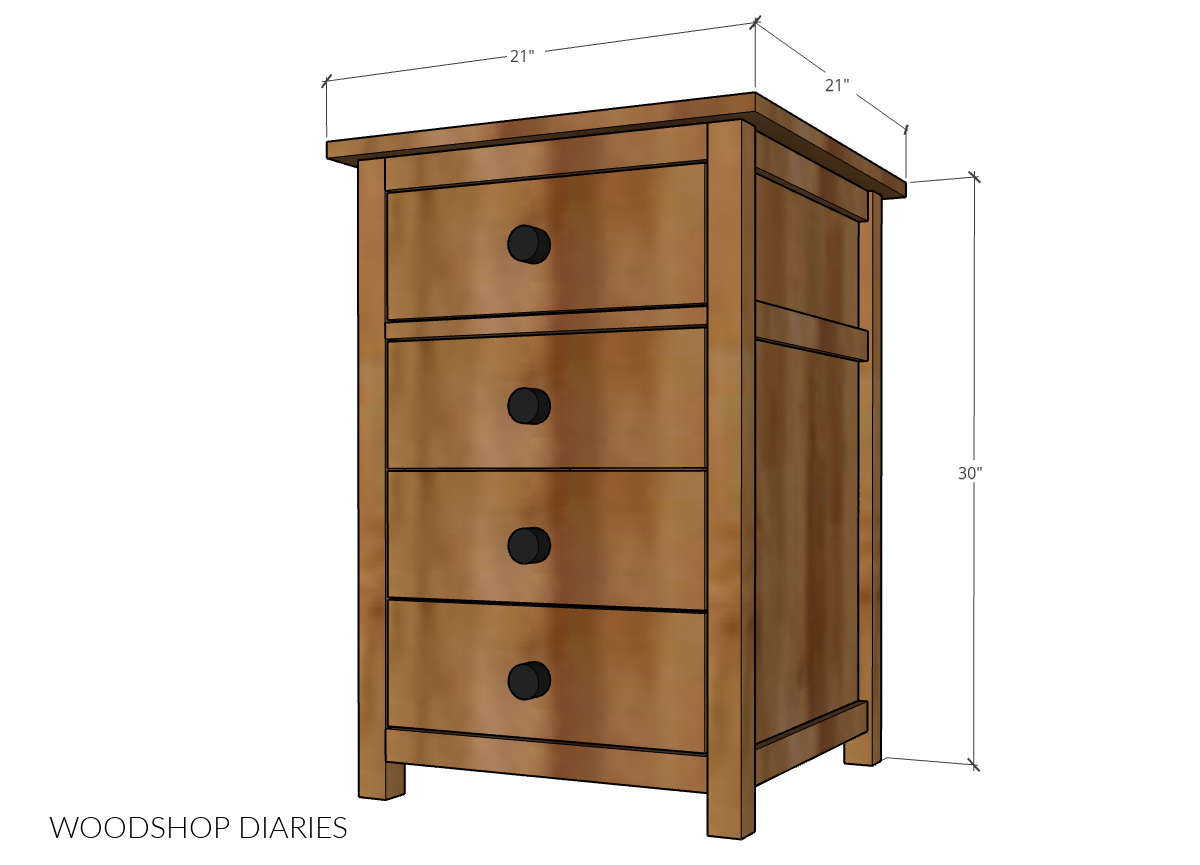
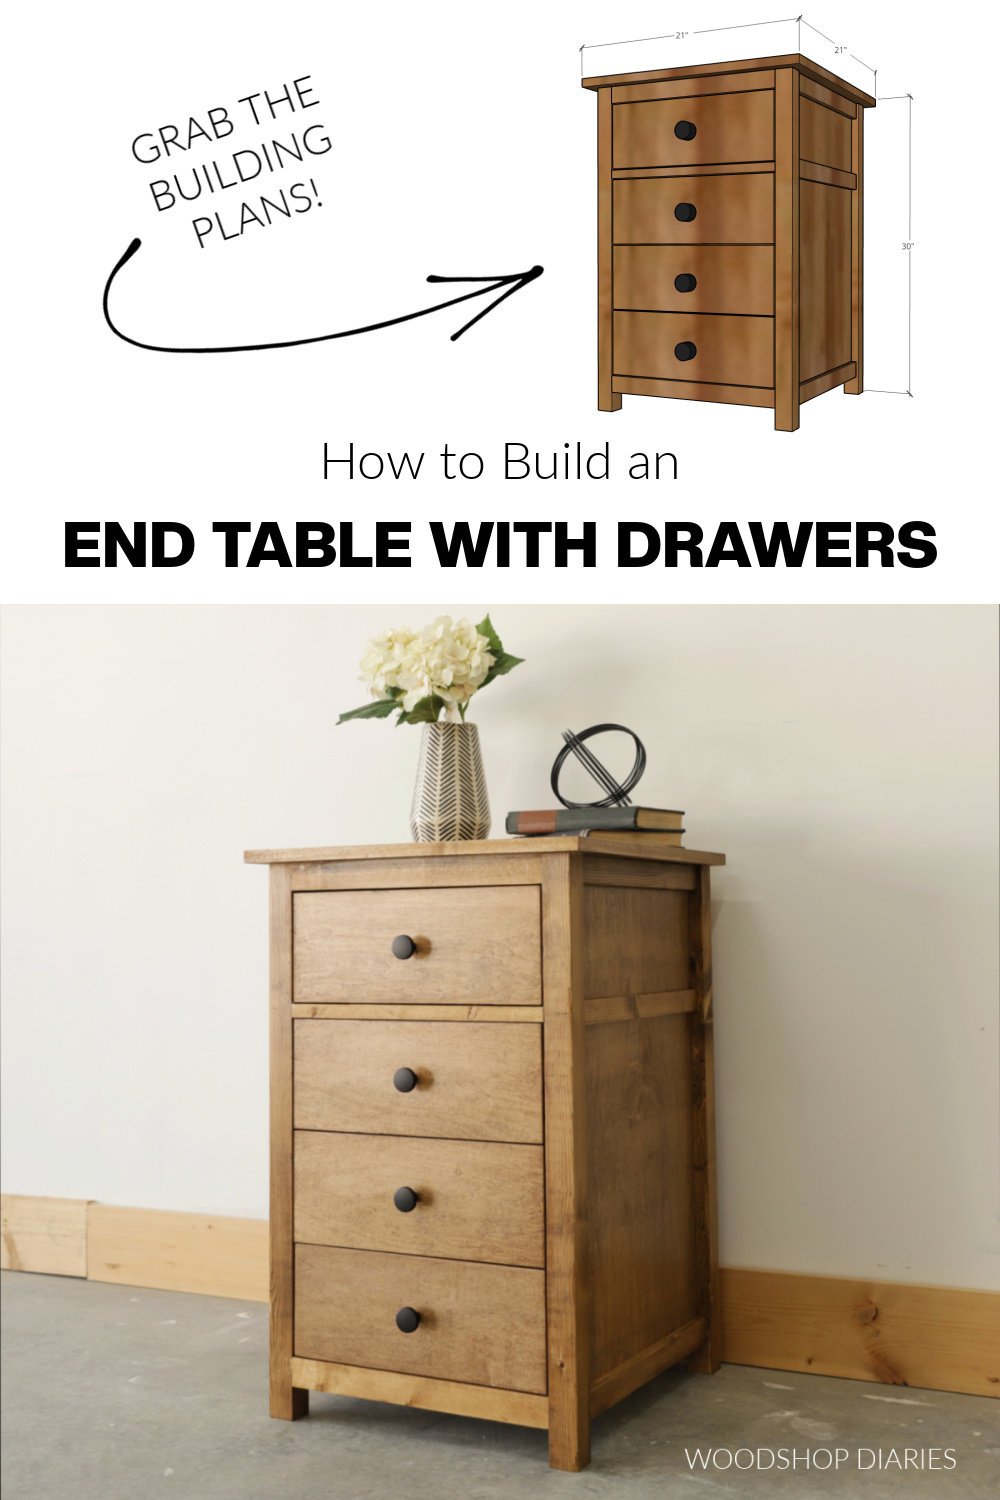
Overall End Table with Drawers Dimensions
The overall dimensions of this project are 21″ deep x 21″ wide x 30″ deep.
Helpful Resources to Use with this Build
You may find these resources and posts helpful when working on this project.
- How to cut your own 2x2s
- How to cut plywood sheets using a circular saw
- How to use a pocket hole jig
- How to apply iron on edge banding
- Complete guide to drawer building
How to Build an End Table with Drawers
I’d consider this an intermediate level project build. I’m sharing the step by step process with some tips along the way below.
But if you prefer to print, you can grab the printable plans on KregTool.com.
Back Panel Options
The printable plans linked above vary slightly from what I actually built below. From the front and sides, they are exactly the same. The only difference between the two is the back side.
In many cases, end tables are placed in the middle of a room (not against a wall), so the back side is exposed. So I made the plans so that the back panel is assembled the same as the sides–using ¾″ plywood with trim in case you wanted to use it that way.
However, the cabinets I was actually building were going to be placed between two desks and against a wall, so the back side wouldn’t be seen.
So, to save on materials, I used 2×2 framing on the back and stapled a ¼″ plywood panel over it. See step 7 below.
You could build this project either way depending on how you plan to use it and whether you want the back to match the sides.
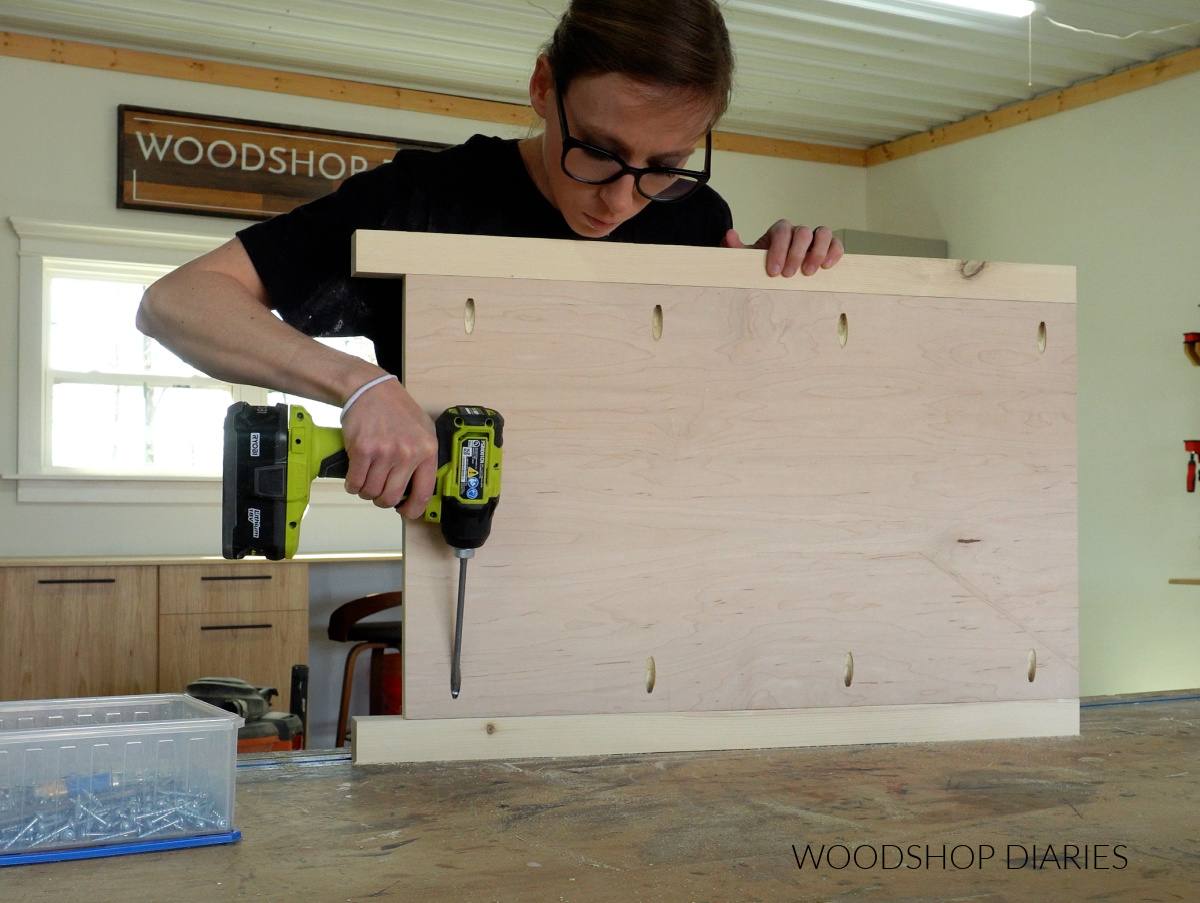
Step 1: Assemble Side Panels
The sides of the end table are made up of 2x2s for the legs and ¾″ plywood for the panels. I’ve included a full cut list with plywood diagram in the plans here.
I like to cut my own 2x2s, but you can certainly use the precut ones from the store. Check out this post about how I make 2x2s if you’re interested in making your own!
I cut four 2x2s to 29 ¼″ long for the legs and then cut two ¾″ plywood panels to 16″ x 27 ½″ for the sides.
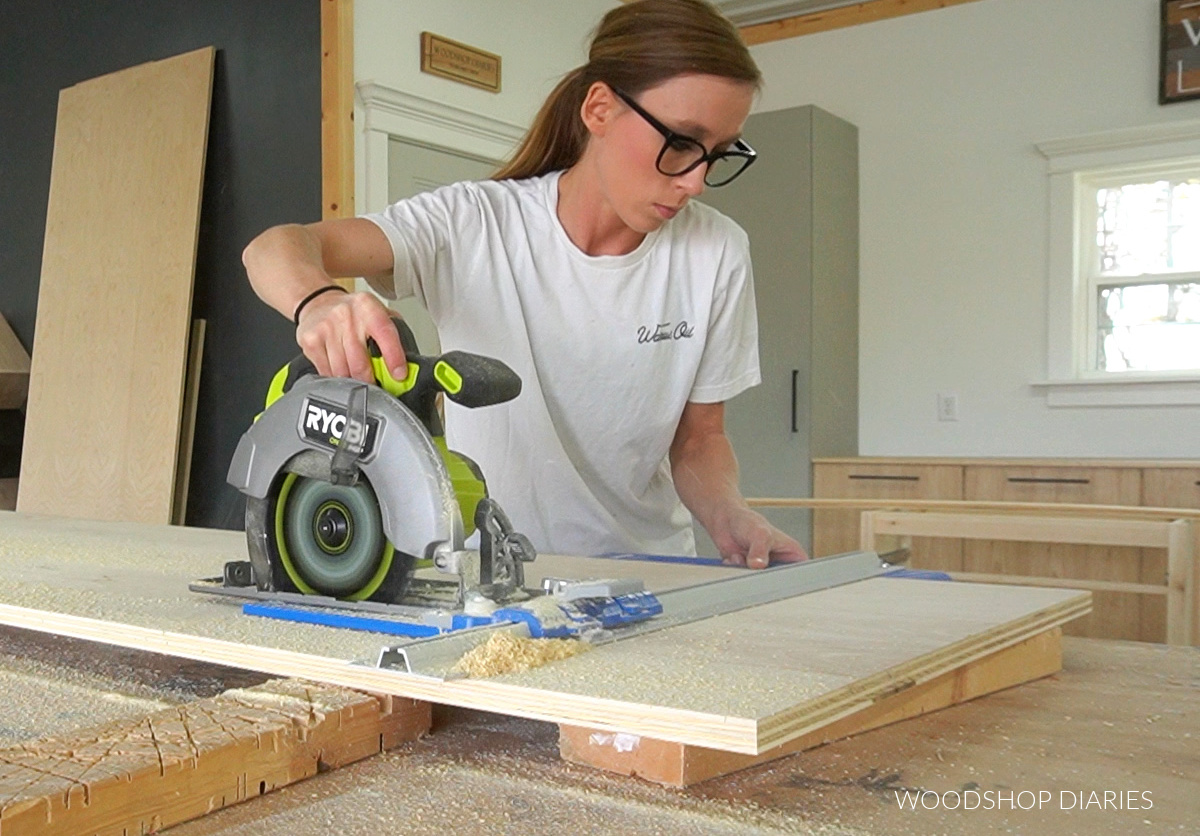
RELATED: How to cut plywood sheets using a circular saw
I drilled ¾″ pocket holes along the sides of the plywood, then used 1 ¼″ pocket hole screws to secure them between the 2×2 legs.
RELATED: How to use a pocket hole jig to assemble furniture projects
I made two identical panels like this making sure to keep the plywood panel flush to the inside edges of the 2x2s.
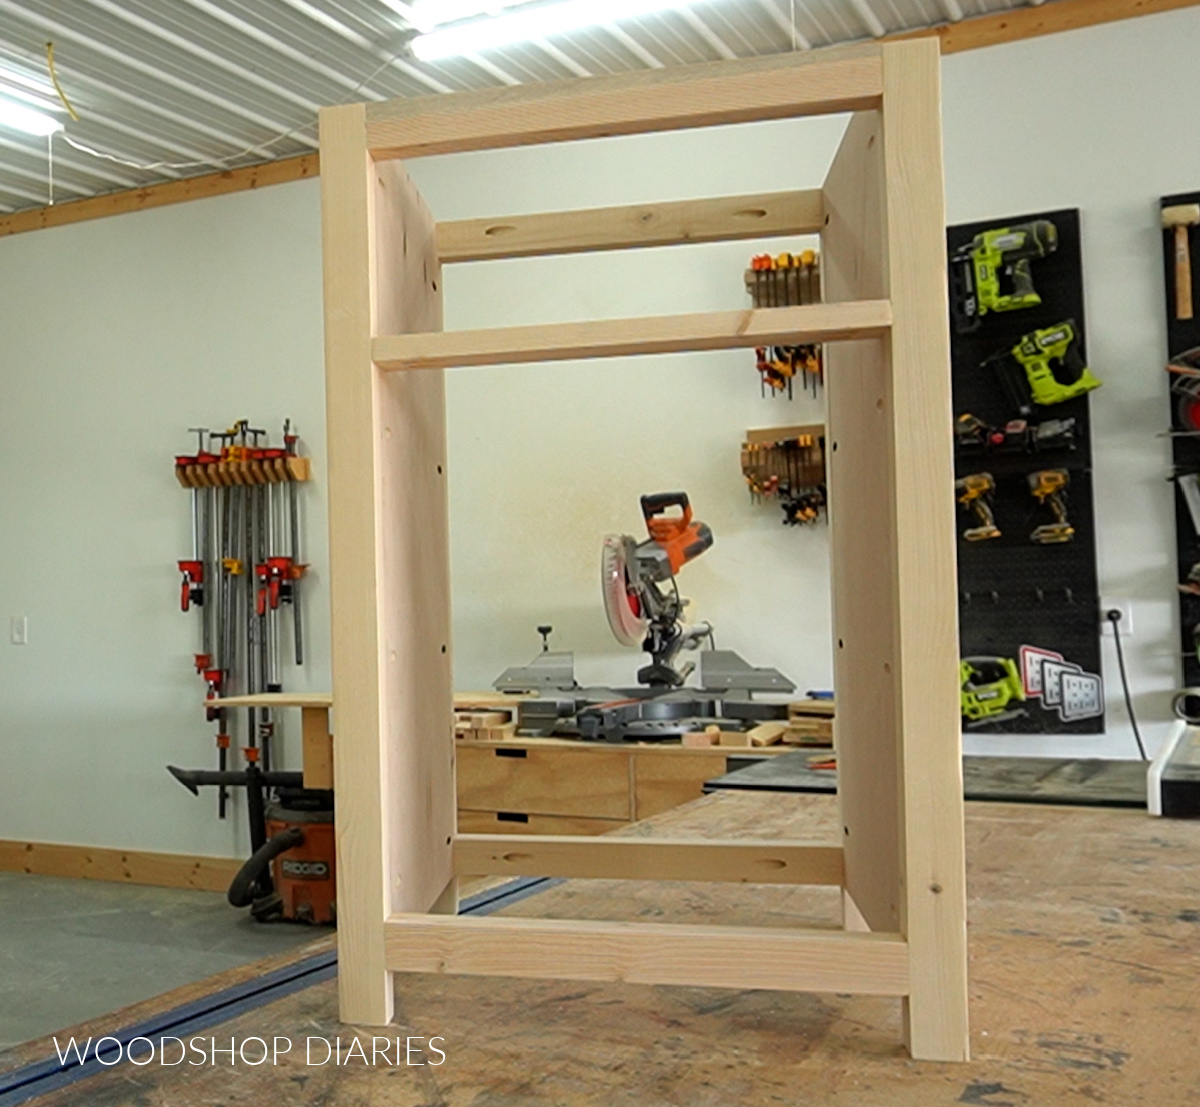
Step 2: Build End Table Frame
Once the side panels were assembled, I completed the rest of the end table frame using 2x2s. This is where these cabinets differ slightly from the printable plans.
In the plans, I show using a ¾″ plywood panel on the back side, but below, I just used a 2x2s on the back instead.
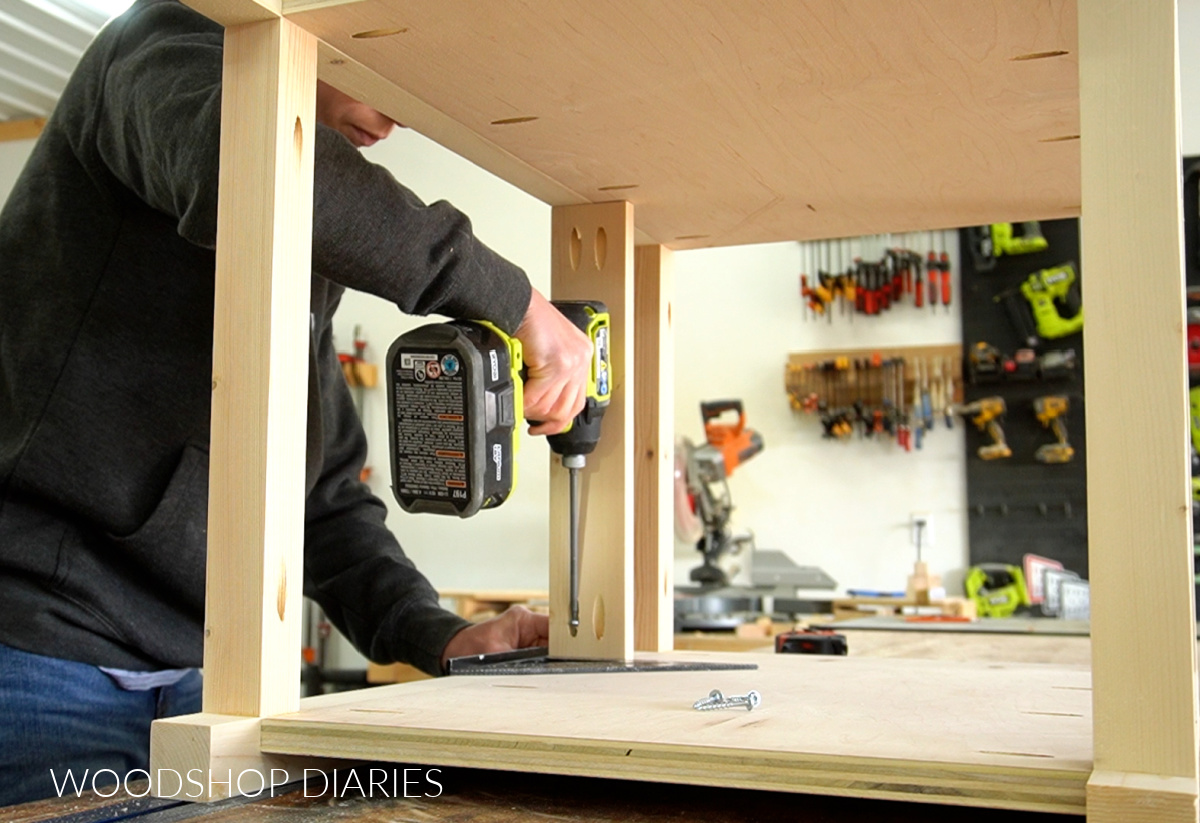
I cut four 2x2s to 16″ long and drilled 1 ½″ pocket holes into the ends of each. Then, I assembled a frame like shown using wood glue and 2 ½″ pocket hole screws.
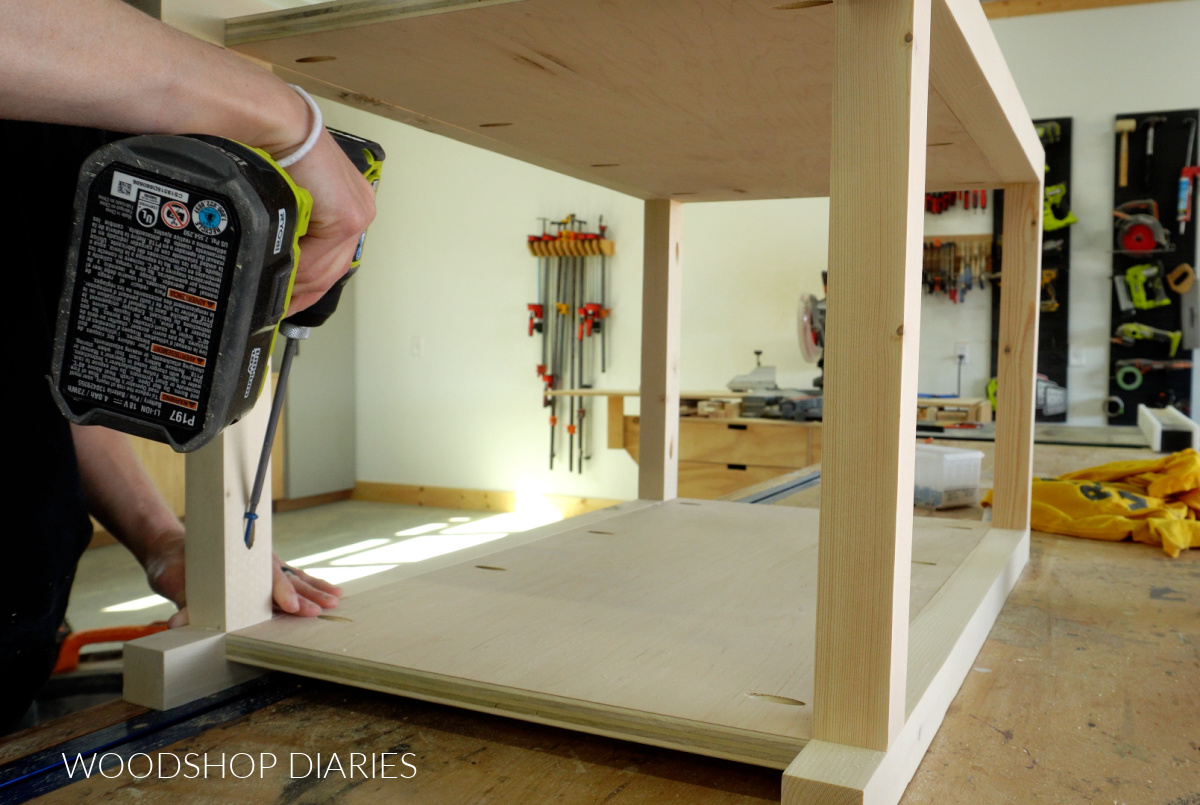
The top 2x2s should be flush to the top edge of the sides. There should be 24 ½″ space between the top and bottom 2x2s.
Make sure to place the pocket holes toward the inside or down so they won’t be seen in the finished project.
Once the frame was assembled, I added a single drawer divider to separate the top drawer from the bottom three. I used a 1×3 for this, but a 1×2 would work fine.
I installed this piece 6″ down from the top 2×2 using pocket holes and screws.
Step 3: Assemble Drawer Boxes
I cut the four sides of my drawer boxes from ¾″ plywood and the bottom panel from ¼″ plywood.
You can find all the measurements in the plans.
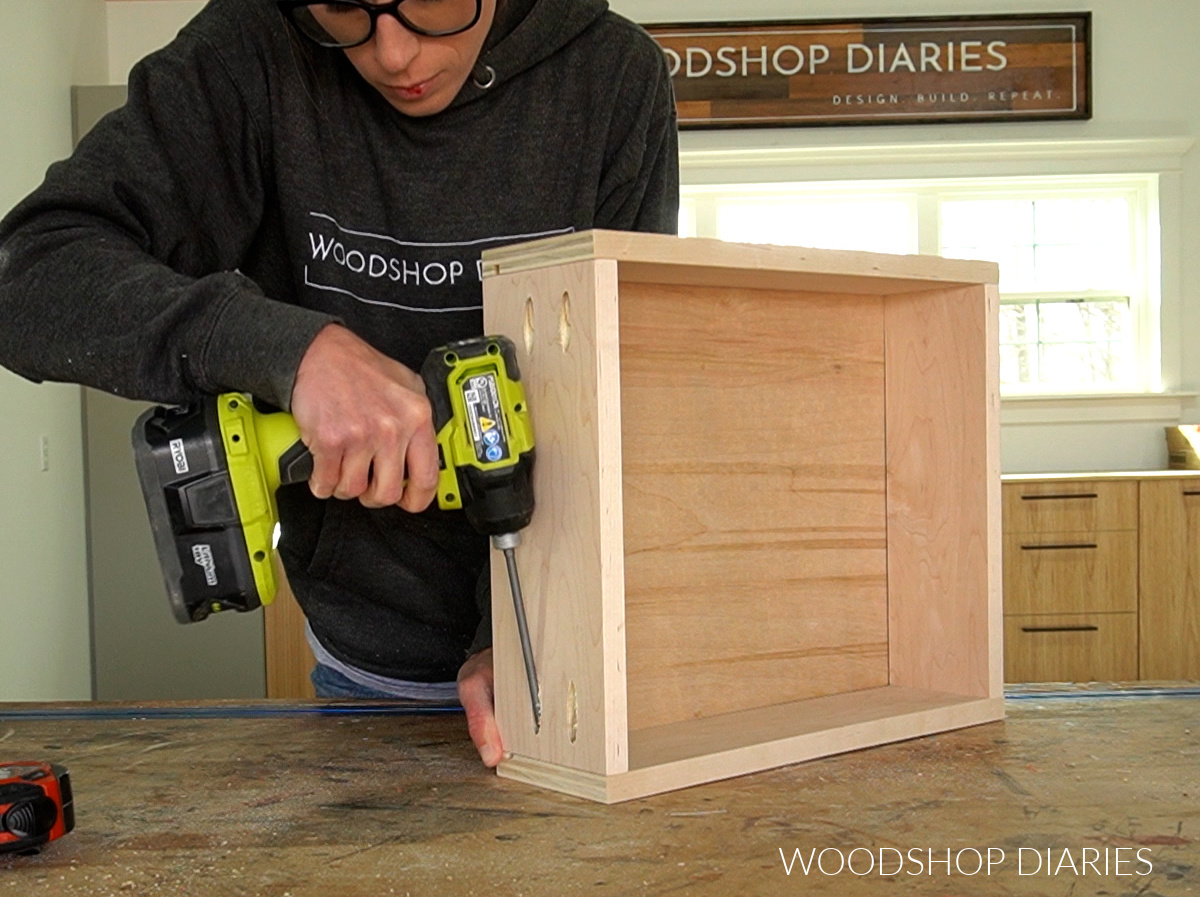
I cut ¼″ dadoes ¼″ deep ½″ up from the bottom edge of the four sides to install the bottom panel into. This is optional–you can simply glue and screw/staple the bottom on if you don’t want to bother with dadoes.
Check out this post about how to assemble drawer boxes for more details. I built four identical drawer boxes like this to go into the end table.
Step 4: Install Drawer Slides and Drawer Boxes
I installed 4 pair of 16″ ball bearing drawer slides into the end table. Since this project would have inset drawer fronts, I installed them ¾″ inset from the front edge of the cabinet.
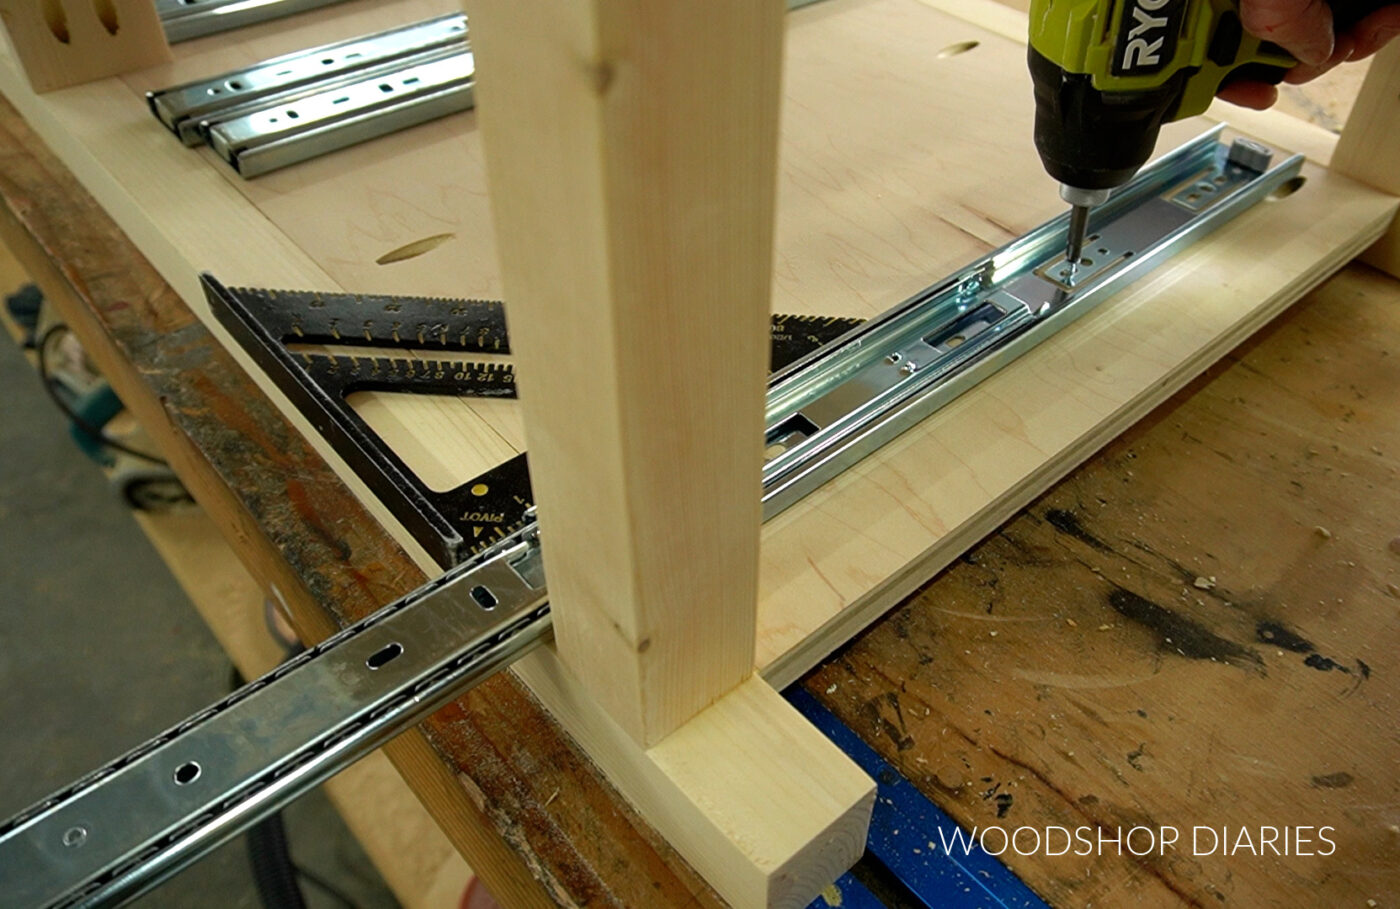
Then, I installed the drawer boxes from step 3 onto the slides.
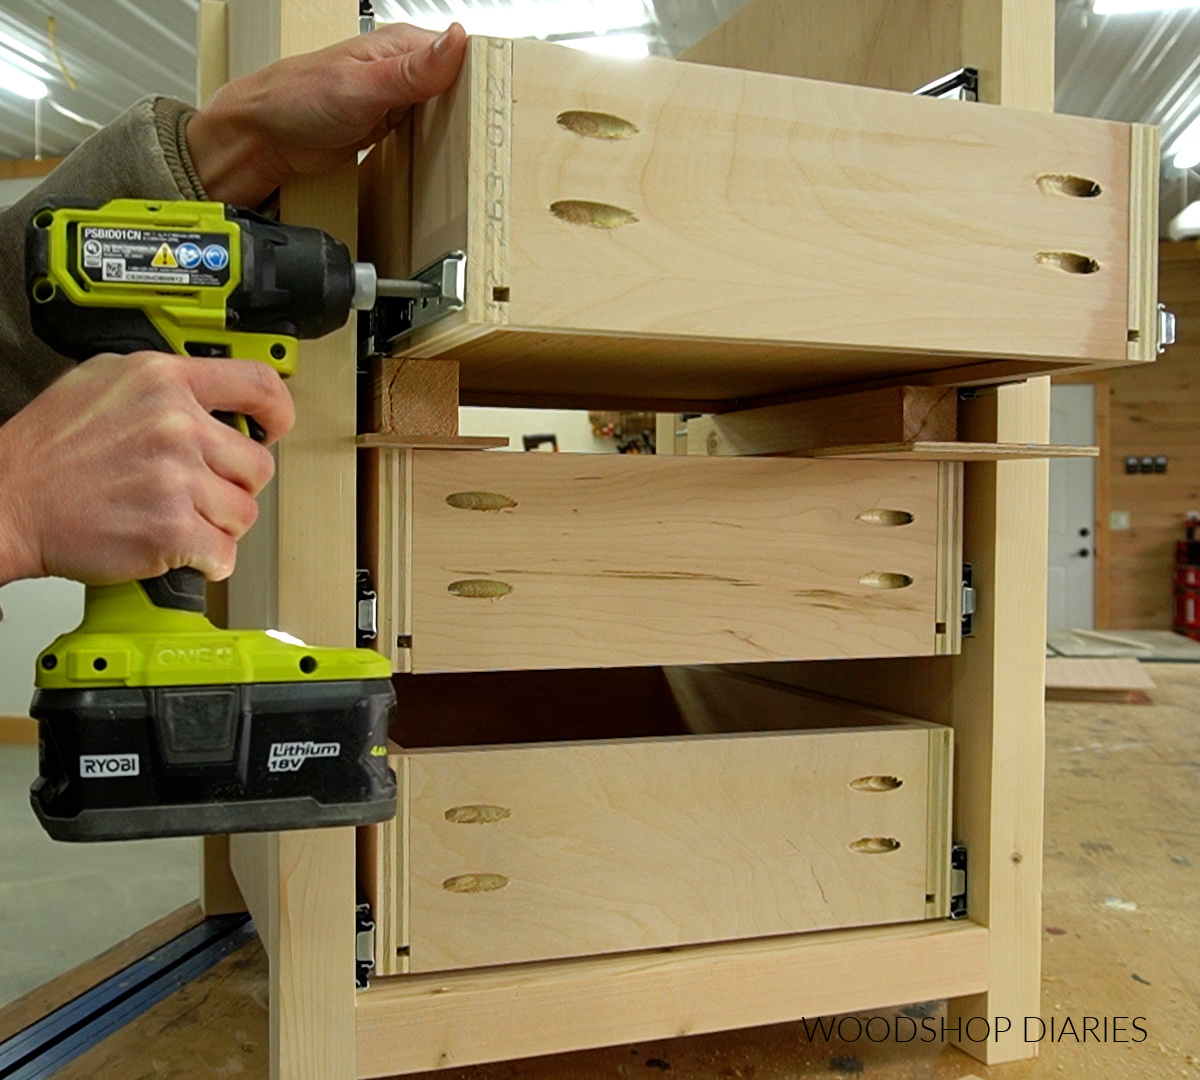
Check out this post for more information on how to install drawer slides and drawer boxes.
Step 5: Add Drawer Fronts
I cut four drawer fronts 5 ¾″ x 15 ¾″ from ¾″ plywood and applied iron on edge banding to the edges for a cleaner look.
Iron on edge banding is totally optional, but it hides the plys and makes the end result look a little nicer.
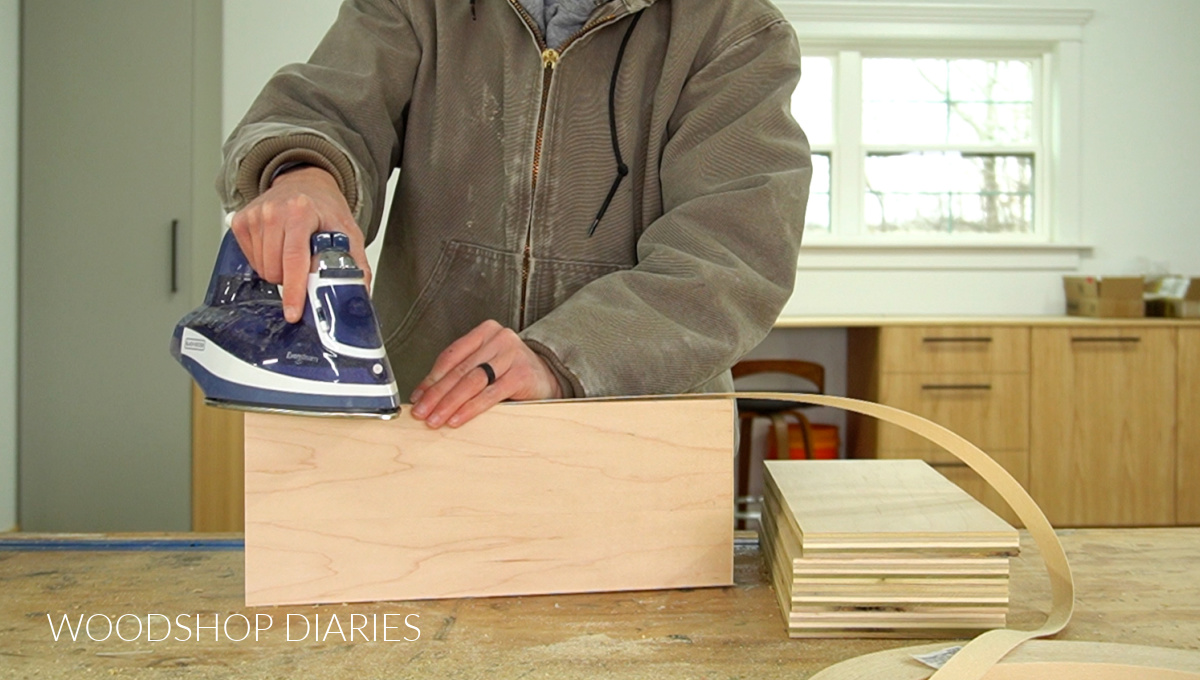
Learn how to apply edge banding to plywood here.
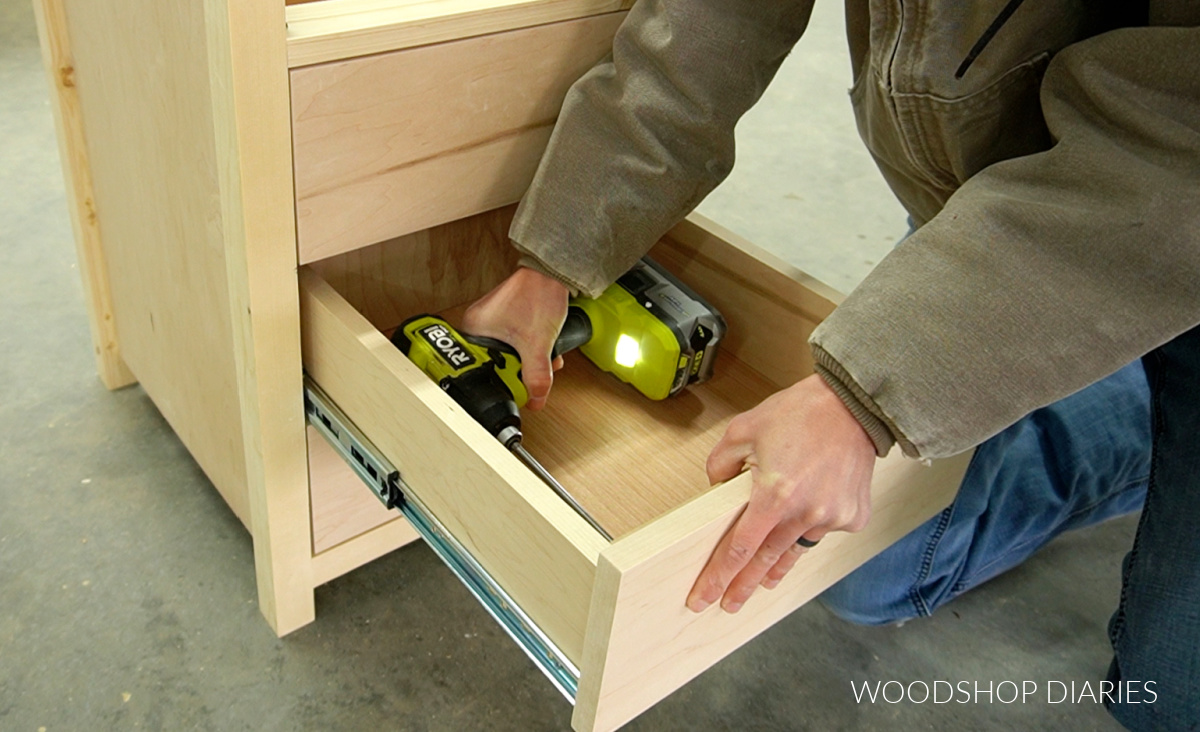
Then, I installed these onto the drawer boxes leaving ⅛″ gaps around all sides.
There are tons of ways to install drawer fronts, but one trick is to drill the holes into the drawer front where you want your knobs or pulls to go.
Lay the project over on its back and place the drawer fronts where you want them making sure the spacing is even. Drive a screw through the knob/pull hole(s) to temporarily position the fronts in place.
Then, flip it back right side up and use 1 ¼″ wood screws through the inside of the drawer box to permanently secure them in place.
TIP: If you didn’t want to drill these holes, double sided tape (like Krazy Tape) would work well to temporarily position the fronts so you can screw them on.
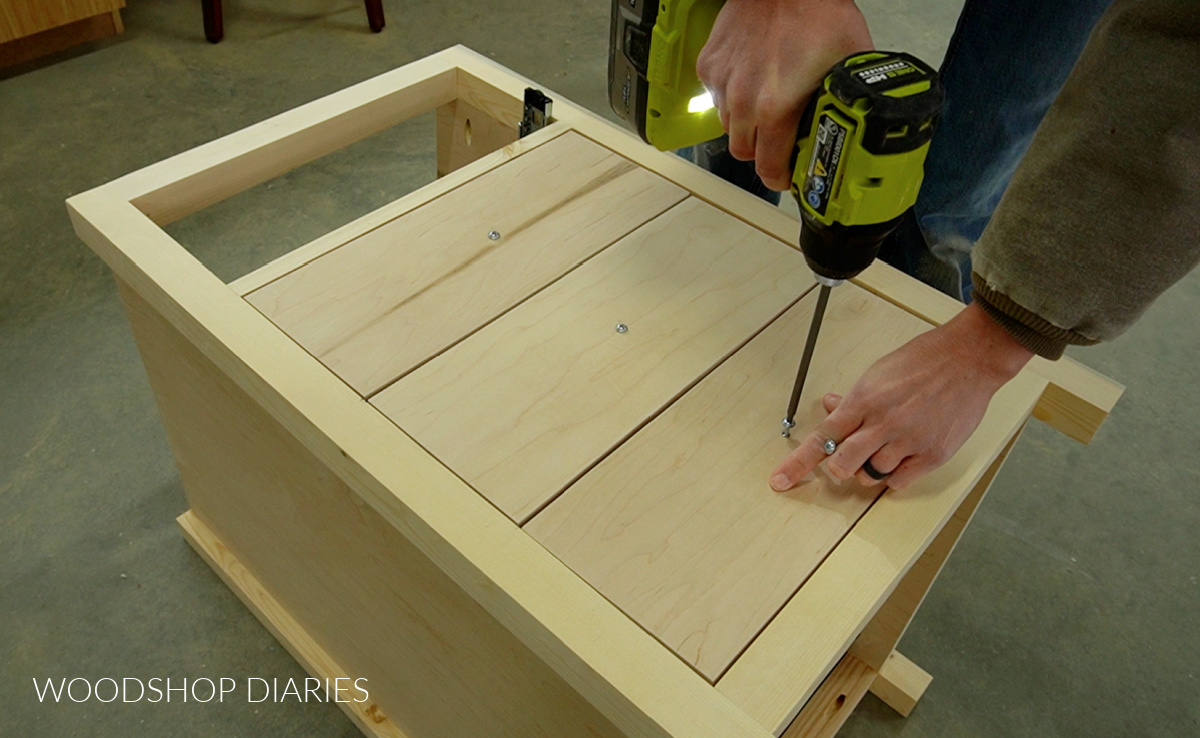
Step 6: Attach Top
The top panel is a 21″ square piece of ¾″ plywood. I applied edge banding along all sides to hide the plys–but again, that’s optional.
I removed the top drawer from the cabinet so I could access the top frame. Then, I flipped the top upside down and centered the end table on it so that there was 1″ overhang on all sides.
Then, I used 2″ wood screws through the 2×2 frame at the top of the front and back to secure.

NOTE: If you follow the printable plans where you add the ¾″ plywood back panel, then you attach the top using pocket holes and screws through the plywood on the side and back panels.
Step 7: Attach Back and Trim
I used some scrap strips I had cut from other material for to trim out the sides, but 1x2s would work perfect as well.
I cut to fit these pieces and glued one at the top and one at the bottom of the side panels. Then I added one towards the middle so that it was even with the drawer divider on the front.
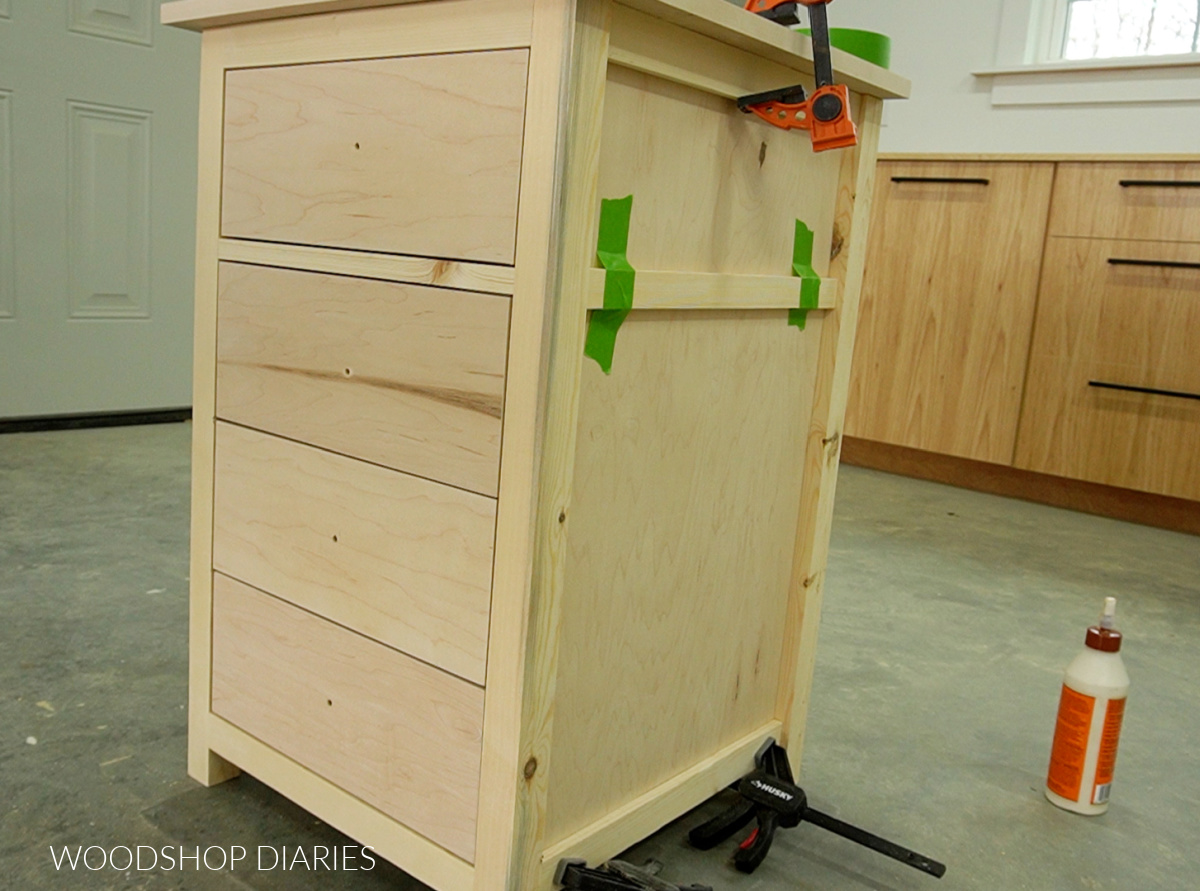
Finally, I cut and stapled a ¼″ plywood back panel over the back side.
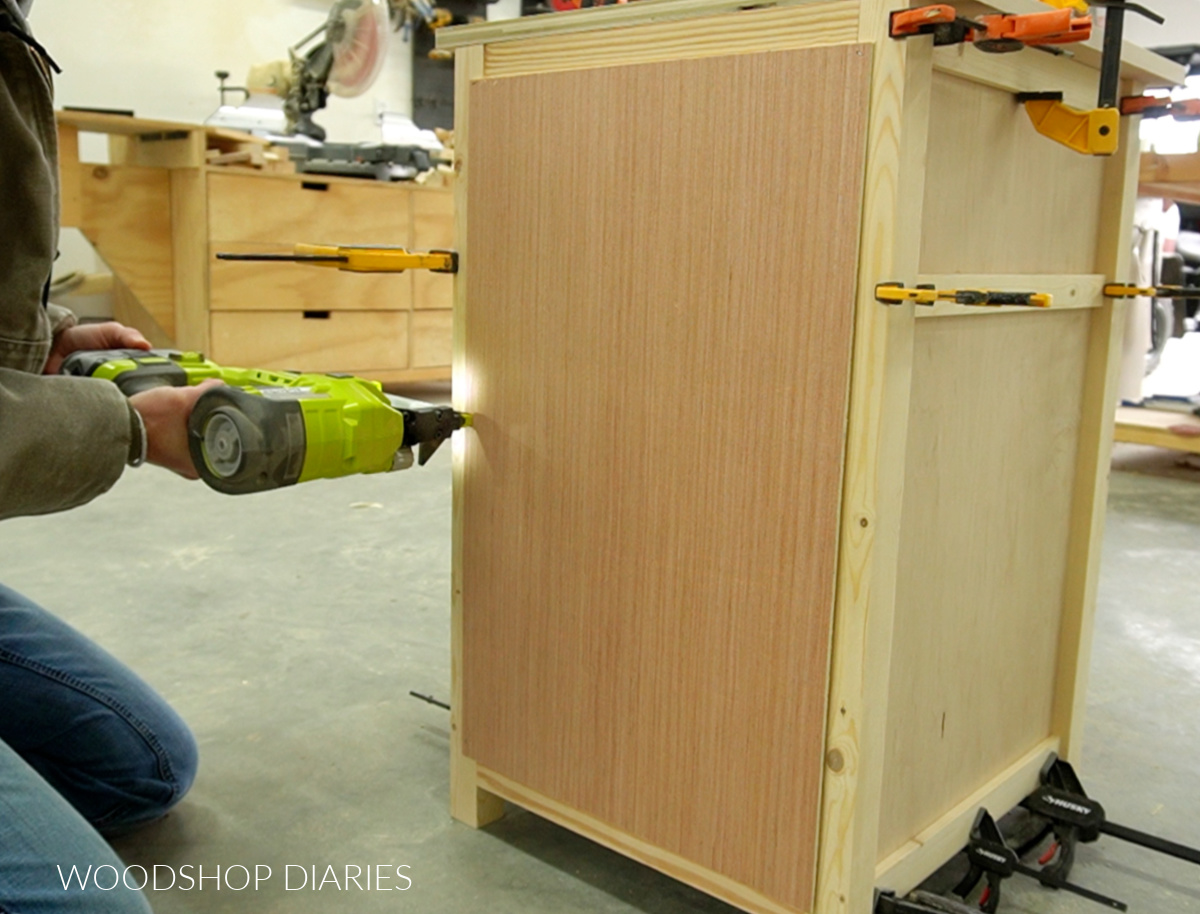
Obviously, if you already installed the ¾″ plywood back panel according to the plans (like I’ve mentioned already…are you tired of hearing about it yet?), then you wouldn’t need to add the back here.
Step 8: Finish
After the glue dried on the trim, I stained it in Minwax Early American.
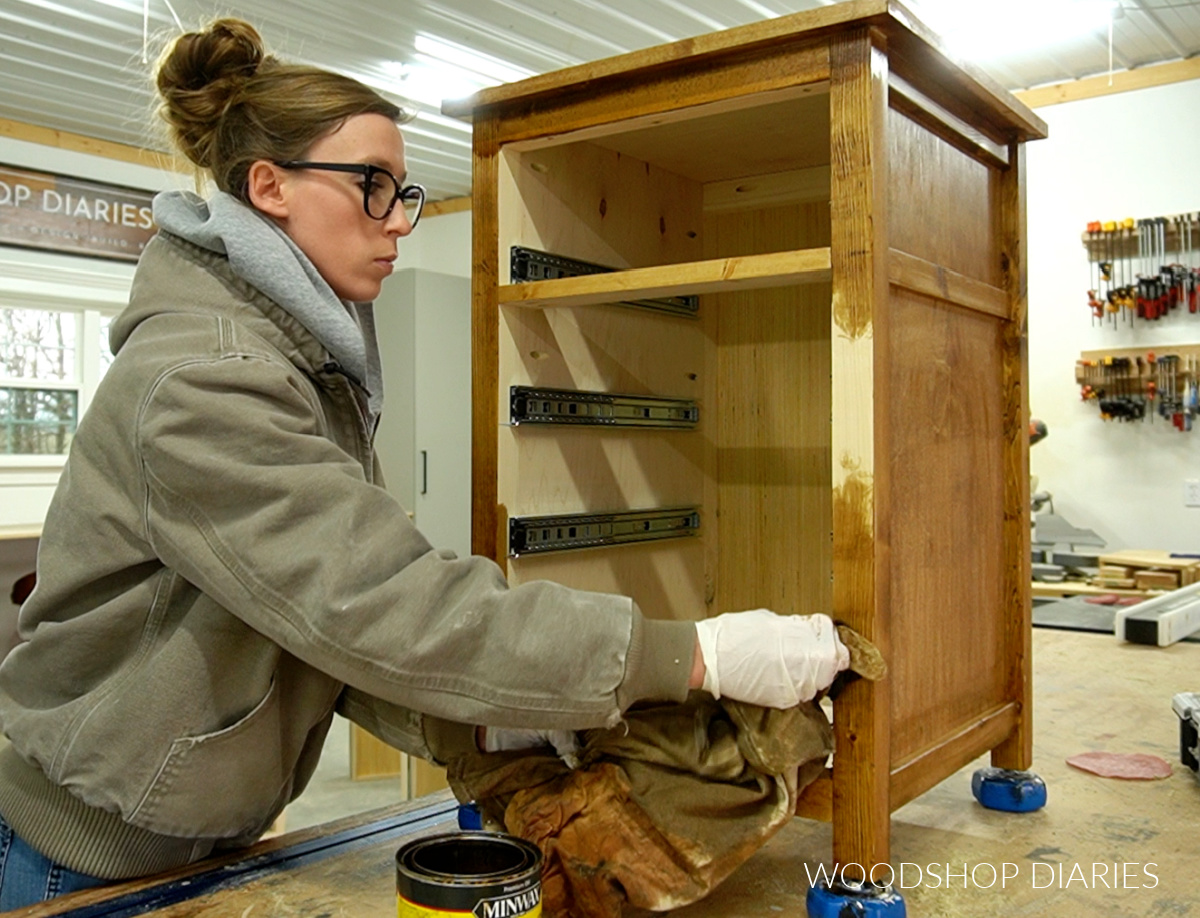
Once the stain was dry, I added a few coats of Minwax Helmsman Water Based clear coat, then added these simple black knobs to finish it up.
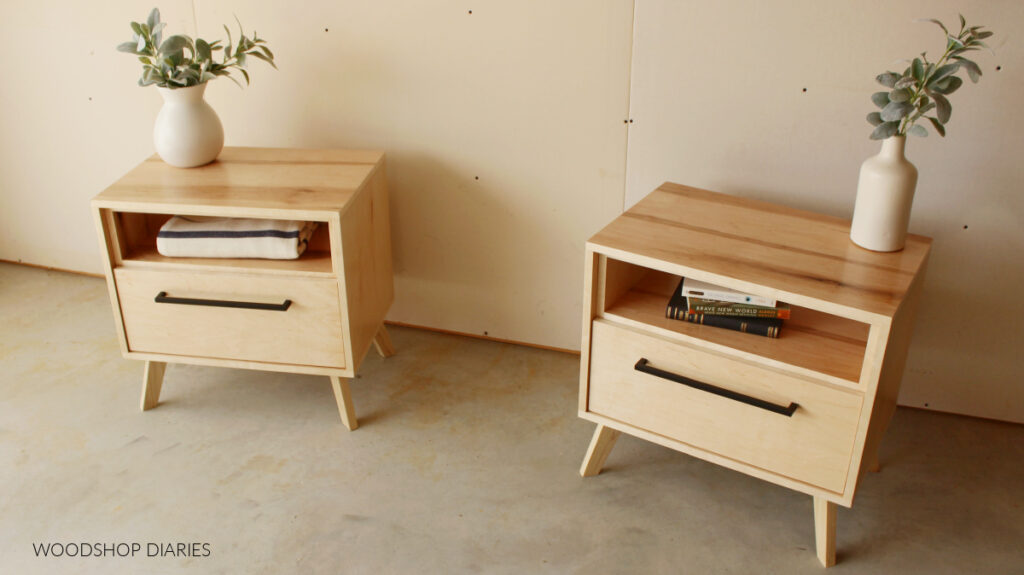
And now this simple table is ready to use as an end table, a nightstand, and entryway catch all, linen storage, etc.

Don’t forget to check out the plans for this end table with drawers on KregTool.com!
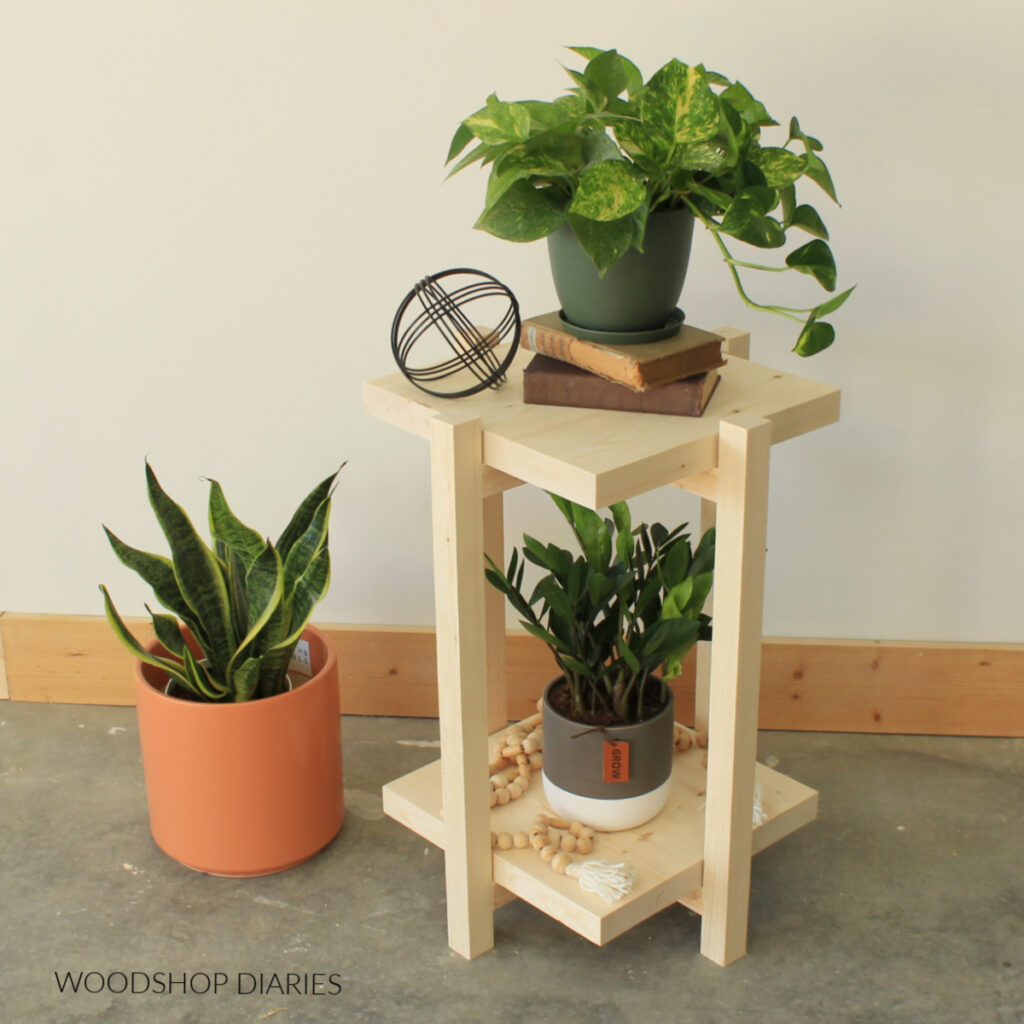
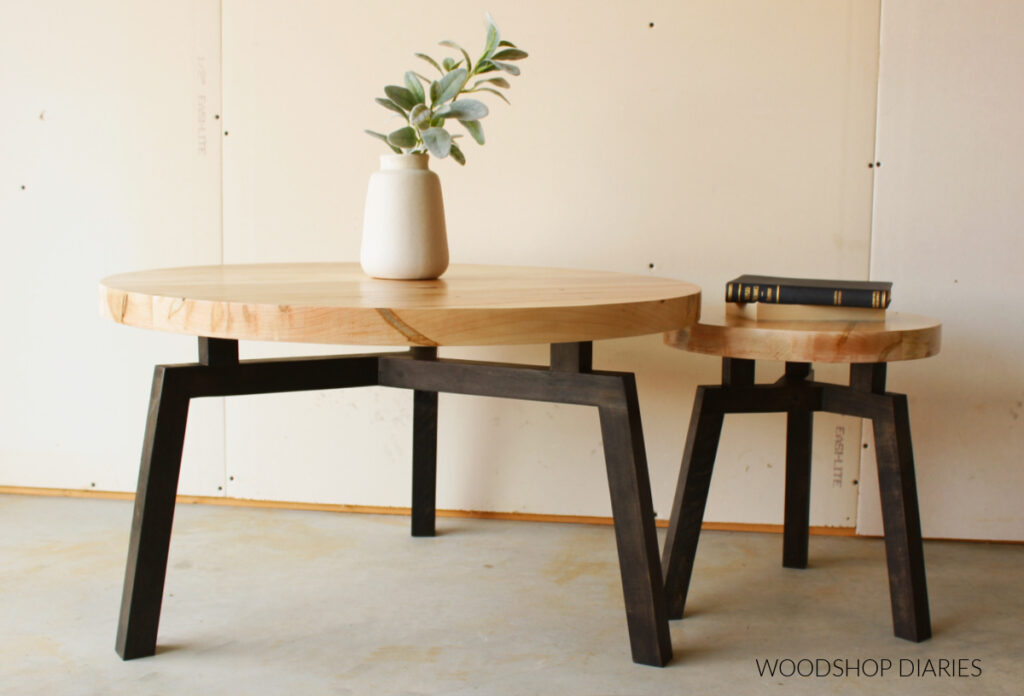
Looking for more End Table Ideas?
Enjoy the project, but looking for more ideas? Here are a few favorites you might like to check out:
If you want to be the first to know about new projects and plans, be sure to subscribe to the newsletter for priority access!
To save this project for later, don’t forget to pin it or share it to your favorite social network!
Until next time, friends, happy building!