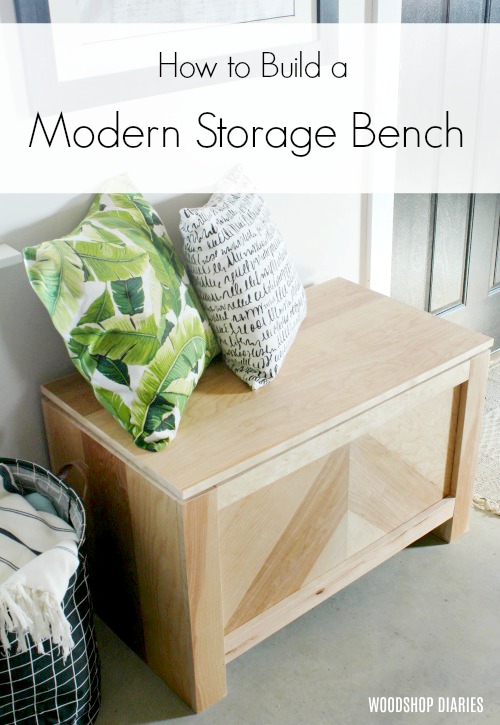
How to Build a Modern Rustic DIY Storage Bench
*This post is sponsored by PureBond Plywood. This post also contains affiliate links. Please see disclosure policy for details.
When it comes to saving, what’s the number one thing you want to save? Time? Money? Your sanity? Oh, maybe that one is just me? (Who are we kidding? I’ve already lost half my sanity already haha)
.
What if I told you that you could save all three with one product? And this isn’t some kind of sales gimmick you see on late night infomercials. I promise. This is legit.
.
It’s plywood. WHAT!?
.
I know it sounds crazy, but I found a new plywood product from PureBond that literally saved me SO MUCH GRIEF, and so much waste, and so much time building this DIY modern rustic storage bench. Do you know how much time and frustration it would have taken me to cut down and glue planks together to make something like this? Like the whole gluing them together and then dealing with uneven seams and gaps you have to fill–not to mention all the glue squeeze out you have to clean up–yeah, no thanks. But what you see below isn’t planks. It’s solid plywood.
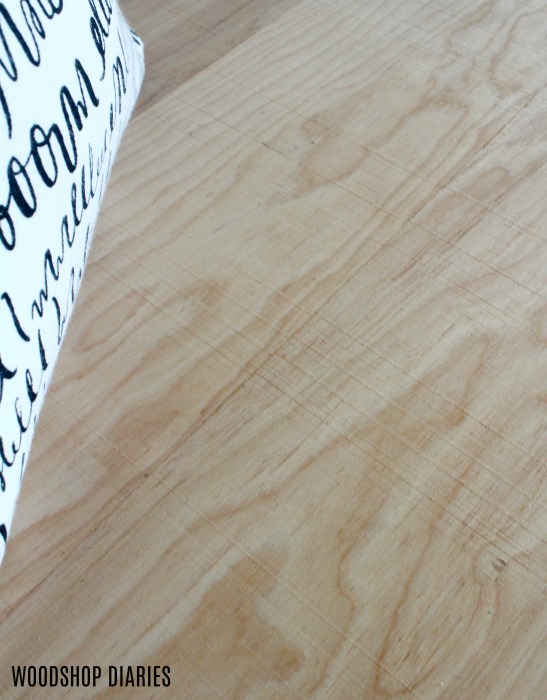
In fact, this entire bench was made from 100% PureBond Rough Sawn ¾″ Birch Plywood. Oh, yeah…did you notice that “rough sawn” part? I didn’t even mention the best part! The plywood panels come with “planks” that each have their own rough saw marks so it really looks like individual rough sawn planks joined together. It’s the perfect solution for when you want to build rustic, but don’t want to deal with milling down and joining actual rough sawn lumber. (Side note: real rough sawn wood=splinters=not good)
These panels come in 2’x4′ sheets and you can buy them online here at The Home Depot. I used this particular kind because I like the extra character of the colorful birch, but they also have clear birch and oak as well.
.
For this build, I used 5 sheets and a few tools mentioned below. I’m sharing the written tutorial below and the video right here:
Tools and Materials Needed:
(5) 2’x4′ Panels PureBond ¾″ Colorful Birch Rough Sawn Plywood
Miter Saw
Nail gun (or hammer and trim nails)
Clamps
Cut List:
(2) Side Panels: 18″ x 20″
(4) Trim for front and back side panels: 3″ x 20″
(2) “Chevron” front panels: approx 17″ x 17″ (see step 2)
(1) Back Panel: 17″ x 34″
(1) Bottom Panel: 18″ x 34″
(2) Bottom faux box piece: 3″ x 18″
(4) Top and Bottom Trim Pieces: 2 ¼″ x 34″ (cut to fit)
(2) Side strips for floating top: 2 ¼″ x 16 ½″
(1) Top: 19 ½″ x 35 ½″
Step 1: Sort Through the Plywood Panels
The first thing I did before starting to cut everything down was to sort through my panels. Since these panels are the “colorful” variety, not every panel looked the same. I wanted to make sure I used the most colorful ones for the front, top and sides and the not quite as colorful ones for the bottom and back since they won’t be seen as much.
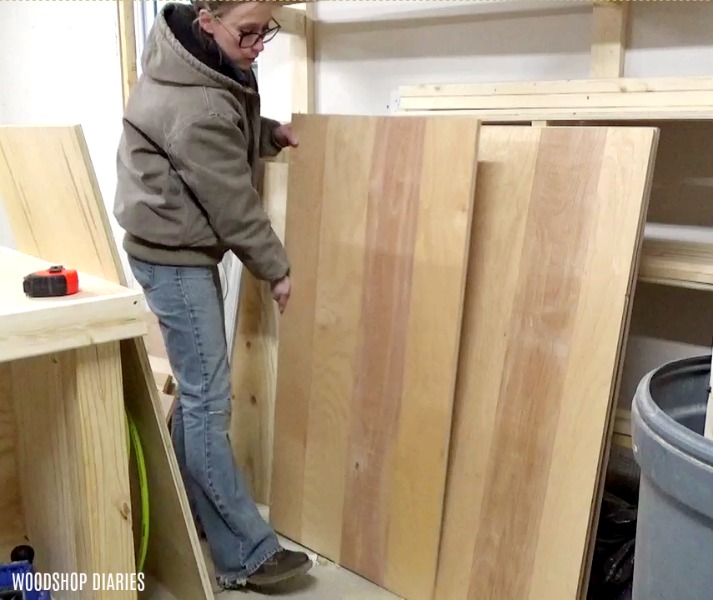
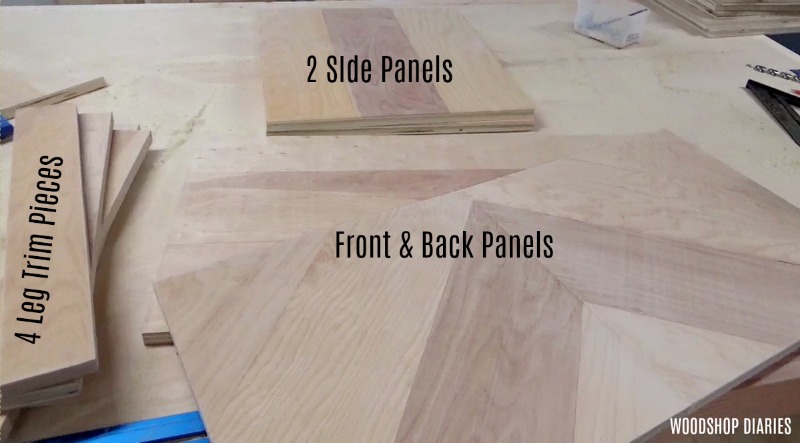
You’ll have to cut some thinner strips for trim off each panel, but for the most part, one panel will be the front, one the back, one the bottom, one the top, and one the sides. So I picked which panel I wanted to use for each piece and labeled them before cutting.
Step 2: Cut Down the Plywood Panels
I’ve provided the cut list above for all the pieces of the storage trunk, BUT here’s a quick look at how to cut down the 5 panels to get all your pieces:
Panel 1:
(1) 3″ strip
(1) 2 ¼″ strip
(2) side panels
Panel 2:
(2) Chevron Panels (see diagram below)
Panel 3:
(2) 2 ¼″ strips
(1) Back panel
Panel 4:
(1) 3″ strip
(1) 2 ¼″ strip)
(1) Bottom
Panel 5:
(1) Top
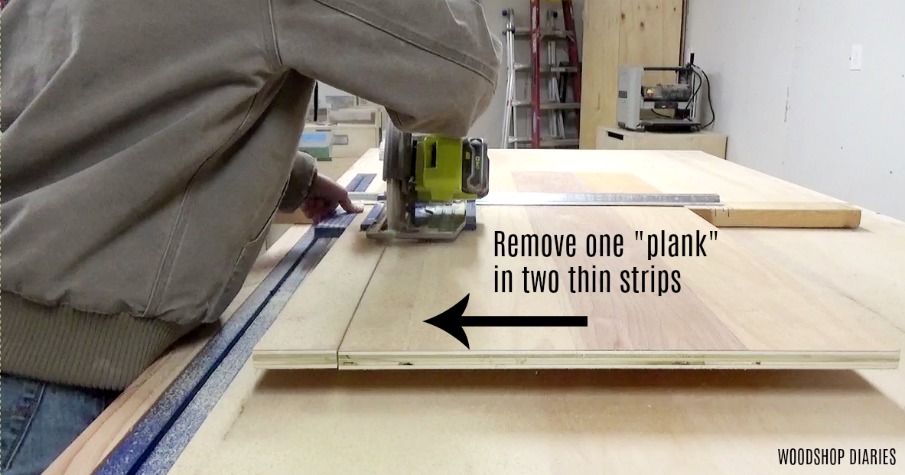
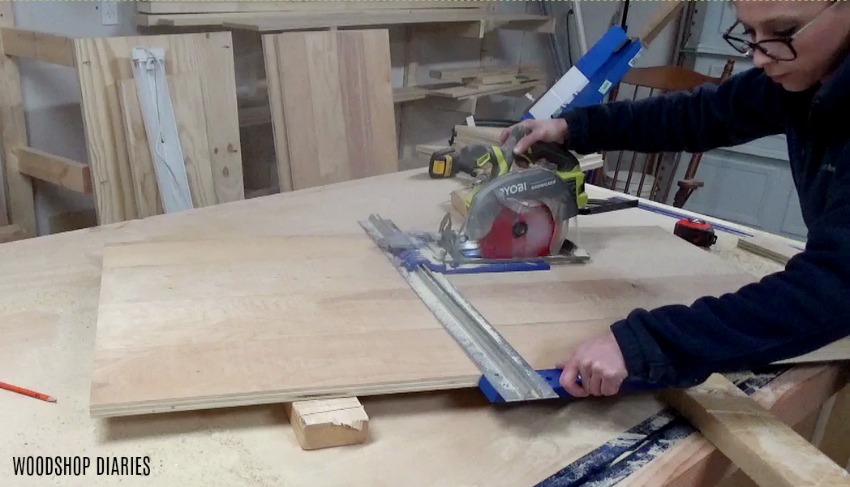
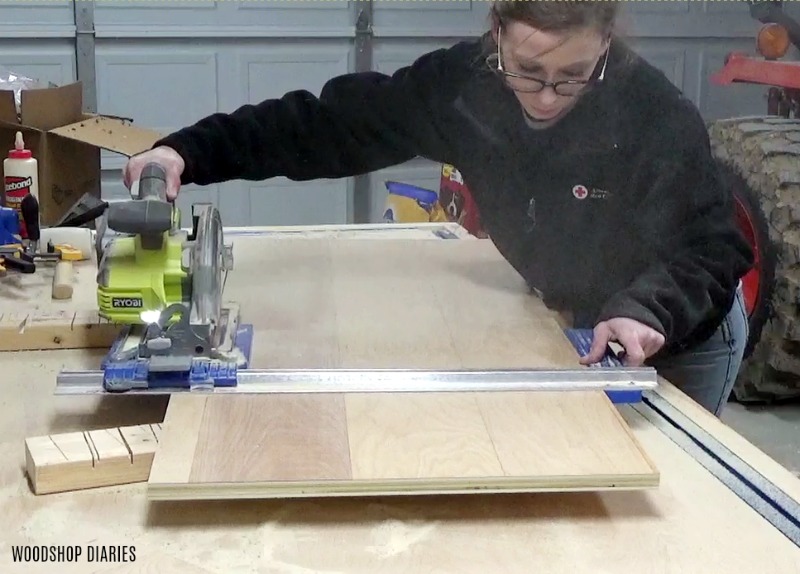
A few of the pieces of this build will be cut to fit, but most of them can be cut before assembly to save time. Here’s a few tips though. For those panels that need thin strips ripped off, rip those first. I recommend using a circular saw and a Kreg Rip Cut for this.
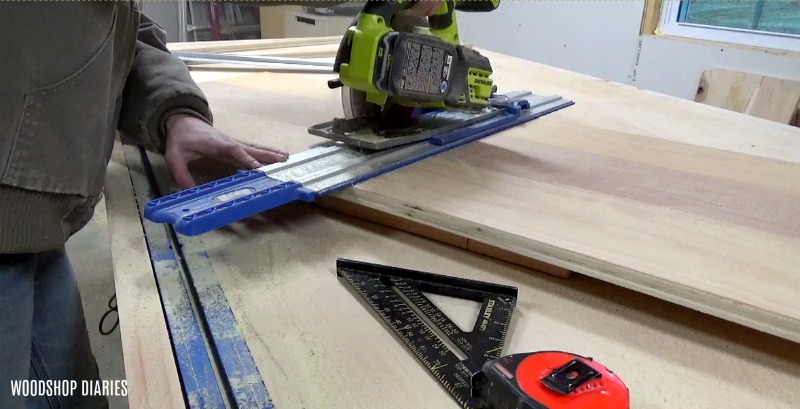
I also recommend using a Kreg AccuCut and a circular saw for cutting down panels as well.
I also cut out my chevrons BEFORE I cut my back piece because I needed the back to be exactly the same size as my front panel and just in case any measurements got off with the chevrons, I wanted to cut them first.
.
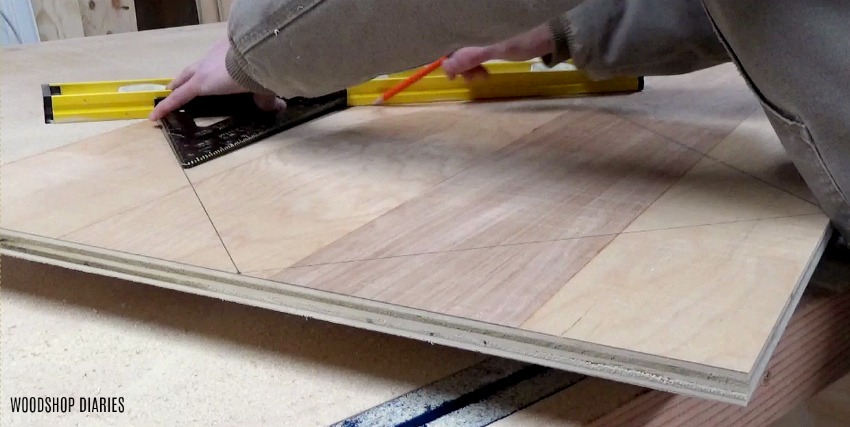
I’ve provided a diagram to help explain how I cut my chevron pattern from the panel. This will give you two pieces (in black below) ABOUT 17″ square and with “planks” running at a 45 degree angle.
![]()
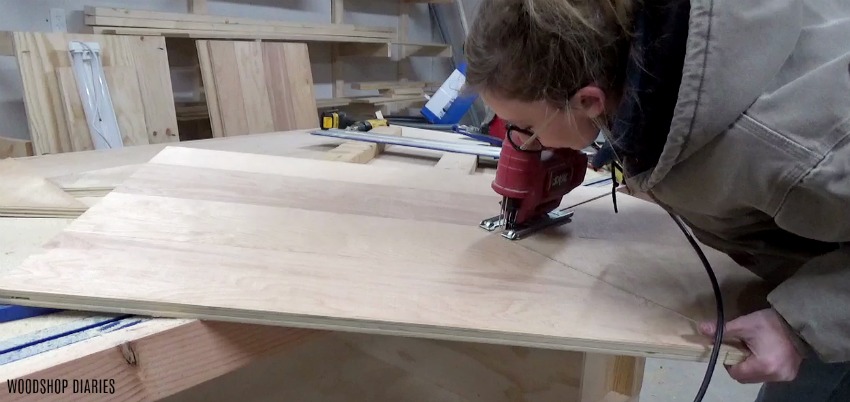
You can see from the video that I traced out my first square, then cut it out with my circular saw, but to get the inside corner of the first square, I had to use a jig saw to get a nice clean corner.
![]()
Then, I traced that square onto the other side to get them the same size. Once I had both cut out, I laid them out to measure so that I could cut the back side the same size.
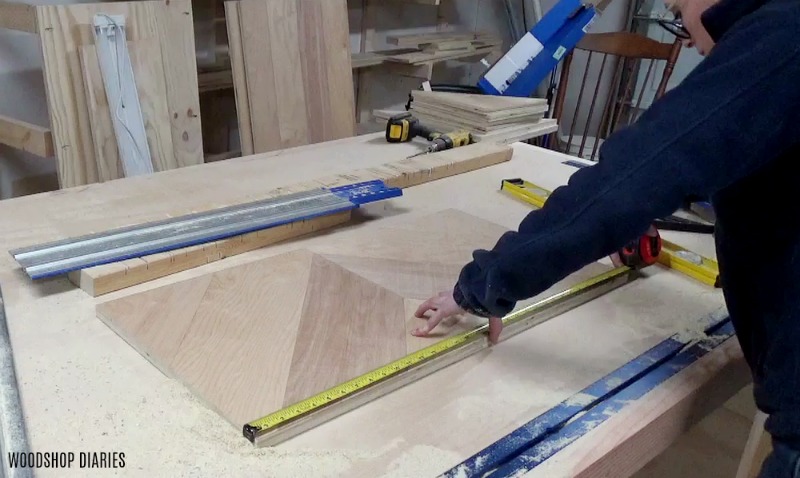
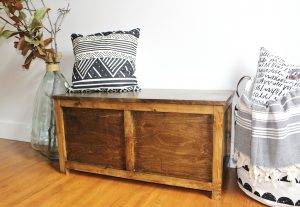
Then I cut down my third plywood panel to get my back piece making sure that it was the same size as the front chevron panel.
Lastly, I cut down the panel for the bottom side and cut the four 3″ x 20″ trim pieces before I started assembling. I applied glue on edge banding to the plywood edges that would be exposed once assembled for a cleaner look. I used regular edge banding for this (not rough sawn) because it’s so small, it isn’t noticeable.
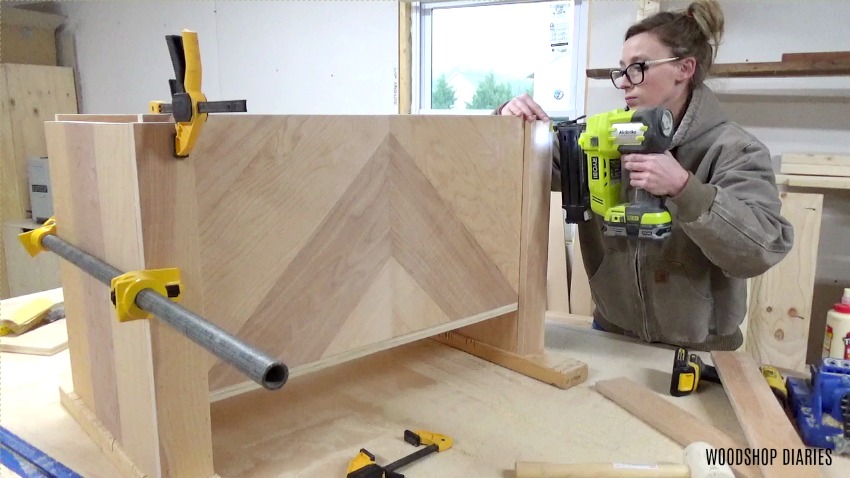
Step 3: Assemble the Front Panel
You’ll see above, my front panel was already assembled. I got a little ahead of myself. I got all my pieces cut out and ready to assemble, then did all the assembly at once after I edge banded. But, before I could edge band the front panel, I had to attach it together. To do this, I drilled a couple ¾″ pocket holes into the joining edges of the chevron panels, then glued and clamped, and added 1 ¼″ pocket hole screws to help hold it in place.
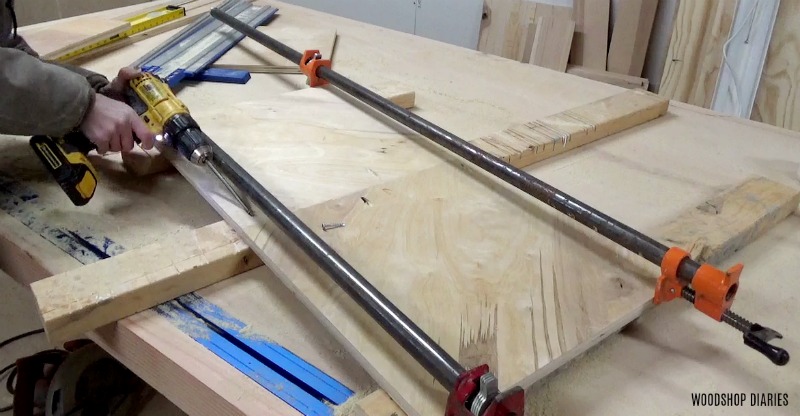
Once the glue was dry, I CAREFULLY sanded any squeeze out glue off the front trying not to remove all the saw marks. You don’t want to sand too heavily so you don’t accidentally sand off the “rough sawn.”
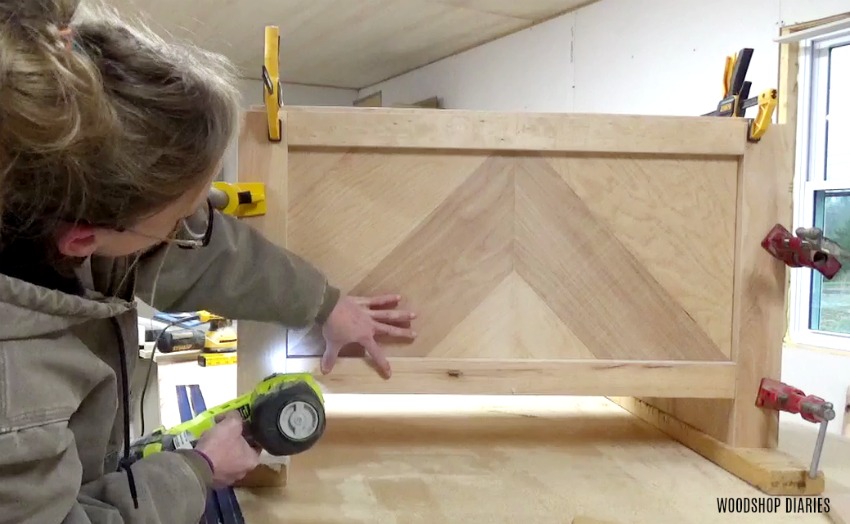
Step 4: Assemble the DIY Storage Bench
Now, finally, it’s time for the fun stuff. I drilled ¾″ pocket holes along the edges of the front and back panel and attached to the side panels like shown to make a box using 1 ¼″ pocket hole screws.
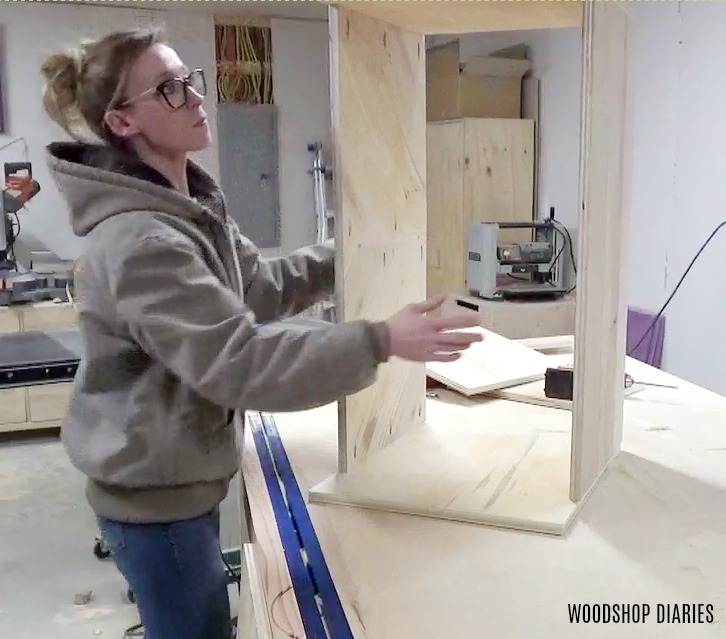
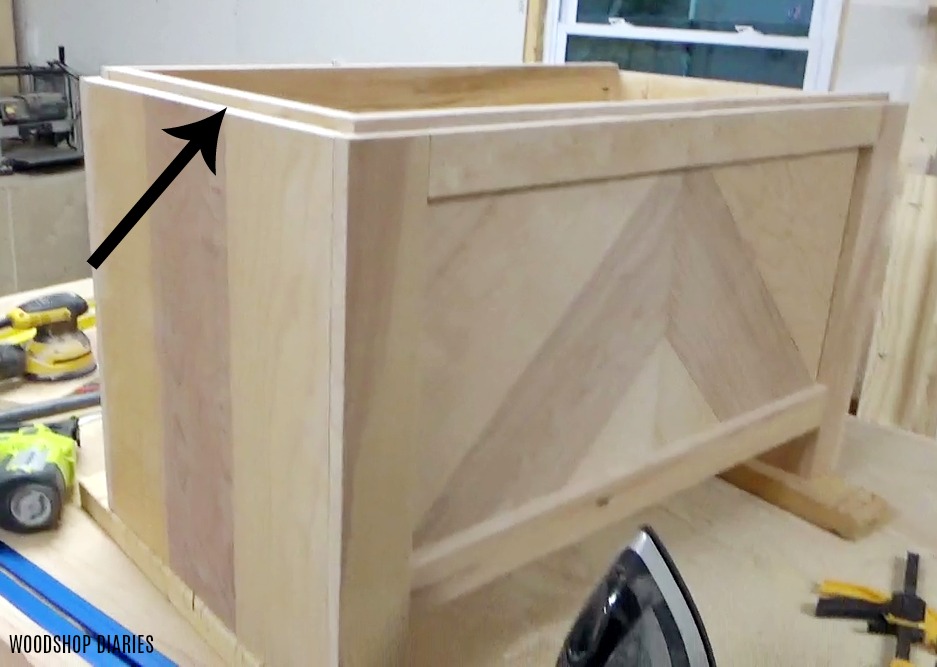
One thing to note about this box is that I designed it to have a “floating top.” You don’t HAVE to build yours this way and it adds nothing to the structure–it’s purely for looks. But, I did this by attaching the front and back panels so that they were ¾″ higher than the top of the side panels. If you don’t want a floating top, then attach them so that the tops line up with each other.
Step 5: Add Bottom of Storage Bench
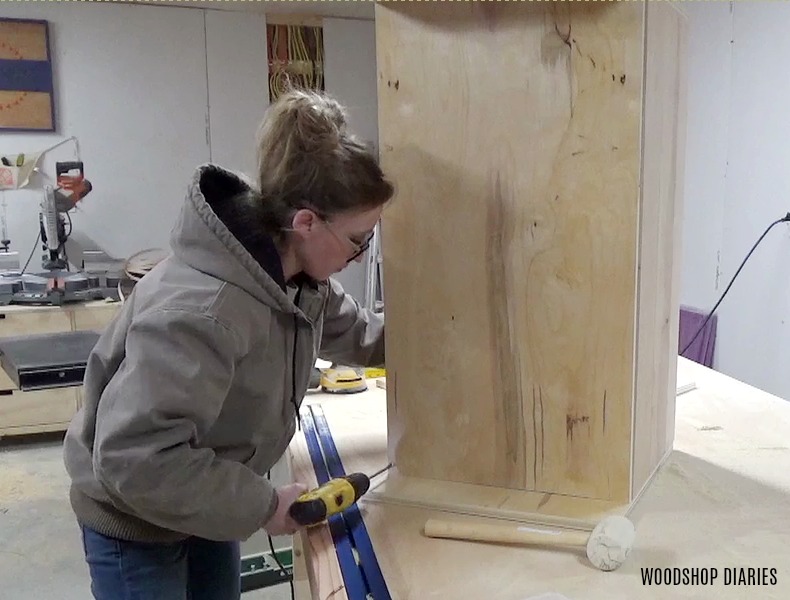
Once the box was assembled, I screwed the bottom panel onto the box using 1 ¼″ screws like shown below.
Step 6: Add “Leg” Trim
This storage trunk doesn’t actually have “legs,” but I made trim on the front and back to make it LOOK like two really thick boards made up the sides. I cut two pieces from what was leftover after cutting the side panels to fit perfectly underneath the box like shown below.
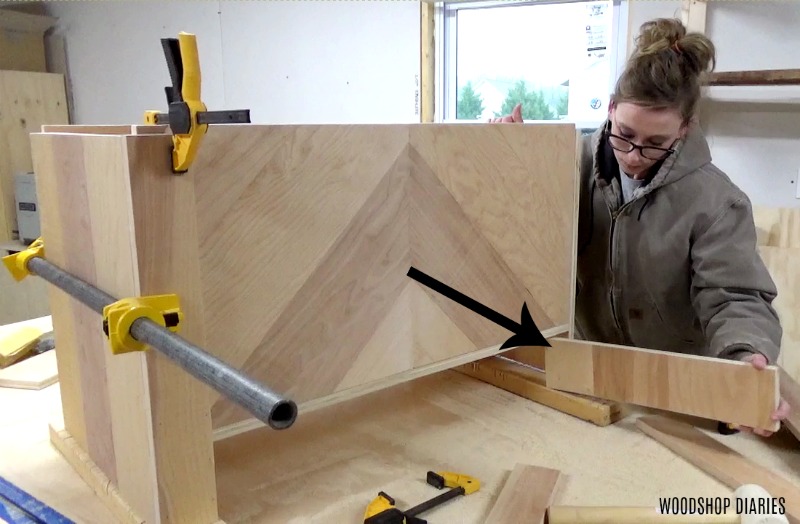
This just helps create a “hollow box” that will look like one thick piece of wood. Then, I glued this piece and one of my 3″ wide trim pieces and nailed everything together like below.
I did this on all four corners (two on front and two on back), then clamped while the glue dried.
Step 7: Add Remaining Trim
While the “legs” dried, I cut to fit four trim pieces of trim to finish out the front and back sides of the box. I cut these pieces from all the 2 ¼″ strips I ripped from the plywood panels earlier, then applied edge banding before attaching.
Two on the front and two on the back. I attached my top trim pieces so that they were ¾″ down from the top of the front and back panels for that “floating top” look.
.
Finally, the last trim pieces I added was just to finish out the two short sides for the floating top. I cut to fit two pieces to fit on the INSIDE of the box like shown to sit ¾″ higher than the side panels of the trunk. I glued and nailed these pieces in place on each side.
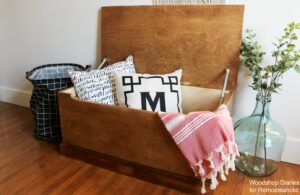
Step 8: Add Top
Once all the glue was dry (tip: clean up as much glue squeeze out as possible before it dries so you don’t have to sand so much later to clean it up and accidentally remove those saw marks), I added the last piece–the top. I cut this piece to be the exact dimensions of the outside of my storage chest.
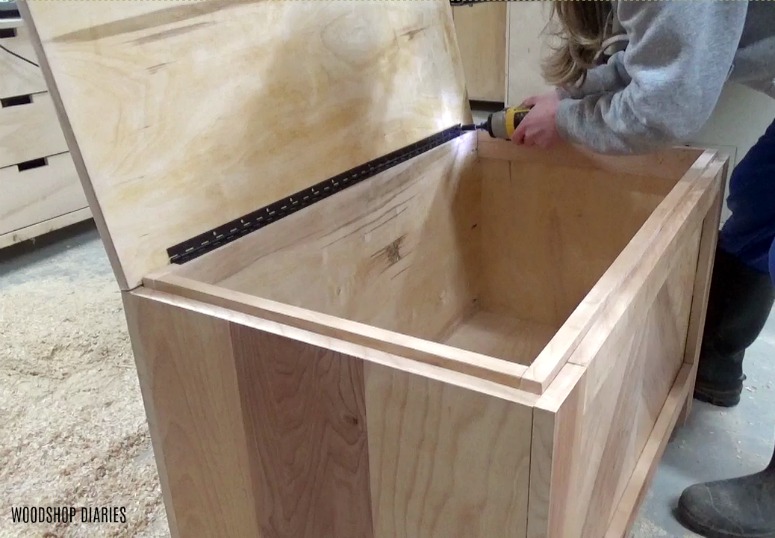
Then, I added edge banding and attached the top to the back using a 30″ long piano hinge.
Step 9: Finish the Storage Bench
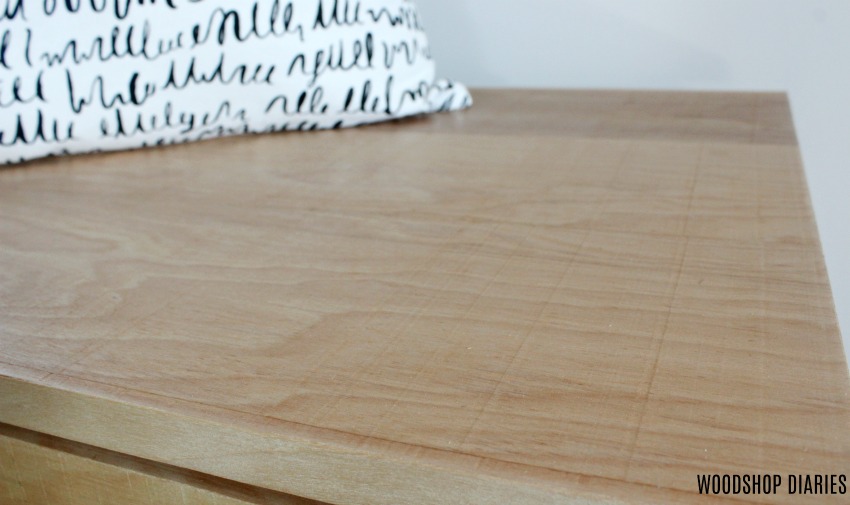
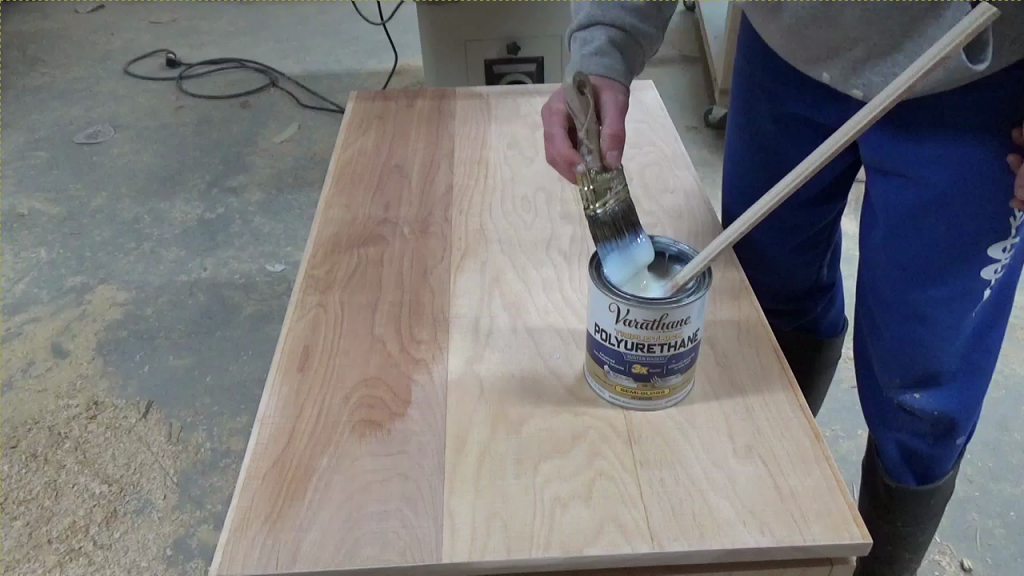
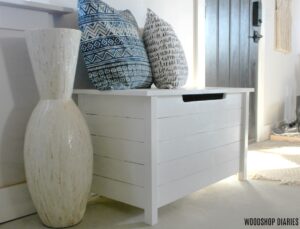
Here’s where I had a hard time–deciding on finish. A darker stain would bring out the rough sawn marks on the panels better, but the poly would bring out the colors better. I really love the look of the lighter, more natural wood, but I also loved the rustic touch of the marks.

But after going back and forth and back and forth, I decided to just go with a clear poly. The darker stain made all the boards look the same color and hid that pretty color variation. With the poly, you can still see the saw marks, just not as noticeably, but you do see that eye catching color variation with the poly and that’s my favorite part!
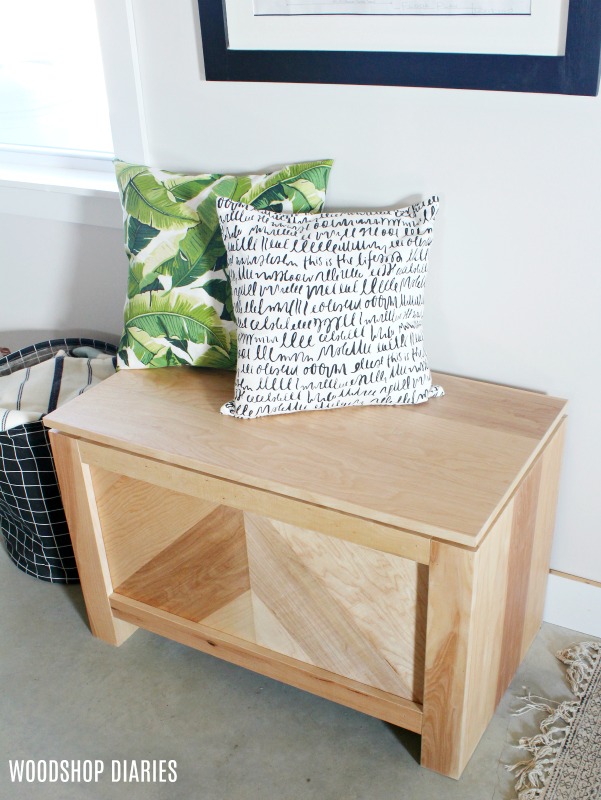
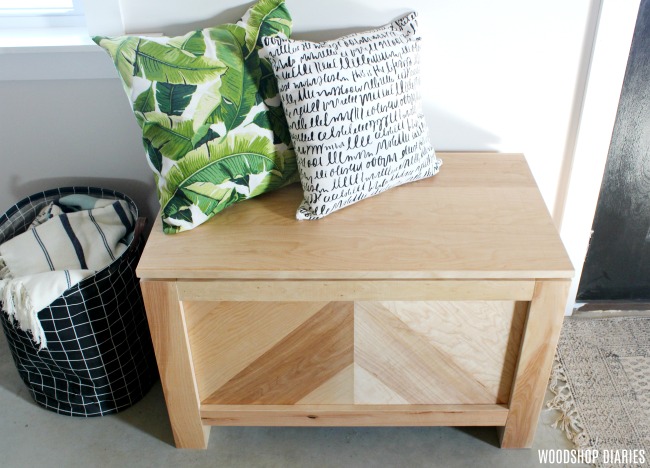
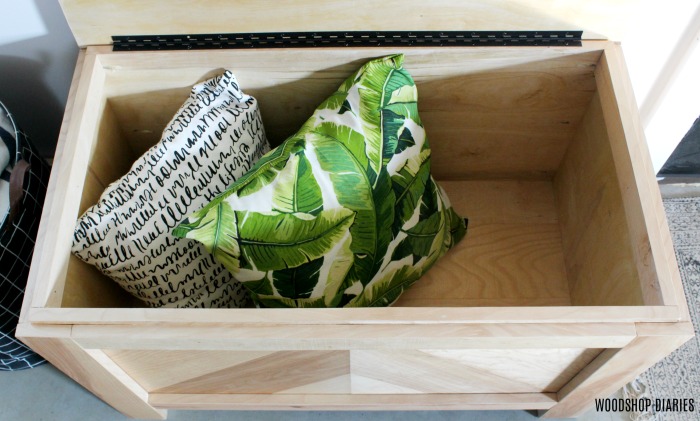
Can you believe this DIY storage trunk/bench/chest/box (whatever you want to use it for) was made completely from plywood??

I’ve got it sitting next to my front door as a nice entryway bench to sit on while putting on shoes, but also as an extra storage place in out tiny little garage apartment. But it would be great DIY toy box, end of bed storage, coffee trunk, or just extra storage in the living, bedroom or office.

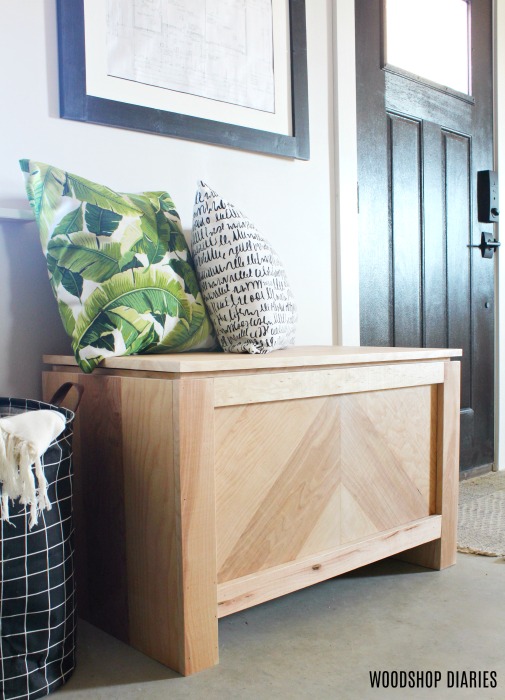
And did you notice that little floating top detail? It’s just a small gap between the top and the “body” of the trunk. But I used this same detail on my nightstands and my dining table recently and really like it. Of course, it’s also easy to build WITHOUT the “floating top” and just do a regular top…but where’s the fun in that?? HA!
.
I hope you’ve enjoyed this project and I hope you give out the new PureBond Rough Sawn Plywood a try–I really had fun building with it.
,
If you’ve enjoyed this project, I would love if you’d pin for later, and be sure to check out the video on my YouTube Channel and above.
And if you are looking for more storage bench ideas, check these out:
And for more PureBond inspired projects:

So there is plenty of inspiration to get out there and get making:) Until next time, happy building 🙂

Elianna Taylor
Love the look of the storage trunk but I can’t hear your instructions because you have the music louder than you are talking. I would much rather hear you than listen to the same music play over and over again. Keep up the great work. You have awesome ideas and are an inspiration to us all.
Shara, Woodshop Diaries
Hi, thank you! On my end, it sounds fine. I had to turn up my volume a little to hear it overall, but I could easily hear myself over the music. Not sure why it sounds fine on my end.