*This DIY Toy Box post was sponsored by Build Something. This post also contains affiliate links. See disclosure policy for details.
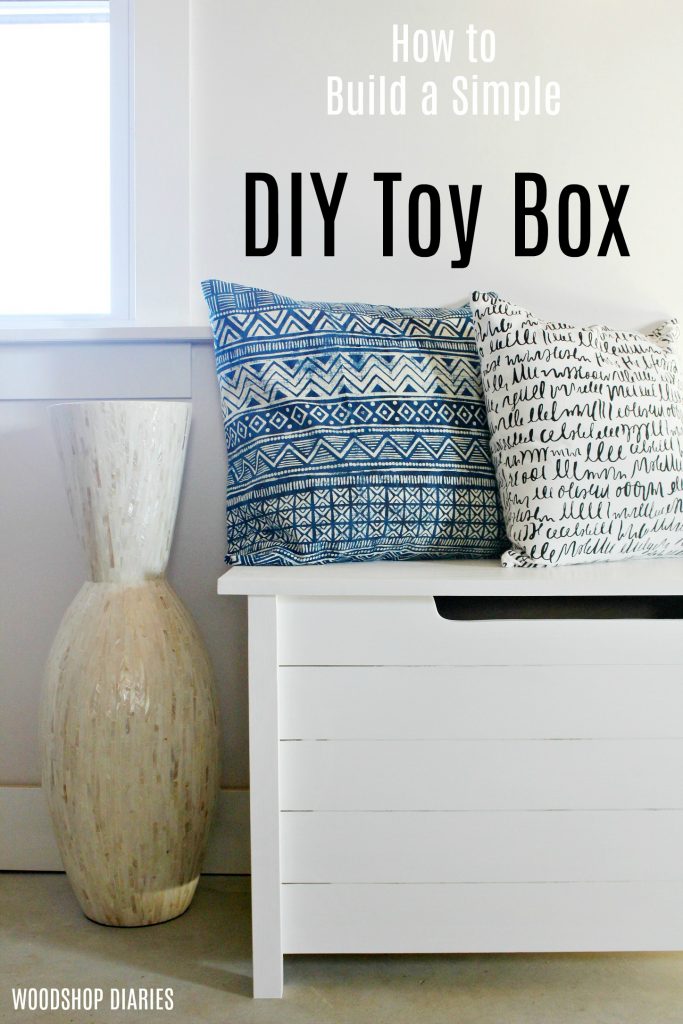
For some reason, I’ve become really infatuated with faux things in my builds lately. I mean, we’ve been over the fact I don’t have a very big appreciation for fake things.
.
BUT, I’ve discovered that “faking it” in woodworking has some pretty cool advantages sometimes.
.
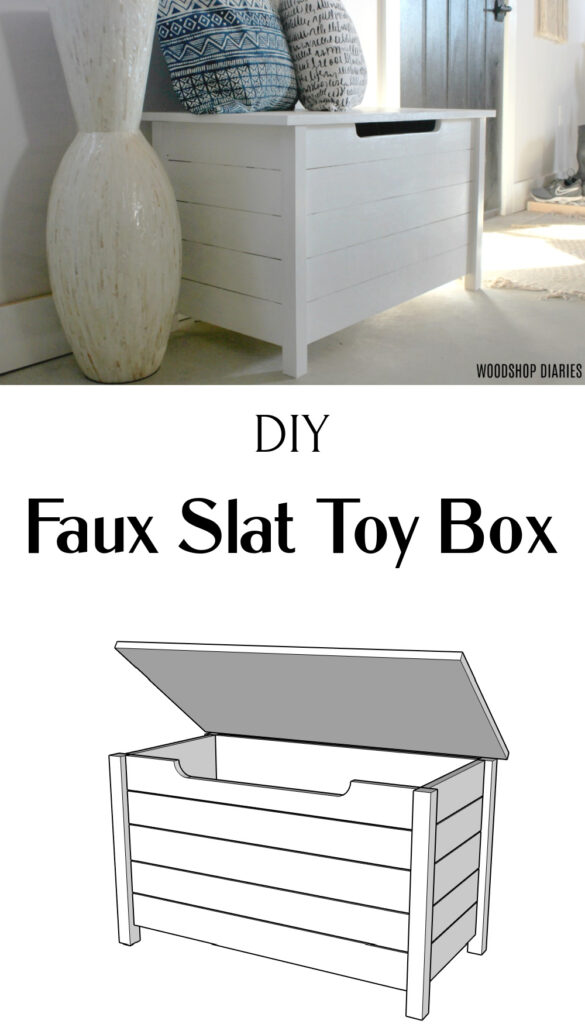
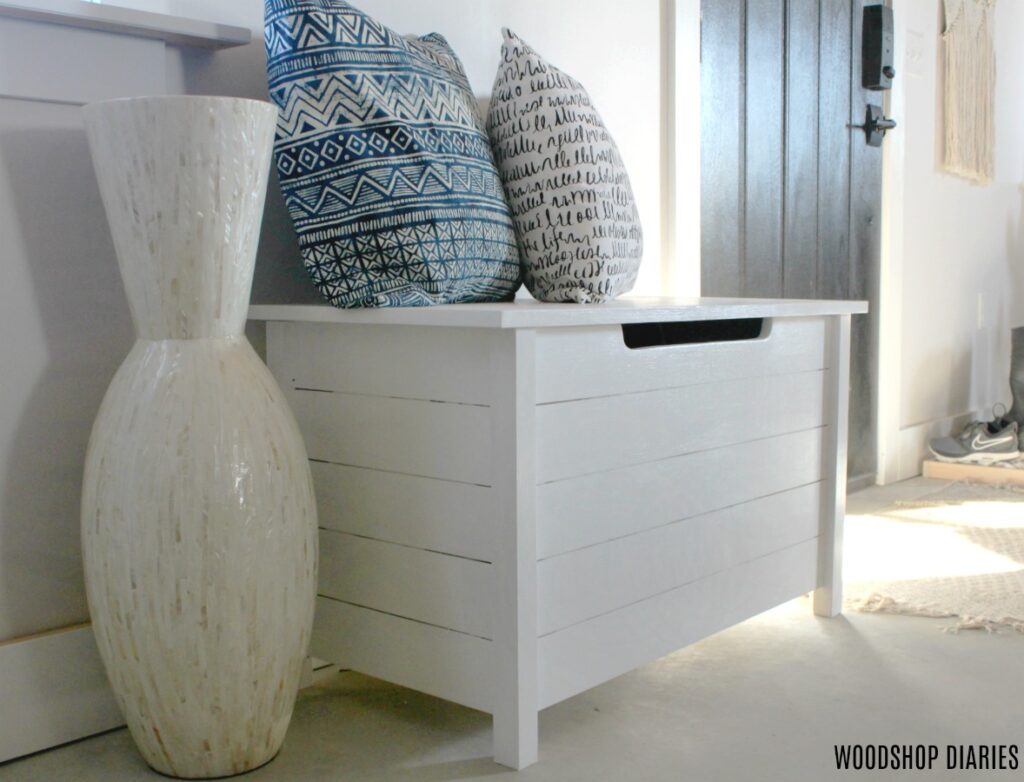
Like with this faux slat DIY toy box.
.
I mean, you could totally build this with ACTUAL slats. BUT, that would be a ton of screws and joinery and then you have to make sure your boards are perfectly straight or your slats may have gaps. It’s just a WHOLE lot easier to fake it in this case.
.
And if anyone judges you for faking it, you just smile and wave and show them your gorgeous new toy box. You don’t have time for that kind of negativity 😉 You have pretty things to build.
.
I’m sharing the tutorial below, the printable plans over on Build Something and the YouTube tutorial video here:
For This Slatted Toy Box Build, You Will Need:
- Kreg Pocket Hole Jig
- Kreg Rip Cut
- Kreg AccuCut
- Drill
- Miter Saw
- Circular Saw
- Piano Hinge
- 1 ¼″ pocket hole screws
Step 1: Cut Faux Slats in Toy Box Side Panels
First, I cut two small side panels and two larger front and back panels of ¾″ plywood.
RELATED: Check out this post for how to Easily Break Down Plywood Sheets.
.
Then, I cut ¼″ deep and ⅛″ wide dados in the panels like shown.
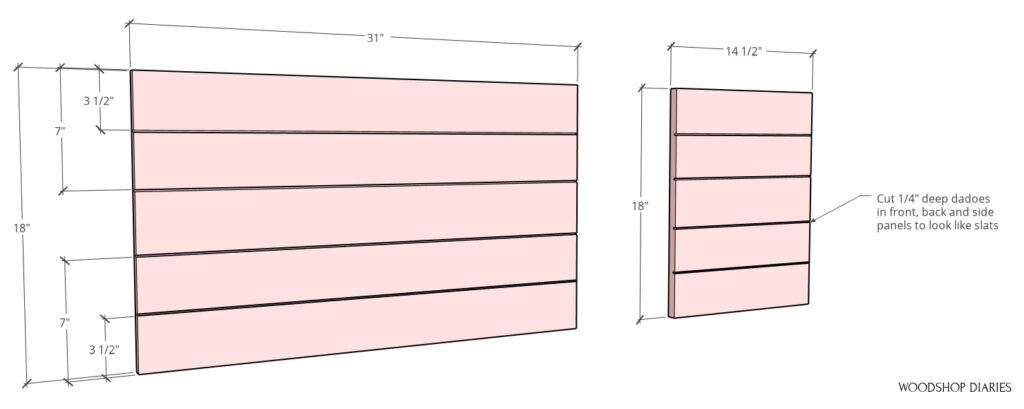
You can do this several ways. One way is to set up the table saw rip fence 3 ½″ from the blade and set the blade depth to ¼″ deep. Run the panels through once, then do the same on the opposite side.
.
Then, repeat the process setting the rip fence 7″ from the blade.
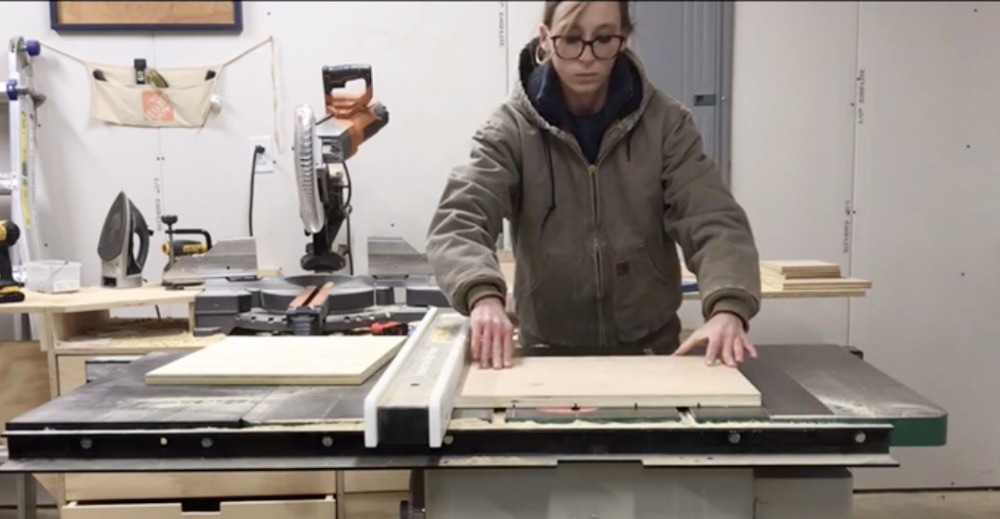
But, if you don’t have a table saw, you can do this with a circular saw and a straight edge OR using the Kreg AccuCut track.
RELATED: Check out how to cut dadoes with a circular saw on this post.
.
Simply set the circular saw up to cut ¼″ deep and clamp a straight edge on the piece (or use an AccuCut Track) so that the blade will cut 3 ½″ from the edge. Then repeat for 7″ from the edge.
.
Then, repeat until you’ve made all four cuts on all four panels.
Step 2: Assemble Toy Box Side Panels
Once the panels were “slatted,” I cut 20″ long 2×2 legs and assembled two side panels like shown using ¾″ pocket holes and 1 ¼″ pocket hole screws.
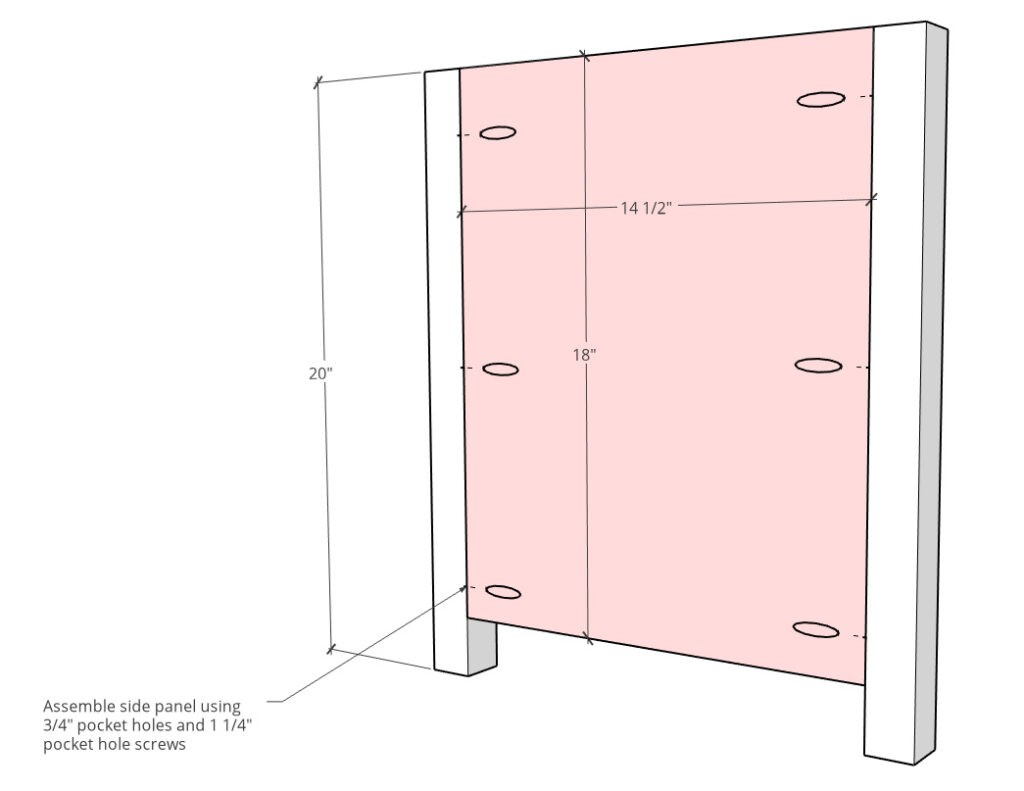
Keep the plywood panels flush to the INSIDE of the legs.
Step 3: Assemble Rest of Toy Box Sides
Attach front and back panels the same way using ¾″ pocket holes and 1 ¼″ pocket hole screws like shown.
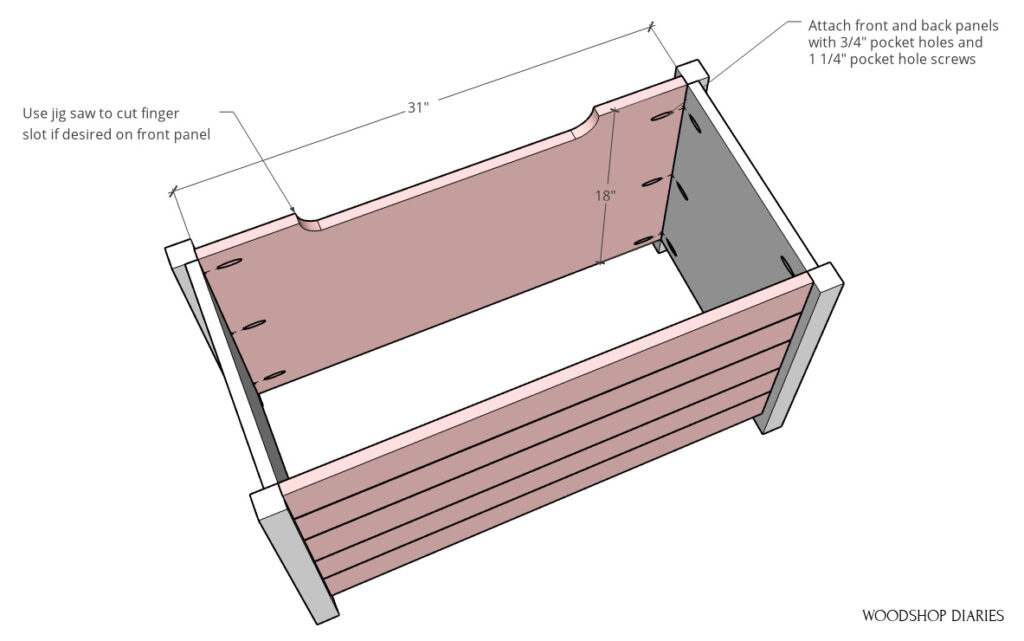
If desired, before attaching front panel, use a jig saw to cut out a slot to help prevent fingers from getting smashed when the lid shuts.
Step 4: Install Bottom Panel
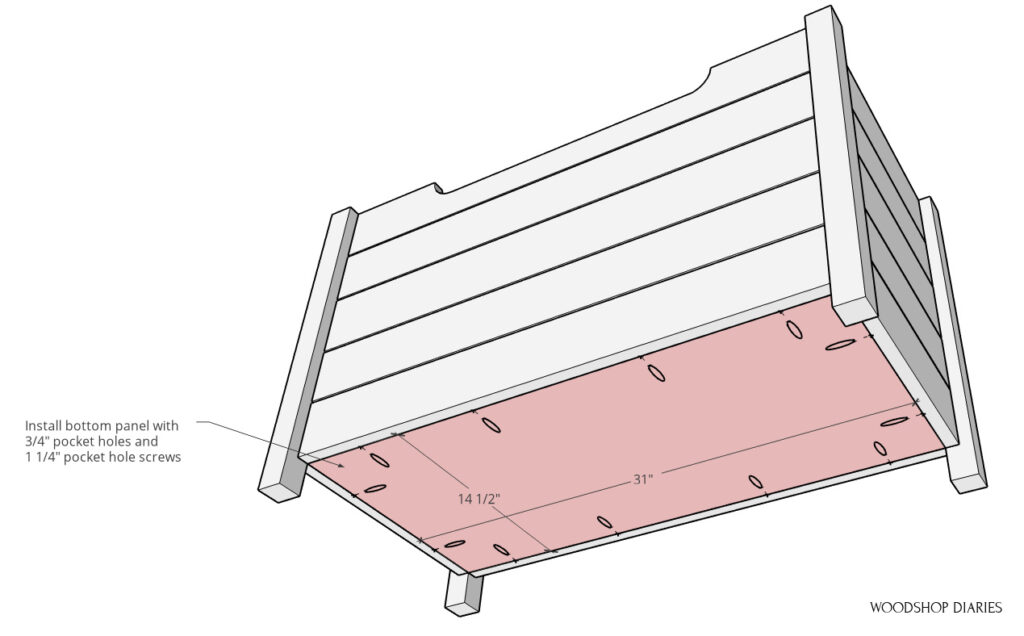
Install ¾″ plywood bottom panel into toy box using ¾″ pocket holes and 1 ¼″ pocket hole screws so that it’s flush with the bottom of all side panels.
Step 5: Install Lid
All that’s left is to add the top!
.
Now, because these panels are inset to the inside of the legs, in order to use a piano hinge, I needed to add a scrap block to the top of the back panel like shown.
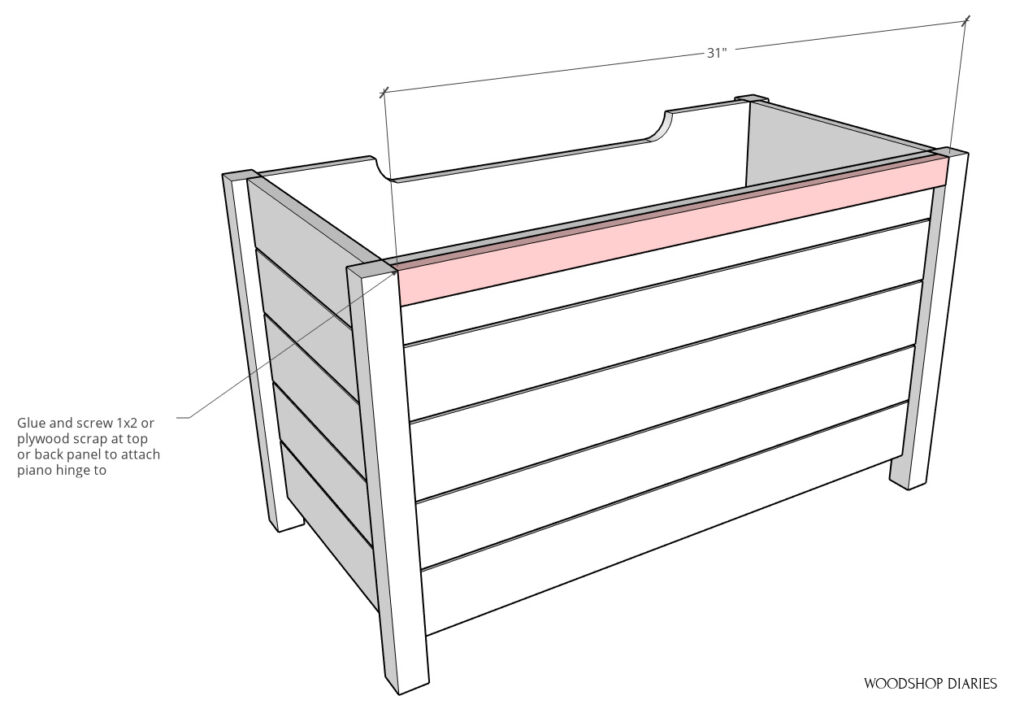
This doesn’t have to be a specific size, it just needs to be long enough to mount the piano hinge to. Attach using wood glue and brad nails OR 1 ¼″ wood screws.
.
Then, attach a ¾″ plywood lid like shown using a 30″ piano hinge.
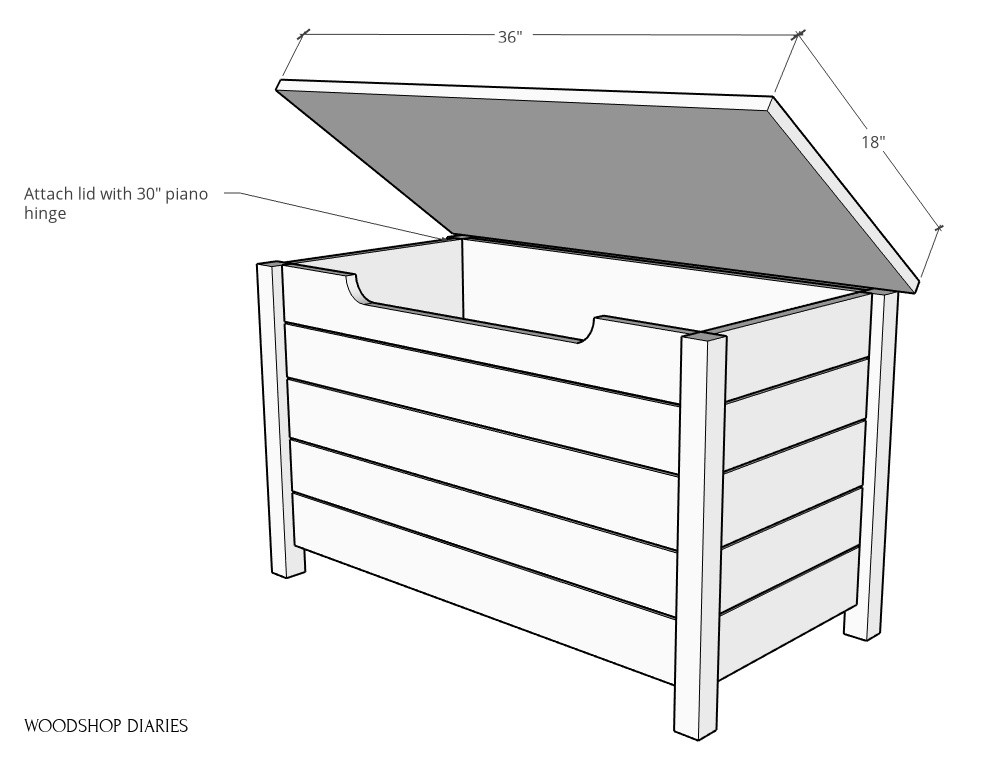
I also added in soft close hinges since this was for my 1 year old nephew and I didn’t want him to smash his fingers on a heavy lid. These are actually not really “hinges”, but more like gas filled springs.
.
I used a 30″ piano hinge for the actual hinge, but added these to each side for the soft close feature. I used them once before on another toy box and they worked great!
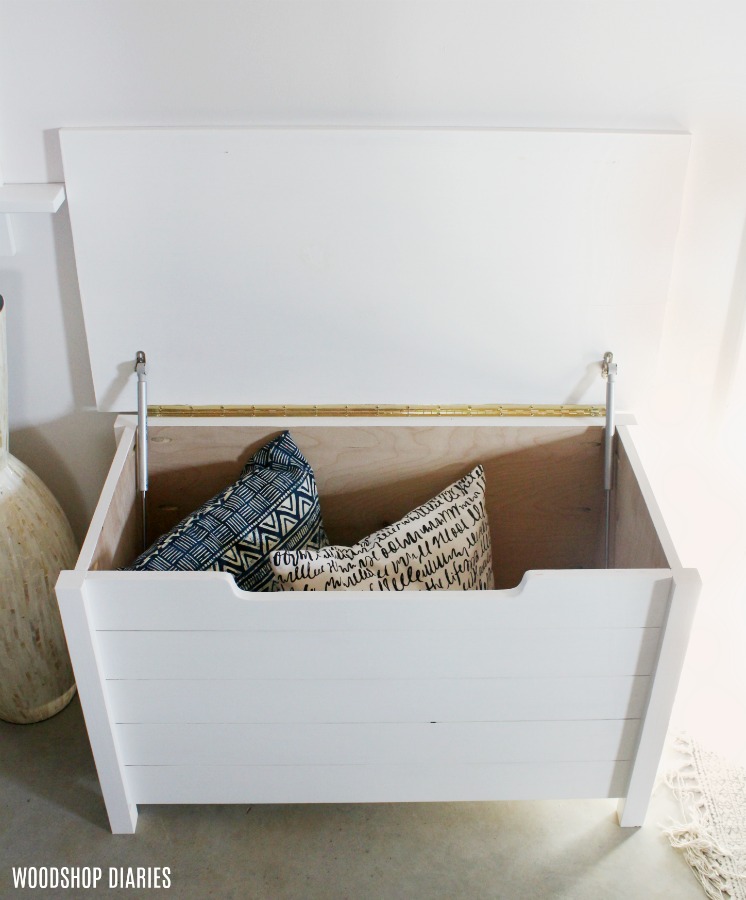
At this point, it’s ready for edge banding (to cover the plywood edges, if desired) and finish. I painted this white, but it would look nice stained, too.
.
Just a note: you need a tiny brush to brush paint or stain into the little slats–or a sprayer. The only downside to faux slats is that they’re a little difficult to get paint into. There are always pros and cons haha.
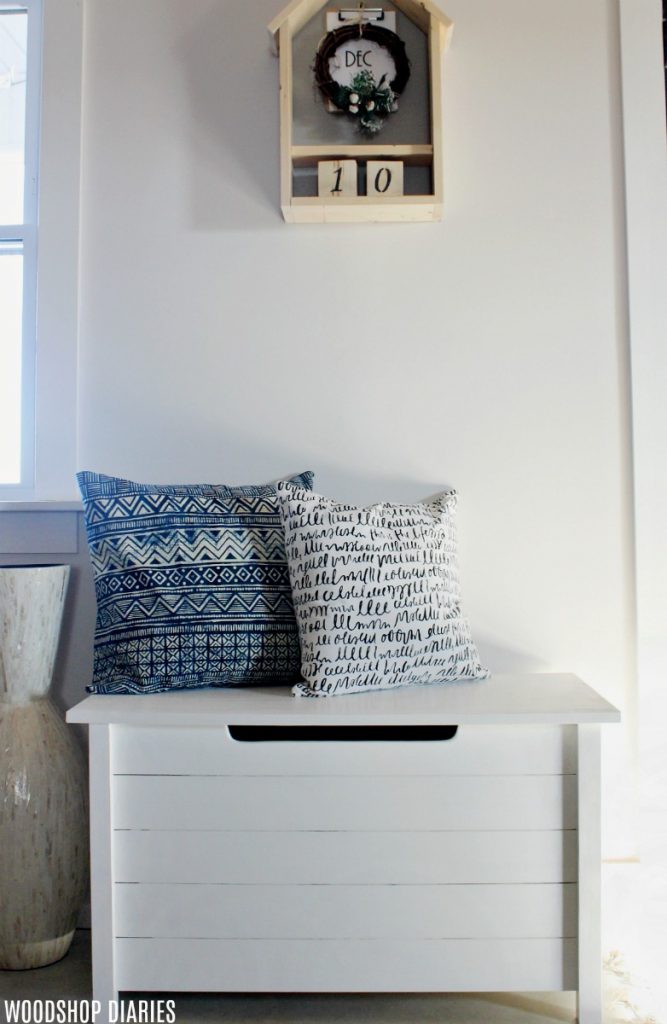
This simple slatted toy box makes an excellent Christmas or birthday gift, or keep it for yourself for an entryway bench or extra storage at the end of the bed.
Check out these other “faux” projects:
And Here’s a Few More DIY Toy Box Ideas:
So if you’re ready to get building, head over to Build Something for the printable plans for this toy box and for hundreds of other free plans and designs to build for every room in the house.
Until next time, happy building!! 🙂


A place to sit, or to put on shoes, and attractive hidden storage? I think a small place needs this!
I agree!! 🙂