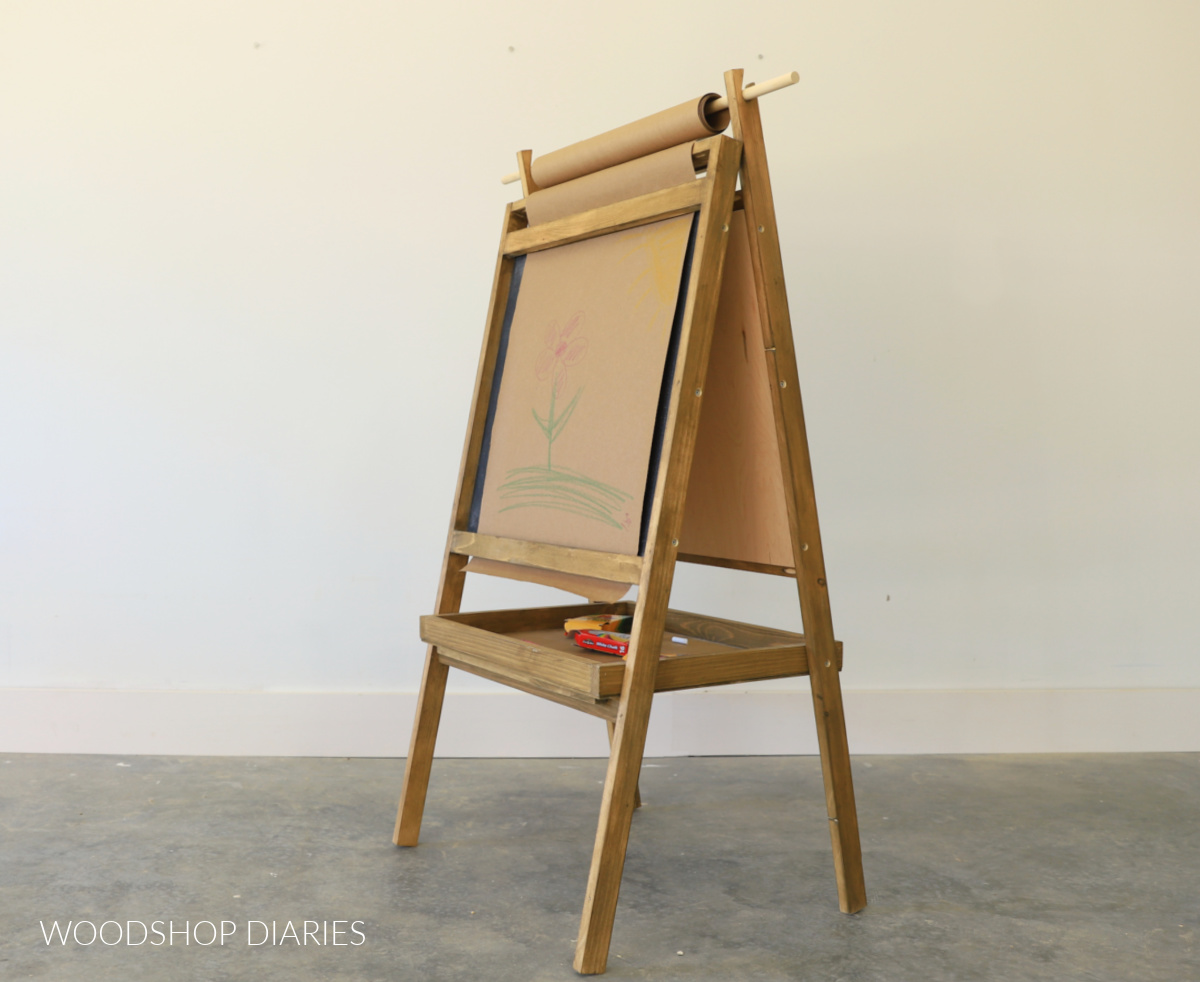
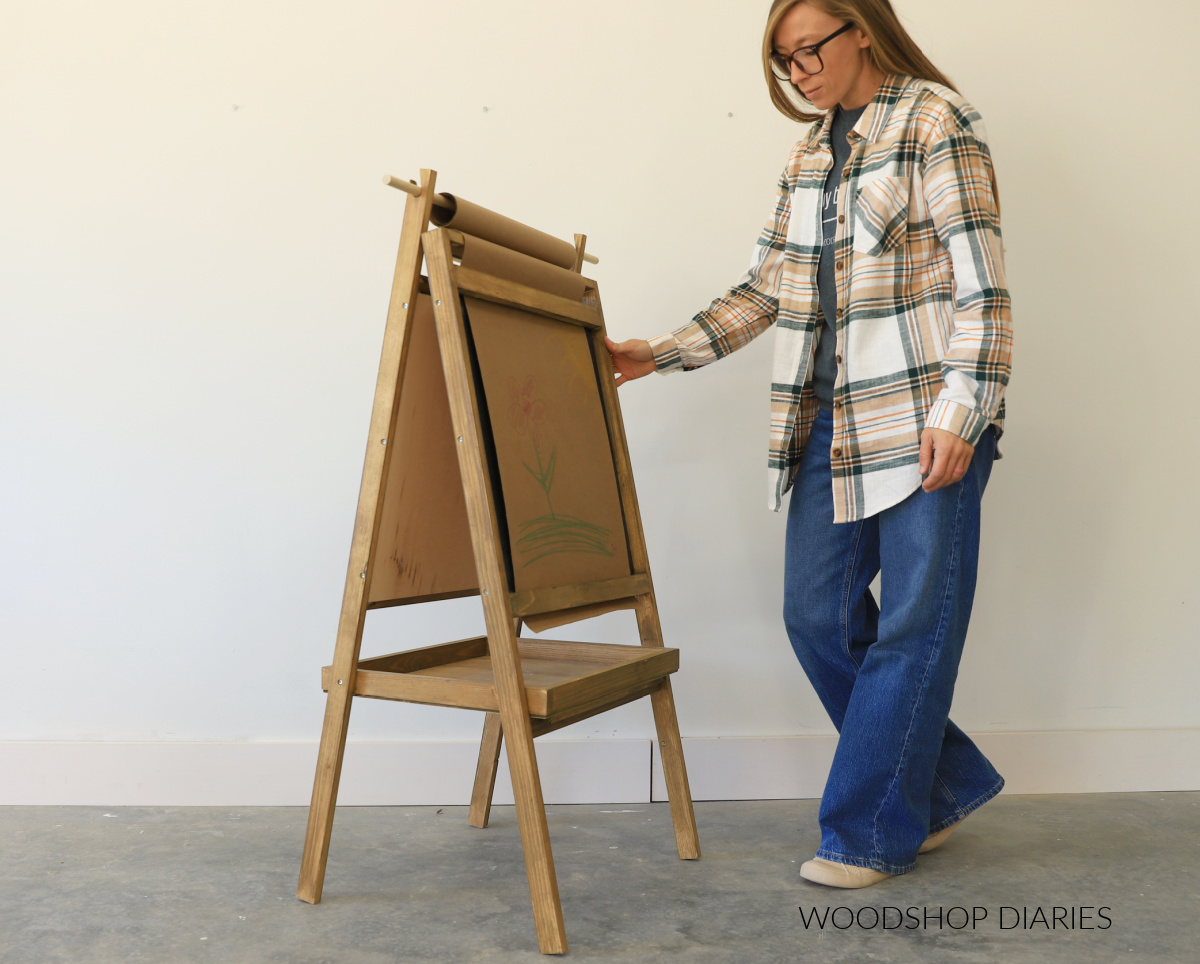
In this post, I’m sharing how to build a simple two sided DIY kids art easel that folds up for easy storage!
This adorable easel can hold a paper roll for coloring and paint, and each canvas is a chalkboard, too!
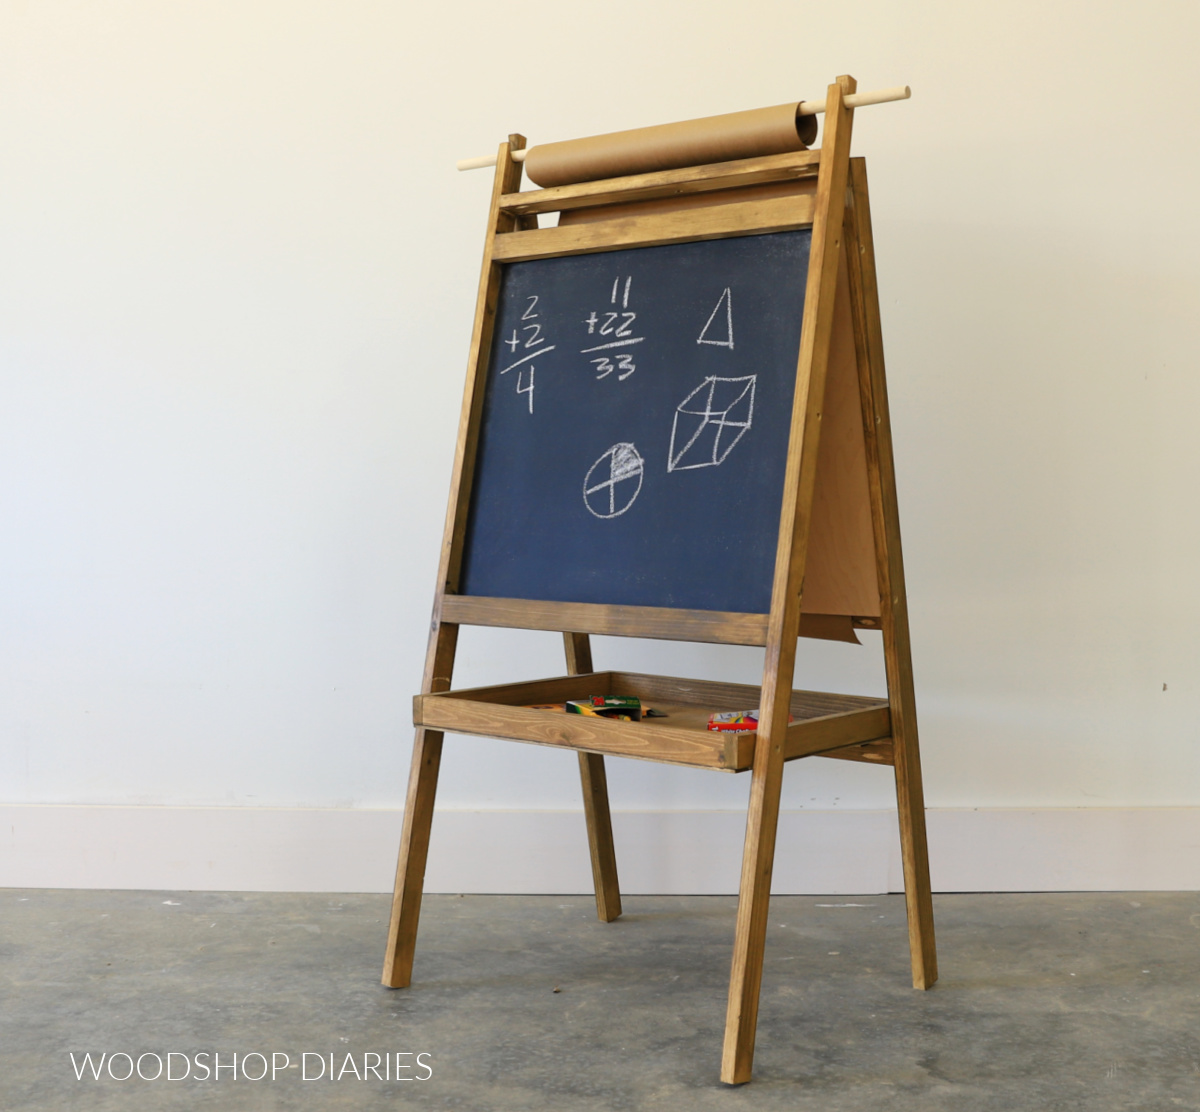
It’s quick and easy to set up, but also quick and easy to fold up and put away if you’re limited on space. Folded up, this easel can easily slide into a small nook or closet as it’s only about 3″ thick!
This would make such a fun gift idea for a little artist and it turned out so cute, it makes me want to build a bigger version for adults!
Maybe I’ll tackle a big version one day, but for now, I’m really excited to show you how to build this DIY kid size easel in the post below.
*This post contains affiliate links. See website policies.
What to consider before building
This is SUCH a fun project that you can easily complete in a weekend. It really only takes a couple hours to assemble, but because the chalkboard paint requires a few coats, if you include all the dry time, it can take a day or two to get the canvases ready.
But, once the chalkboard paint is finished, assembly goes quick!
Overall Dimensions
The overall dimensions of this DIY art easel when open are approximately 20 ½″ deep x 22 ½″ wide x 47 1/16″ tall. Note that the paper roll support at the top is 29″ wide.
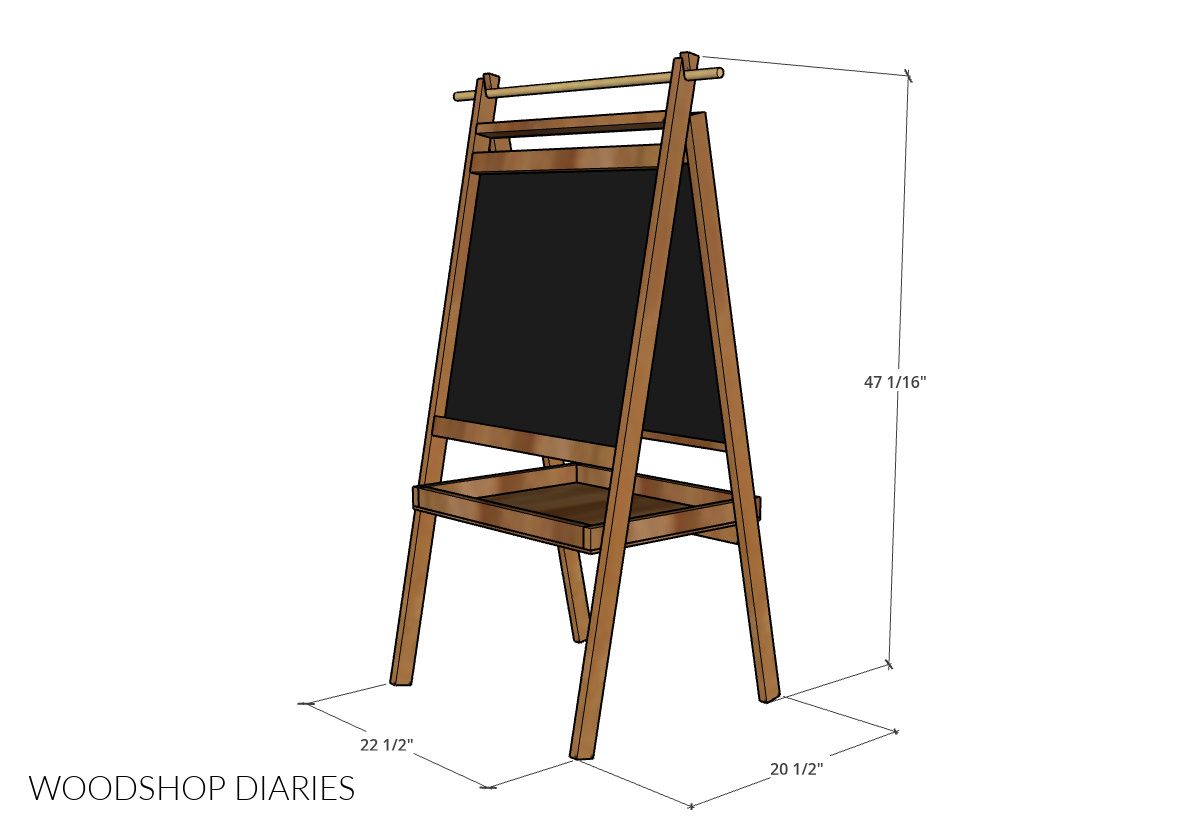
When closed, this easel measures 3″ deep x 22 ½″ wide x 48″ tall.
POCKET HOLES
A standard size pocket hole jig can work fine for this entire project. But, because 1x2s are so small, I recommend, if possible, to use the Kreg Micro pocket hole jig with them.
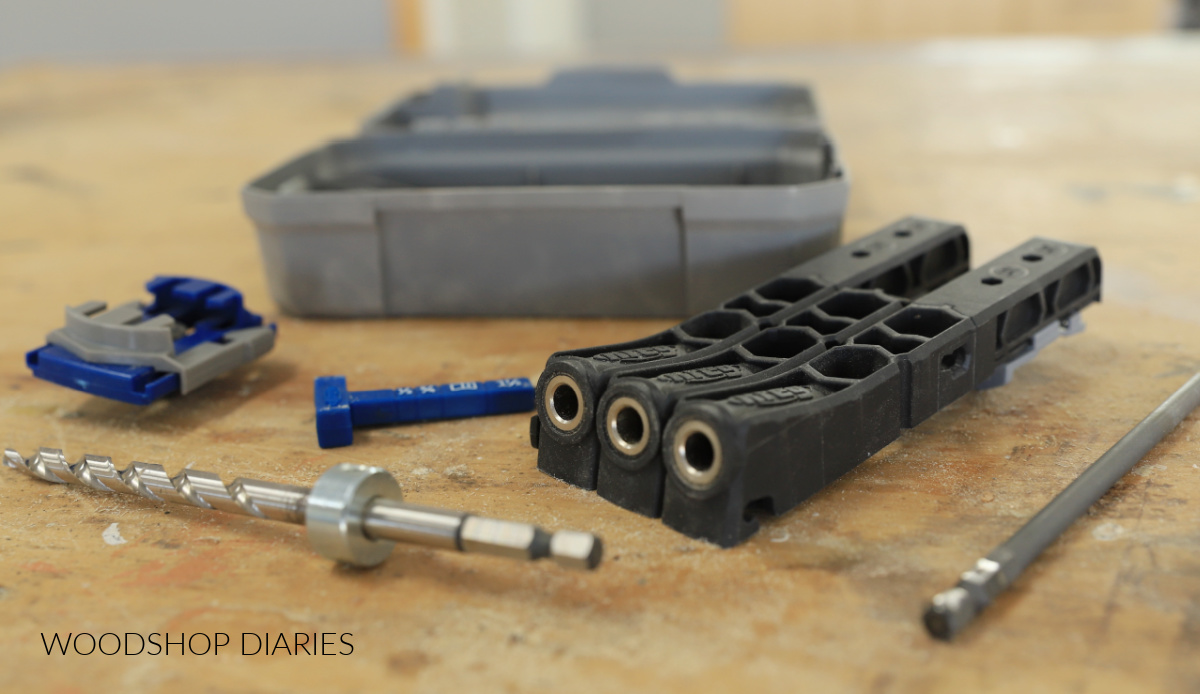
The Micro Jig is not NECESSARY, but it does drill smaller holes so it’s less likely to split the wood. Learn more about how and why to use the Kreg Micro Pocket Hole Jig here.
Want to be the first to know about new projects and plans? Subscribe to the newsletter for priority access!
How to Build a Kids Art Easel
I’ve included the step by step building instructions below along with printable building plans. But, if you prefer to watch, I’ve also included a build video as well.
Love watching how-to videos? Subscribe to my YouTube channel for plenty more where that came from!
Prefer to print? Grab the printable DIY art easel building plans here:
Tools & Materials
Tools:
- Drill/Driver
- ⅝″ Forstner Bit or Hole Saw
- Circular Saw and plywood cutting guides (Rip Cut & AccuCut)
- Pocket Hole Jig (Kreg Micro Recommended)
- Miter Saw
- Jig Saw
- Brad Nailer
- Level
- Clamps
Materials:
- (1) 2′ x 4′ piece ½″ plywood (this is ¼ of a full sheet)
- (1) 2′ x 2′ piece ¼″ plywood (this is ⅛ of a full sheet)
- (5) 1x2x8 boards
- (1) ⅝″ diameter dowel 36″ long
- (1) ½″ square dowel 36″ long (or small scrap strips)
- (1) 12″ piano hinge
- 1 ¼″ long brad nails
- (1) 100 count box 1 ¼″ pocket hole screws
- Chalkboard paint
- Wood Glue
Step 1: Paint Chalkboard Canvases
First, I cut two pieces of ½″ plywood to use for the canvases on the easel. After sanding them smooth, I primed and painted one side of each with chalkboard paint.
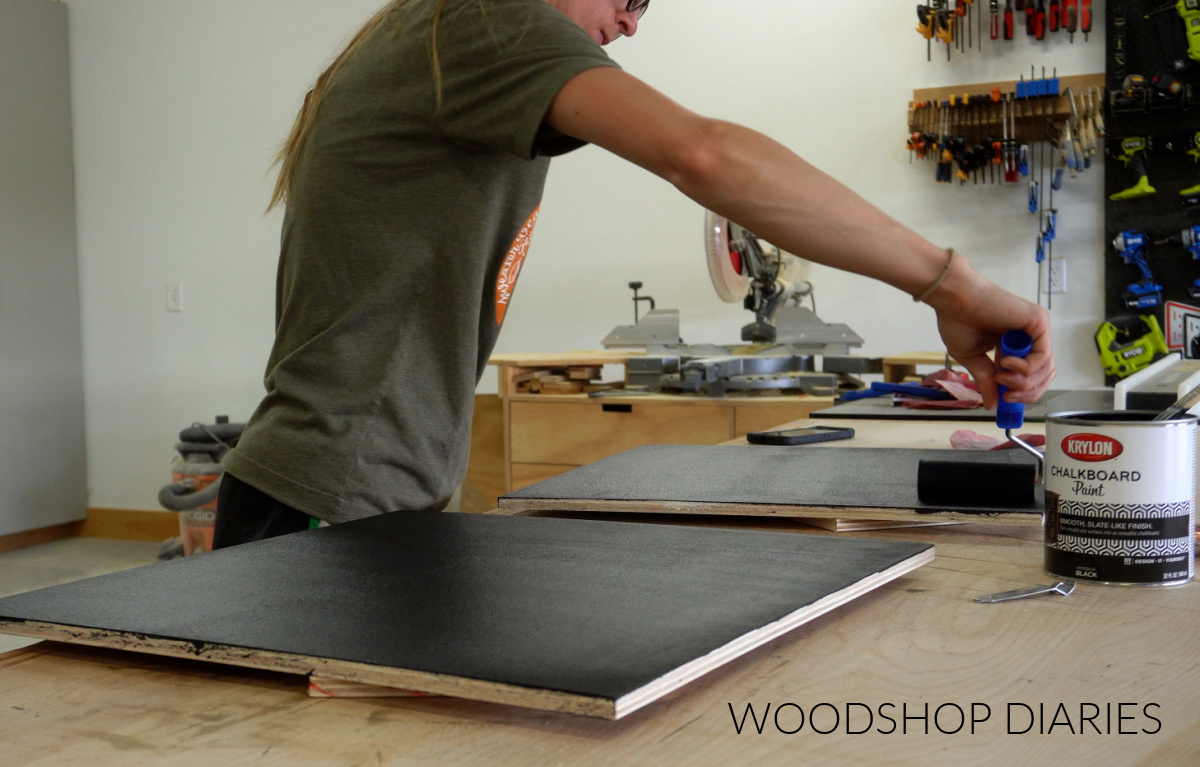
Read the instructions to on the can for proper chalkboard paint application. I recommend applying at least 3-4 coats for a durable chalkboard.
TIP: I highly recommend using a cabinet grade birch or maple plywood for these pieces just because they need to be really smooth to make a good chalkboard. A low quality plywood may be too rough to be practical.
Check out the printable plans for all the dimensions, cut list and cut diagrams to build your own!
Step 2: Assemble Easel Frames
While the canvases dried, I began building the easel frames from 1x2s. This easel is made with two frames and each frame has two legs and three supports.
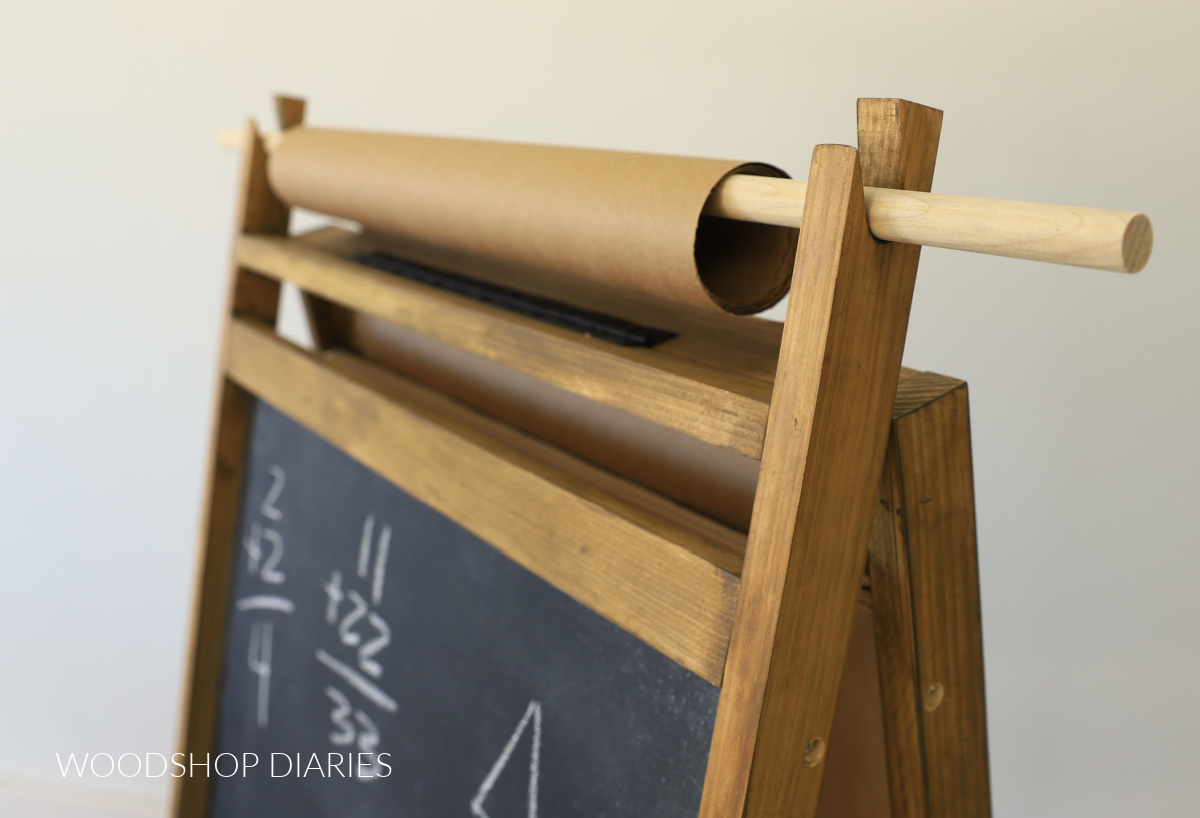
I made one of the frames with legs a little longer than the other so that they can extend out the top with a notch to hold a roll of paper.
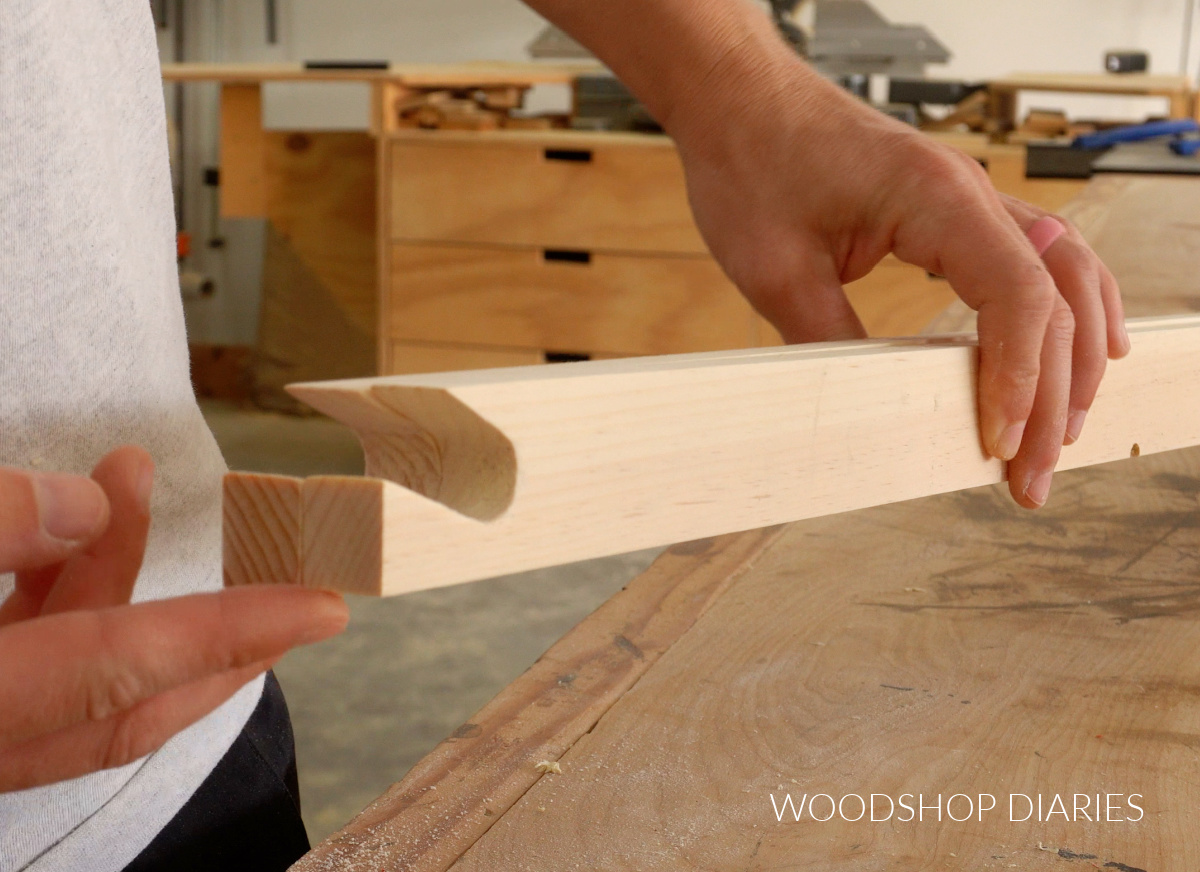
So I cut four 1x2s legs for my frames and on my two longer legs, I drilled a ⅝″ diameter hole toward the top.
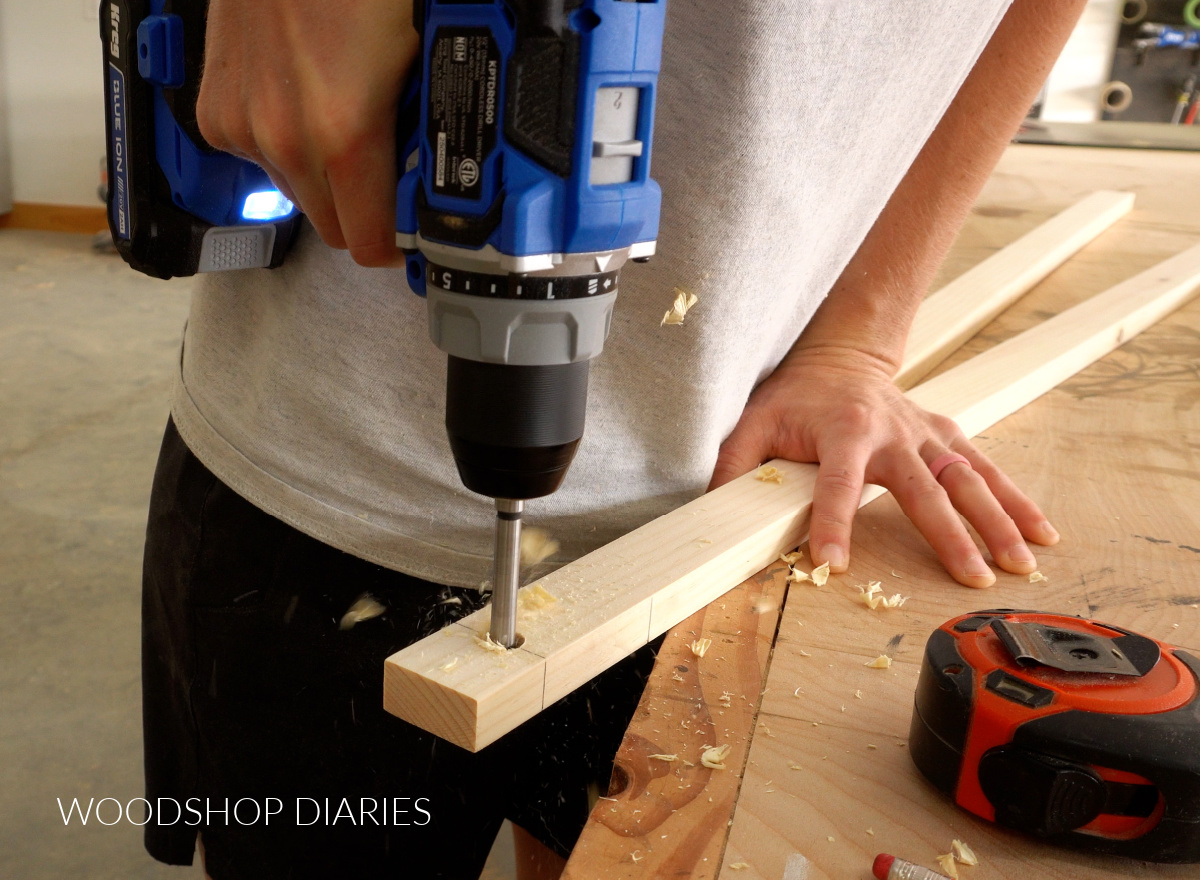
Then I used a jig saw to cut from the hole to the board edges like you see below. These slots will fit a ⅝″ diameter dowel rod in order to hold a roll of paper on the easel to paint or draw on.
Then, I cut my 1×2 supports that will run between the legs and drilled pocket holes in each end.
RELATED: How to use pocket holes
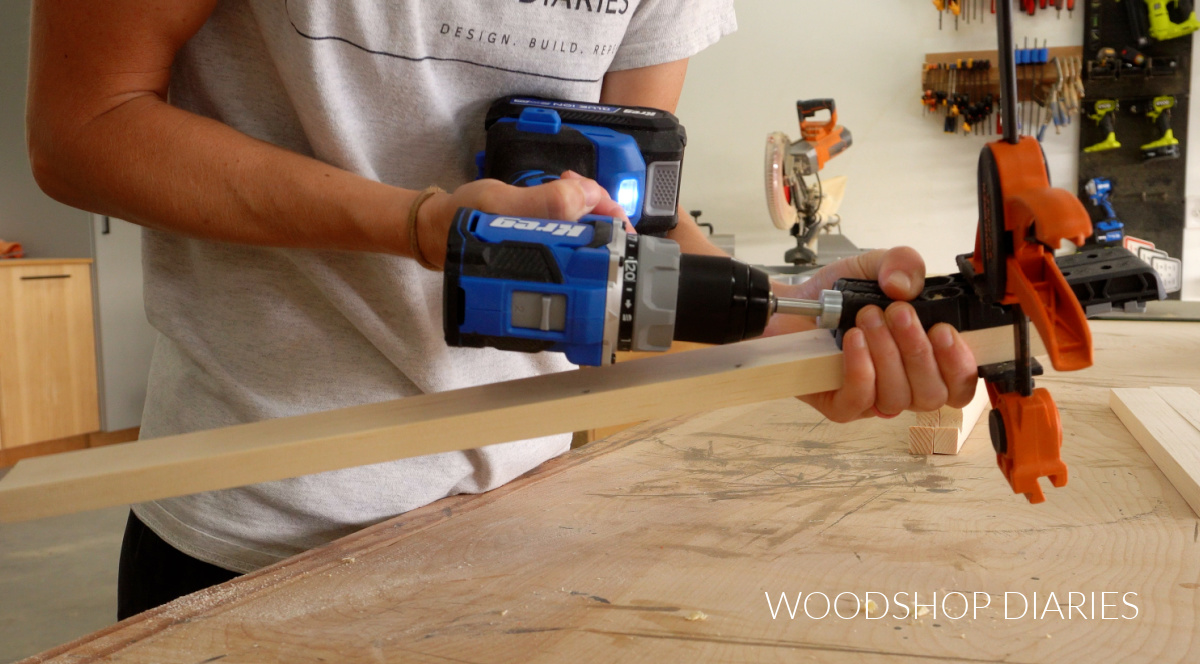
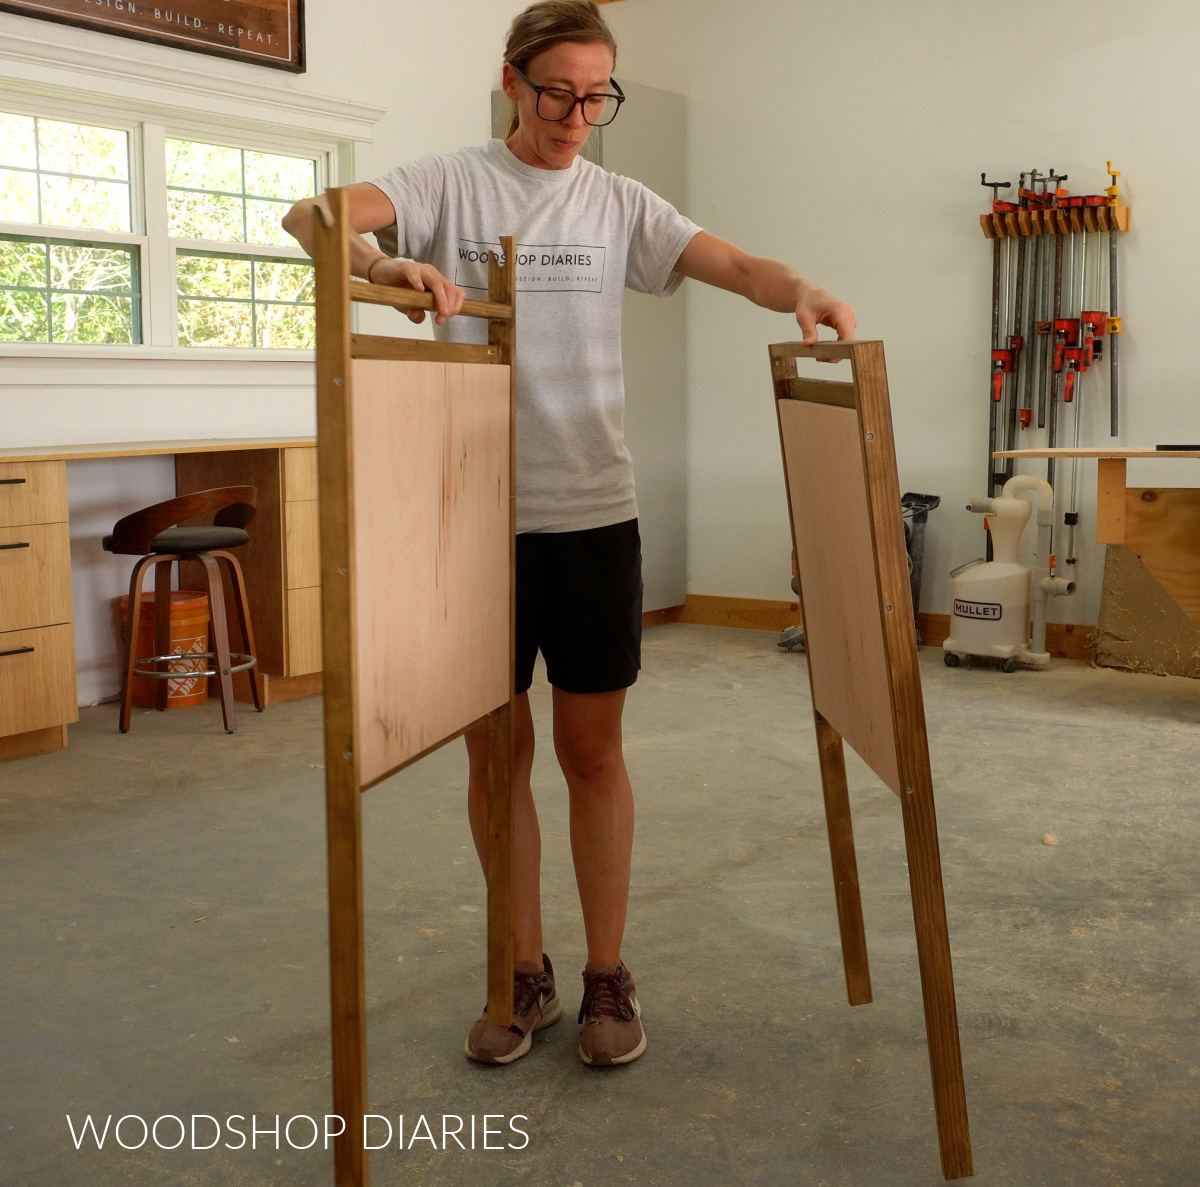
I assembled my two frames–one tall and one short–using pocket hole screws. One support runs flat along the top, and the other two supports run vertically, flush to the front edge of the legs like you see below.
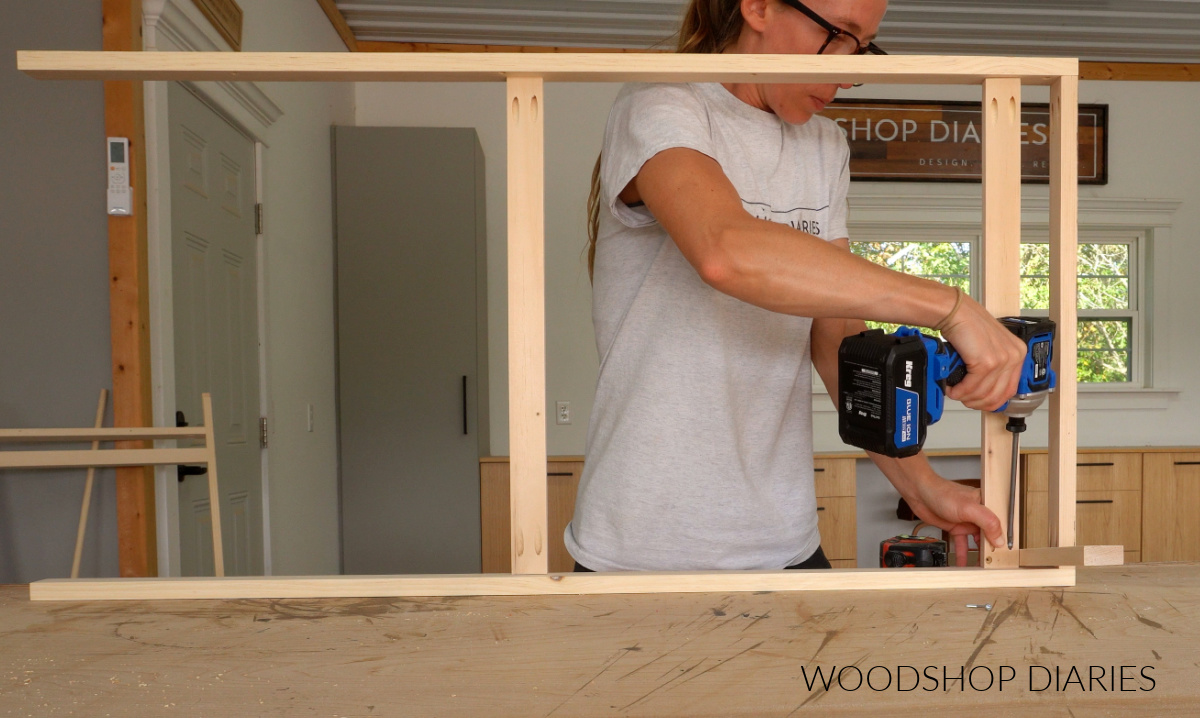
On the tall frame, the top support will be installed a few inches down from the top edge of the legs, but on the short frame, it’s installed flush to the top.
All the dimensions and full cut list can be found in the printable plans.
Step 3: Install Canvases & Attach Frames
Once the two frames were together, I stained them with Minwax Water Based Semi-Transparent in Driftwood. Then, I installed the chalkboard canvases into each one.
I wanted to leave a small gap (about ¼″) between the 1x2s on the frame and the chalkboard panel. That way, you can slide the paper from the paper roll between them to hold it in place when it’s finished.
So I used a scrap piece of ¼″ plywood under my chalkboards while I secured them into my frames. I just countersunk and drove 1 ¼″ wood screws through each leg to secure my plywood pieces.

I did this for both frames, making sure to face the chalkboard painted sides toward the front of each frame.
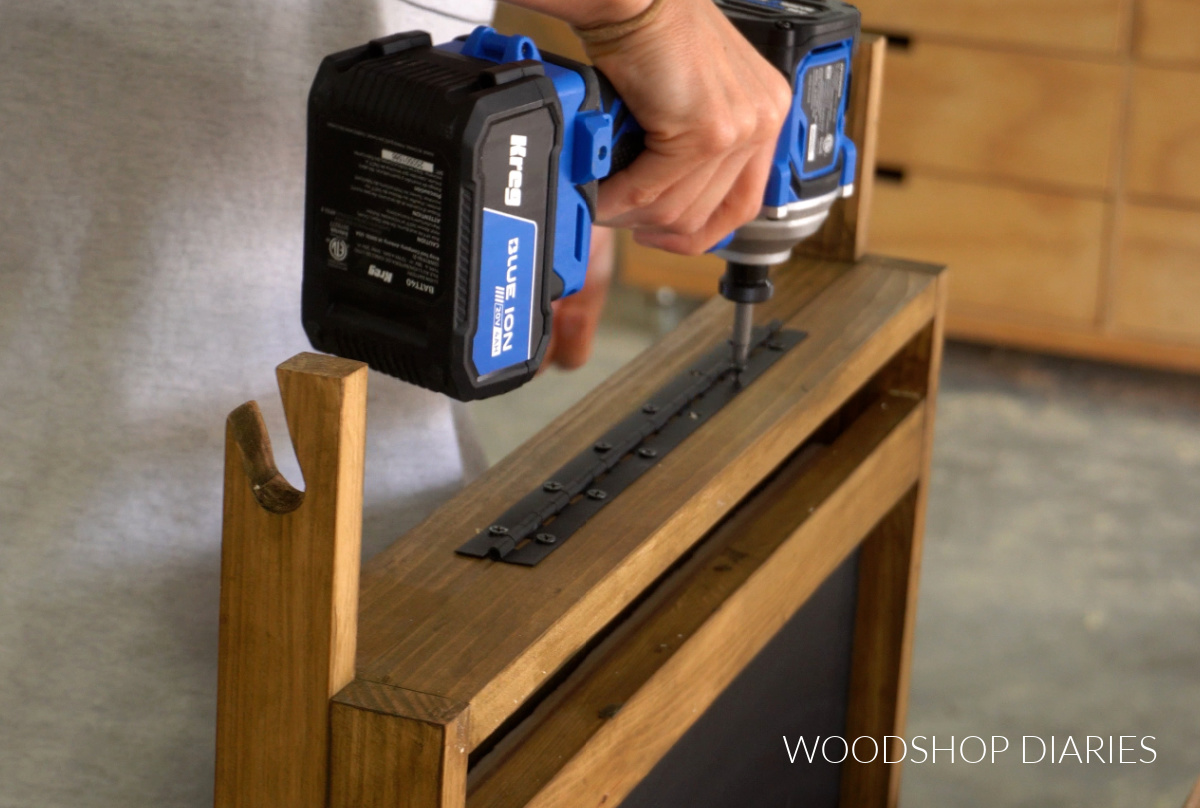
Then, I placed my frames back to back and attached them together at the top with a piano hinge. This will allow them to fold out and fold back up easily.
All the dimensions and full cut list can be found in the printable plans.
Step 4: Assemble & Install Easel Tray
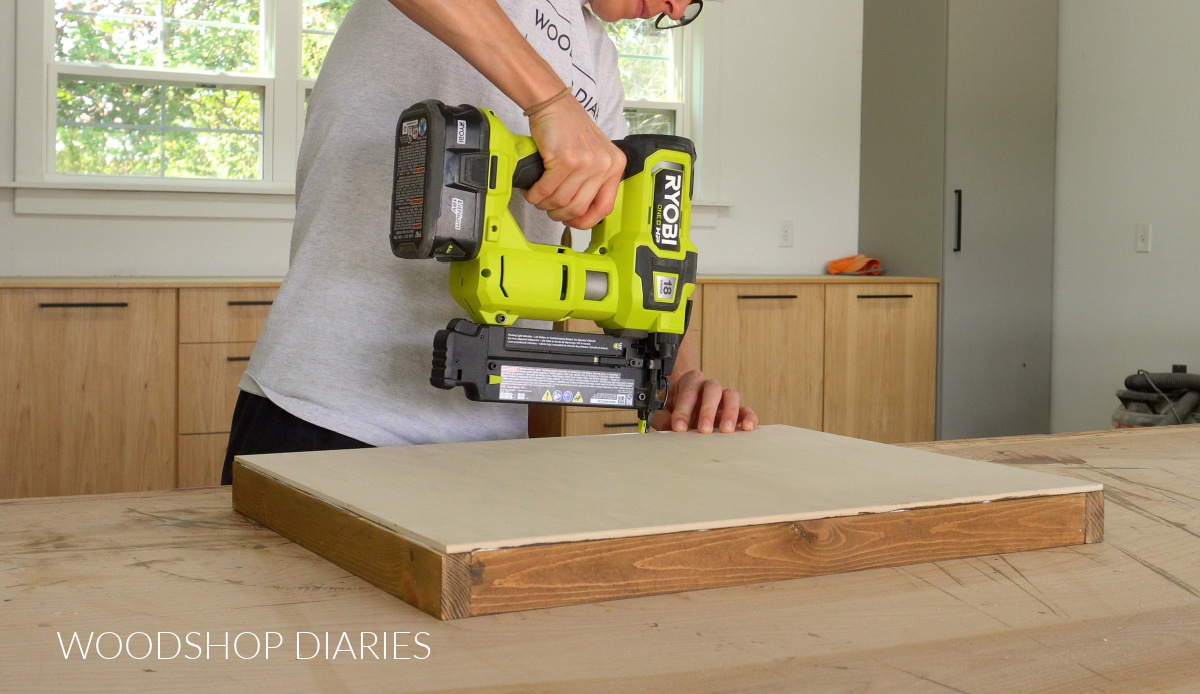
Now the easel part is together, but I still need to add the tray, which is essentially just a really shallow box.
I cut 1x2s for the sides and a piece of ¼″ plywood for the bottom and simply glued and brad nailed this box together.
TIP: This tray should be just slightly (about ⅛″) smaller than the opening between the legs on the frames.
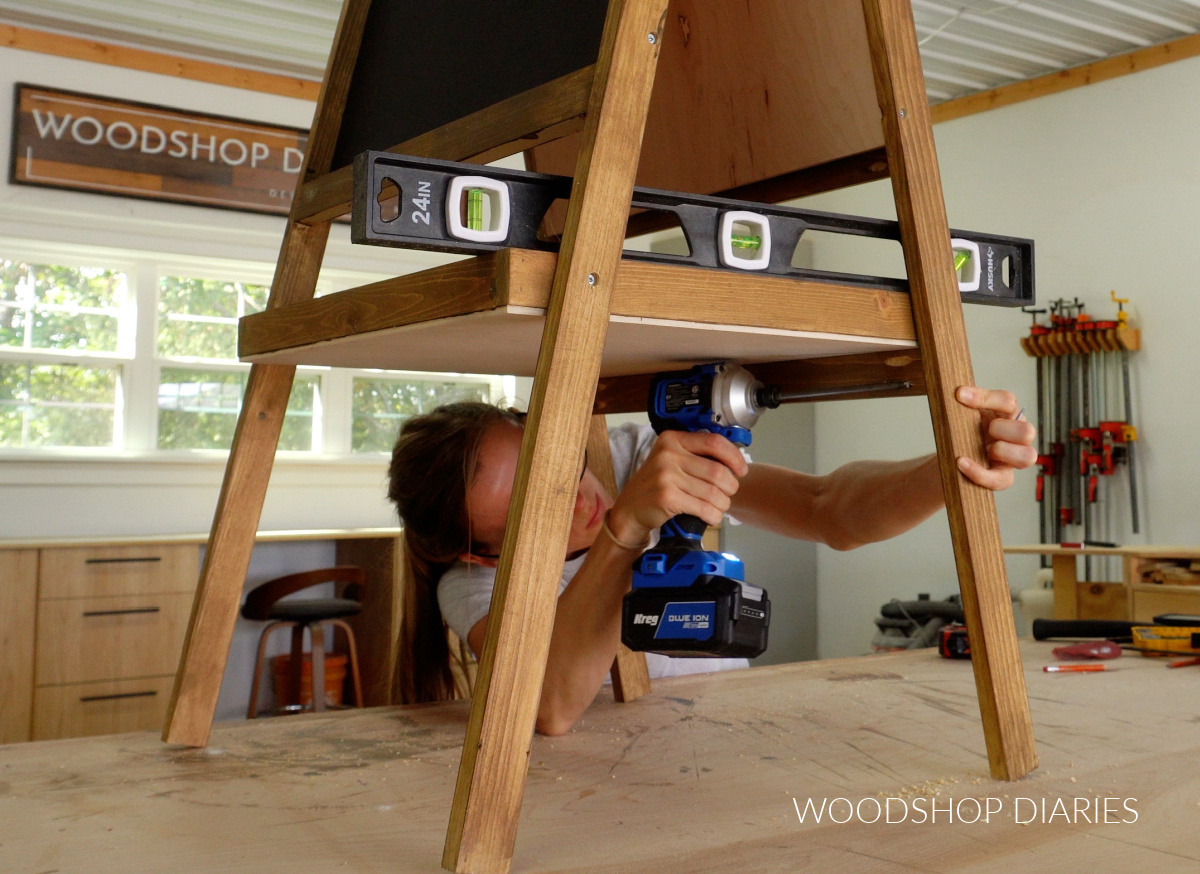
I placed the easel frames folded together on the workbench like you see below and placed this tray toward the bottom, between the legs. (This is why I made it just smaller than the opening–it should fit between the legs.)

I countersunk a hole and drove a screw through the bottom frame legs on each side to secure the tray. It needs to be snug, but not cranked down super tight. This tray should be able to pivot so that it can smoothly open and close.
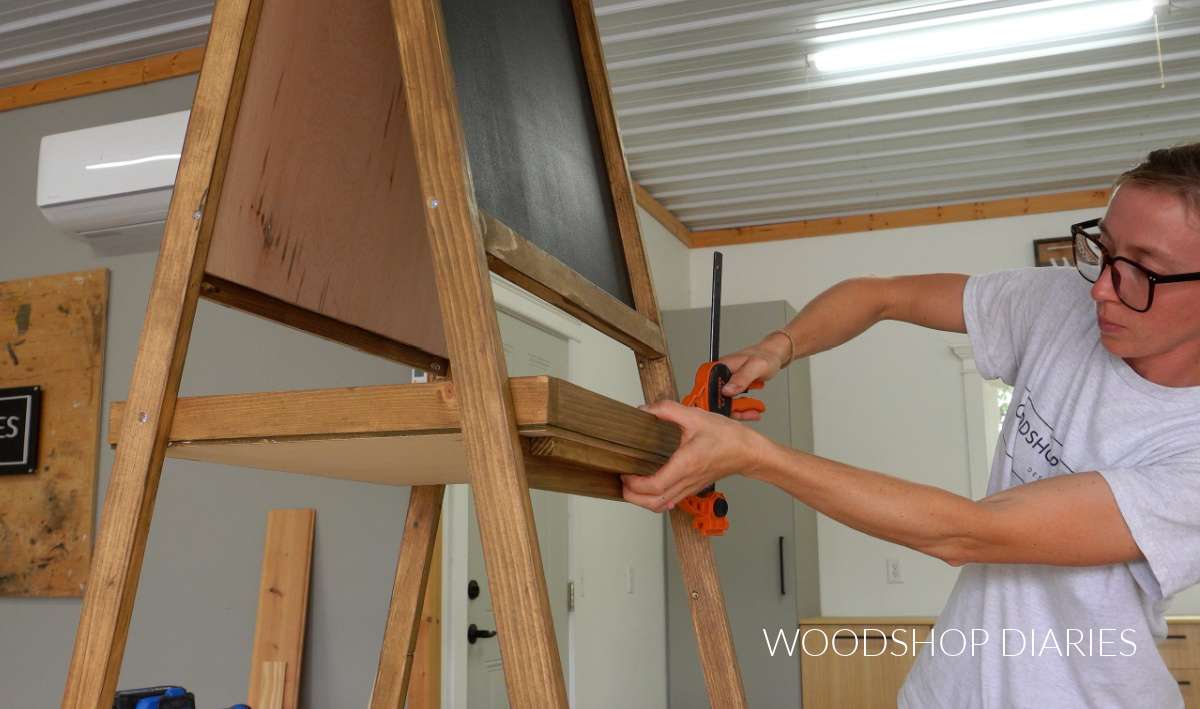
Step 5: Install Frame Supports
I cut one more piece of 1×2 to fit between the legs on the frame and drilled pocket holes into each end. This piece will support the tray when the easel is opened up.
I set the easel, opened up, on my workbench and raised the tray until it was level (I used a small level for this). And I placed this 1×2 under the tray on the side opposite the screw.
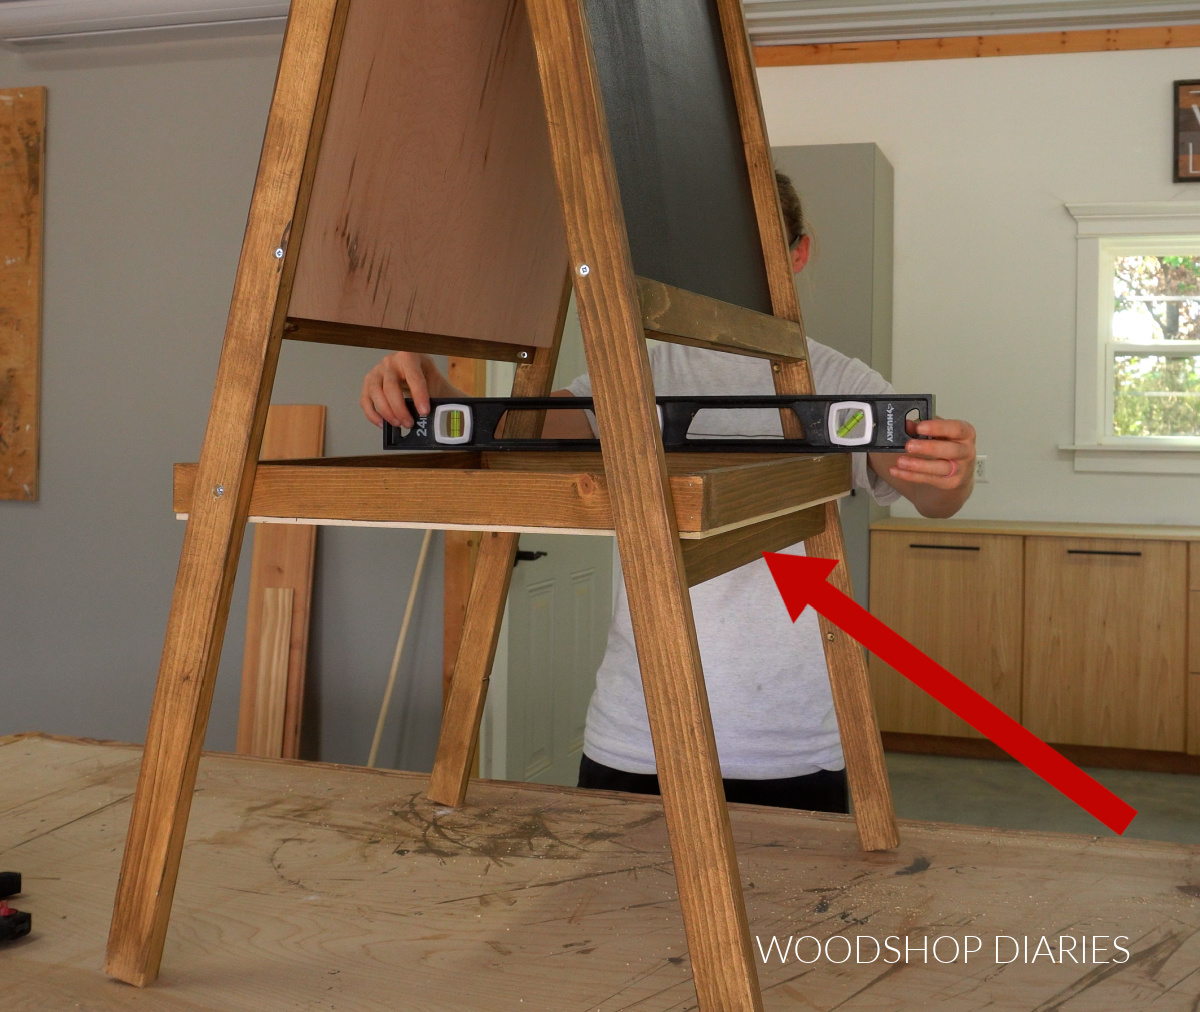
Making sure the tray stayed level, I secured this 1×2 tray support with pocket hole screws from the inside.
Now the tray is supported, but I wanted to add something to help stabilize the easel when it was open. I was concerned it might slide too far open and fall over.
So I cut some small scrap pieces about ½″ square and carefully glued these as stoppers onto the bottom of the tray on each side of the 1×2 tray support.
I made sure not to glue these TO the tray support. They should be glued to the tray bottom on each side of the support. That way, they help to kind of “lock” the tray in place to keep the frame open.
How to Set Up and Fold Down Art Easel
All that’s left at this point is to add the paper roll, so I cut a piece of ⅝″ diameter dowel and slid it through a roll of paper. Then, I placed this into the notches on the top of the long frame legs.
To set up, simply place the easel on a flat surface and open the frame.
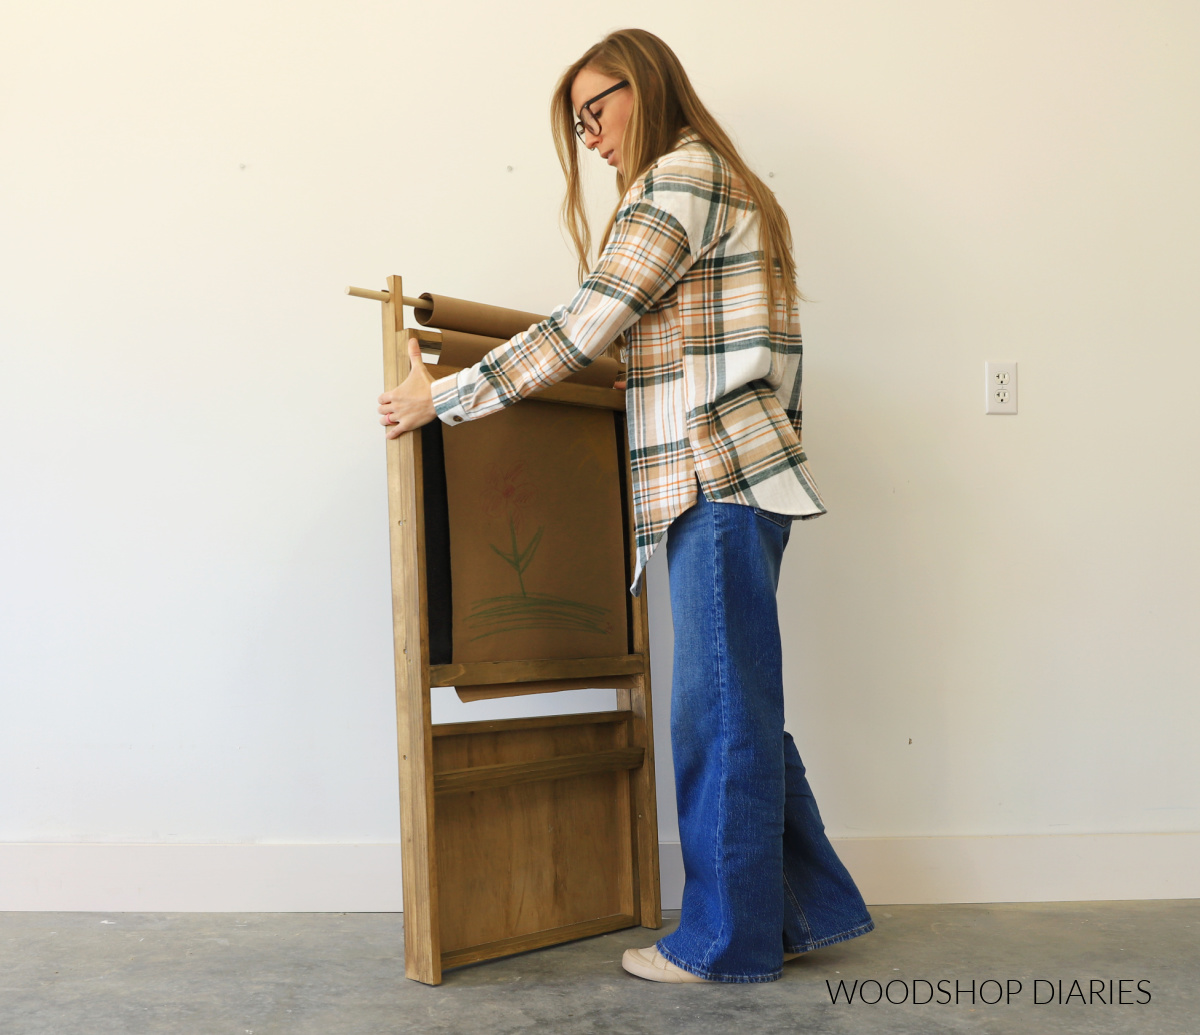
Raise the tray up over the 1×2 tray support and slide it through the frame. Then, lower the tray onto the tray support so that it’s securely between the stoppers on the bottom of the tray.
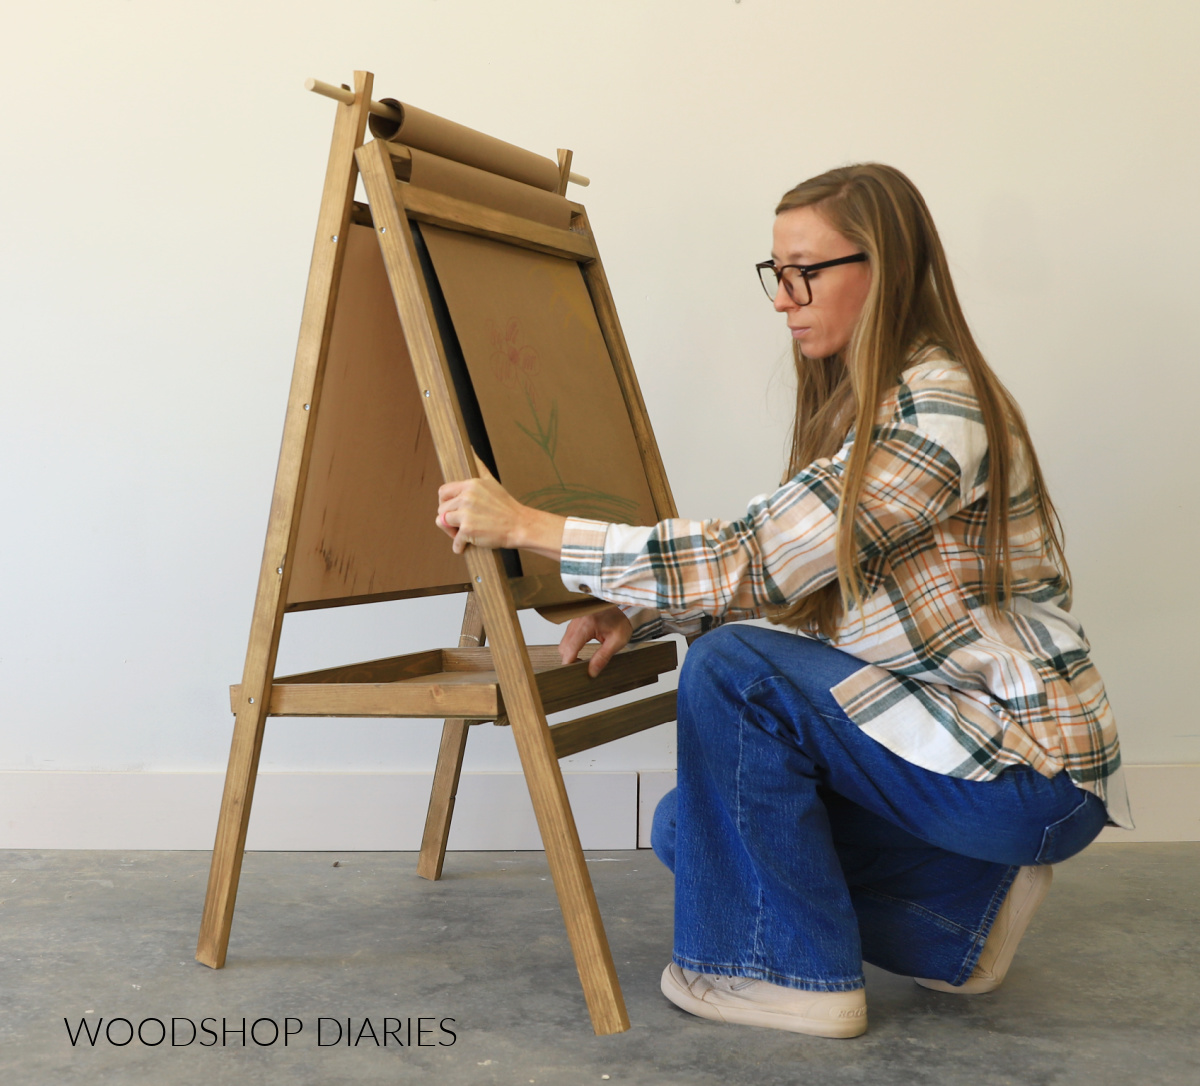
If you want to use paper to draw, color, or paint, slide the paper through the gaps between the frame and the chalkboard on either side of the easel. OR, simply use the chalkboard as the canvas.
To fold back up, simply lift the tray off the tray support and push it back through the frame. Lower the tray and fold the two frames back together.
Looking for More easy DIY projects?
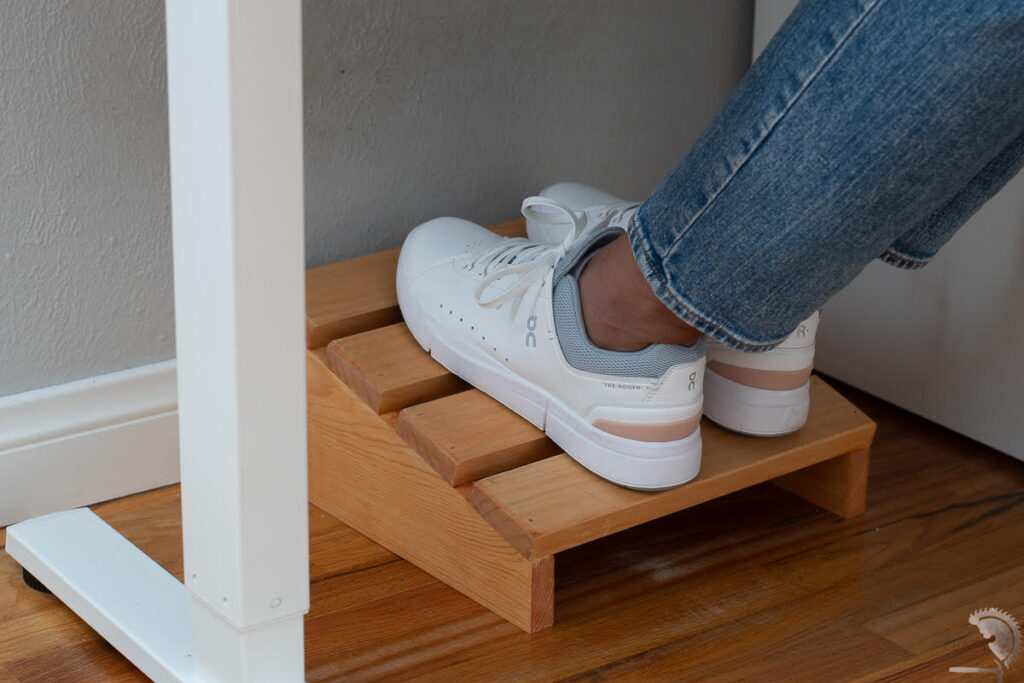
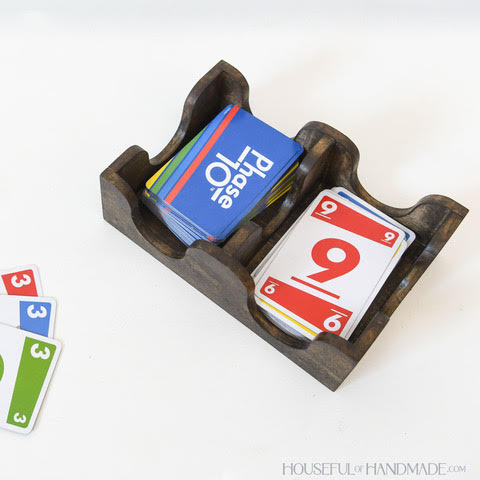
With the upcoming holidays, I’ve teamed up with my friend, Kati, from Houseful of Handmade and Anika from Anika’s DIY Life to share some easy and fun gift ideas that you can make this season!
I’ve included their projects in the gallery below plus a few of my own (click on the images to see how to make each one).
Enjoyed this project and want to save it for later? Be sure to pin it or share it to your favorite social channel!

Until next time, happy building!