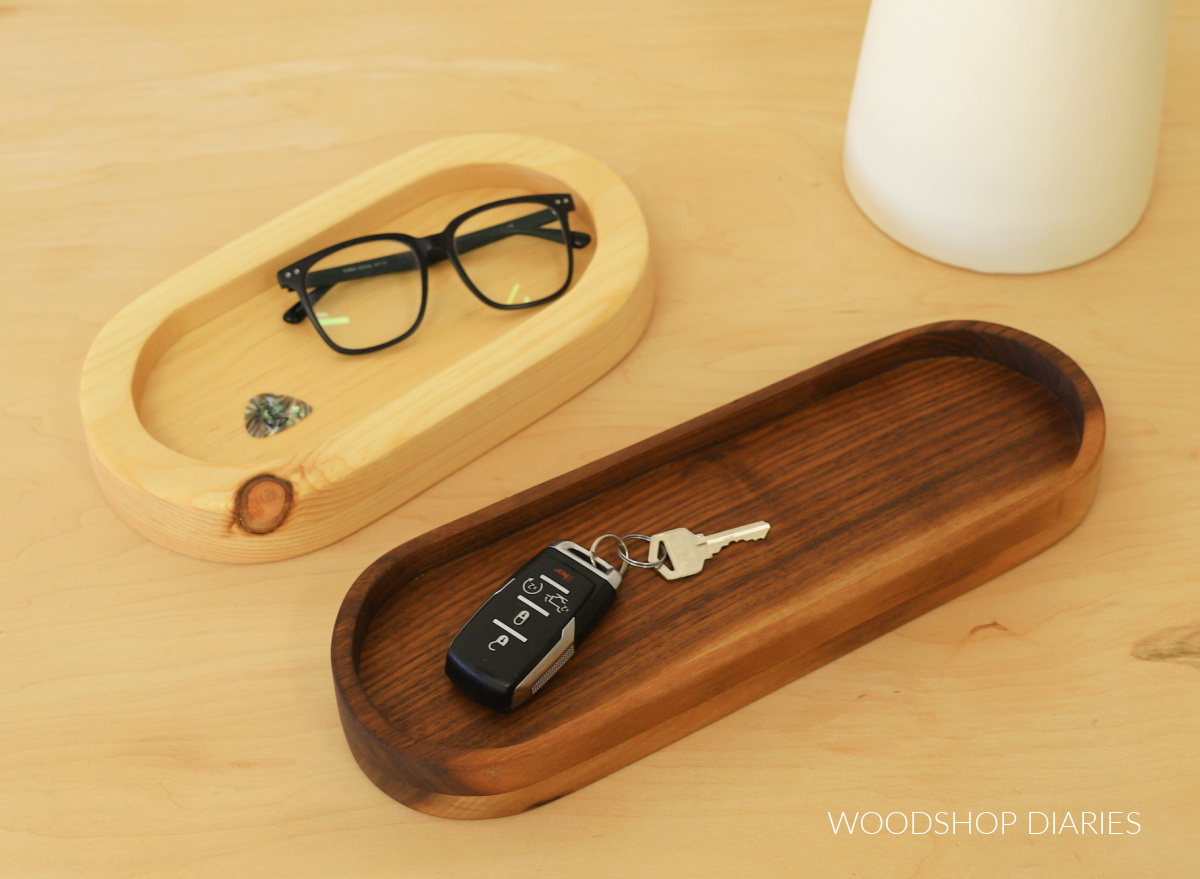
In this post, I’m sharing how to make a simple DIY scrap wood catch all tray in any shape or size!
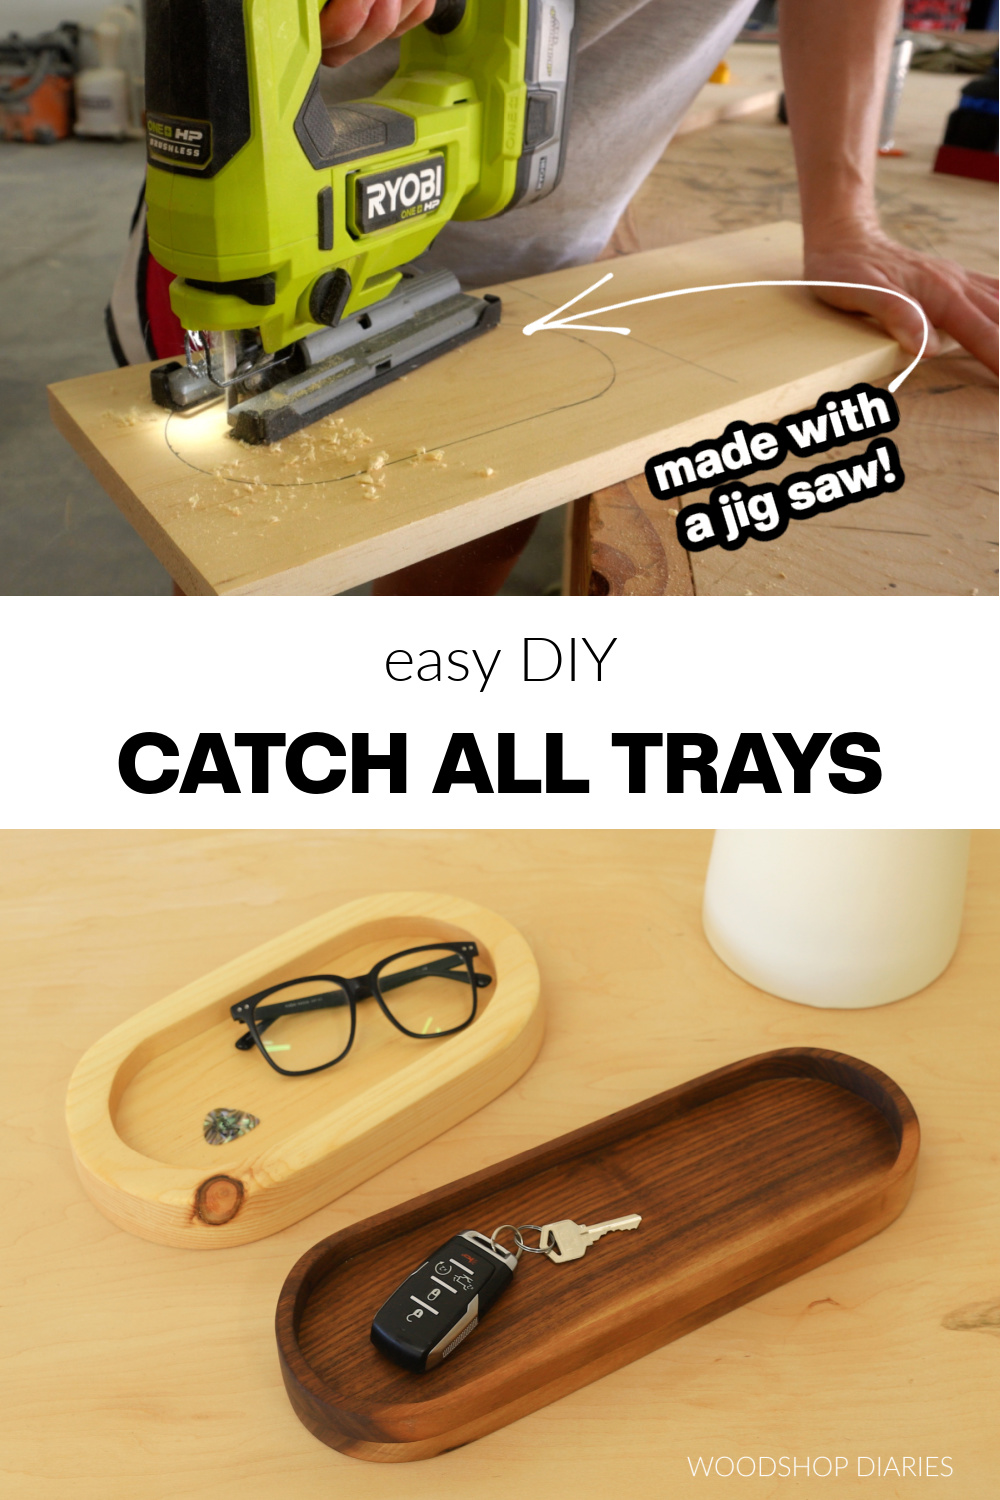
The great thing about these catch all trays is that they can be cut entirely with a jig saw. No CNC machine or router required!
It’s a great way to use up some of those colorful offcuts you’ve been saving in the scrap pile and the perfect handmade gift idea to give for almost any occassion!
I made these in an oval shape to keep things quick and simple, but they’re easy to customize to any shape or size, so it’s a fun project to get creative with, as well!
If you’re ready to dive in and see how to make them, let’s get building.
*This post contains affiliate links. See website policies.
What to consider before building
These simple catch all trays are a great project to make in batches. If you have several pieces of scrap to work with, you can make a few of these at once.
They’re quick to make, but it does require some time for the glue to dry. If you’re impatient, consider adding some CA or super glue in with your regular wood glue to allow you to move onto the next step while the regular glue fully cures.
Consider making multiple sizes and shapes to get creative–a square, a monogram, a logo, or an animal. Several years ago, I made trays similar to this in the shape of a pumpkin and a leaf!
This project calls for using a jig saw, but if you have a scroll or band saw you’d rather use, those would work well, too!
Want to be the first to know about new projects and plans? Subscribe to the newsletter for priority access!
How to Make a Catch All Tray
I’ve included the step by step instructions below. But, if you prefer to watch, I’ve also included a build video as well.
Love watching how-to videos? Subscribe to my YouTube channel for plenty more where that came from!
Tools & Materials
Tools:
- Jig Saw
- Drill
- Sander
- Clamps
- Kreg MultiMark
Materials:
- Scrap Wood (see step 1)
- Wood Glue
- Finish as desired
Step 1: Select Board(s) for Tray
First, I needed to find a board (or two…or three!) that I liked to make these catch all trays from. The board should be no more than ¾″ thick (which is the thickness of standard nominal 1x lumber like you find at the big box store).
RELATED: Understanding lumber sizing
And it should be at least double the length you’d like to make your tray. For example, if you want a tray 10″ long, make sure your board is at least 20″ long.
The board WIDTH doesn’t have to be any specific size–it really just depends on how big you’d like your tray. A 1×6 or 1×8 size works well for a small tray, but you can go bigger if you want!
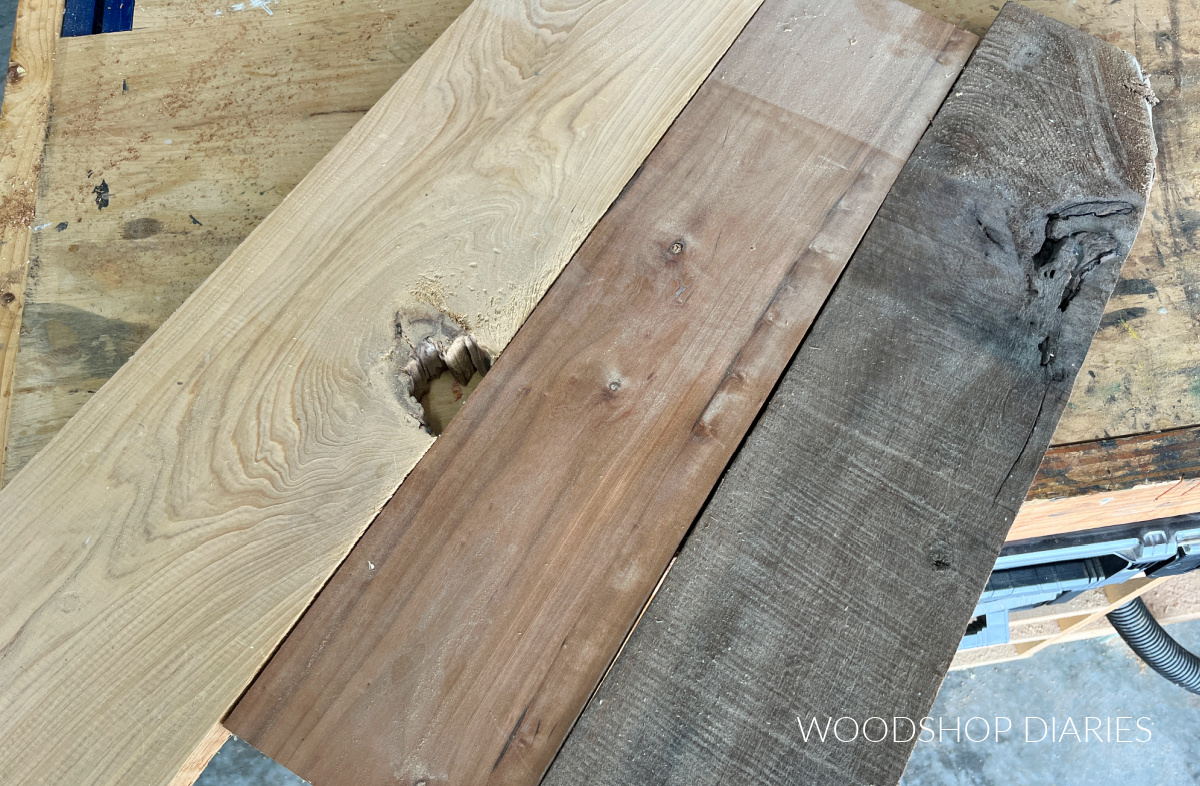
So I dug around in my scrap pile and found some 1×8 pine scraps.
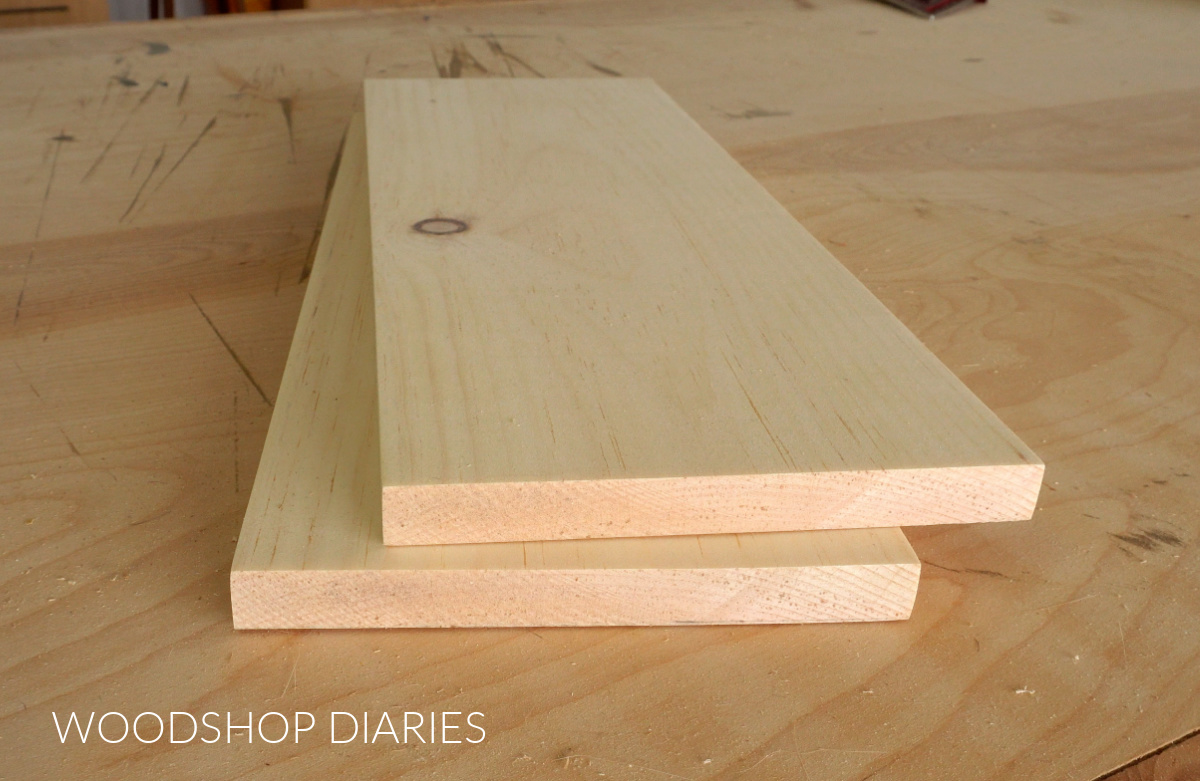
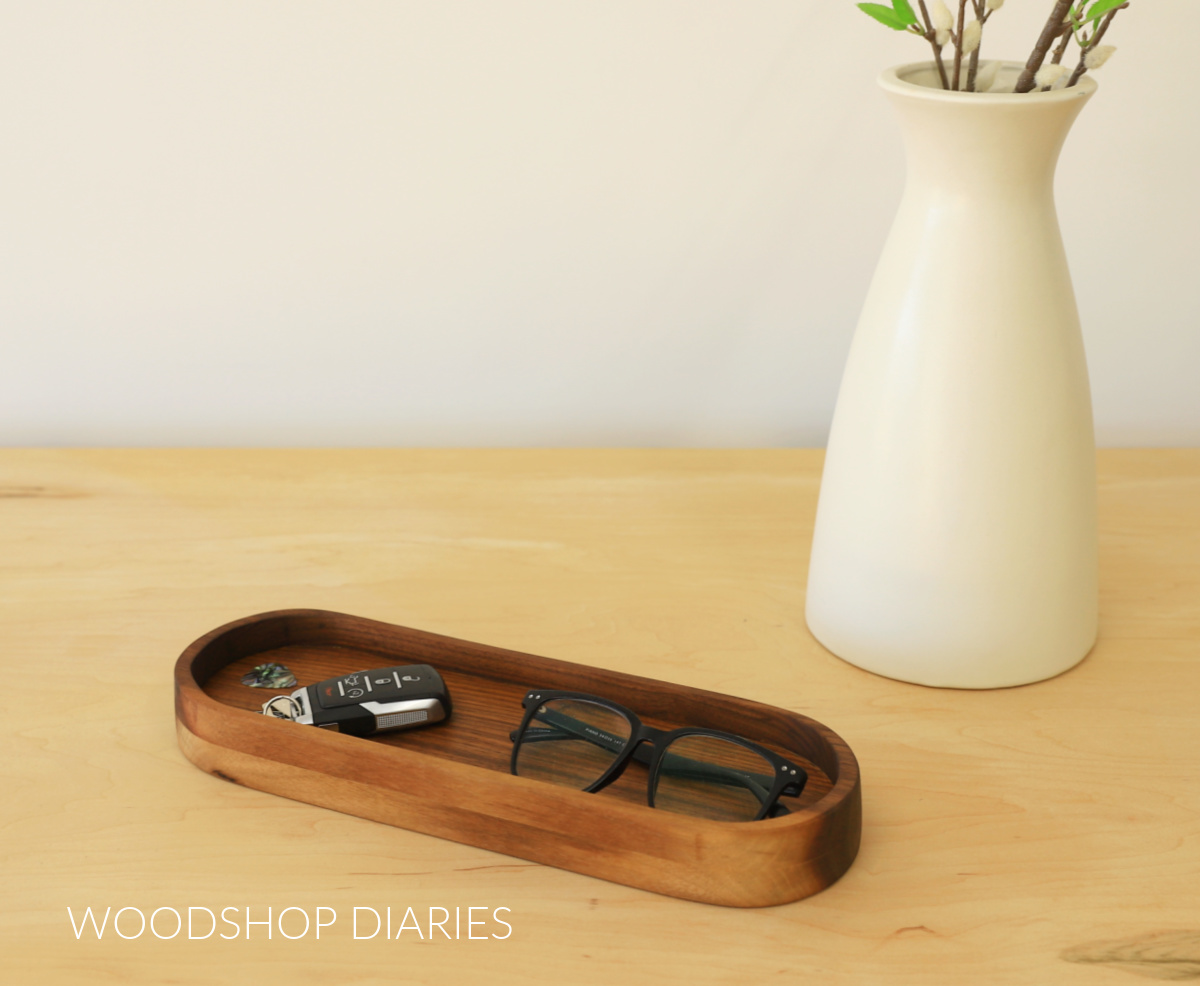
And I also found some small off cuts of a few colorful hardwoods. Any of these can work, but I opted to make one pine and one walnut catch all tray.
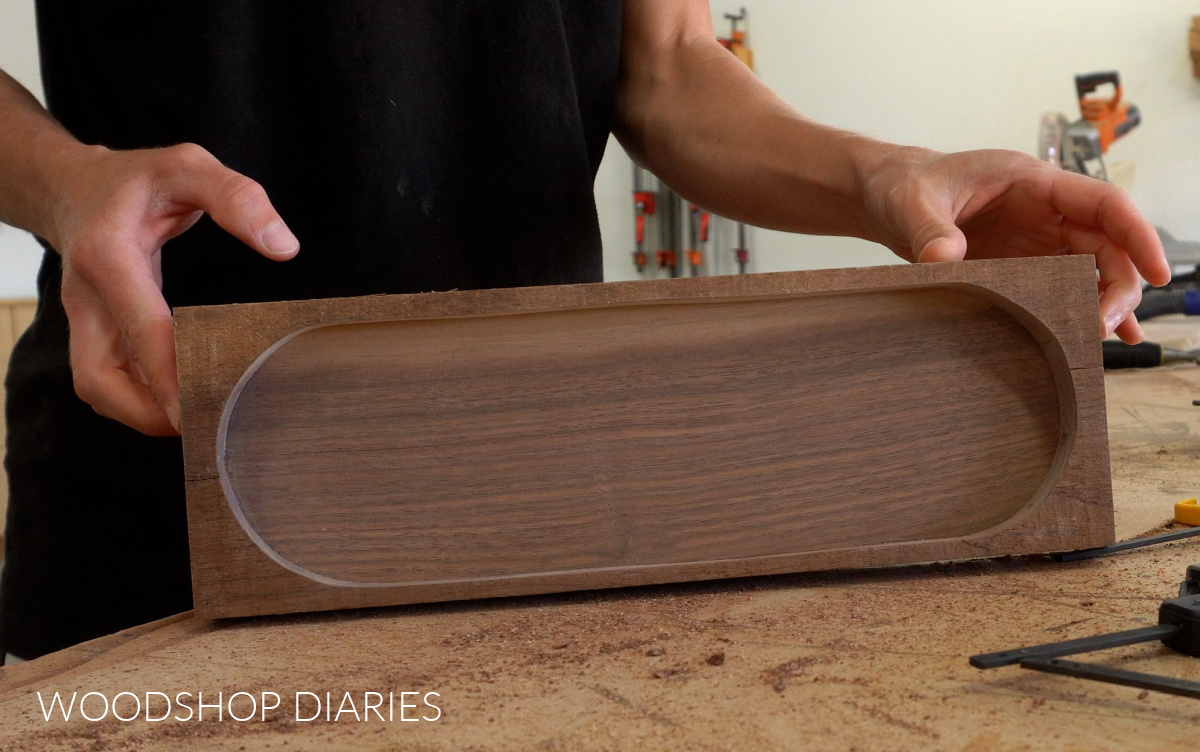
Step 2: Cut Out Middle
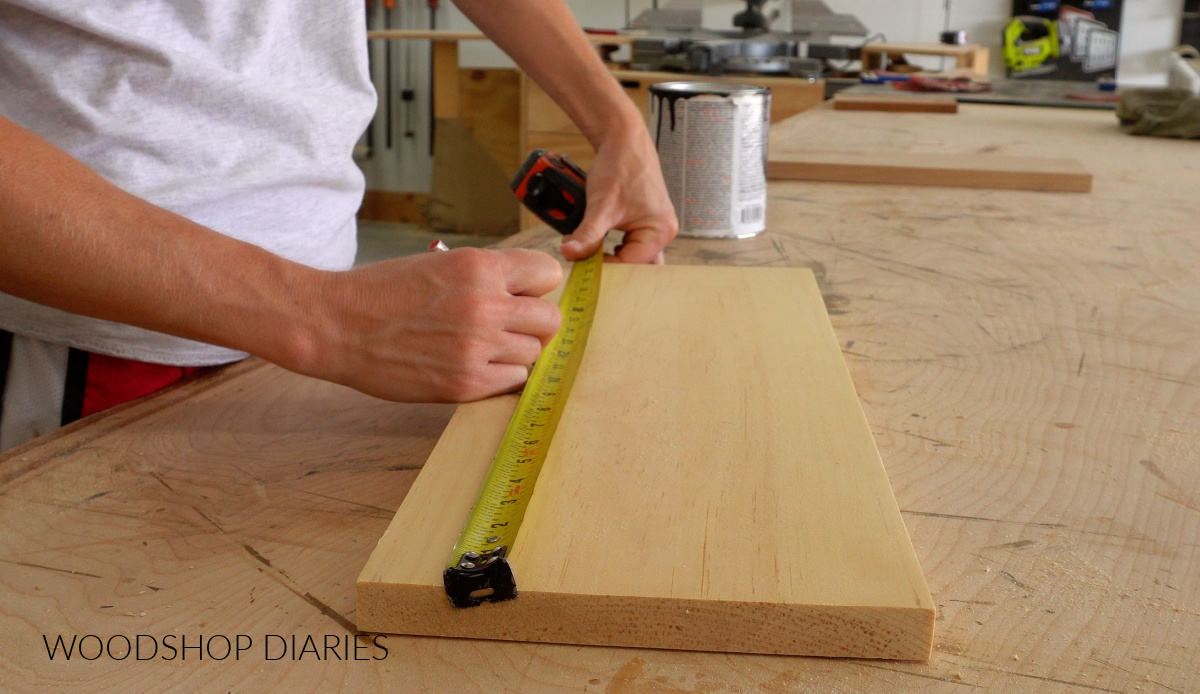
Once I selected my boards, I found the center of each one and marked it.
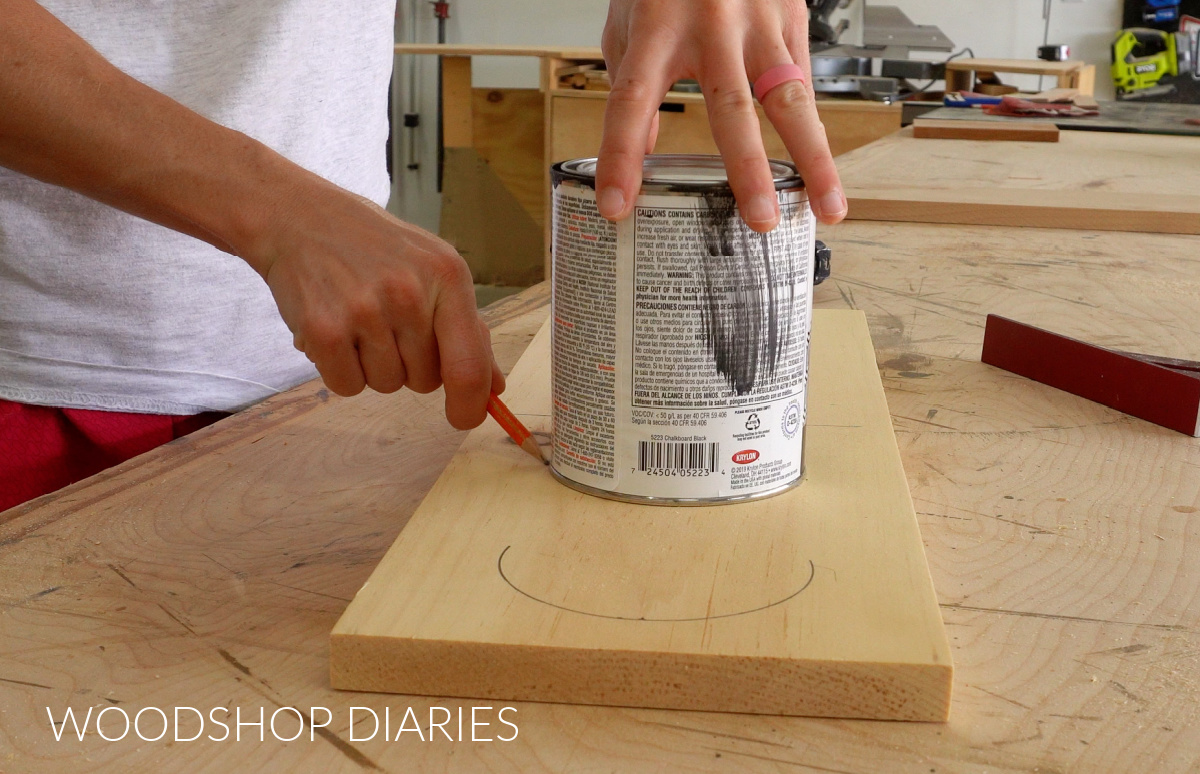
Then, I used a quart sized paint can to help me trace an oval shape on one half of my board. I made sure my oval shape was at least ¾″ in from the center line and my board end.
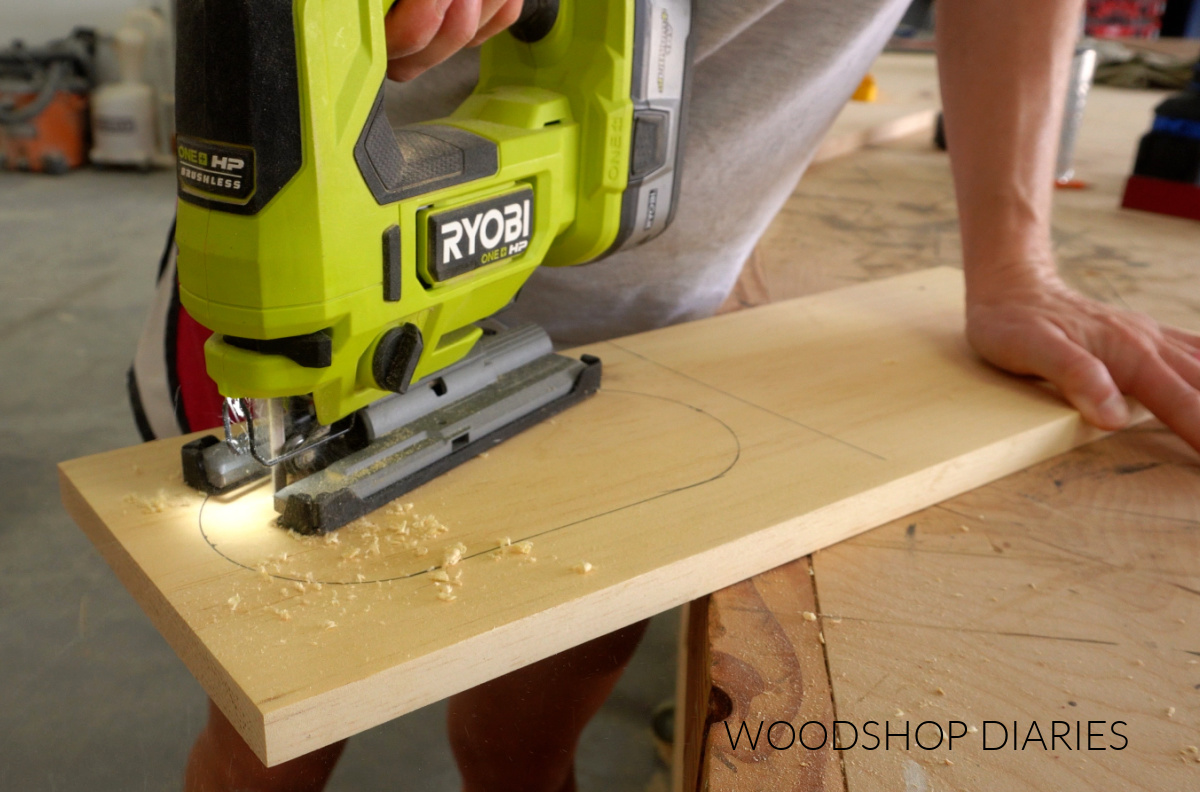
I need to cut this oval shape out, so I drilled a large hole inside the shape to give me a place to get my jig saw blade started.
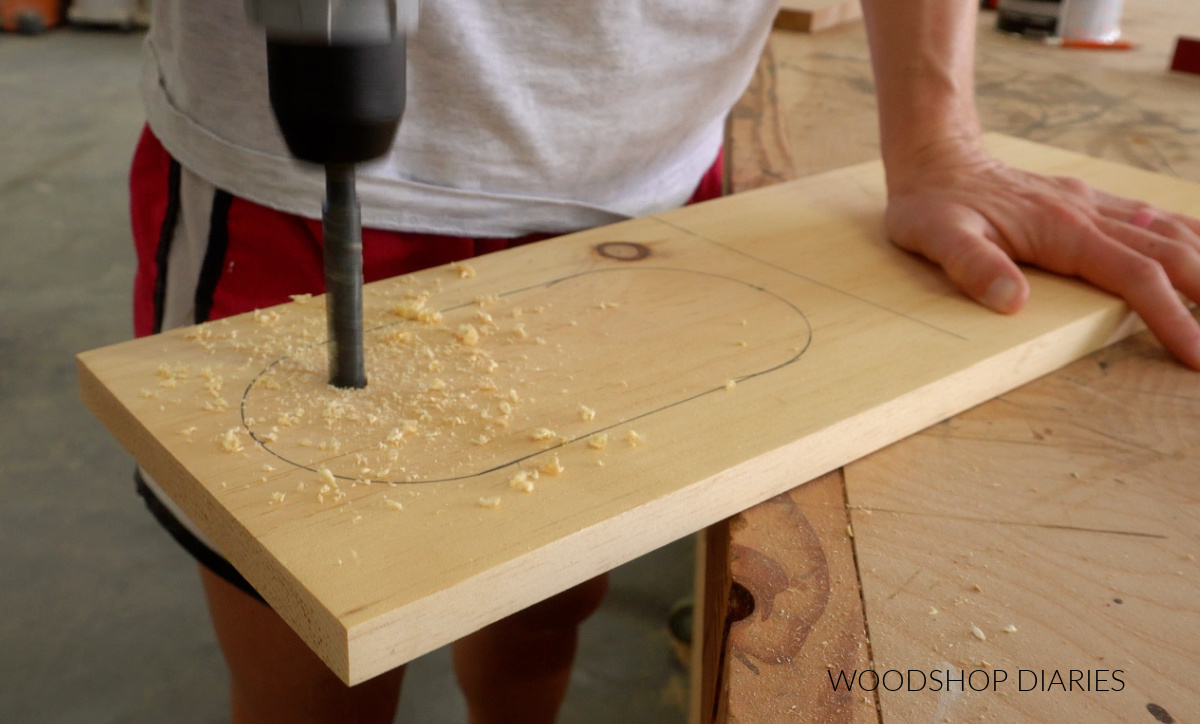
Then I carefully cut this out using my jig saw. I recommend using a scroll or a fine finish wood blade in your jig saw and keeping your orbital setting (if your saw has them) turned off for best results.
NOTE: I’m obviously making very simple oval shaped catch all trays here, but keep in mind that you can apply this same concept to any size or shape tray that you’d like.
I actually did this same thing several years ago to make a large pumpkin shaped tray, and a large leaf shaped tray as well. So feel free to get creative here.
Step 3: Glue up Catch All Tray
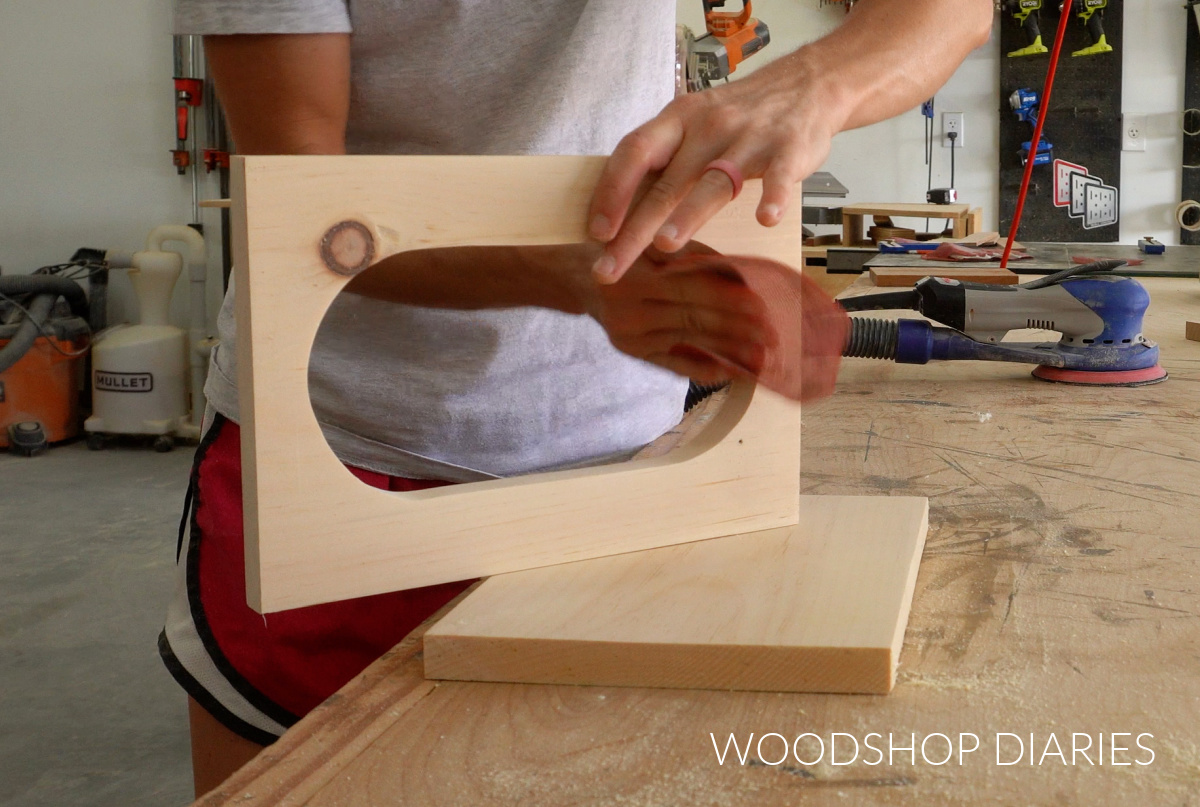
After I cut my oval out, I cut my board in half down the centerline that I marked in step 2.
Then, I sanded both pieces well. Make sure to sand the inside of the oval! If your jig saw cuts were a little off, you can sand it to help shape and smooth it out.
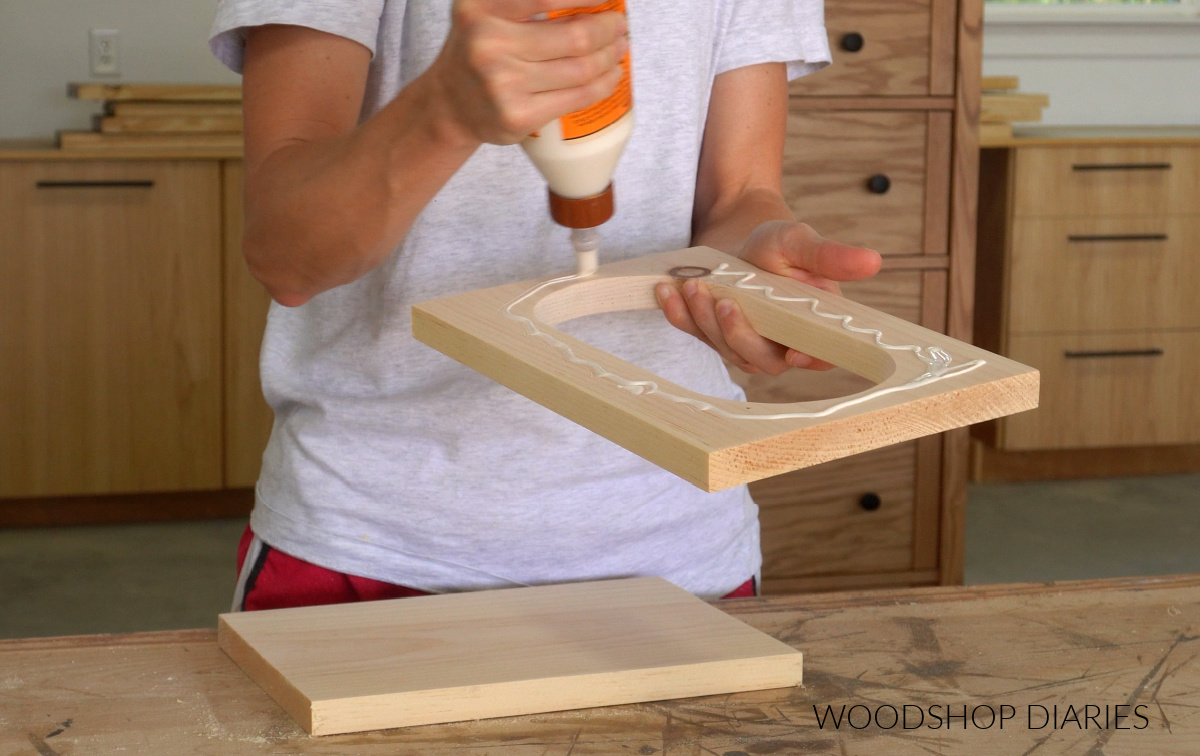
Then, I glued these two pieces together. Be careful not to apply TOO much wood glue because you don’t want it to squeeze out into the center.
I applied a good bead around the edge, then used my finger to spread it out a little to get good coverage.
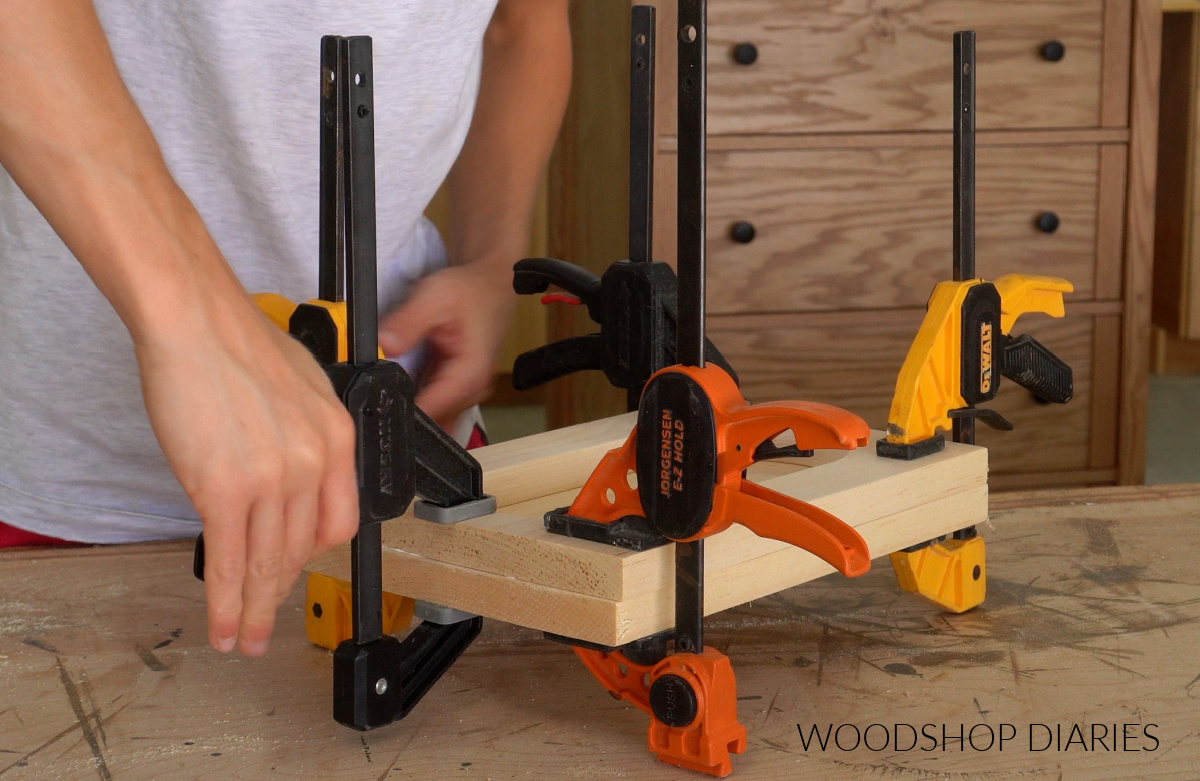
Then I carefully clamped the oval cut out piece onto the solid piece and clamped. Be sure to wipe away any glue squeeze out that makes it into the oval cut out!
I’ve been showing you this process with my pine board, but I did the same thing with my walnut board as well–I made my pine board a little “chunkier” and my walnut board a little “thinner.”
I was sure to give the glue plenty of time to dry, then, I removed the tray from the clamps.
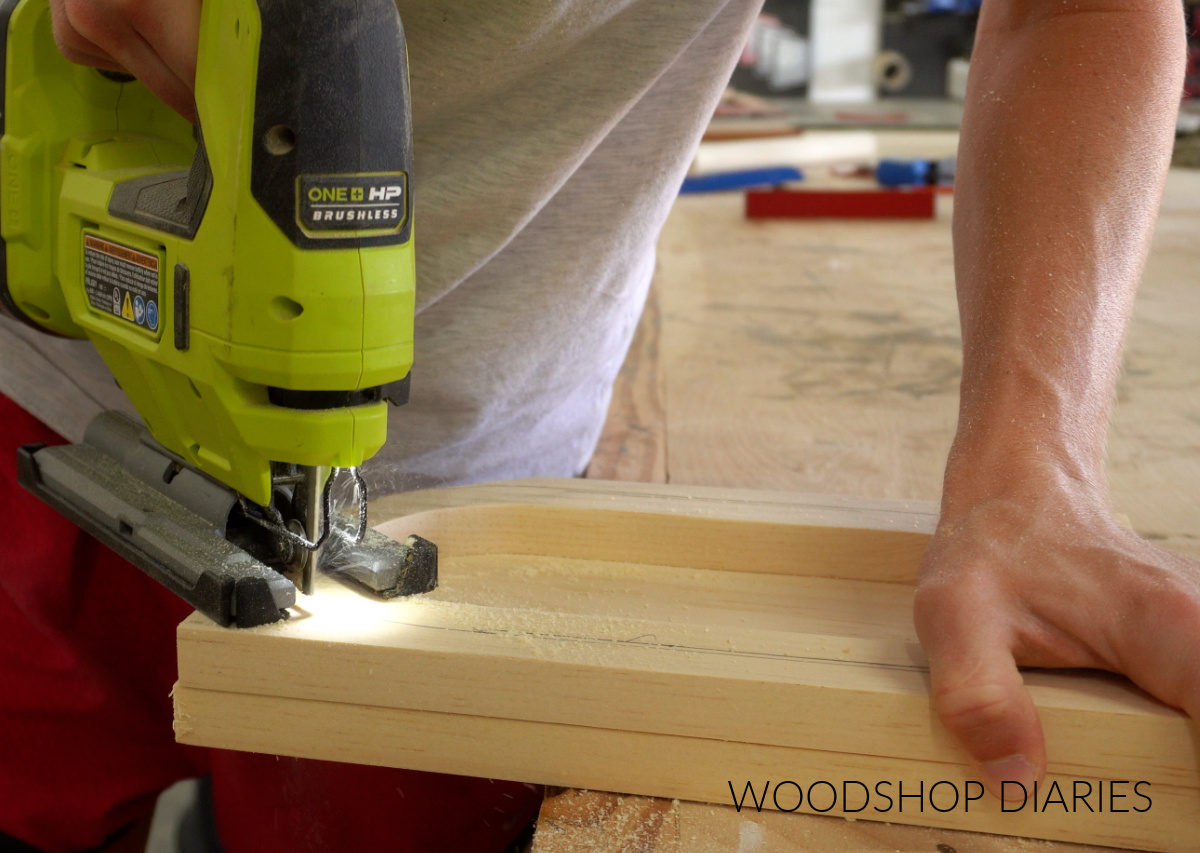
Step 4: Cut Final Shape & Finish
Next, I used my Kreg MultiMark tool to help me draw an offset around the oval to sketch out my final tray shape.
On my pine board, I set my Multimark to ¾″ and traced a ¾″ lip around the oval cut out. You could also use other templates or objects to trace your final shape as well.

Then I cut this out with a jig saw. This piece is thick, so cutting with a jig saw is doable, but it’s slow. Take your time. Make sure to use a good blade and one that is long enough to cut through the whole piece.
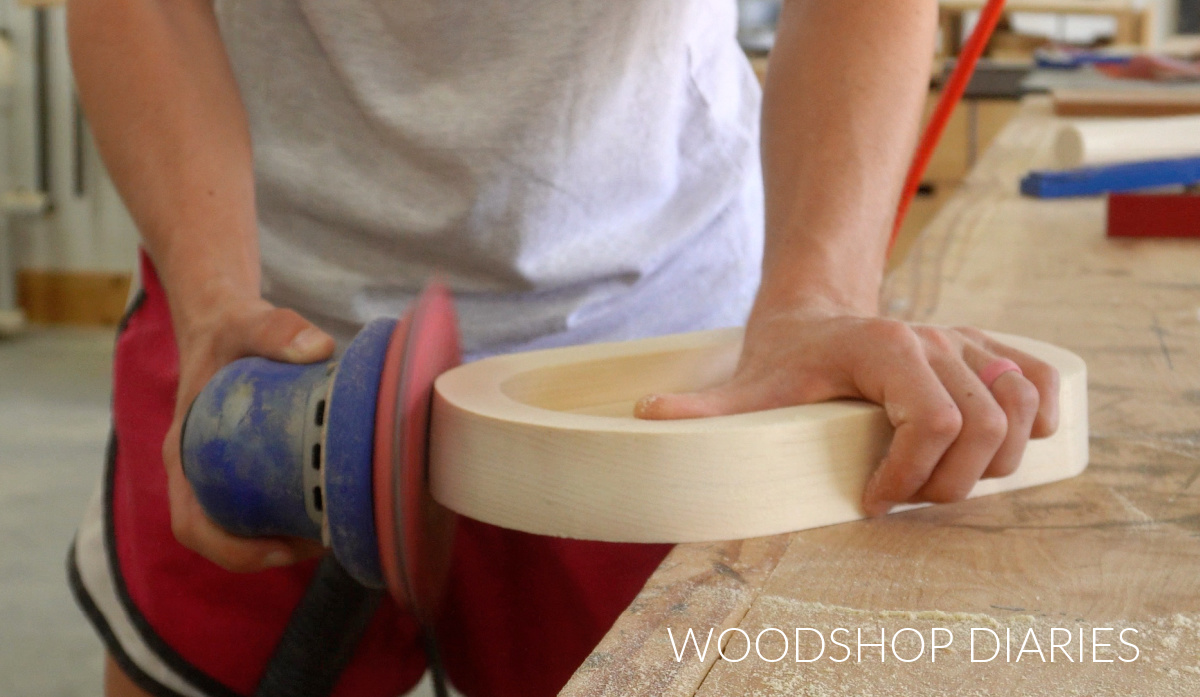
The cut doesn’t have to be perfect because after cutting, you can sand to smooth things out I recommend sanding the edges to smooth the shape with 80 grit, then work your way up to 220 or higher.
RELATED: How to sand wood
After cutting this “chunky” lip on the pine tray, I wanted to do a thinner lip on the walnut tray, so instead of a ¾″ offset, I used ¼″ offset and repeated this process on it the exact same way.
Once both trays were cut and sanded well, I finished them with some Walrus Oil Furniture Finish. This is an oil that is easy to wipe on and let soak in.
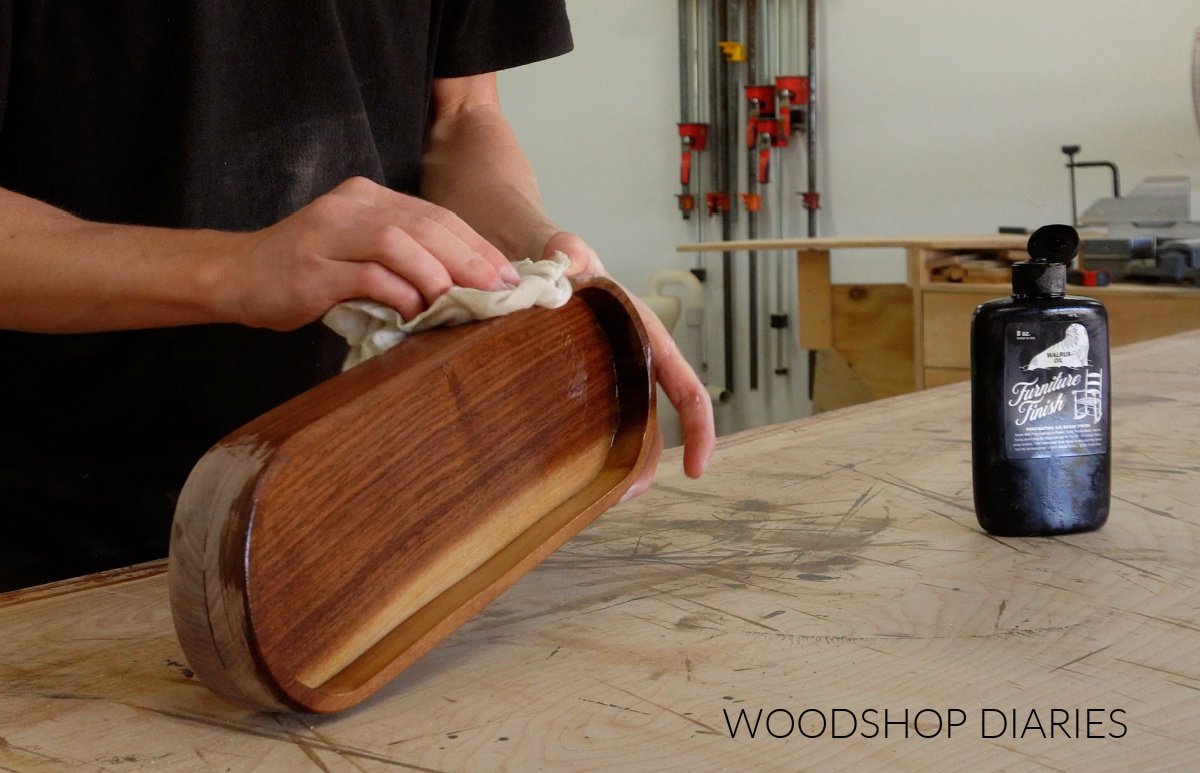
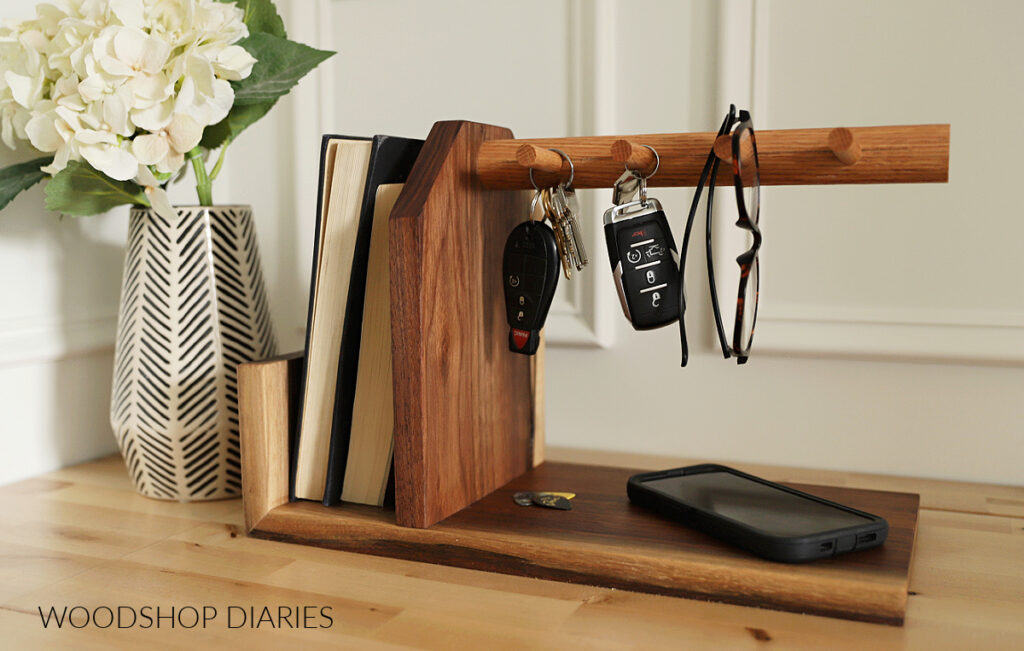
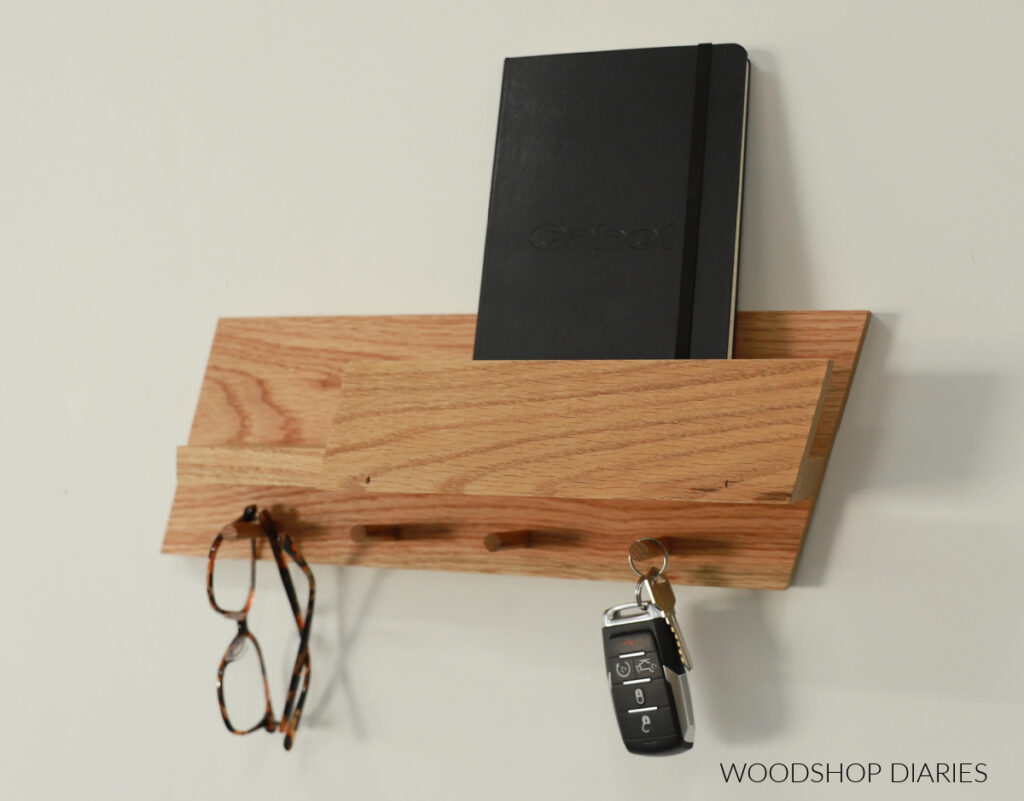
And with that, these simple catch all trays are ready for catching all the things. These would work great on a nightstand or by the door to toss in keys, glasses, and accessories.
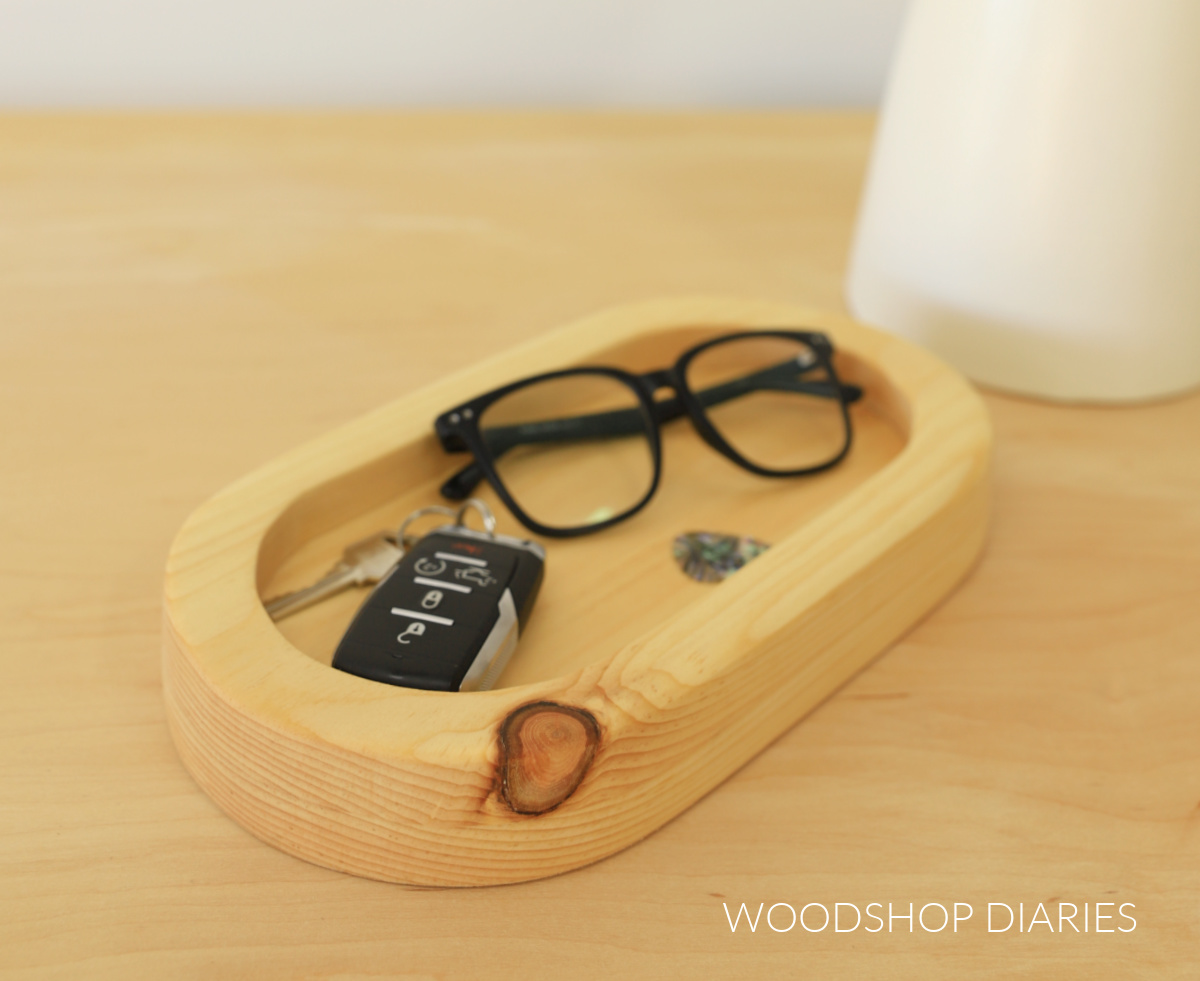
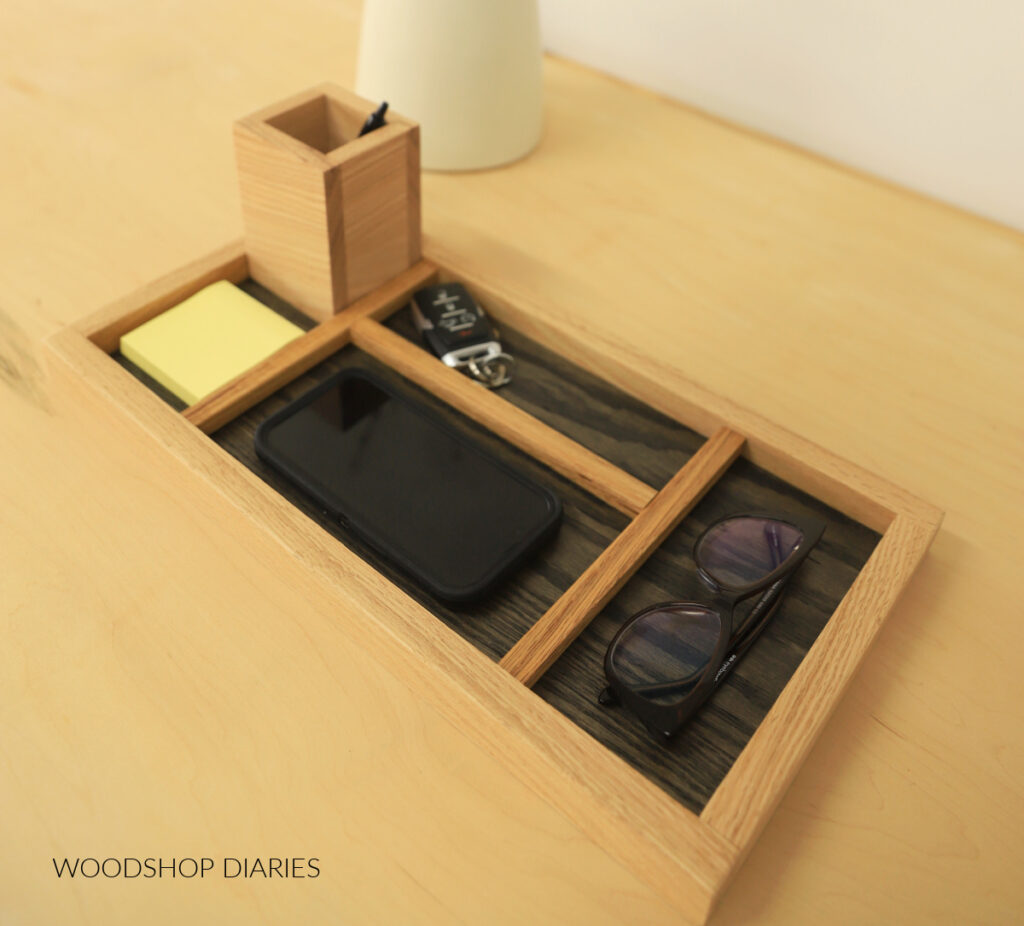
They would also work well on a desk to corral pens, paper clips, and other odds and ends.
They’re such a great way to use up some scraps while also making something practical and unique to gift to anyone on your list!
Looking for More easy DIY projects?
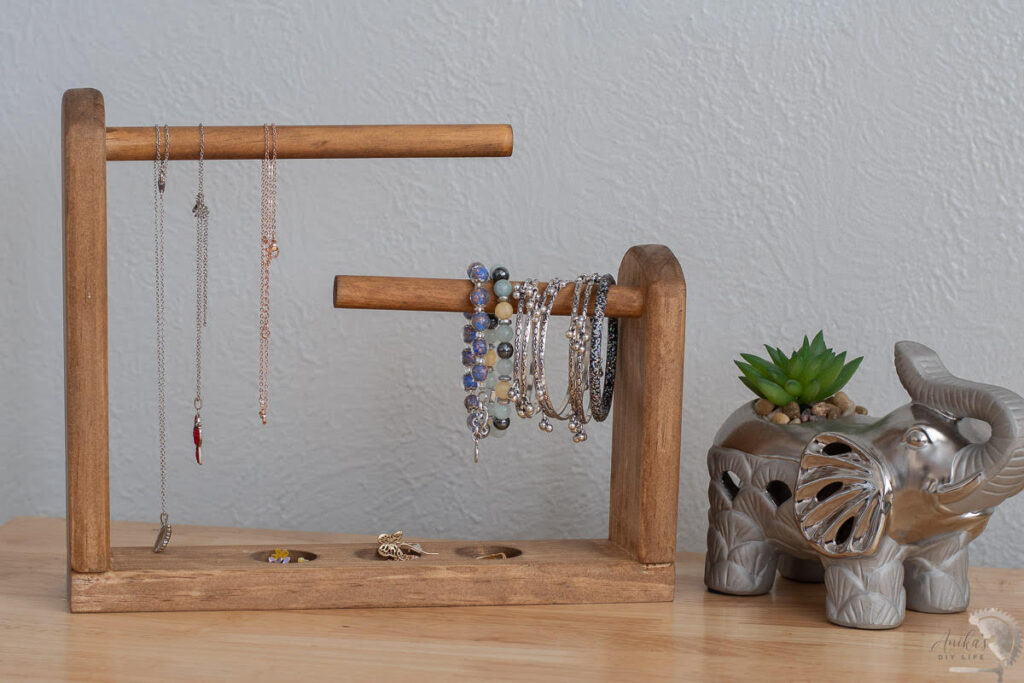
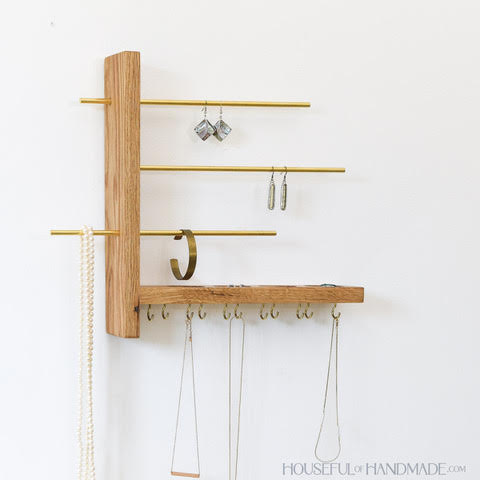
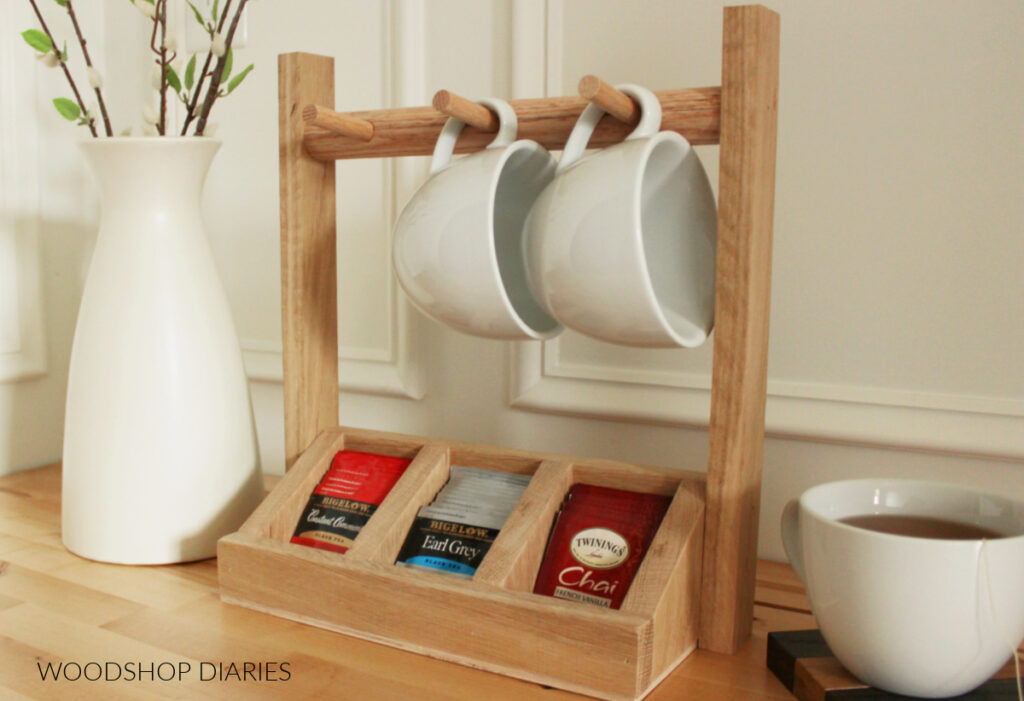
With the upcoming holidays, I’ve teamed up with my friend, Kati, from Houseful of Handmade and Anika from Anika’s DIY Life to share some easy and fun gift ideas that you can make this season!
I’ve included their projects in the gallery below plus a few of my own (click on the images to see how to make each one).
Enjoyed this project and want to save it for later? Be sure to pin it or share it to your favorite social channel!
Until next time, happy building!