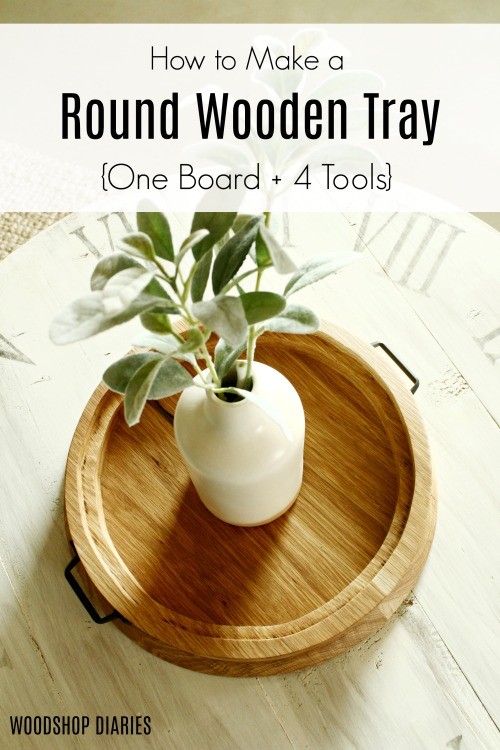
Ready to wow your guests with a DIY Round Serving Tray that you made from a single board?? You’re in the right place! Keep reading to find out how.
This post is sponsored by The Home Depot and contains affiliate links. See policies page. All opinions are my own.
I have this weirdly intense love for all things round lately. Is that weird? Like, I just love circles.
.
AND wood circles are even better. AND wood circles that I can use on my coffee table to corral all my husband’s remotes….EVEN BETTER. (HOW CAN THERE BE SO MANY REMOTES?! We only have one TV!) PS remotes not shown in pictures so that they actually look cute haha 😉
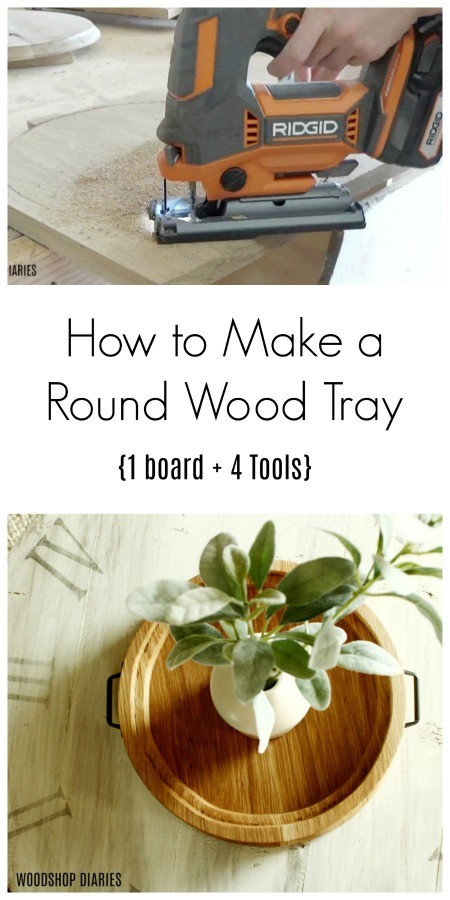
So I decided to take one board, four tools, and a few hours of shop time and make this round wooden tray 🙂 I wasn’t sure how well it would turn out, but I was pleasantly surprised that an upgrade in jig saws would make a world of difference with my cutting accuracy. But, more on that later.
.
So if you’ve got a spare board, a jig saw, router, sander, drill and you don’t mind getting a little dusty, then you’re ready to make your own DIY round wooden serving tray 🙂
Looking for more DIY serving tray inspiration? Try one of these fun projects:


I’ve got the video tutorial right here, then I’ve also got the step by step tutorial and links to all the products used in this project below 🙂
For this project, you will need:
1x8x8 board
Router with chamfer and rabbeting bits (optional, but adds some cool details)
Ridgid 18V Octane Cordless Jig Saw (don’t forget the Octane Battery Kit—currently, if you purchase this battery kit, you can get the jig saw, or another Octane tool, for free!)
Clamps
2 handles
Step 1: Cut board down
Since it was a one board project, I used what I had on hand, which was white oak. I had actually already cut this board down to use on another project, but changed my mind, so I’m using it for this.
.
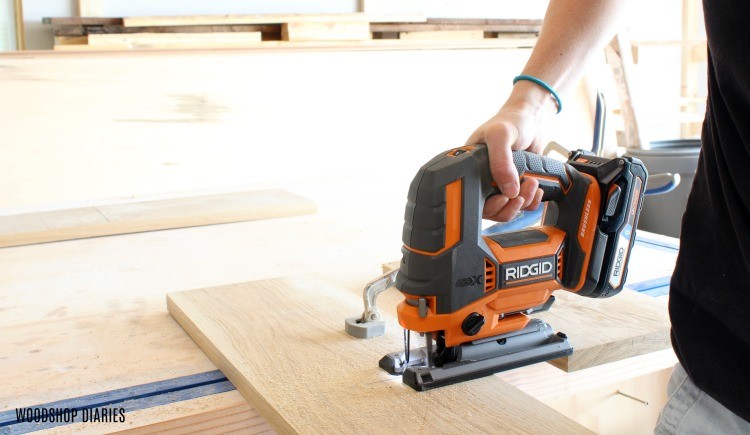
The first thing I did was trim down my board to six 16” pieces. For this, I used my Ridgid Octane 18V Cordless Jig Saw and Bluetooth Batteries. Side note: Ridgid is running a deal until August where if you purchase an Octane Battery Kit, you get an Octane tool for free.

Just being 100% honest here…all of the Octane tools I’ve used so far pack a TON of power with these new Octane 18V batteries. Not only are they super powerful, but they’re also smart. With the Bluetooth technology, you can get various push notifications, and pretty cool security features, too. And you may think I’m crazy, but one of my favorite features is this little button on the front that you can press to get a quick visual of how much charge your battery has left. Which is great for people like me who never know which of my batteries are charged and which aren’t haha.

Anyway, back to the project. I cut my boards down using my new Ridgid Octane Jig Saw 🙂

Now, my board pieces put together were actually a little more than 8 ft, but you only need 8 ft to complete the project. But you’ll notice a few of my boards here are longer than 16” because I didn’t want to cut off a couple inches I didn’t need.
Step 2: Glue up three panels
Once the boards were cut down, I glued up three panels of two boards like shown. This tray is made in layers, so each of these glue ups is one layer of the tray.
Step 3: Draw and cut first circle
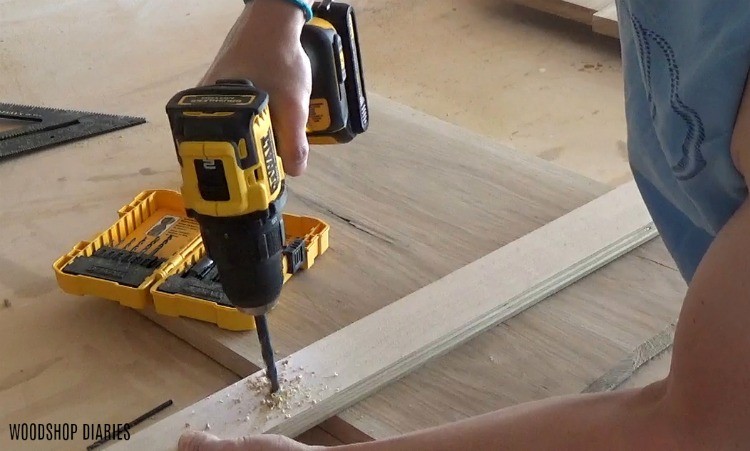
Once the glue was dry, I used a piece of scrap wood and a drill to make a simple circle jig and traced out a circle about 14” in diameter onto one of my panels. This will be the bottom of the tray.
.
To make the jig, I drilled a small hole in the end of the board, then measured the radius of the circle I wanted, then drilled a hole large enough for a pencil to fit into.

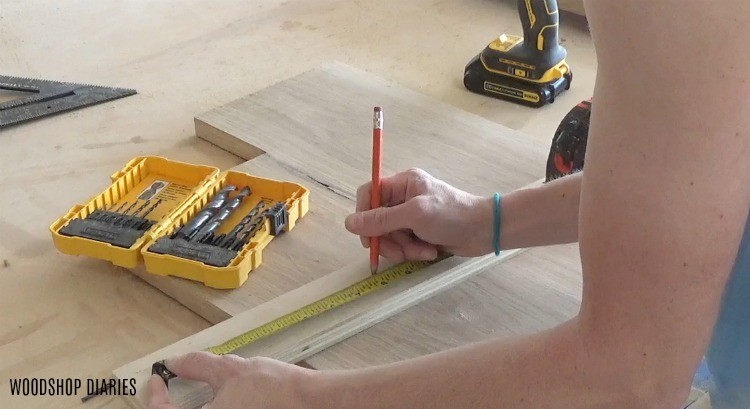
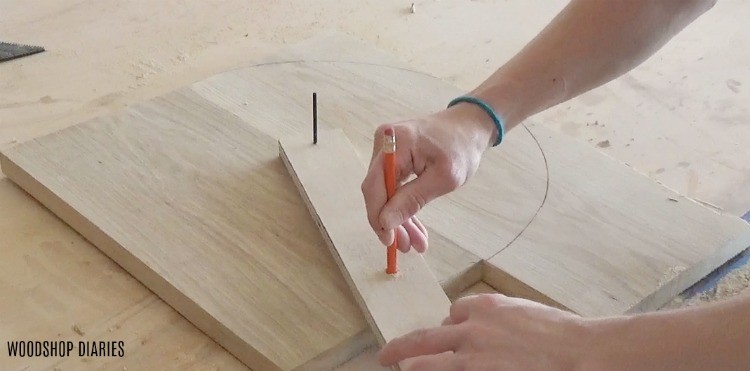
Then I drilled the small hole bit into the middle of the piece (if you don’t drill all the way through, you can use the bottom side as the top and not have to putty over the hole in your finished tray) and traced my circle.
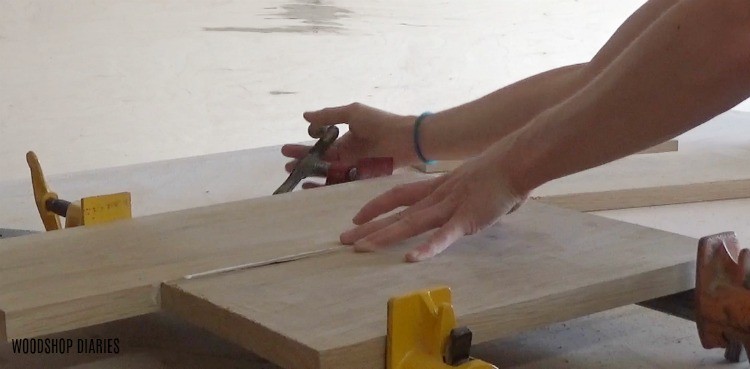
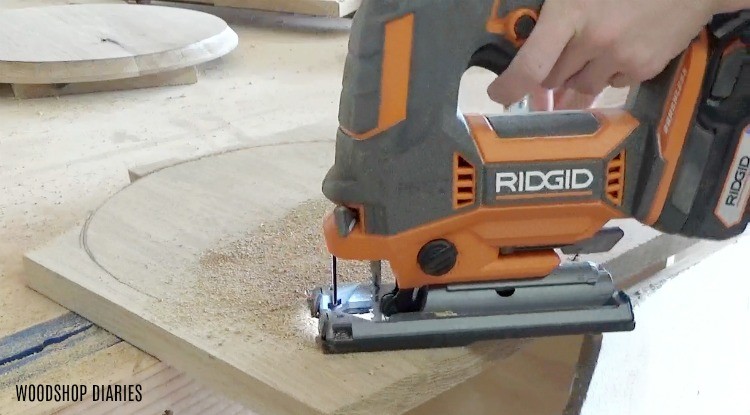
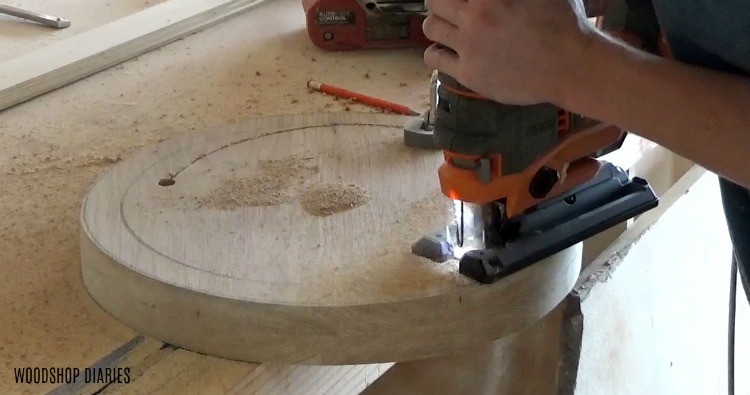
Then I grabbed my jig saw and cut this circle out.
I sanded this circle to get the edges pretty smooth, then used my router and a chamfer bit to route a nice chamfer around the edge. I took a little off at a time, lowering the bit after each pass until I got the chamfer as deep as I wanted on this edge.
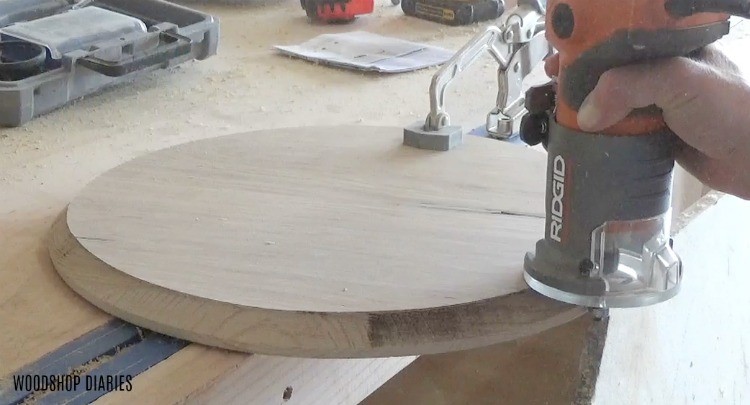
This step is totally optional, but I really liked the “flare” look at the bottom of the tray. You could make it straight all the way down as well if you wanted.
Step 4: Draw and cut out other circles
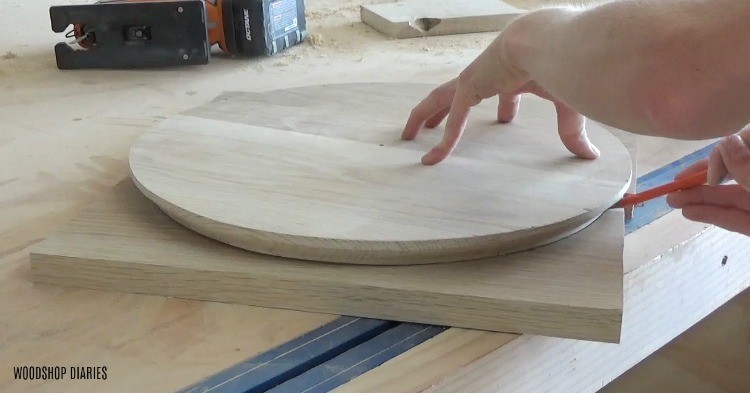
I gave that a good sanding, then placed it upside down onto another of my glued up panels and traced around the top.
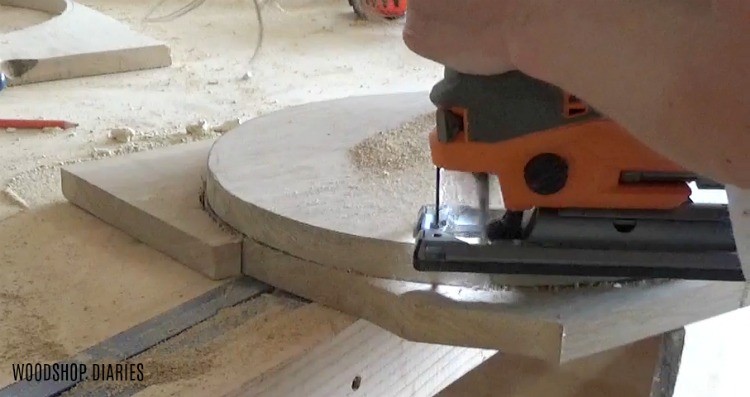
I reached again for my jig saw and cut out this circle.
Once I saw that it fit on top of my bottom piece okay, I proceeded to cut out the last layer to match this one using my jig saw.
Step 5: Cut out middle circle
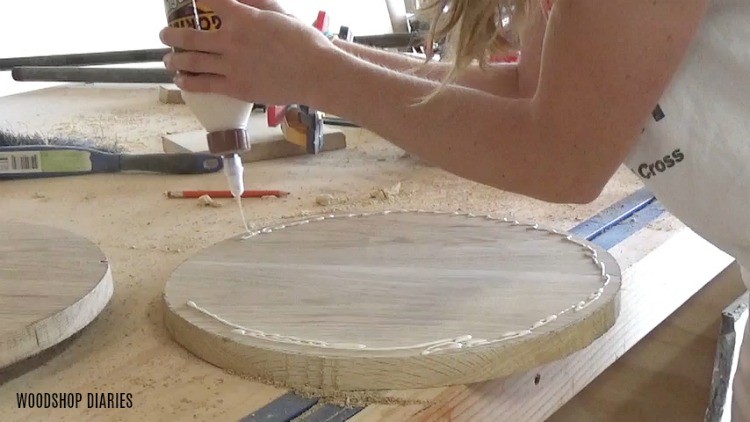
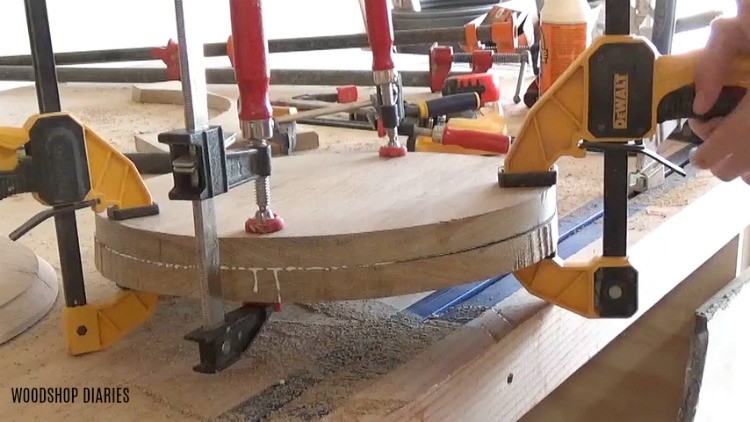
Once both top layers were cut out, I glued them together using wood glue only around the outside of the circles. Because we will cut out the middle, they really only need to be attached on the edges.
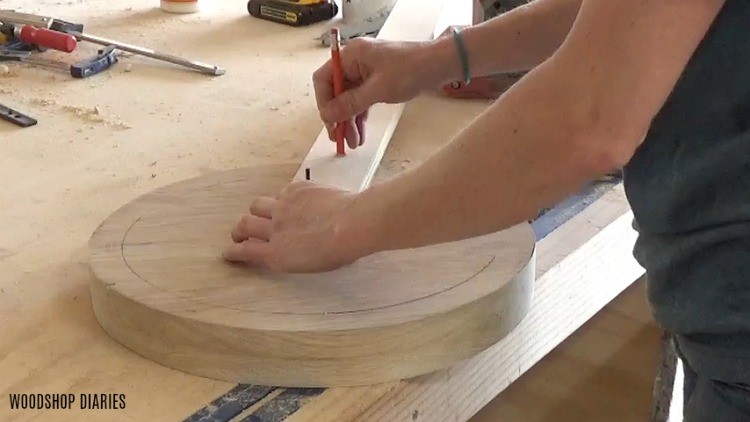
After the glue dried, I found the center of the circles and used my little circle marking jig to draw a circle 2” in diameter smaller than the outside diameter. This will allow me to create a 1” wide ring.
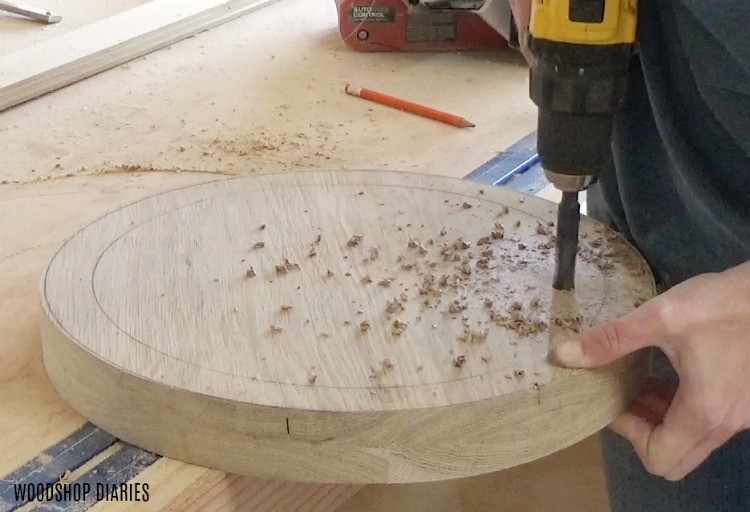
I used a drill to drill a pilot hole for my jig saw blade and cut this out using my jig saw. Maybe it’s because I’ve always had a cheap electric jig saw, but I’m just super impressed with how these Ridgid 18V Octane batteries are powering this jig saw through this thick, hard oak. I’ve literally never been able to cut through hardwood 1 ½″ thick with my jig saw. That’s legit insane.
Now that the ring was cut out, I checked that it fit, then gave it a good sanding.
.
Just like the chamfer was an optional step, this is also an optional step, but it adds a detail that I liked. I used a rabbeting bit on my router and routed out the inside of this ring. I took a little out at a time and just went as far as I felt like, then got tired of making circles and stopped haha.

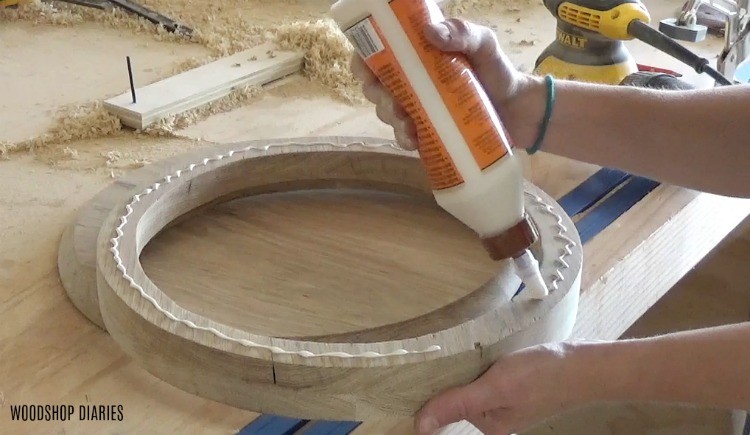
Step 6: Glue top ring to bottom base
Then another quick sanding before gluing this top ring to the bottom piece.
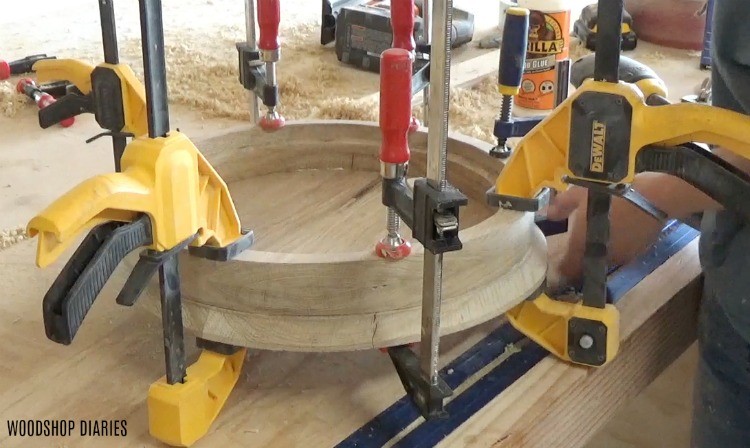
Once the glue was dry, I gave it one more final sanding to blend in any uneven lines where the top and bottom meet.
.
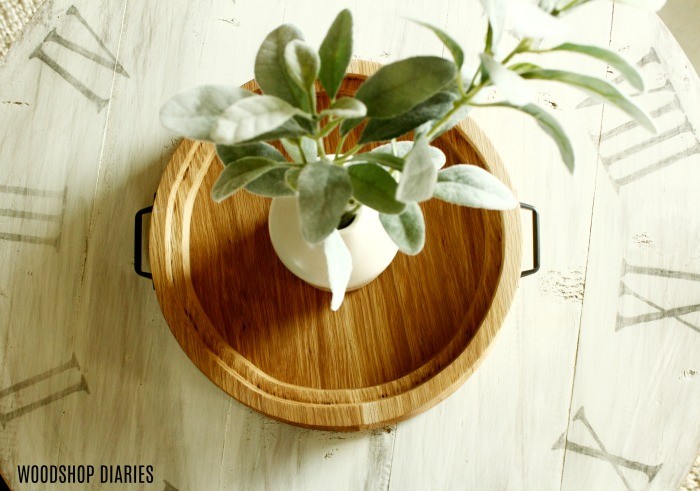
Then I finished it off by buffing it with some Mineral Fusion Beeswax and added a couple of handles on the sides.
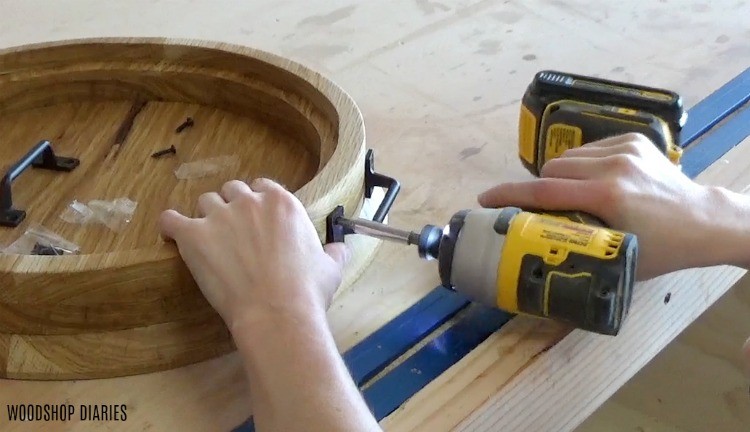
Most handles aren’t going to come ready to fit on a rounded surface, so you can try to slightly bend your handles, before installing, or pick shorter handles so it won’t be as noticeable.
.
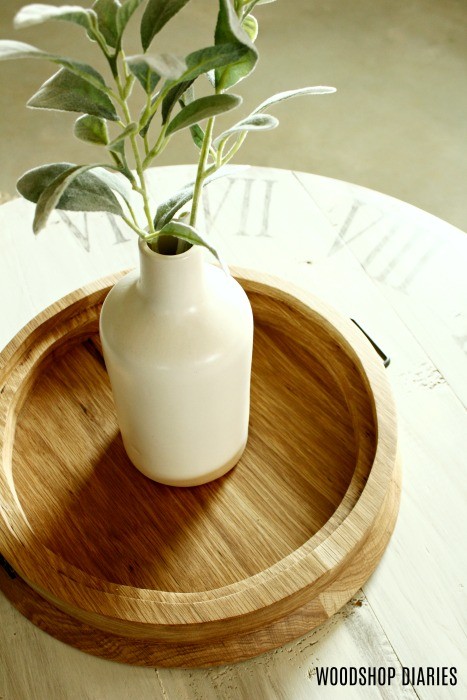
Once it was done, it was ready to bring inside and decorate. It would make a great serving platter for snack foods, a tray to corral remotes on the coffee table, or a place to toss keys and loose items in an entryway. It’s a versatile project you can use however you wish. You already know how I’ll be using mine 😉


So what do you think? Pretty fun for one board and four tools. Also, I didn’t think about it until after the fact, but the Ridgid Octane Cordless jig saw’s blade bevels, so if you wanted to skip the router altogether, you could chamfer the bottom edge just by beveling the jig saw blade and cutting out your circle. That would make this project only need three tools instead of four. Even better!

So if you’re ready to get dusty and make something awesome, grab your jig saw and get building 🙂 Don’t forget to check out this Ridgid Octane battery kit at the link here. And if you aren’t already subscribed to my YouTube channel, be sure to head over and hit that subscribe button to stay up to date on all the latest projects and videos 🙂 And one last thing…if you liked this project, I’d love if you’d pin it for later!
But, enough for now 😊 Until next time, happy building 😊