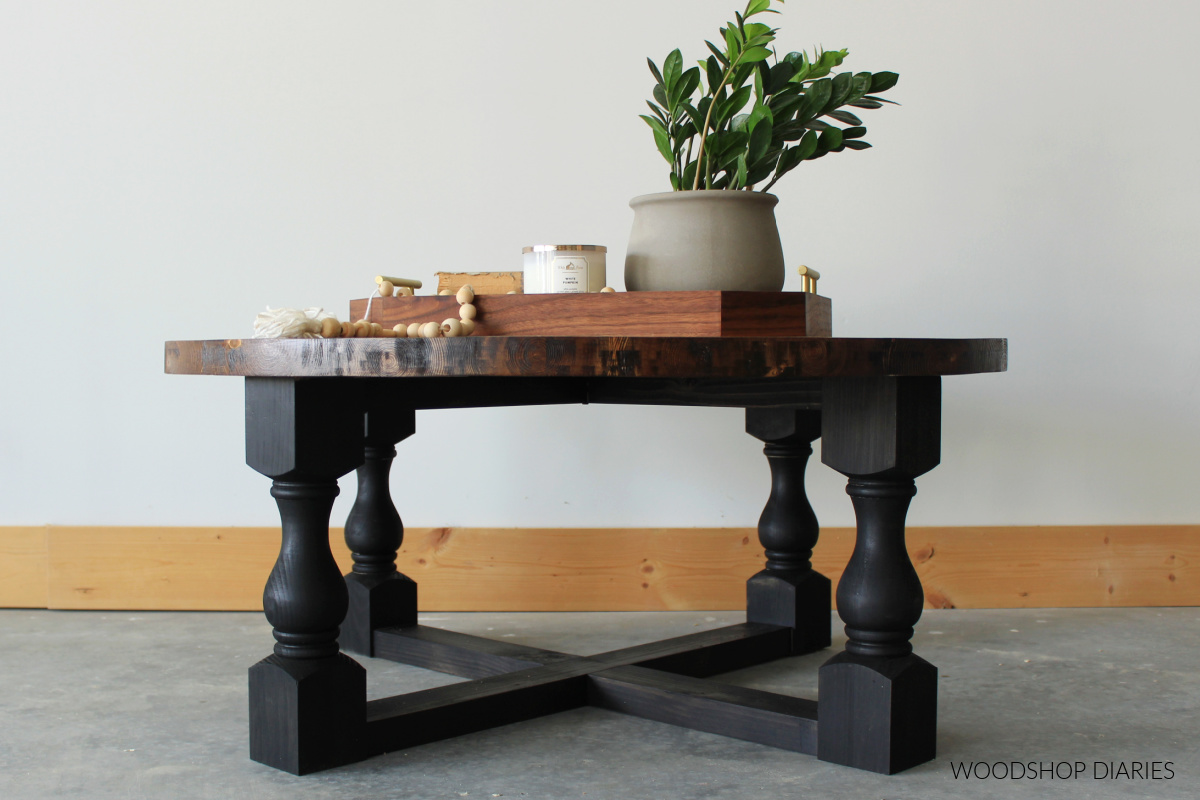
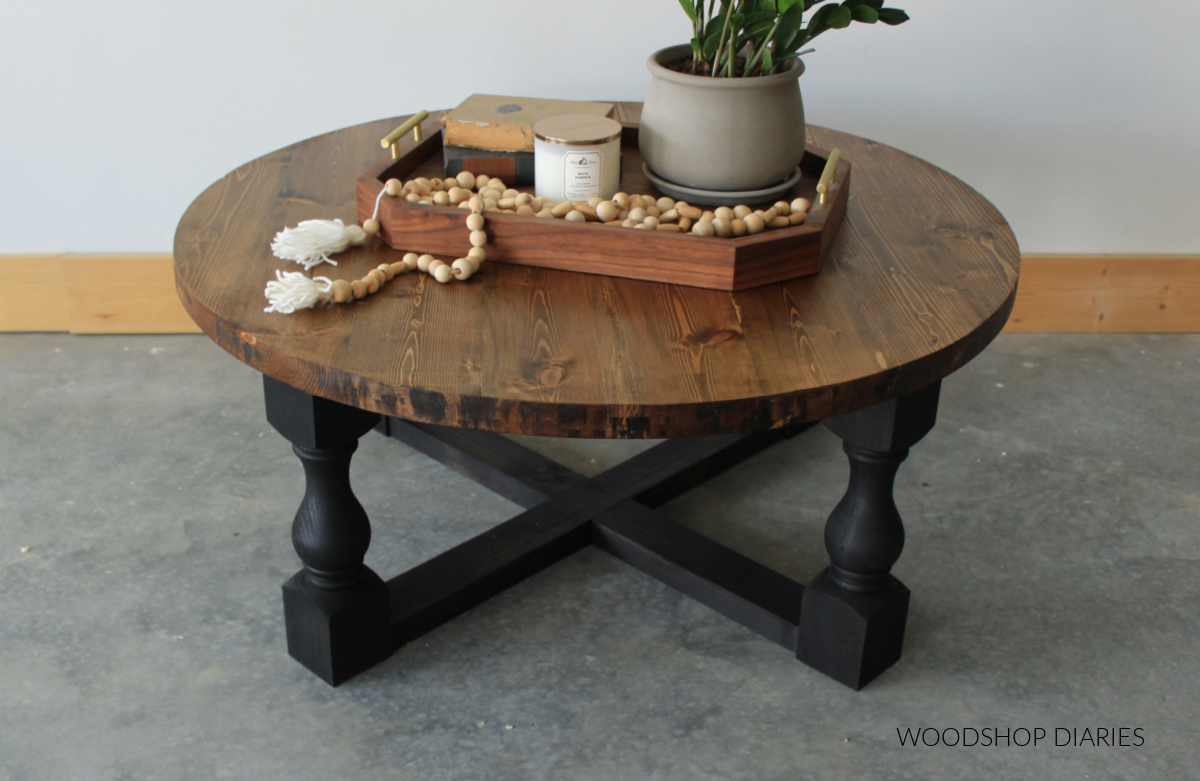
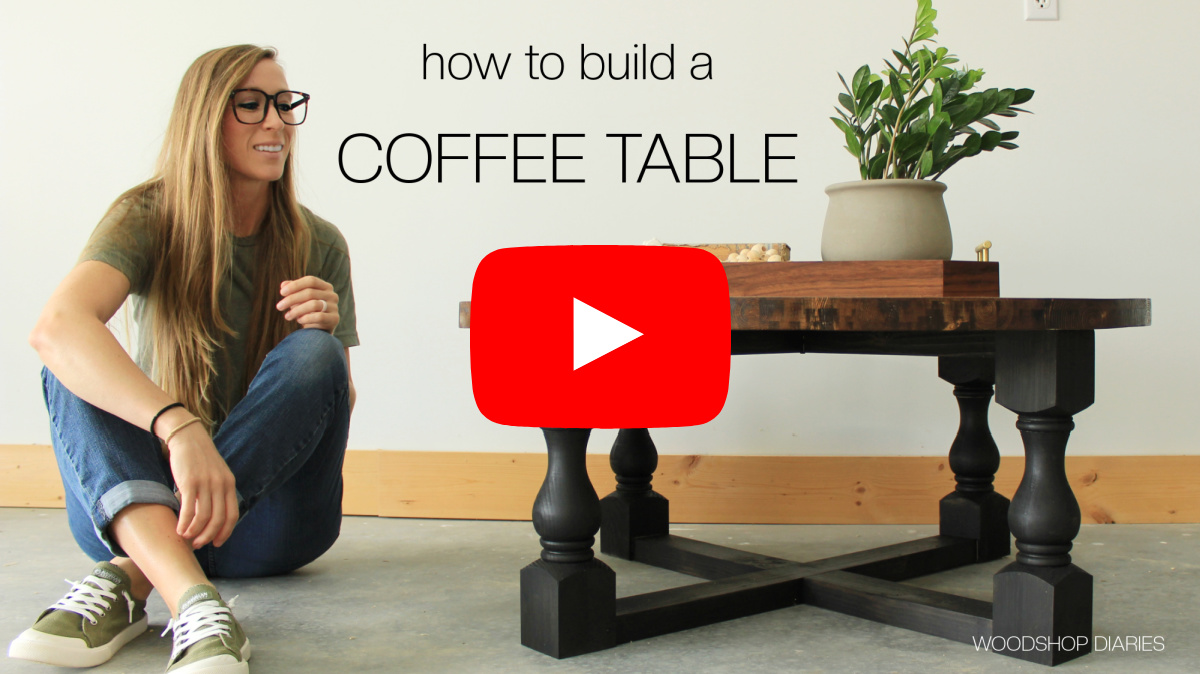
In this post, I’m sharing how to build a simple DIY coffee table with decorative legs!
*This post was sponsored by Kreg Tool. This post also contains affiliate links. See policies page.
Building a coffee table is a great weekend project for people of all skill levels.
It’s one of those projects that’s not too big, but not too small…challenging but not overwhelming.
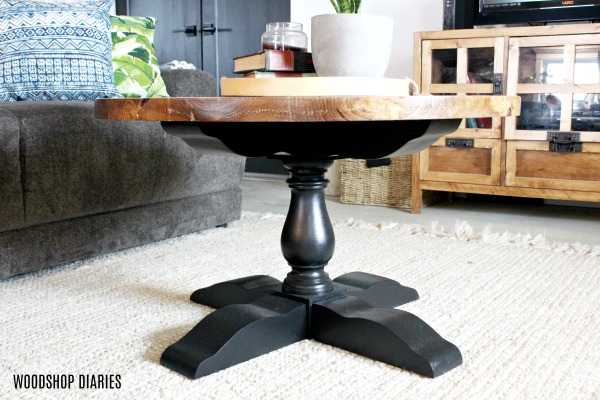
I built this particular project for my parents’ living room and I made the top round so that I won’t be jabbing my knees into the corners whenever I come to visit haha.
Just kidding…kind of.
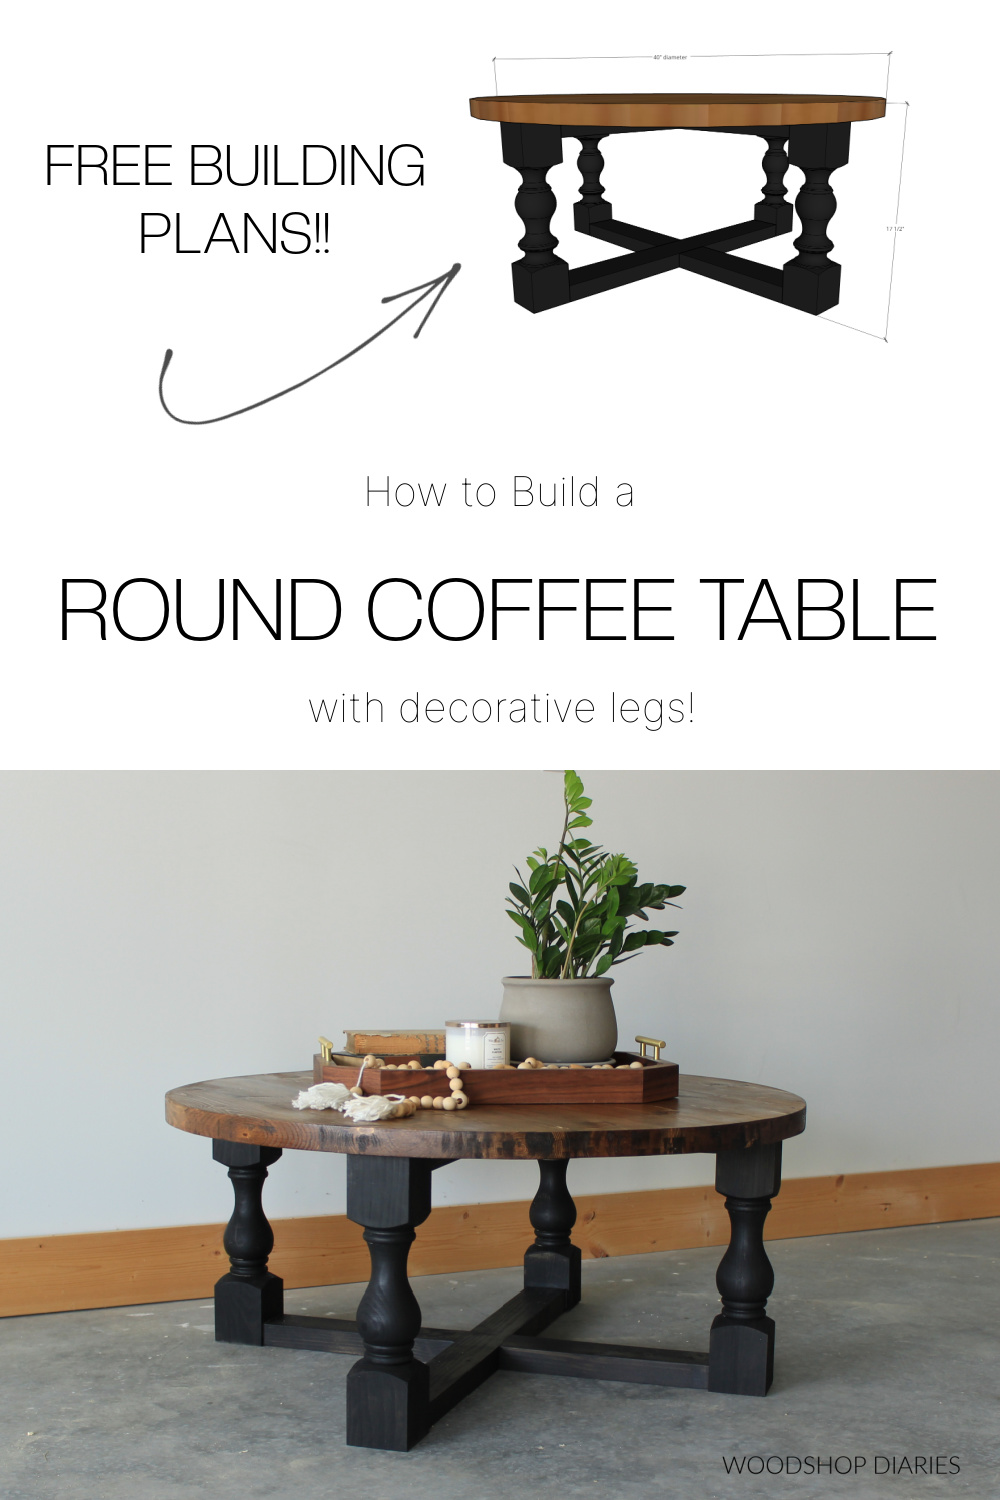
So if you’re ready to build one for yourself, I’m sharing the FREE building plans, step by step tutorial video, and so many helpful tips below.
Let’s dive in!
Before Building a Round Coffee Table with Decorative Legs
Wood Type:
You can use whatever type of wood you prefer for this project.

I built it from basic 2x construction lumber to keep costs low.
However, if you have access to hardwood and want to use that, feel free.
Gluing up the Table Top:
The table top here was made of 2x6s glued together into a large panel.
However, any 2x thick material would work for this. I actually recommend going with wider boards–like 2x12s–to minimize the number of glue joints in the build.
But, feel free to glue up your top with whatever width boards you’d like. As long as you end up with a panel roughly 40-42″ square, it’ll work just fine.
RELATED: Check out my post here on how to glue up table tops
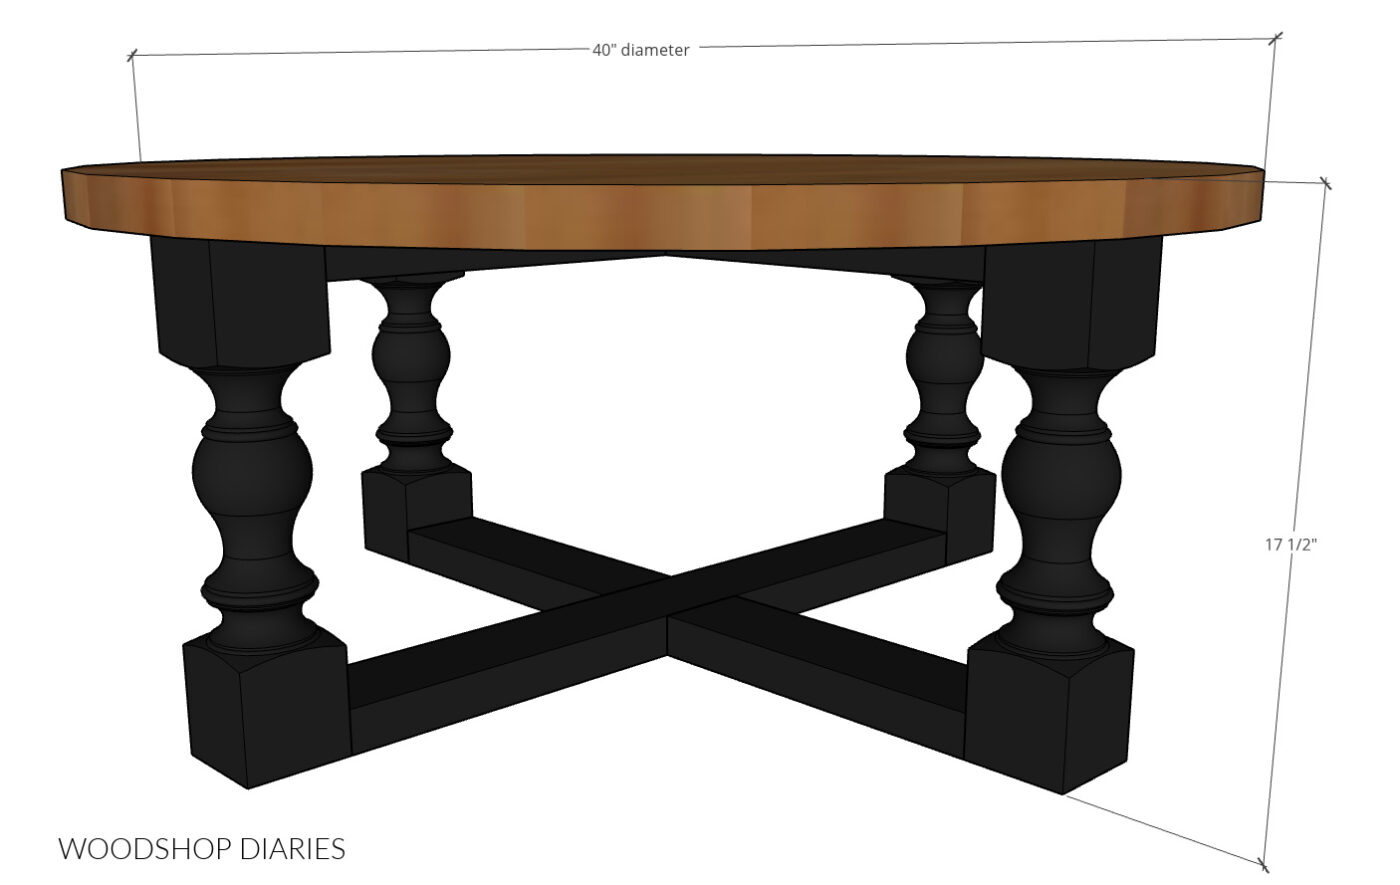
Overall Size:
The overall size of this coffee table is 17 ½″ tall and 40″ diameter.
If you wanted to make your coffee table with a square top instead, you could also do that.
It wouldn’t change the overall dimensions, unless you cut the top something other than 40″ square.
Some posts you may find helpful throughout the project:
Tools & Materials:
Tools:
- Kreg 720 Pocket Hole Jig
- Miter Saw
- Drill/Driver
- Jig saw OR Router and straight bit (to cut round top)
- Clamps
- Sander
Materials:
- (2) 2x12x8 boards
- (2) 2x4x8 boards
- (4) coffee table legs
- 2 ½″ pocket hole screws
- Washers, Z clips, OR Figure 8 Fasteners (to attach top)
- Wood Glue
How to Build a Coffee Table with Decorative Legs
Now it’s time to grab your tools and head to the shop to get building!
I’m sharing the step by step tutorial below along with the free building plans, but if you prefer to watch, I also have a quick project overview video here:
Step 1: Assemble Coffee Table Top
I’ll warn you now–making the top is the most difficult part. Once you get past step 1, you can complete 2-4 in about 5 minutes.
But hang with me through this step. You got this.
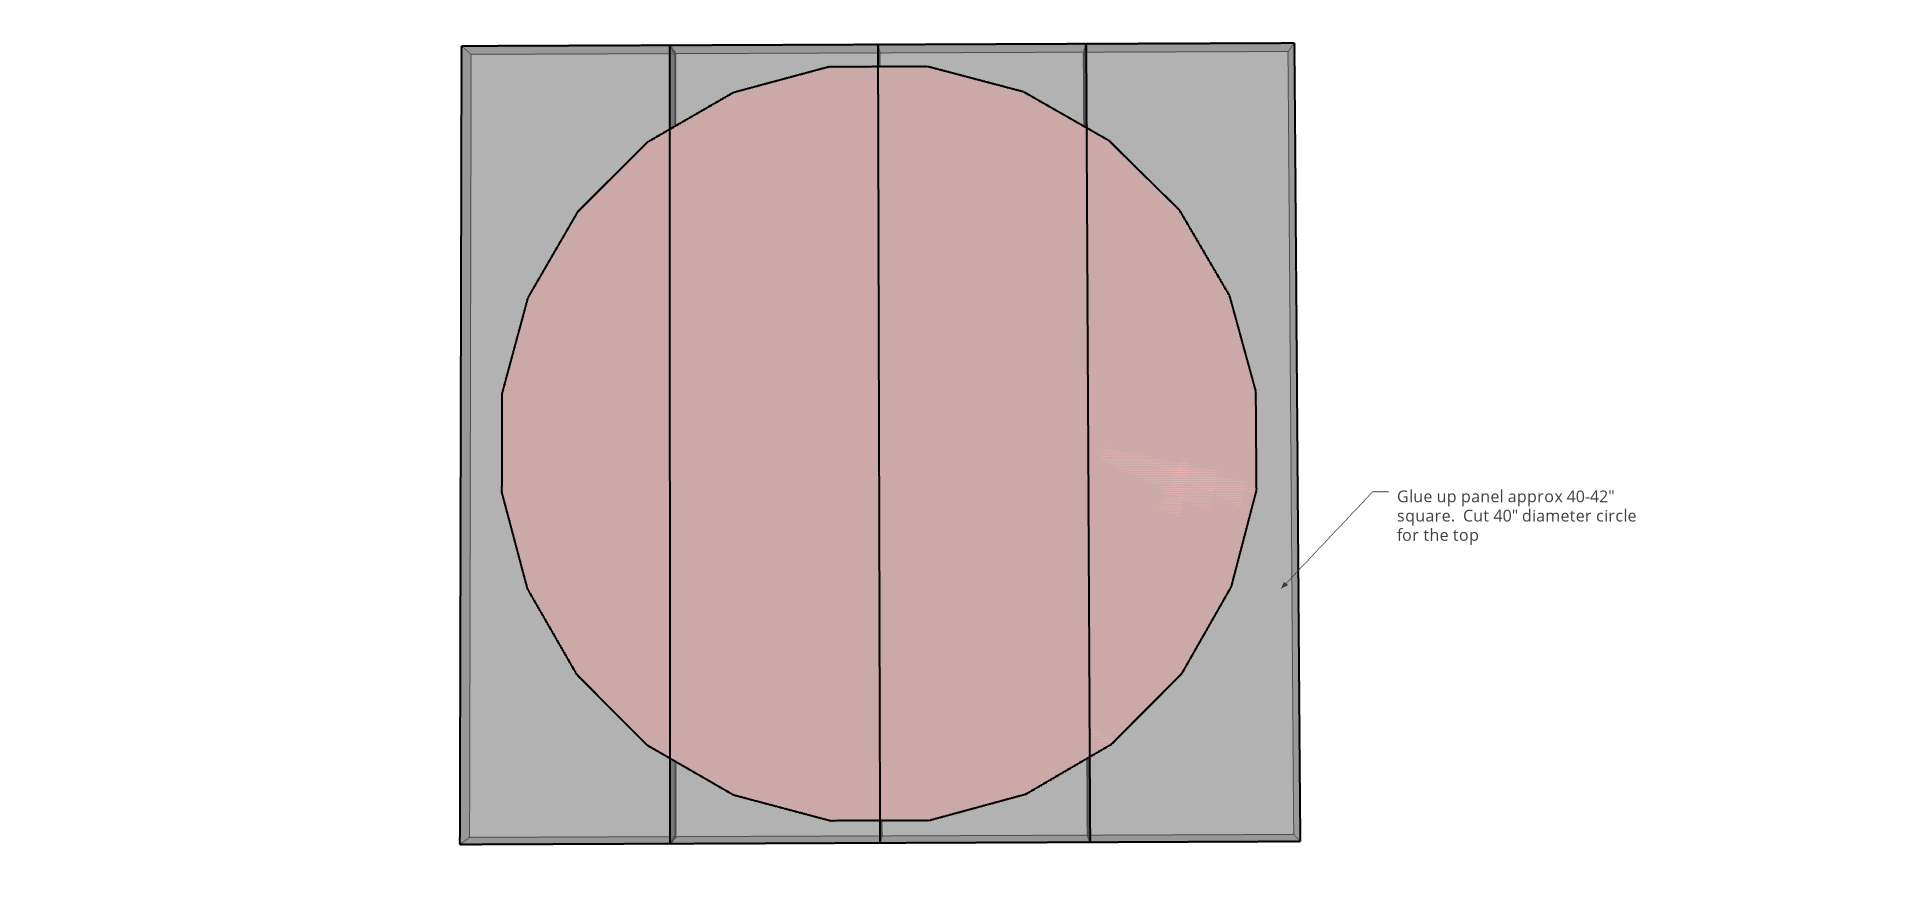
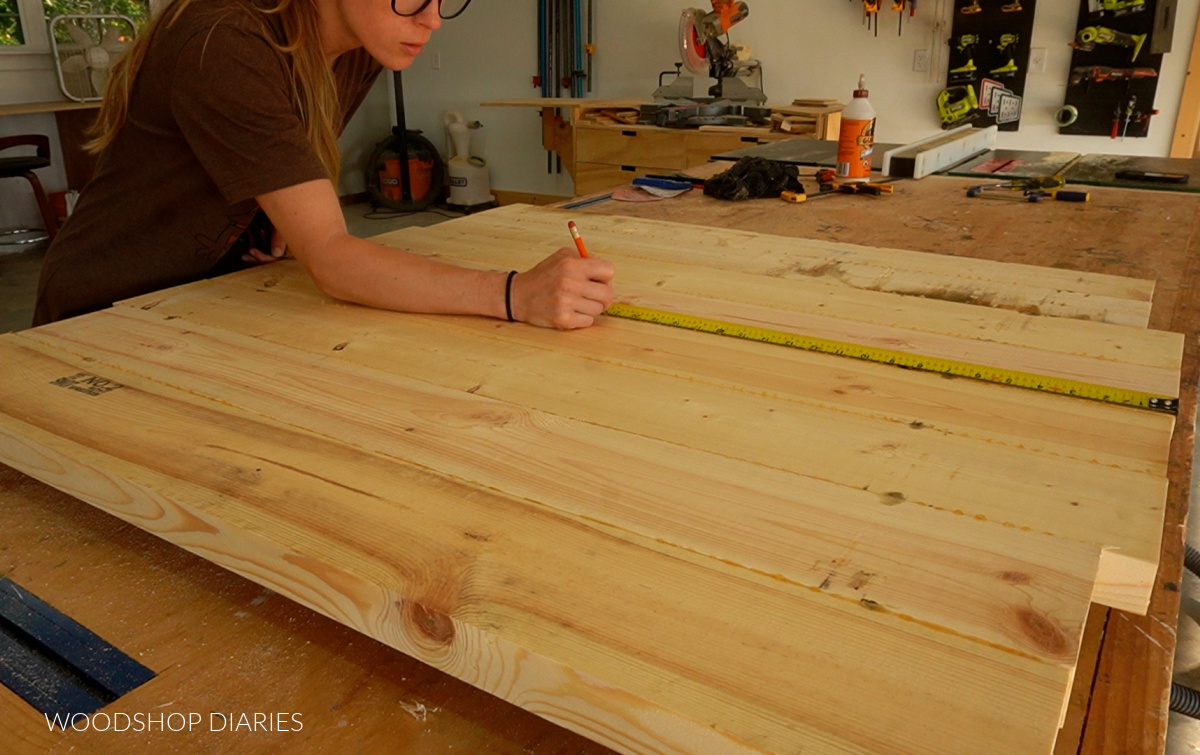
First, I glued up a solid wood panel about 40-42″ square from 2x material.
You can use 2x anything, but if you use 2x12s, you only have to deal with three glue joints, so that makes it a little easier. See notes above.
In that case, you’d simply glue up 4 pieces of 2×12 about 42″ long–shown in grey below.
You can use glue with 1 ½” pocket holes with 2 ½” pocket hole screws to assemble the boards into a panel if you don’t want to wait for the glue to fully dry before moving on.
The pocket hole screws will act as a clamp until the glue dries. However, glue alone will work just fine if you keep the boards clamped until glue is fully dry.
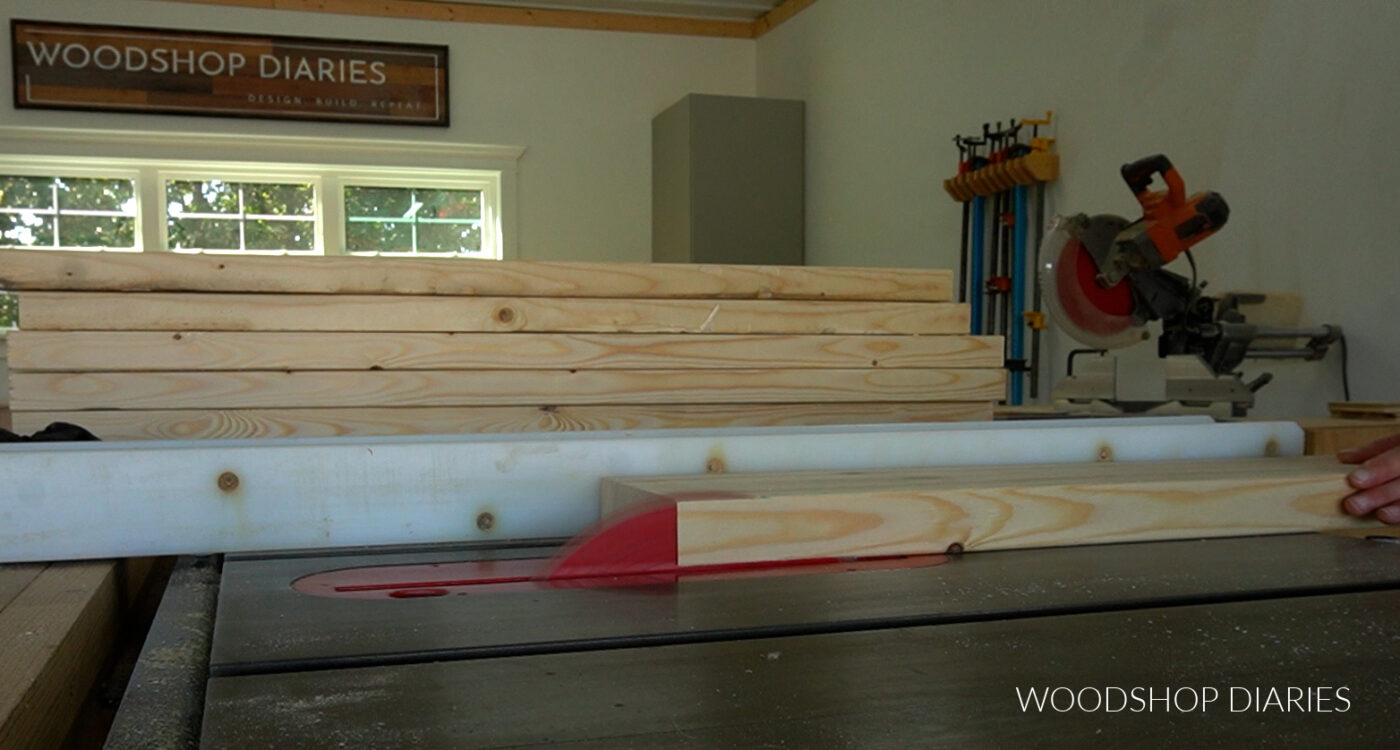
If you have access to a table saw or jointer, I’d recommend squaring the edges off the boards before gluing up.
RELATED: How and why to square board edges before gluing
Once the glue was dry, I flipped the panel upside down on some scrap blocks on my workbench and marked the center.
Then, I used my router with a straight bit and a circle jig to cut a 40″ diameter circle.
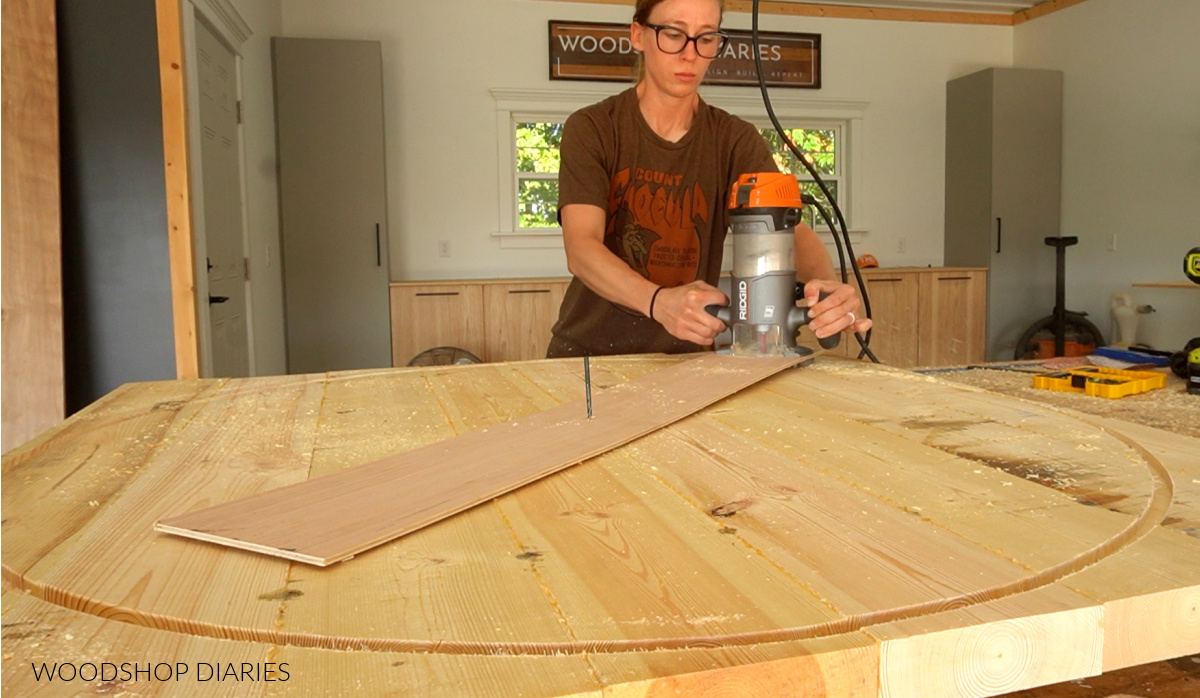
However, if you don’t want to use a router, you can also just draw a 40″ diameter circle and use a jig saw to cut it out.
RELATED: How to draw any size circle
Once it’s cut out, sand it well to flatten, smooth, and remove any excess glue squeeze out.
Step 2: Build X Frames for Coffee Table Base
The rest of the build is super easy, so if you’ve made it here, high fives all around!
You can find all the dimensions in the plans here, but I assembled two identical “X” braces from 2x4s–one for the top and one for the bottom.
I cut two long pieces, and 4 short pieces, drilled 1 ½″ pocket holes into the ends of each, then assembled using 2 ½″ pocket hole screws.
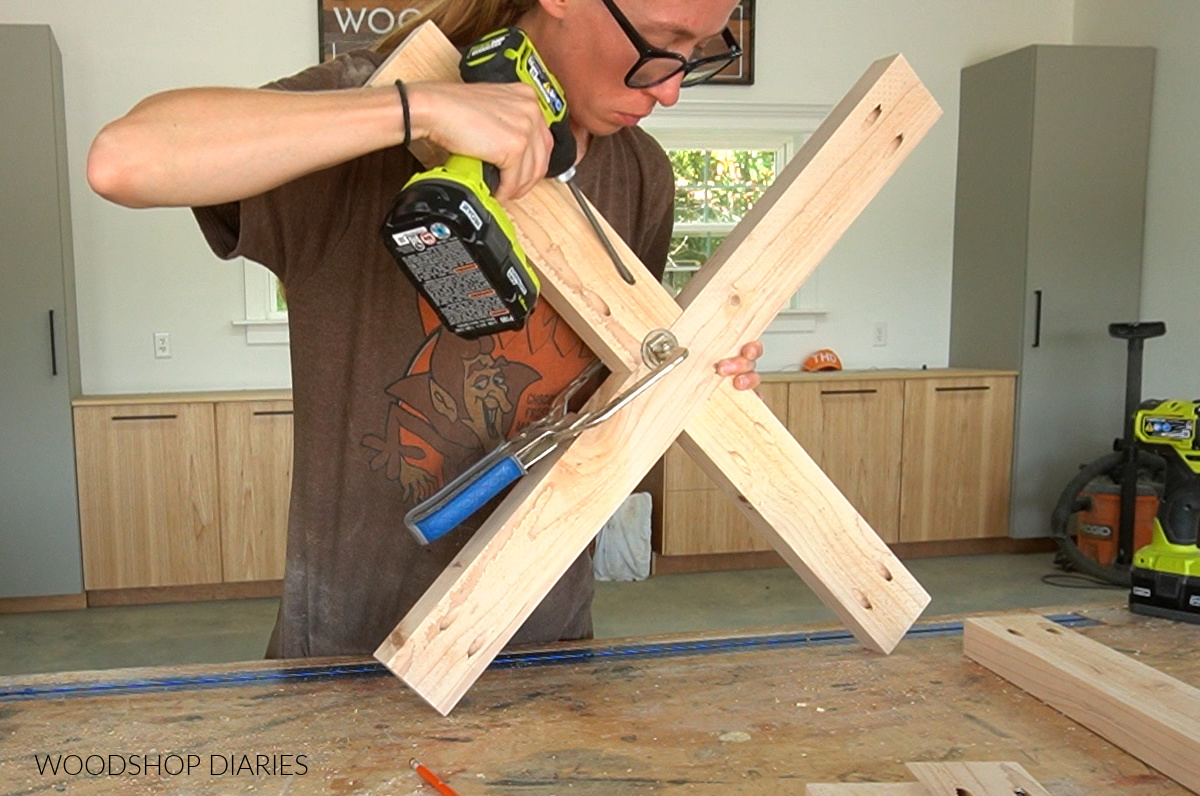
I made sure the short pieces were centered on the long pieces when attaching.
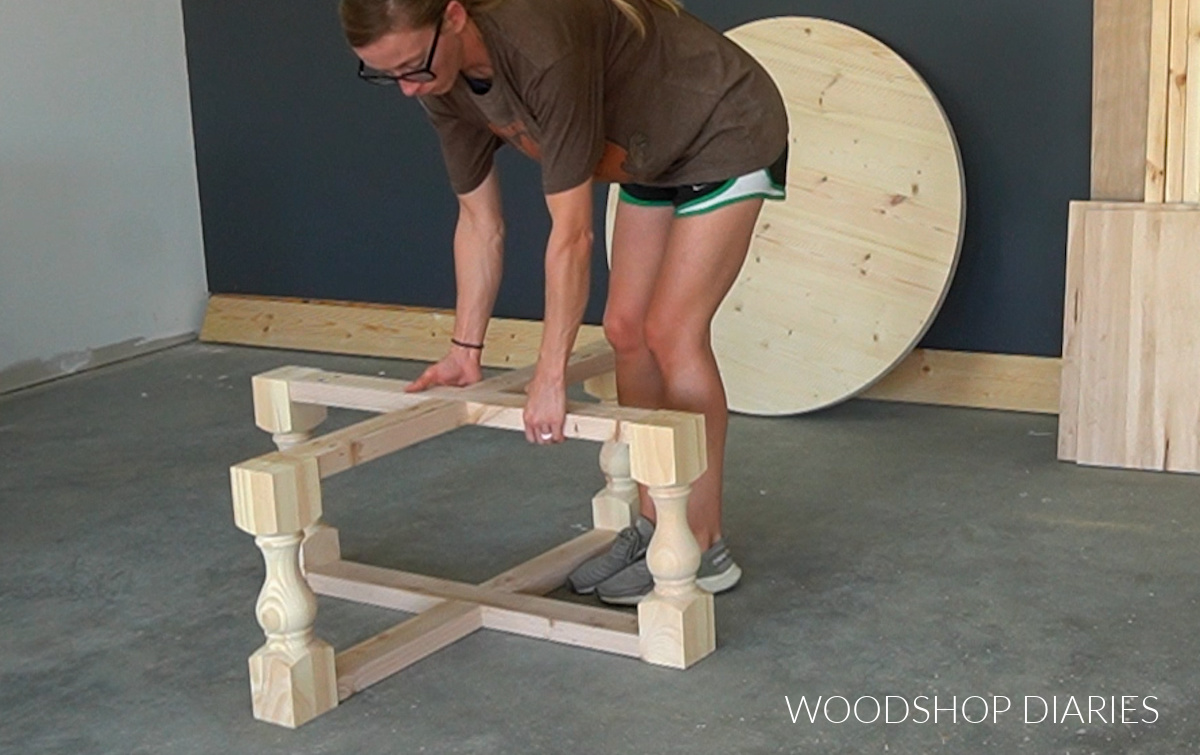
Step 3: Assemble Coffee Table Base
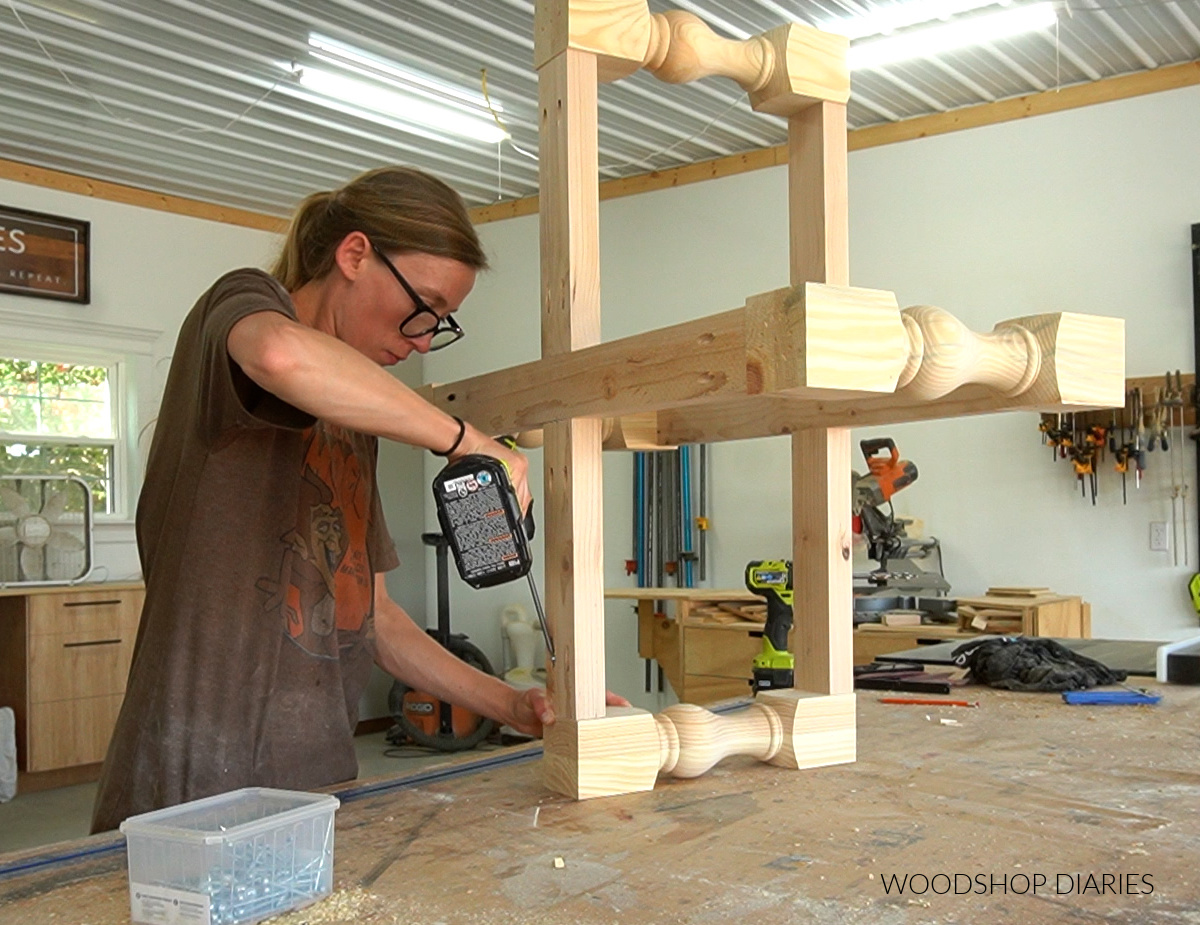
Once both “x” braces were assembled from step 2, I attached them onto the legs.
I used these legs for this project. They come in a set of 4.
However, there are tons of premade legs you can find online, so if you want something different, feel free to browse around.
I used 2 ½″ pocket hole screws to attach one X brace at the bottom and one at the top of each leg.
I made sure the pocket holes on the top were facing toward the top and the ones on the bottom were facing toward the bottom.
That way, they’ll all be hidden in the finished project.
Step 4: Attach Top to Base
Because all of this is solid wood, it all has the potential to move.
So there are tons of ways to attach the top to allow for wood movement.
In my last two videos (the glass door cabinet, and the 3 drawer dresser), I show using figure 8 fasteners and that’s an option as well as using Z clips.
But, another simpler option is to just drill some oversized holes through the base, but not into the top.
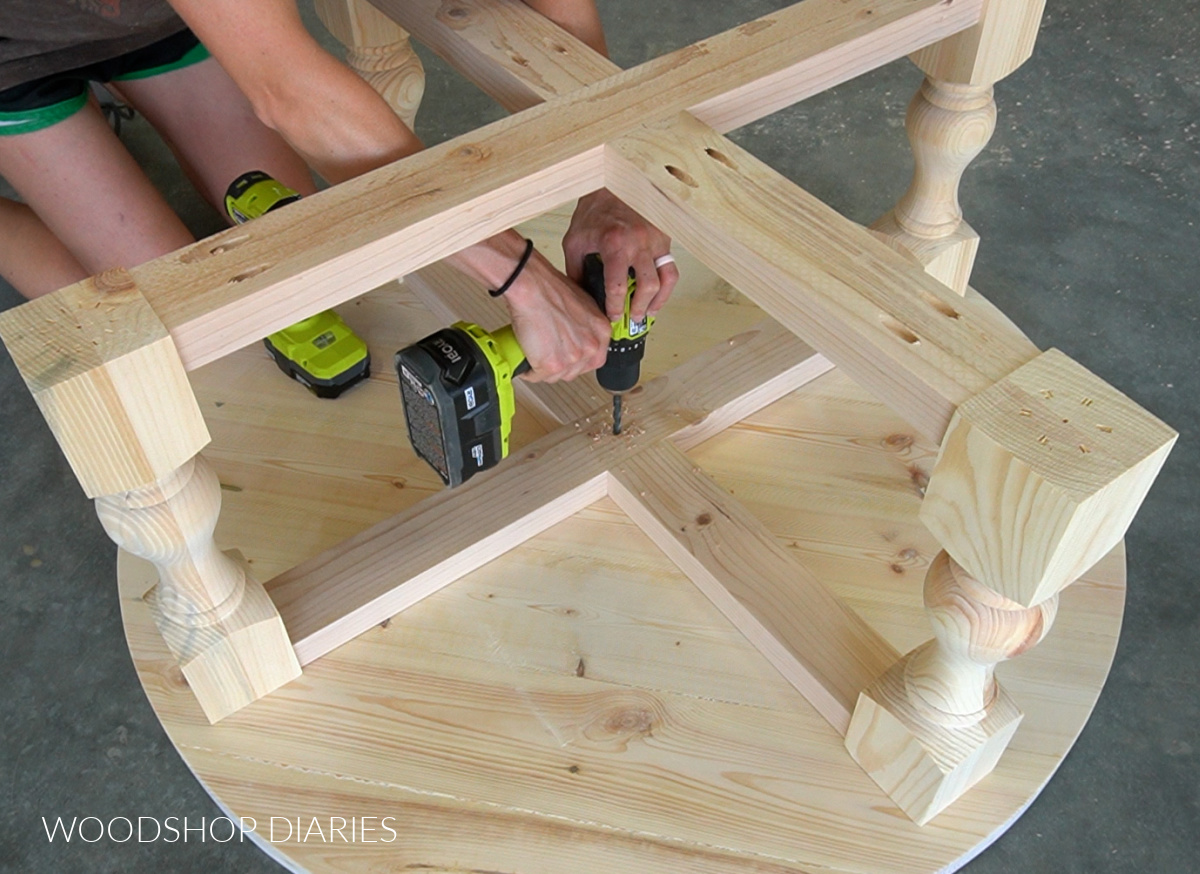
Then use screws with washers through these holes to secure.
Drilling large holes in the base piece allows the screw to move within the hole as the top expands and contracts.
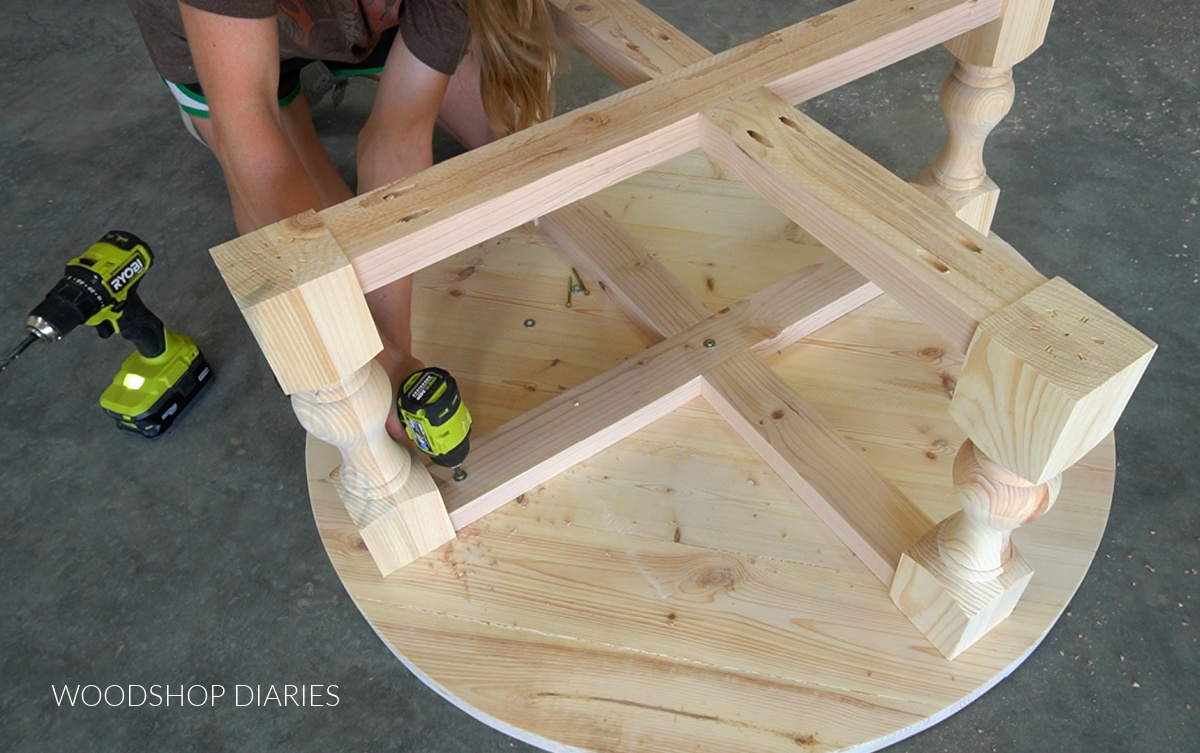
I attached the base to the top in the center and at each end just behind the table legs.
Step 5: Finish Coffee Table
And that completed the building part. All that was left was adding a little stain and some poly.
I stained the base with Varathane Ebony and the top with Minwax Provincial.
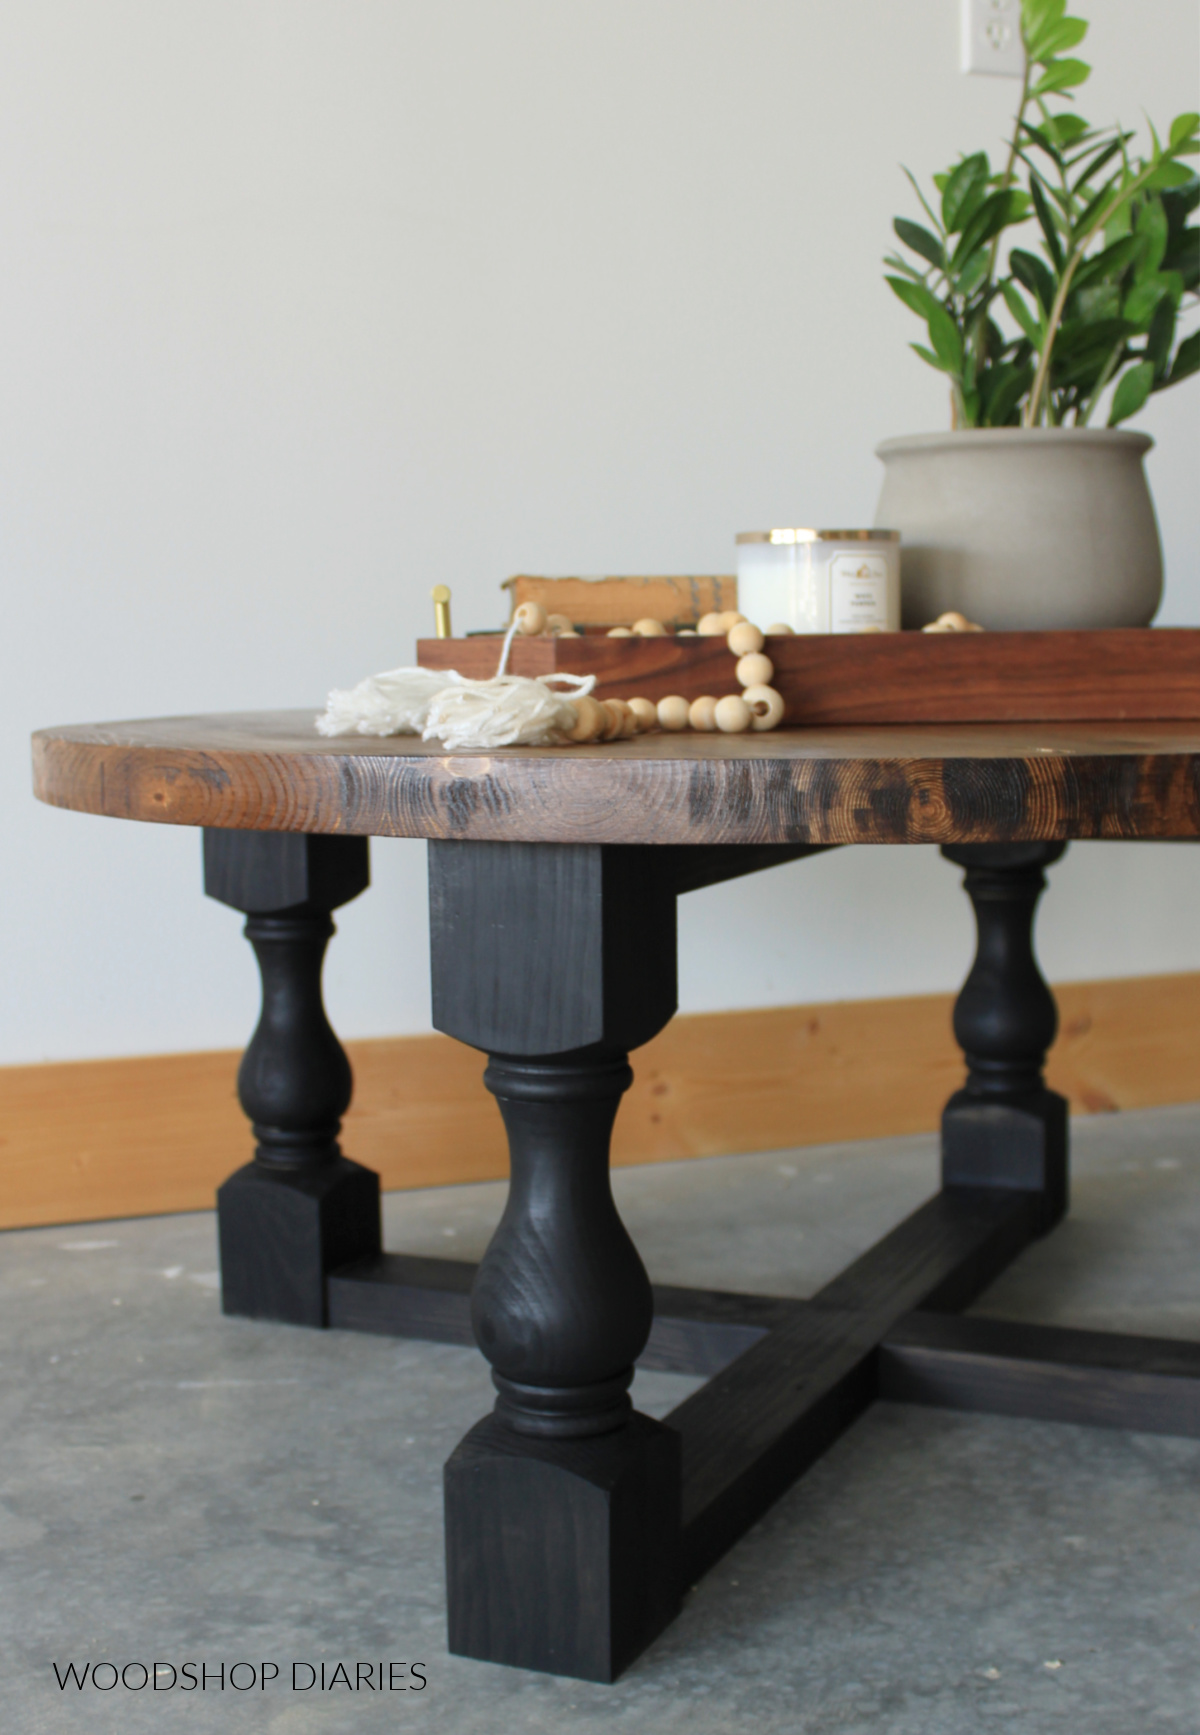
Then, I sealed the top with Minwax Polycrylic.
I sealed the top and bottom sides of the top panel with poly to help keep it as stable as possible, and now it’s ready for mom and dad’s living room.
Looking for More Coffee Table Ideas?
I hope you enjoyed watching this project come to life as much as I enjoyed building it!
If you want more information on the build, check out the full length YouTube video here:
And for all the dimensions and details, grab the free building plans for this project on KregTool.com.
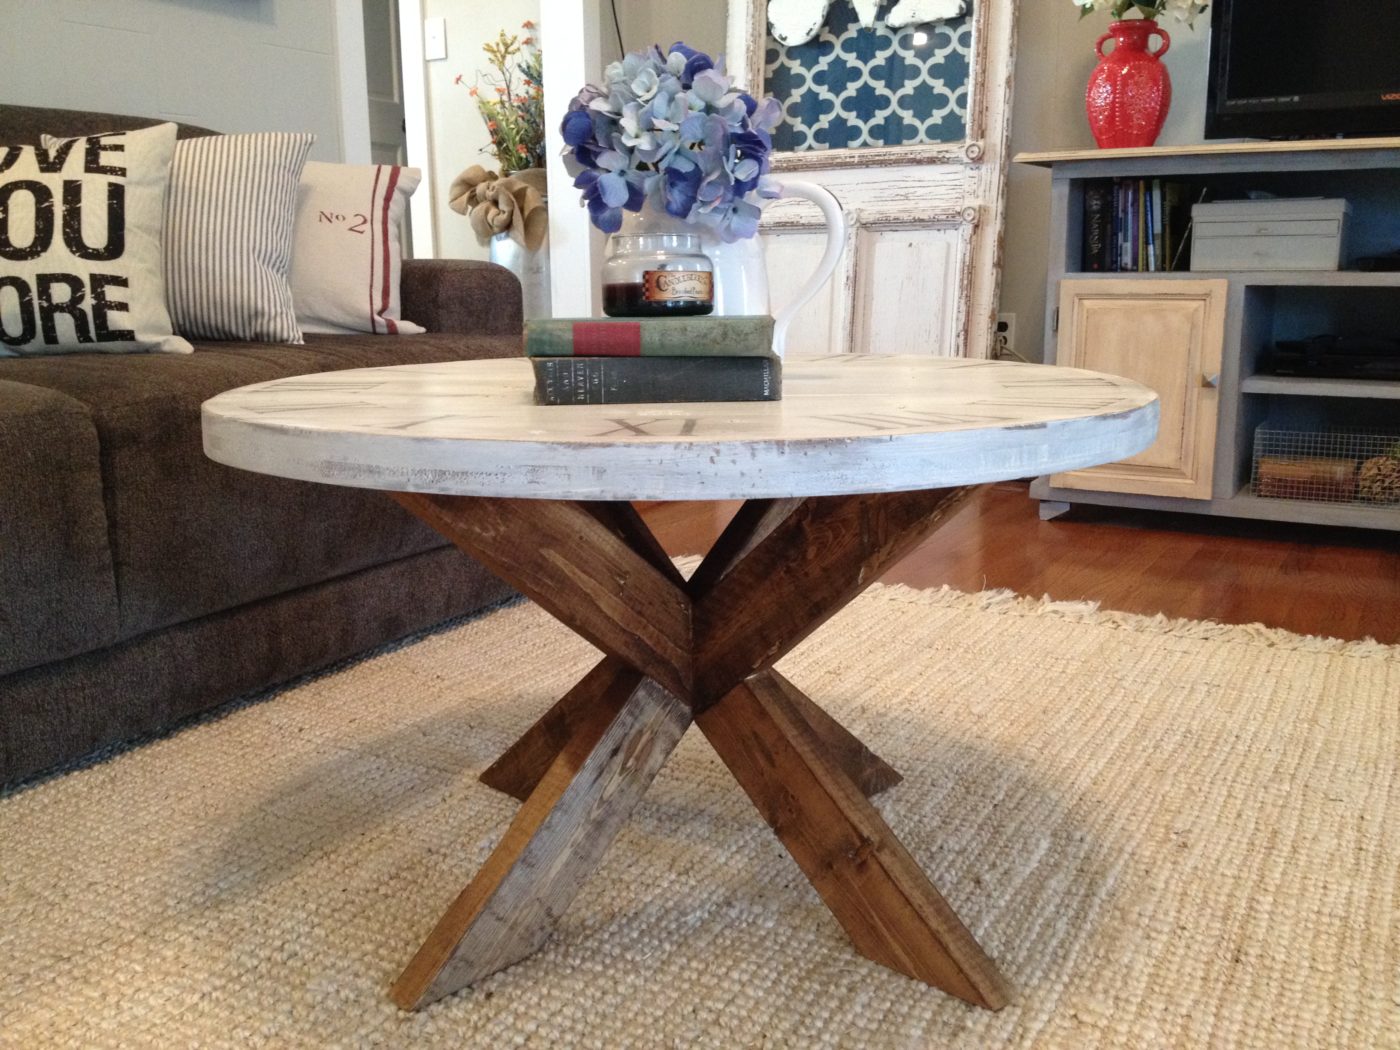
Check out more DIY coffee table building plans here:

Sign up for the newsletter to be the first to know when new projects and plans are posted.
If you’d like to save this for later, don’t forget to pin it or share it to your favorite social channel!
Until next time, friends, happy building!