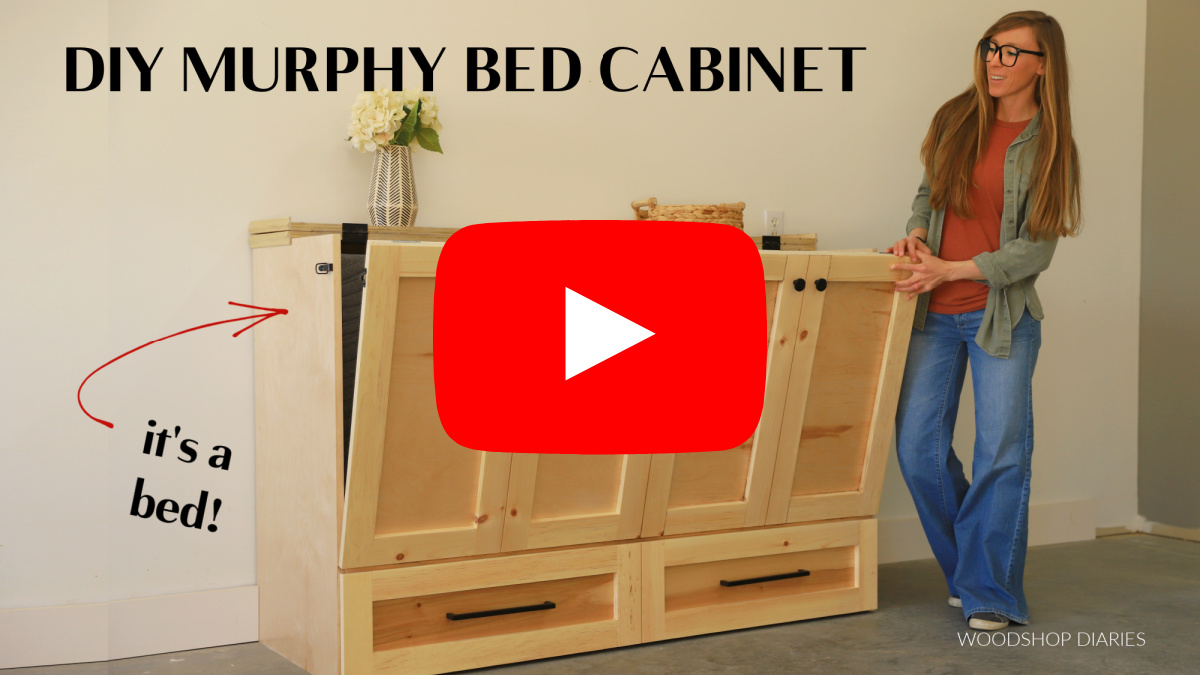
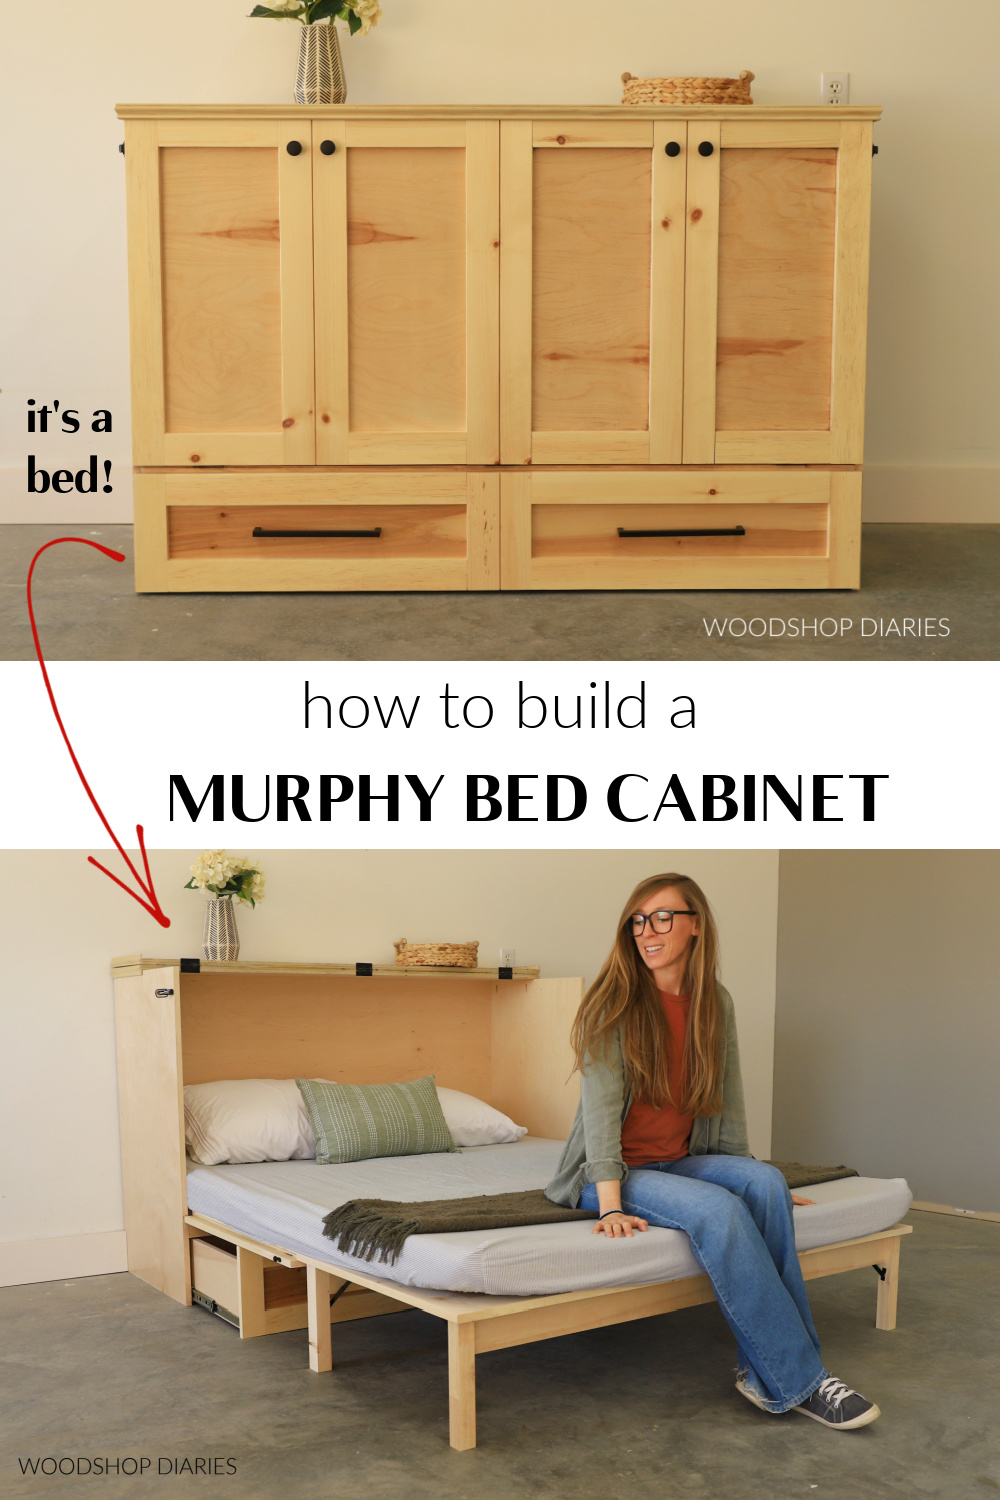
In this post, I’m showing you how to build a DIY murphy bed cabinet!
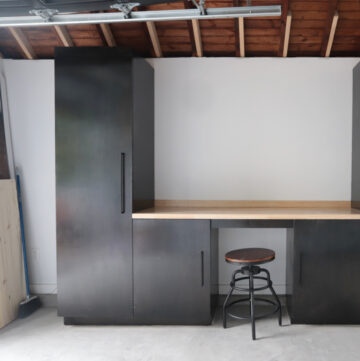
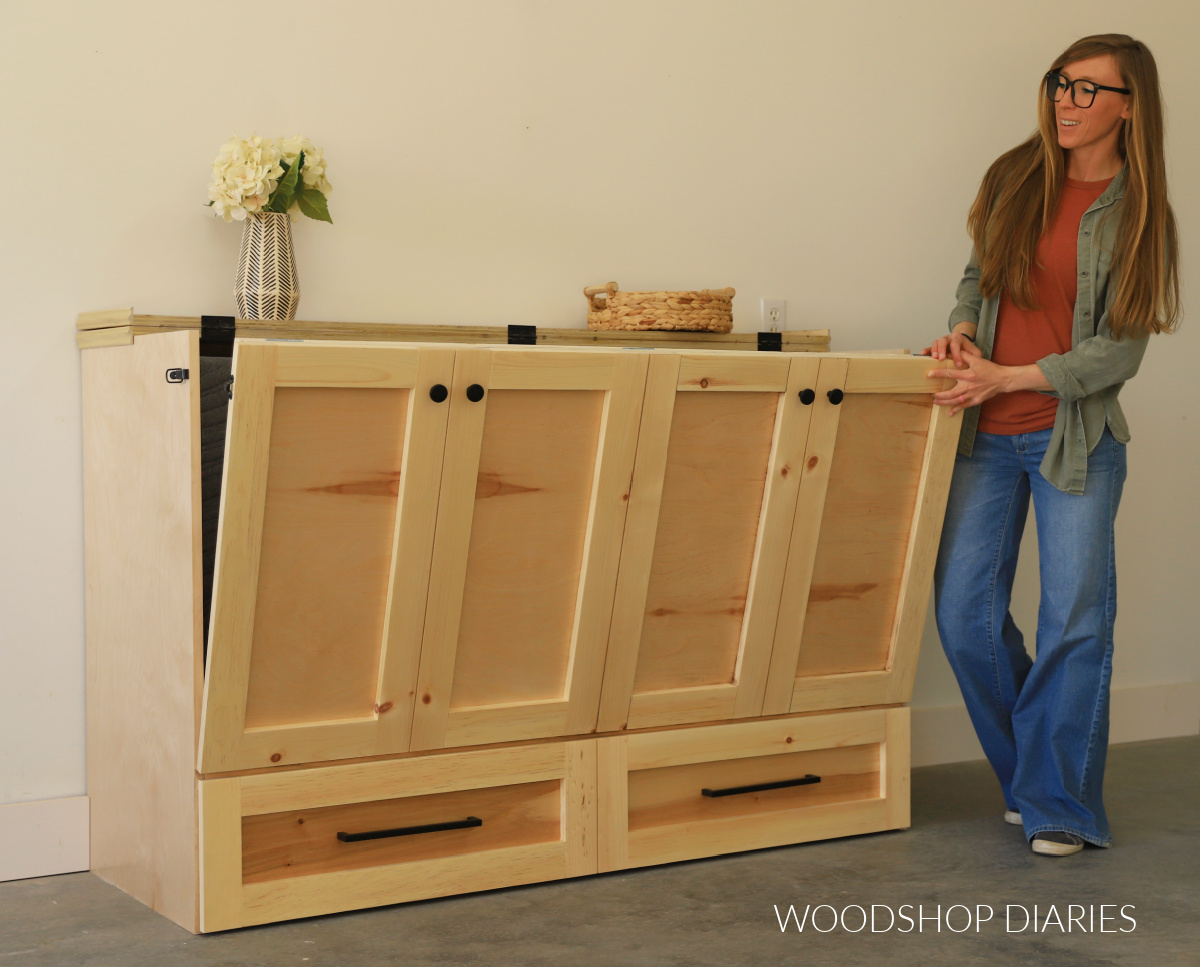
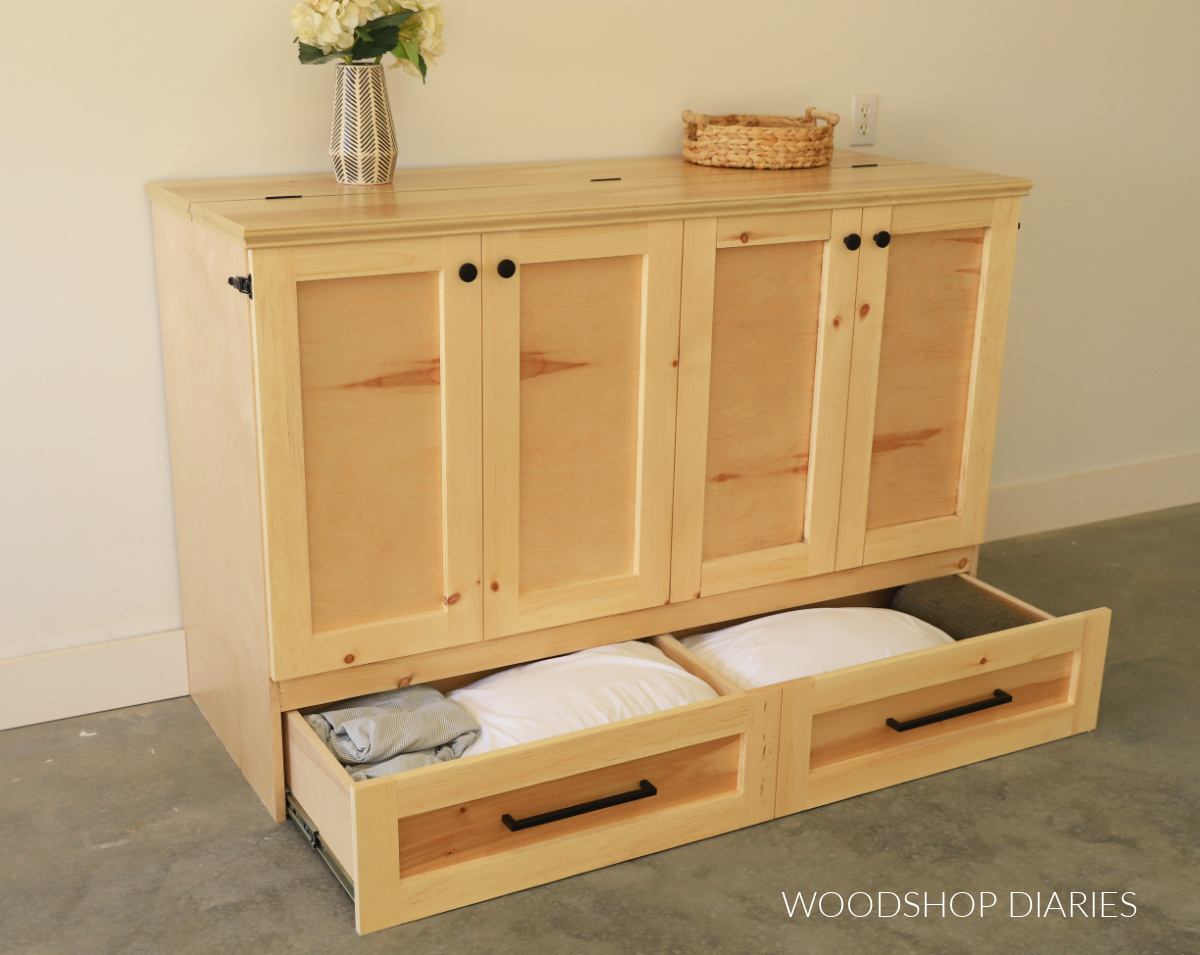
It looks like a regular console cabinet, TV stand, or dresser when it’s closed up.

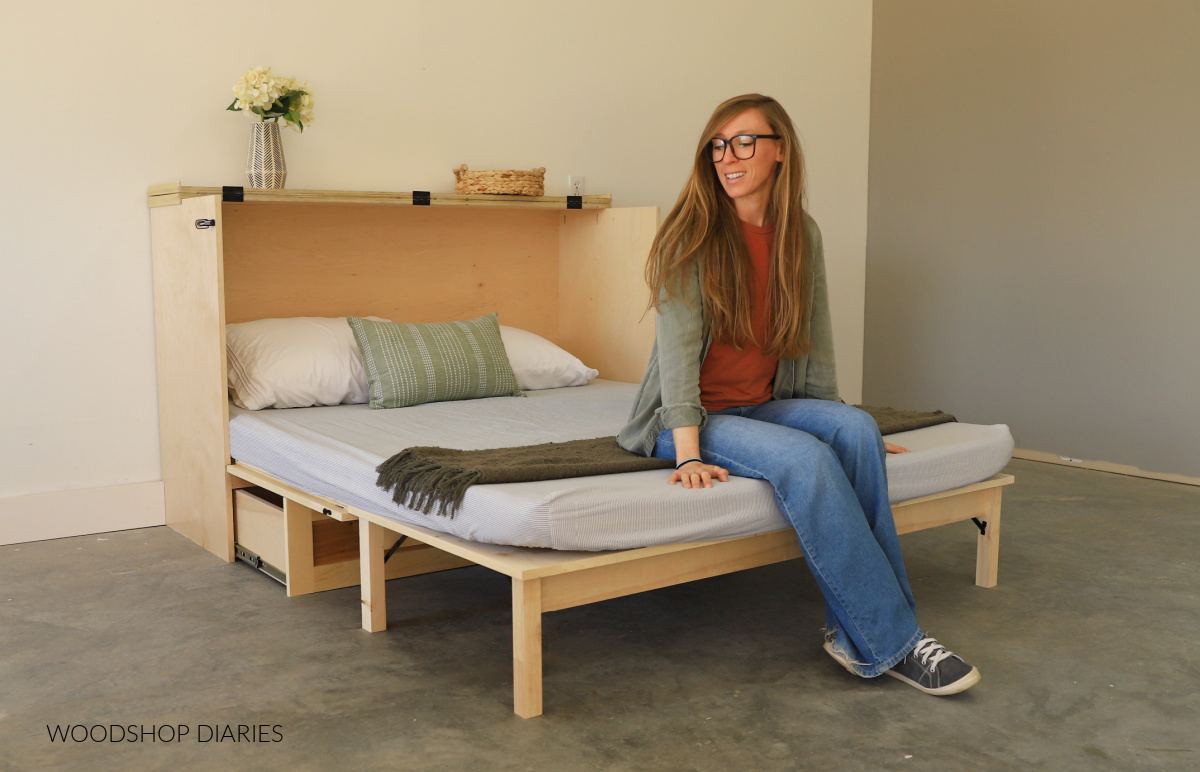
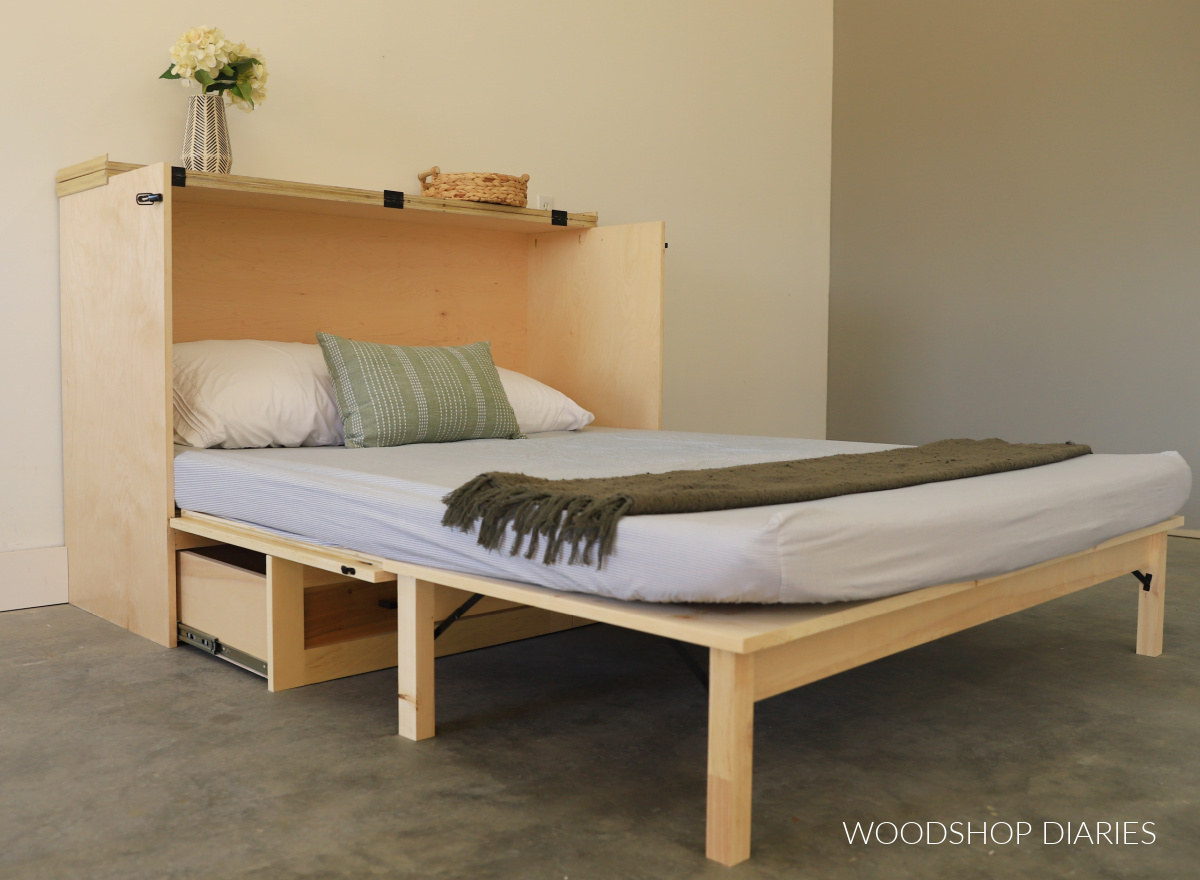
But if you open and fold it out, it makes the perfect guest bed! The trifold murphy bed mattress stores away in the top section and the bottom drawer fits pillows and bedding.
If you need a bedding solution for a small space or just want an easy way to transition an office or living room into a bedroom for guests, this is the project for you!
I’ve got the details and plans for how to build it below along with some tips and other considerations before you build.
*This post contains affiliate links. See website policies.
What to consider before building
This project does not require a lot of tools, but does have a lot of moving parts–quite literally.
For this reason, I’d consider this an intermediate level project, but the assembly itself is pretty straightforward.
What Type of Mattress to Use with DIY Murphy Bed Cabinet
This murphy bed cabinet is designed to be used with a trifold mattress (which is a mattress that folds into thirds). This mattress folds up and stores inside the cabinet.

You can find trifold mattresses in standard mattress sizes–like full, queen, etc. And they usually come as either 4″ or 6″–this is the THICKNESS of the mattress when laid flat.
I used a 4″ foam mattress and there was PLENTY of room inside the cabinet left, so I think it could fit a 6″ mattress as well.
I’ve got plans for a full and a queen size murphy bed cabinet below, so make sure the mattress you choose is the same size as the bed.
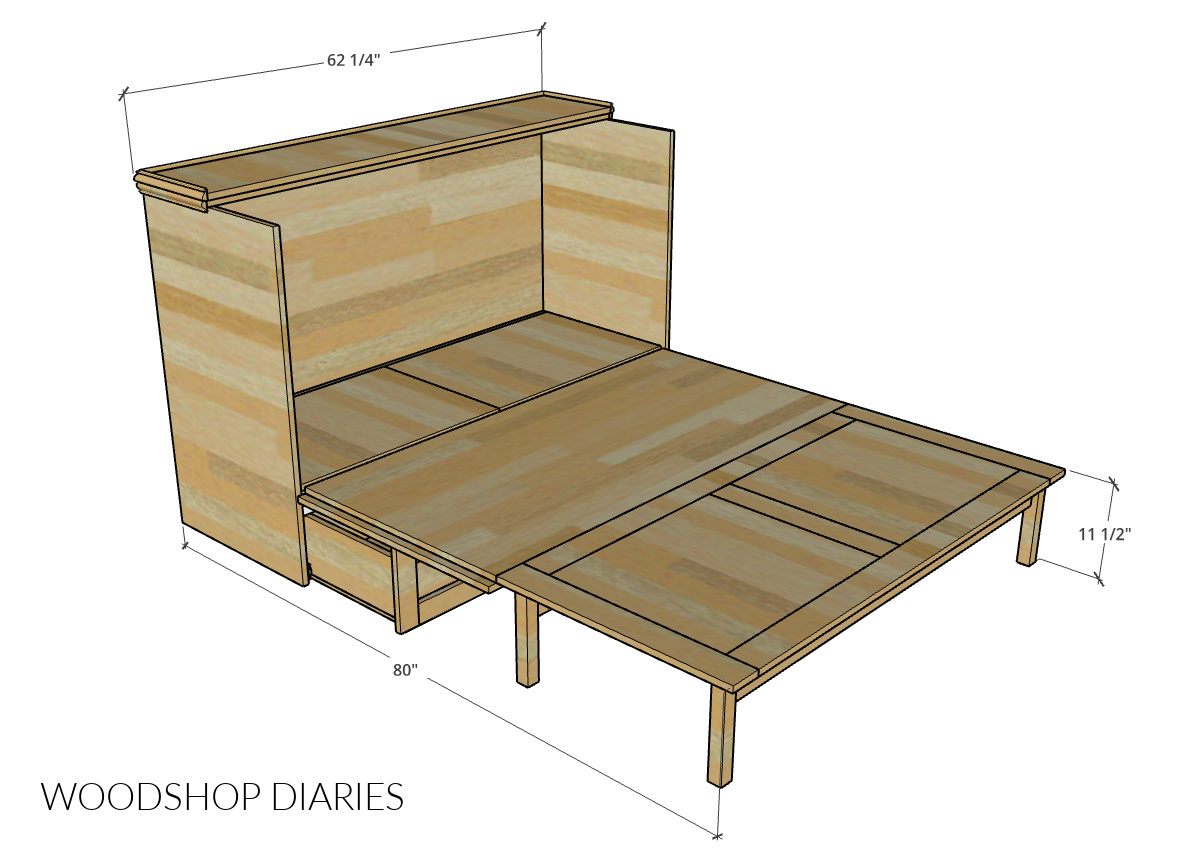
Overall Dimensions
The overall dimensions of this murphy bed cabinet vary depending on what size you’re building, but for a queen, the cabinet when closed measures about 24 ¾″ deep x 40 ¾″ tall x 62 ¼″ wide.

The full would be about 6″ narrower than the queen, but would stay the same height and depth.
The queen size, when folded out measures 80″ long. The full would measure about 5″ shorter.
You might find these resources helpful throughout the build:
Are DIY projects your thing? Sign up for our newsletter for priority access to the latest projects and build plans!
How to Build a Murphy Bed Cabinet
If you prefer to watch, I’ve shared the full build video with tons of tips, behind the scenes, and additional details on my YouTube Channel here.
Love watching how-to videos? Subscribe to my YouTube channel for plenty more where that came from!
Prefer to print? Grab the printable murphy bed cabinet building plans here:
Tools & Materials
Tools:
- Drill/Driver
- Circular Saw
- Miter Saw
- Cutting Guides (Kreg Rip Cut and AccuCut)–optional
- Pocket Hole Jig
- Table saw
Materials:
- (2) 4’x’8′ sheets ¾″ plywood*
- (1) 4’x8′ sheet ½″ plywood*
- 1x3x8 boards
- 1x4x8 boards
- 1x6x10 board
- 2x2x8 board
- 1 ¼″ wide base cap (or other) molding
- 1″ pocket hole screws (100 count box)
- 1 ¼″ pocket hole screws (250 count box)
- 1 ¼″ wood screws (1 lb box or approx. 200)
- (1) pair 18″ ball bearing drawer slides
- (13) 1 ½″ x 2 ½″ butt hinges
- (2) pair locking lid supports
- (2) latches
- Wood glue
- Edge banding (optional)
- TriFold Mattress
*I used birch plywood and spruce/pine lumber for this project. Learn how to choose the right plywood for your project here.
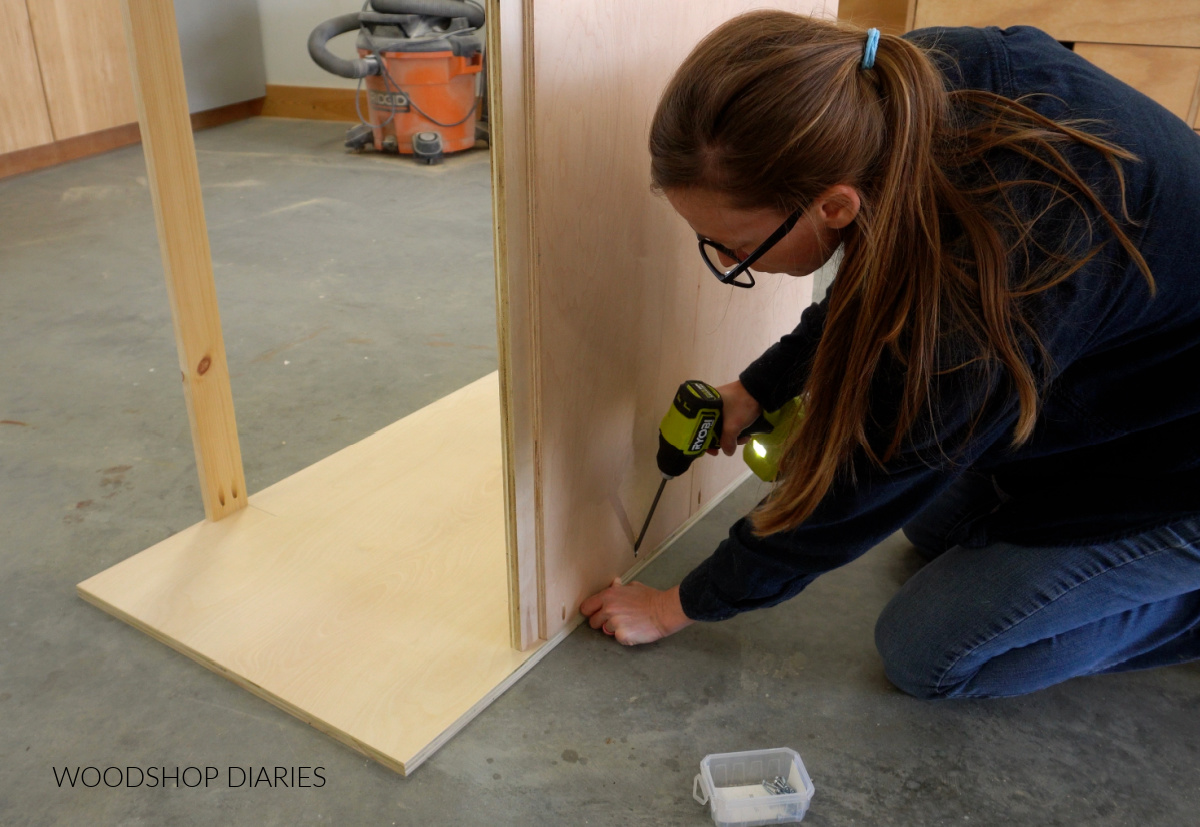
Step 1: Assemble the Cabinet
I started this project by cutting down my plywood sheets to start building the main cabinet. Learn how to cut plywood sheets here.
I used ¾″ plywood for the sides, top and bottom and ½″ plywood for the back. And I cut a 1×3 and a 1×4 for the front and back supports.
To keep things simple, I used pocket holes and screws to attach the 1×3 and 1×4 and the ½″ plywood panel between the side panels.
Remember to use ¾″ pocket holes and 1 ¼″ pocket hole screws with ¾″ thick material and ½″ plywood with 1″ pocket hole screws with ½″ thick material.
Learn how to use a pocket hole jig here.
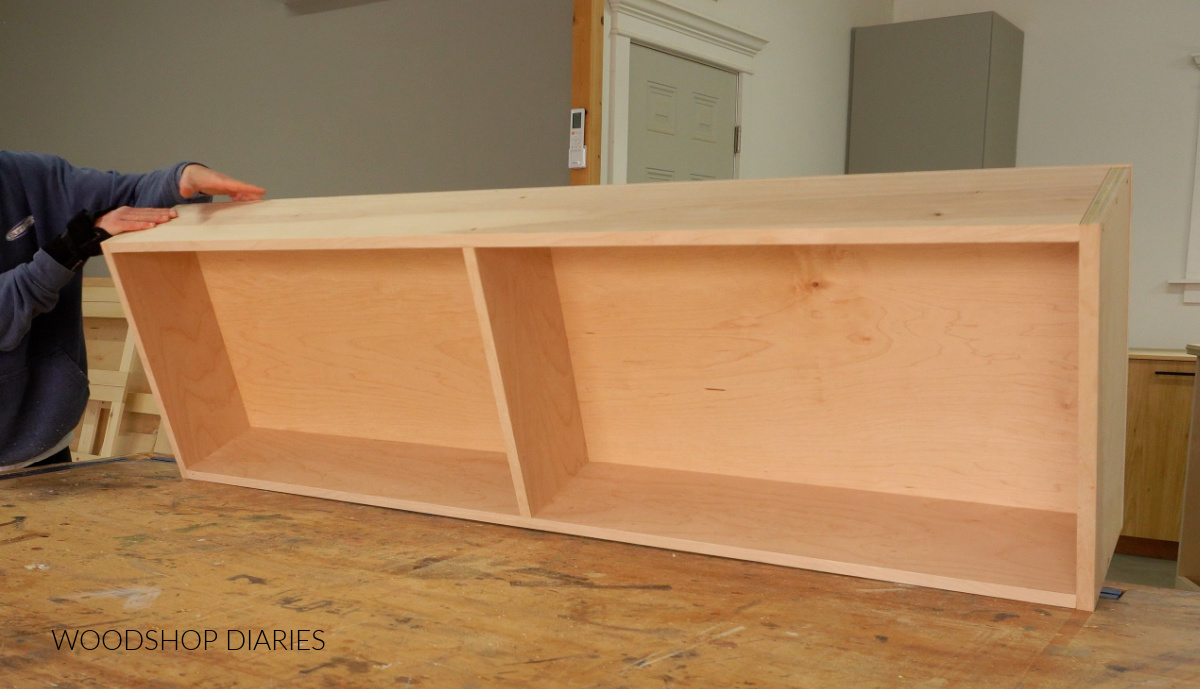
Next, I installed a 1×4 strip between the front and back supports and added the bottom panels on top of that. They meet in the middle to rest on this center support.
You’ll notice in the video and the photos below that the bottom panel was installed in two pieces.

The reason is simply to make best use of the plywood. If I made this a solid piece, I’d need to buy a third sheet of ¾″ plywood, but cutting them as two pieces allowed me to get everything from two sheets.
You can find the cut list and cut diagrams in the printable plans here.
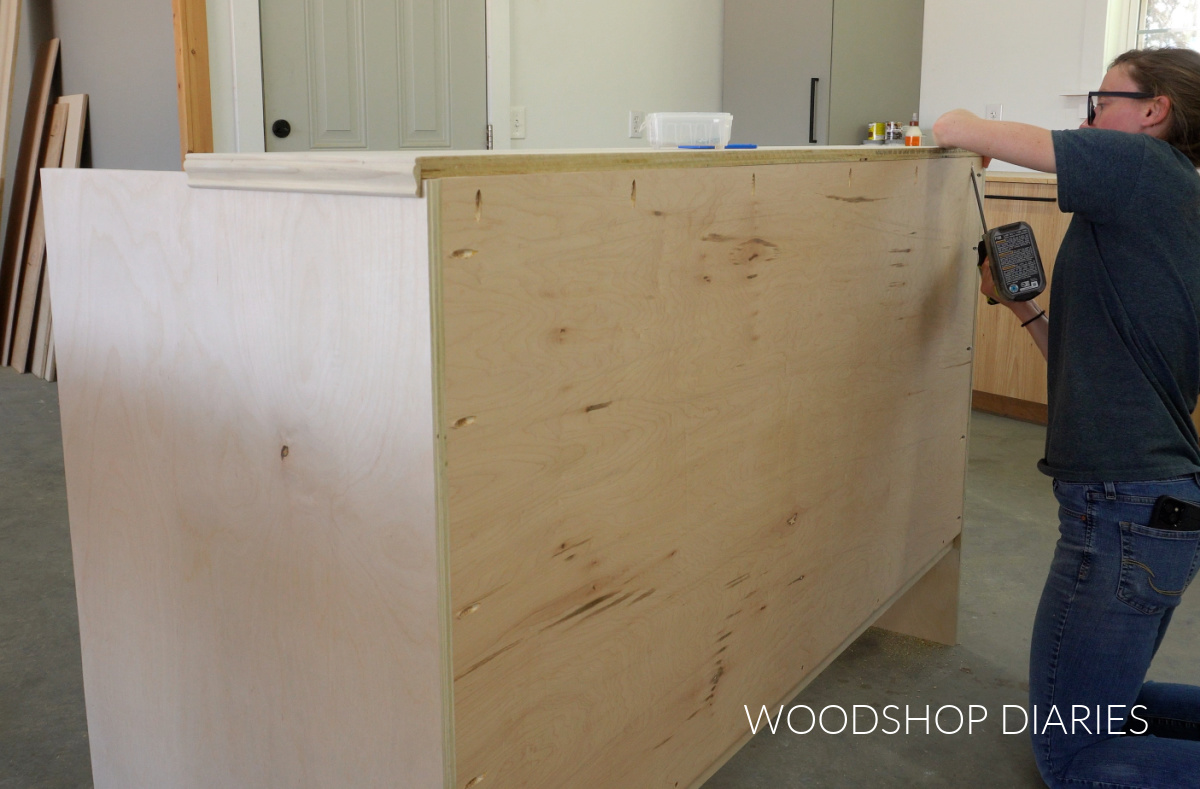
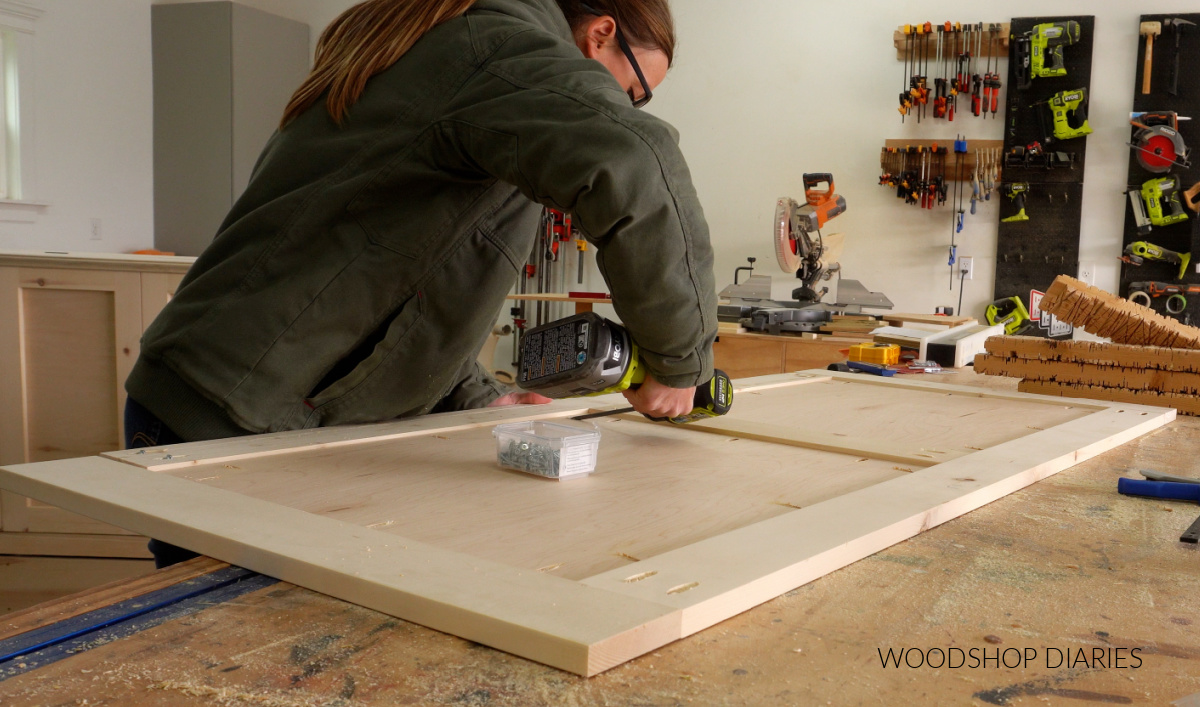
Next, I cut a large panel for the top that was about 1″ deeper and ⅛″ wider than the cabinet. To trim around the edges, I glued and nailed some 1 ¼″ base cap molding on the sides and front.
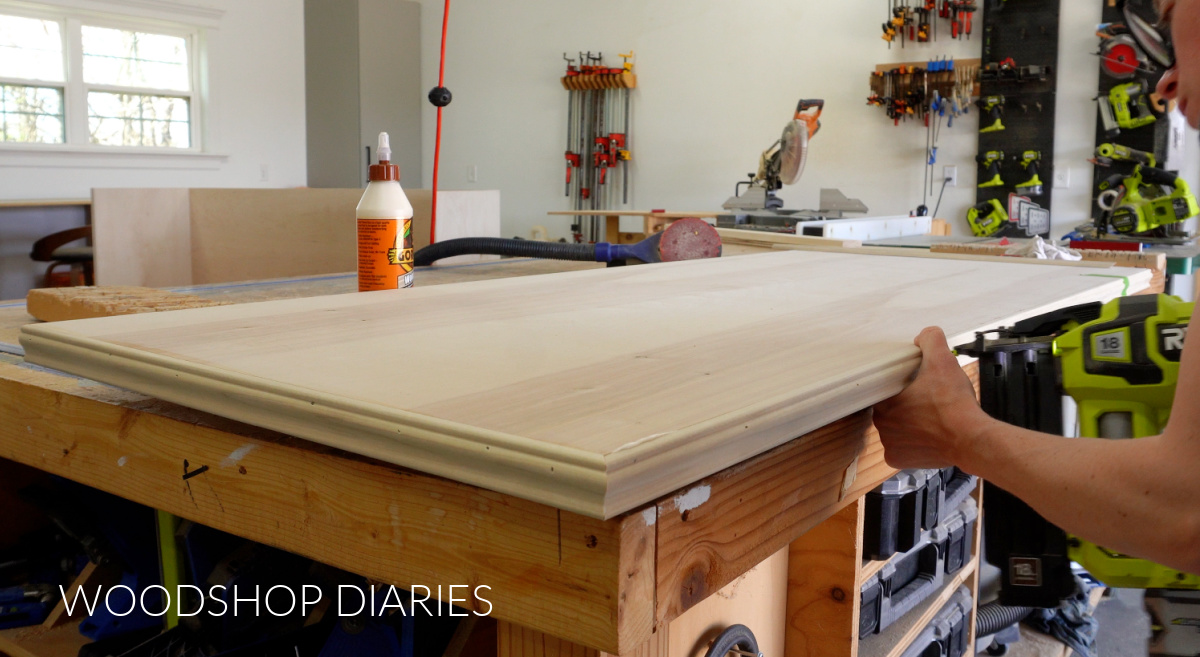
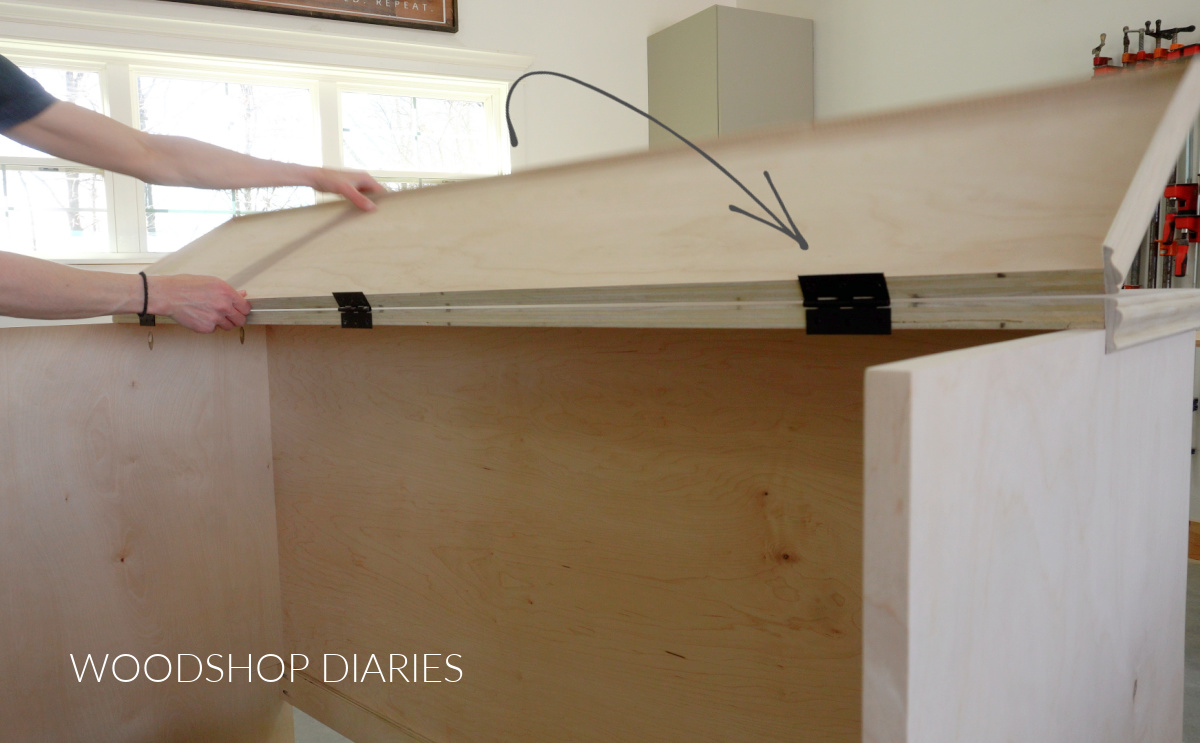
Once the glue was dry, I ripped this panel down the middle so that I had two roughly 12″ wide pieces. The back piece will be stationary, but the front piece will open and close.
So I secured the back piece to the cabinet with pocket hole screws through the back and side panels.
Then I attached 3 butt hinges to connect the front part of the top to the back so that it can open and close.
Step 2: Add the Storage Drawer
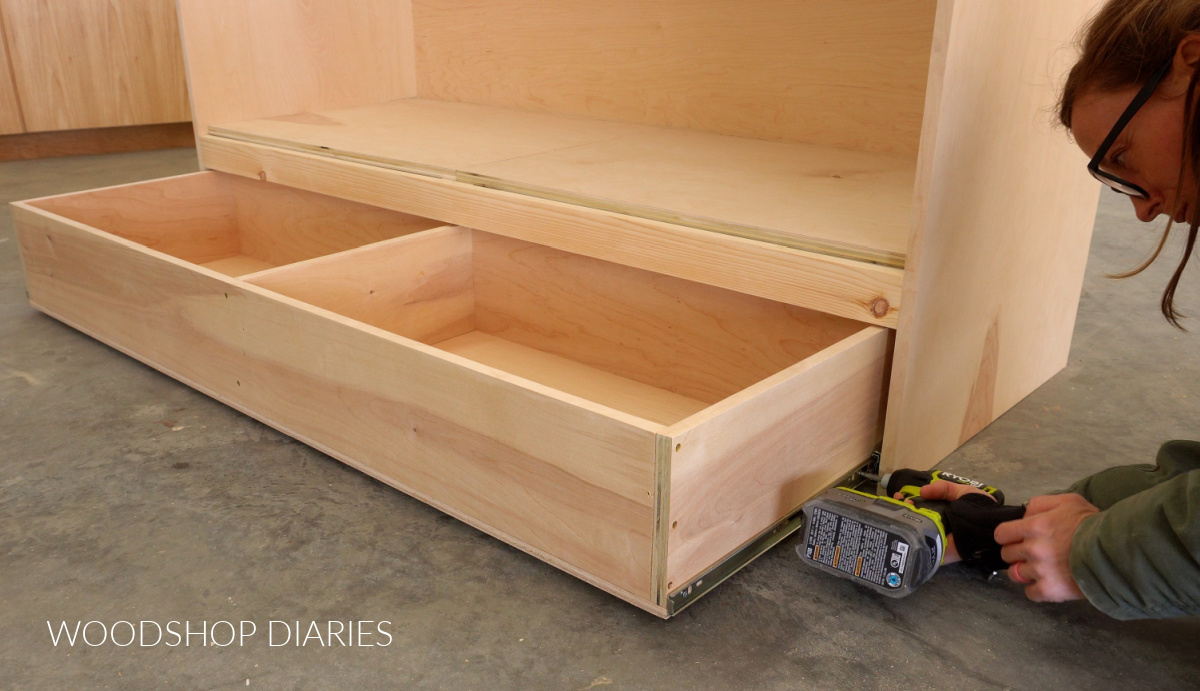
Next, I installed 18″ ball bearing drawer slides into the bottom section of the cabinet so that they were about ½″ up from the bottom edge of the side panels.
Then, I cut ¾″ plywood to assemble a large drawer box with center divider. I screwed this box together with wood screws, then cut a piece of ½″ plywood to fit over the bottom.
After screwing in the plywood bottom, I installed this drawer box onto the slides so that it was ½″ off the floor.
I used a couple scrap pieces of ½″ plywood placed under the drawer box to ensure it was ½″ up as I screwed in the slides.
Learn how to install drawer slides here.
For both the drawer front and the doors in the next step, I wanted it to appear to be separate pieces, but not actually BE separate pieces.
So I adjusted my table saw blade height to ¼″ high and ran a 1×6 through it so that it cut a small kerf down the center. This will mimic the gap between drawer fronts.
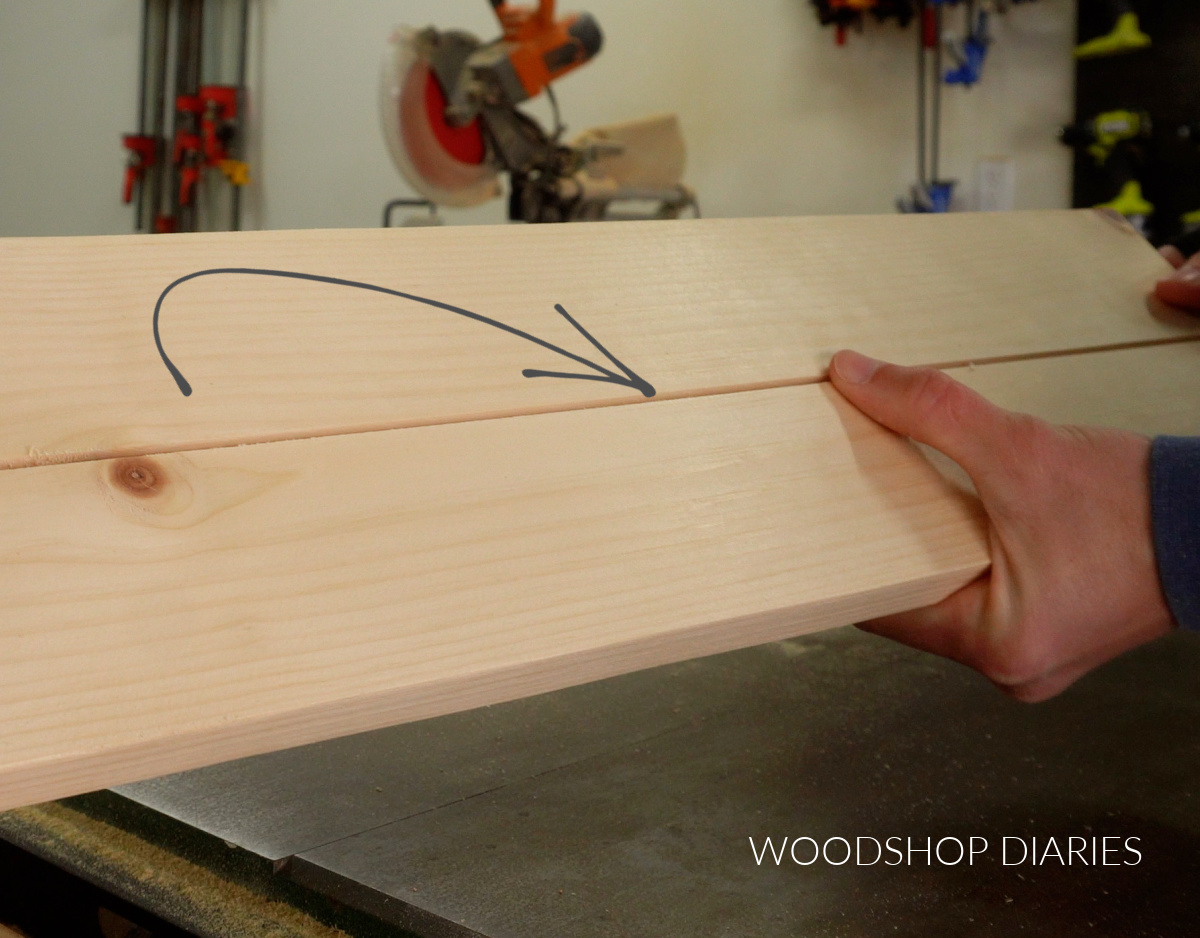
Now I can use this piece in the center of my drawer front frame to “fake” two separate drawers.
I cut 1x3s for the top, bottom and sides and assembled a frame like shown below using pocket holes and screws. (The pocket holes are on the back side and the kerf is on the front.)
Then I screwed this onto the front of my drawer box using screws from the inside.

This drawer front should be spaced about ¼″ off the floor. But–if you are placing it on carpet, ¼″ may not be enough so that it won’t drag. You may consider installing it ½″ off the floor, instead.
Step 3: Build the Murphy Bed Door Frames
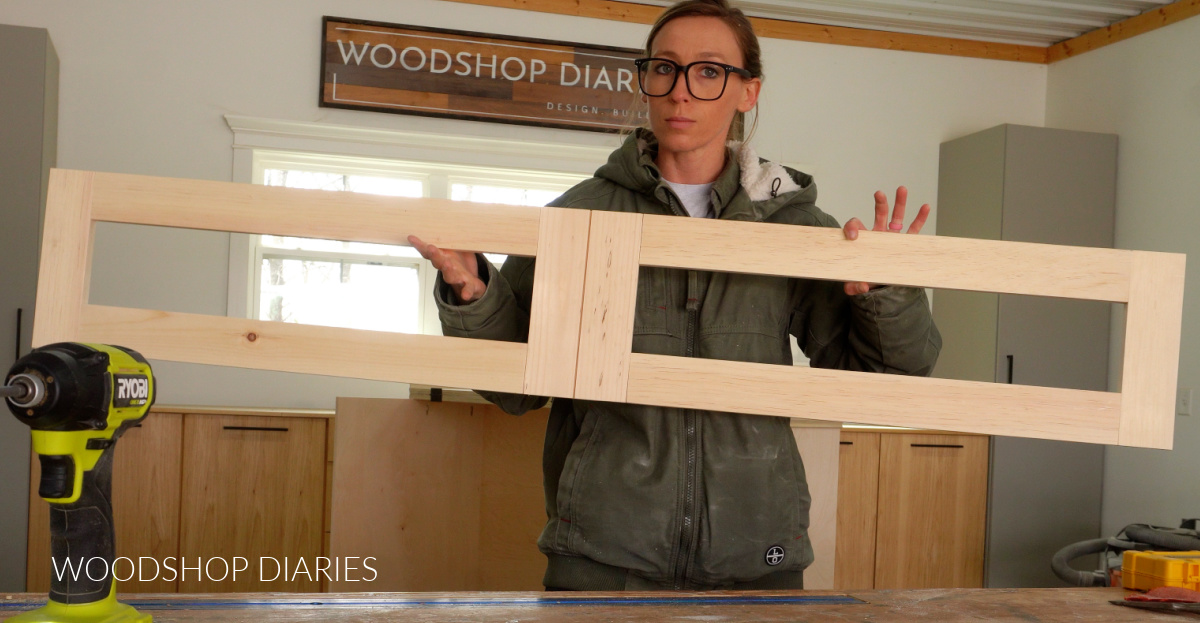
Just like with the drawer front, I made one large “fake” door frame the same way. I used the 1×6 with the kerf for the middle pieces and 1x3s for the top, bottom, and sides.
I assembled this large frame using pocket holes and screws through the top and bottom pieces so that it looked like 4 equal size doors.
Then, I cut a piece of ¾″ plywood for the “backer” to cover the openings.
Before attaching the doors, I installed 3 butt hinges along one long edge of this plywood panel–this will be how it will attach to the cabinet later.
Then, I glued and clamped the door frame onto the front.
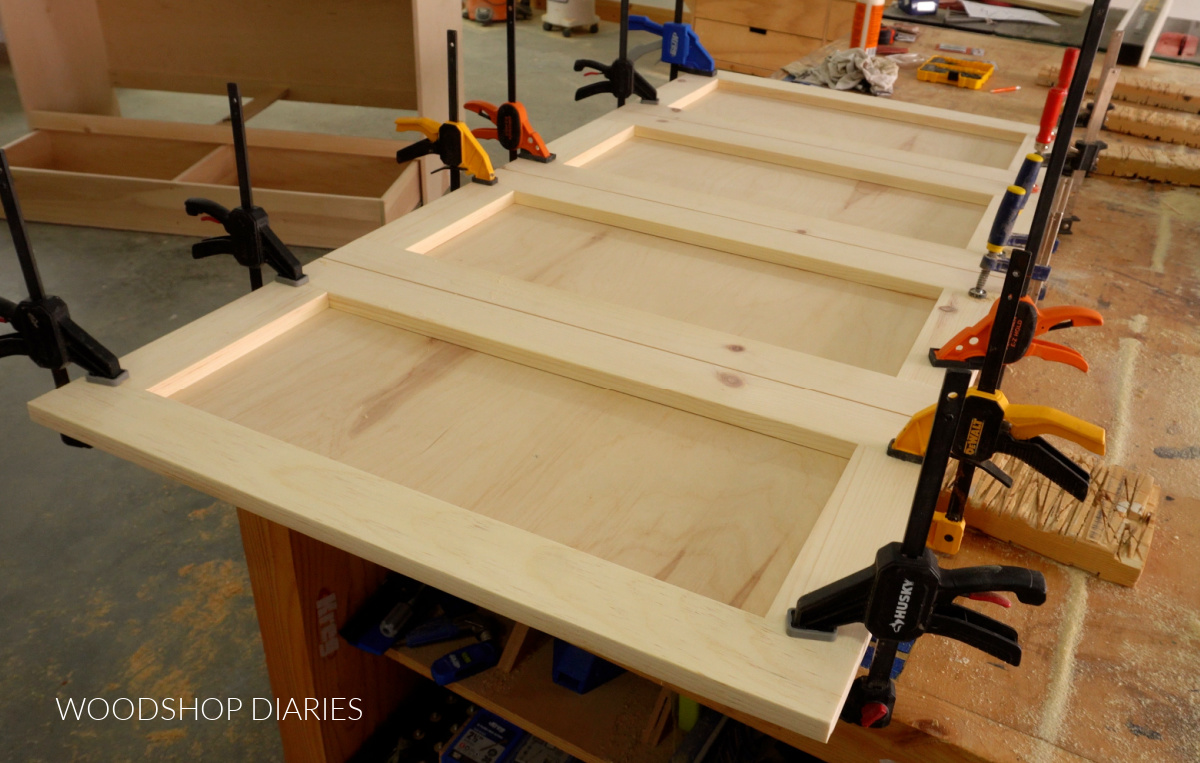
I set this piece aside for now while I built the other piece that will fold out.
Prefer to print? Grab the printable DIY murphy bed cabinet plans here.
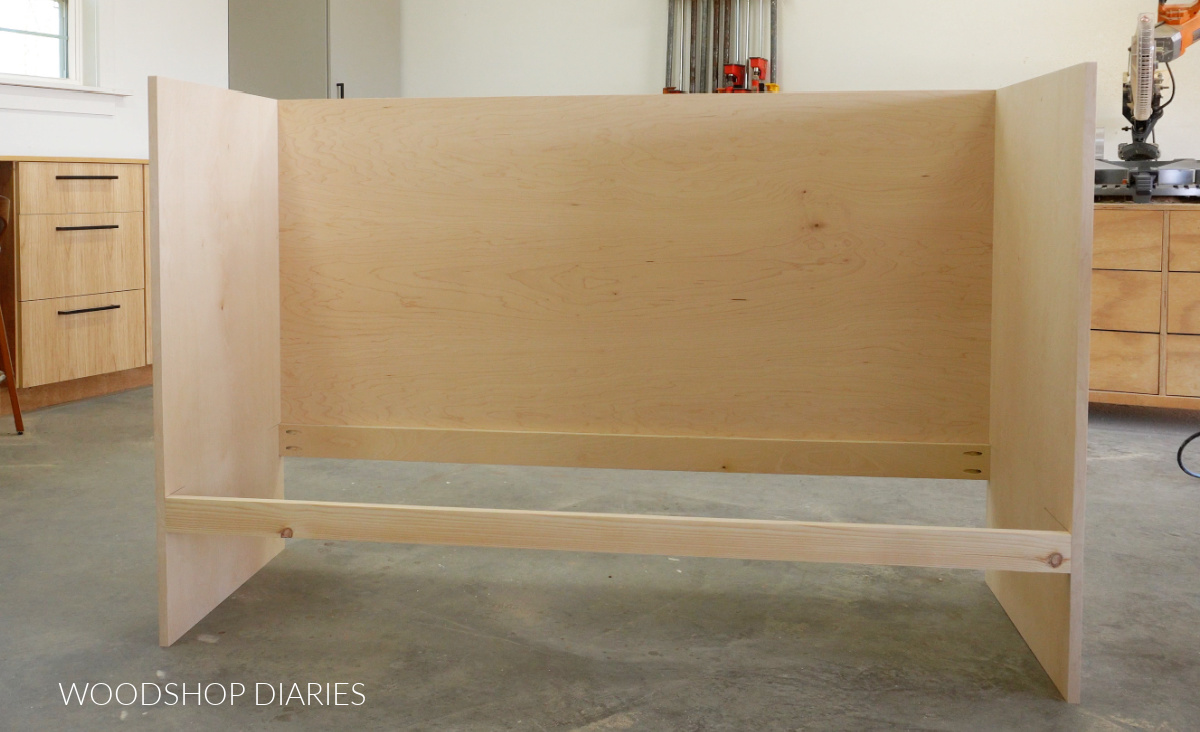
Step 4: Assemble the Fold Out Frame
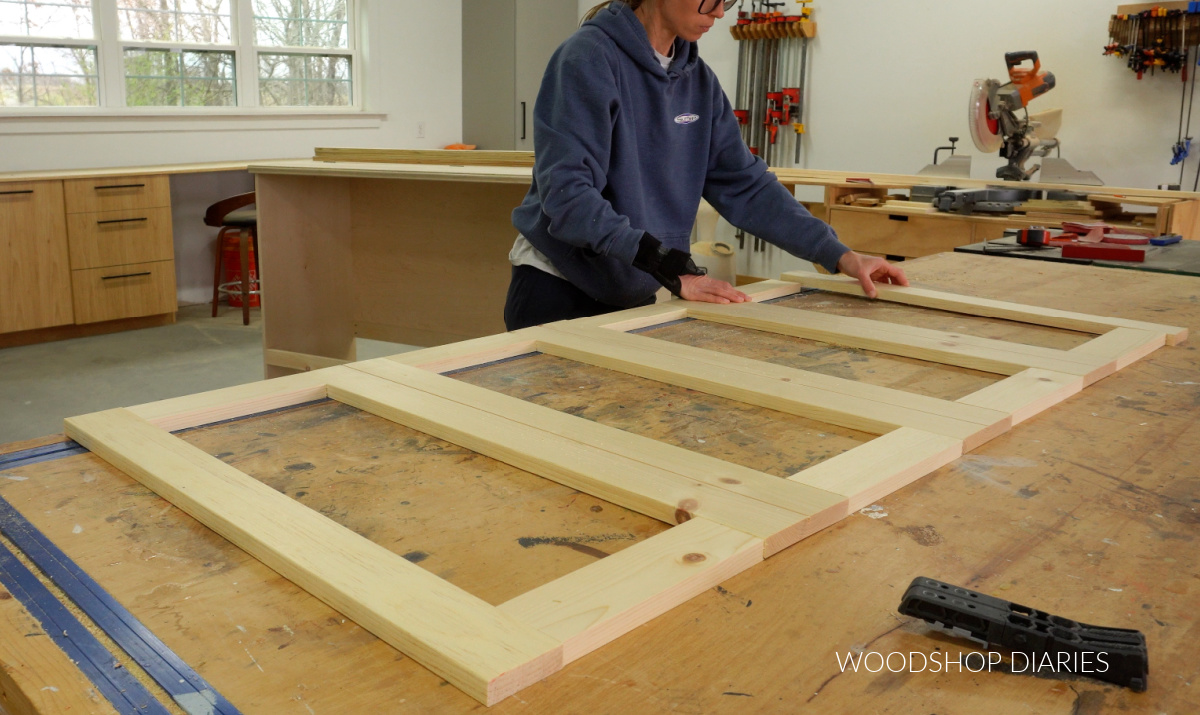
For the other fold out piece, if I’d had enough ¾″ plywood, I would have used it, but without buying another sheet, I didn’t have enough. But, I did have some ½″ plywood left.
So I assembled a 1×4 frame and added two ½″ plywood panels inside the openings like you see below.
Side note: I considered building these fold outs with slats instead of making them solid across the top. But, after building one to test it out, I realized that with such a thin (4″ foam) mattress, you could feel the gaps between the slats and the mattress kind of “seeped” into them.
For such a thin mattress, it really needs a solid support.
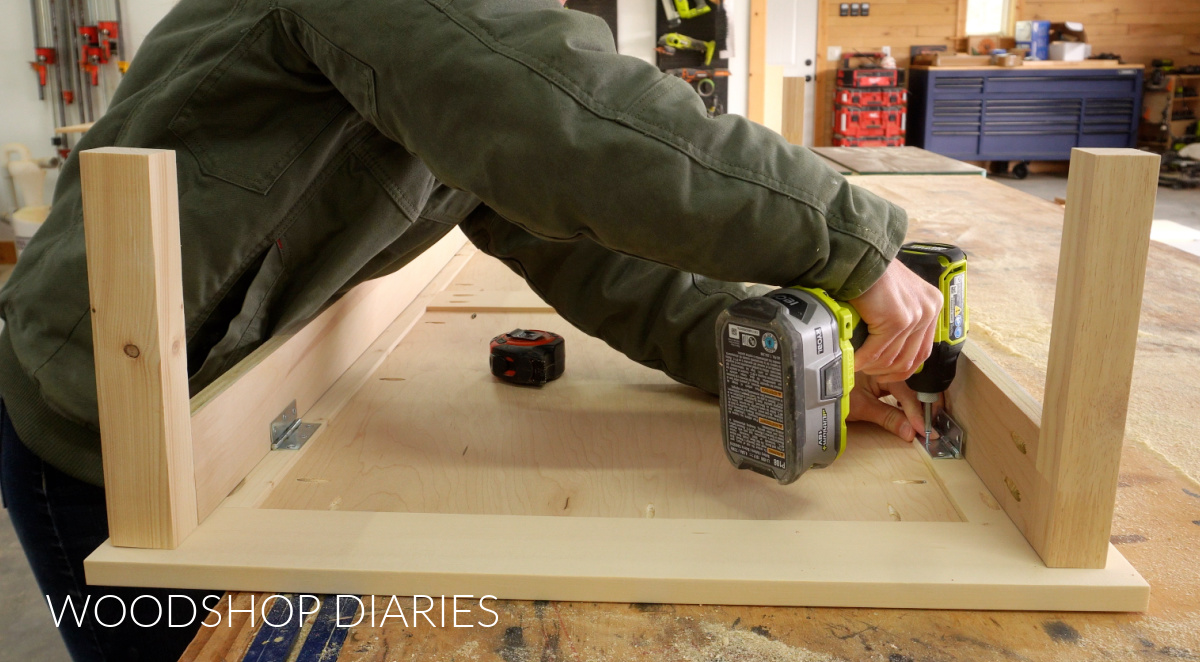
Next, I cut four 2x2s and a couple of 1x4s to make a pair of “foldable legs.” I attached each 1×4 between the 2×2 legs with pocket holes and screws, then installed these onto the bottom side of the frame with two hinges each.
These hinges should be installed so that both legs fold INTO the frame.
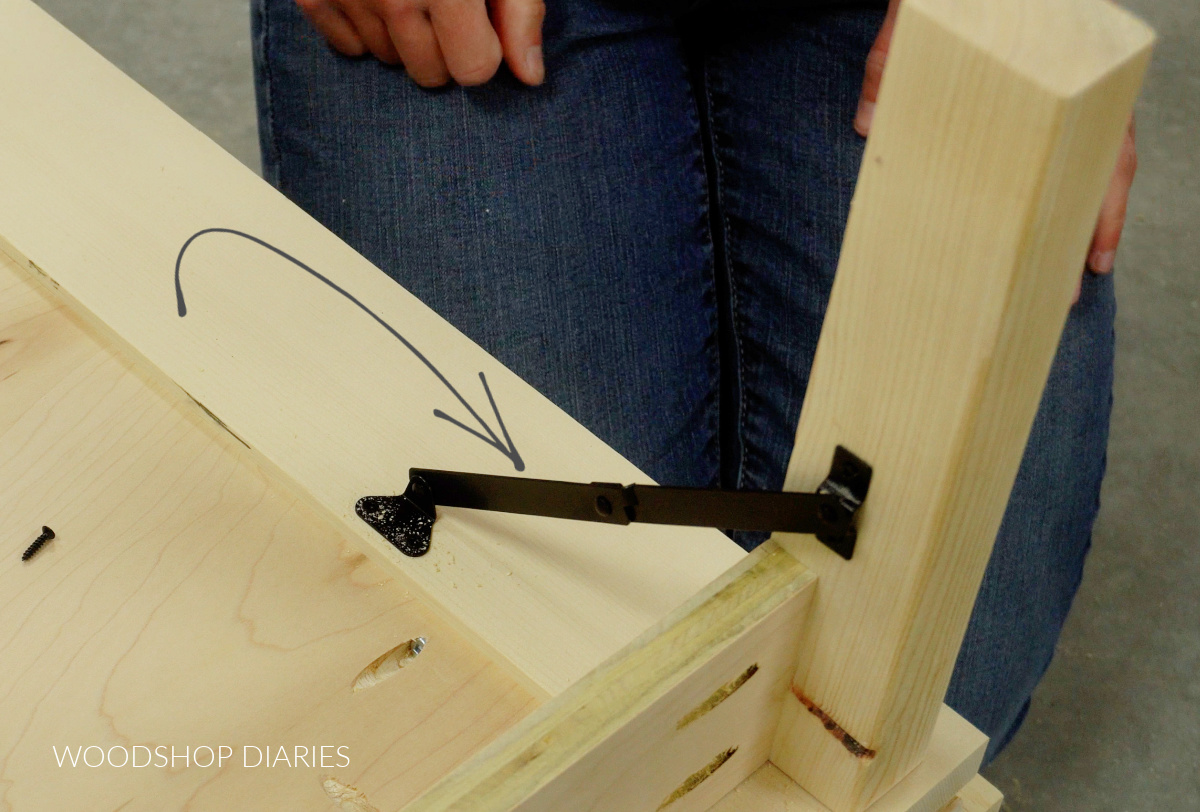
To keep the legs in position when folded out, I added a lid support (what you commonly find in chests to keep the lid from falling when it’s open) to each leg.
This will help ensure the legs don’t accidentally fold in while in use.
Step 5: Attach With Hinges
Now, all the pieces are assembled, they just need to be attached together. So I opened the drawer in the cabinet and placed the fold out frame from step 4 (with legs folded out) a little in front of it.
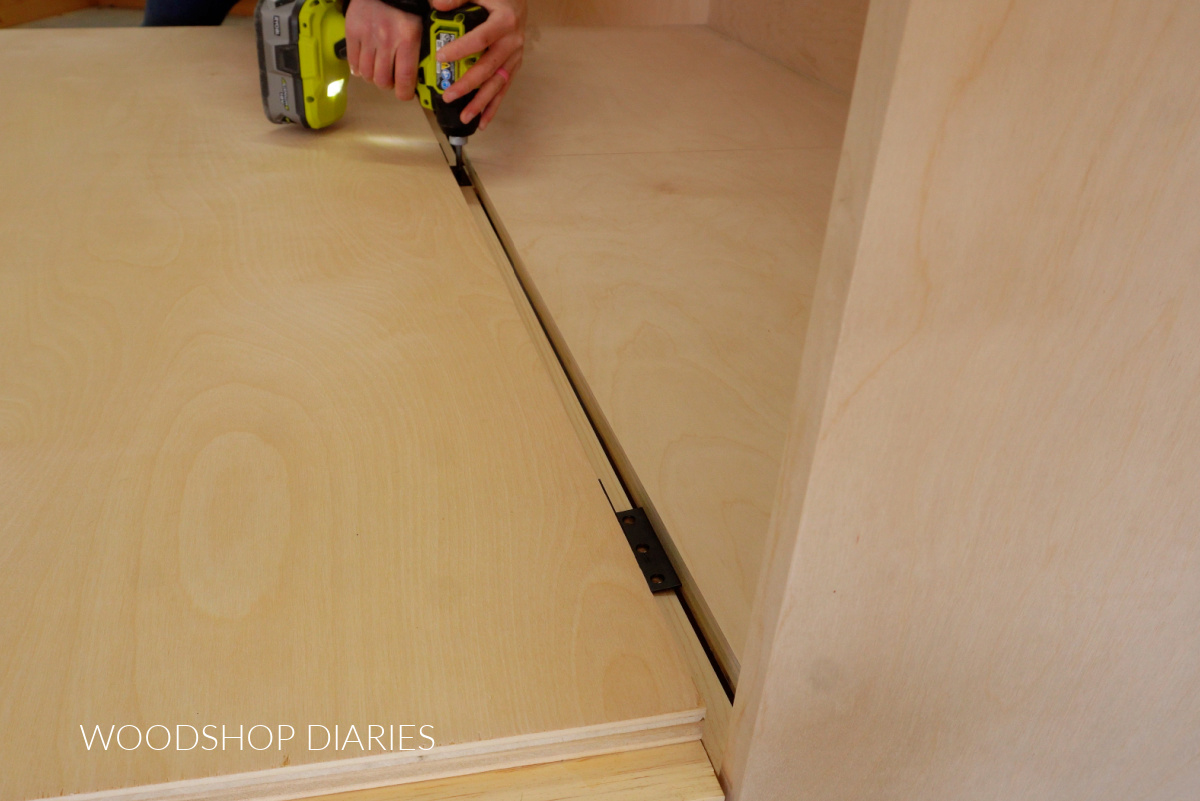
Then I placed the door frame panel from step 3 door side down on the drawer front and butted the edge (the edge without the hinges) up the the edge of the fold out frame.
I clamped each side where the panels met and allowed the drawer front to support the other end. I installed 3 butt hinges across the seam to connect the two panels.
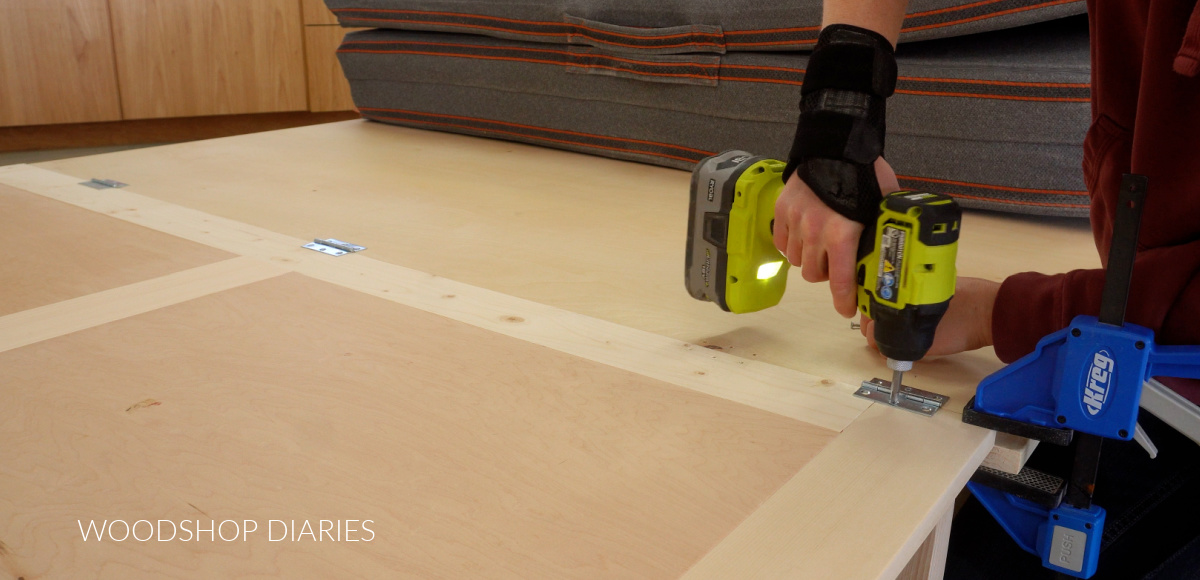
Then, I adjusted the door frame panel up to the cabinet so that the hinges I had installed to the plywood were on top of the front support.
I secured these hinges to the top of the support like shown below, then folded everything back into the cabinet to make sure it all fit.
The trim around the top panel goes over the doors, so when the top is closed, the doors theoretically shouldn’t accidentally open.
BUT, just to be sure, I installed latches on each side of the cabinet to lock the doors in place when shut.
Step 6: Add Hardware and Finish
I sealed this project with a few coats of Minwax Polycrylic, then added some knobs to the doors and drawer pulls to the drawers.
It’s a bit of an awkward installation to add hardware to the doors because you drill the hole in the front, but then you have to fold everything out in order to access the hole(s) to install the knobs. But–it’s doable.
And with that, this murphy bed cabinet is ready for guests!
To open, pull the drawer out first. Remove any bedding you need from the drawers because once it’s folded out, you won’t be able to access the drawer.
Then, fold back the top, unlatch the doors and lower them onto the drawer front. Fold up the legs and fold over the fold out frame. Ensure the lid supports are locked in place, then fold out the mattress and add whatever bedding you’d like.
To put away, do all those steps backwards. It literally takes less than a minute to fold out or fold in for an easy transition from console cabinet to bed.
If you’re ready to build your own, grab the printable plans in EITHER full OR queen size here.
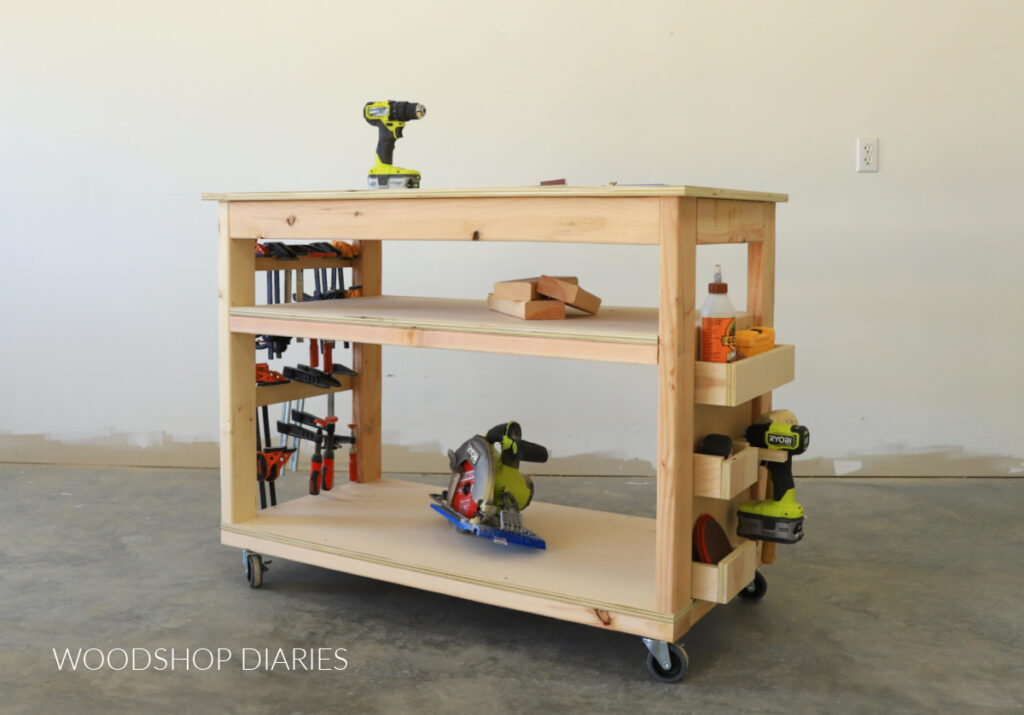
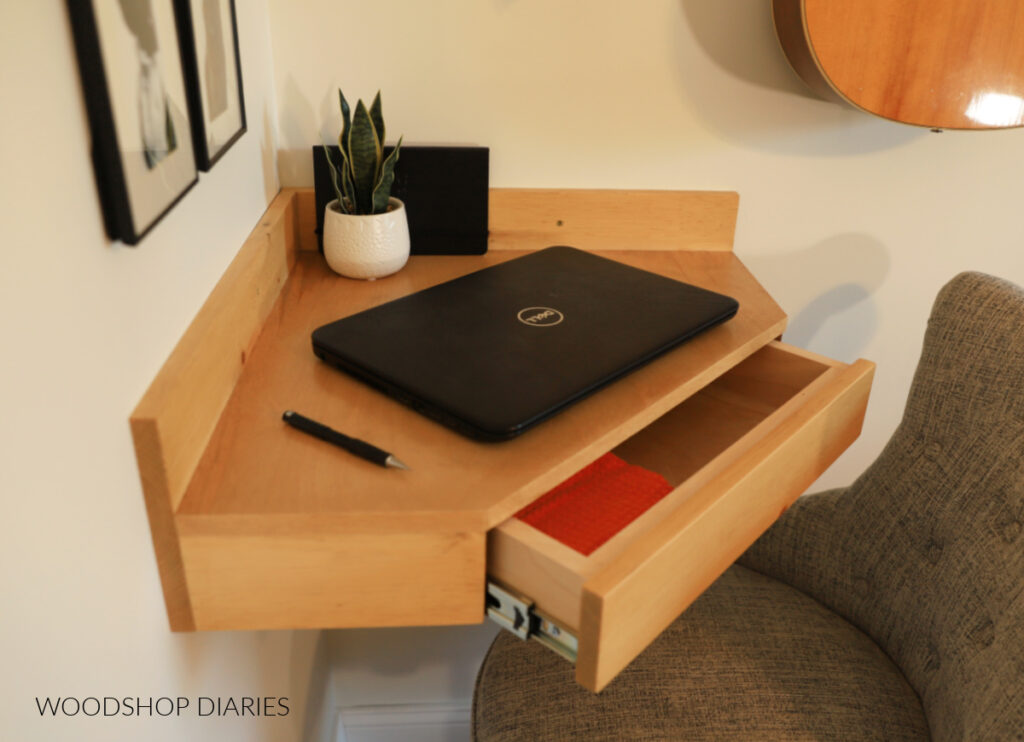
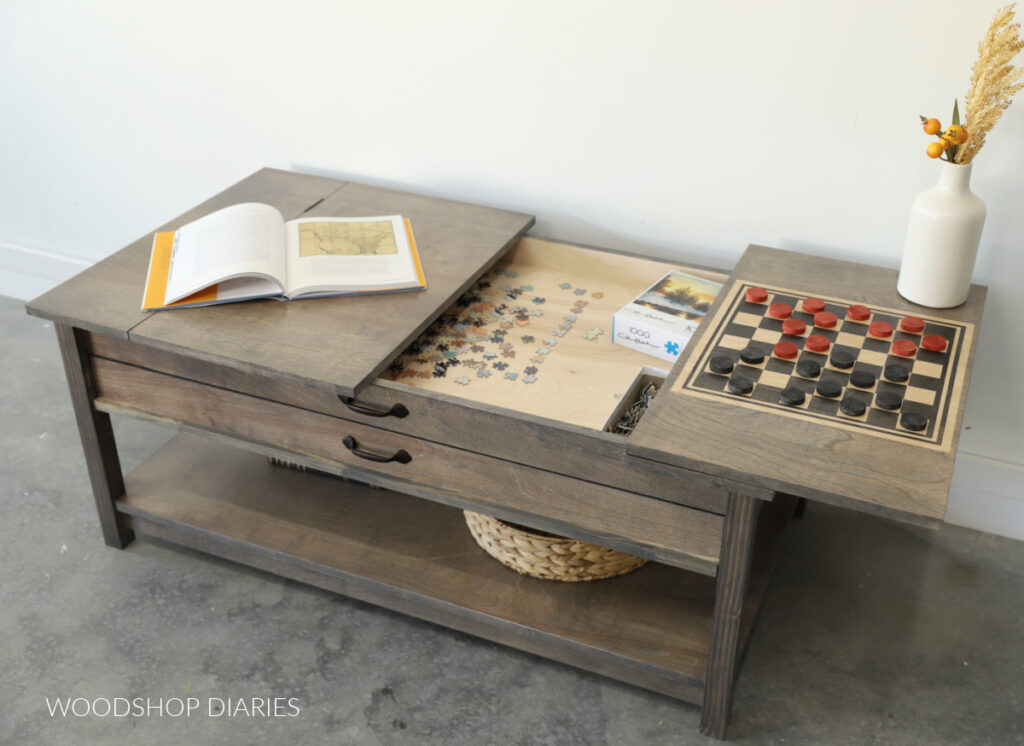
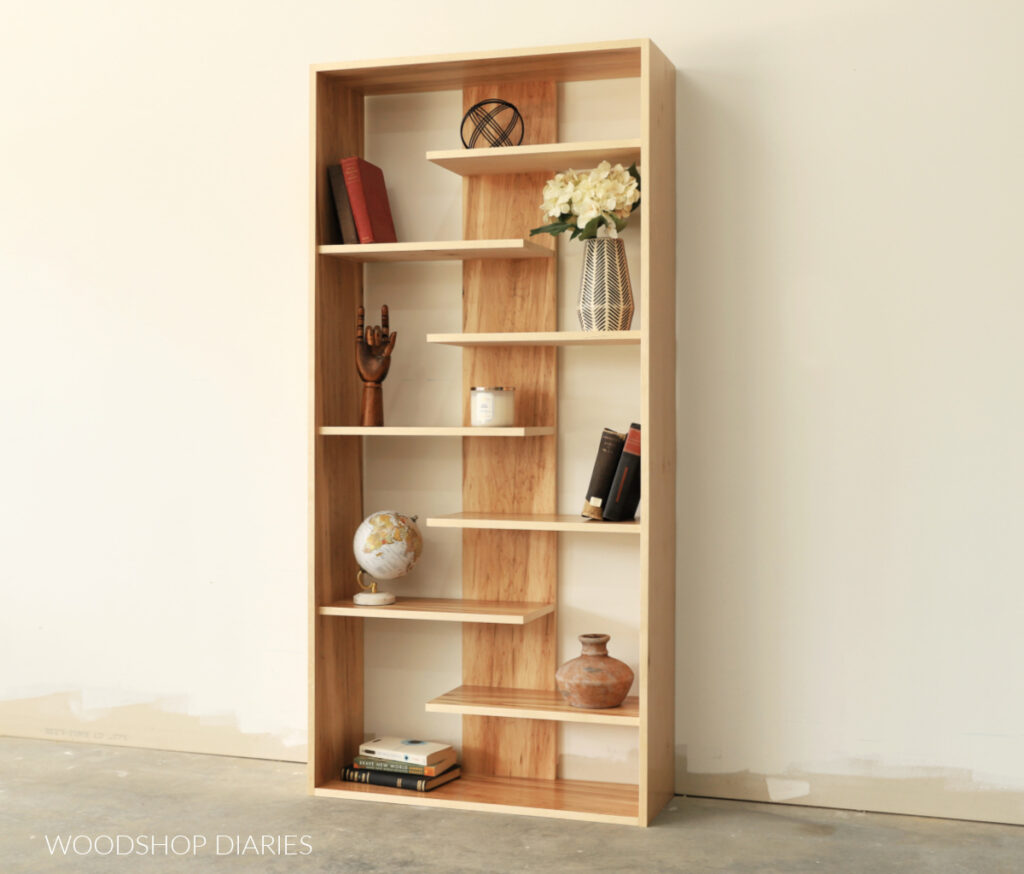
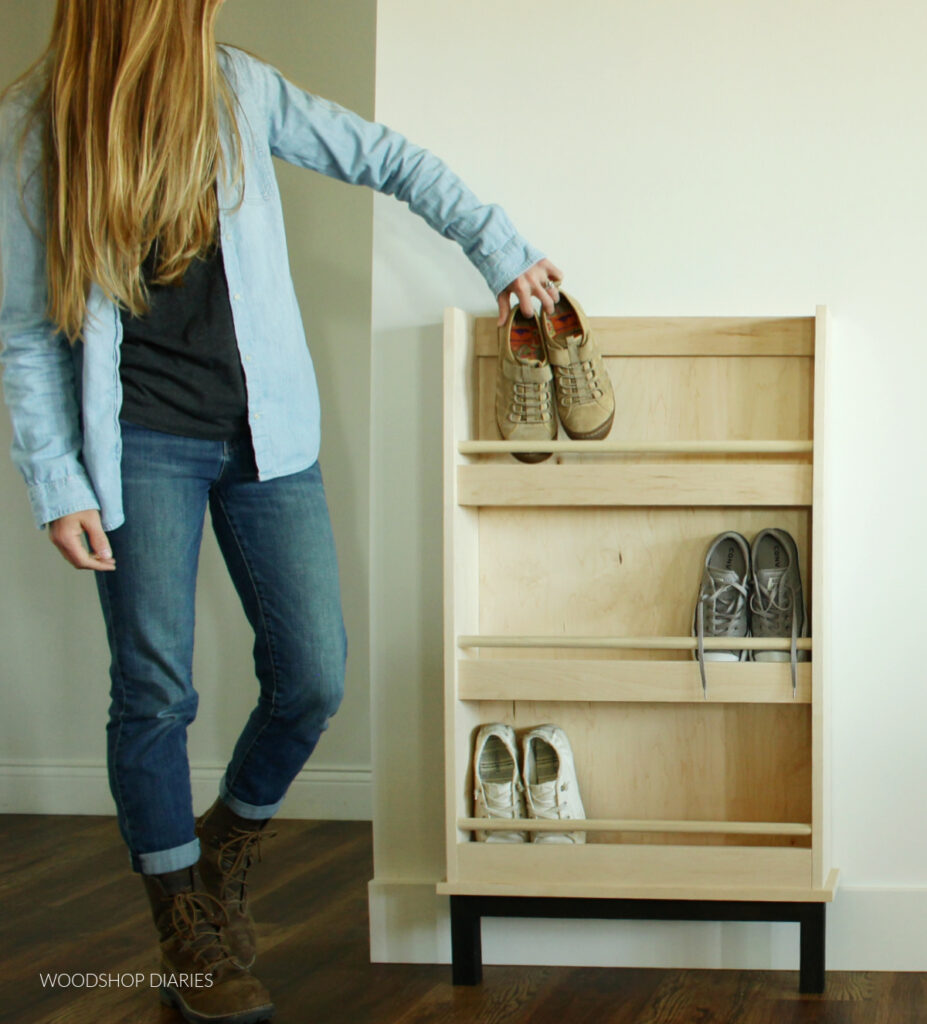
Looking for More Small Space Projects?
Loved this project, but looking for more? Here are a few of my favorite small space and multipurpose projects you might enjoy. Click on the image(s) below to see how to make each one:
If you’d like to save this project for later, be sure to pin it or share to your favorite social channel!
Until next time, friends, happy building!