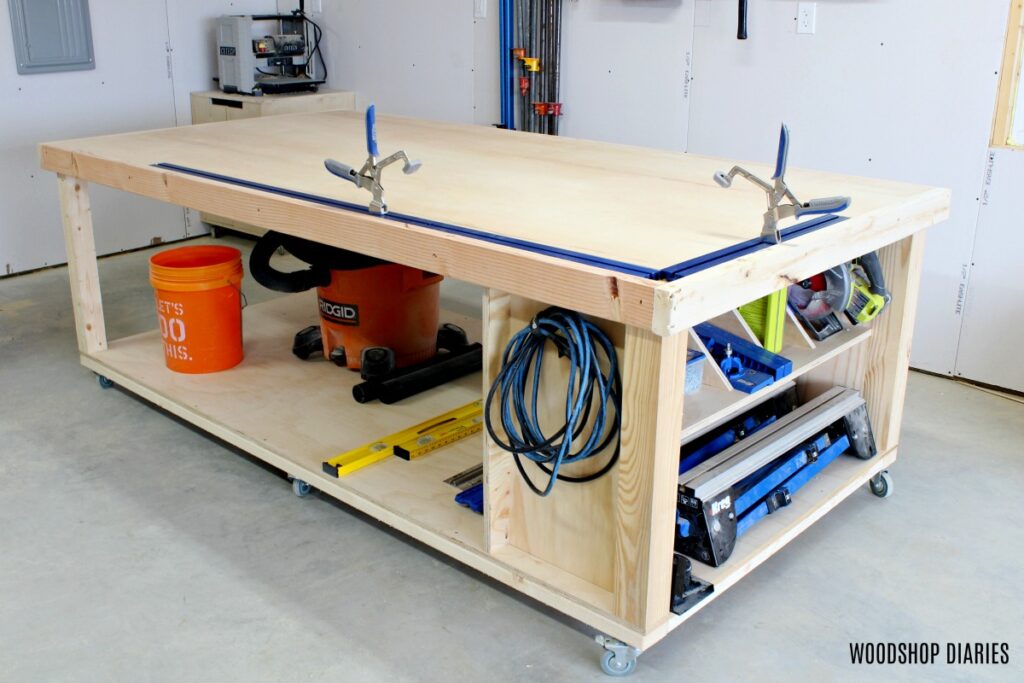
In this post, I’m sharing how to build the perfect small space workbench for your garage or workshop!
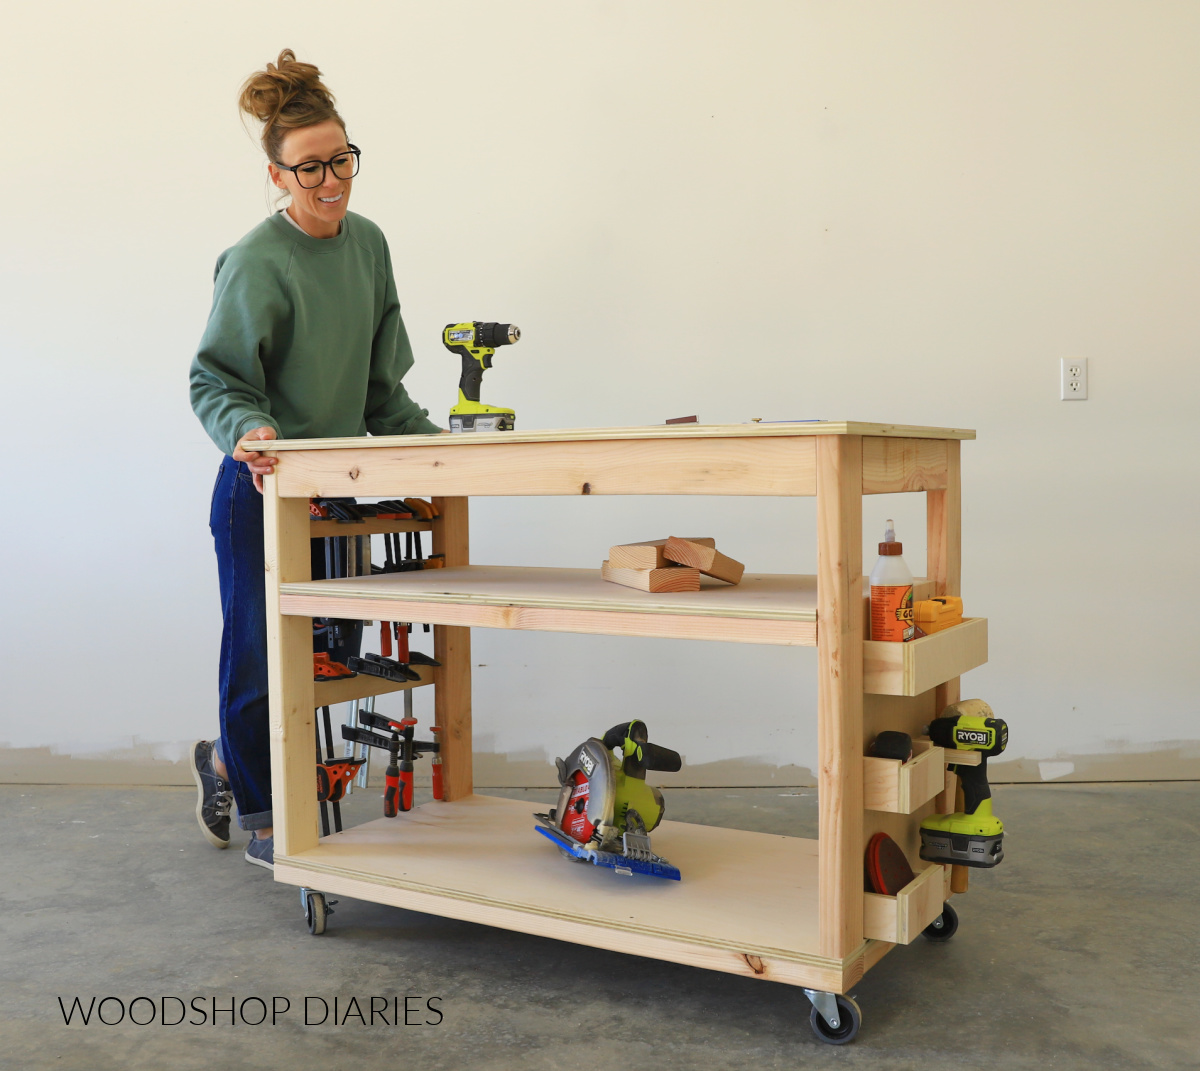
While it may be small, it provides an ample worksurface with plenty of built in storage for all your must have tools and clamps.
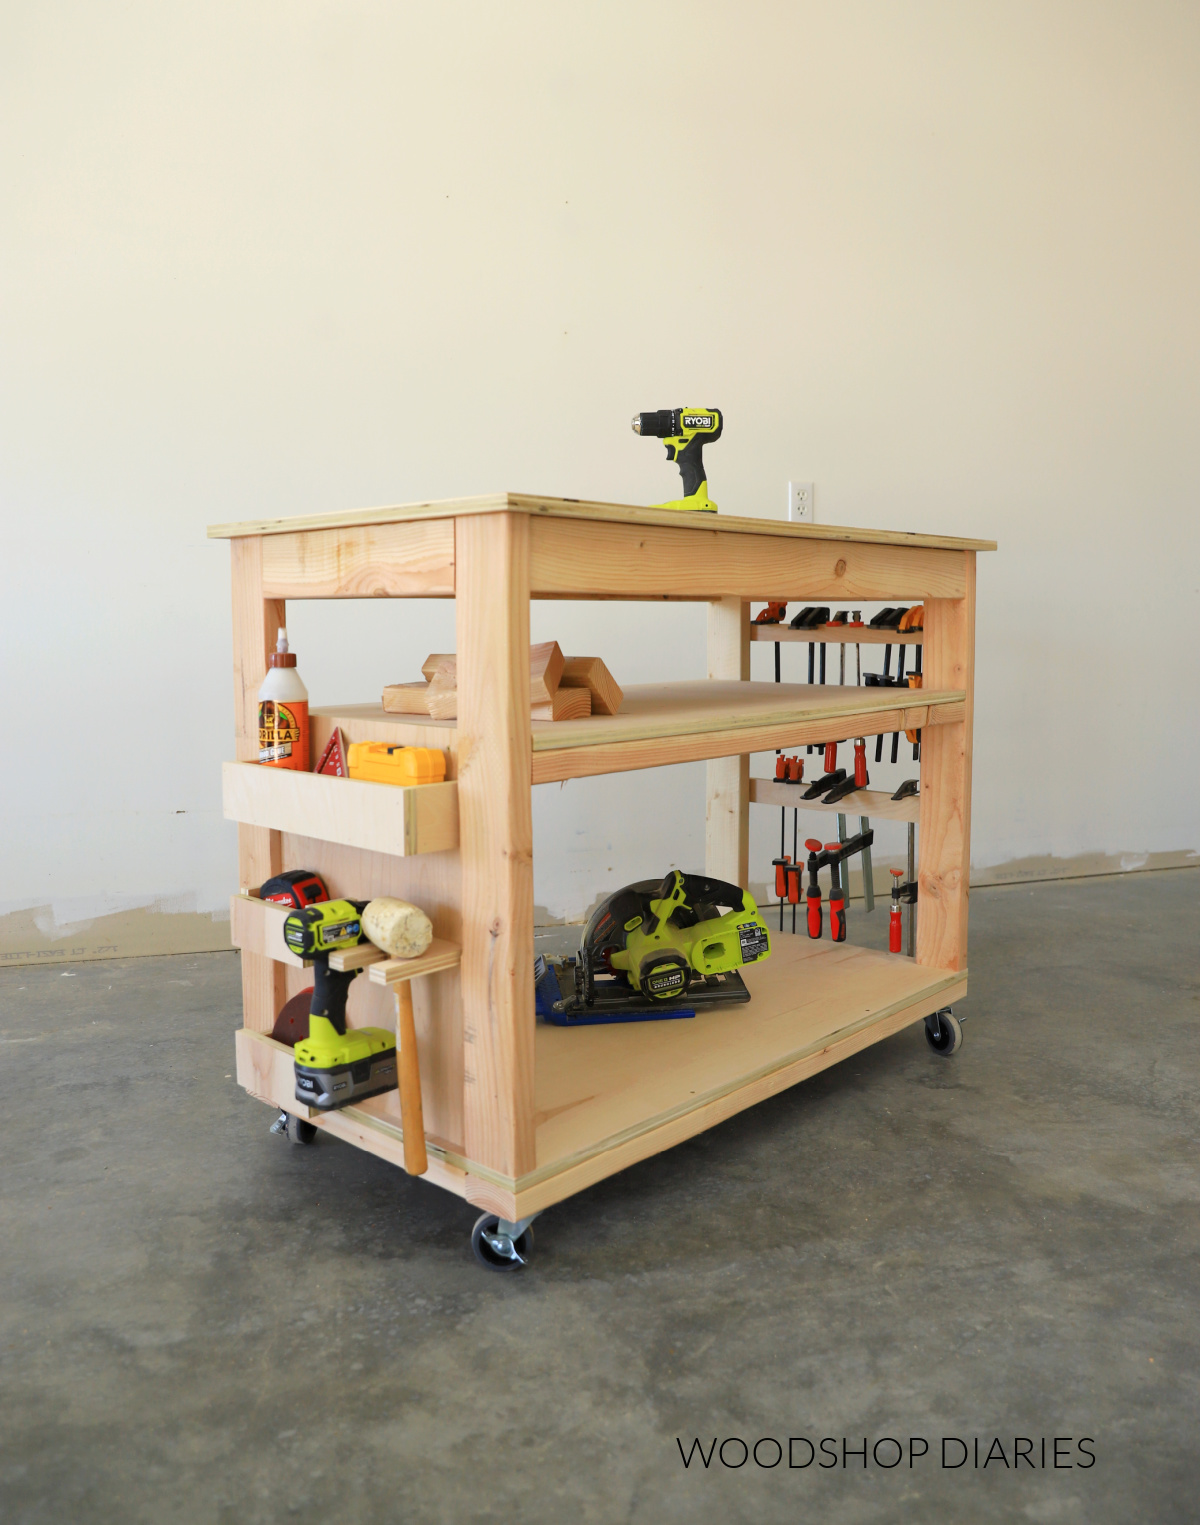
I added caster wheels to make it mobile and customized the sides to store clamps and other odds and ends (like tape measure, glue, sanding discs).
This easy-to-build workbench is practical for any workshop or garage–whether your limited on space or just need an extra storage cart.
I’m sharing the printable plans to build it plus some helpful building tips below, so if you’re ready, let’s get building.
*This post contains affiliate links. See website policies.
What to know before building
This is a great beginner level woodworking project. It’s super simple to put together, requires limited tools, and is a useful addition to any work space. You can easily complete it in just a few hours.
Overall dimensions
The overall dimensions of this small space workbench are approximately 25″ deep x 36″ tall x 48″ wide.
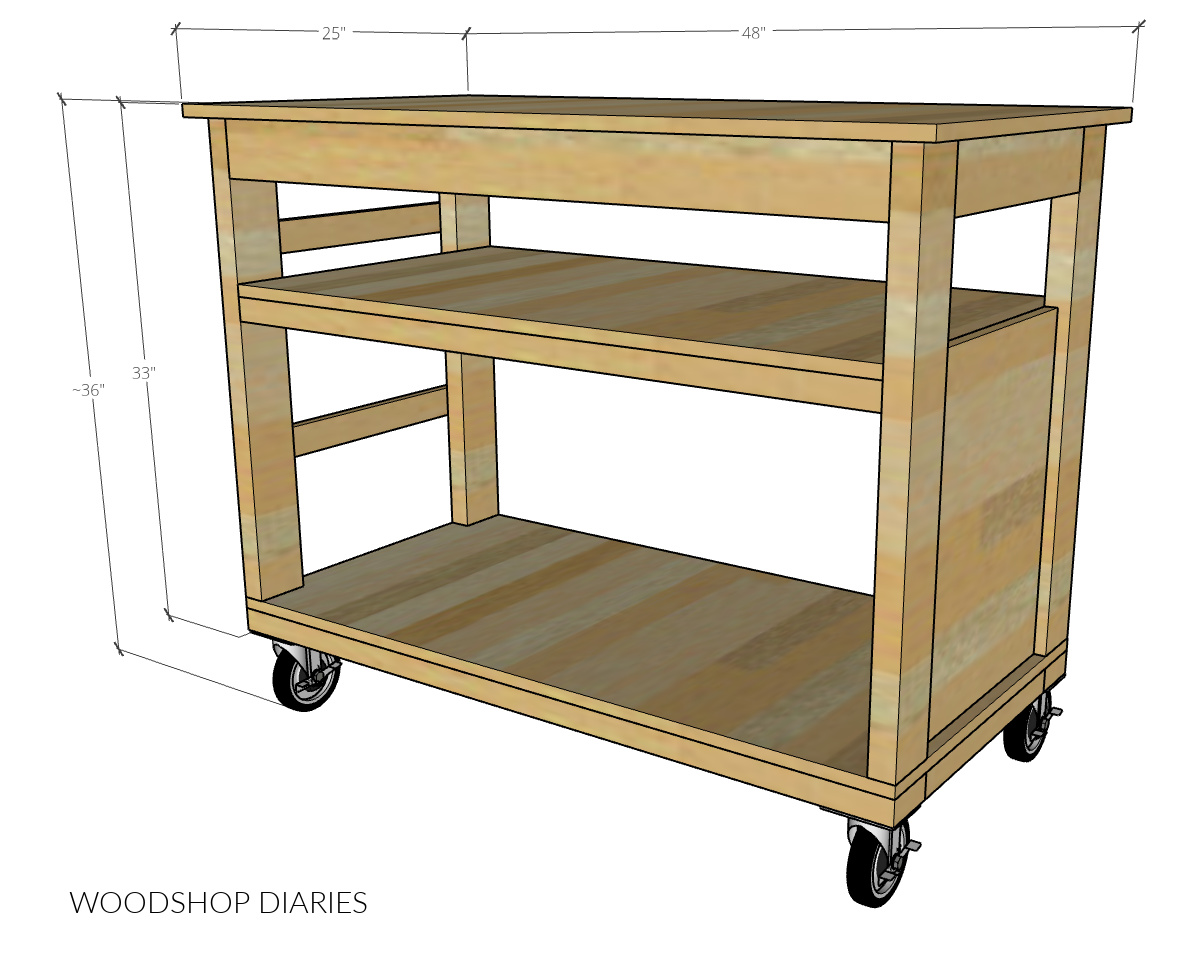
Note that the size and exact style of caster wheel you use will change the overall height, so the 36″ is approximate depending on your wheels. The workbench without the caster wheels is about 33″ tall for reference.
The size is really easy to modify, but this particular design utilizes the 1 sheet of plywood most efficiently so if you go much bigger, you’ll likely need another sheet.
Is it cheaper to build or buy a small workbench?
This always depends as there are many brands, styles and sizes of store bought workbench that will vary in price. However, for a similar design and size, I’ve found several store bought options ranging from $200 and up.
The cheapest options didn’t have caster wheels (so they weren’t mobile) and none of the store bought workbenches that I found had customized sides like this one does.
This particular workbench cost roughly $135 in materials* (including lumber, screws, and caster wheels) to build. So not only is it cheaper to build, it’s also customizable, mobile, and super sturdy.
*Keep in mind these prices are valid as of March 2025. Lumber prices and availability vary greatly by location and change daily.
You may find these resources helpful throughout the build:
Are DIY projects your thing? Sign up for our newsletter for priority access to the latest projects and build plans!
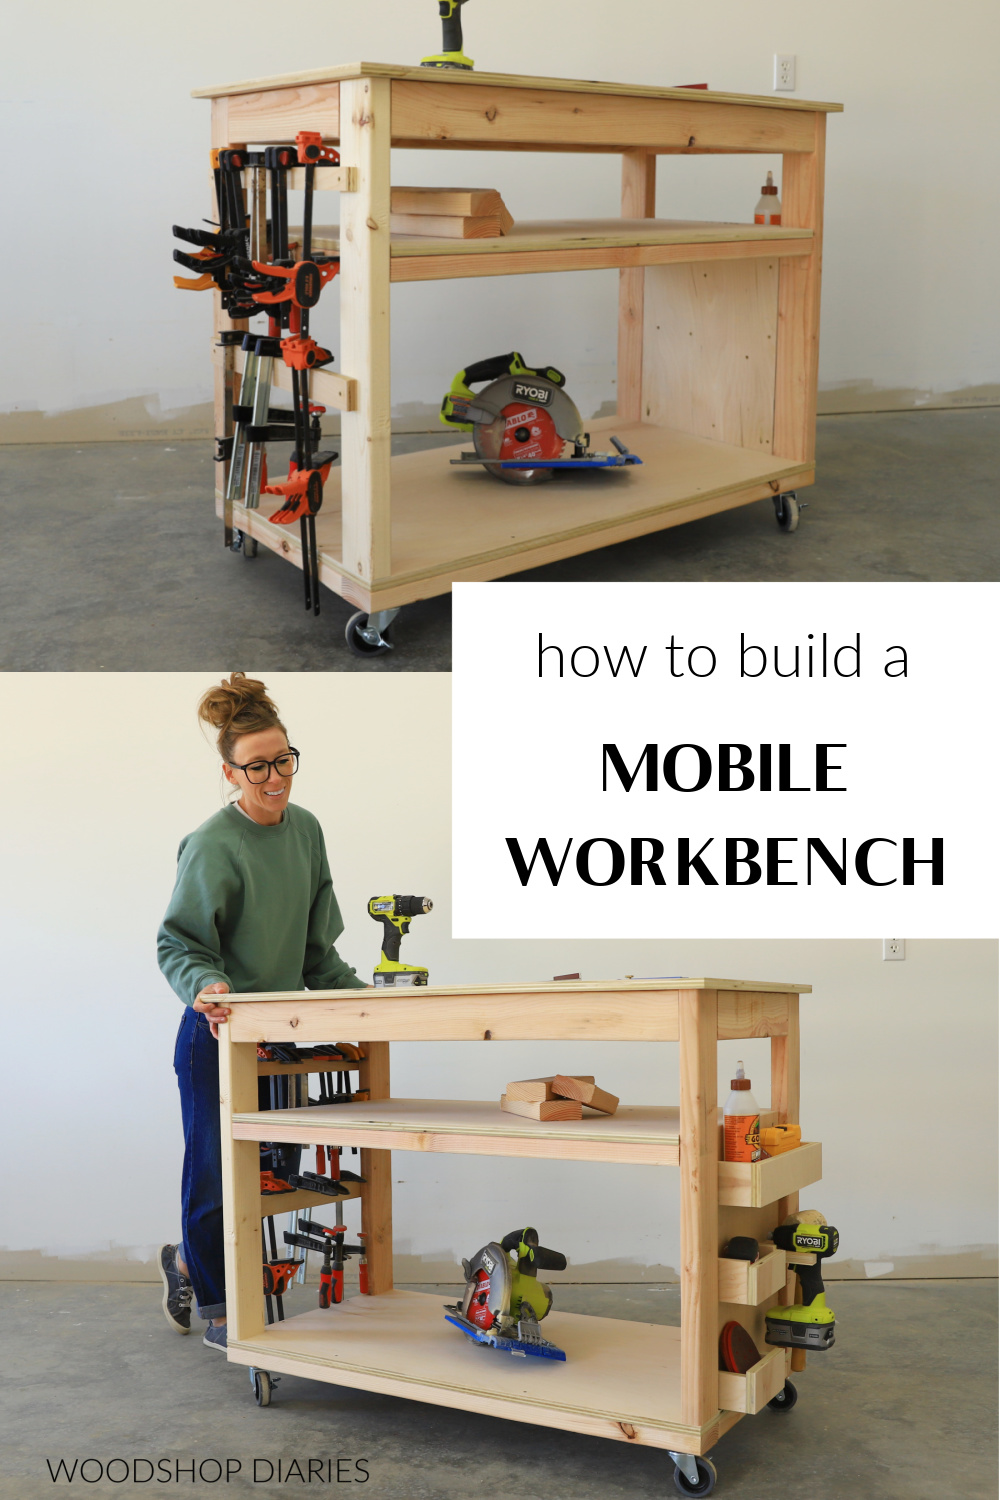
How to Build a Small DIY Mobile Workbench
If you prefer to watch, I’ve shared the full build video with tons of tips, behind the scenes, and additional details on my YouTube Channel here.
Love watching how-to videos? Subscribe to my YouTube channel for plenty more where that came from!
Prefer to print? Grab the printable small workbench building plans here:
Tools & Materials:
Tools:
- Circular Saw
- Miter Saw
- Cutting Guides (Kreg Rip Cut and AccuCut)–optional
- Pocket Hole Jig
- Drill/Driver
Materials:
- (6) 2x4x8 boards
- (1) 4’x8′ sheet ¾″ plywood*
- (1) 50 count box 2 ½″ pocket hole screws
- (1) 50 count box 1 ¼″ pocket hole screws
- (1) 1 lb box 1 ¼″ wood screws
- (8) 3″ wood screws
- (4) 3″ caster wheels
*I used cabinet grade birch plywood for this project because I wanted a smooth, durable, and nice looking surface on my shelves and top. However, if you wanted to use a more budget friendly plywood option, you certainly can.
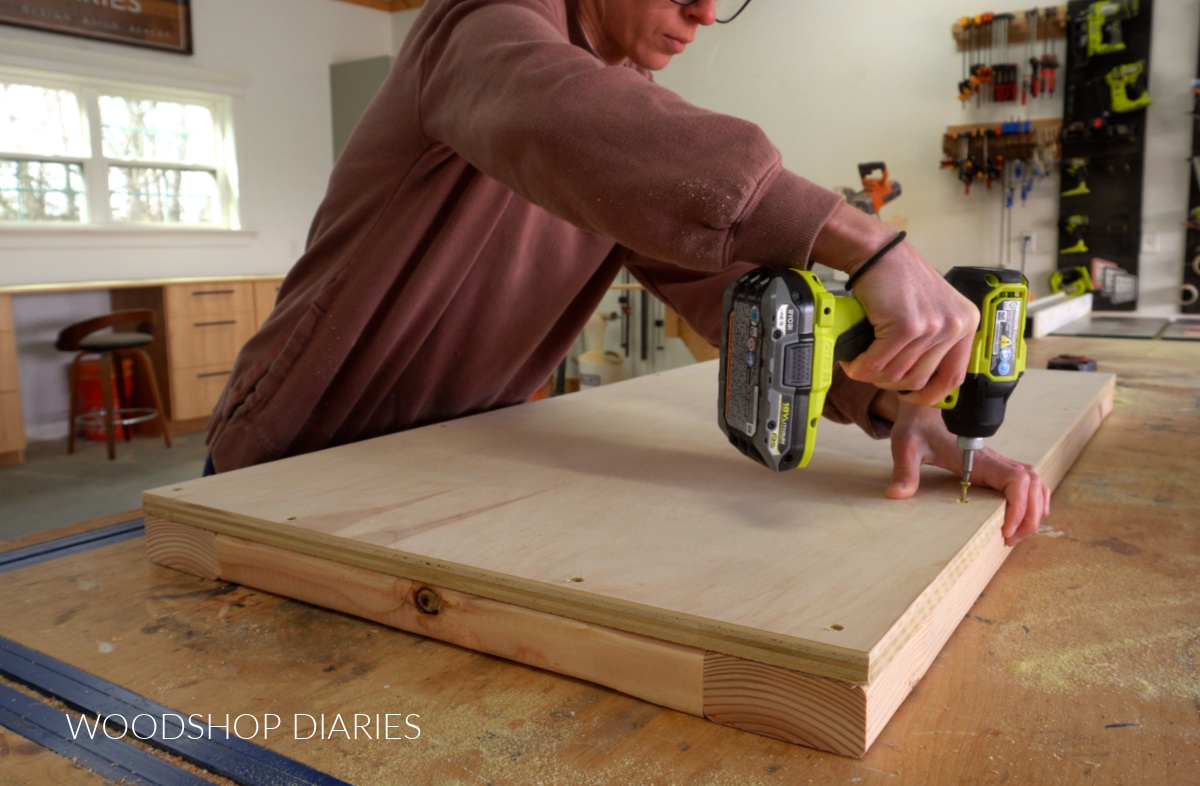
Step 1: Assemble the Bottom
I assembled this workbench with the bottom first. So I cut four pieces of 2×4 to make a frame about the size (just a bit smaller) I wanted my workbench. Two long pieces will run along the front and back and two shorter pieces will connect them at the sides.
I assembled this frame using pocket holes and screws. Check out this post to learn how to use a pocket hole jig.
After the frame was together, I cut a piece of ¾″ plywood to fit over the top of it.
RELATED: How to cut plywood sheets
I simply screwed this panel onto the frame to complete the base of the bench frame.
Grab the cut diagrams and complete cut list with dimensions in the printable plans here.
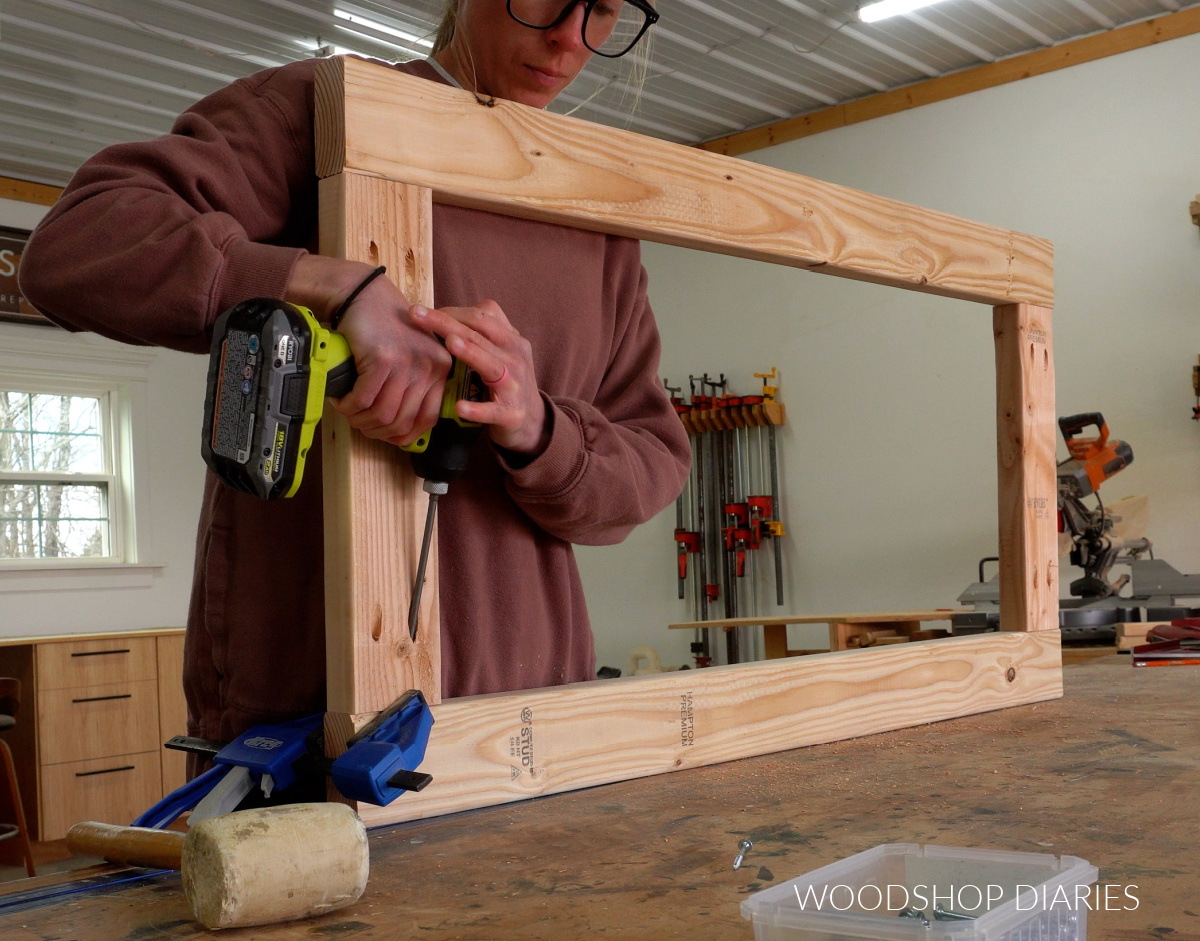
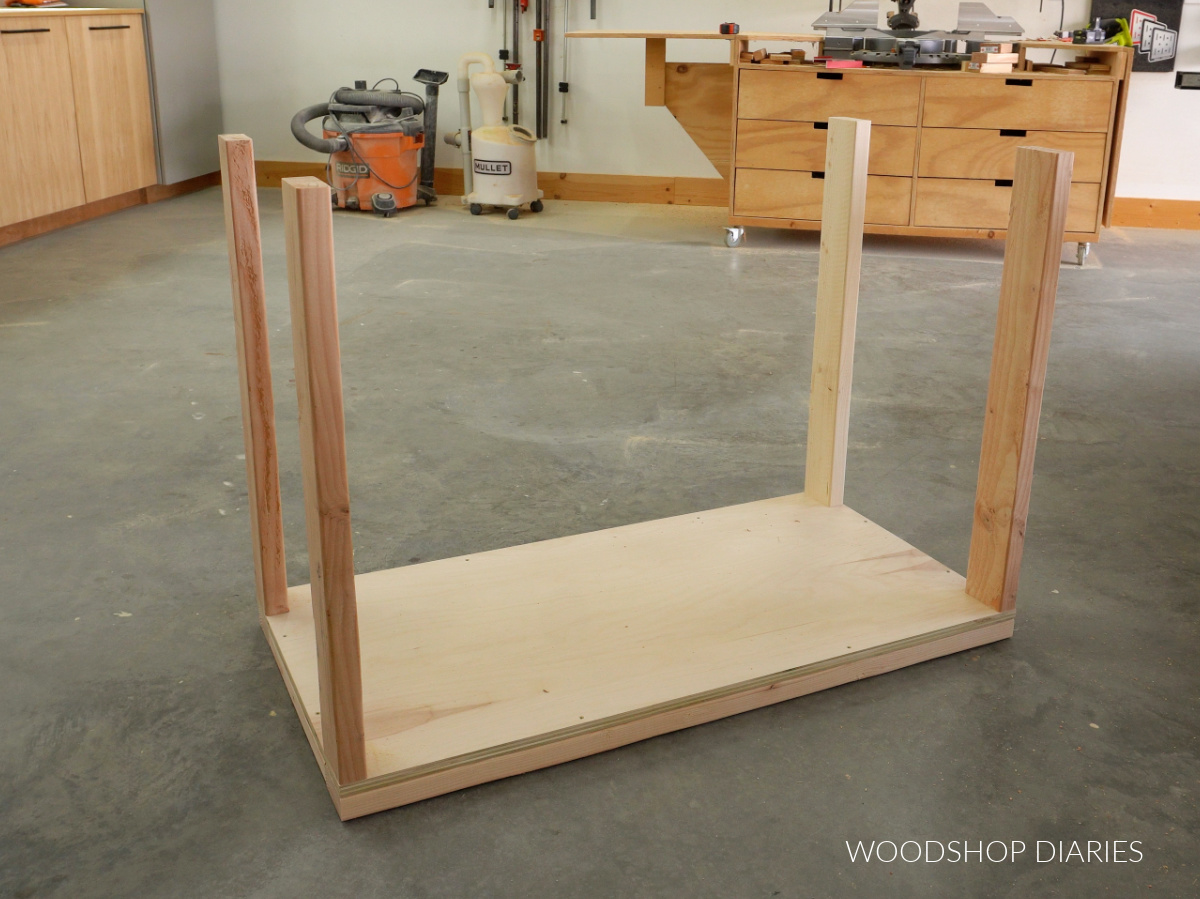
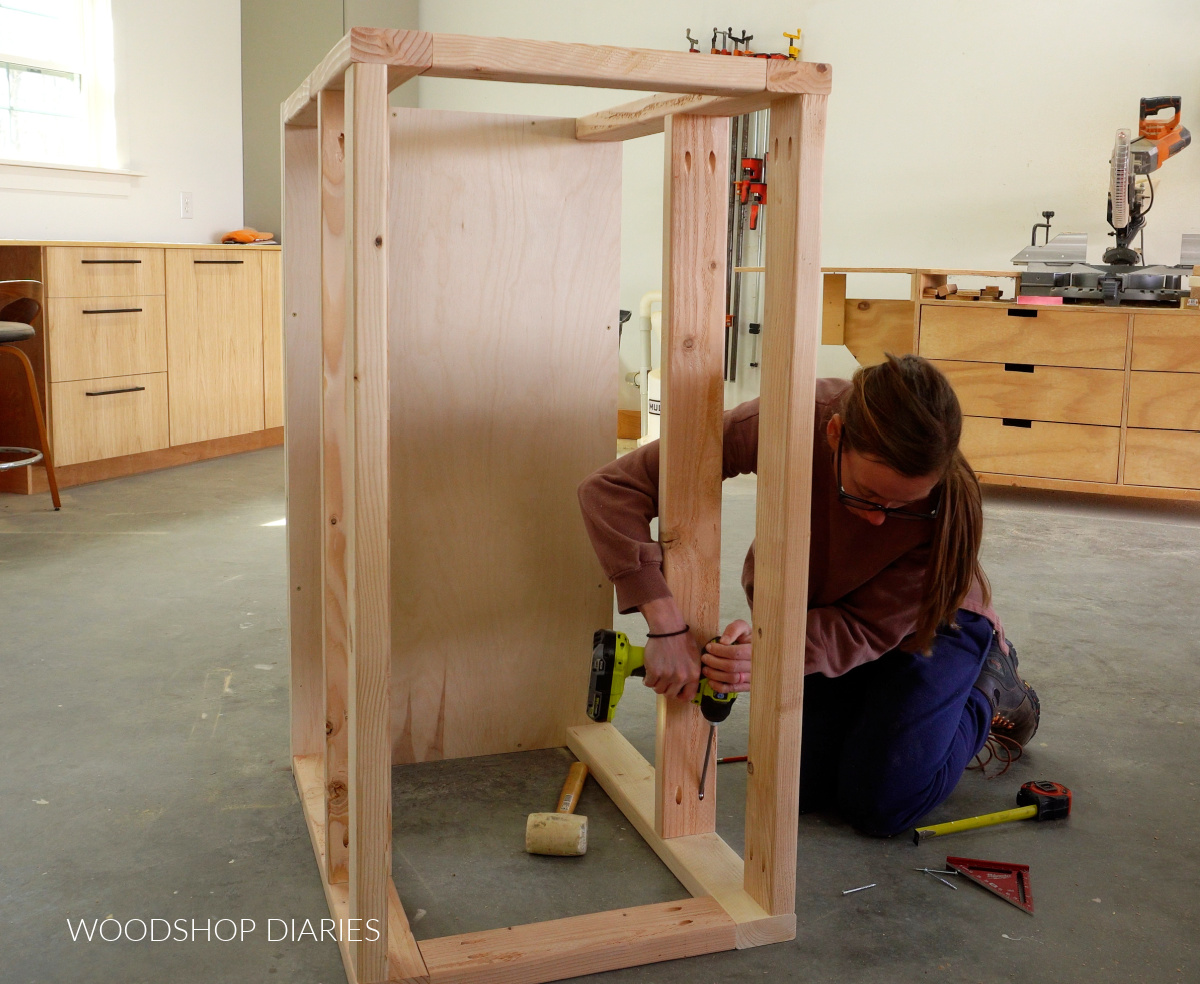
Step 2: Assemble the Small Workbench Frame
Next, I cut four more pieces of 2×4 for the legs (or corner posts–whichever you’d like to call them).
If you wanted a taller or shorter workbench, simply adjust the length of these legs as desired. I cut mine 30″ long.
I attached these at each corner using 3″ wood screws from the bottom up into each leg. You could use pocket holes and screws to attach them instead if you’d rather.
After the legs were installed, I cut four more pieces of 2×4 to run between them at the top–two long pieces at the front and back and two short pieces on the sides.
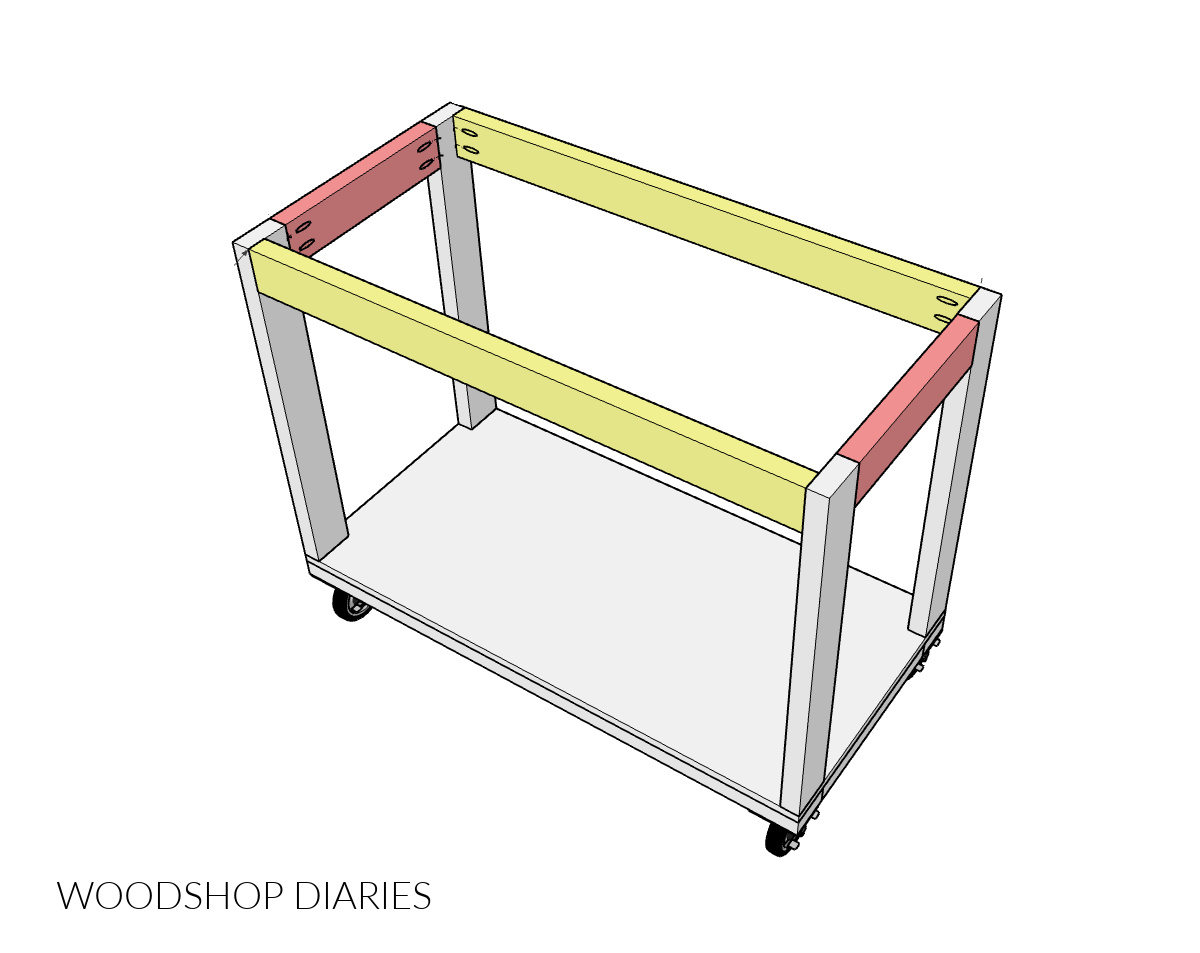
I installed these flush to the top, between the legs using pocket holes and screws.
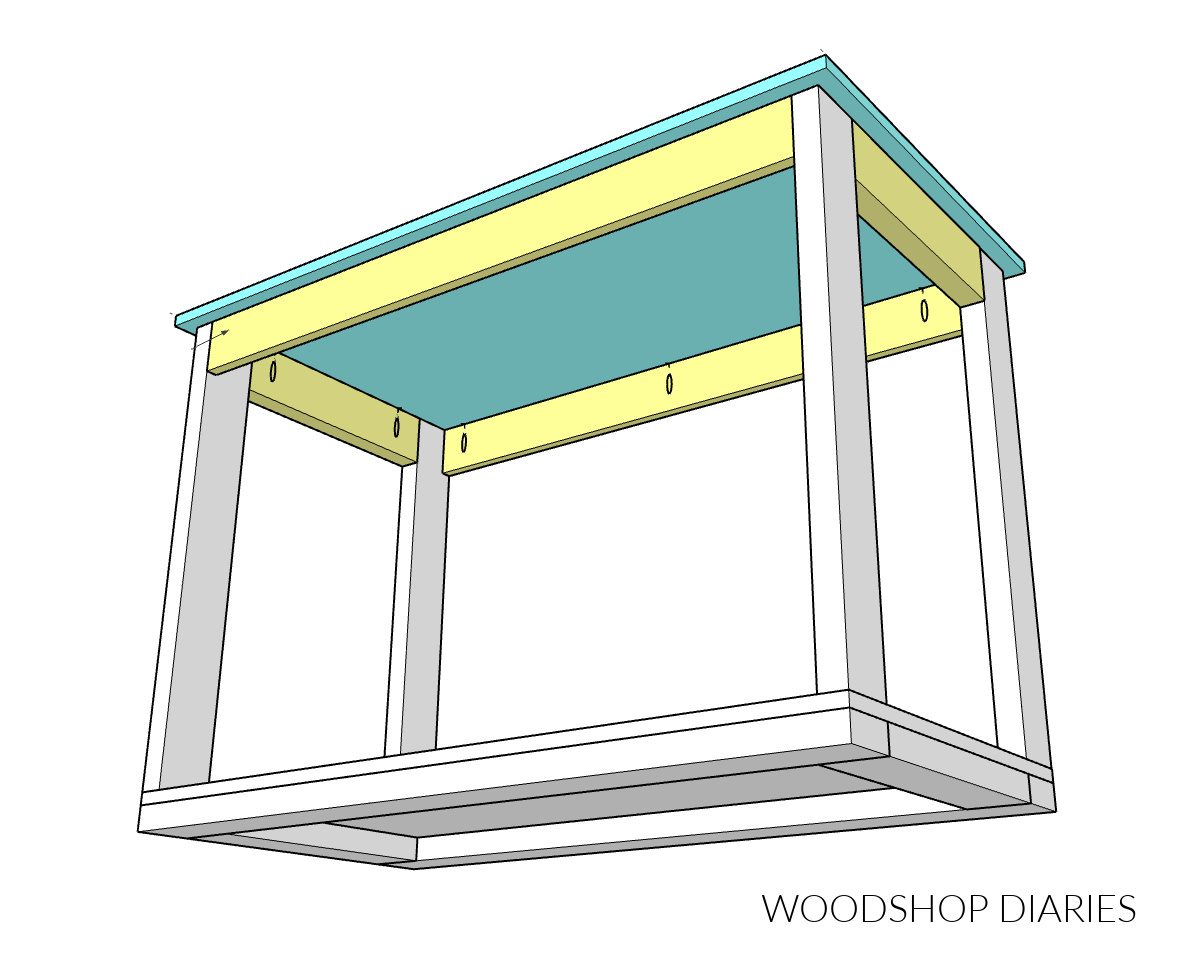
Step 3: Attach the Top
I cut the top from ¾″ plywood about 2″ larger than the frame on both sides–that way, it can have about 1″ overhang on all sides.
If you watch the video I linked above, and you notice the images below, you’ll see that when I built this, I went a bit out of order. I actually installed the shelf before adding the top.
But after I did, I realized I didn’t have enough room to install the top how I’d like.
So…I recommend attaching the top BEFORE the shelf. In hindsight, I would have drilled ¾″ pocket holes around the top framing and installed the workbench top using 1 ¼″ pocket hole screws.
Prefer to print? Grab the printable building plans with all the dimensions and diagrams here.
Step 4: Add the Shelf
I know the top isn’t installed in the images (remember, I built this out of order), but just pretend it is.
Next, I installed 2x4s between the legs to support the shelf. I cut 2 long pieces to run along the front and back and installed these between the legs witch pocket holes and screws.
You can install these however high or low you’d like in your workbench frame.
After the front and back supports were in, I cut and installed two short pieces to run between them–one on each side using pocket holes and screws.
Then I cut and placed a piece of ¾″ plywood to fit on top.
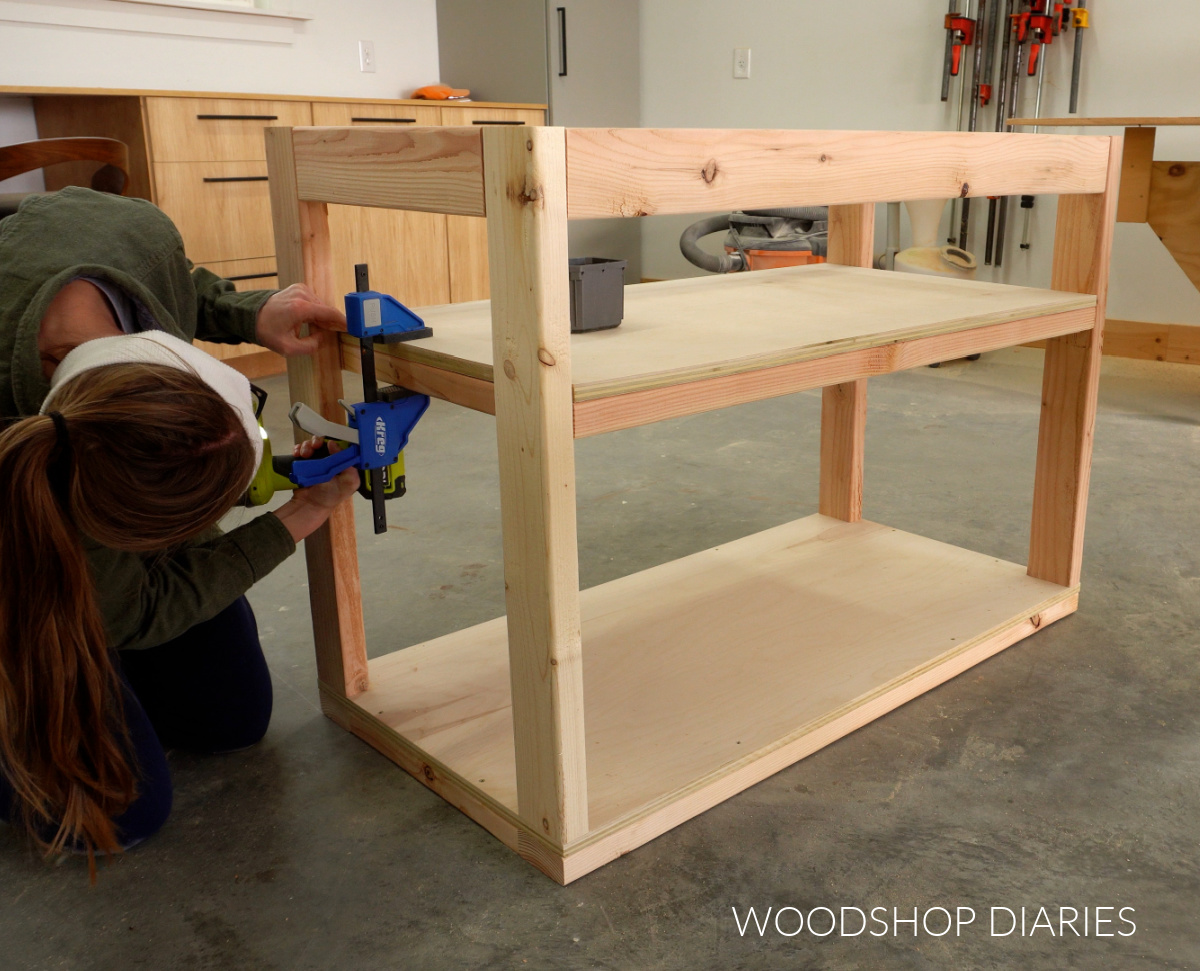
You could secure these with screws from the top side, but I used screws from the bottom of the frame so they’d be hidden.
Step 5: Install Caster Wheels
I flipped the workbench upside down and installed 3″ caster wheels at the corners.
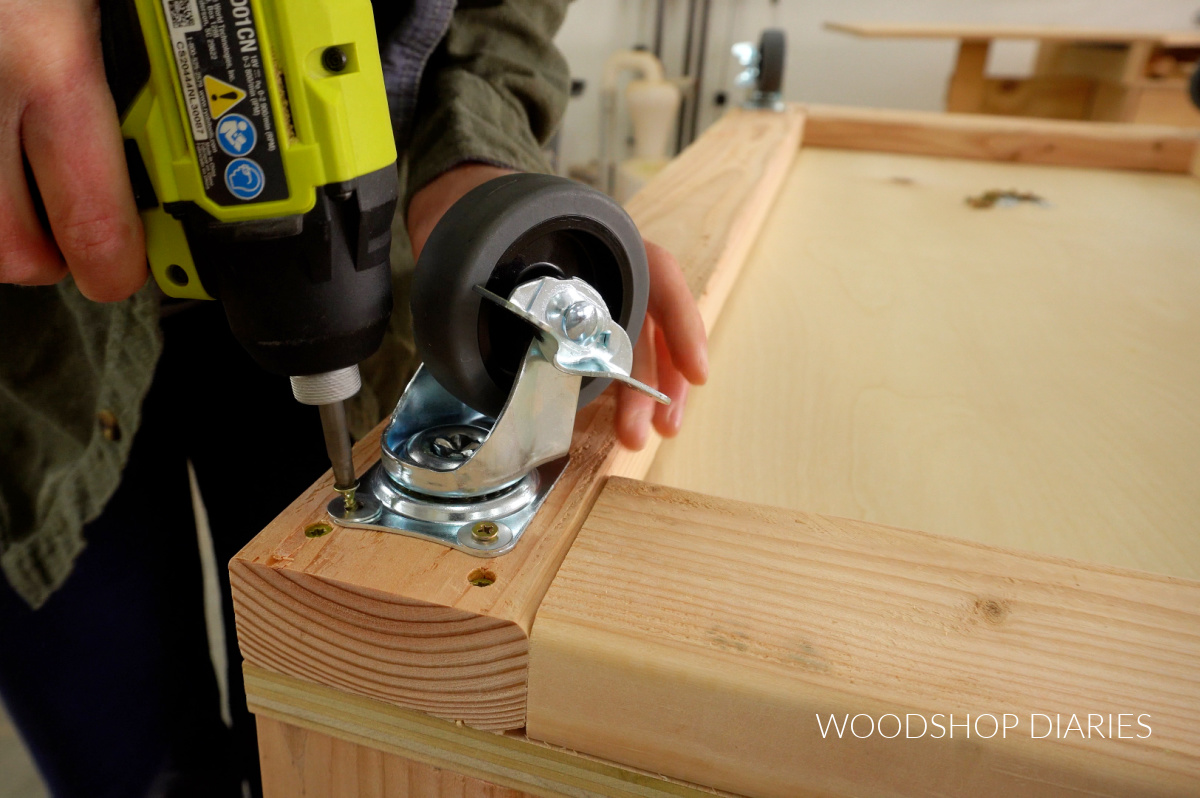
You can use any size caster wheel you’d like, but I prefer the wheels with the plate vs the kind with the threaded insert or the kind that mount to the side of the bench. (That’s just my personal preference.)
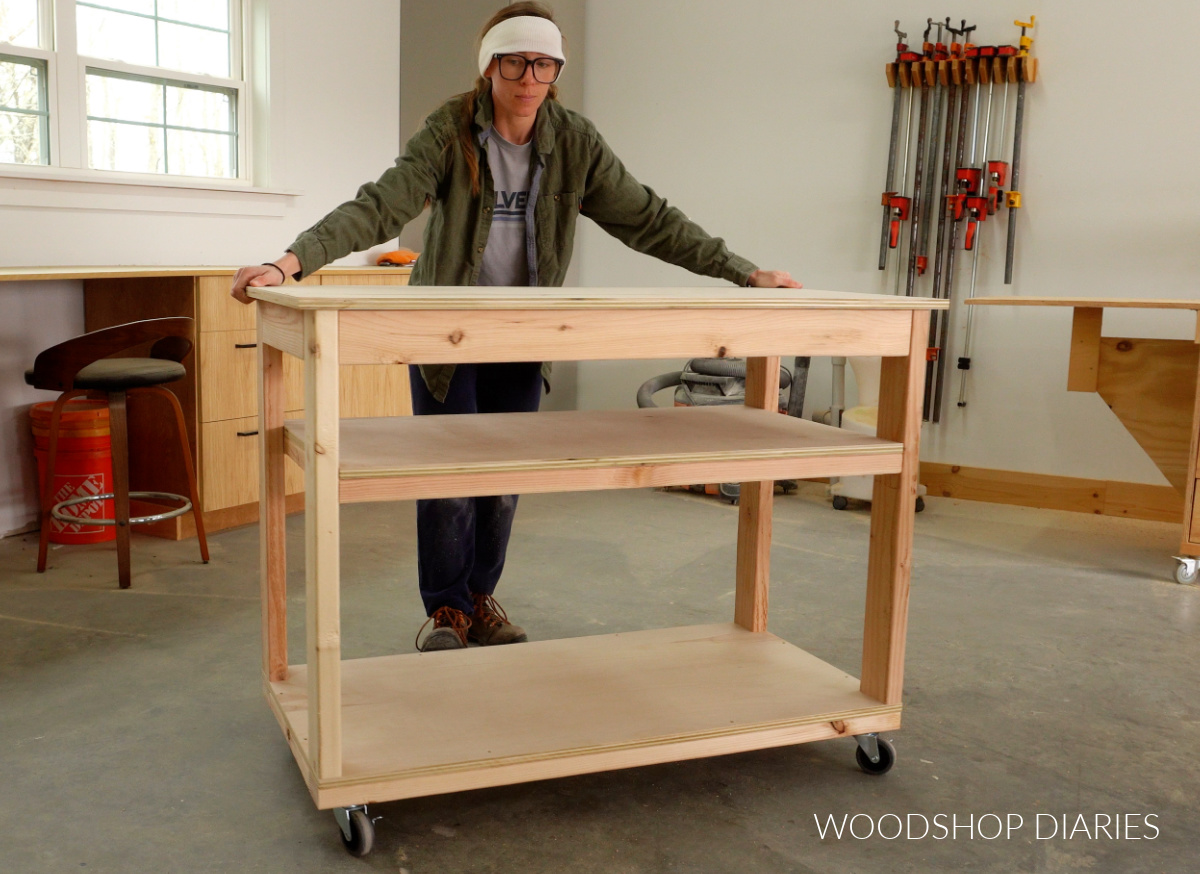
At this point, the workbench is complete! The next step is adding some optional customizations.
Prefer to print? Grab the printable building plans for this small space mobile workbench here.
Step 6: Customize Mobile Workbench with Storage
I had some leftover plywood and I thought it would be fun to add some additional storage on the sides of the workbench. So I cut a panel to fit between the legs on one side.
Then I cut down some 3″ strips of plywood to make some simple little “cubbies” that would fit my glue bottles, drill bit case, sandpaper, etc. (I just brad nailed these cubbies together, but you could also use screws.)
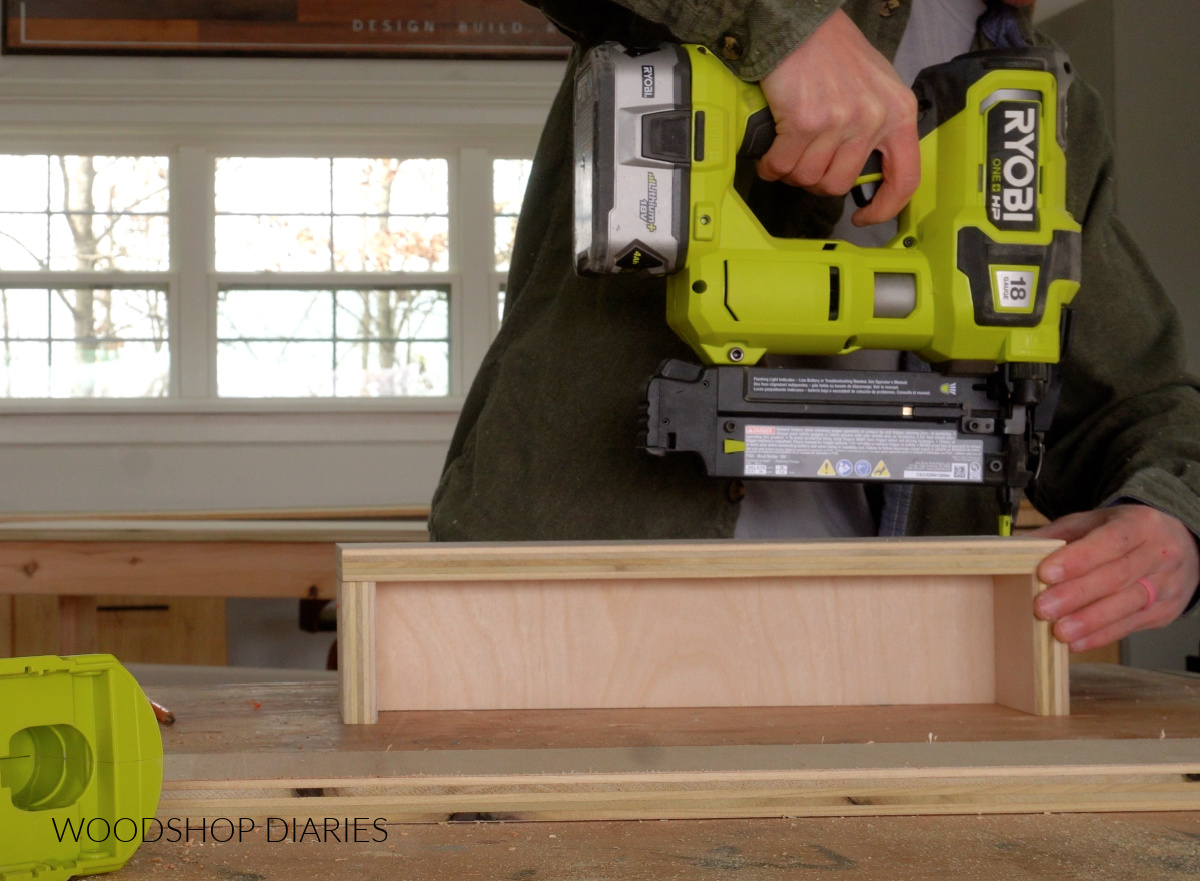
I also cut a pieces about 5″ x 7″ and used a jig saw to cut slots just wide enough to fit my drill and driver into.
Then, I arranged my cubbies and my tool holder on the side panel so that everything fit well and one by one, I clamped each piece in place and used screws through the back to secure them.
Once all my pieces were on, I installed this panel into the side of my workbench using pocket holes at the bottom (on the inside) and screws at the top into the shelf frame.
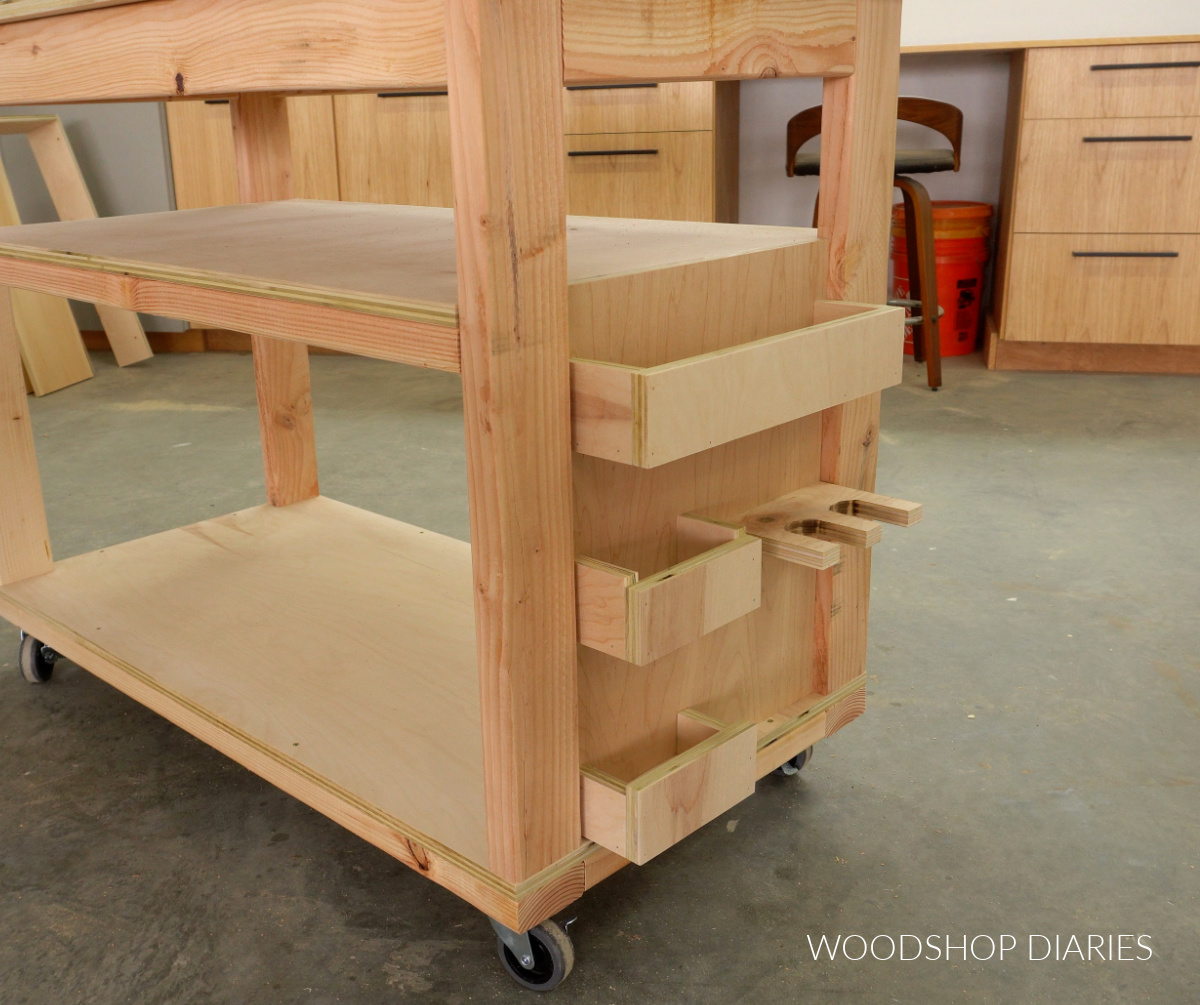
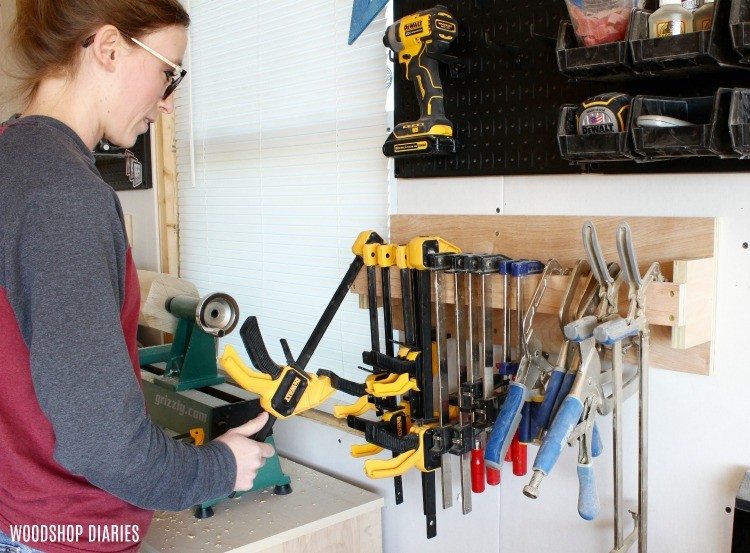
For my clamps, I cut two strips of plywood about 2″ wide and screwed these between the legs on the opposite side of the workbench. This is a super simple way to store clamps and keep them readily accessible.

And with that, this small space workbench is ready for work!

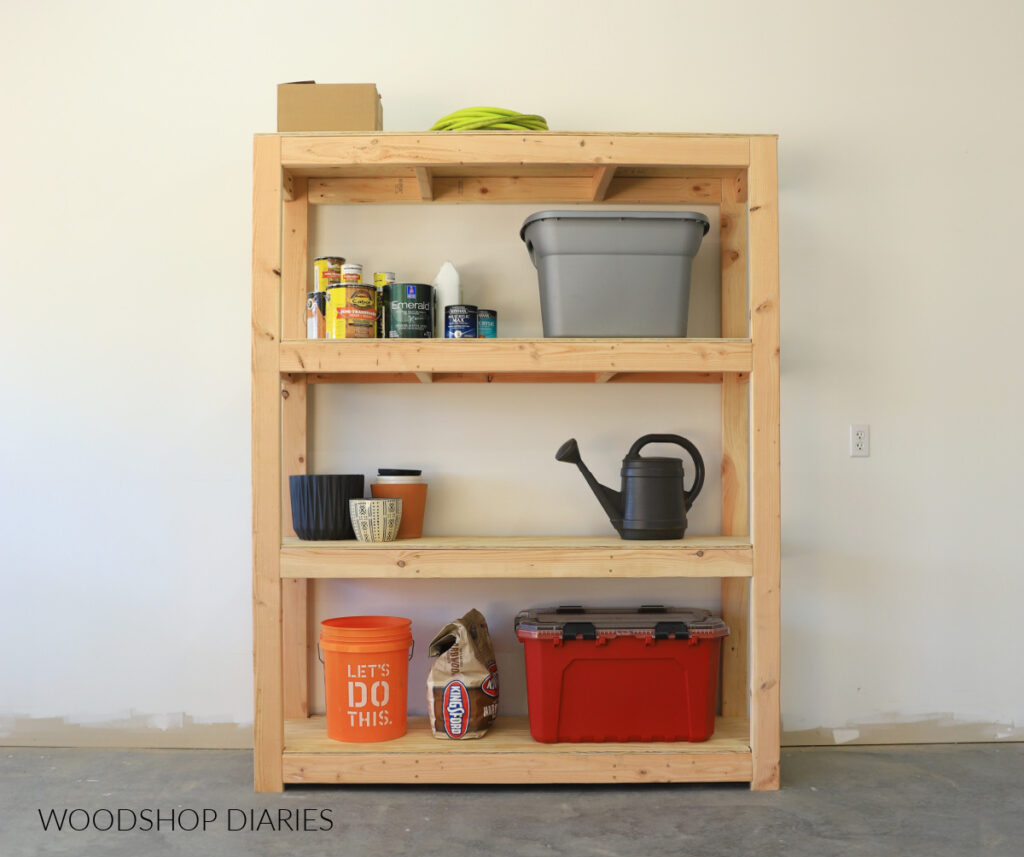
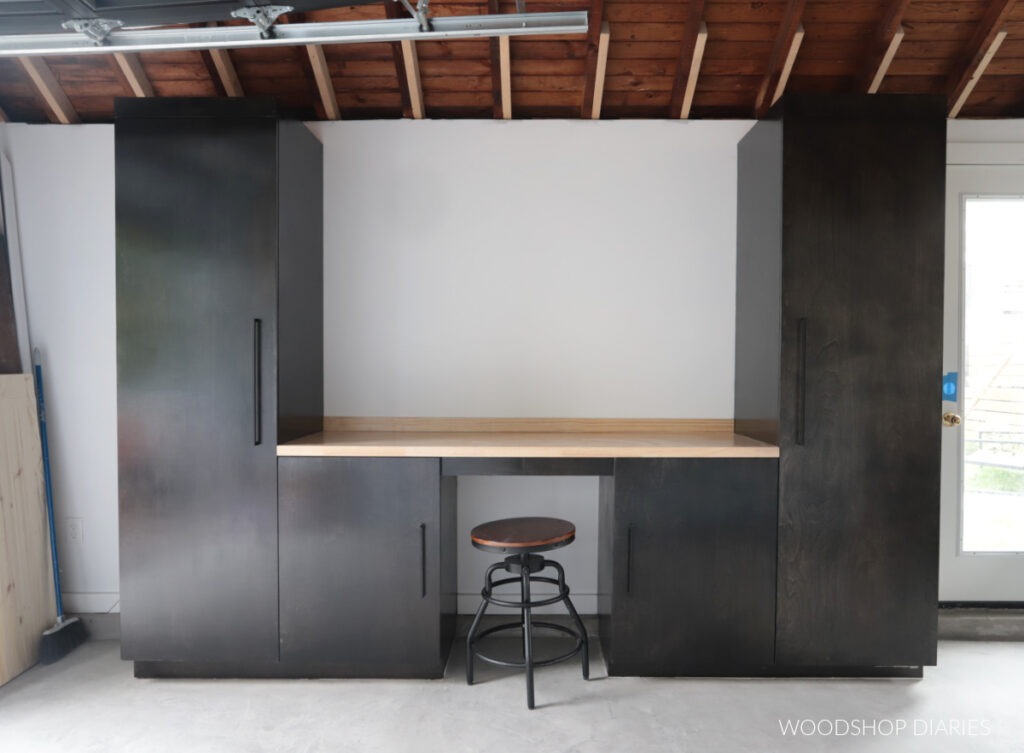
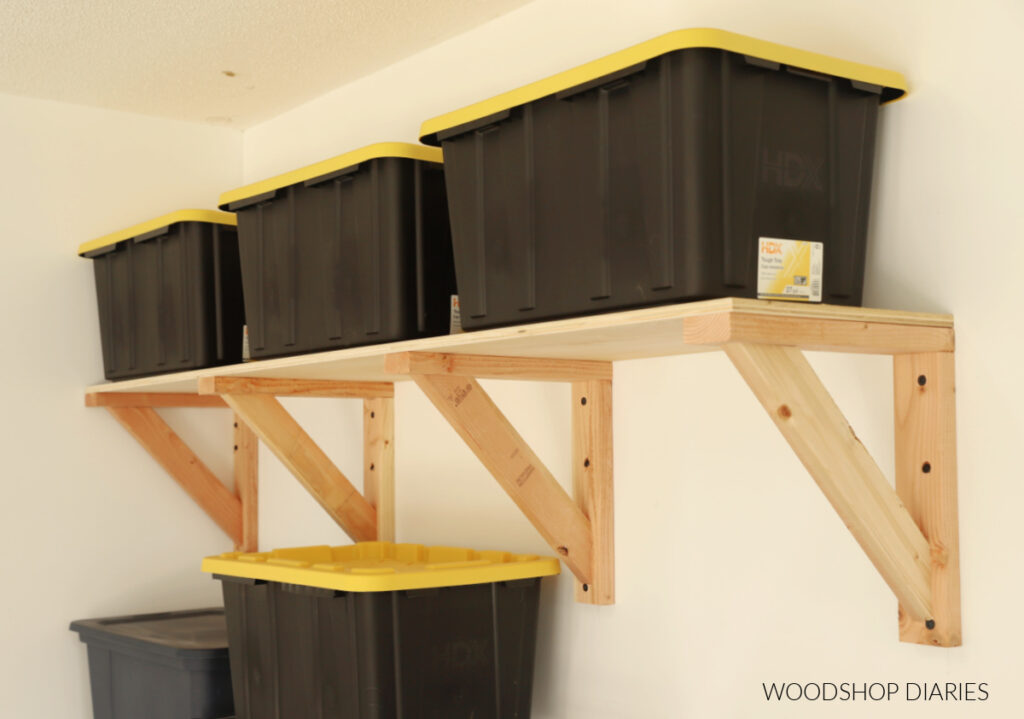
Looking for More Garage and Workshop Organization ideas?
Loved this project, but looking for more? Here are a few of my favorite garage and workshop organization projects you might enjoy. Click on the image(s) below to see how to make each one:
If you’d like to save this project for later, be sure to pin it or share to your favorite social channel!
Until next time, friends, happy building!