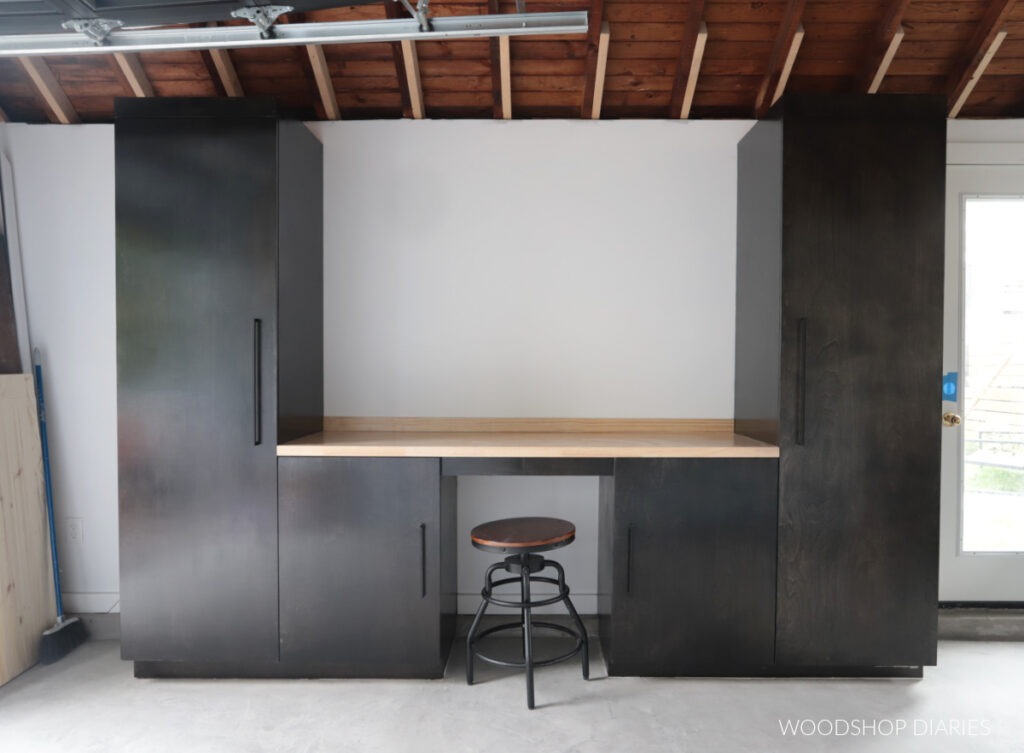
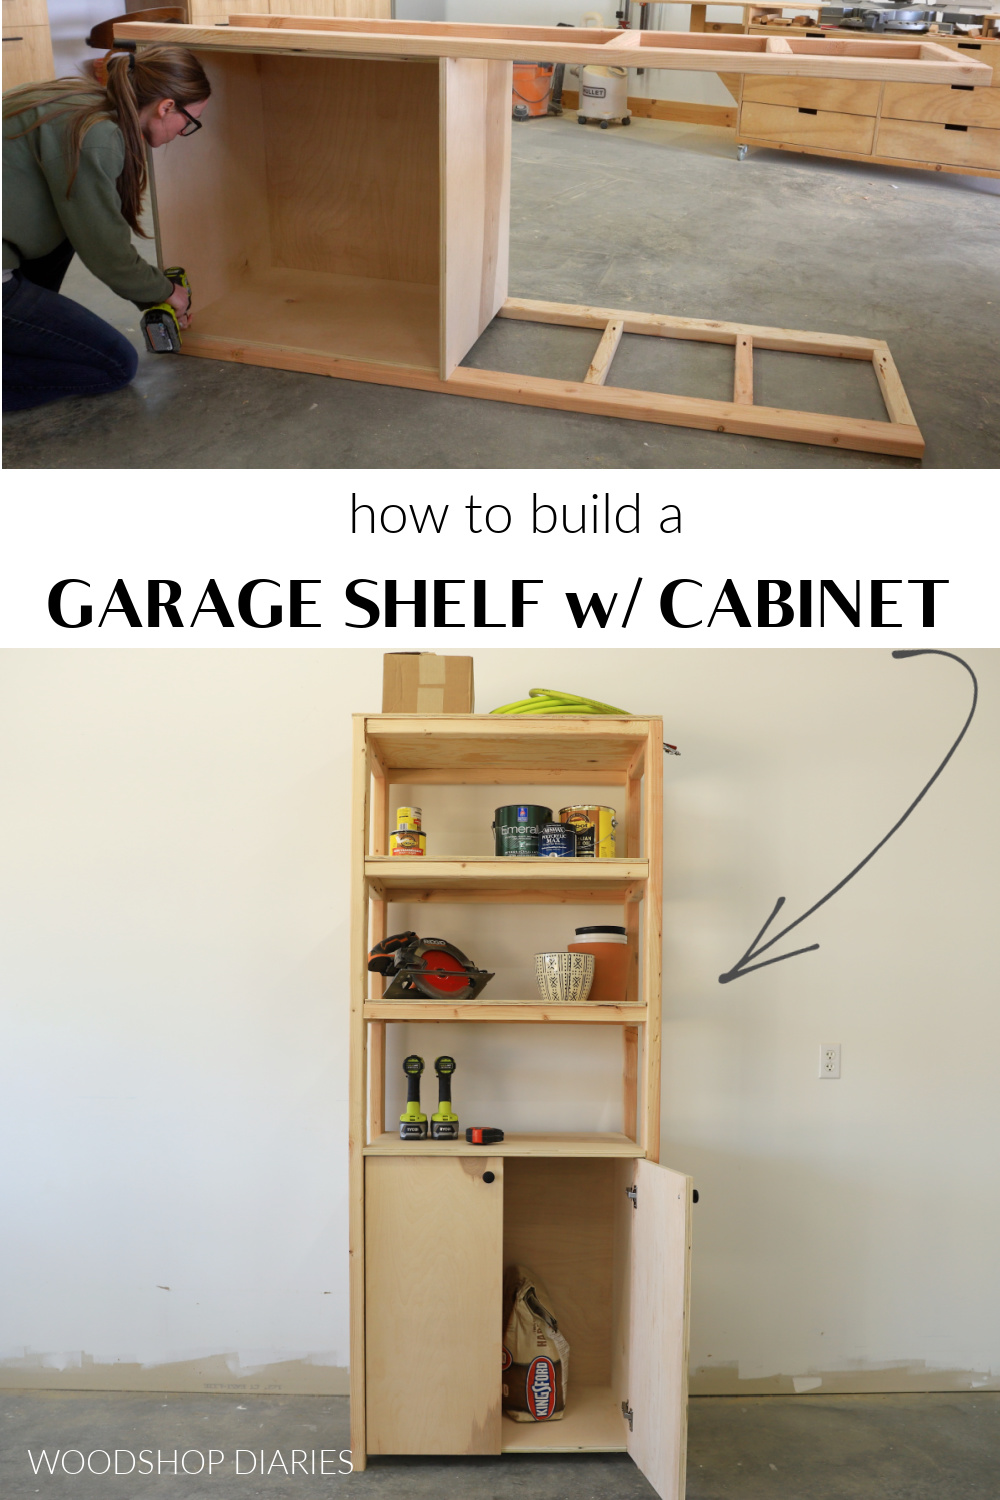
In this post, I’m sharing how to build a DIY garage shelf with storage cabinet!
This is such a great project to add extra storage to your garage or workshop without busting the budget.
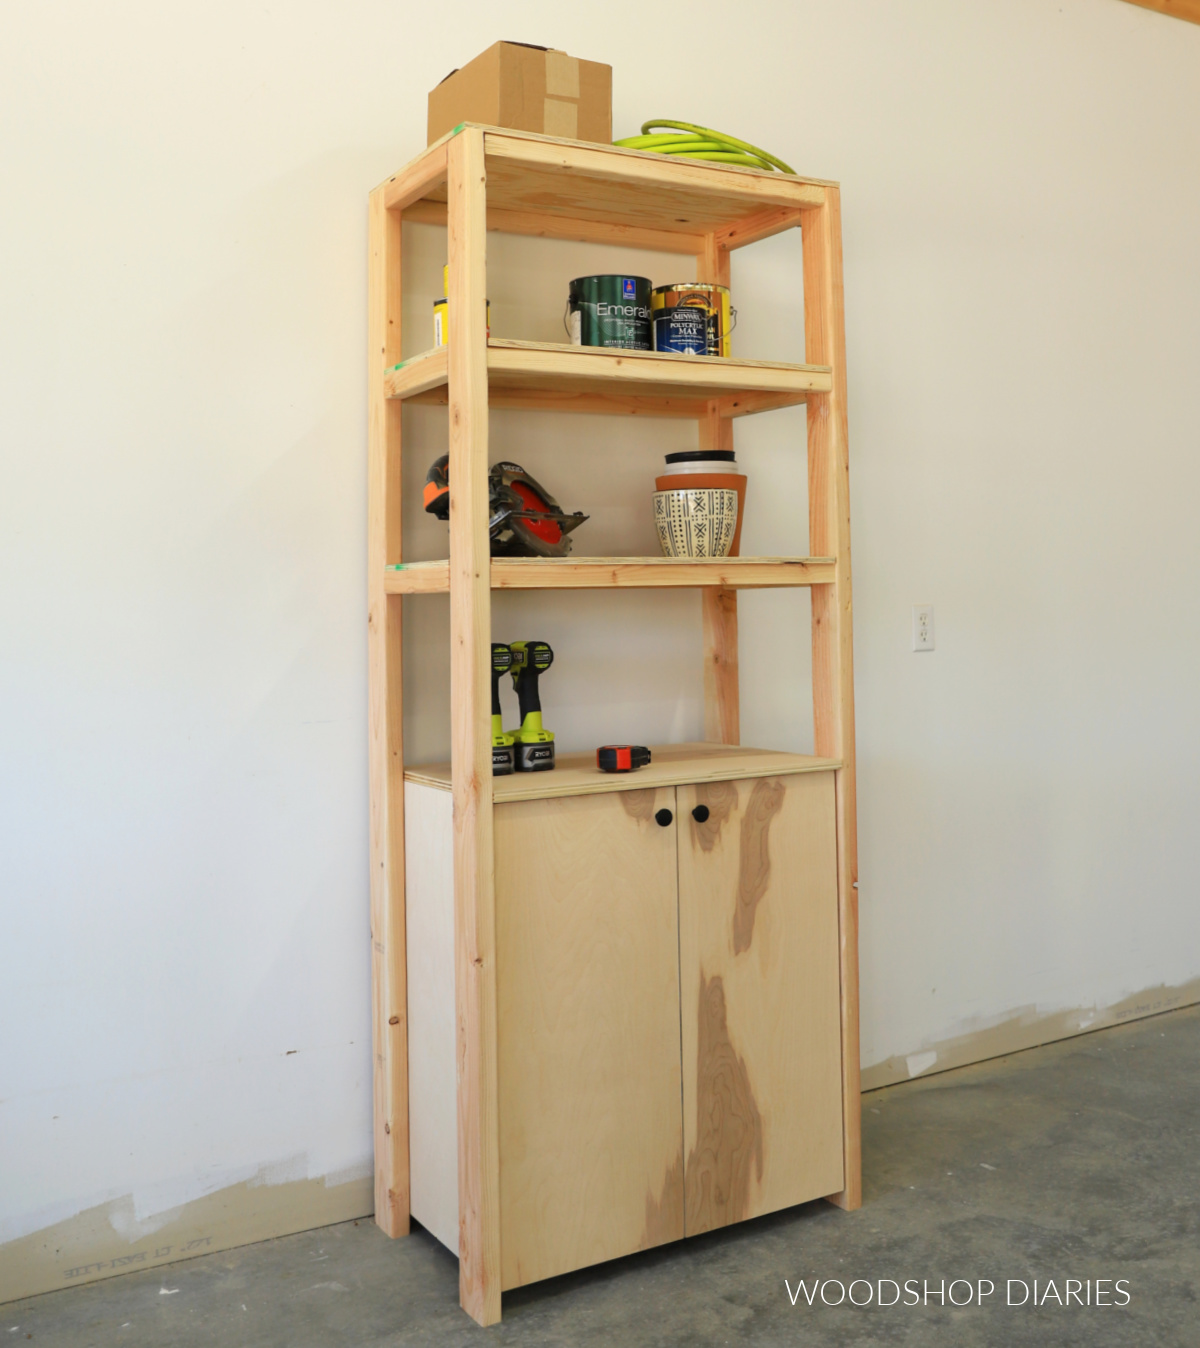
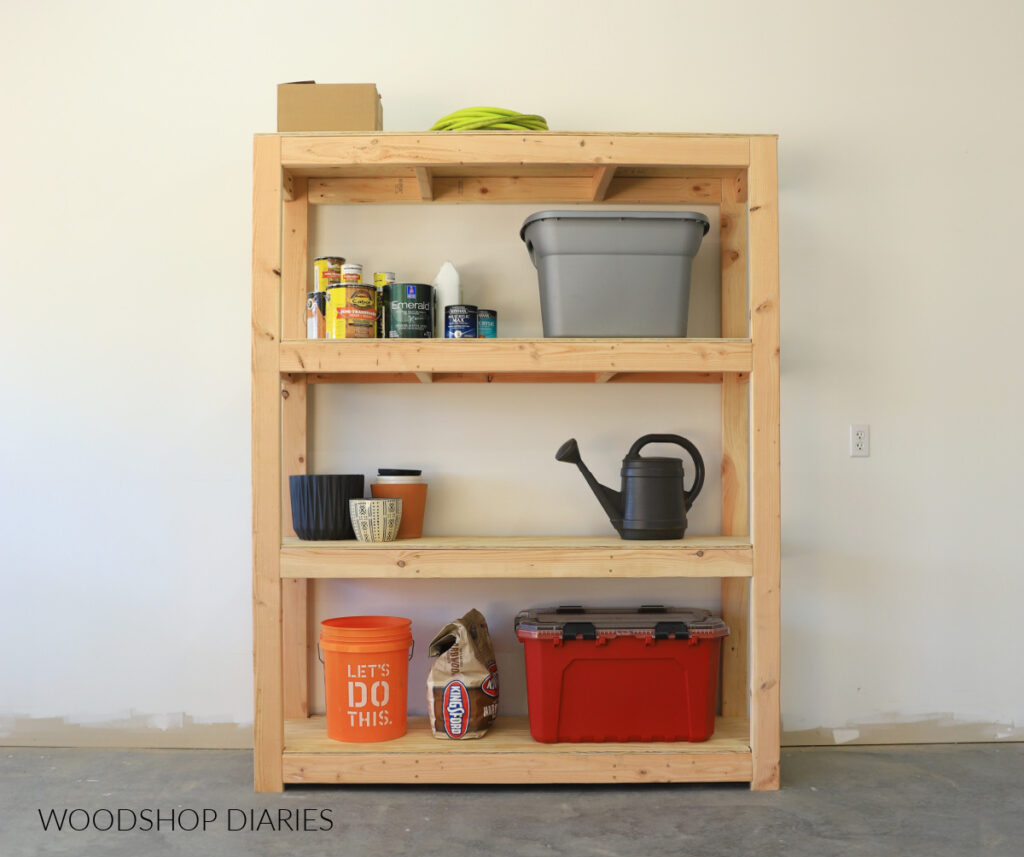
The cabinet provides a place to hide some of your lesser used items and the open shelves at the top allow plenty of room to keep things like tools, pots, paints and stains.
It’s made with basic plywood and inexpensive 2x2s and 2x4s, so it’s a budget friendly project you can easily put together over a weekend!
I’m showing you how easy it is to build below, so let’s dive in!
*This post contains affiliate links. See website policies.
What to know before building
This is a great beginner level woodworking project. It’s super simple to put together, requires limited tools, and is a useful addition to any work space. You can easily complete it in just a few hours.
If you’d like to make some changes to the design, you could exclude adding the doors and install open shelves inside the cabinet. Or swap the doors for drawers instead.
Overall dimensions
The overall dimensions of this project are approximately 20 ½″ deep x 32″ wide x 80″ tall.
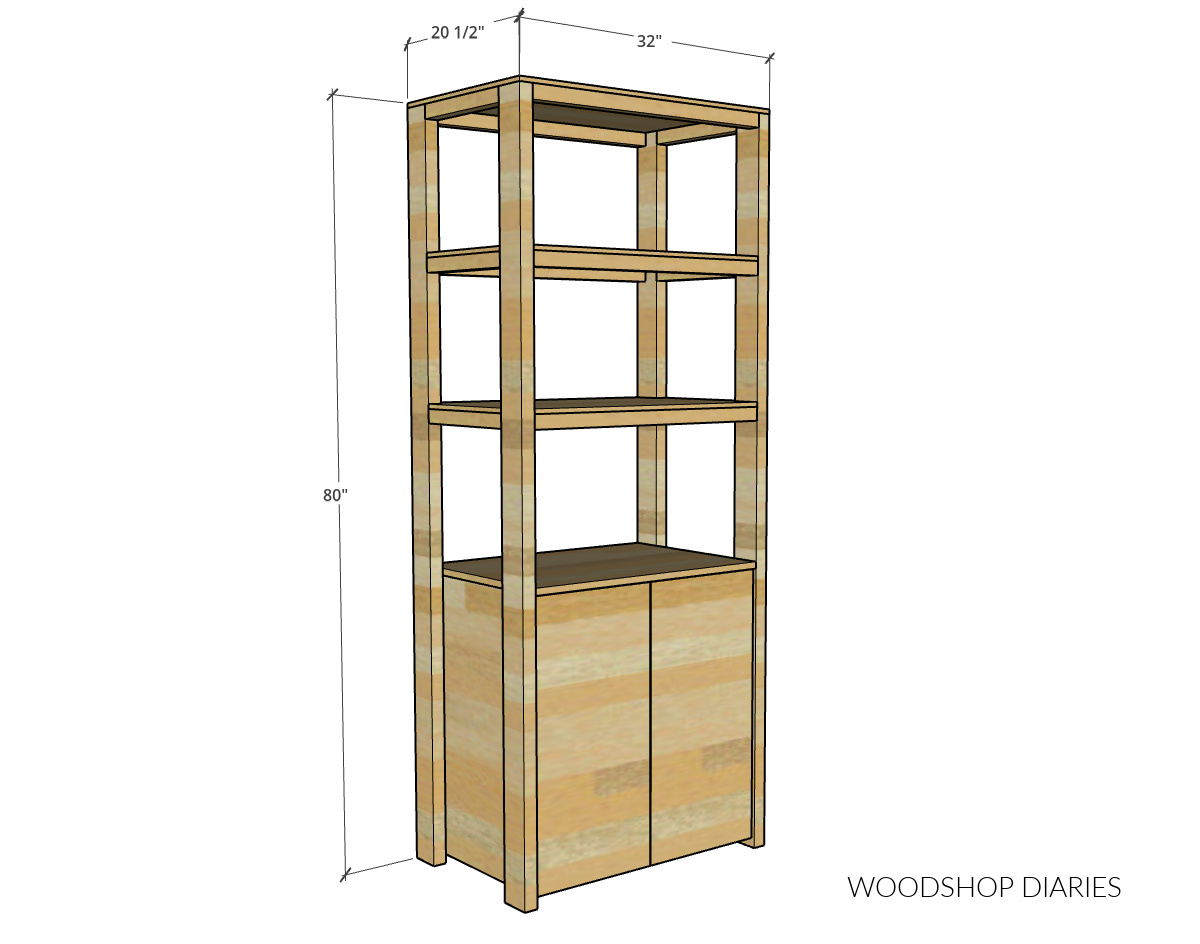
But of course, you can easily modify this to be just about any size you’d need.
You may find these resources helpful throughout the build:
Are DIY projects your thing? Sign up for our newsletter for priority access to the latest projects and build plans!
How to build a Garage Shelf with Cabinet
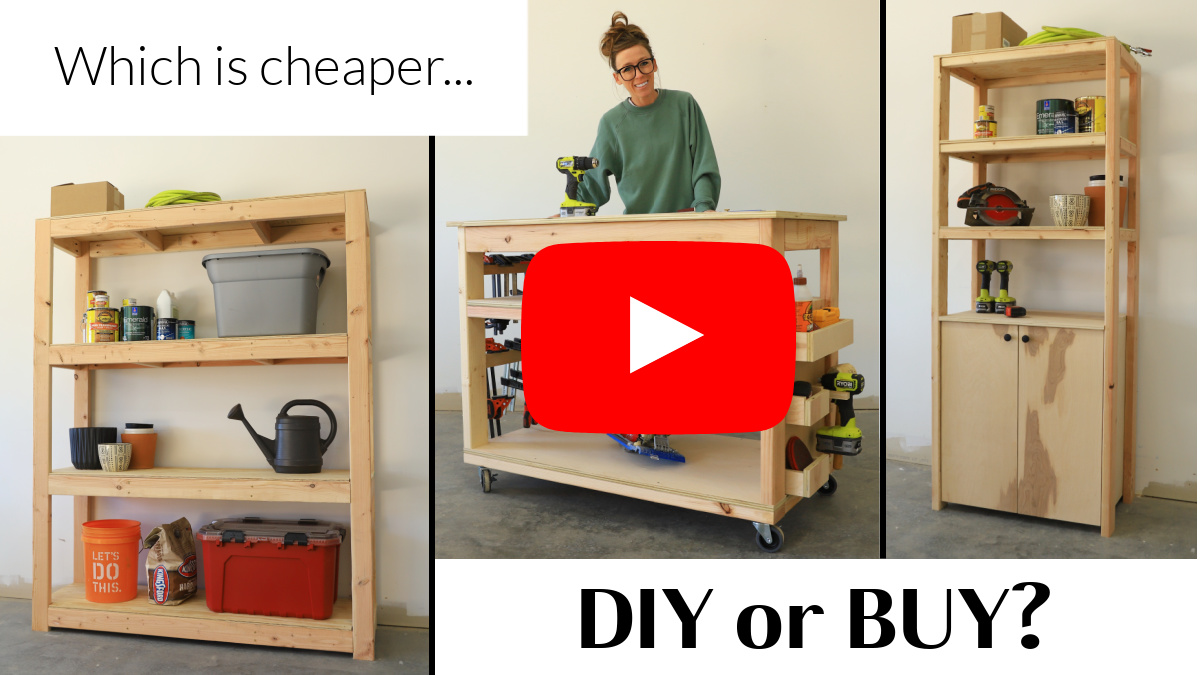
If you prefer to watch, I’ve shared the full build video with tons of tips, behind the scenes, and additional details on my YouTube Channel here.
Love watching how-to videos? Subscribe to my YouTube channel for plenty more where that came from!
Prefer to print? Grab the printable garage shelf with cabinet building plans here:
Tools & Materials
Tools:
- Circular Saw
- Miter Saw (optional)
- Cutting Guides (Kreg Rip Cut and AccuCut)–optional
- Pocket Hole Jig
- Concealed Hinge Jig
- Shelf Pin Jig (optional)*
- Drill/Driver
- Jig Saw
Materials:
- (4) 2x4x8 boards
- (3) 2x2x8s boards***
- (1) 4’x8′ sheet ¾″ plywood**
- (1) 4’x8′ sheet ½″ plywood**
- (1) 50 count box 2 ½″ pocket hole screws
- (1) 50 count box 1 ¼″ pocket hole screws
- (1) 1 lb box 1 ¼″ wood screws
- (2) pair frameless full overlay concealed hinges
- Shelf pins (optional)*
- Wood Glue
*You can add EITHER stationary shelves OR adjustable shelves (or no shelves at all) inside the cabinet. You only need a shelf pin jig and shelf pins if you choose to add adjustable shelves. Learn more about how to install adjustable shelves here.
**You can use EITHER cabinet grade plywood for this project OR cheaper pine sheathing. Cabinet grade plywood will be more expensive, but will look nicer. I used ¾″ birch for the cabinet box and ½″ pine sheathing for the cabinet back and shelves.
***You could cut your 2x2s from 2x4s instead of buying them precut if you’d prefer. In that case, you can skip the 2x2s and just buy five 2x4x8 boards.
Step 1: Assemble the Cabinet
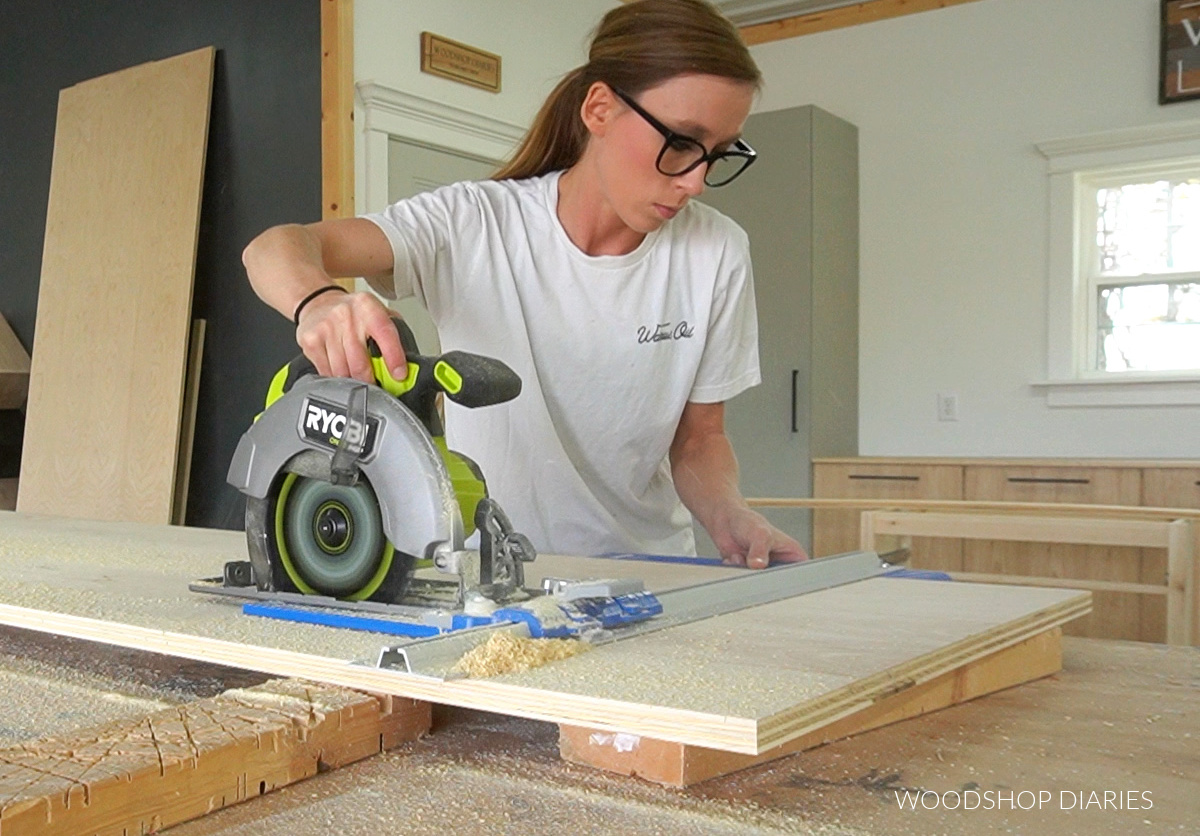
The cabinet on this project was assembled with ¾″ plywood for the sides, bottom and top, but ½″ plywood for the back.
So, first, I ripped a strip of ¾″ plywood to about 19″ wide and trimmed this into three pieces–two sides and a bottom.
RELATED: How to cut plywood sheets
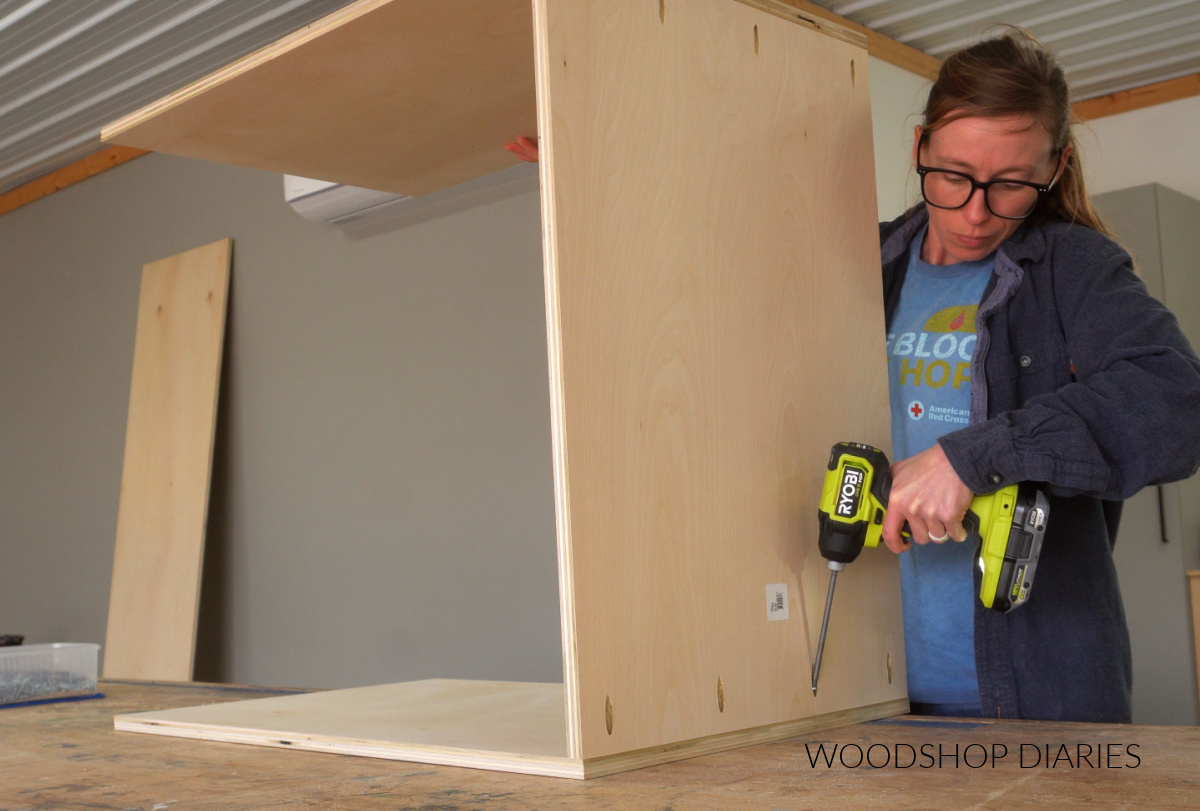
I drilled ¾″ pocket holes into the ends of the bottom panel and secured it between the side panels with pocket hole screws.
RELATED: How to use a pocket hole jig
Then, I cut a piece of ½″ plywood to cover the back side of this box. I simply screwed this in from the back side with wood screws.
It’s important to make sure this ½″ plywood panel is cut square (the diagonals should measure the same length). If it’s square, it will pull the cabinet box square when it’s attached. But if it’s off square, it will pull the cabinet box off square.
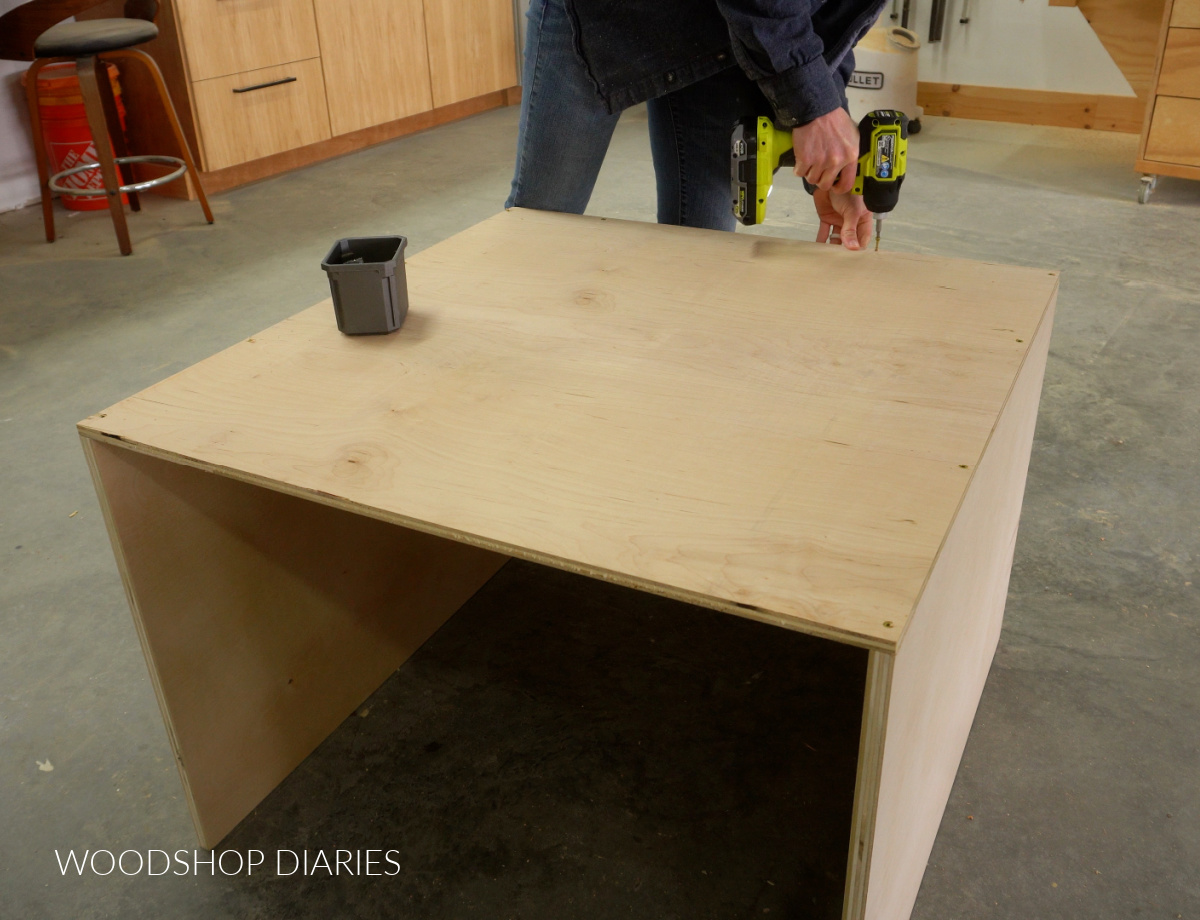
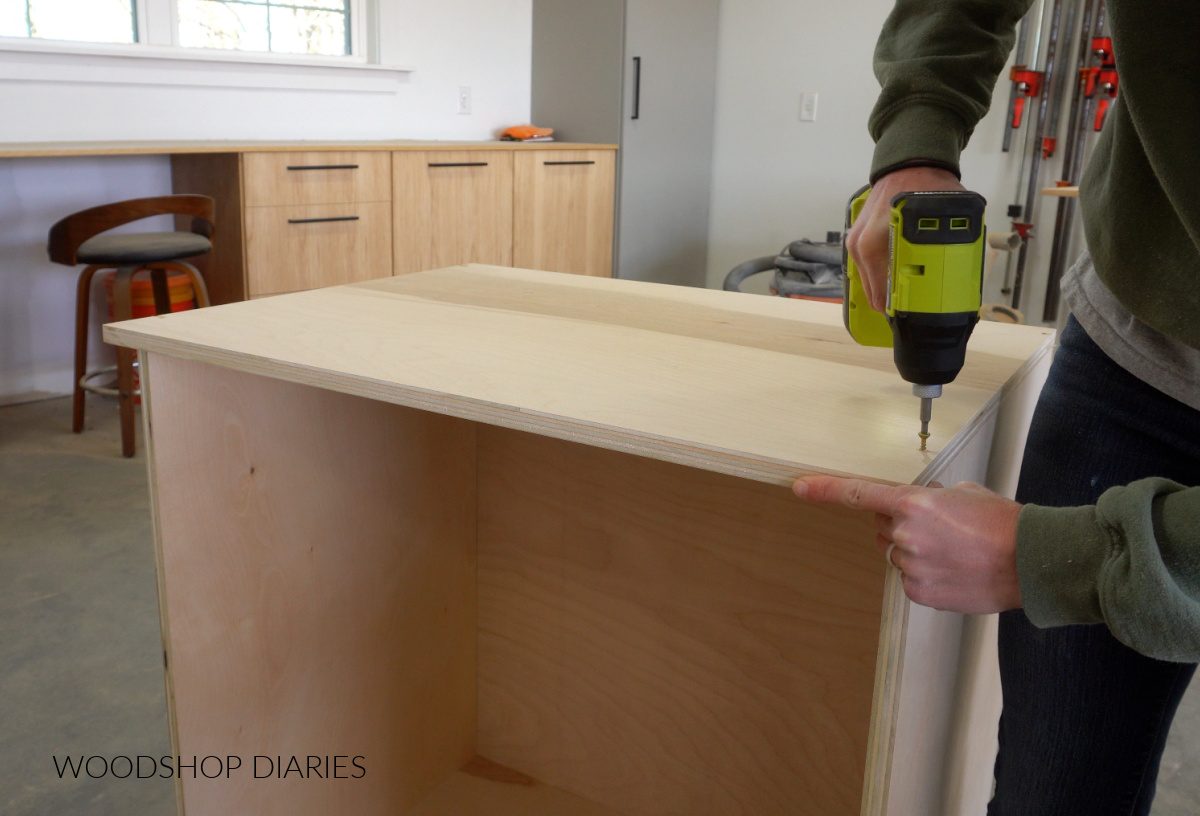
Then, from my ¾″ plywood sheet, I cut another piece to go on top. This piece should be the same width as the cabinet box, but should be about 1 ½″ deeper–it will overhang the front.
You could attach this using pocket holes from inside the cabinet, but I just used screws from the top side.
Grab the cut diagrams and complete cut list with dimensions in the printable plans here.
Step 2: Assemble the Shelf Sides
Now that the cabinet box is assembled, I can start adding the shelf framing around it.
I cut four 2x4s to use as the corner posts. You can cut these however long you’d like to make your shelf however tall you’d like. But I cut mine to about 79 ½″ long.
Then, I cut six pieces of 2×2 to run between them–these will be what the shelves rest on later in the project.
I drilled 1 ½″ pocket holes into the ends of each 2×2 and secured three between two corner posts like shown below.
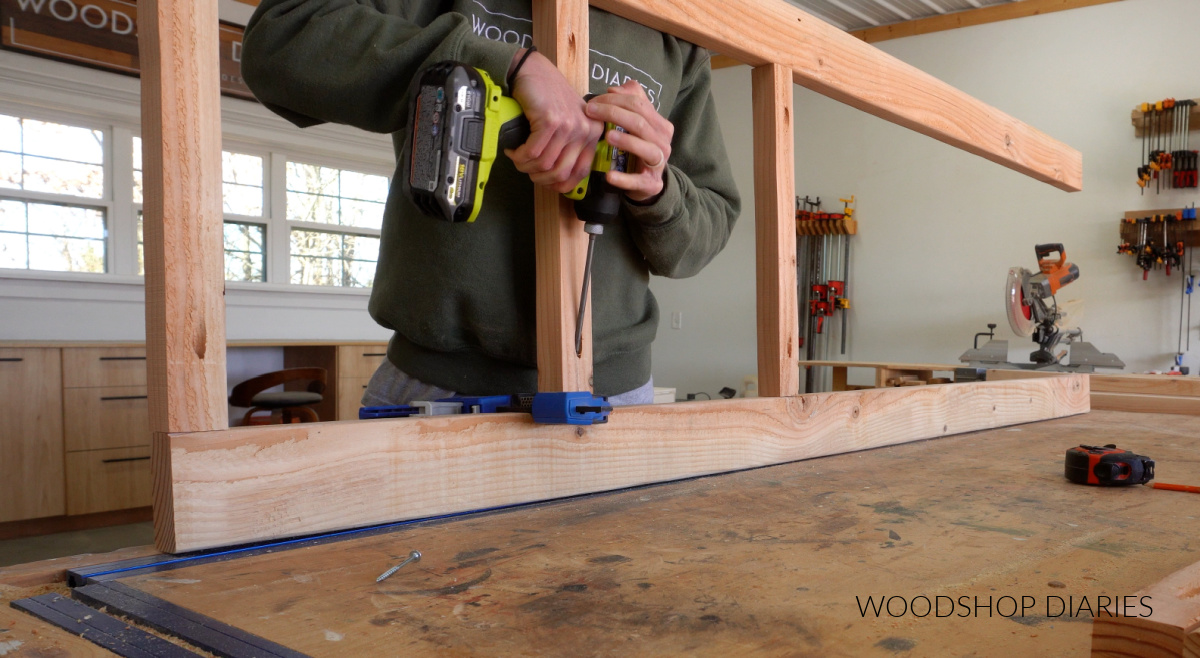
Then, I repeated to install the other three 2x2s between the other two corner posts to make two identical frames.
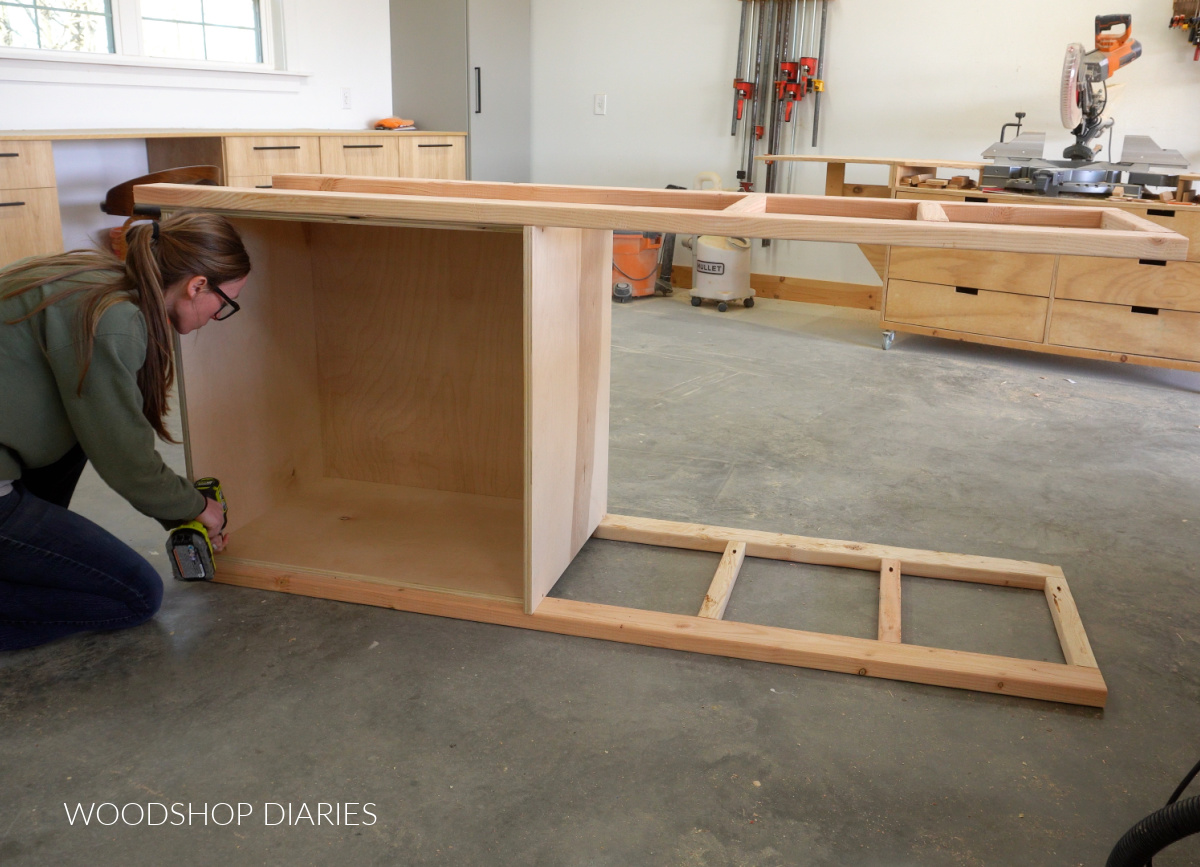
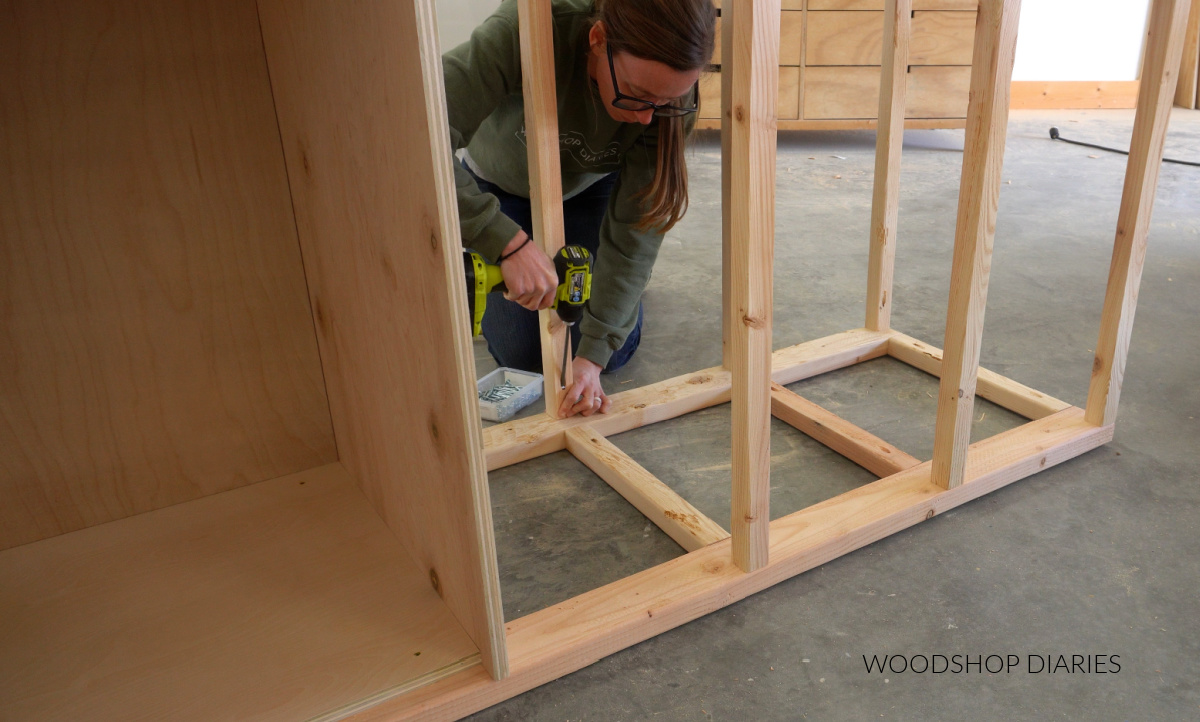
Step 3: Attach Cabinet to Shelf Frames
Next, I secured the cabinet between these two side frames. I found this easiest to do by laying the frame on the ground and flipping the cabinet on its side.
I used screws through the sides of the cabinet to secure it to each corner post. I installed it so that the cabinet was 1 ½″ up from the bottom of each frame and it was flush across the back edge.
Prefer to print? Grab the printable building plans with all the dimensions and diagrams here.
Step 4: Install Shelves
Next, I needed to finish the frame by adding the front and back shelf supports. So I cut six more pieces of 2×2 to run between the side panels–three at the front and three at the back.
I installed these with pocket holes and screws just like the side shelf supports. It’s important to make sure the front and back supports are aligned with the side shelf supports–they should be at the same heights.
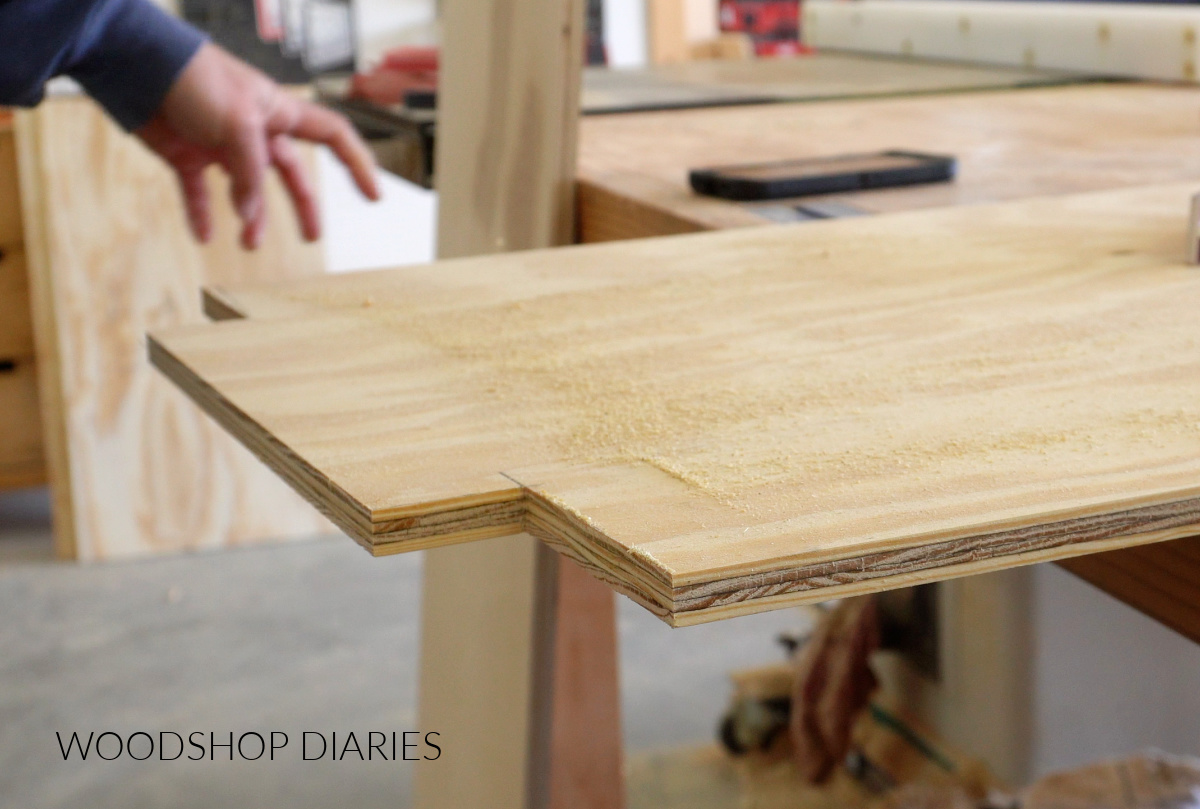
Now, I needed to actually add the shelves to this frame. So I cut three shelves from my ½″ plywood sheet to 20 ½″ x 32″. One of these shelves will go on the top as is.
But the other two will need the corners notched out to fit around the corner posts.
So I measured and marked a 1 ½″ x 3 ½″ notch at each corner and trimmed along the marks with a jig saw.
Then, I placed the shelves into the frame–the unnotched shelf on the top and the notched shelves on the middle and bottom.
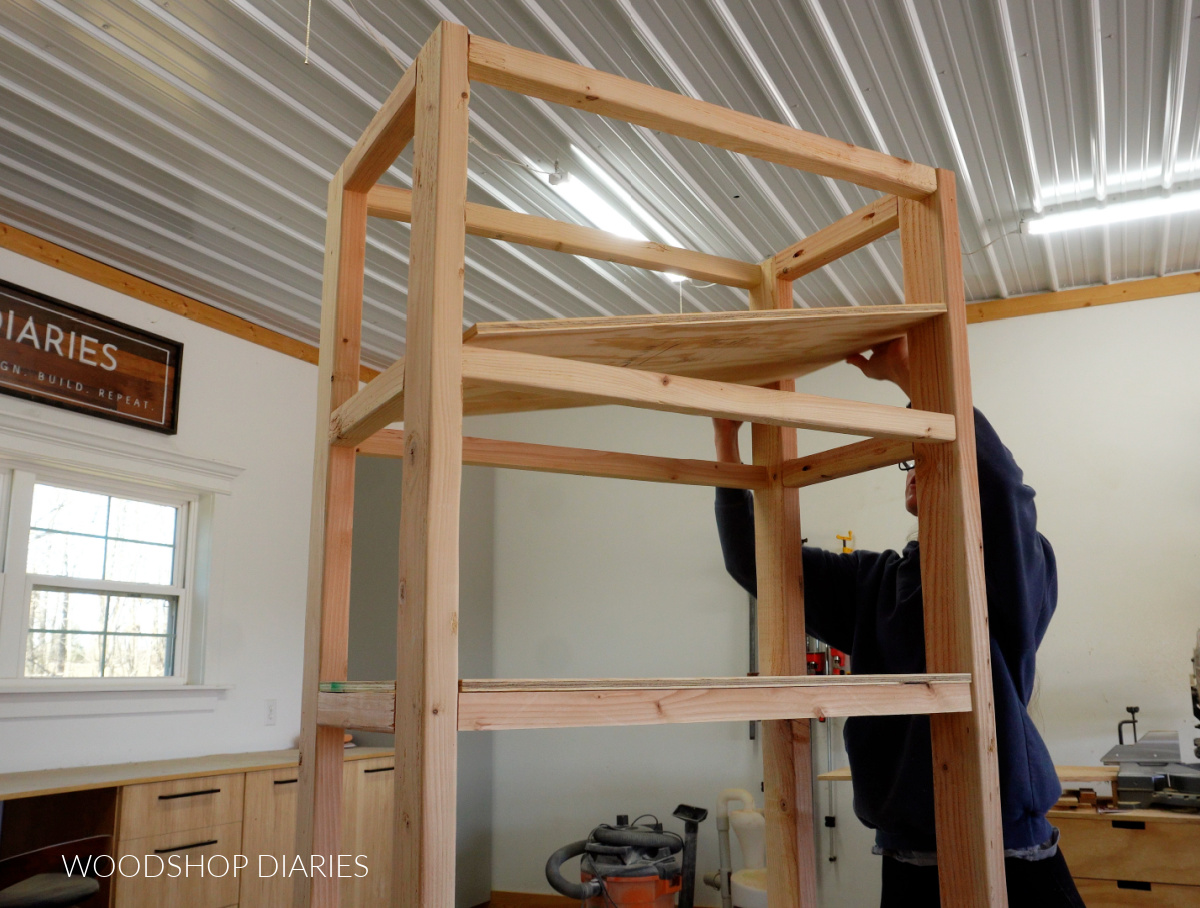
The notched shelves are a bit tricky to get into place, but it’s doable. I recommend going in from the front at an angle, then twisting the shelf piece into place.
I secured these with wood screws from the top side, but you could also use wood screws through the bottom of the 2x2s as well.
Step 5: Add Doors
And at this point, all that’s left is finishing up the cabinet. I cut to fit two overlay doors from my remaining ¾″ plywood and installed these using frameless full overlay concealed hinges.
RELATED: How to install concealed hinges

If desired, you could install shelves inside the cabinet. For stationary shelves, secure a piece of ¾″ plywood to both sides of the cabinet using pocket holes and screws.
For adjustable shelves, you can use a shelf pin jig to drill shelf pin holes along the cabinet sides and place a ¾″ plywood shelf where desired with shelf pins.
Learn more about how to install adjustable shelves here.
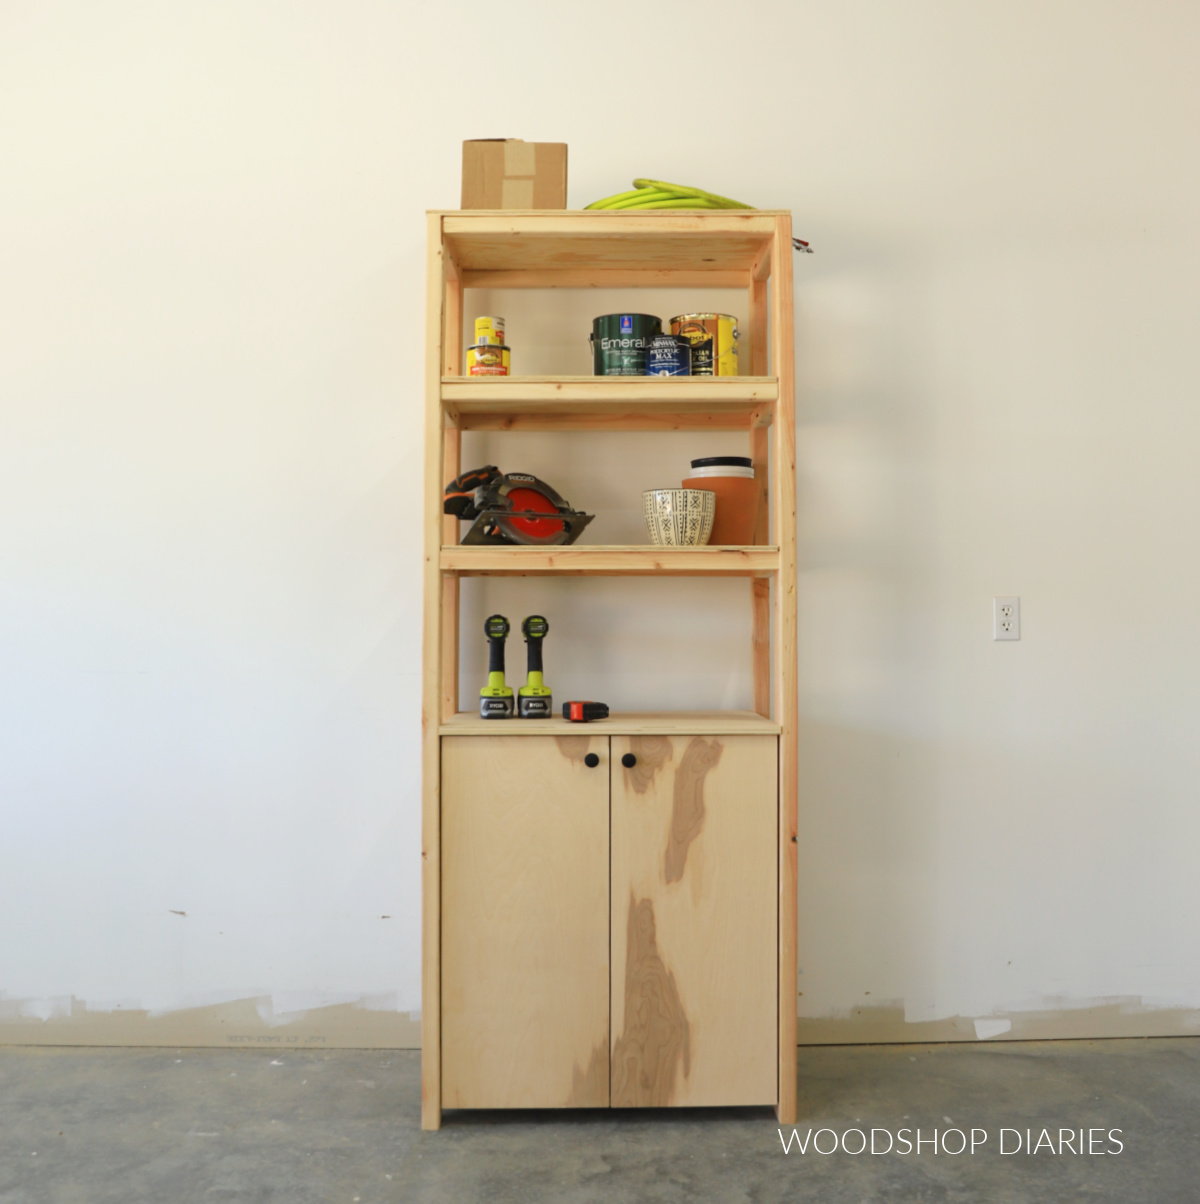
And with that, this simple shelf is ready for all the storage! I would work perfect in a workshop or garage for all kinds of odds and ends–tools, seasonal decor, paints and stains, etc.
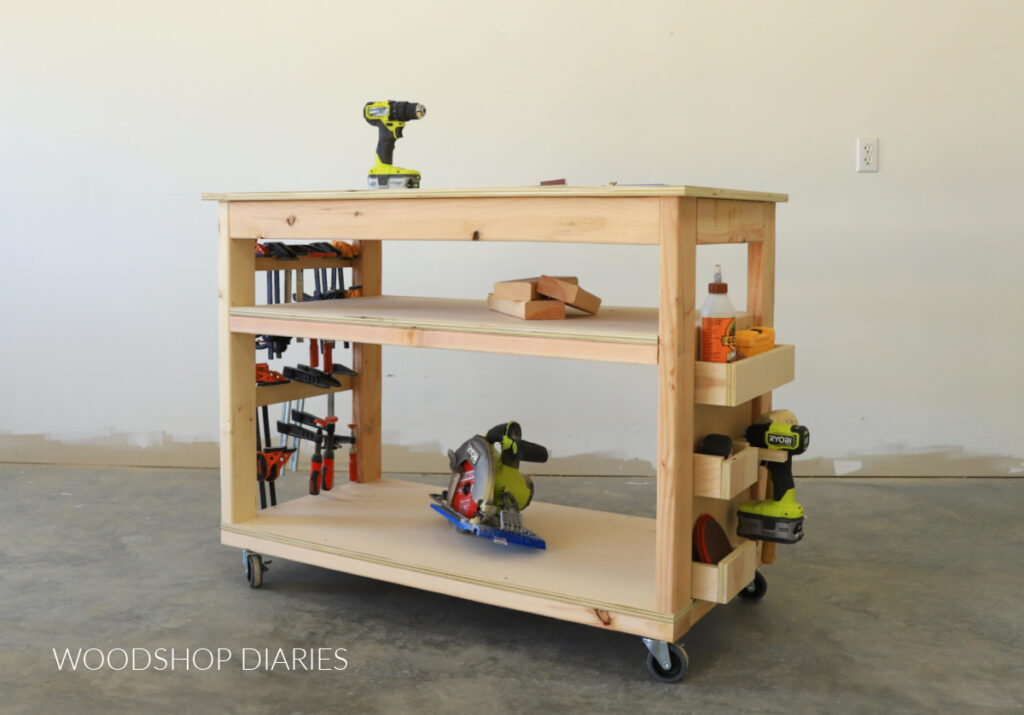
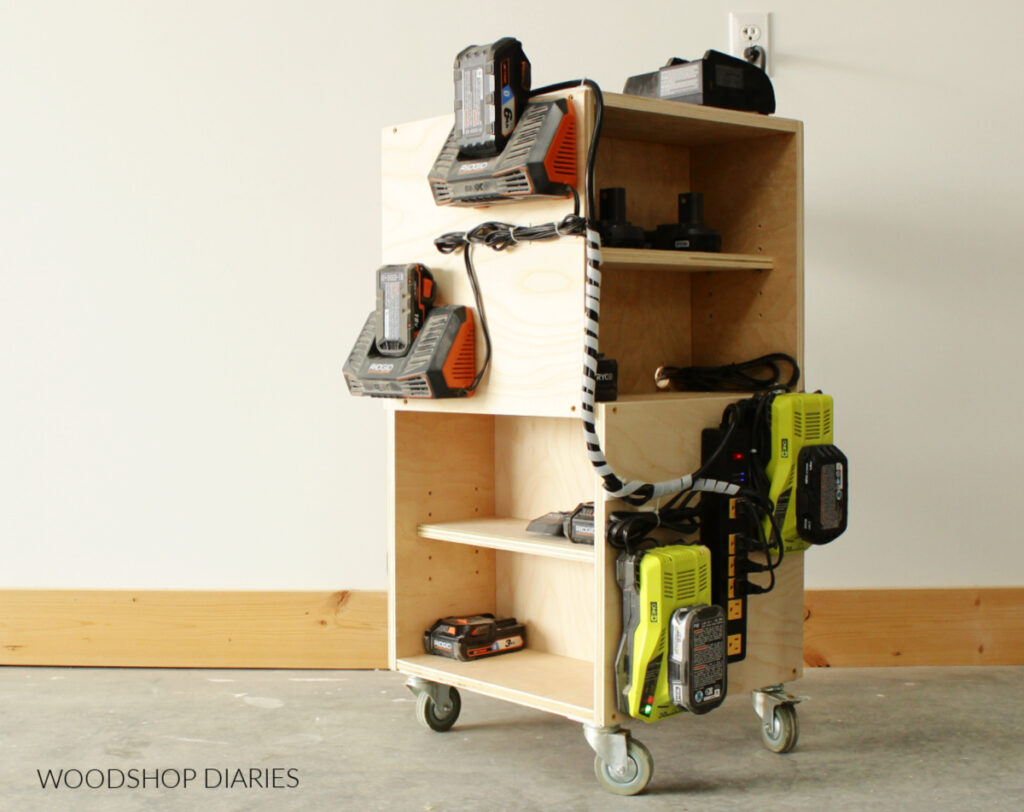
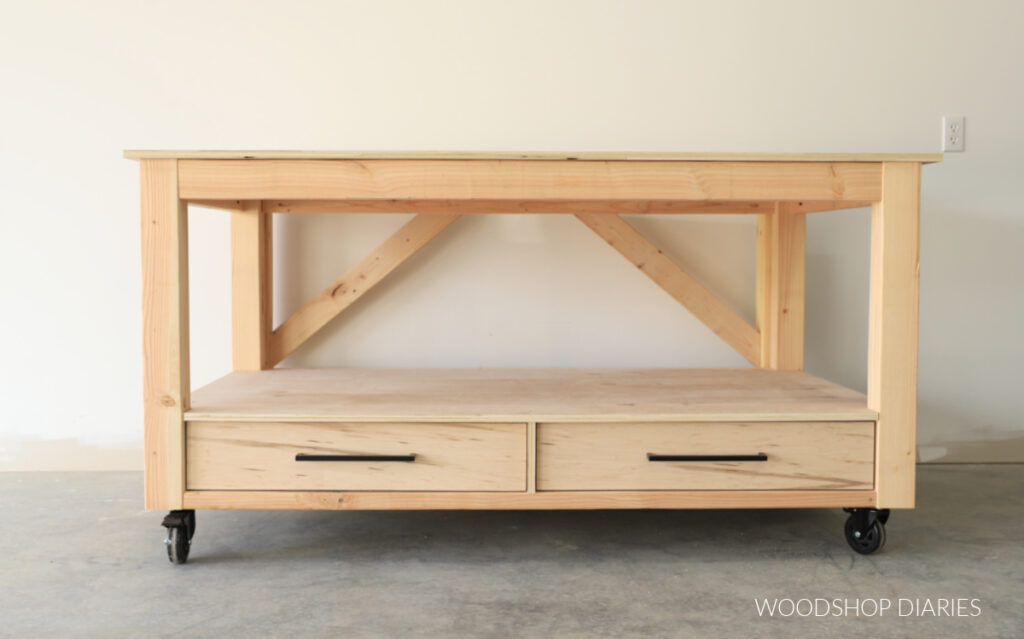
Looking for more garage and workshop organization ideas?
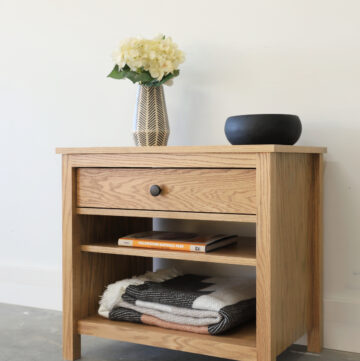
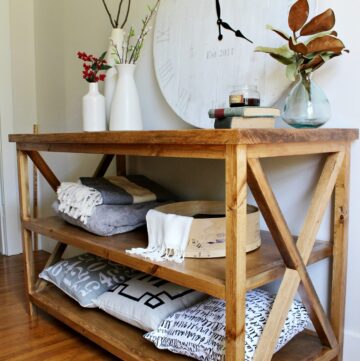
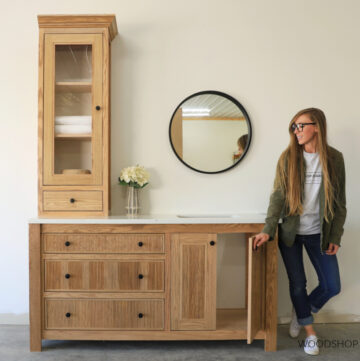
Loved this project, but looking for more? Here are a few of my favorite garage and workshop organization projects you might enjoy. Click on the image(s) below to see how to make each one:
If you’d like to save this project for later, be sure to pin it or share to your favorite social channel!
Until next time, friends, happy building!