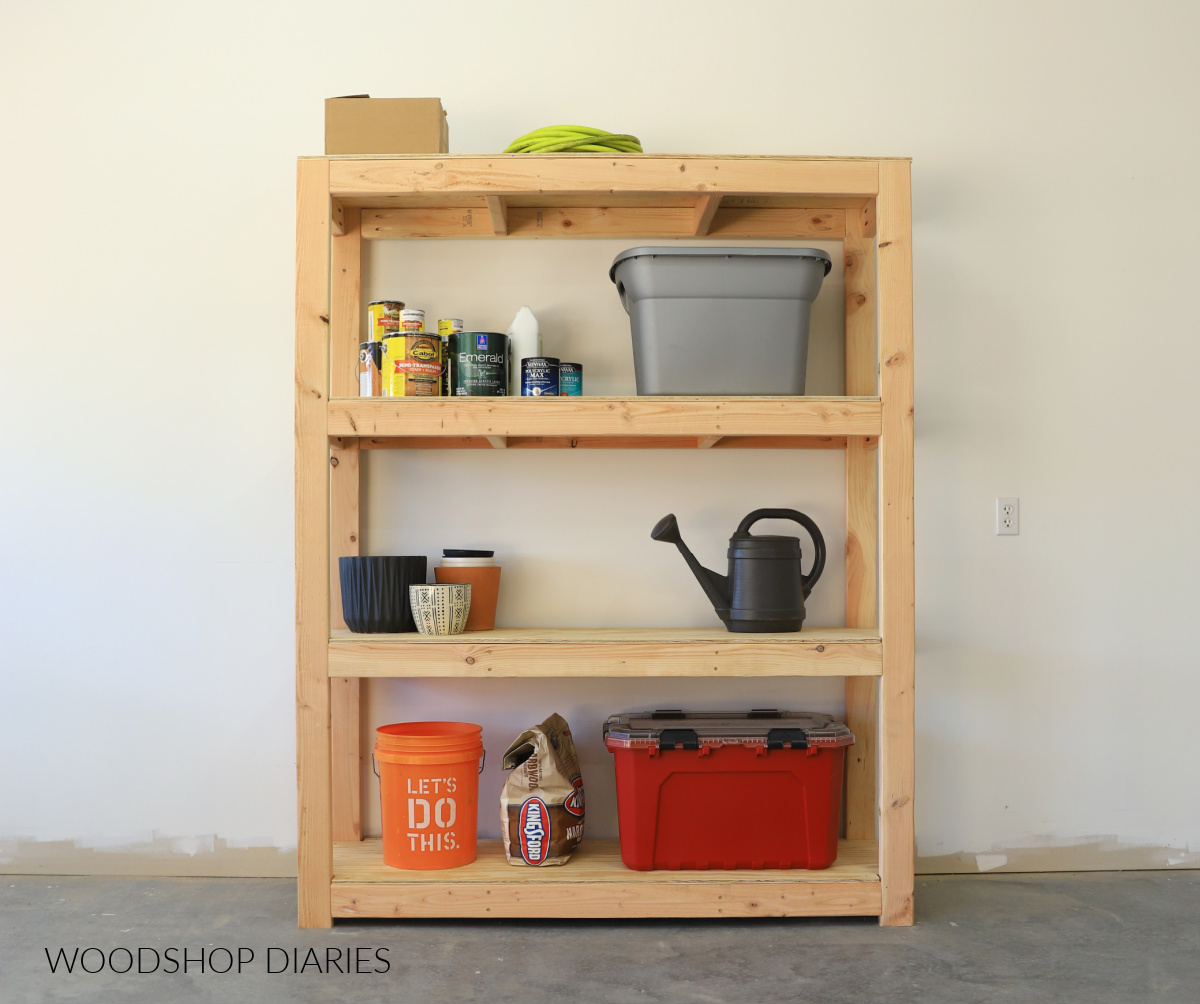
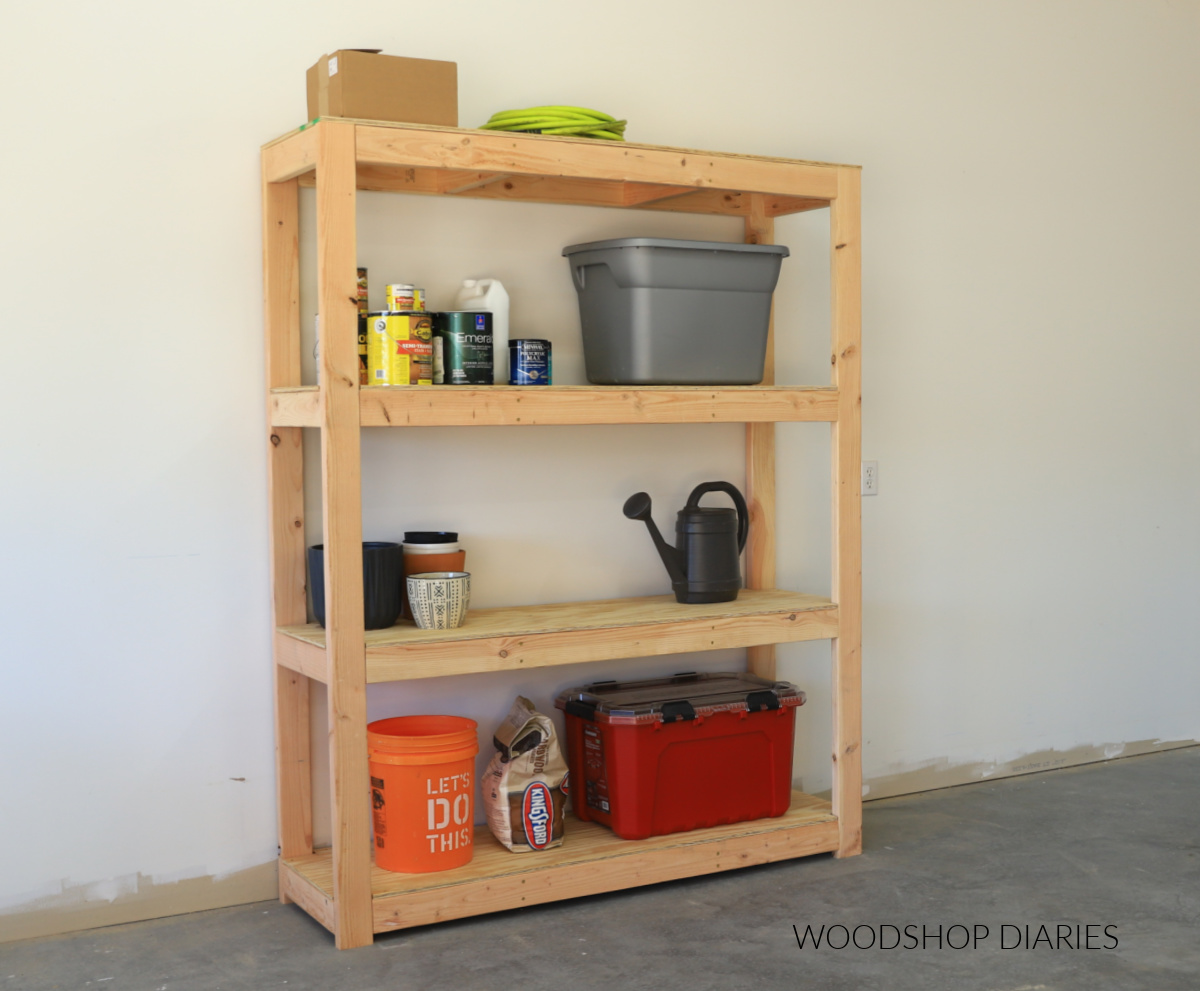
In this post, I’m sharing how to build a super sturdy freestanding DIY garage shelf for about $100 in lumber!
All you need are a couple inexpensive sheets of plywood and some 2x4s–and about an hour (maybe two) of your time.
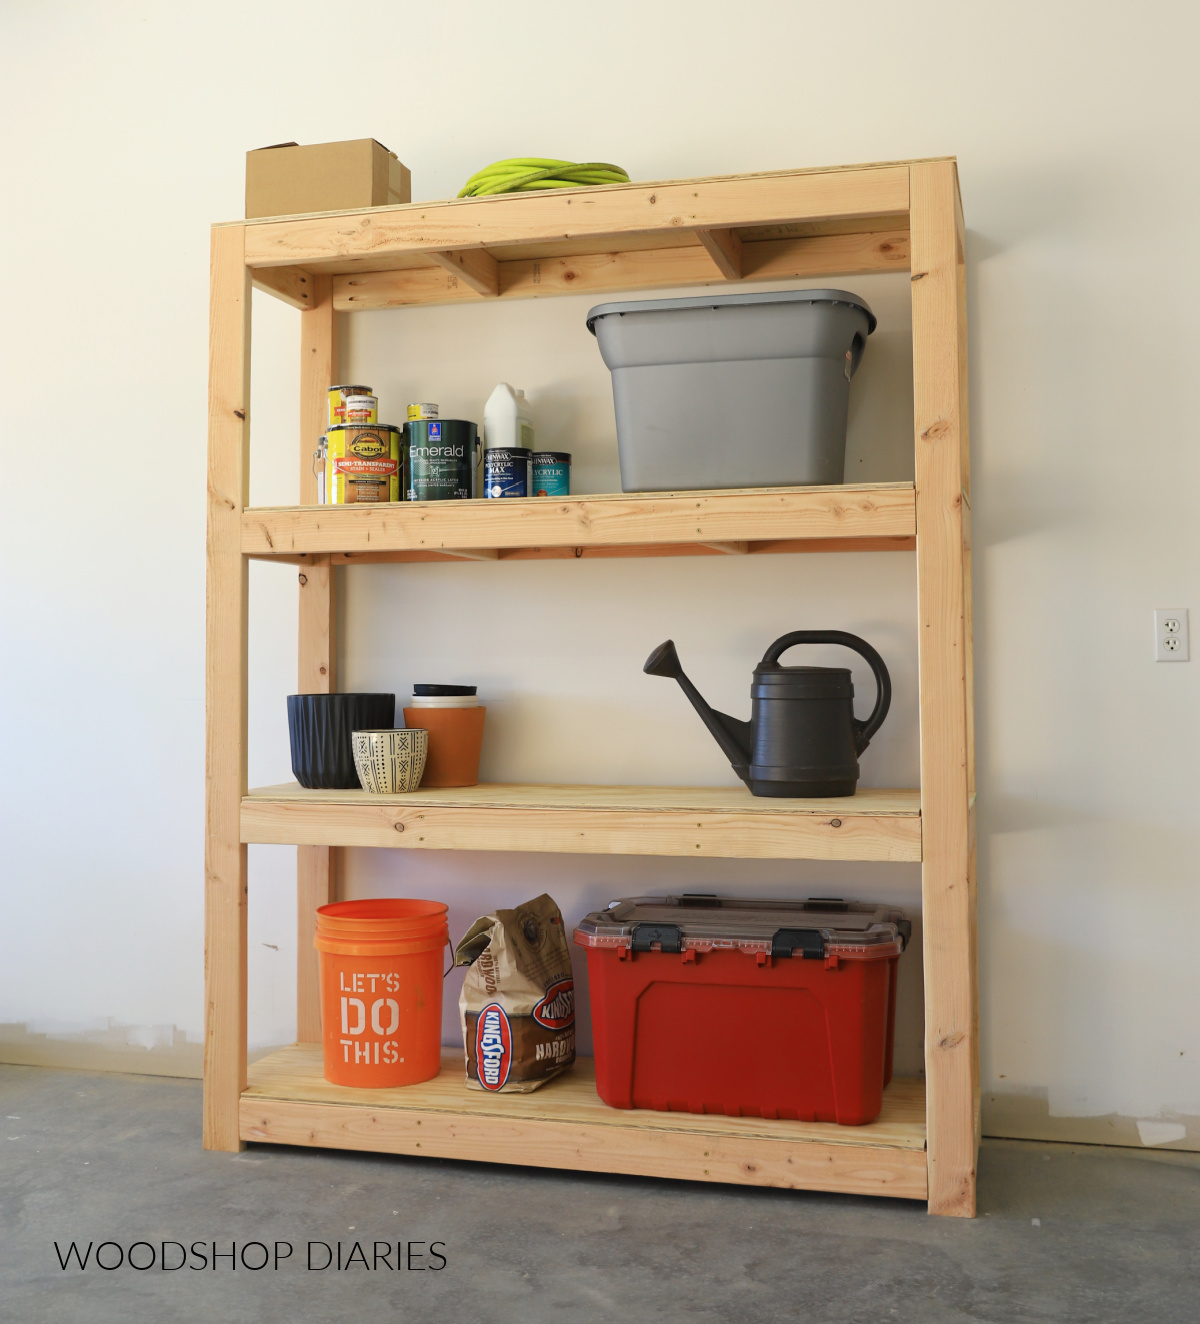
These garage shelves are easy to customize to just about any size you’d like and are perfect for storing tools, totes, seasonal decor, and more.
And in case you’re wondering if this is cheaper to build or to buy (I know you were thinking it!), I’ll discuss the cost breakdown in detail below.
*This post contains affiliate links. See website policies.
What to know before building this Garage Shelf
This is a great beginner level woodworking project. It’s super simple to put together, requires limited tools, and allows some room for error.
Of course, as with any project, precision is important. But, since this is for garage storage, it doesn’t have to be PERFECT. This would be a great project to get some practice on before tackling something a little more advanced.
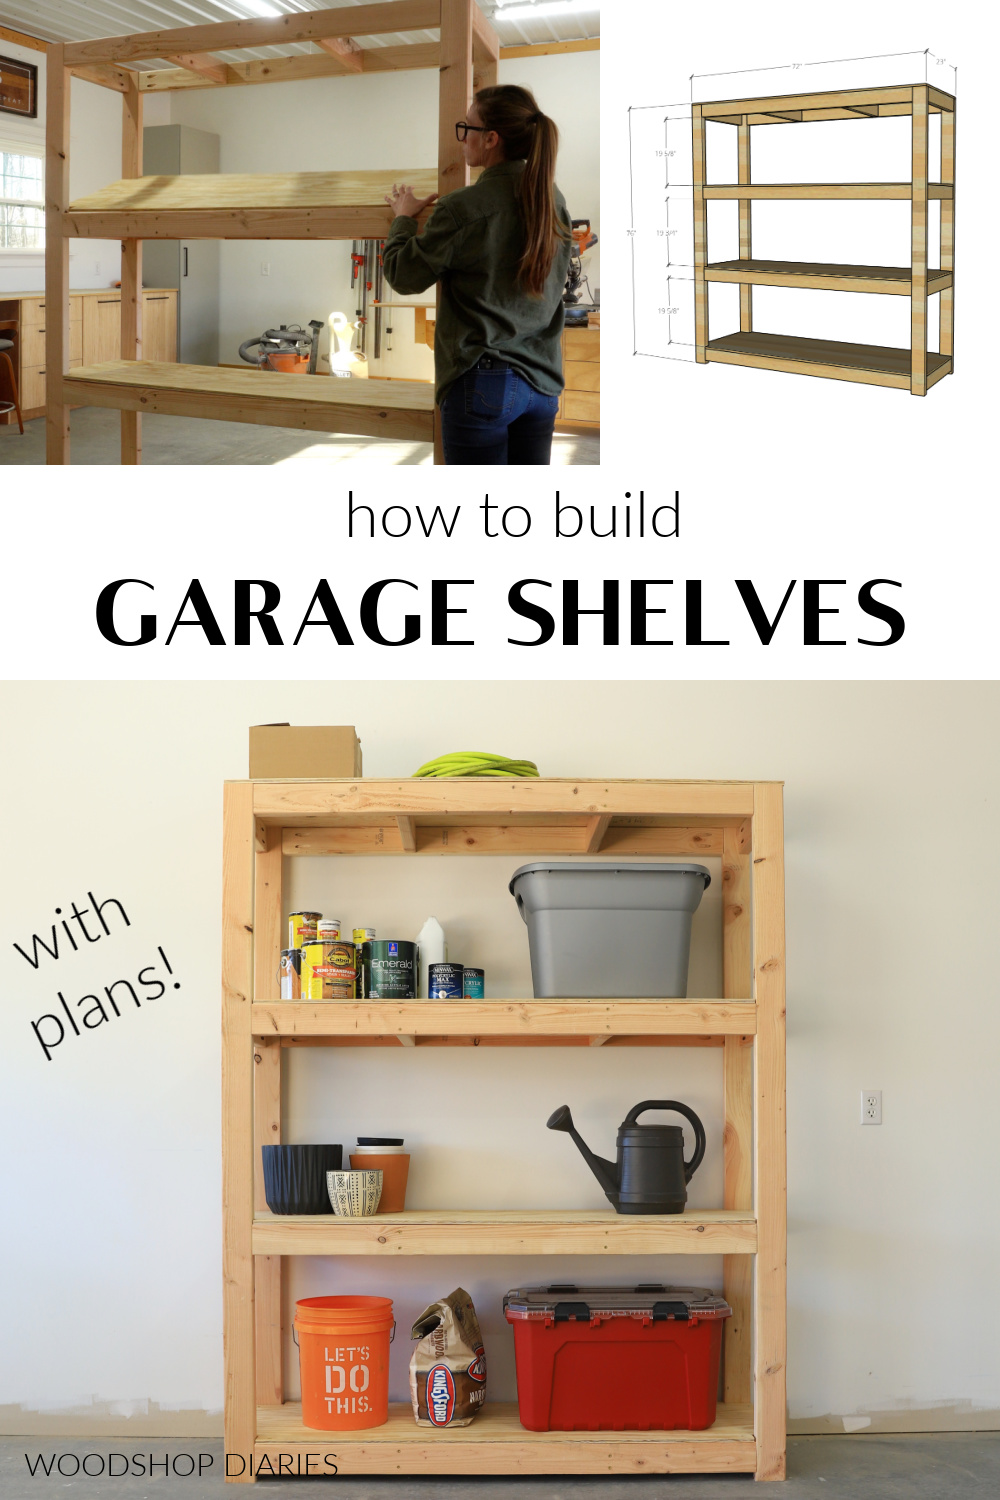
Overall dimensions
The overall dimensions of this shelving unit are approximately 23″ deep x 72″ wide x 76″ tall.
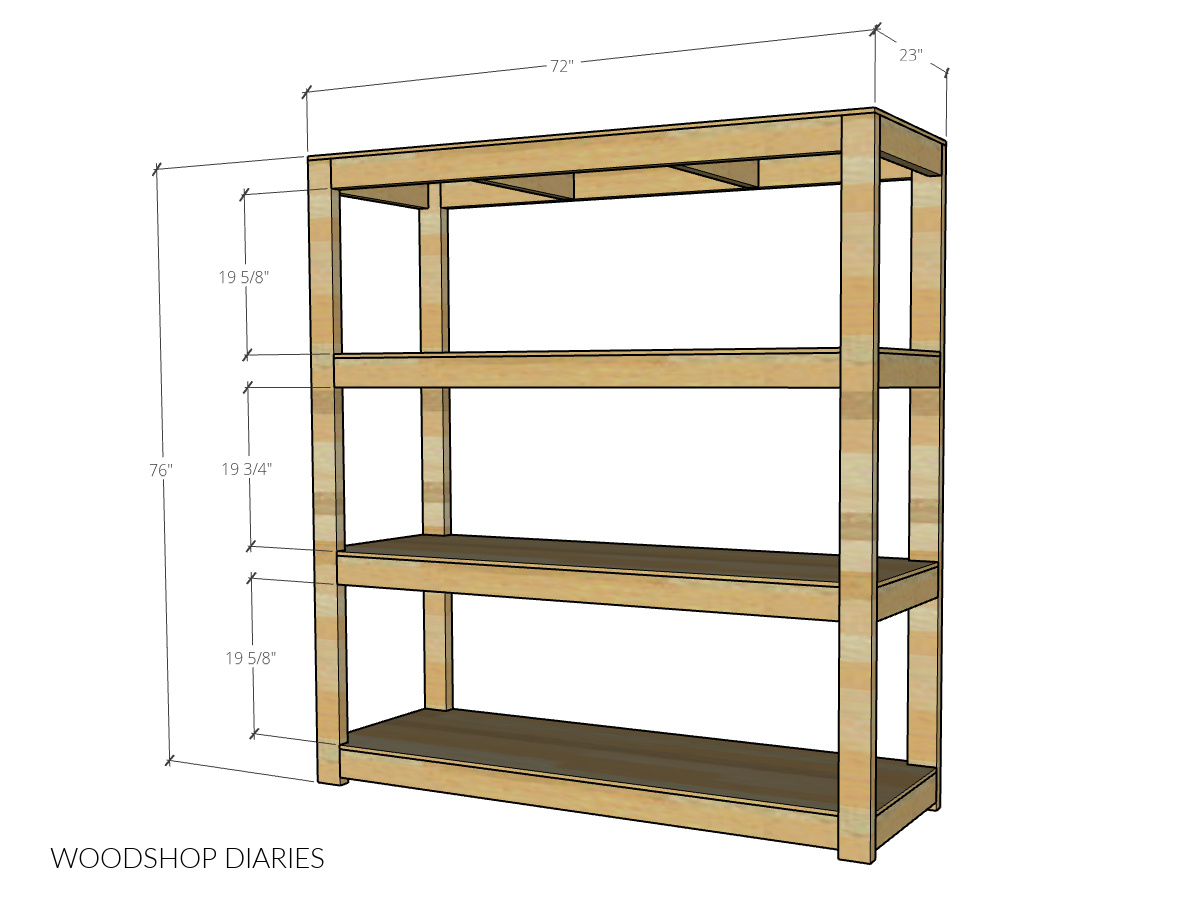
The space between each shelf is roughly 19 ¾″. But if you wanted to space your shelves differently or add a 5th shelf, you could absolutely customize your spacing to fit your needs.
Is it cheaper to buy or DIY a garage shelf?
Most off the shelf, ready-to-assemble garage shelving is going to be made from either metal or plastic. This DIY option is made from wood, so this isn’t an exact comparison, but it’s close.
Plastic shelving may be cheaper, but will be far inferior (weaker) to this wooden shelf, so it’s best to compare these to a heavier duty metal option.
For a 4 tier metal shelf of similar sizing, I found options ranging from $250-500.
This one was just under $100 in lumber plus about $20 for screws*. Another pro to building it yourself is that you can customize it to any size that you need.
*Keep in mind these prices are valid as of March 2025. Lumber prices and availability vary greatly by location and change daily.
How much can the shelves hold?
As far as volume, each shelf is approximately 19 ¾″ tall x 23″ deep x 72″ wide.
As far as weight, it will depend on the quality of the lumber used (is it cracked, how many knots, etc), how well it was assembled, and the exact type of screws used.
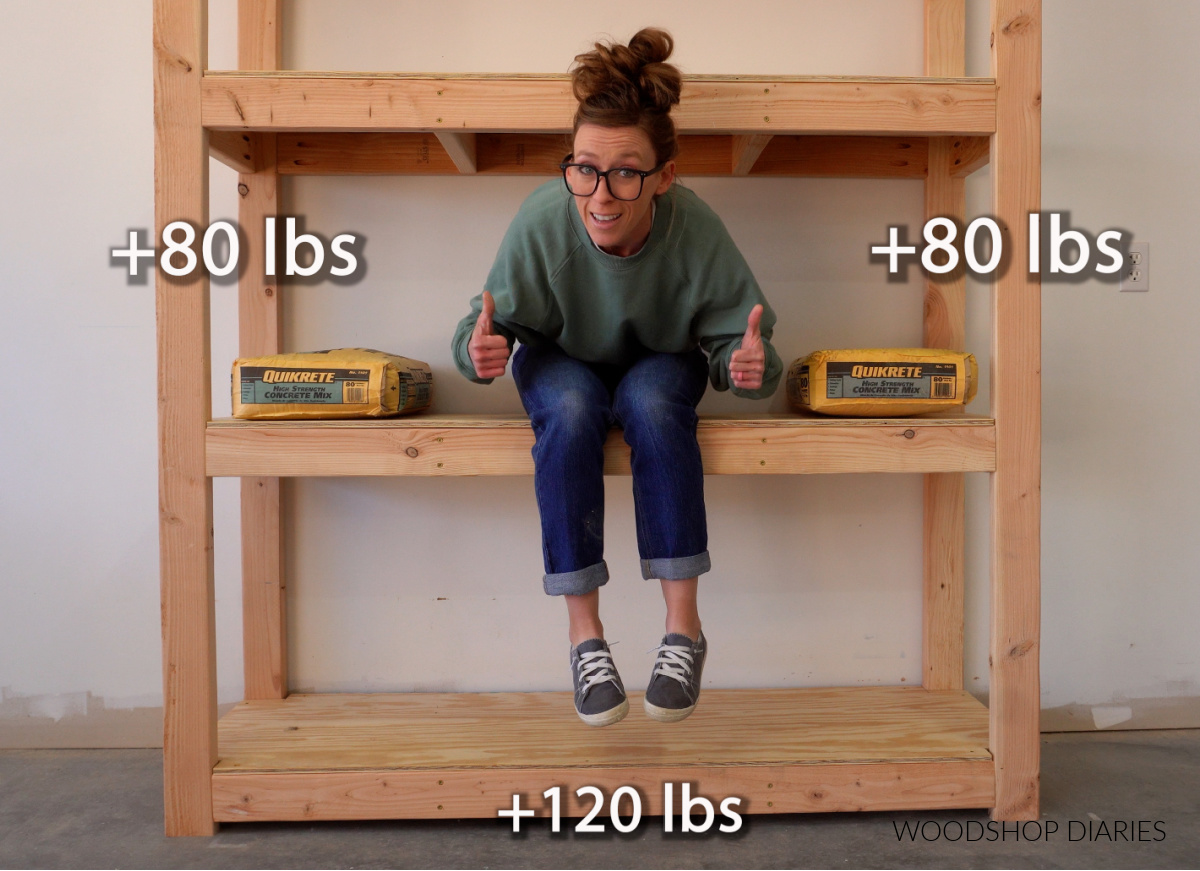
If properly assembled, they can easily hold several hundred pounds each (I tested it with 280 lbs and it didn’t budge a bit). This is more than enough for most typical things you’d be storing here (like a few boxes of old books, Christmas decorations, or tools).
You may find these resources helpful throughout the build:
Are DIY projects your thing? Sign up for our newsletter for priority access to the latest projects and build plans!
How to build a heavy duty Garage Shelf
If you prefer to watch, I’ve shared the full build video with tons of tips, behind the scenes, and additional details on my YouTube Channel here.
Love watching how-to videos? Subscribe to my YouTube channel for plenty more where that came from!
Prefer to print? Grab the printable garage shelf building plans here:
Tools & Materials
Tools:
- Circular Saw
- Cutting Guides (Kreg Rip Cut and AccuCut)–optional
- Jig Saw
- Pocket Hole Jig
- Drill/Driver
Materials:
- (13) 2x4x8 boards
- (2) 4’x8′ sheets ~½″ plywood*
- (2) 50 count boxes 2 ½″ pocket hole screws**
- (1) 1 lb box 1 ¼″ wood screws
- (1) 1 lb box 2 ½″ wood screws
*You don’t need to use nice cabinet grade plywood for these shelves. You certainly can if you’d like, but for a budget friendly option, I recommend using an inexpensive pine sheathing. These often come as 15/32″ (which is just shy of ½″–that is OKAY!) thickness.
**You can assemble this shelf using EITHER standard size pocket holes or XL pocket holes. If using XL pocket holes, you’ll need to use XL pocket hole screws (you need 64 pocket hole screws total–they come in packs of 30). See this post for more information on standard vs XL pocket holes.
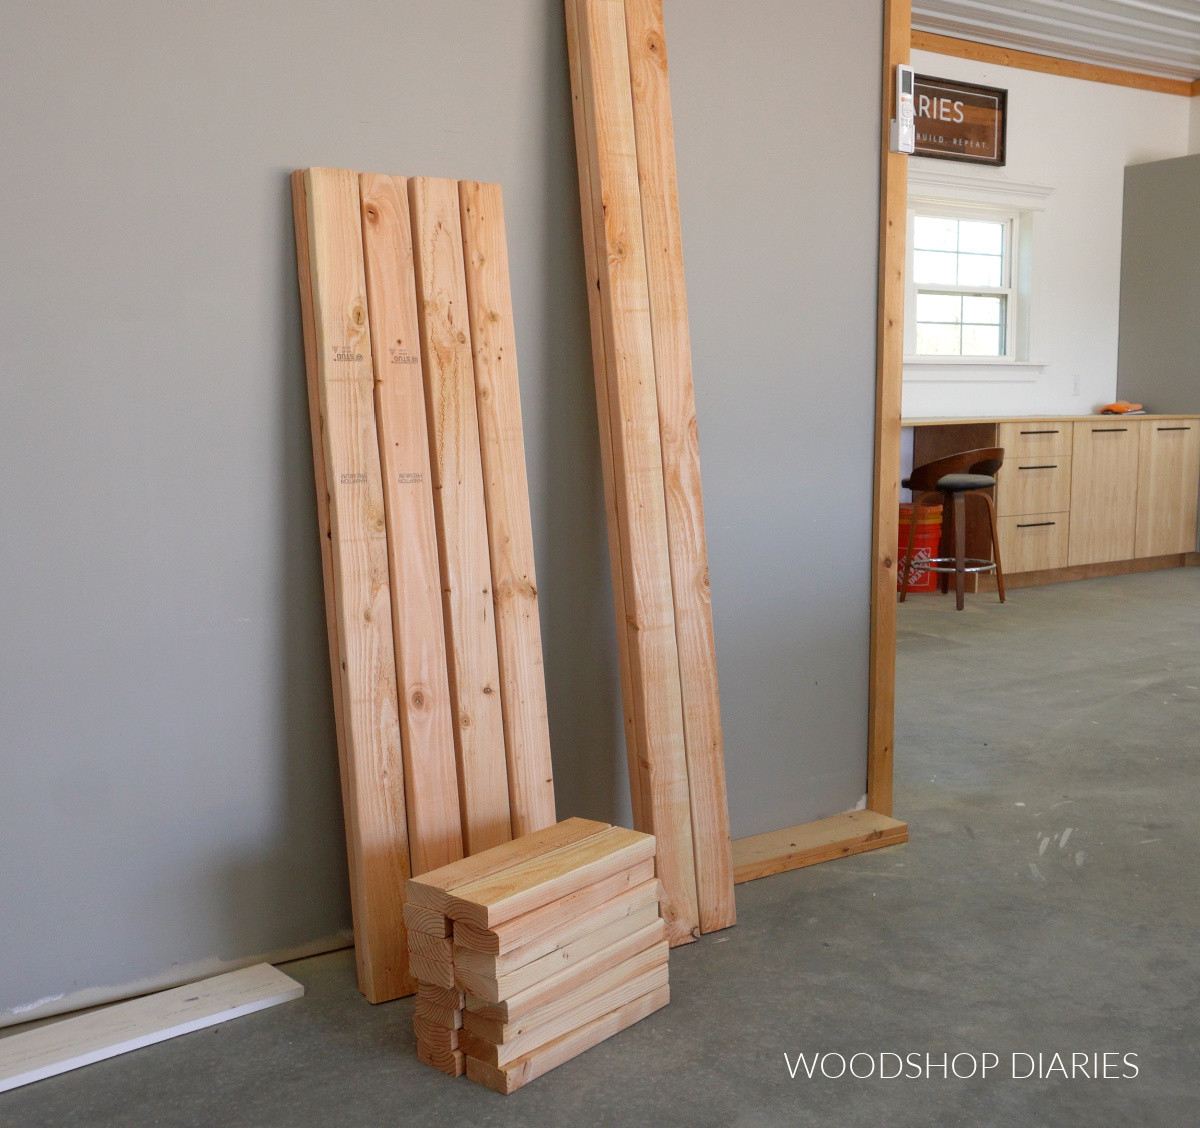
Step 1: Assemble Front and Back Frames
The main frame of this garage shelf is made using 2x4s. So first, I cut down my 2×4 boards into:
- (4) Corner posts (cut these the height you want your shelving unit to be)
- (8) Long supports (these will span the LENGTH of the shelves)
- (16) Short supports (these will span the DEPTH of the shelves)
Grab the cut diagrams and complete cut list with dimensions in the printable plans here.
Once the pieces were cut, I set the short pieces to the side for now. Those will come into play in step 2.
I drilled 1 ½″ pocket holes into the ends of the eight long support boards.
RELATED: How to drill pocket holes
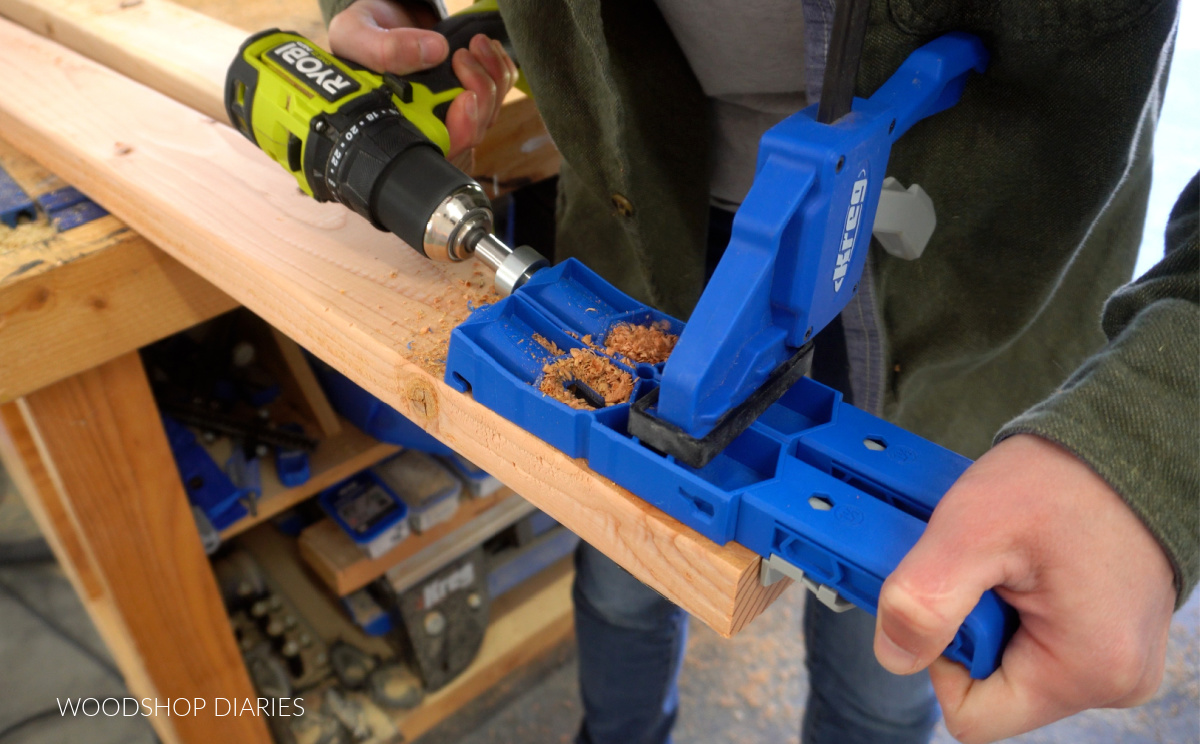
NOTE: You can use EITHER a standard size pocket hole jig OR an XL pocket hole jig for this project.
If you use a standard size jig (like the Kreg 320, 520, 720, or K4/K5s), you’ll need to use standard size pocket hole screws. But if you use the XL jig, you need to use XL pocket hole screws.
Learn more about when, why, and how to use the Kreg XL pocket hole jig here.
Unless you plan to store SUPER heavy items (like pallet loads of tile or brick), the XL is not NECESSARY. Standard screws will hold fine for most applications.
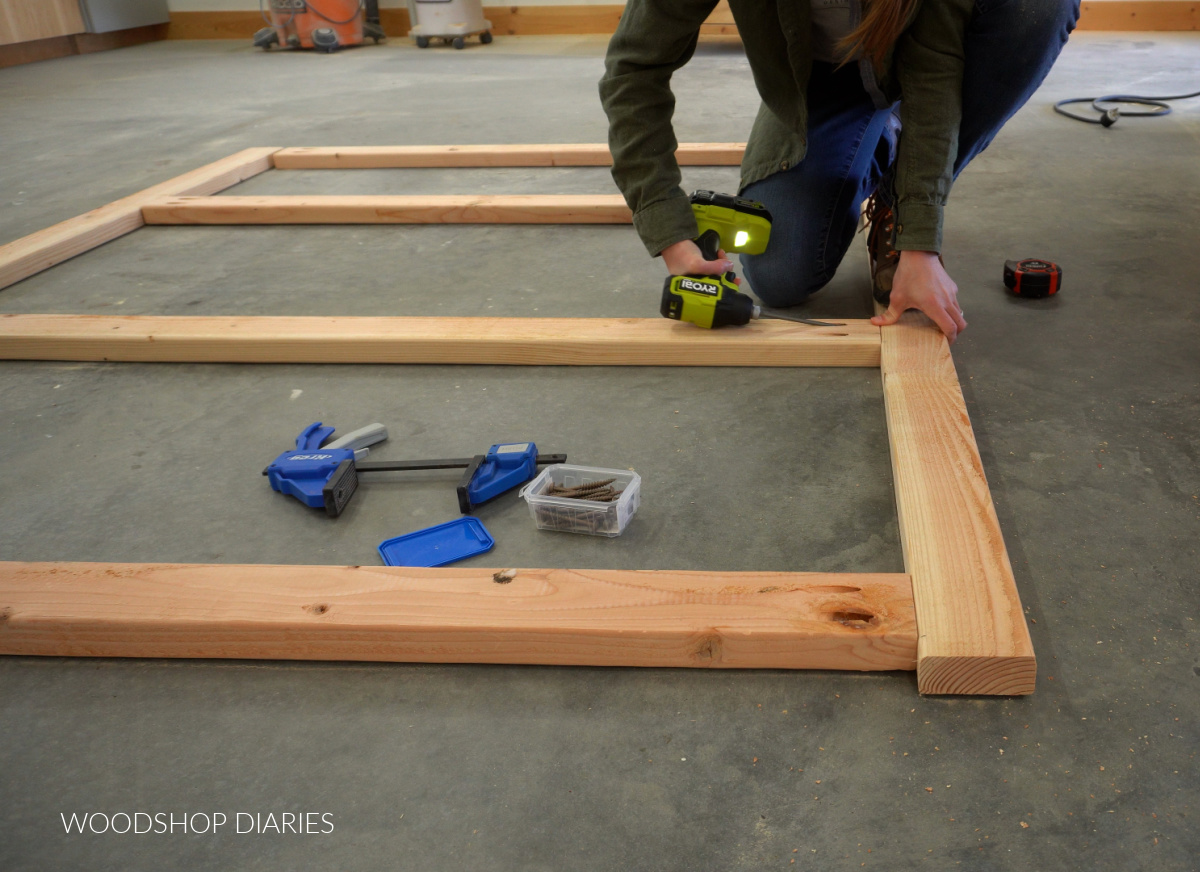
After drilling the pocket holes, I assembled 4 long supports between two of the corner posts like shown below using 2 ½″ pocket hole screws.
I installed the top support flush to the top edge of the corner posts and the bottom support 1″ up from the bottom of the corner posts.
Then, I evenly spaced the two middle supports.
After one frame was assembled, I repeated to make another identical to it with the other two corner posts and the other 4 long supports. One frame will go on the front and one on the back of the shelf.
Step 2: Attach Sides and Supports
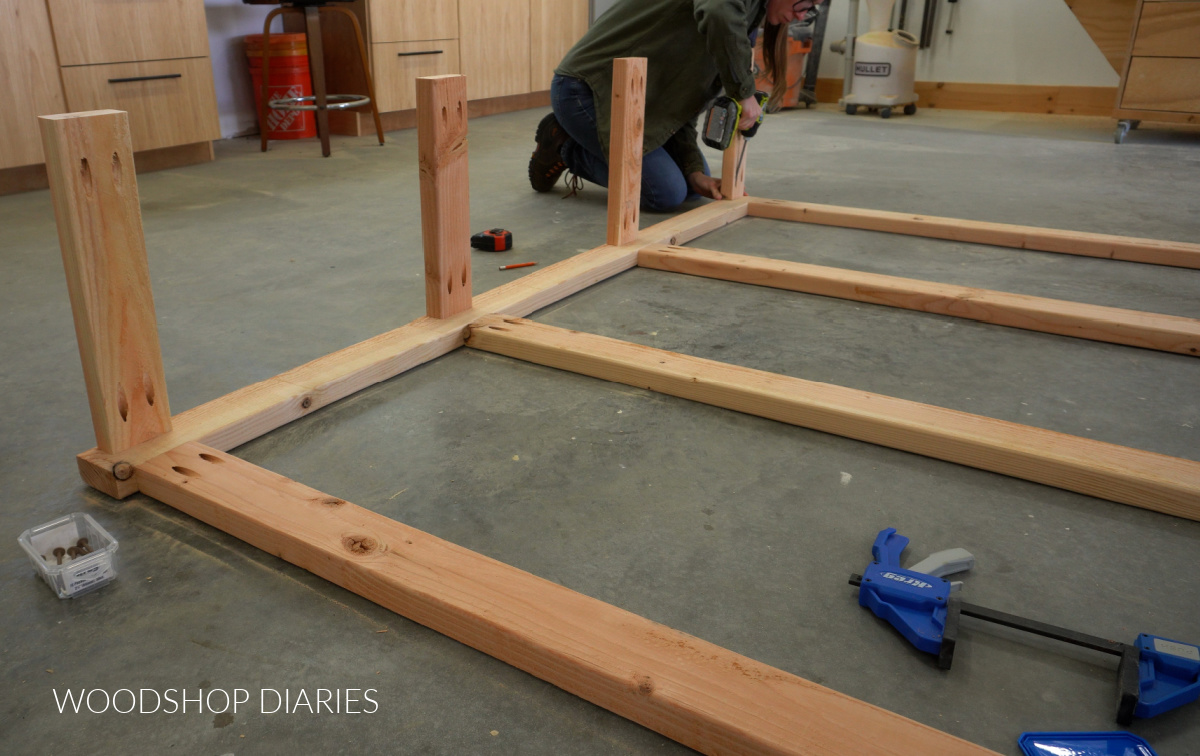
Next, I drilled 1 ½″ pocket holes into the ends of eight of the short supports I cut in step 1.
Again, just like before, you can drill these with EITHER a standard size jig or the XL jig. See note in step 1.
I installed these with 2 ½″ pocket hole screws onto the corner posts of ONE of the frames from step 1. They should be installed so that they’re even with the long supports, but flush to the outside edge.
Prefer to print? Grab the printable building plans with all the dimensions and diagrams here.
I secured 4 short supports on one side and 4 on the other, then flipped it over on the other frame from step 1 and attached the other side.
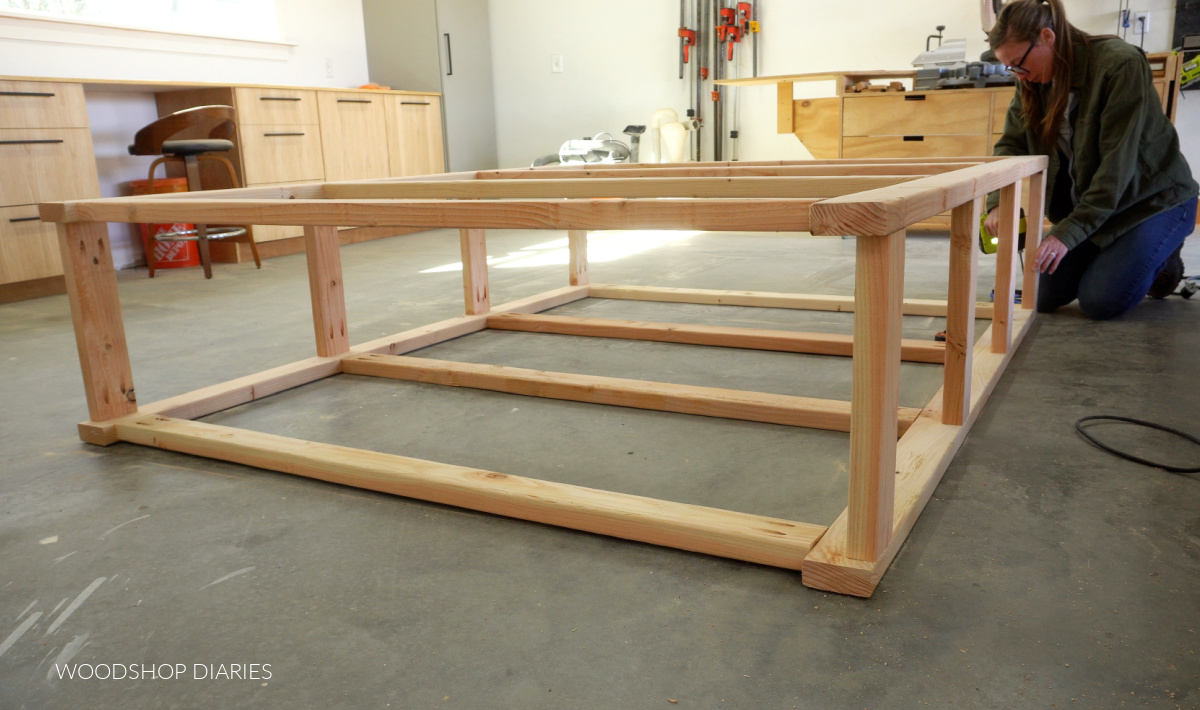
Then, I evenly spaced the 8 remaining short supports between the long supports like shown below and secured them with 2 ½″ wood screws.
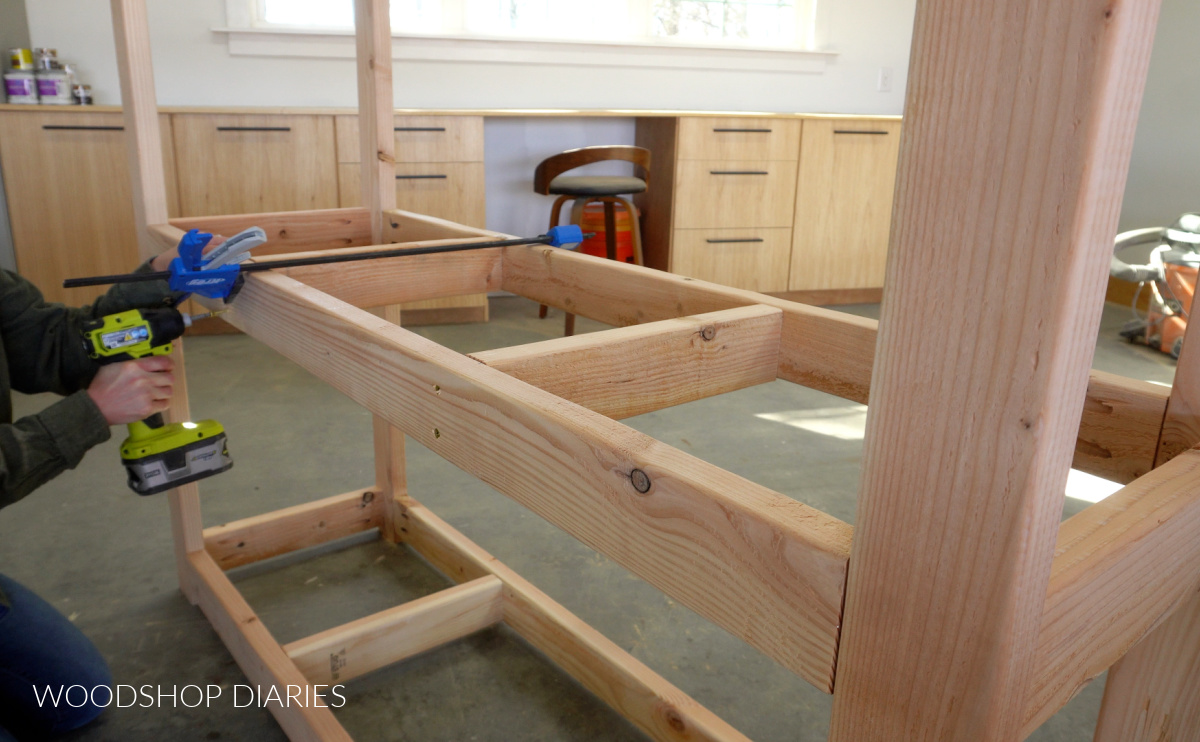
I repeated to add two of these supports on each shelf–bottom to top.
Step 3: Cut and Install Shelves
Now the frame is complete and all that’s left is adding the shelves. I used ~½″ pine sheathing plywood for the tops of my shelves.
First, I ripped each sheet into two 23″ wide strips (the overall width of my shelving unit). Then, I trimmed these strips to 72″ long (the overall length of my shelving unit). There should be 4 shelves.
Now, the top shelf can be placed on top of the frame–it doesn’t need to be trimmed. But the three bottom shelves will need the corners notched out in order to fit around the legs.
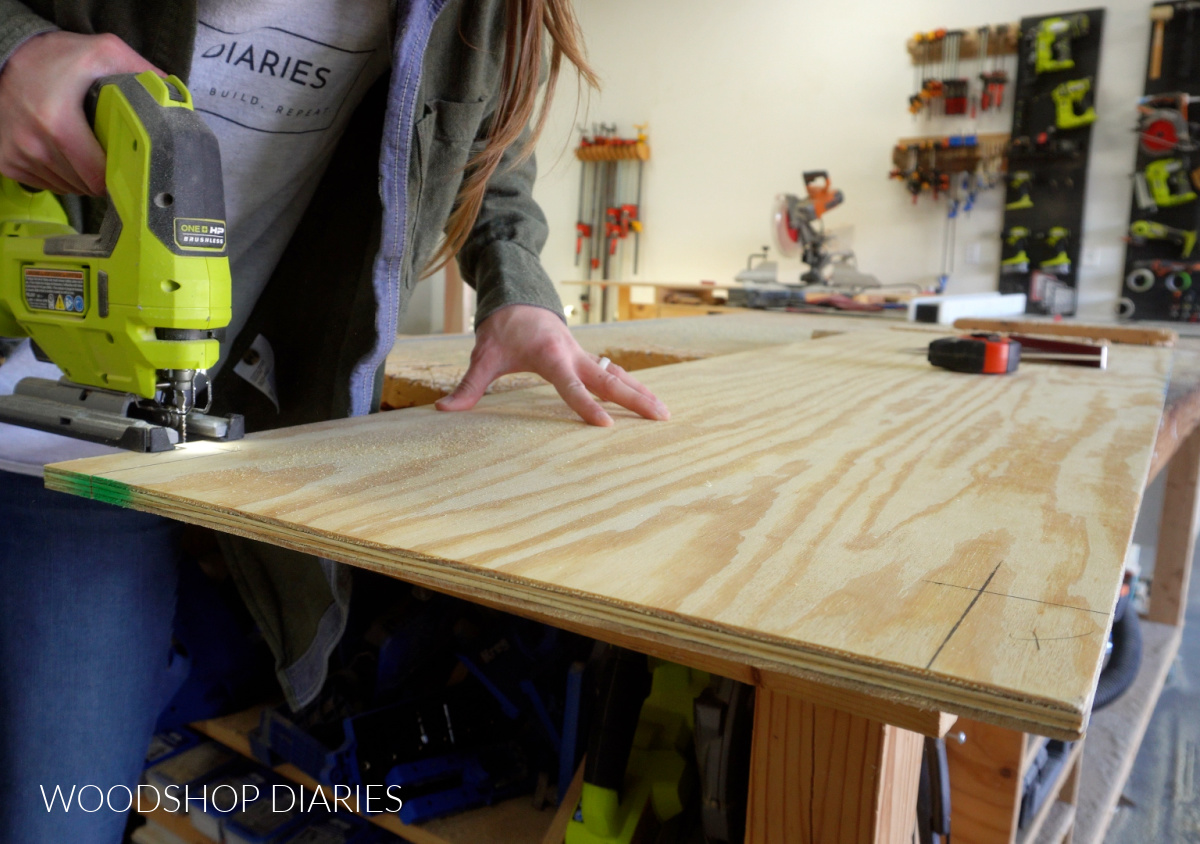
At each corner, I drew a notch 1 ½″ x 3 ½″ to fit around the corner post legs. I cut these with a jig saw.
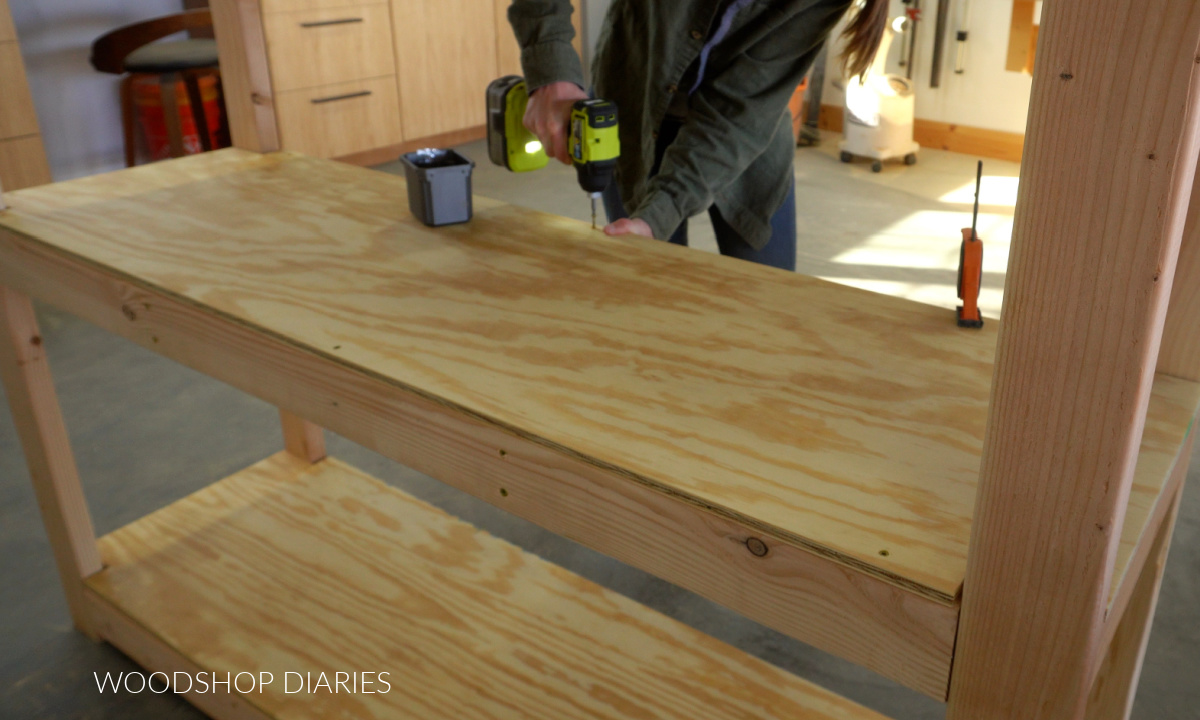
After cutting each shelf, I placed it into the frame to make sure it fit.

Then, I secured each one to the frame with 1 ¼″ screws.
Step 4: Secure DIY Garage Shelf
And at this point, you can paint or stain if desired. I left as is since this is just going in a garage for storage, but it would look really nice painted black if you wanted to!
Now this shelf is super sturdy and can stand on it’s own. But to prevent accidental tip over, I do recommend securely anchoring it to the wall.
You can do this several ways, but an easy one is to simply secure it through the top, back long support into the wall studs with some long wood screws.
Prefer to print? Grab the printable building plans for this heavy duty garage shelf here.
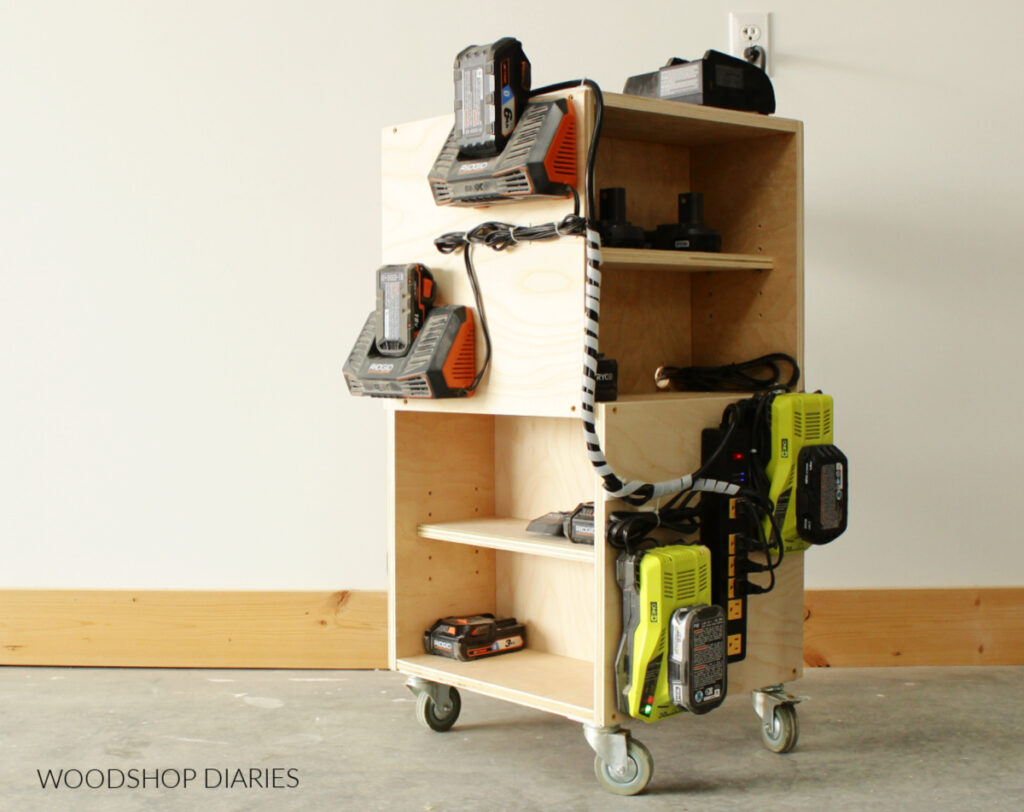
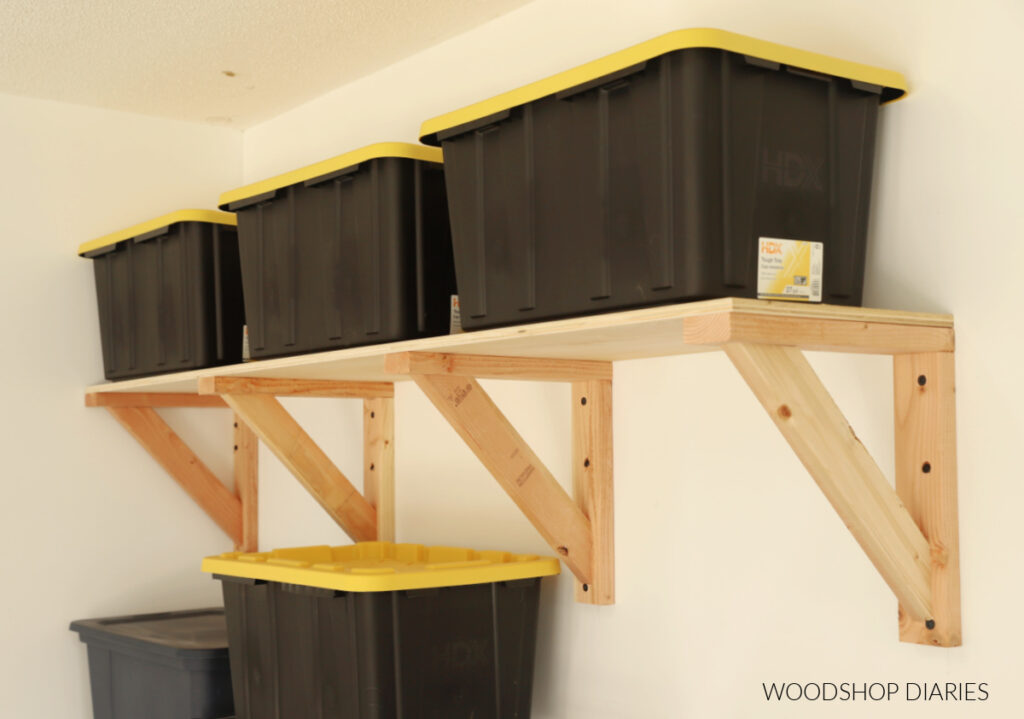
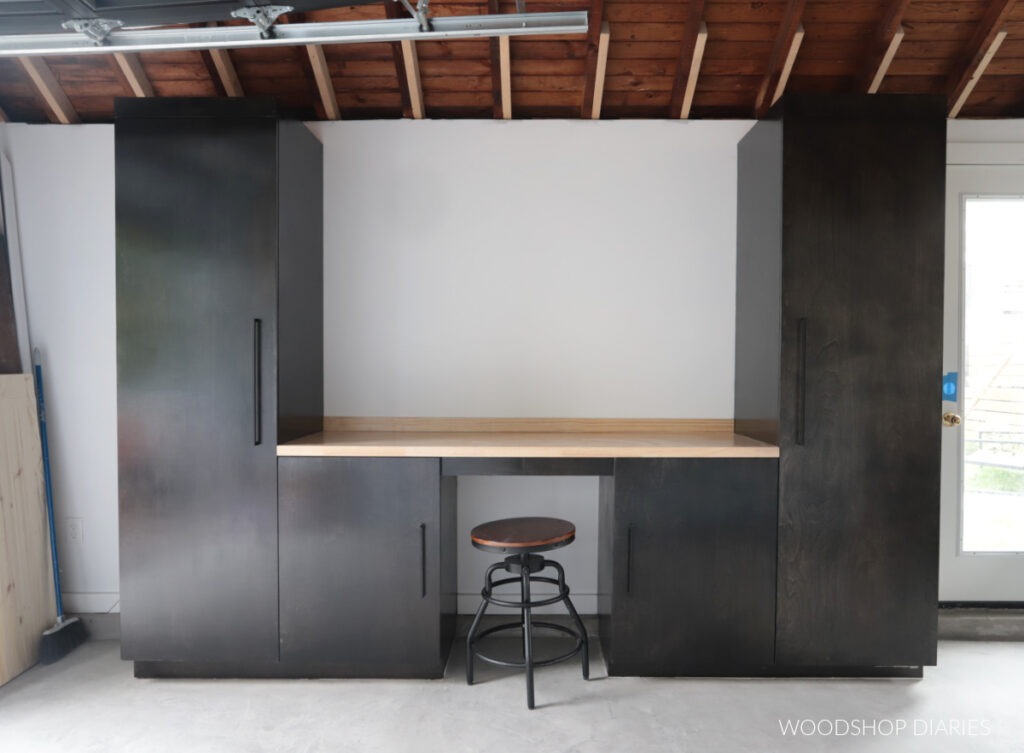
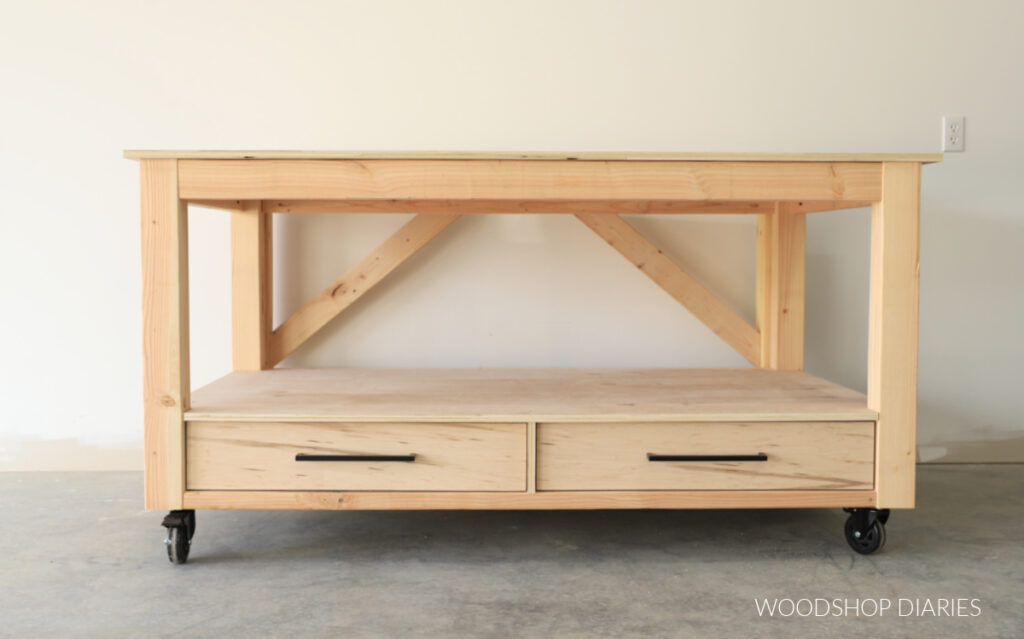
Looking for more workshop and Garage organization ideas?
Loved this project, but looking for more? Here are a few of my favorite garage and workshop organization projects you might enjoy. Click on the image(s) below to see how to make each one:
If you’d like to save this project for later, be sure to pin it or share to your favorite social channel!
Until next time, friends, happy building!