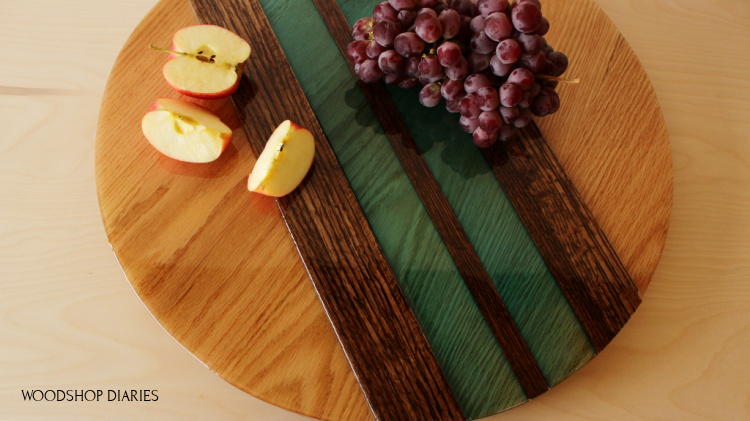
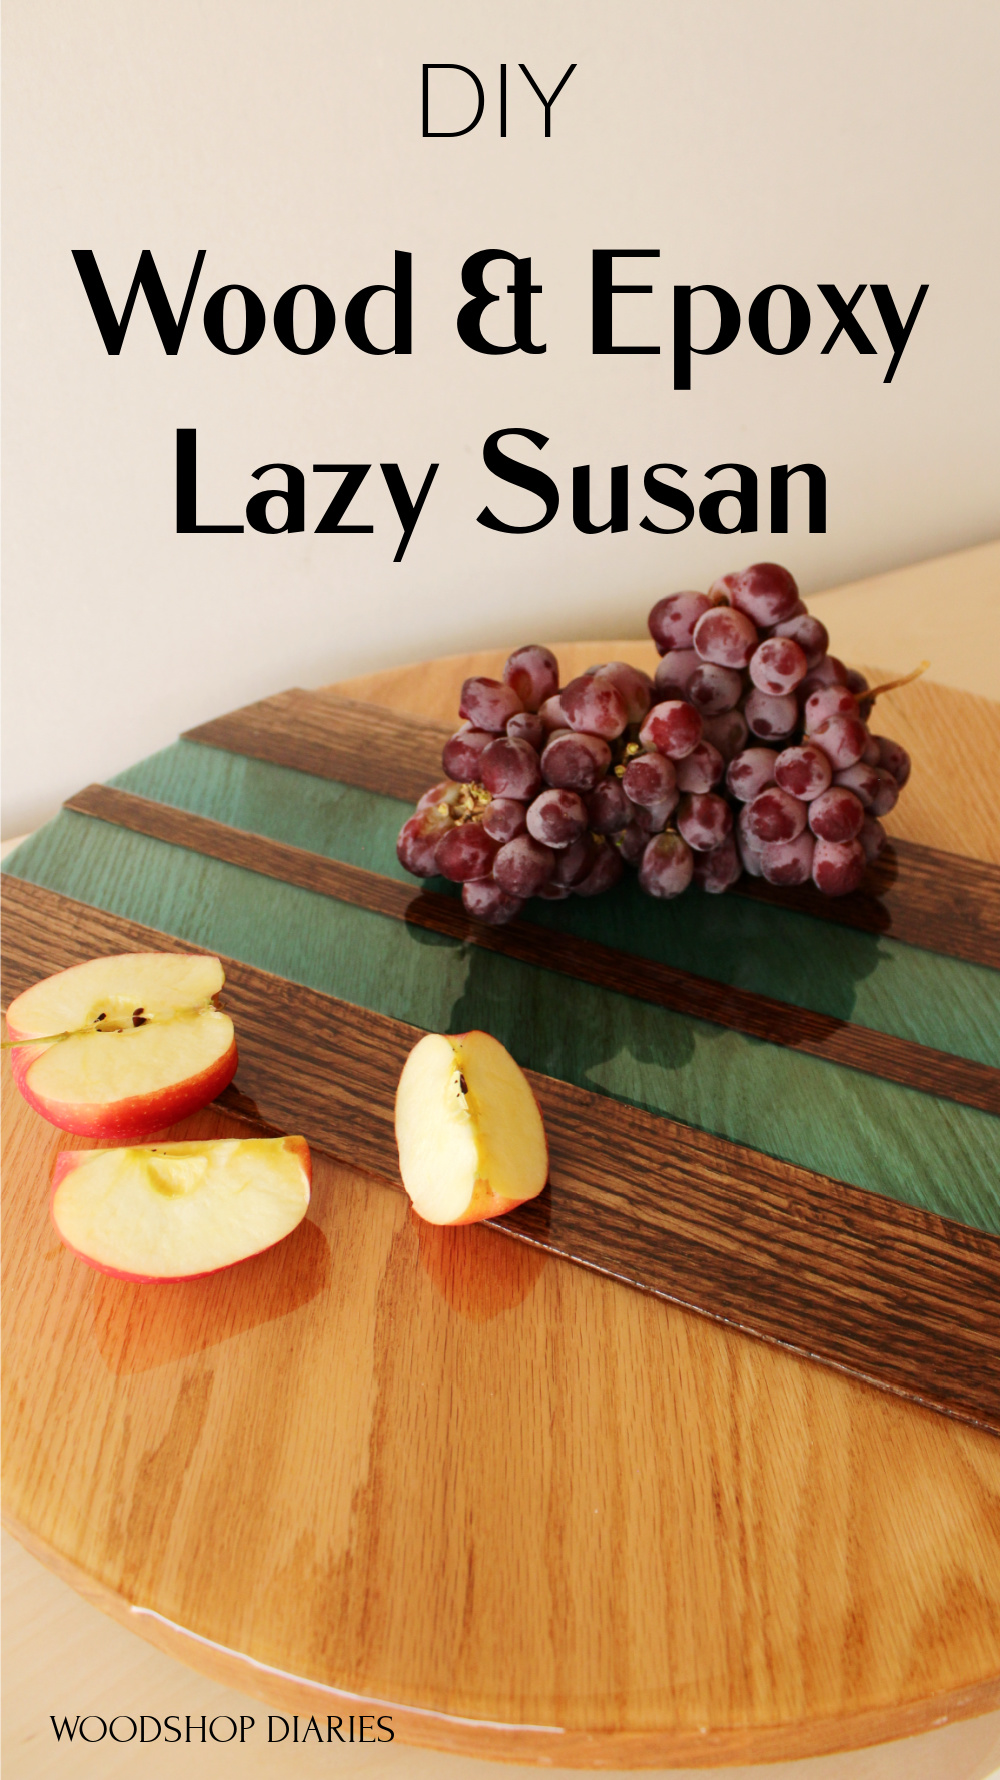
In this post, I’ll show you how to create your own DIY wood and epoxy lazy Susan in various colors!
Let’s be honest…epoxy projects can be a little intimidating at first. With the mixing and the pouring and the mess…it’s just sometimes a little…overwhelming.
.
So, I’m hoping to help you ease your fears and show you a fun and simple project that you can feel comfortable getting started with–this multi-color DIY wood and epoxy lazy susan!
.
You can get super creative with this and make a rectangle, circle, triangle, whatever. And you can lay out and stain the shims however you wish as well.
.
The basic concept is the same no matter how you choose to customize it, so if you’re ready to get started, here’s what you’ll need!
.
What You Need to Make a DIY Wood & Epoxy Lazy Susan:
*This post contains affiliate links. See policies.
.
- Scrap wood to make Lazy Susan base plate
- Wood shims or off-cuts to glue onto base plate
- Wood Glue
- Stain of your choice (I used Rustoleum Kona stain)
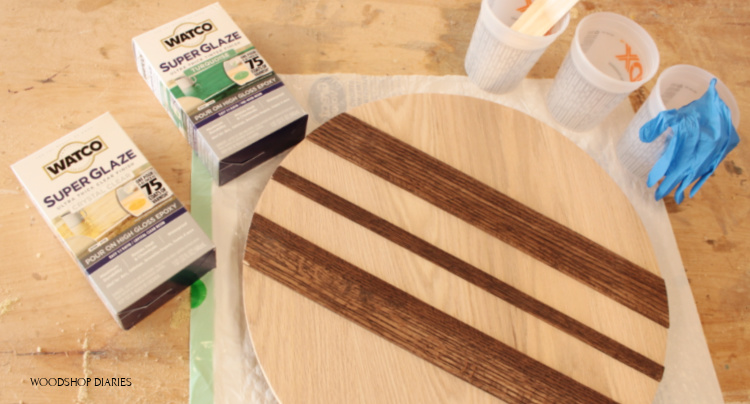
- Varathane SuperGlaze Epoxy (I used both clear and turquoise for this)
- Sand paper
- Lazy Susan Hardware
- Plastic mixing cups
- Gloves
- Stir sticks
- Drill
Step 1: Design and Assemble Lazy Susan Plate
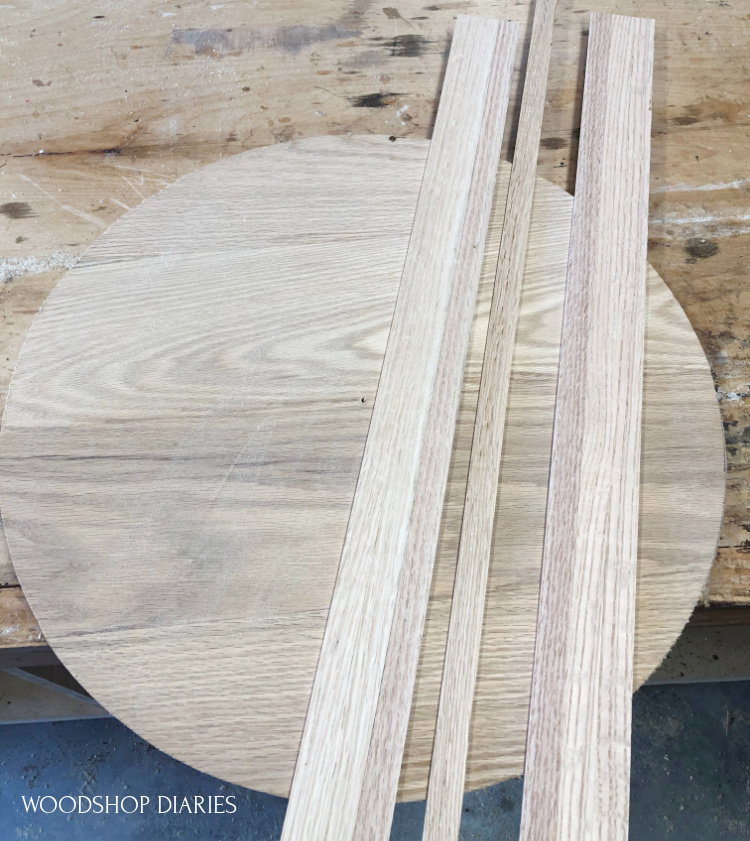
For this project, I used this large wooden piece of red oak that I had previously glued up and cut out into a circle. I had intended on making it into a clock last year and just never got around to doing so. So I pulled it out of the scrap pile for this 🙂
.
I also had some red oak shims I had saved from when I trimmed down the the legs when I built this red oak corner desk.
However, if you don’t already have anything to use in your shop, you can purchase precut circles from the big box store or Amazon, use a piece of plywood, or glue up your own plate to cut down into whatever shape you want.
.
And you can also use lattice trim for the shims or purchase a pack of shims to use for this as well. Get creative 🙂
.
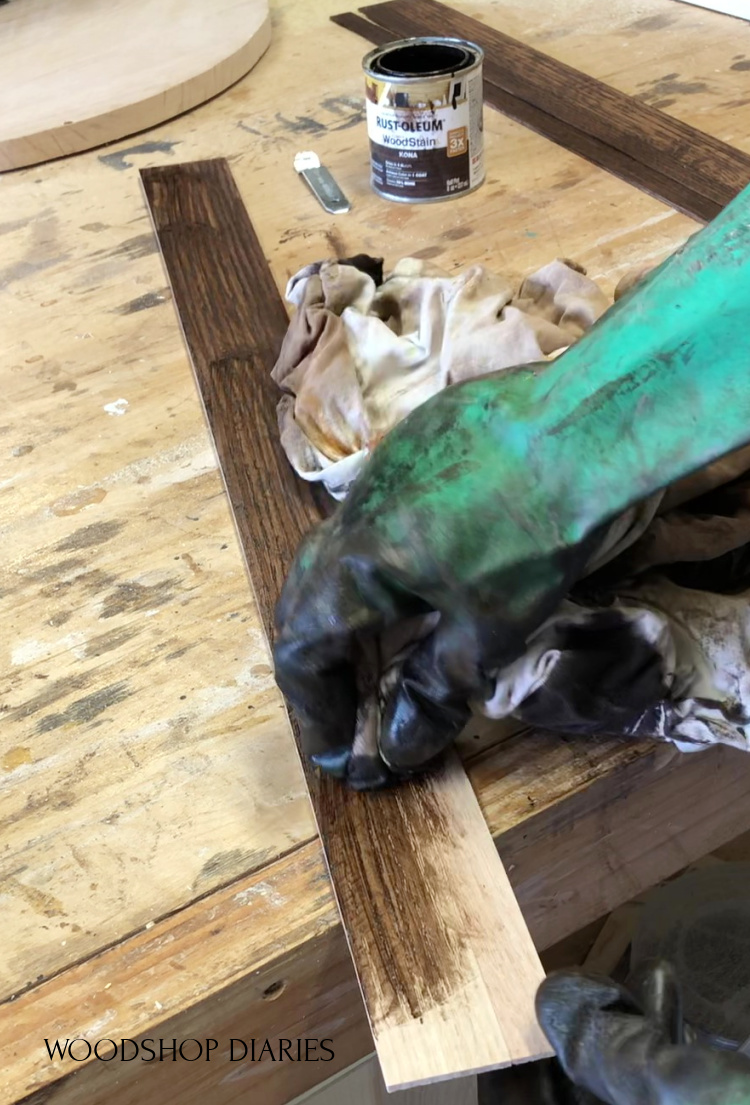
Before gluing the shims in place, I stained them in Rustoleum Kona–but you can stain them whatever color you want or mix and match as you wish. I didn’t stain the circle–I just left it as is.
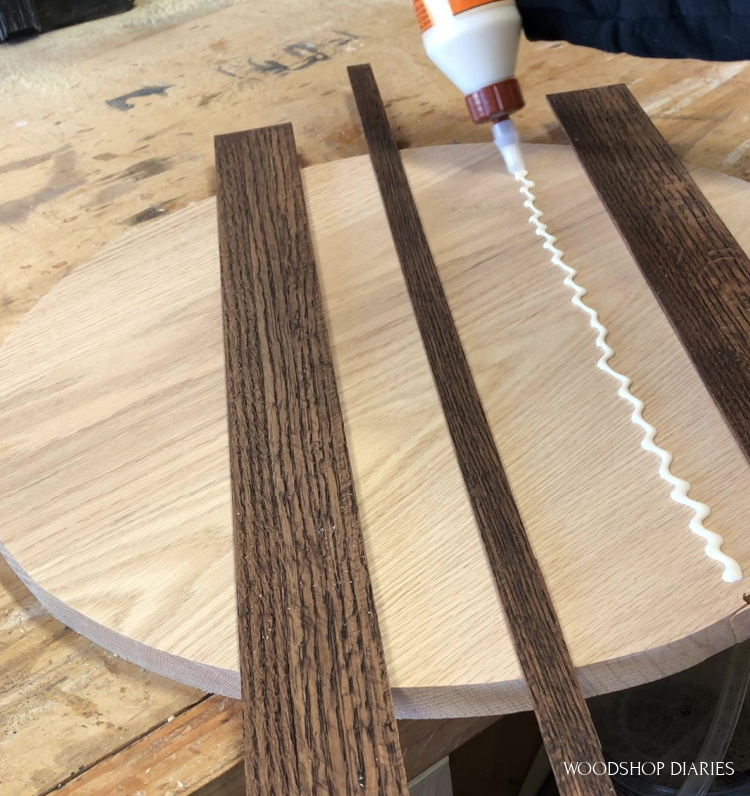
Once the shims were stained, I just laid them out on the circle how I thought they looked cool, and glued them in place.
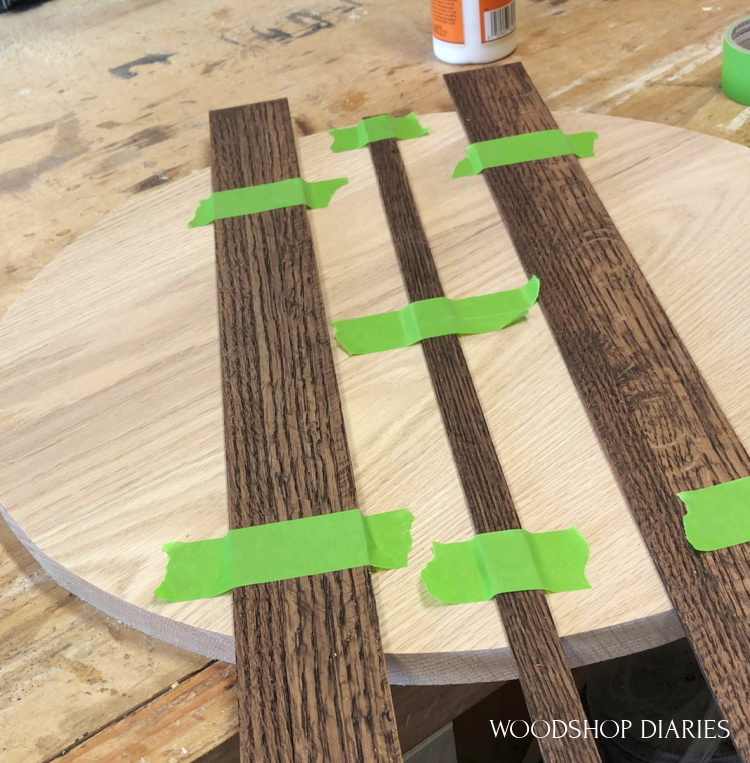
I used some painters tape to hold them in place while the glue dried, but you could also just set some heavy objects on top to hold them as well.
Once the glue was dry, I used a jig saw to trim the shims flush to the side of the circle and sanded the edges well.
Step 2: Prepare the Lazy Susan Plate and Mix Epoxy
Once the circle was sanded, I removed all the sawdust from the surface and the sides. It’s important for this to be as clean as possible.
.
I laid out a trash bag (any plastic, cardboard, or paper would work as well) on my workbench, and set my wood plate up on a few scrap blocks so the epoxy could drip off the sides when I pour it.
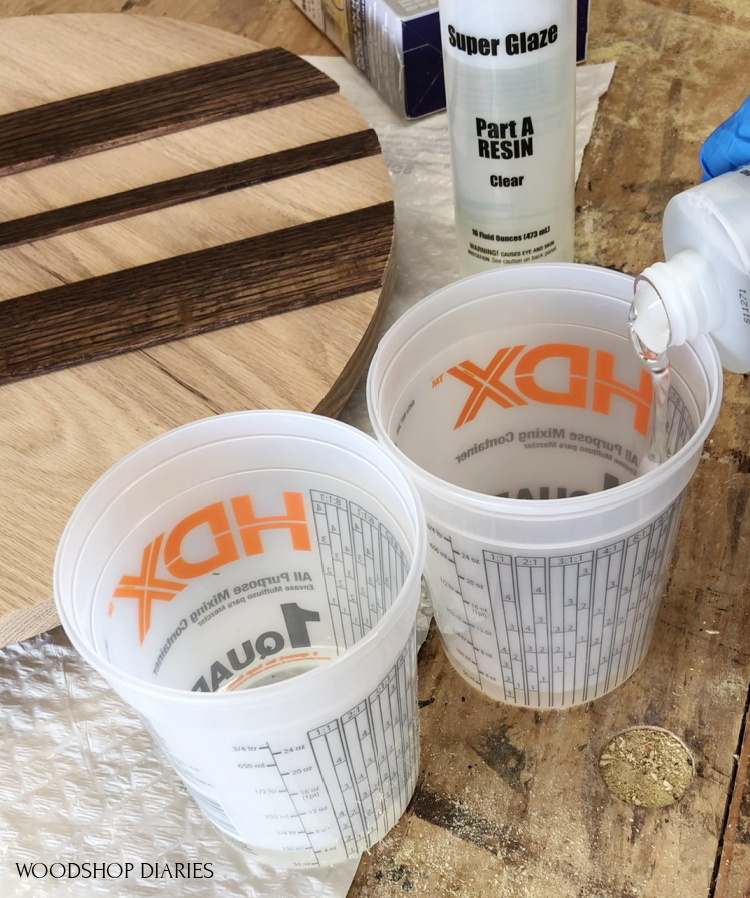
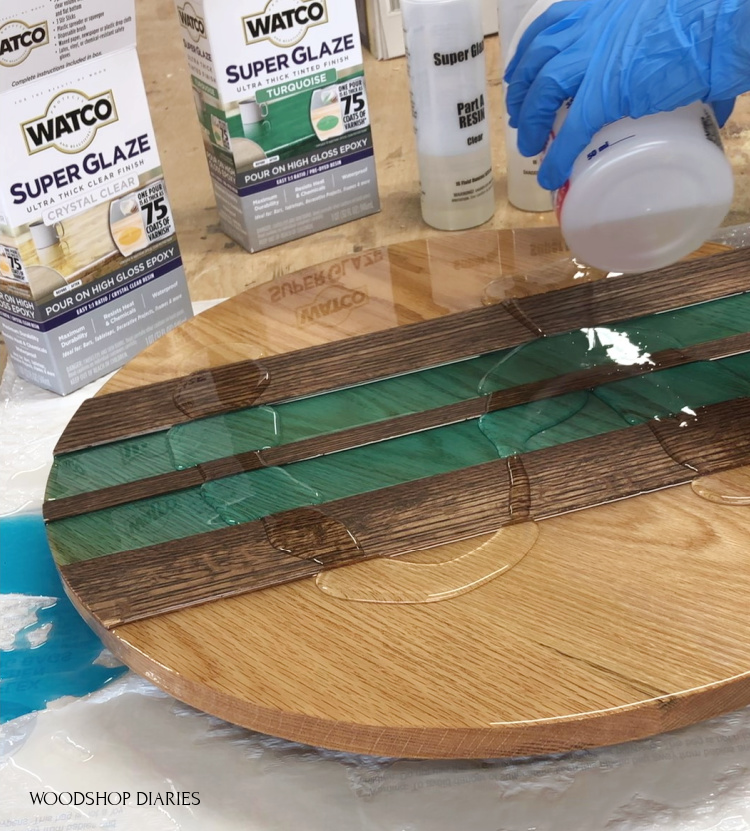
Then I grabbed the SuperGlaze and my mixing cups. I started with the clear first and followed the directions carefully–check to make sure the air temperature is between 70-80 degrees F, and pour the resin into one cup and the activator into another cup.
.
These should be mixed 1:1, so I poured the same amount (by volume) into each cup. I was just guessing on the total amount of epoxy I’d need to cover my plate.
.
If you need more, you can just immediately mix more and pour right on top, so don’t panic if you mix too little the first time.
Once I had both parts poured equally into separate cups, I poured the activator into the resin and used a stir stick to mix them together according to the instructions.
.
After stirring for 3-5 minutes, I poured the mixture into another cup and mixed another 3-5 minutes and it was ready to pour on. The key here is to mix WELL.
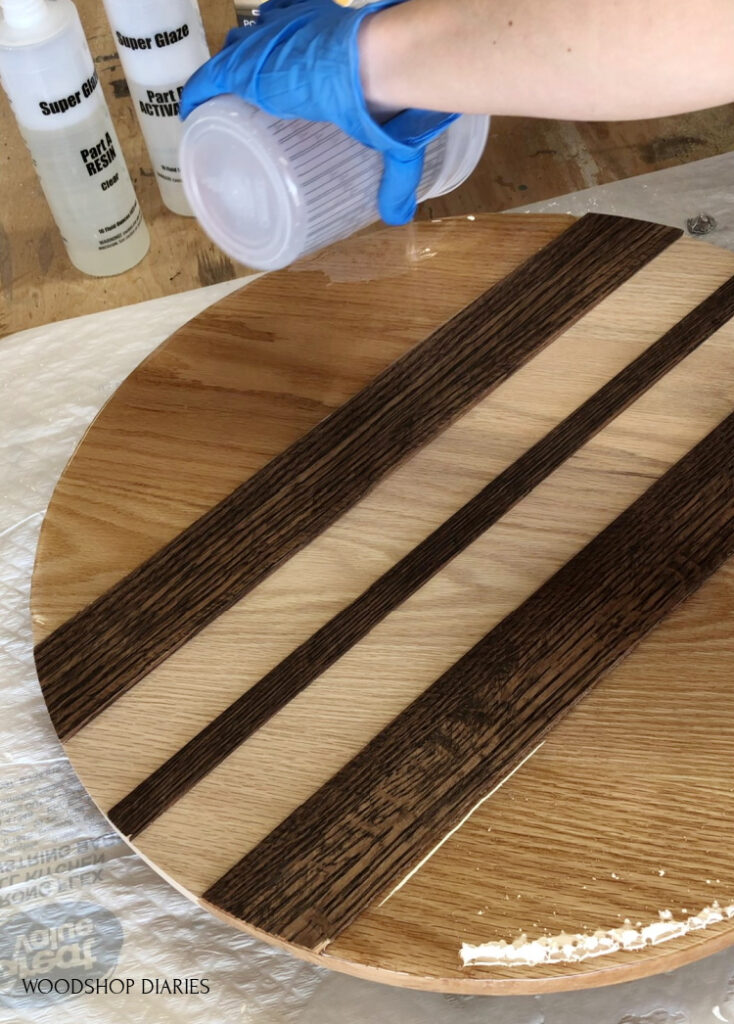
Step 3: Pour Epoxy onto Wood Plate
I just poured this clear epoxy coat onto the two outside sections and allowed it to drip off over the sides. I used my stir stick to kind of “spread” it around and smooth the sides.
Once the clear epoxy was poured, I repeated the steps for the turquoise epoxy and poured into the middle sections allowing it to drip off the edges a little.
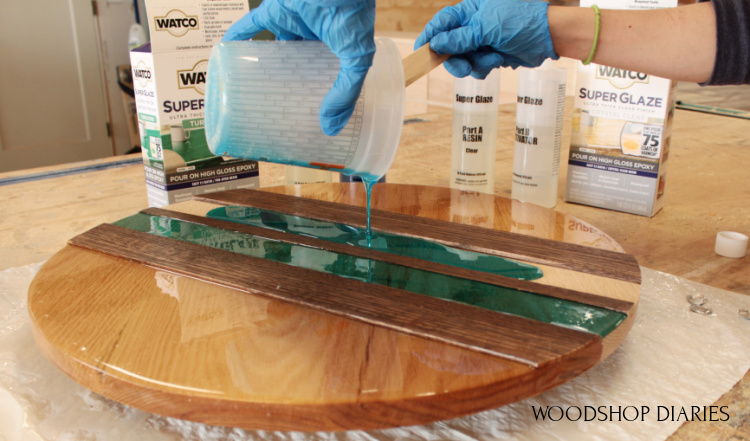
Don’t worry if the shims stick up higher than the epoxy–you can fix that later.
.
Most of the air bubbles will naturally come to the surface and pop, but after 30 minutes or an hour, you can come back and use a torch or a hair dryer to lightly blow heat across the surface to pop the remaining bubbles.
Step 4: Apply Final Epoxy Flood Coat
Follow the directions on the SuperGlaze for cure times. After about 5 hours, I came back and leveled out and sealed over the entire surface of the DIY wood and epoxy lazy Susan plate with a flood coat.
.
Basically, I just mixed another batch of clear epoxy and poured over the entire surface allowing it to overflow over the sides to seal everything and evenly coat it.
.
I used my stir stick (you could also use a cheap paint brush–but don’t use a good one as you’ll have to throw it out after you cover it with epoxy) to evenly spread the epoxy out and smooth the sides.
This should help level out any uneven spots where the shims stuck up higher than the first epoxy coat. If it’s still uneven after one flood coat, you may need apply another after the first one sets up–after 4-6 hours.
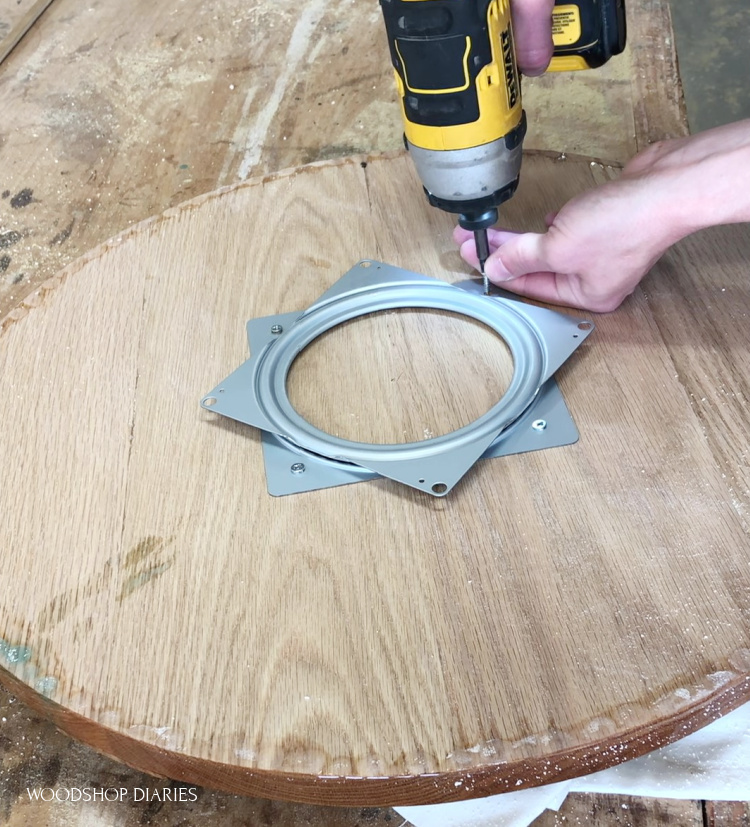
Step 5: Add Lazy Susan Hardware
After 24-48 hours, the epoxy should be set enough to flip over and add the lazy Susan hardware.
.
Where the epoxy dripped over the sides, there were some lumps and bumps on the bottom edge. I used some 80 grit sandpaper to smooth those out–you can see I didn’t get it perfect, because I got tired of sanding haha.
.
It’s on the bottom side, so you don’t see it. Then, I centered and screwed in a 6″ lazy Susan.
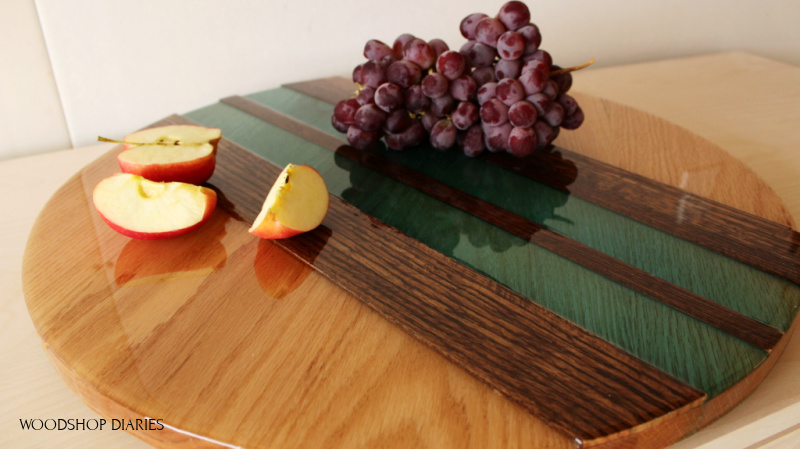
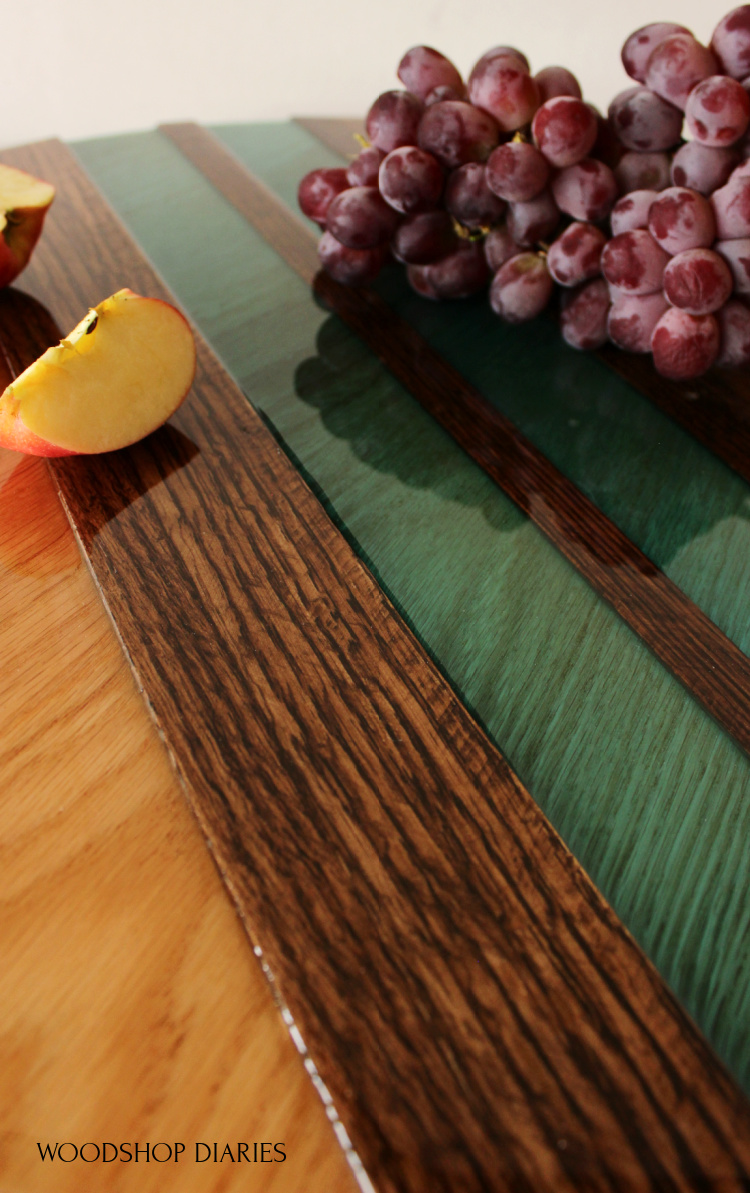
And then, it was complete! I absolutely love the pop of turquoise with this project. I cannot wait to try this color on another project soon.
.
I’m thinking coasters, or a vase or something…it’s a really beautiful color.
I hope this has given you a little motivation and inspiration to tackle an epoxy project if you’ve been hesitant to try it. You got this, friend!
If you want to save this for later, be sure to pin it! And if you’d like to follow along for more project ideas, be sure to subscribe to the newsletter below for the latest updates!
Until next time, friends, happy building 🙂