One of the biggest pet peeves in our new home was the laundry room door.
.
We really only ever want this door closed when one of the laundry machines are running. Otherwise, we like to leave it open be able to go in and out of easily.
.
The existing door was a pivot door, so it could open in either direction, but neither way was very convenient.
.
If you opened it out into the hallway, it opened right in front of the door to go outside, and if you opened it into the laundry room, it opened right into the washing machine.
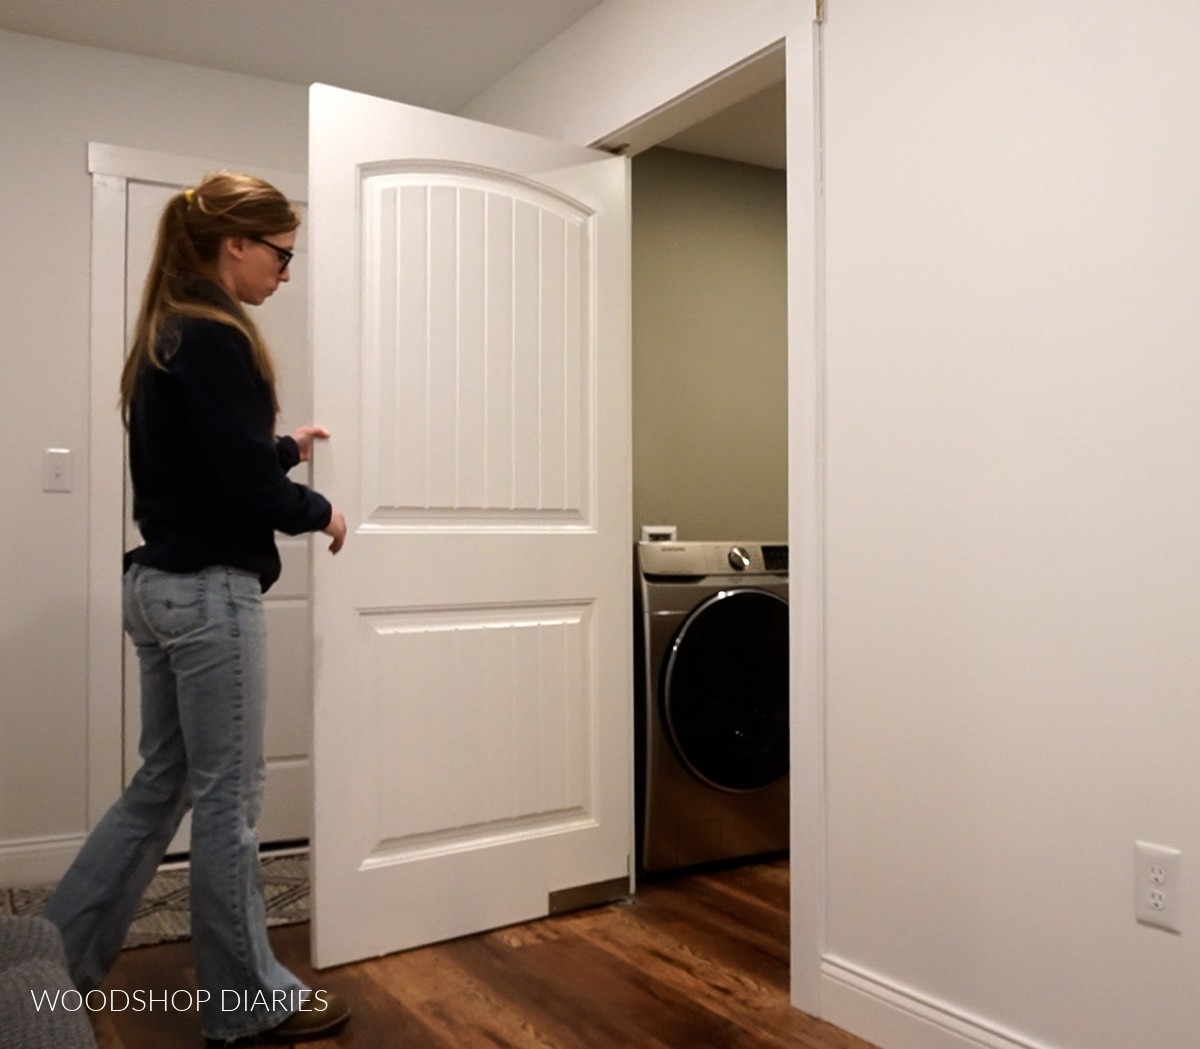
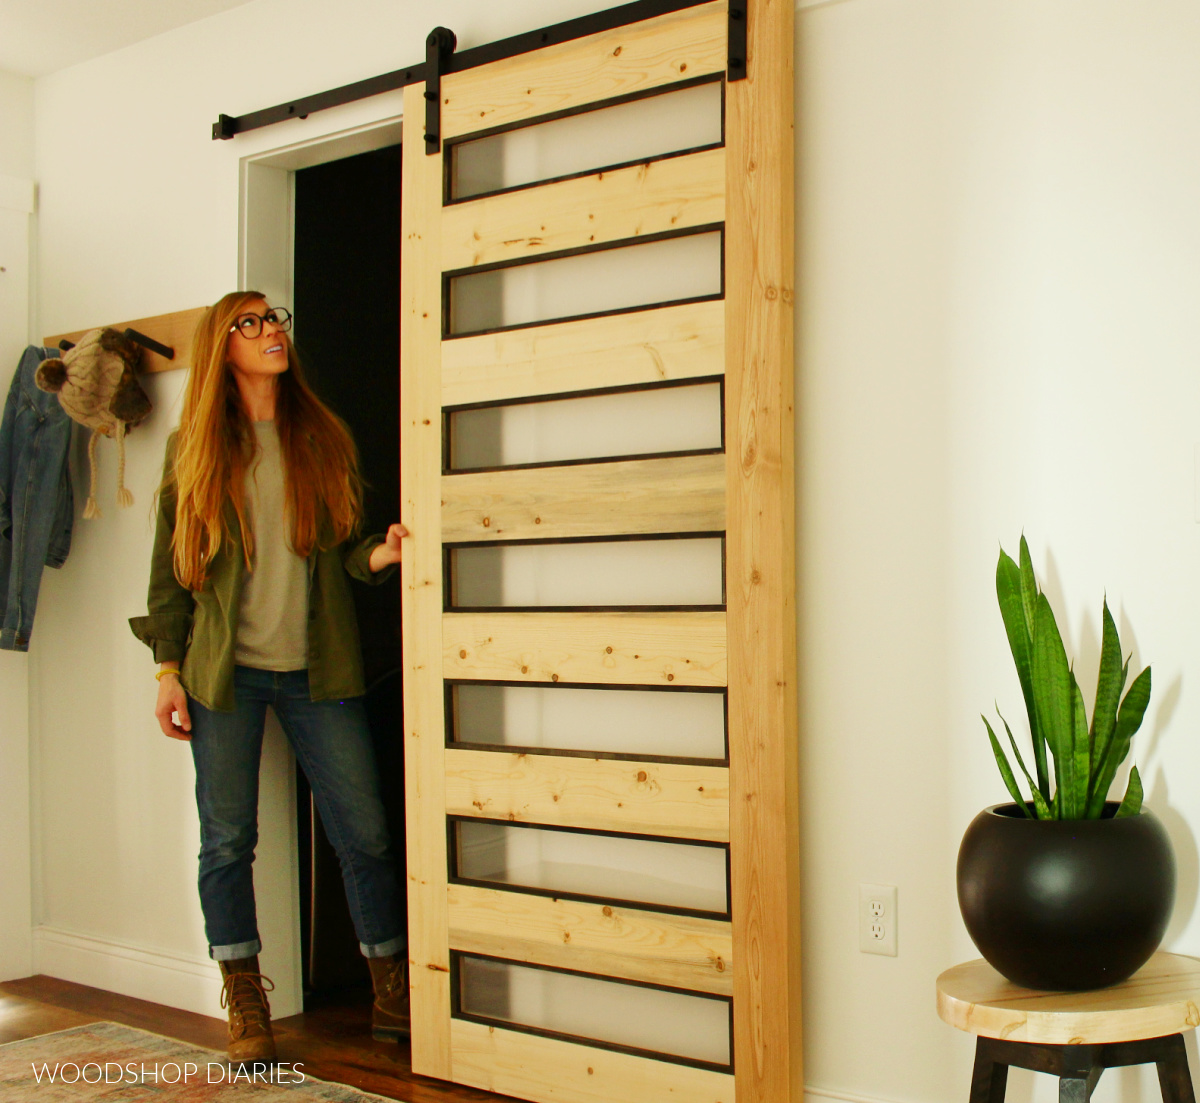
So I decided in this case, it was best to replace this door with a DIY sliding door, so I built one 🙂
.
And I’m sharing how with you so you can build your own, too! I’ve got the video here and the step by step tutorial below.
**This post contains affiliate links. See policies.
Tools and Materials:
Tools:
- Miter saw
- Table saw (completely optional–not necessary)
- Circular saw (used to cut plexiglass–could also use utility knife, jig saw, etc)
- Clamps
- Drill/Driver
- ⅜″ forstener bit
- Wrench, pliers, or sockets to install sliding door hardware
- Stud Finder
- Nail Gun (to replace existing door trim if necessary)
- Kreg MultiMark and/or speed square
Materials:
- (5) 2x6x8 boards
- (1) 36×48 sheet (about ⅛″) plexiglass
- Pack of 25 ½″ x 48″ square dowels
- ⅜″ dowels (Or can use pocket holes and screws instead)
- 1x4x8 (to replace existing door trim if necessary)
- Wood Glue
- Quick dry wood glue
- 7 ft sliding door kit (size needed may vary depending on your door size)
- Frosted glass spray paint
- Finish of your choosing
Notes about this DIY Modern Sliding Door:
Determining Sliding Door Size:
In this project, I was replacing my existing 36″ swing door with a sliding door. To determine the size to build my sliding door, I measured the door OPENING and added about 2″ on EACH side and 2″ on the top.
.
This way, the door would overhang the opening about 2″ in each direction (it doesn’t have to be EXACT). My door ended up being 40″ x 82″ overall. Yours may be different depending on your door opening.
Sliding Door Hardware Kit Options:
I purchased a 14 ft sliding door kit–this comes with two 7 ft rails and two pair of rollers (for double doors). However, I split this kit and used one 7 ft bar and one pair of rollers for this door and I will use the other half of the kit for a different door later.
.
It was cheaper to buy the 14 ft and split it than to buy two seven foot kits. BUT, you can purchase a 6 or 7 ½ ft kit if you don’t have a need for a second sliding door. They come in several sizes here.
Dealing with Existing Door Trim:
In order to install the sliding door rail onto the wall, you will need the rail to be on one plane. You can’t mount half on door trim and half on the wall.
.
So if you have existing door trim, you’ll need to extend the trim out the length of your rail. If you don’t have existing door trim around your opening, then nothing needs to be done (lucky! haha).
.
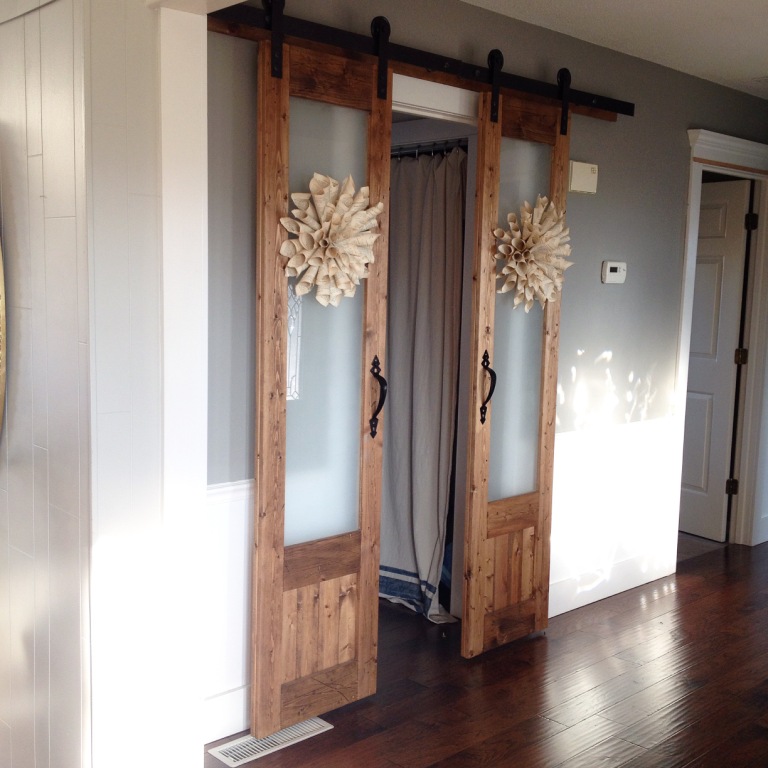
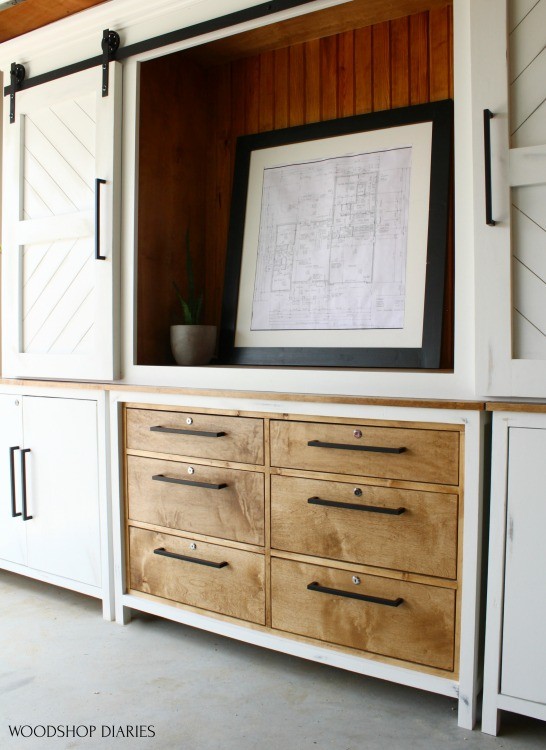
For More Sliding Door Ideas, check these out!
Step 1: Assemble DIY Sliding Door Frame
To start this project off, I began by building the door frame. I wanted something simple, so I built the main frame of this door using 2x6s.
.
I measured the door opening and added 4” to the width and about 2” to the height. That way it would overhang the opening on all sides by about 2”.
.
This made my overall door size 40” wide x 82” tall. So I cut down my pieces to make this size:
(2) 2x6s @ 82″ long
(8) 2x6s @ 30″ long
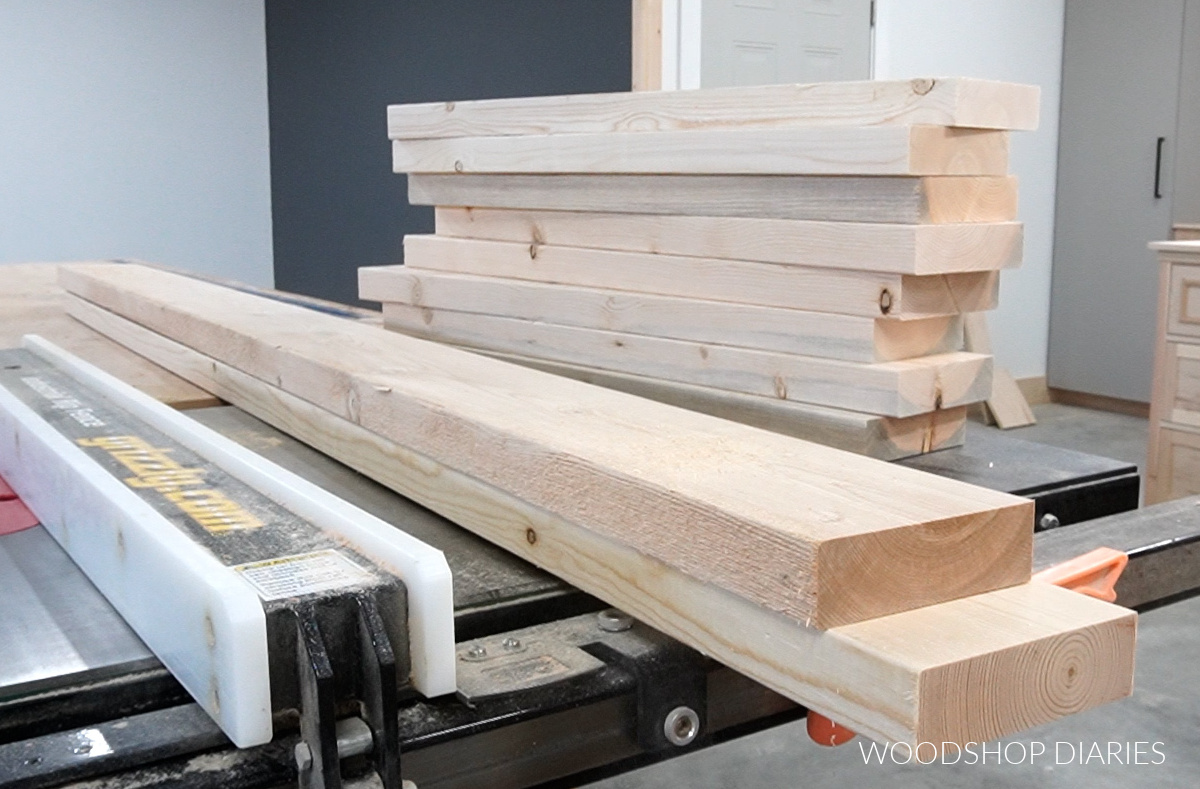
Because these 2x6s came with rounded corners, I ran them through the table saw to remove about ¼″ off each edge.
RELATED: How to square off rounded edges on construction lumber boards
.
That left me with nice, clean, sharp corners to work with and made my 2x6s about 5″ wide. But, you can leave the edges as is if you don’t have a table saw—it’s not a necessary step.
.
Just keep in mind my measurements above are based on 5″ wide boards, so if you leave them full width, you may need to adjust the rails an inch shorter.
.
I dry fit the pieces together on my workbench and spaced the rails evenly so all the openings were the same size. (In my case, these were 6″ apart).
.
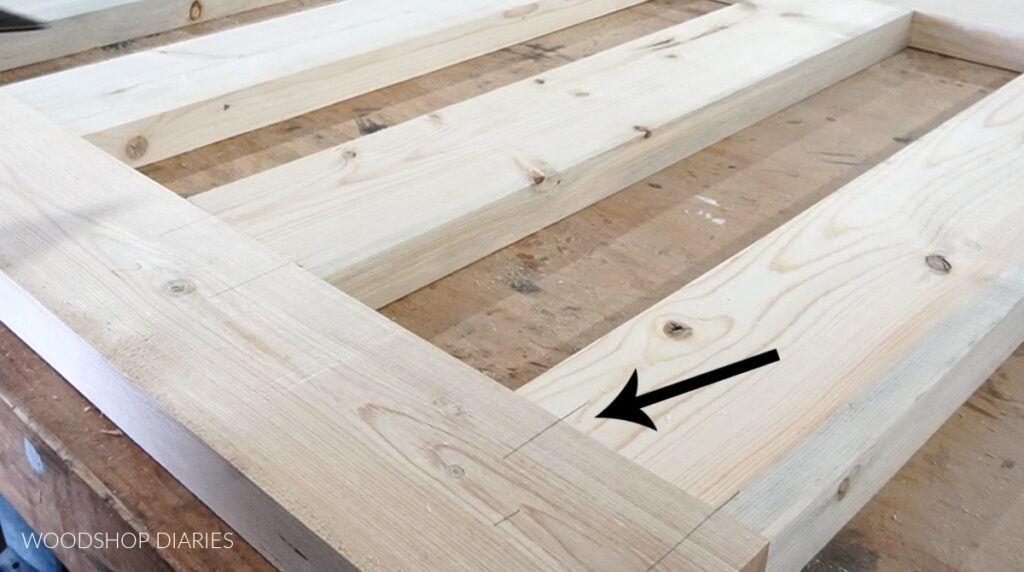
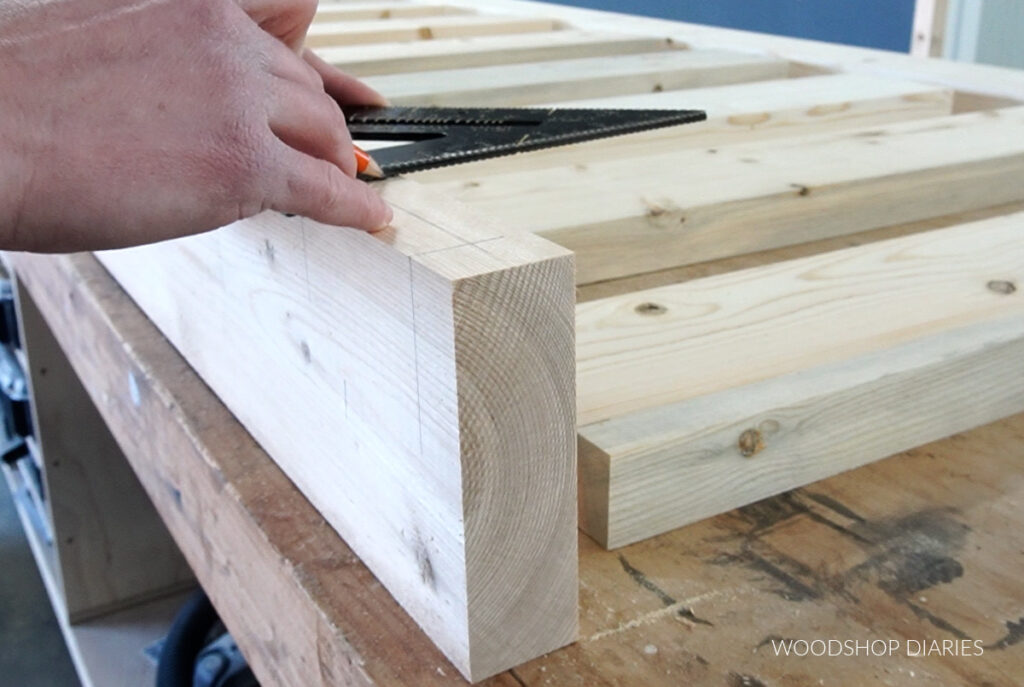
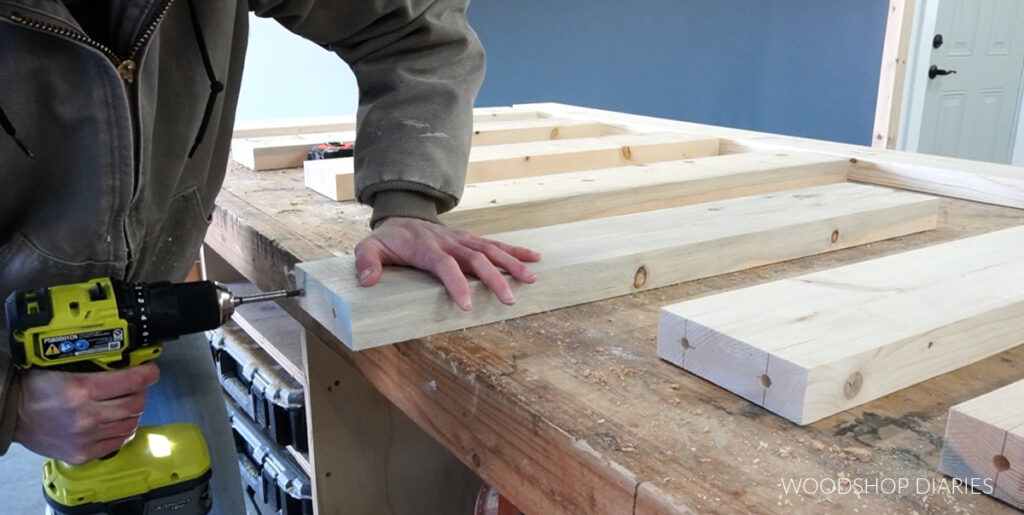
Then, I used a speed square and my Kreg MultiMark tool to mark out dowel locations to assemble the frame.
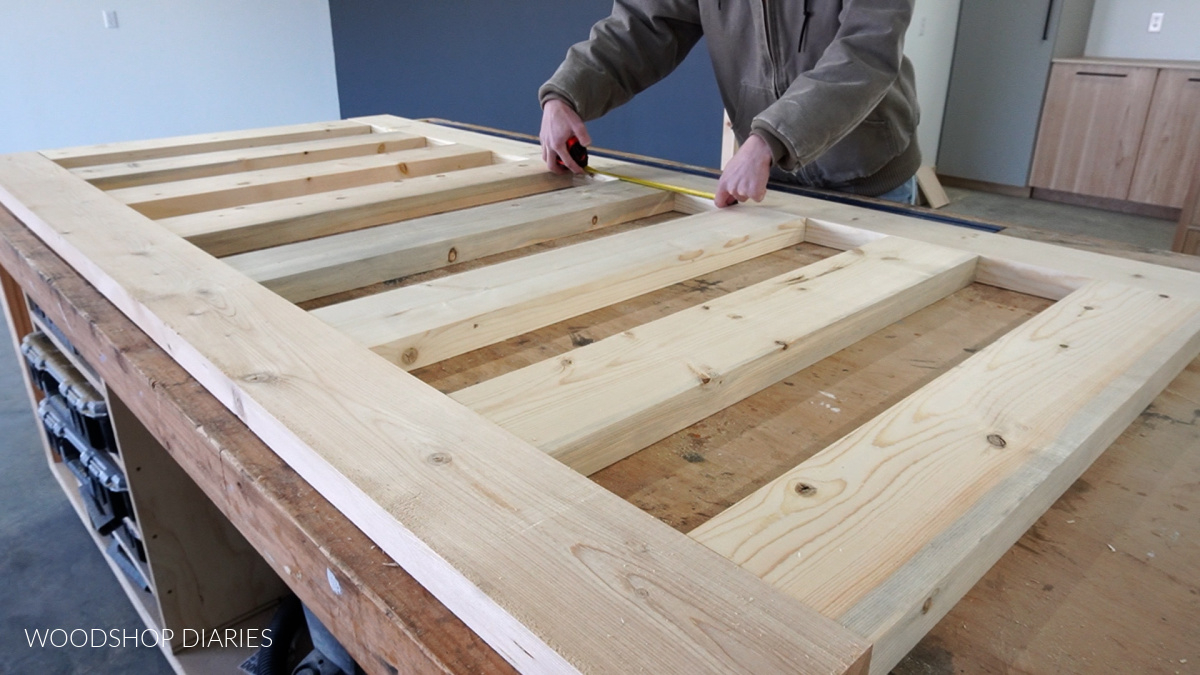
I didn’t really measure these exactly. It doesn’t matter where you put them as long as the holes in the stile and the rails line up.
.
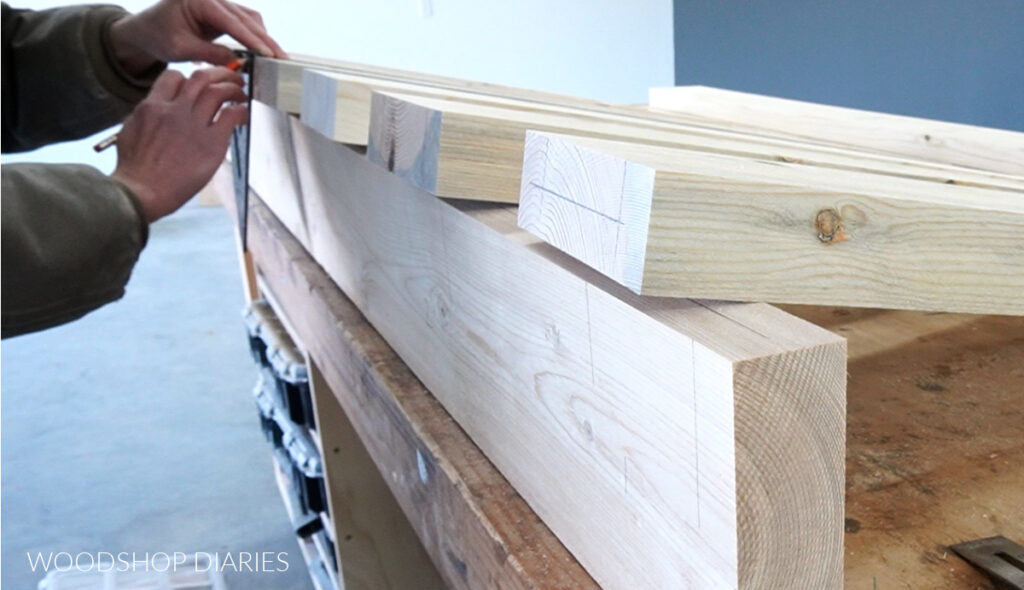
With the pieces laid out evenly on my workbench like shown above, I used a square to mark two lines on each rail (seen below) and transferred these marks around the corners where they’ll be drilled out. (See video above for more details)
Mark dowel locations on stiles and rails Transfer marks to board edges Mark centerlines of edges
I made sure to mark these in the centerline of the board edges and labeled each rail so I didn’t get them mixed up.
.
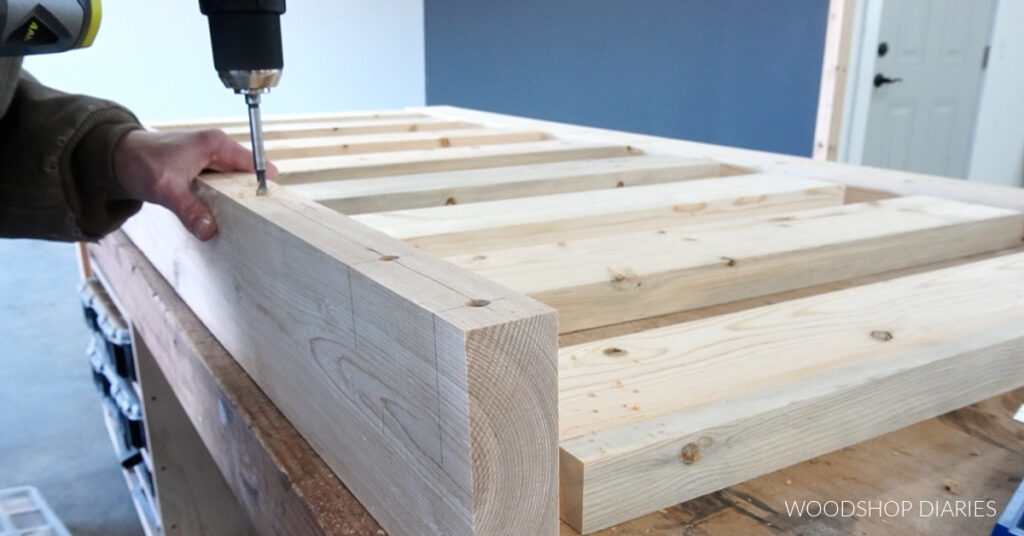
Then I used a ⅜” forstener bit to drill out holes to insert the dowels. I drilled a little over half the length of the dowels I was using—which was about ¾” deep.
I sanded the pieces before assembling because it will be a lot easier to do now vs later, but made sure to keep everything in the same order and not switch up the rails.
.
And then the most stressful part of this entire build began—the glue up. In hindsight, pocket holes may have been a better option, but I really didn’t want to see or plug these in this case, so I went with dowels.
RELATED: How to use a pocket hole jig
.
I used wood glue to install dowels into one of the stiles, then added the rails, and repeated to add the second stile. It’s helpful to have a second set of hands for this as this door is pretty big and heavy.
.
I used a rubber mallet to tap in most of the dowels, but used a pipe clamp to convince the others to get in place haha.
.
I used several pipe clamps to glue this door together and let it dry overnight.
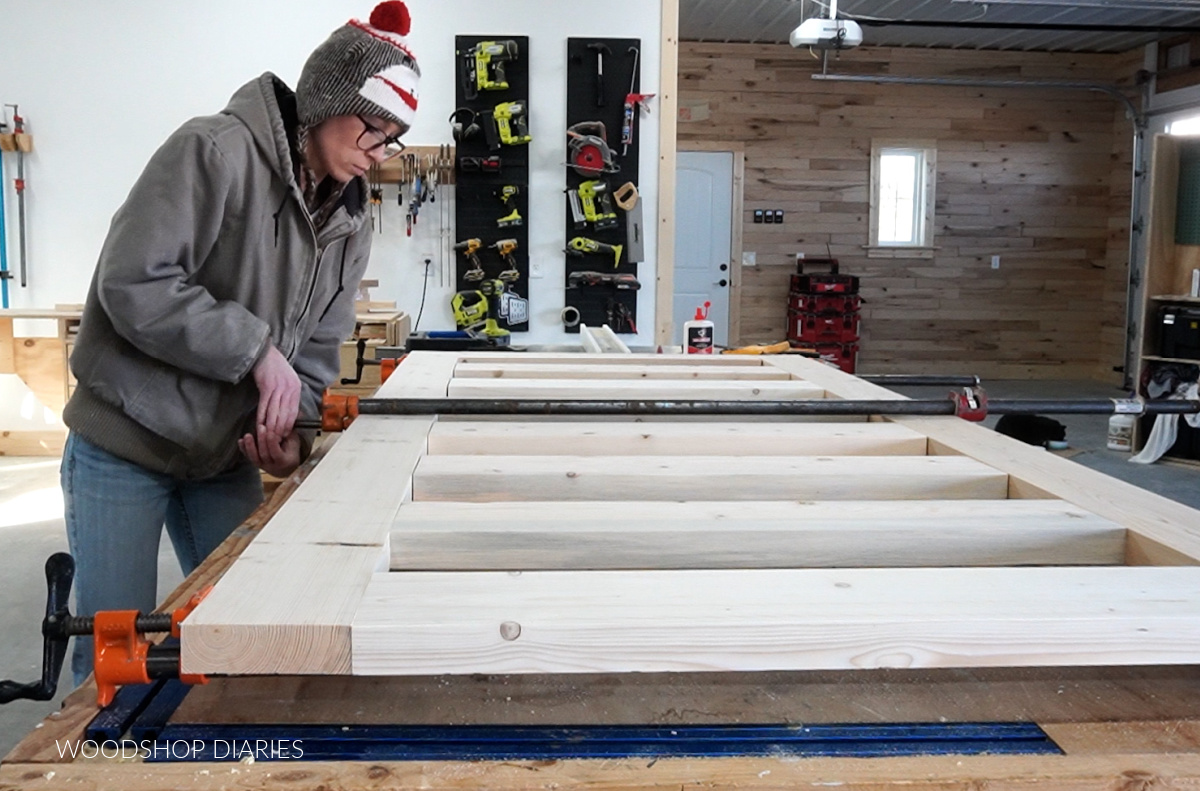
After the glue was good and dry the next day, I came back and gave the door a good sanding to remove any squeeze out smooth out all the joints.
.
Then, I applied a few coats of clear coat poly. You could paint or stain the door as desired at this point.
Step 2: Cut and “Frost” Plexiglass Panels
Next, I started cutting down my plexiglass pieces to fill the openings in the door.
.
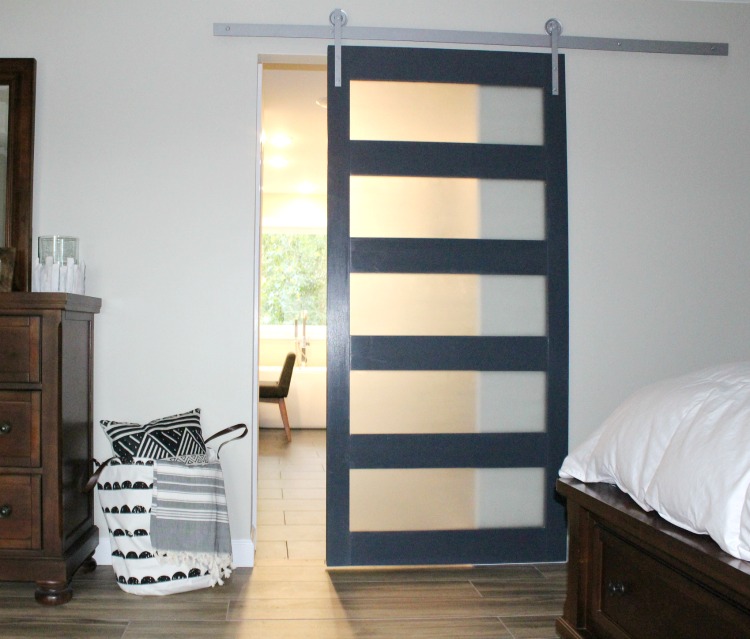
You could use real glass for this if you wanted. I actually used real glass in a similar style sliding door here.
.
But this time, I just grabbed a sheet of ⅛” plexiglass to keep it lighter, simpler, and less dangerous in case of any accidents.
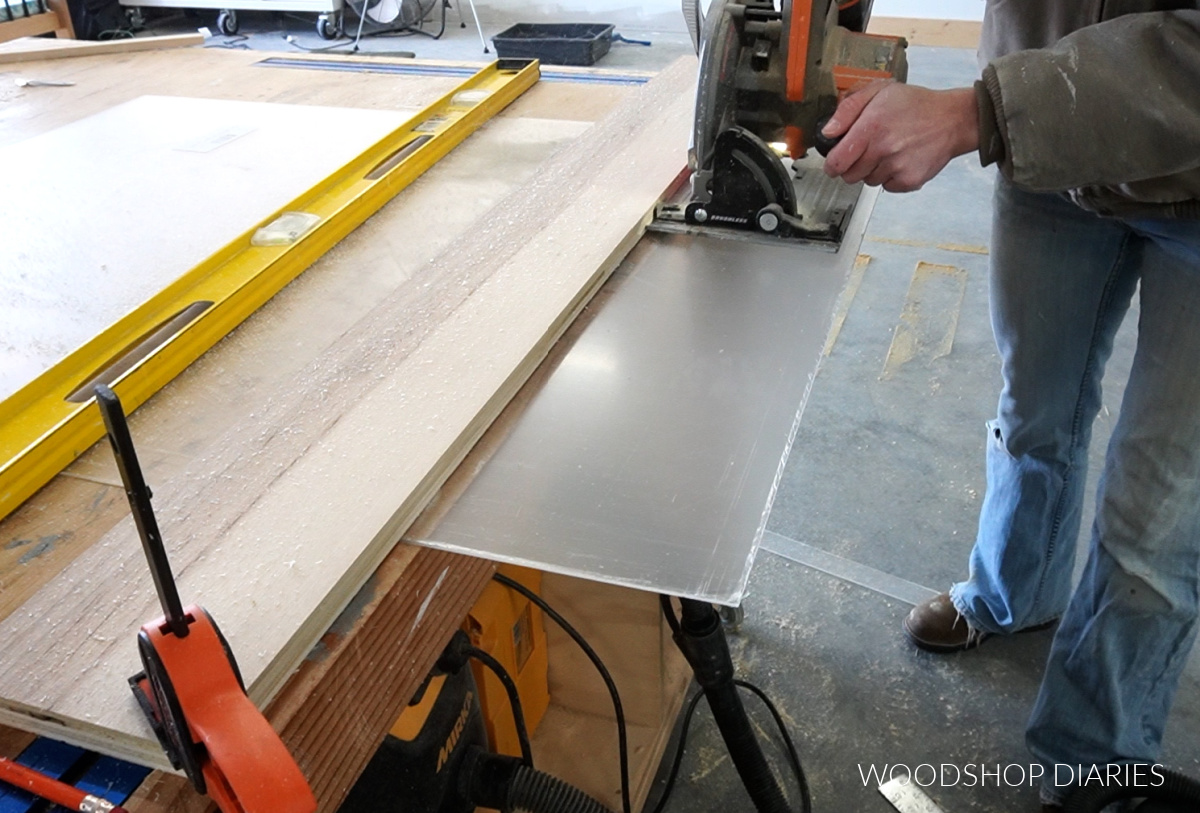
I used a finish blade in my circular saw to cut down this sheet into 7 strips SLIGHTLY smaller than the openings in the door.
.
I purchased a 36″ x 48″ sheet, so I cut the 36″ side down to just under 30″ first, then ripped seven ~6″ wide strips to fit in the openings. Note that it’s best to cut about ⅛″ smaller than the openings to give you some wiggle room when installing them.
.
You could also use a fine finish blade in your table saw, a jig saw, or a utility knife. I just already had a finish blade on my circular saw so that’s what I used so I didn’t have to swap out any blades.
RELATED: If you want an alternative way to cut down plexiglass, check out this tutorial.
.
I removed the protective plastic on one side of the plexiglass and gave these pieces several coats of frosted glass spray paint. You only need to coat one side of the plexiglass.
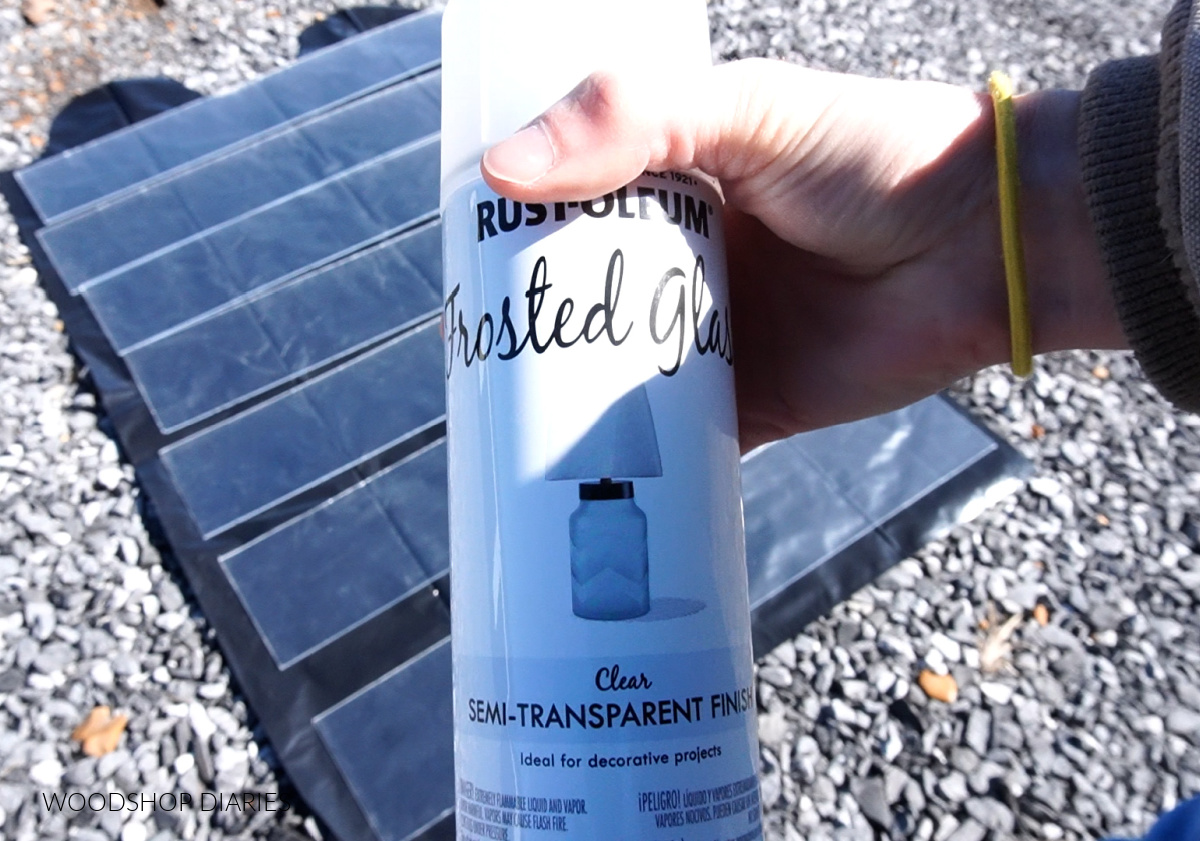
I’ve used this paint several times before and it works great, but in my experience, you will need at least 4 coats to make it look even and not still be see through.
Step 3: Line Door Openings with Dowels
Now, I’ve built a very similar DIY sliding door several years ago and used a router to route out a rabbet to install the glass panels.
.
This time, though, I was trying to find an alternative way to install this that didn’t require a router, and I ended up using ½” square dowels. I found this pack of 25 that was plenty to complete this door and have a little leftover to play around with later.
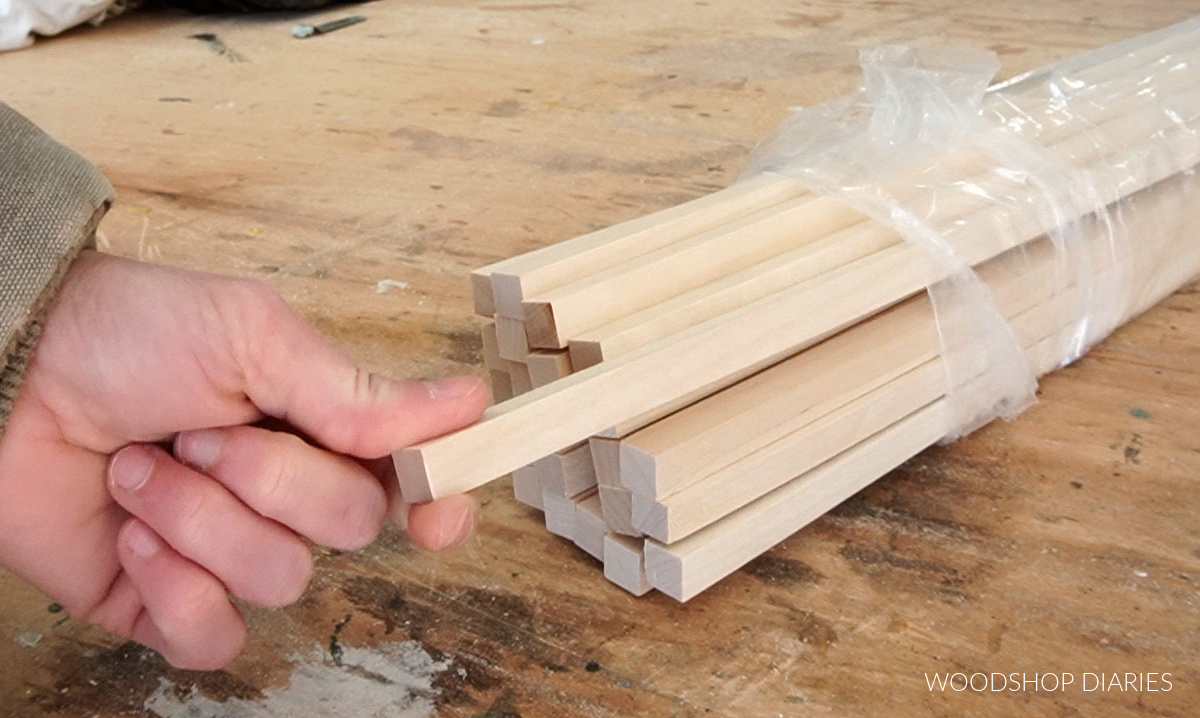
I cut these dowels to fit inside the openings of the door and stained them ebony to give them some contrast against the natural wood on the frame. But you can paint or stain however you want if you don’t like ebony stain.
.
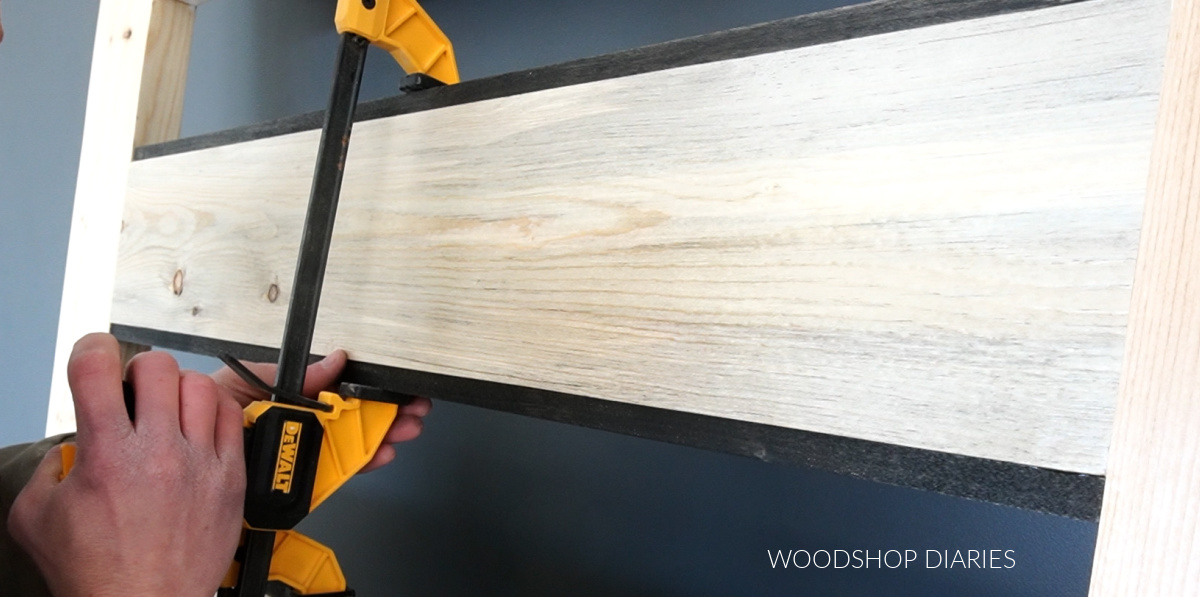
Then I used some quick dry clear wood glue to glue these pieces in place. I kept these pieces about ¼” inset from the front edge and worked my way around each opening gluing these in place.
Step 4: Install Plexiglass and Line Back Openings
After each opening was lined with dowels, I laid the door over and glued the frosted glass panels in place.
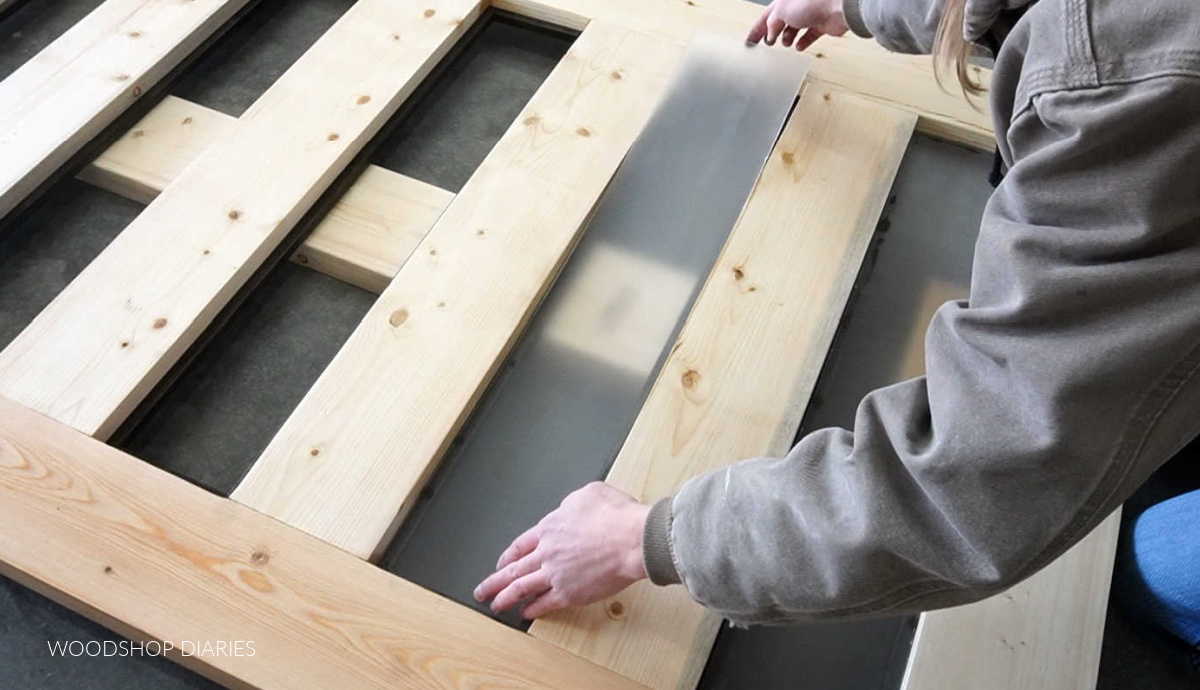
Glue here is totally optional—it’s really not necessary because after these were in, I flipped the door back up and repeated the process of lining the other side with dowels to hold the glass in place.
.
I’ll be honest, I couldn’t decide if I liked the black lining on the front, so on this side, I kept these pieces natural. That way, if I changed my mind, I could flip the door over and make this the front.
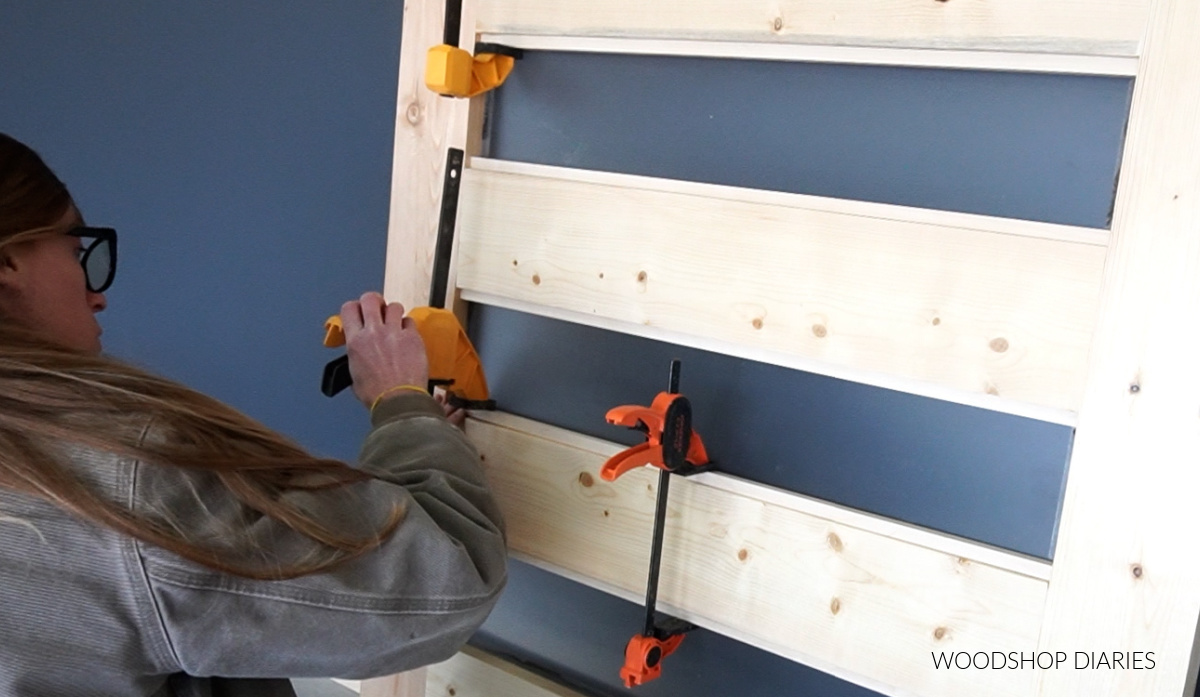
At this point, the sliding door itself was complete, but now I had to hang it.
Step 5: Hang Sliding Door Hardware Rail
In order to mount this rail, I needed to either remove all the door trim here and finish the corners with drywall OR extend this top board the full length of the rail.
.
Since I hate drywall work, I just installed a new piece of trim here. I pryed the top piece off and cut a 1×4 to 7 ft long (the length of my door rail) and nailed it into the studs on the wall.
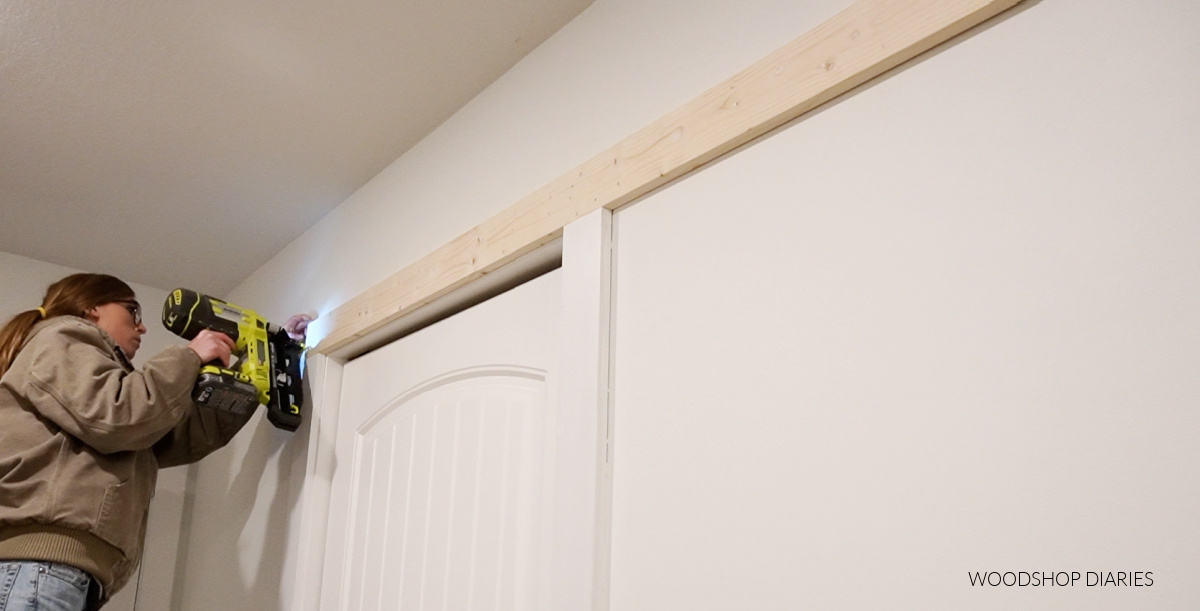
The existing trim was never caulked or painted properly, so this gave me the opportunity to caulk, putty, and paint the trim so it looks a little nicer.
.
And then, it was time to actually hang the rail. I followed the directions with the kit to mark and predrill holes into the wall studs behind the trim.
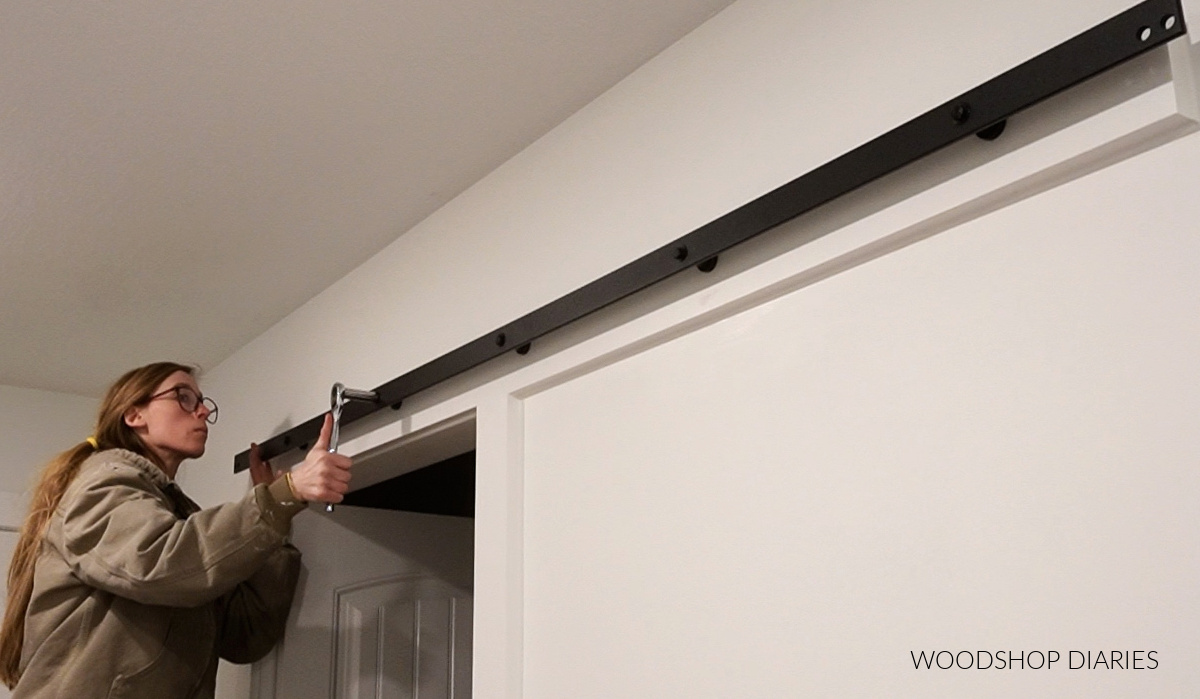
I did two first to get it in place, then did the rest one by one to make sure my holes didn’t get out of line with the holes on the rail.
Step 6: Remove Existing Door and Hang New DIY Sliding Door
I removed the old pivot door and puttied, sanded, and touched up the paint from the holes left behind. While all that was drying, I added the rollers to hang the new door.
.
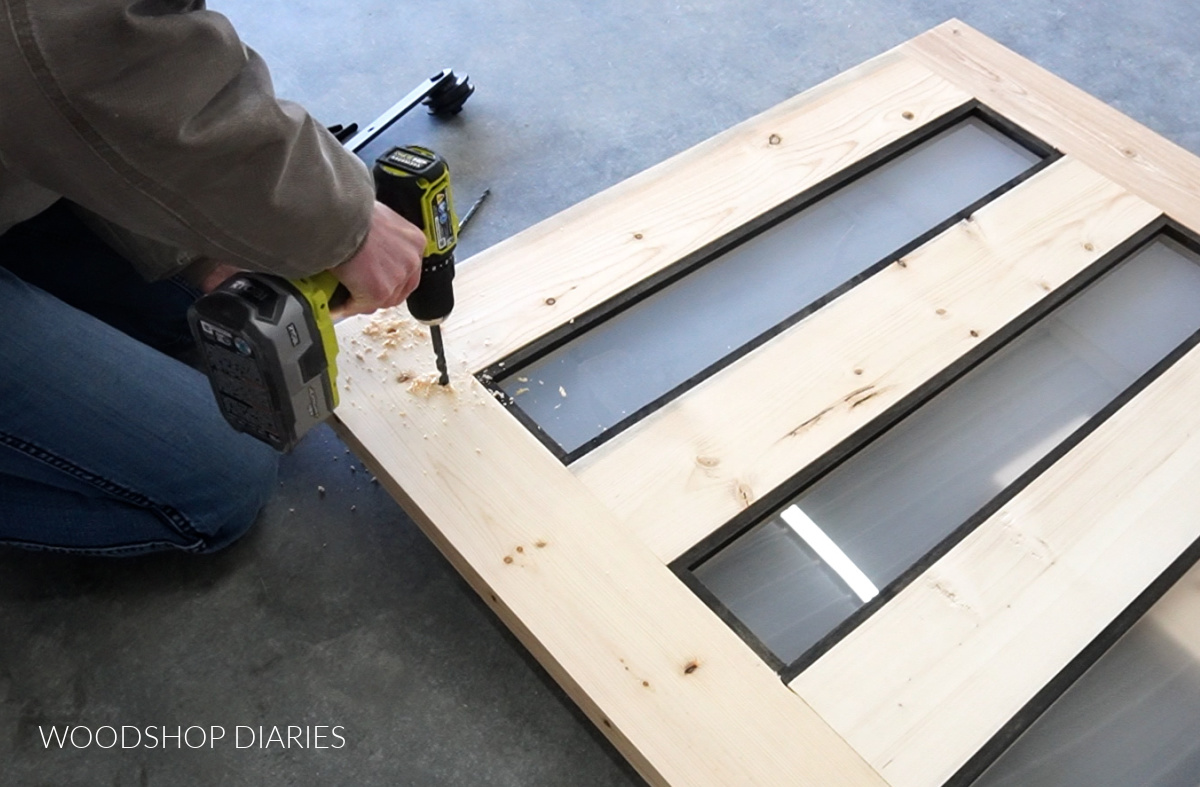
I laid the new door over on its back and marked out where to drill the holes to install the rollers according to the instructions with the sliding door kit.
.
I started with a small bit first and worked up to a hole large enough to fit the included bolts through. Then, I installed the rollers good and tight. I used a couple wrenches to tighten everything, but pliers would work as well.
Then I carried it inside and set it on the rail for the moment of truth.
.
It fit, it rolled, and it functioned! That’s a win haha.
.
I adjusted the stops on each end of the rail so the door didn’t slide off, but I didn’t have any concrete screws to install the guide stops at the bottom of the door. So for now, It’s just hanging freely.
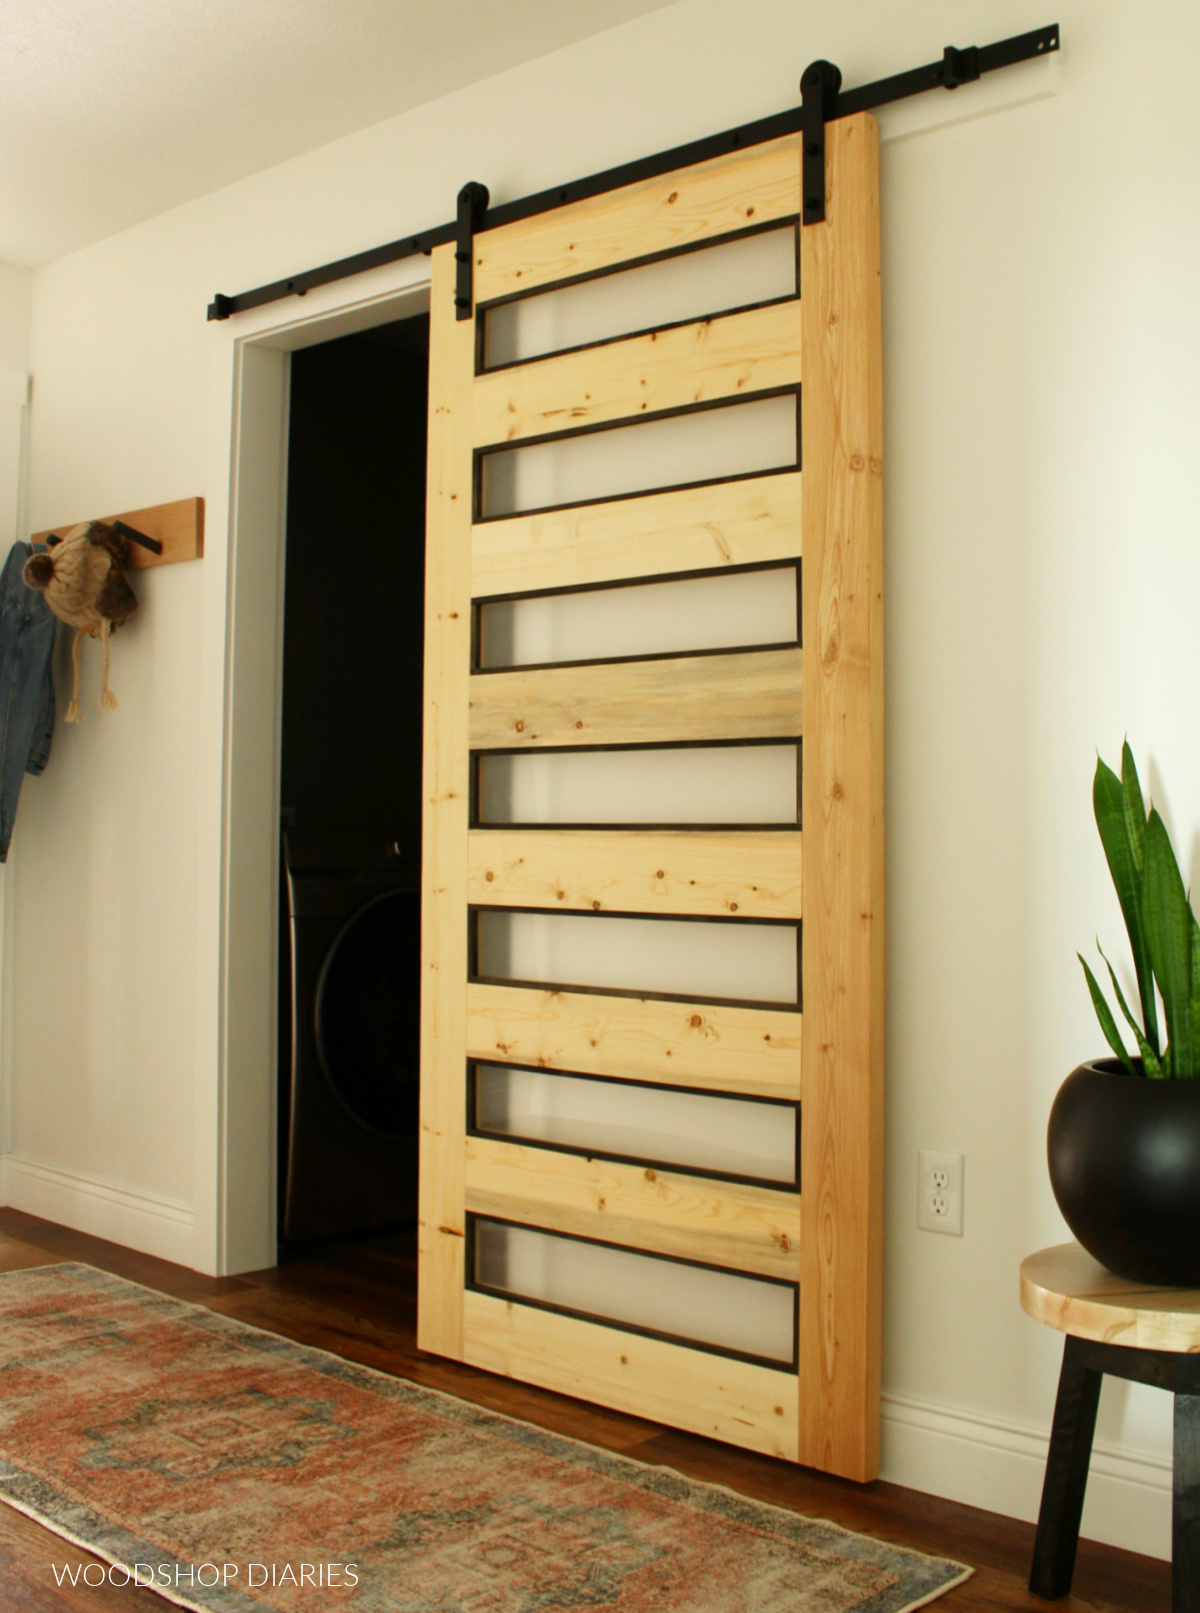
I’ll have to grab some concrete screws to screw the stops that came with the sliding door kit into the floor–or use some sort of adhesive to stick it on. But if you have wood floor, you can use the screws that were included in the kit.
.
I’ve got so much more to do in this little hallway and in the laundry room, so the color of the door may change once I get everything else in here added and situated. I’m indecisive haha.
.
If you want to see what else eventually happens in this space, be sure to follow along and subscribe to the newsletter to be the first to know about new projects and plans!
I hope you guys enjoyed this DIY sliding door project and if you’d like to save it for later, be sure to pin it or share it to your favorite social channel!
Until next time, friends, happy building!


