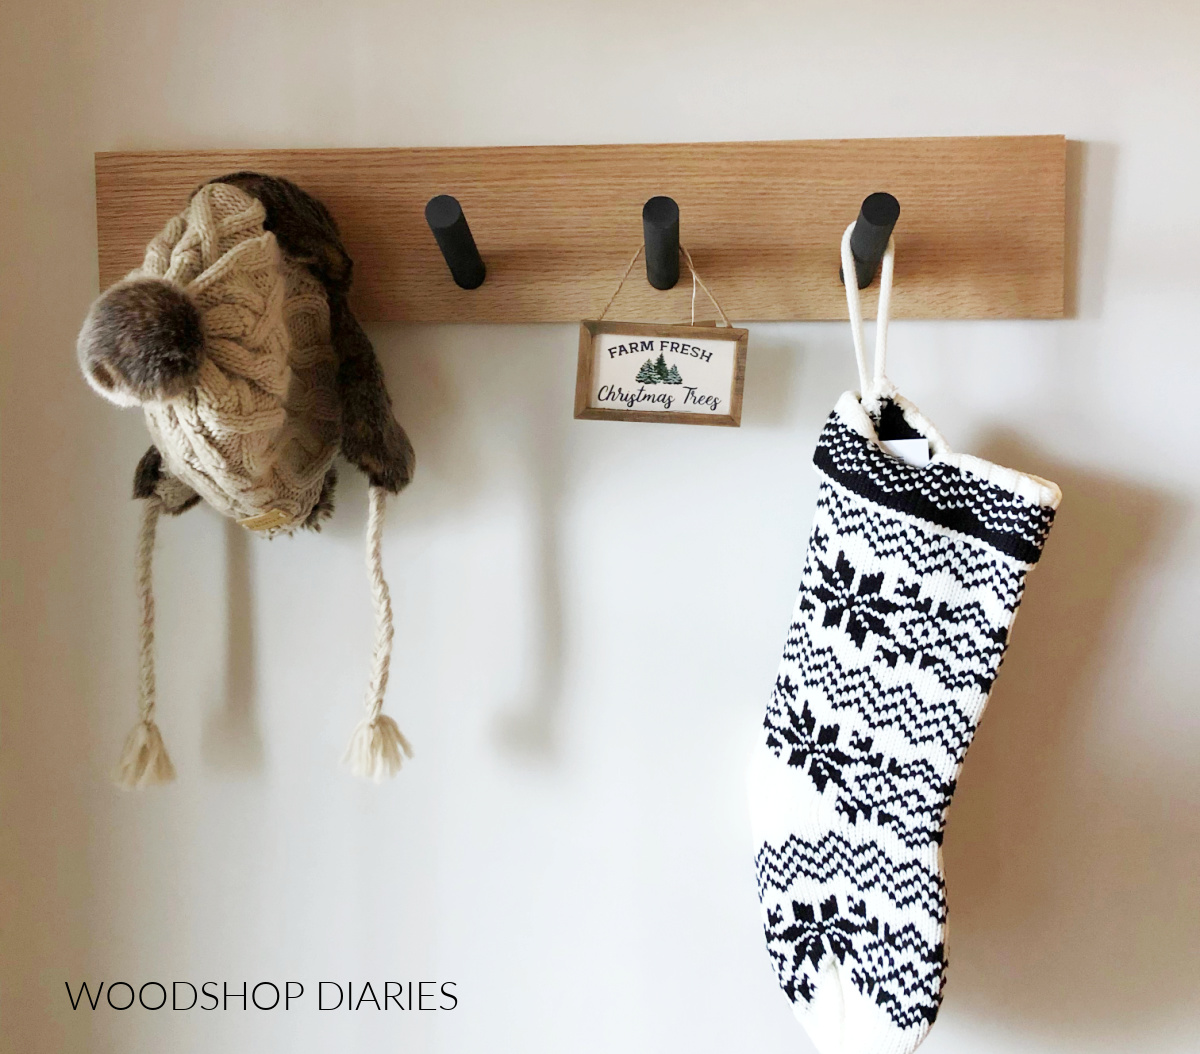
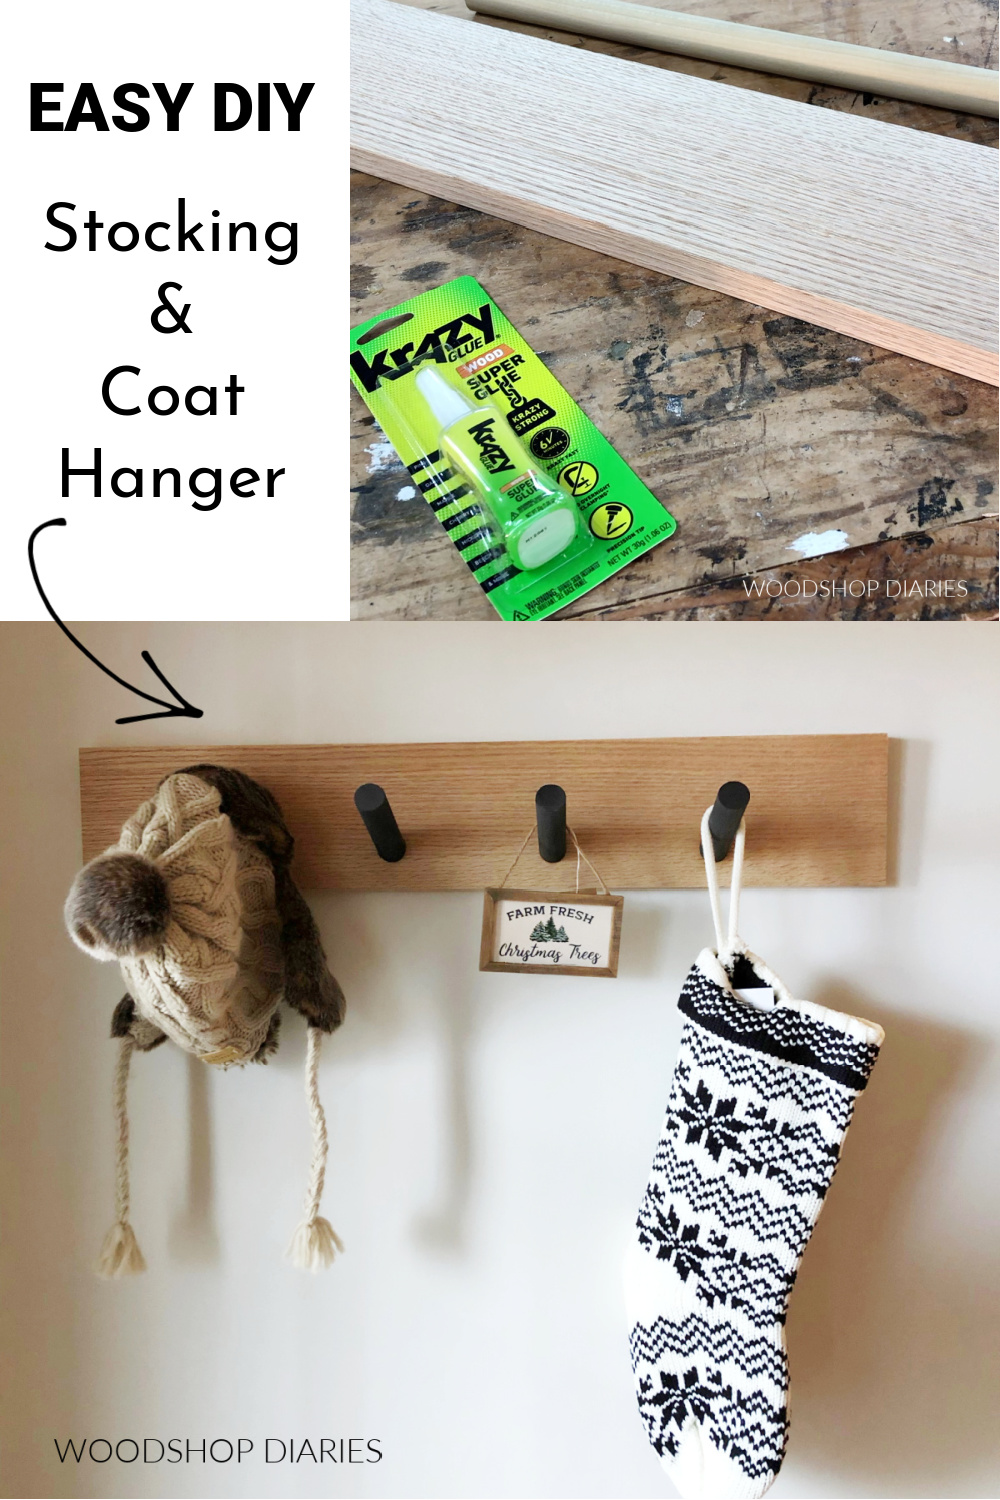
In this post, I’m sharing how to make the easiest DIY Stocking Hanger Rack ever with some wood scraps and a little glue!
A while back I made an accordion coat rack and I’ve loved it since day one. We hang our stockings on it and after the holidays are over, we use it for the dog leash, umbrellas, jackets, etc.
.
But, because it’s an actual moving accordion rack, it’s a little more involved to make.
.
So I wanted to share a similar, but MUCH easier DIY stocking hanger version that works just as well!
.
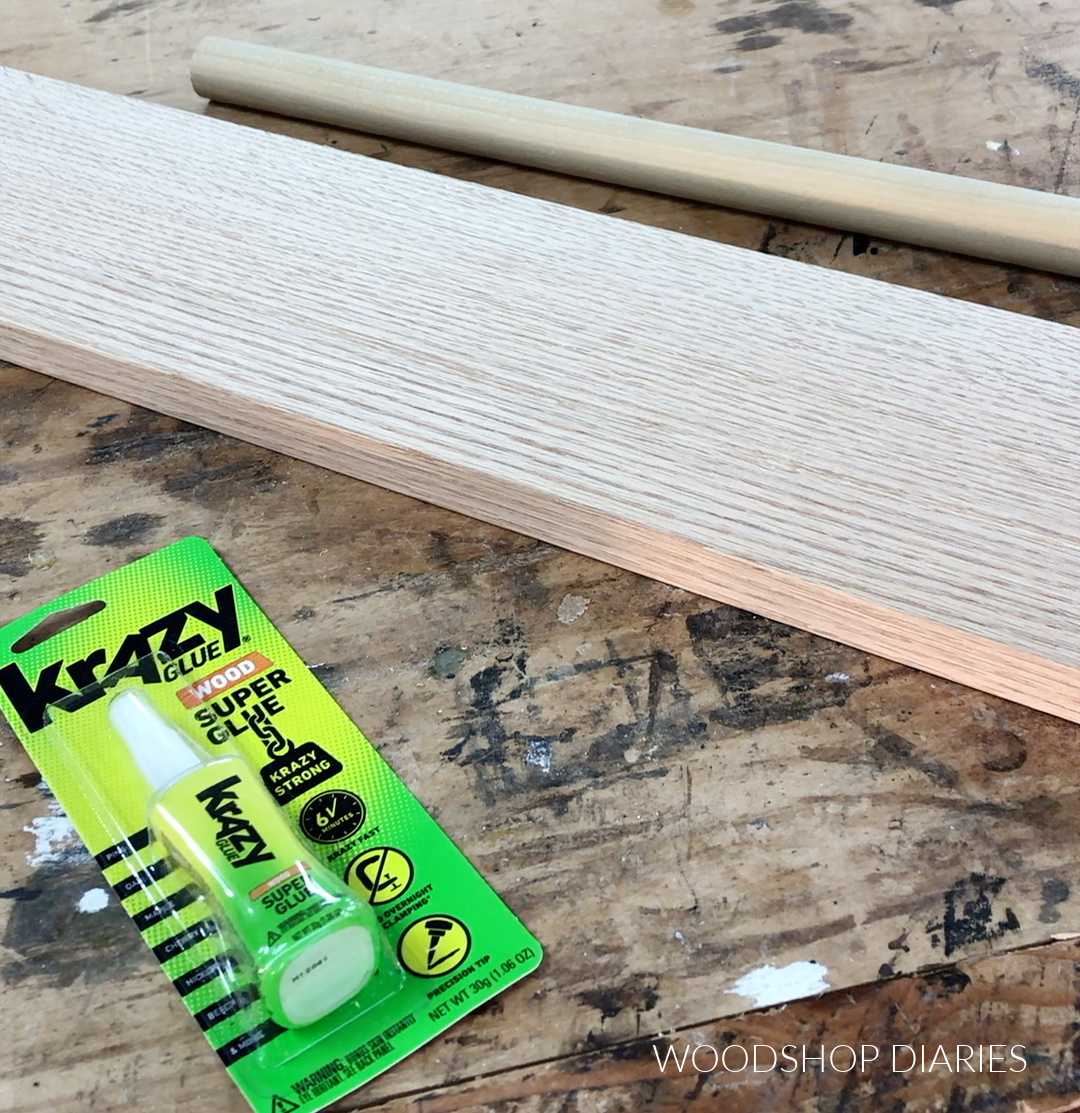
Grab your scraps, a saw and some glue and get ready to build.
*This post contains affiliate links. See website policies.
Tools and Materials:
Tools:
- Saw (miter, jig, circular–anything that can cut clean lines)
- Hammer
- Level
- Stud finder (optional)
Materials:
- Scrap 1x board (I used 1×6, but you can use whatever size you’d like)
- 1″ dowel rod
- Krazy Glue Wood Glue
- Sawtooth hangers
- Spray Paint (optional)
- Couple nails/screws to hang it on
Step 1: Cut Rack Board to Length
First, I trimmed my scrap 1x board to the length and size I wanted my stocking hanger/coat rack to be.
.
You can customize this to fit whatever space you plan to hang it in, but I made mine about 30″ long.
Step 2: Cut Dowels for Rack Pegs
Next, I cut my 1″ diameter dowel rod into pegs about 4″ long (this doesn’t have to be exact–you may want longer or shorter). You can cut these ends square for pegs that stick straight out, or you can miter the ends a little for pegs that slope.
.
I mitered the ends of my dowels about 20 degrees.

You can cut as many as you wish to put on your rack.
.
If desired, paint these whatever color you wish. I used some black spray paint to give them a little contrast against the wood board.
Step 3: Add Hangers on Back Side
In order to hang this stocking rack on the wall, I flipped the board from step 1 upside down and nailed a couple of sawtooth hangers on the back side.
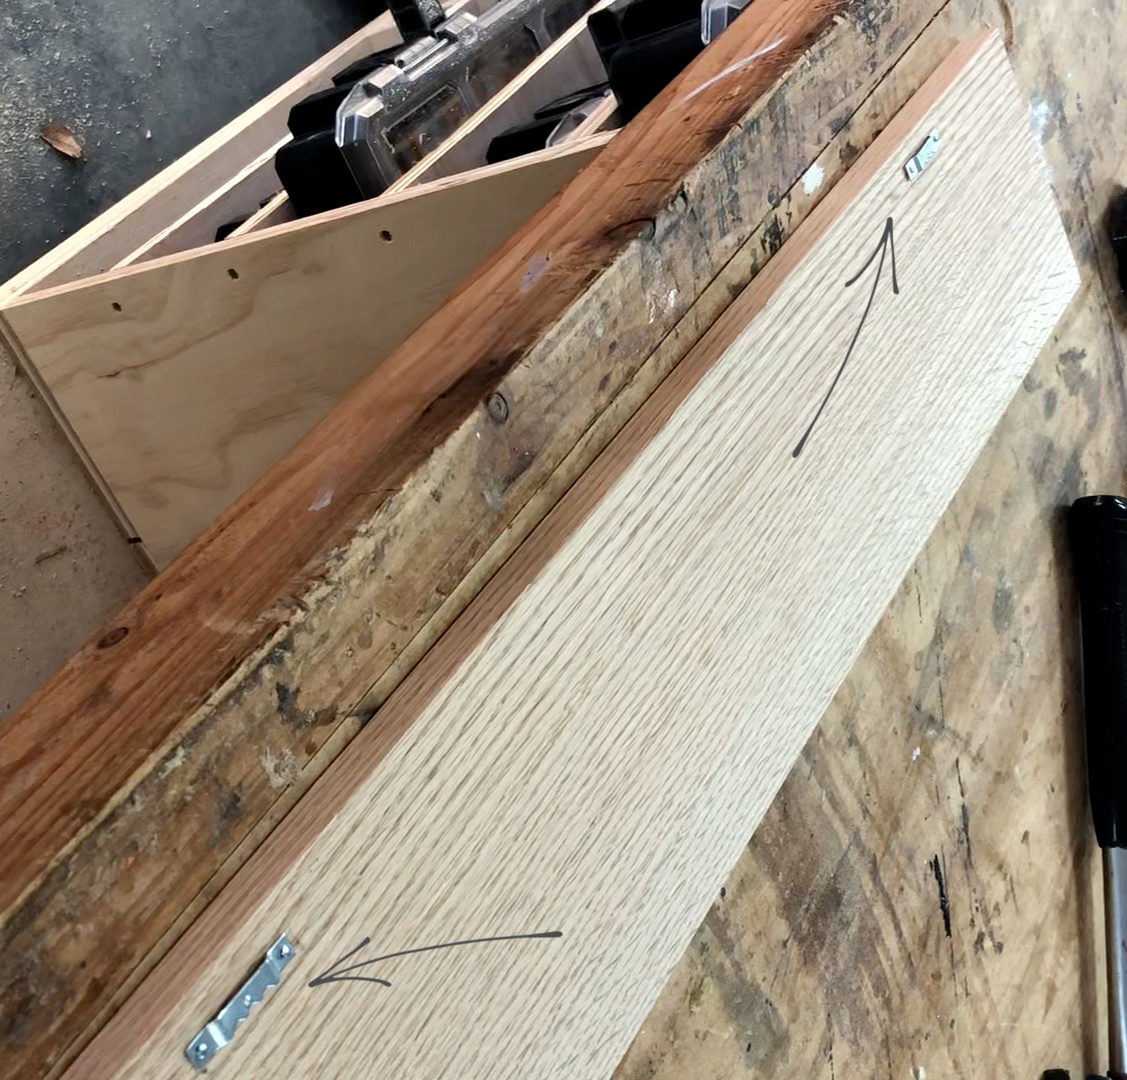
You want to space these out so that you’ll be able to hang them in the wall studs. You may want to check your stud distance of where you want to hang this and space them out accordingly. See step 5.
Step 4: Glue Pegs onto Coat Rack Board
Next, I measured and marked to evenly space out the pegs on my board.
.
A simple formula is to take the number of pegs you cut PLUS ONE, and divide the length of the back board by this number. So in my case, my board was 30″ long, and I had 4 pegs. So 30 divided by 5 is 6″.
.
So I made a mark on my board every 6″ about 2″ up from the bottom edge.
.
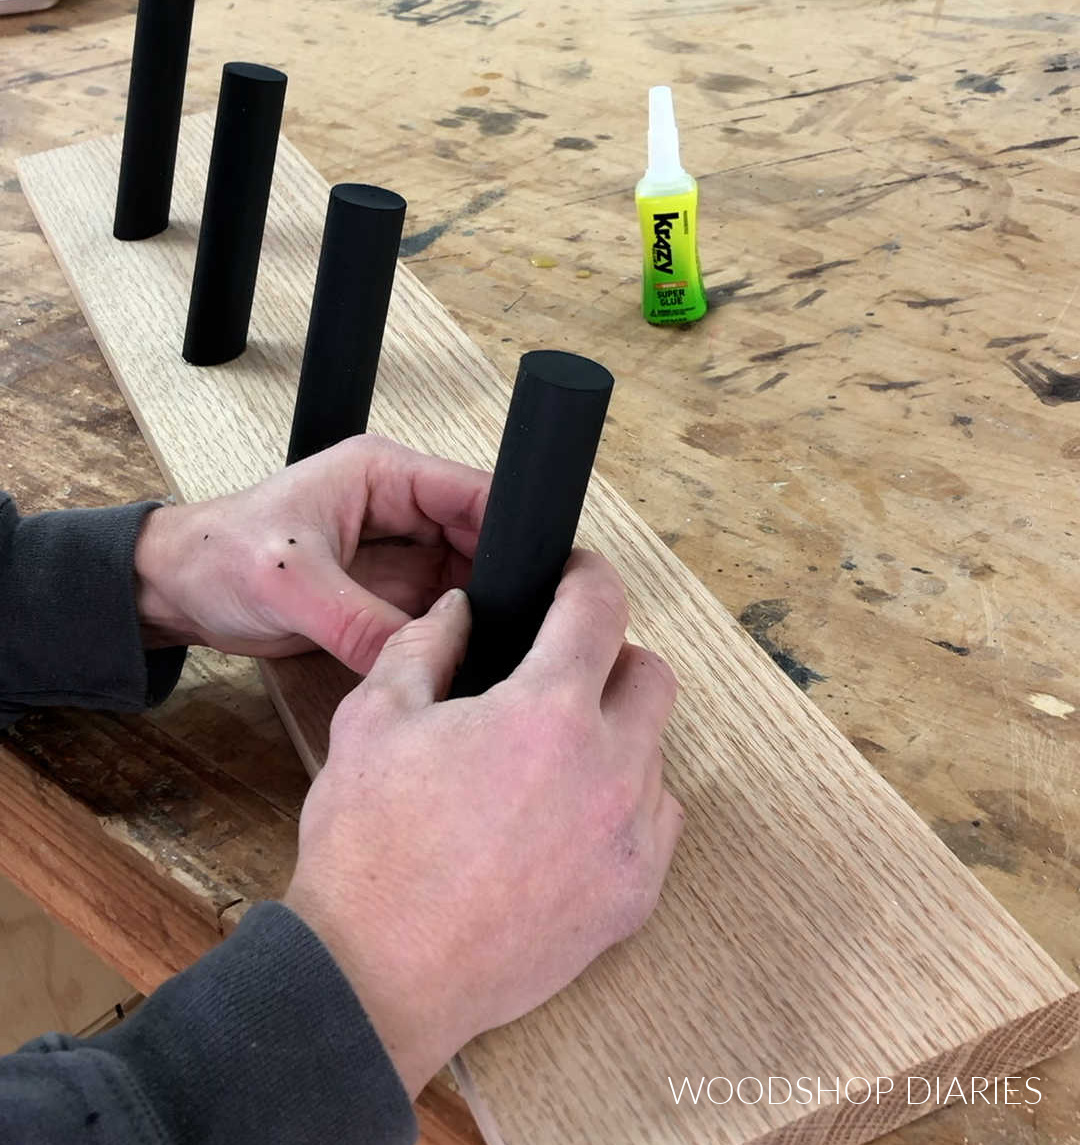
I used Krazy Glue Wood Glue on the end of each peg and centered them on these marks the same distance from the bottom edge.
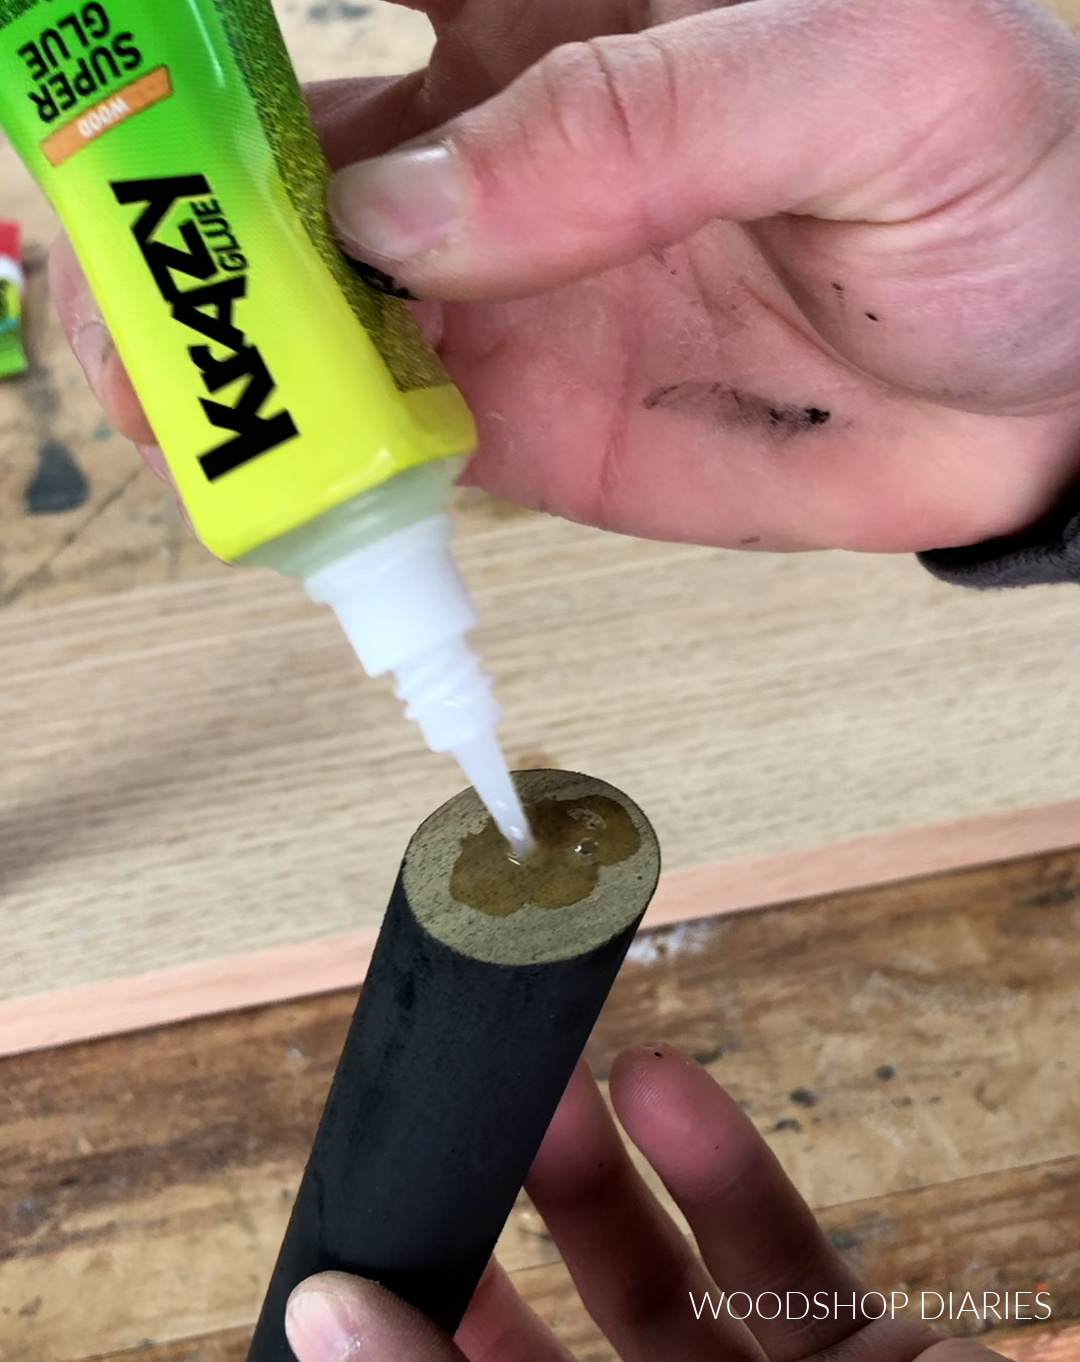
Follow the directions on the Krazy Glue package. It will dry really fast and should hold plenty strong for stockings, hats, and light weight items.
.
I didn’t add any additional support here, but if you wanted, you could also use a screw through the back of the board to help hold the dowel pegs in place if you wanted a little extra security.
Step 5: Hang Up Rack!
Use a level and a stud finder to add a couple nails into the studs to hang the rack level.
.
You can also use screws, but I prefer using a couple roofing nails. Then, slide the sawtooth hangers over the nail heads and deck the halls!
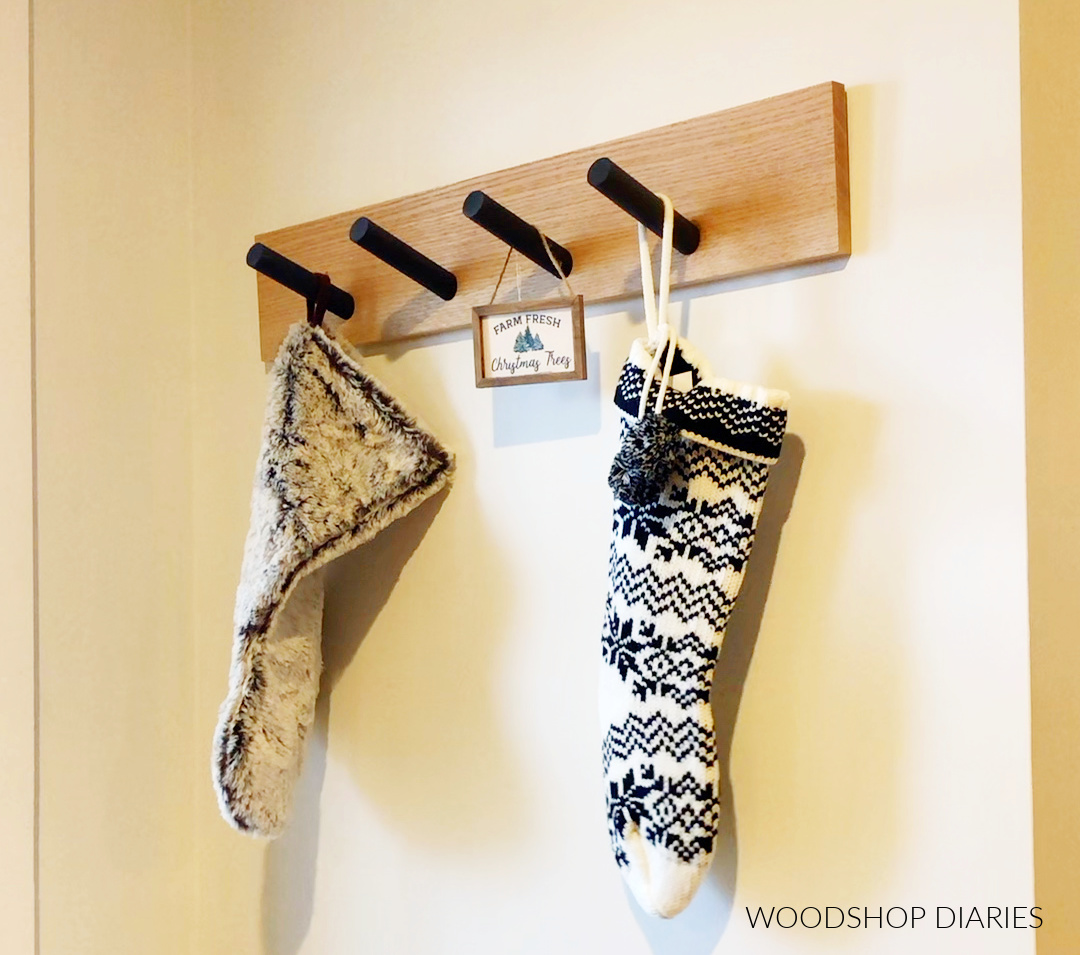
Or hang up your hats, coats, whatever else you need to hang up 🙂
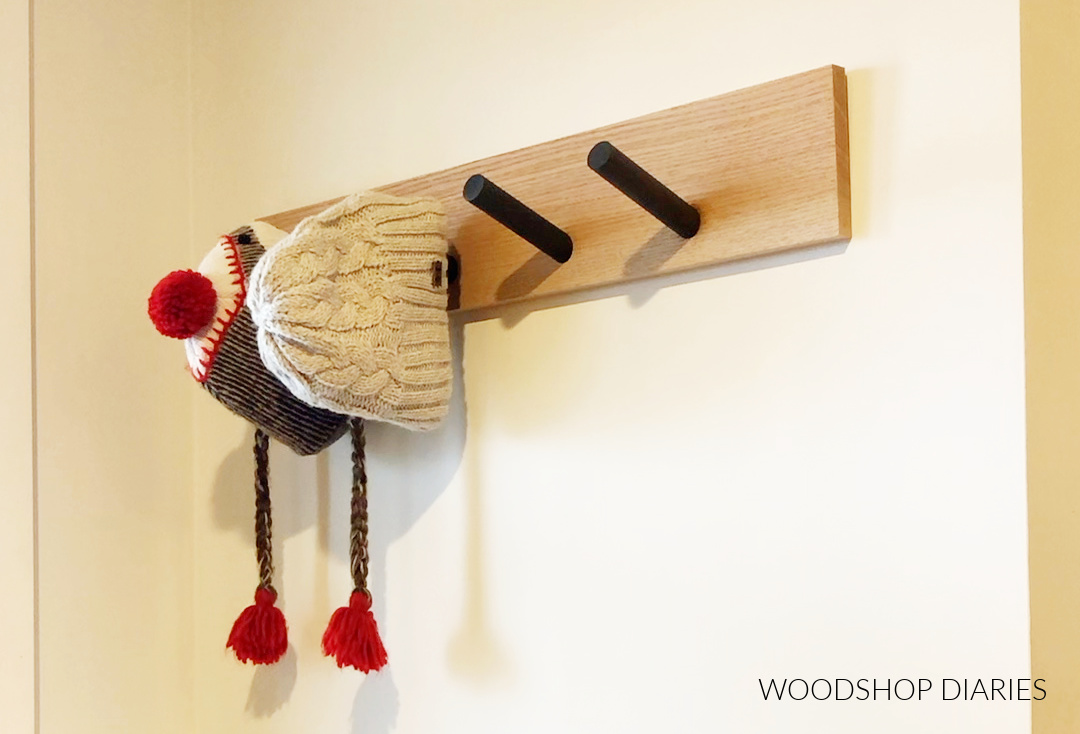
This really is the easiest DIY stocking hanger rack, hat, coat hanger ever! I really hope you enjoyed that quick and simple project and if you want to check out more winter/Christmas projects, here are a few favorites!
.
And if you want more where that came from, be sure to subscribe to my newsletter to be the first to know about new projects, tips, and latest happenings at Woodshop Diaries here:
Don’t forget to pin this for later!
Until next time, friends, happy building! 🙂