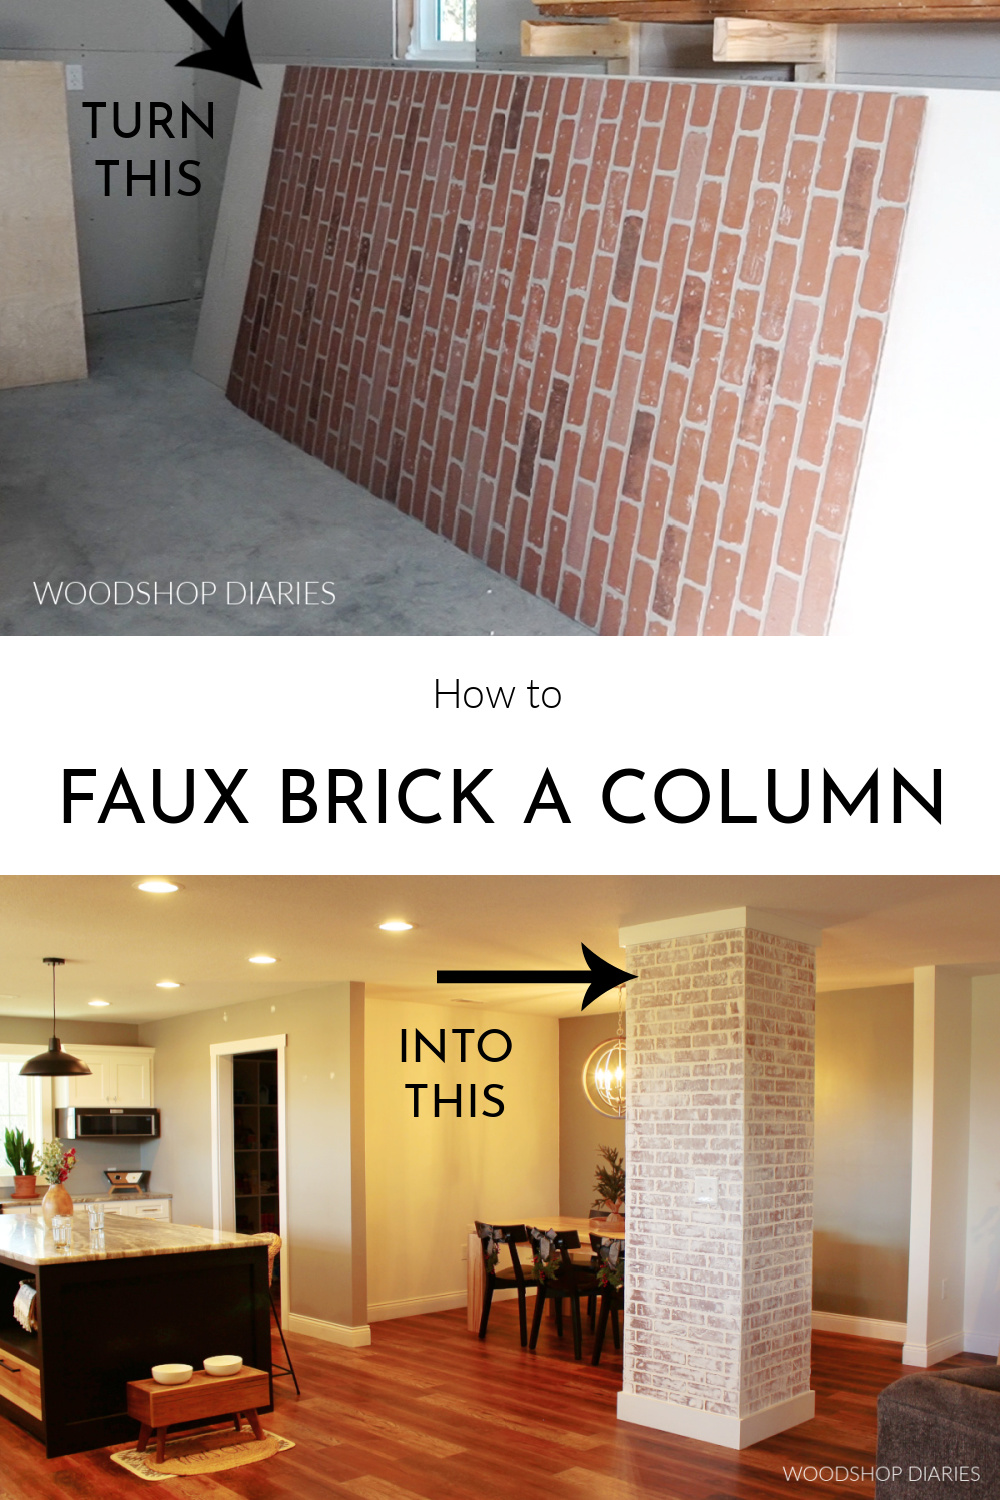
In this post, I’m sharing how I installed a DIY faux brick column to the room divider in between our kitchen, living, and dining rooms to give it some extra character.
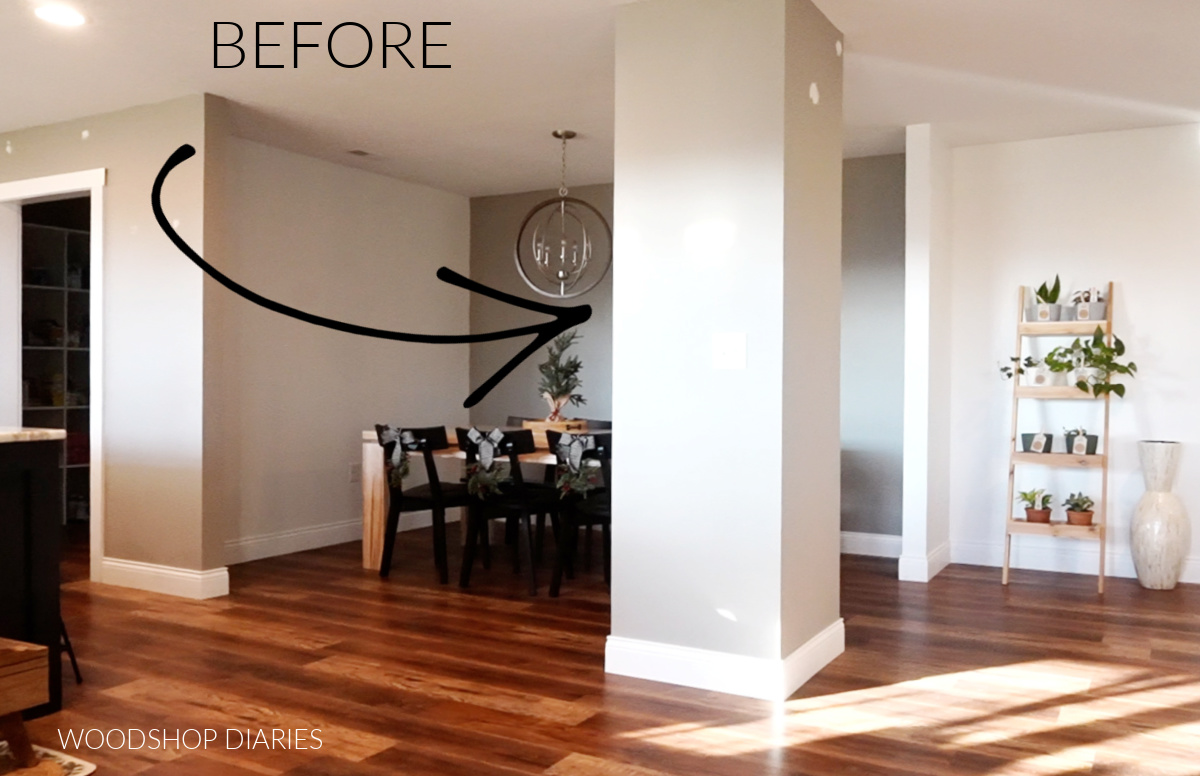
We recently moved into a new house and because…I am the way that I am…I came in and immediately started seeing things I wanted to change.
.
Since this weird room divider column was right in the middle of our most used spaces of the house, this was on the top of my list.
.
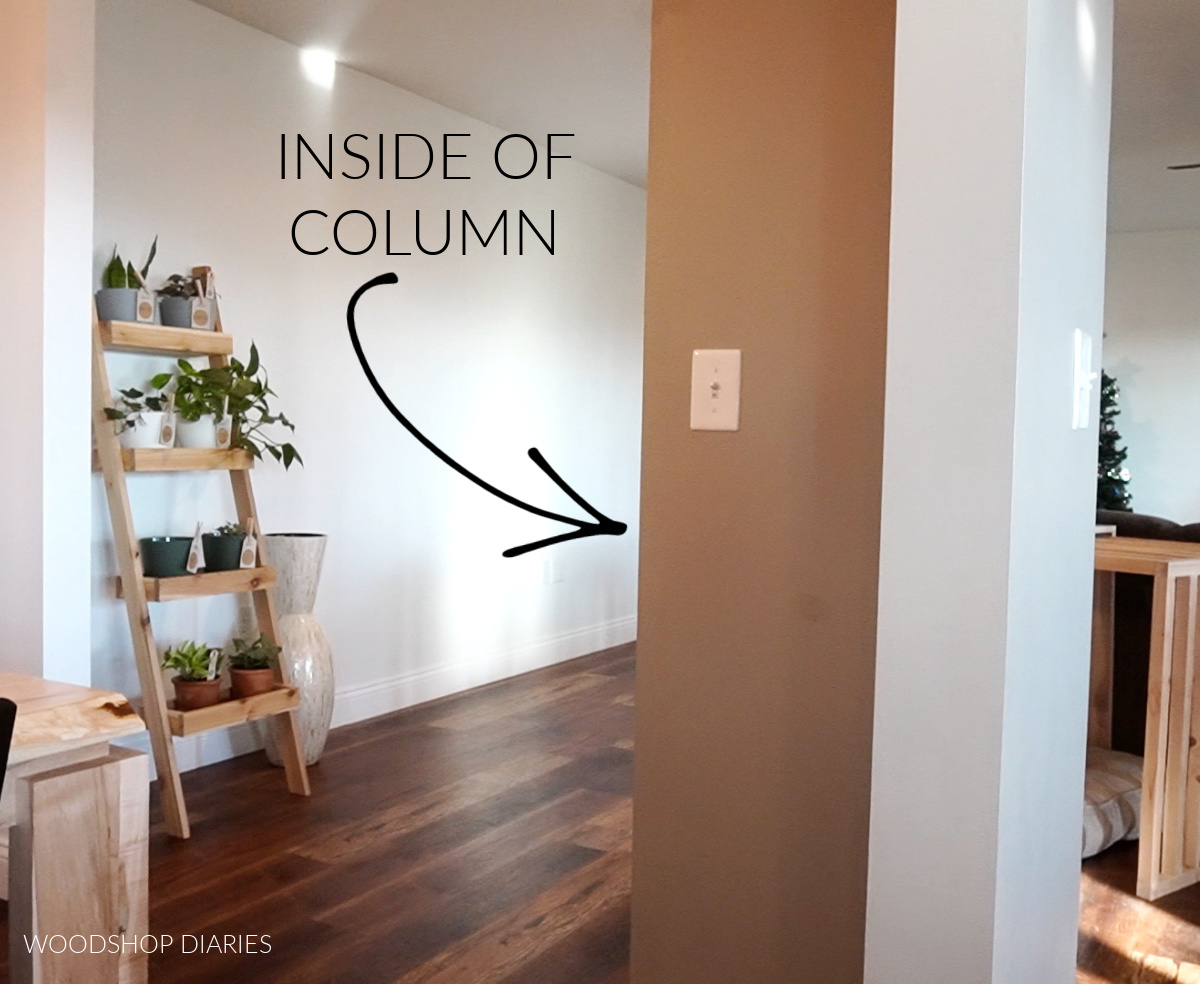
It’s not structural, so I’m not really sure why they put this here except that maybe it was to act as a divider between the rooms…and they needed somewhere for a few light switches.
.
Speaking of light switches, that’s the only reason why we decided to just keep it vs removing it. Moving the light switches was more hassle than we felt it was worth. So we are just keeping the column and making it a feature instead of an eye sore.
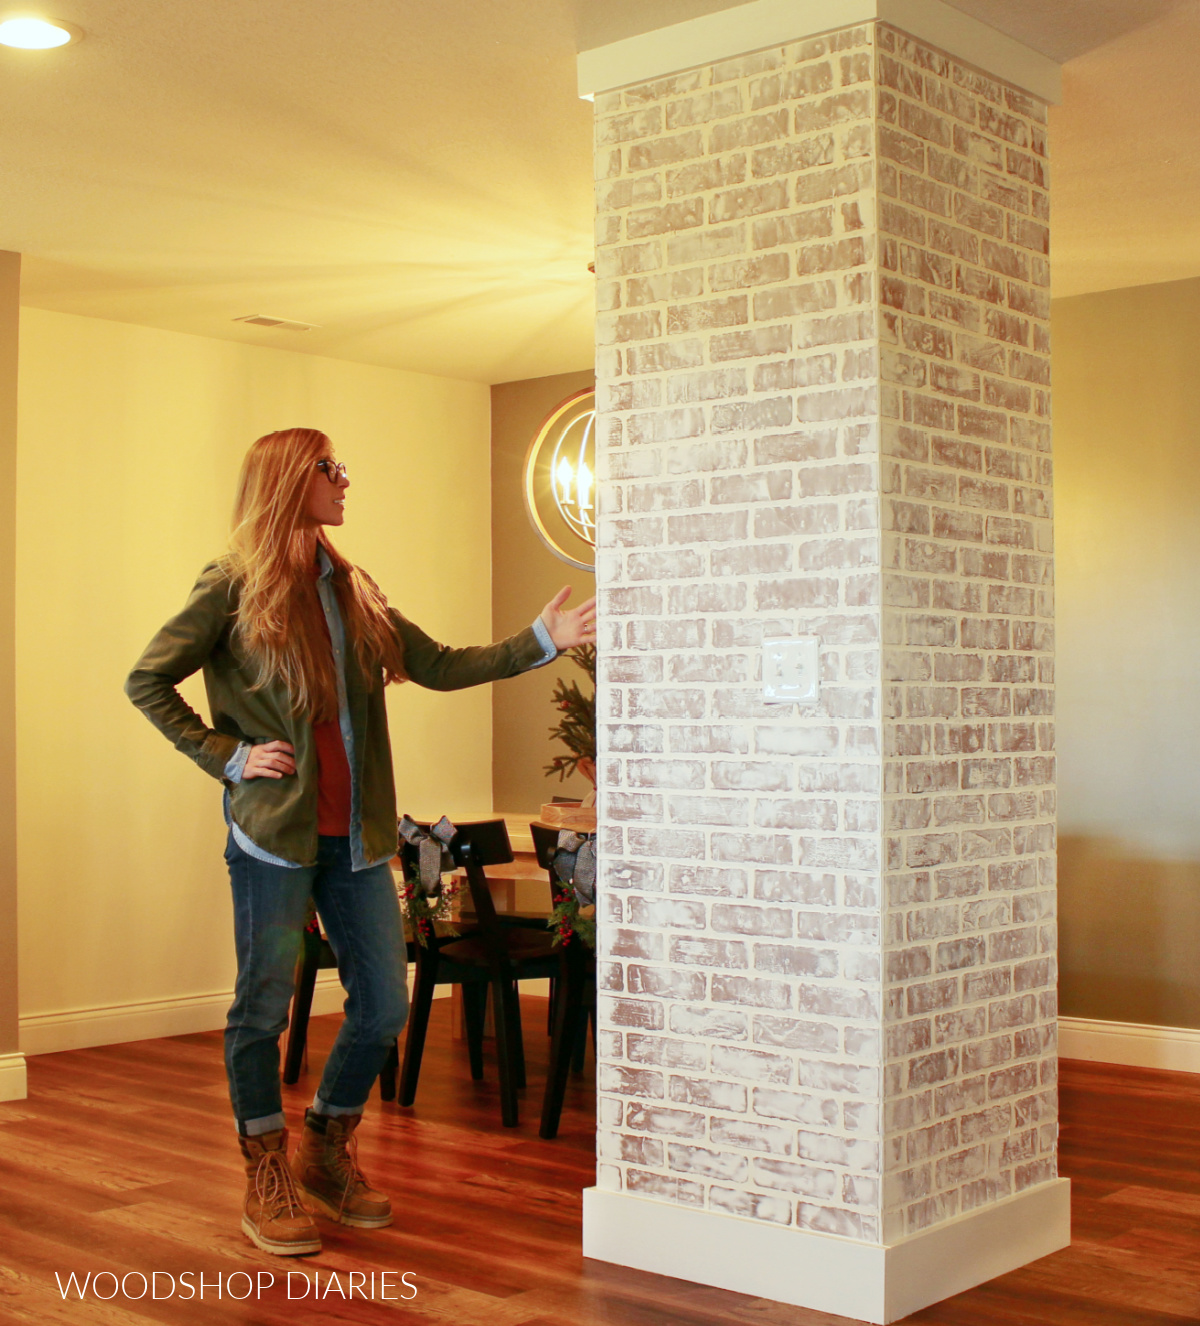
And I did that with faux brick panels. You can watch it all in the video here, or read about it in the step by step below:
*This post contains affiliate links. See website policies.
Tools and Materials:
Tools:
- Circular saw (cutting guides optional–can use a straight edge instead)
- Jig saw
- Drill
- Brad Nailer
- Stud finder
- Measuring tape
Materials:
- Faux Brick paneling
- Drywall mud or spackling (optional)
- Putty knife
- 1×6 for baseboard trim
- 1×4 for trim at top
- Construction adhesive
Some notes about the project:
Faux Brick Panels:
For this project, I used 3 sheets of this faux brick paneling from the Home Depot. If you haven’t ever seen or felt of this stuff before, it’s surprisingly realistic, but it’s made of like MDF and paper.
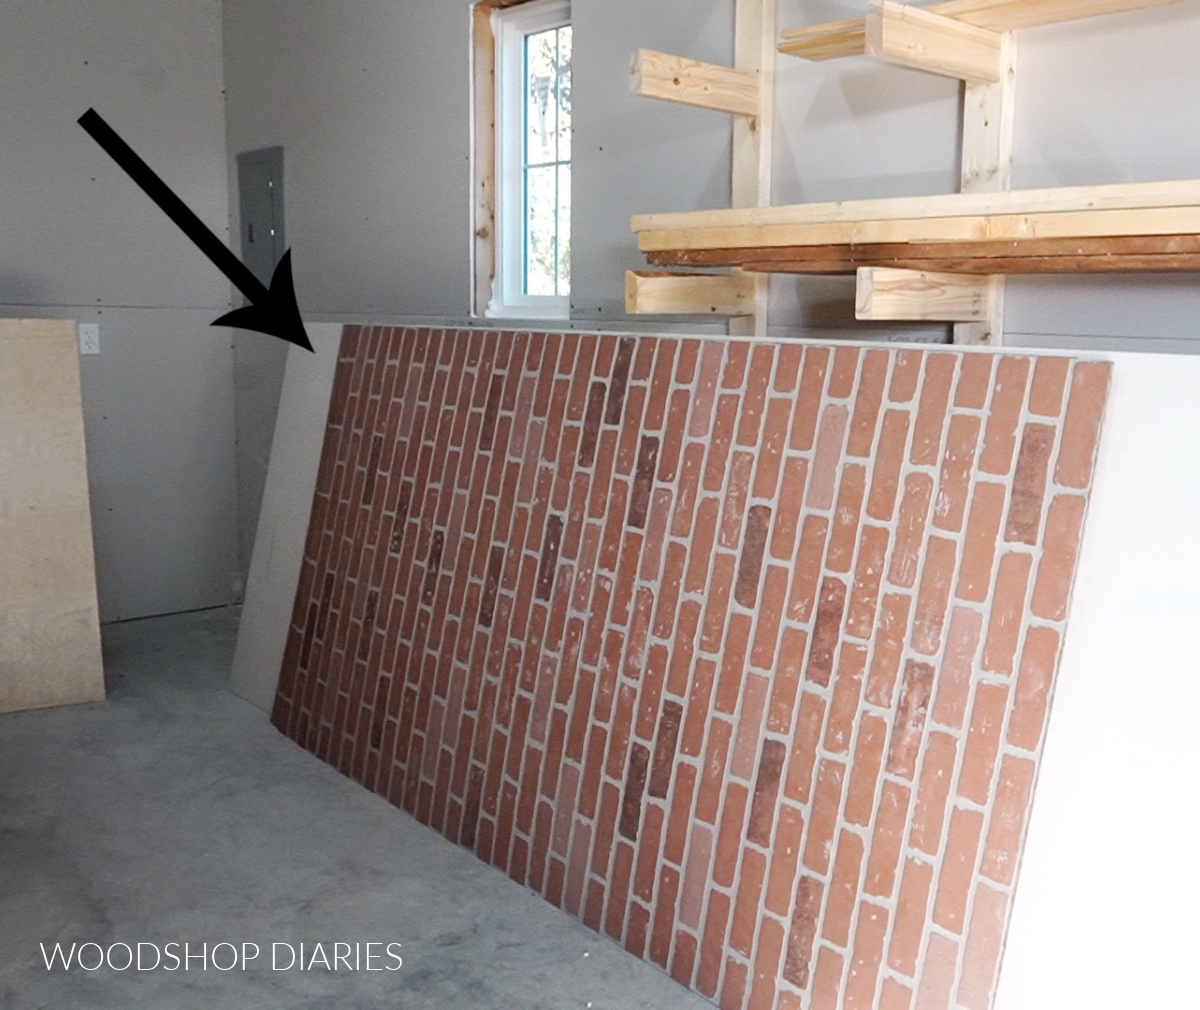
I’ve used it once before to make a fake fireplace that turned really good, so I figured I’d try it again here.
.
It’s cheaper than faux brick tiles, a lot easier to install, and a lot easier to remove later if I change my mind.
To Glue or Not to Glue??
The instructions for this faux brick paneling state to use construction adhesive to attach them to the wall. However, I’m incredibly indecisive and I didn’t want anything permanent here just in case I change my mind and decide to do something different.
.
So, I simply used brad nails to attach the panels. It seems to hold fine and will be easy to just pop off the wall later and fill a few nail holes if I decide to change it up.
.
But if you want a stronger hold or don’t plan to remove this anytime soon, I’d use some adhesive.
Light Switches and Outlets:
I cut out holes for the outlets and light switches using a jig saw. But adding this paneling adds another ¼″ or so to the depth of the wall so the switches and outlets need to be brought out to match.
.
There are a couple options with that. They make extenders you can add to your existing boxes to kind of push the switches out after adding the faux brick panel—it’s what many people use after installing backsplashes or tiles.
.
OR you can loosen the switches (after you turn off the breakers of course!!), cut your hole a little tight, slide the panel behind them, then tighten them back up so they’re on the outside of the panel.
.
There are other options, too, but those are probably the easiest. I’m not in a position to give you electrical advice, so you do what you feel most comfortable doing.
The German Schmear Look:
The schmear look is completely optional. You can leave the panels as is, use a whitewash technique, or paint them however you want.
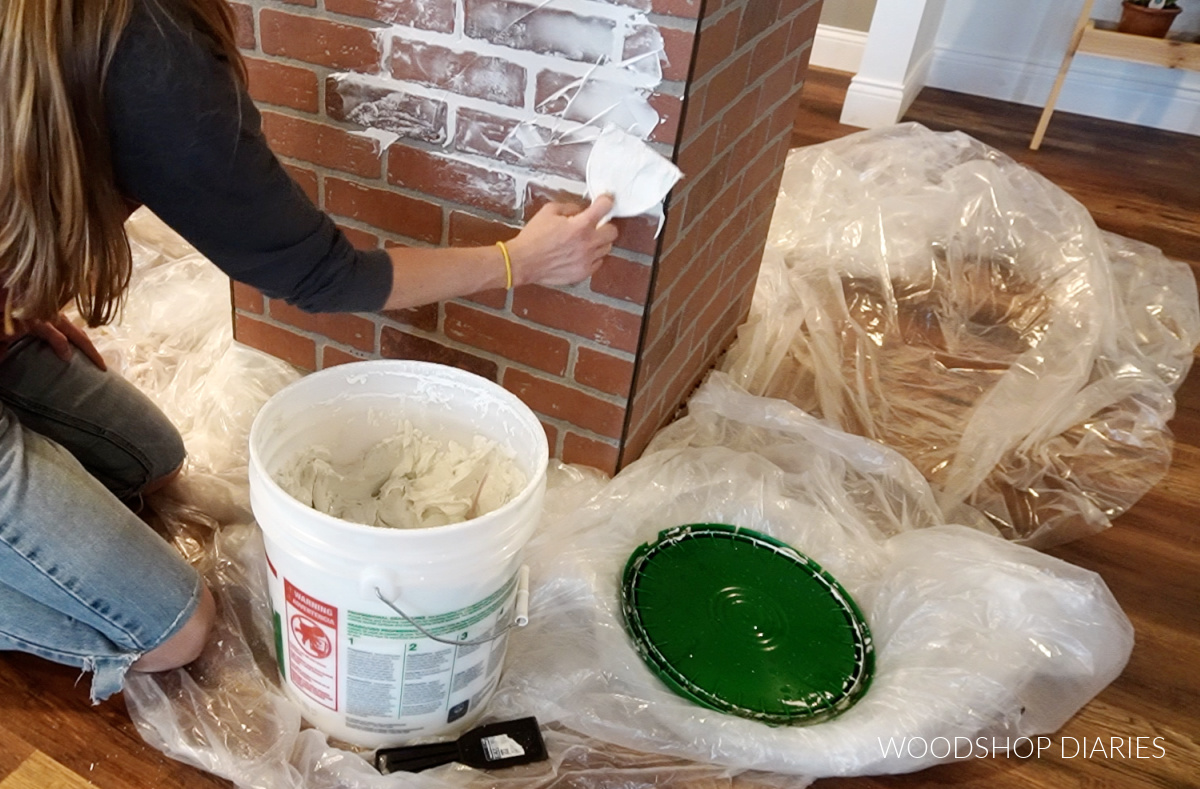
I used drywall mud to smear all over the bricks. This really looks realistic and adds a neat texture. But it’s kind of messy.
.
So, feel free to get creative and do what you want here.
Step 1: Remove Existing Trim on Column
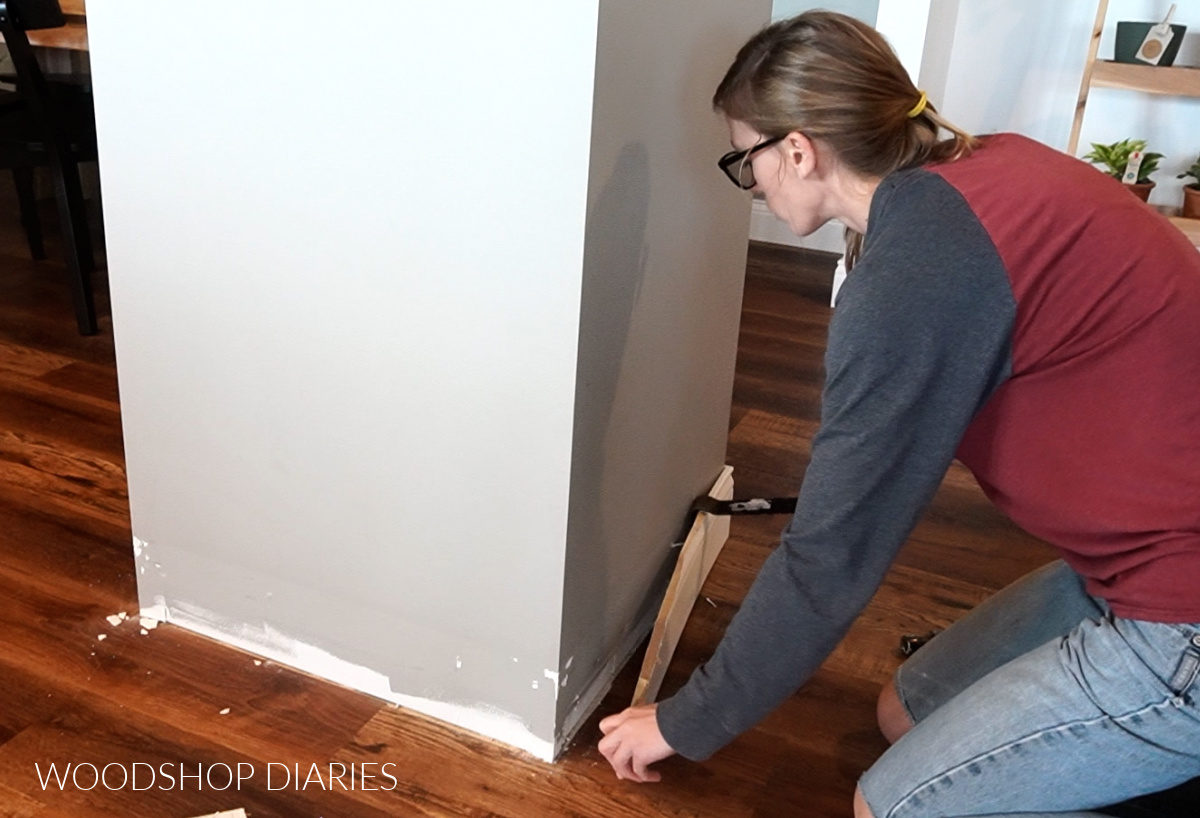
Before I cut or installed anything, I first removed the baseboard trim around the bottom of the column. I’ll replace this later.
Step 2: Measure and Cut First Faux Brick Panel
Once the trim was removed, I measured all sides of the column. It’s kind of an odd L shape and not just a big square. So I wanted to measure all sides to lay out my cuts.
.
I decided to start on the inside smaller pieces, first.
I explain and show this in the video above, but basically, I laid out my cuts so that any “partial bricks” I cut were equal length on the right and the left of the panel.
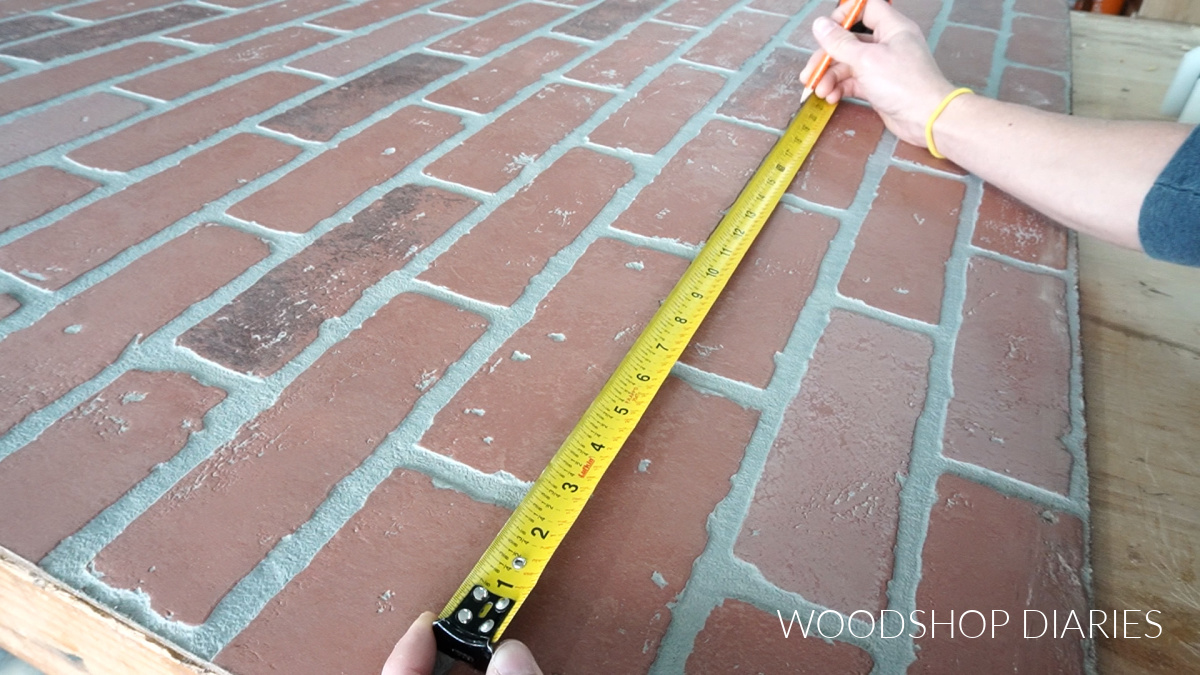
So, I actually cut a wider piece than I needed first, then trimmed it down so the brick pattern was centered.
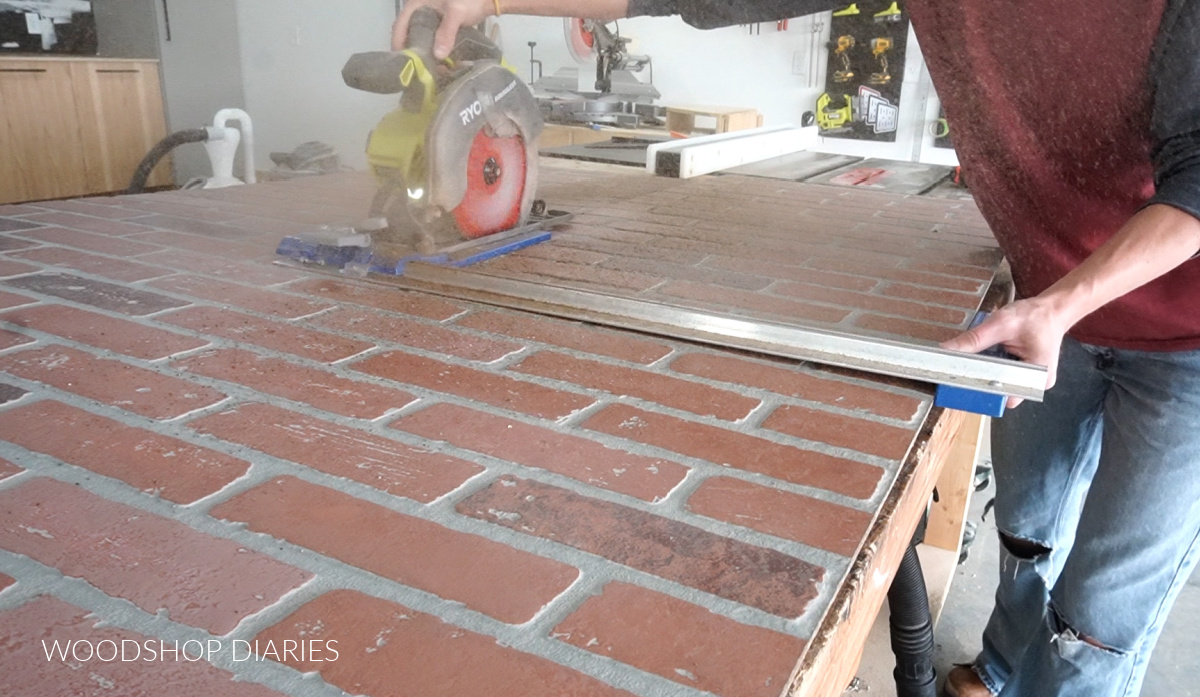
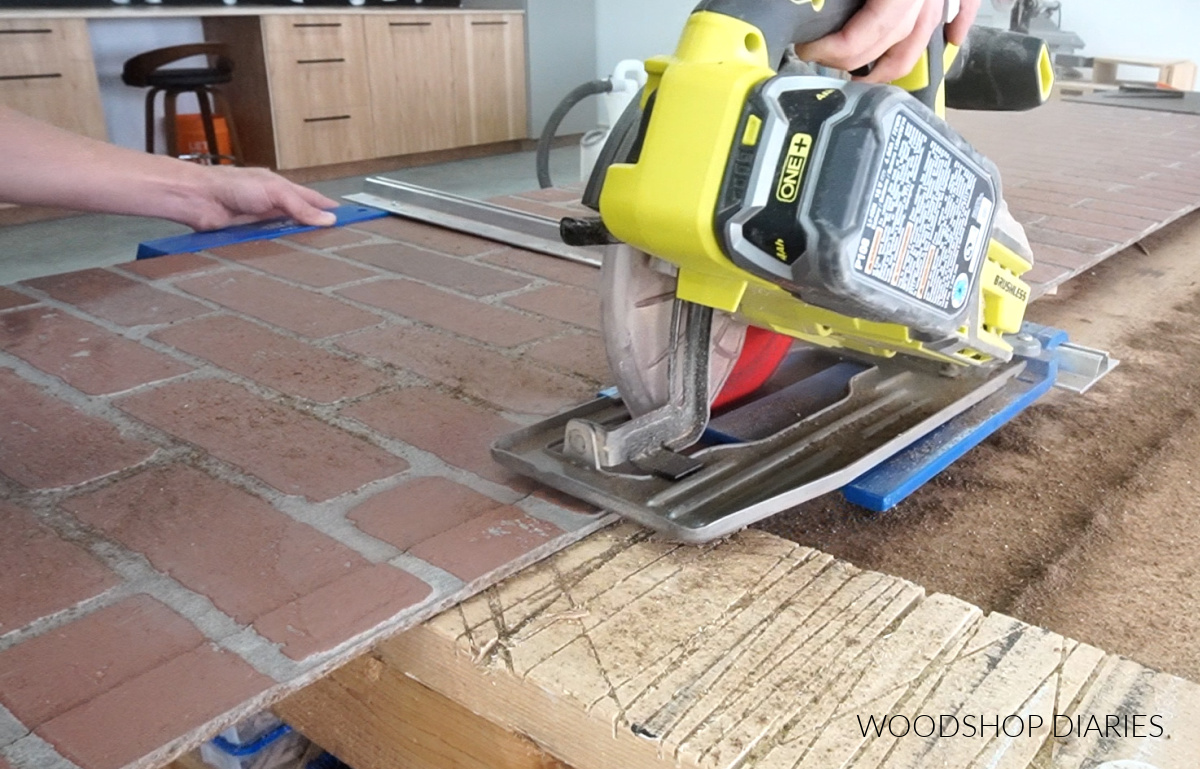
This isn’t really NECESSARY, it just helps it look a little more realistic.
.
For the inside of the column, the two walls were the same width, so I used my circular saw and Kreg rip cut to rip two equal strips with the brick pattern centered.
RELATED: How to Use a Kreg Rip Cut
.
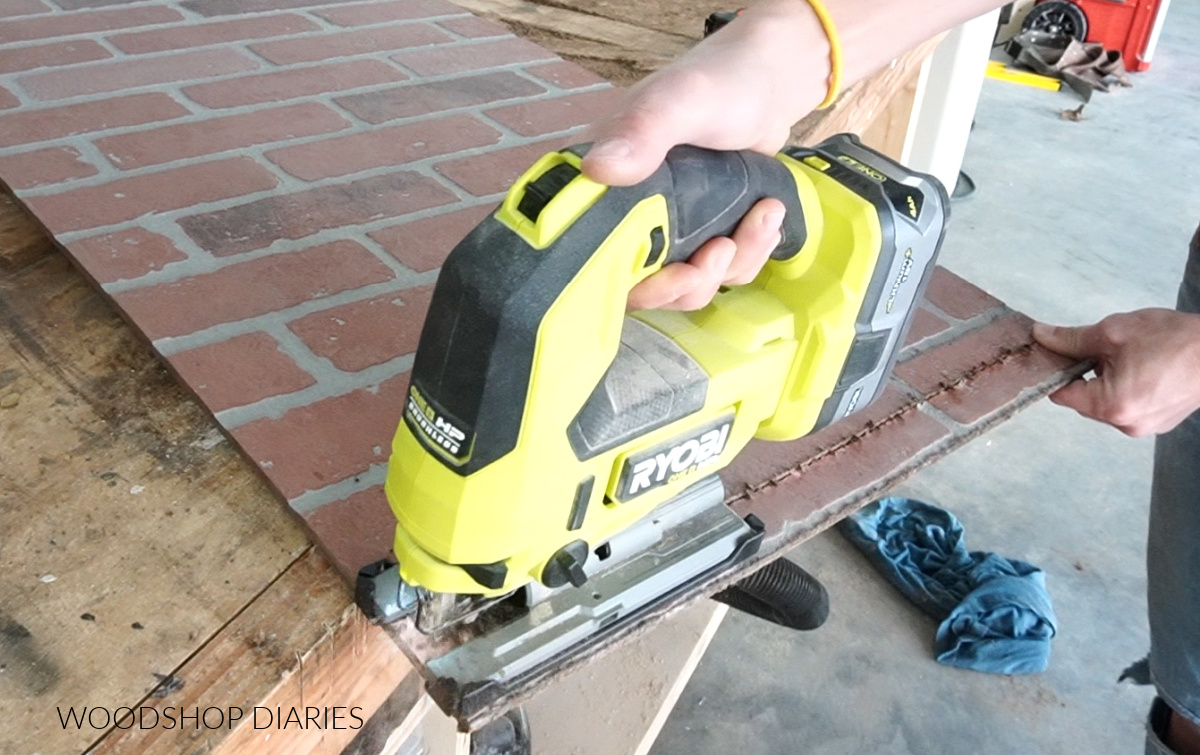
These brick panels were about 96 ¼″ long. But the measurement from my floor to ceiling was right at 96″. So I used a jig saw to trim off about half a brick on the bottom end of each panel. I’m going to cover this with trim later, so it didn’t need to be perfect.
Step 3: Install Inside Faux Brick Panels
With my first pieces cut, I headed inside and just used a brad nailer and some brad nails to attach it.
RELATED: What’s the difference between finish, brad, and pin nailers??
.
I butted the smooth factory edge of all these pieces to the ceiling and left the rough end I trimmed with the jig saw at the bottom.
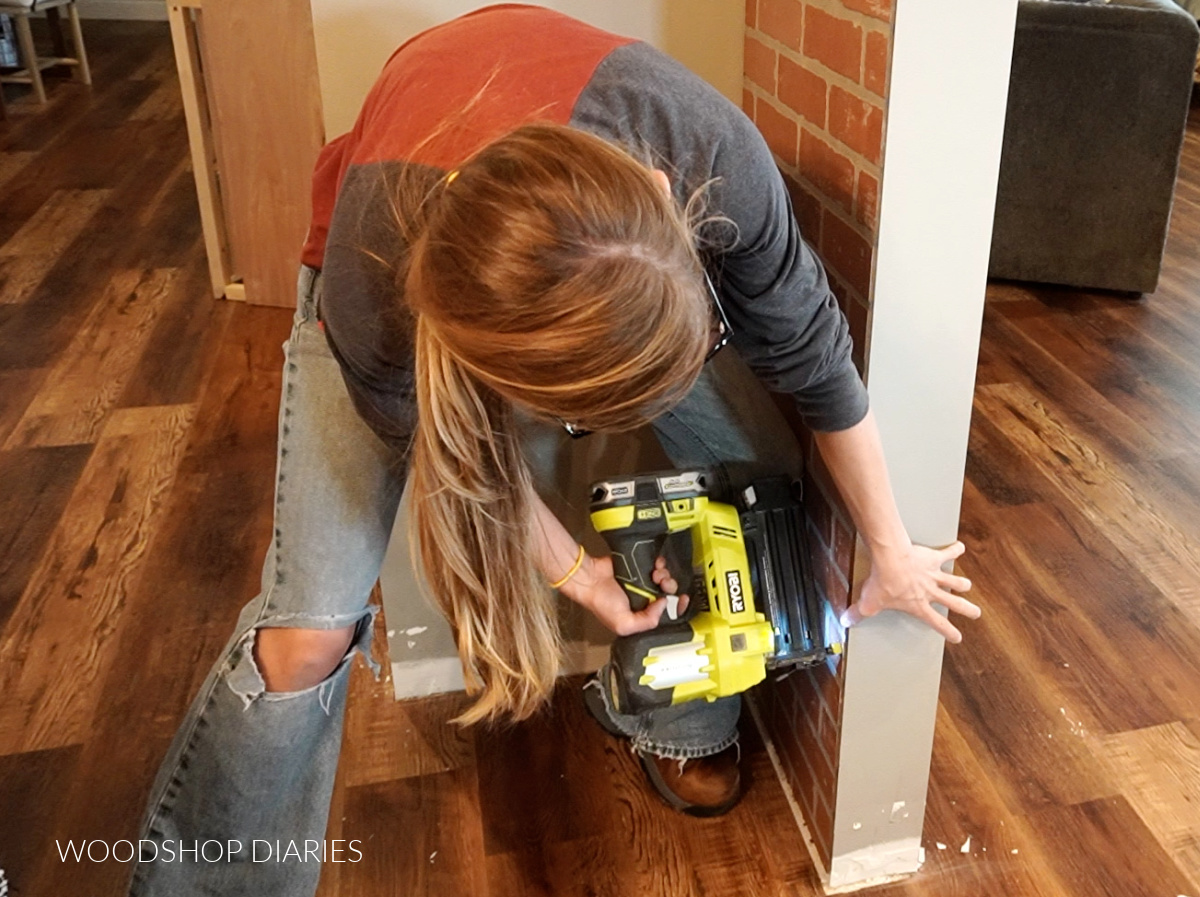
The instructions say to use a construction adhesive—and that’s probably best. But just in case I didn’t love this or I want to change it a year from now because I’m incredibly indecisive, I just kept it simple and brad nailed it into the wall studs behind the sheetrock.
.
I used a stud finder to find the stud locations to nail into. I was surprised, but it still worked through the panels. I added several nails into the edges and into the stud in the middle from the top to bottom.
.
After the first piece was in, I measured to cut out for the light switch on the other side. I just used a jig saw to cut that out then carefully nailed it in place.
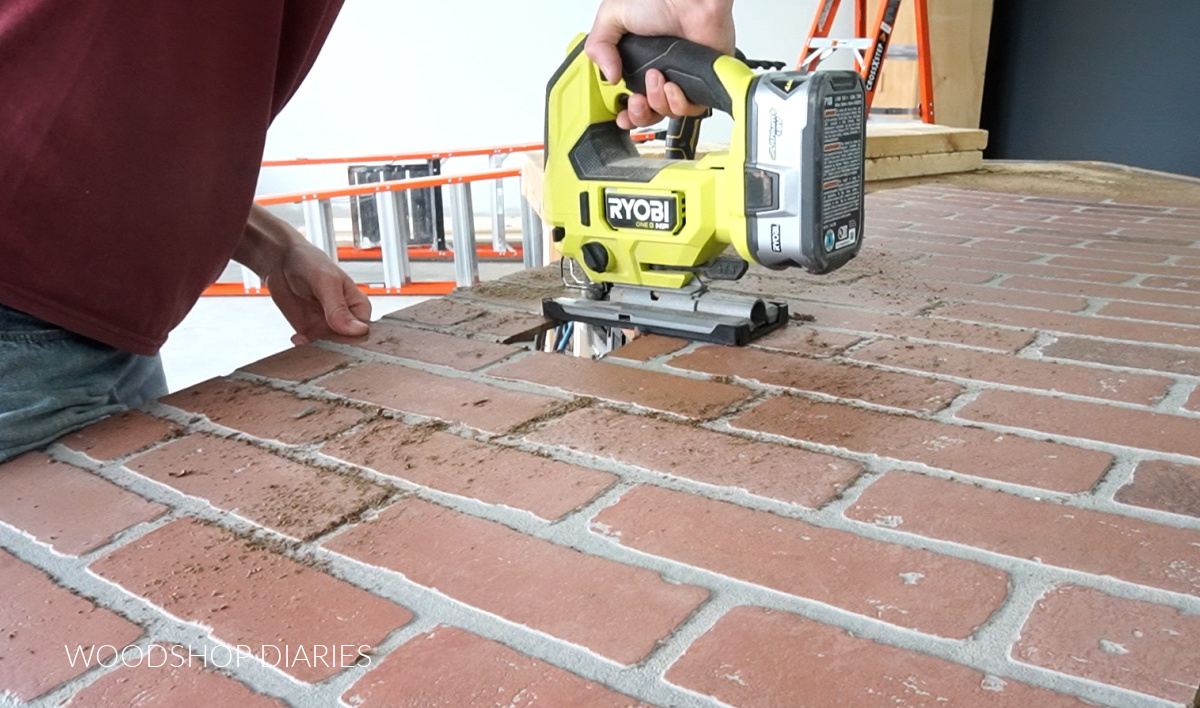
HELPFUL TIP: You can use a drill with a large bit to make a pilot hole to start your jig saw cuts in the middle of a panel.
.
Once I had both of the inside pieces attached with brad nails, I moved to the outside.
Step 4: Cut and Install Outside Faux Brick Panels on Column
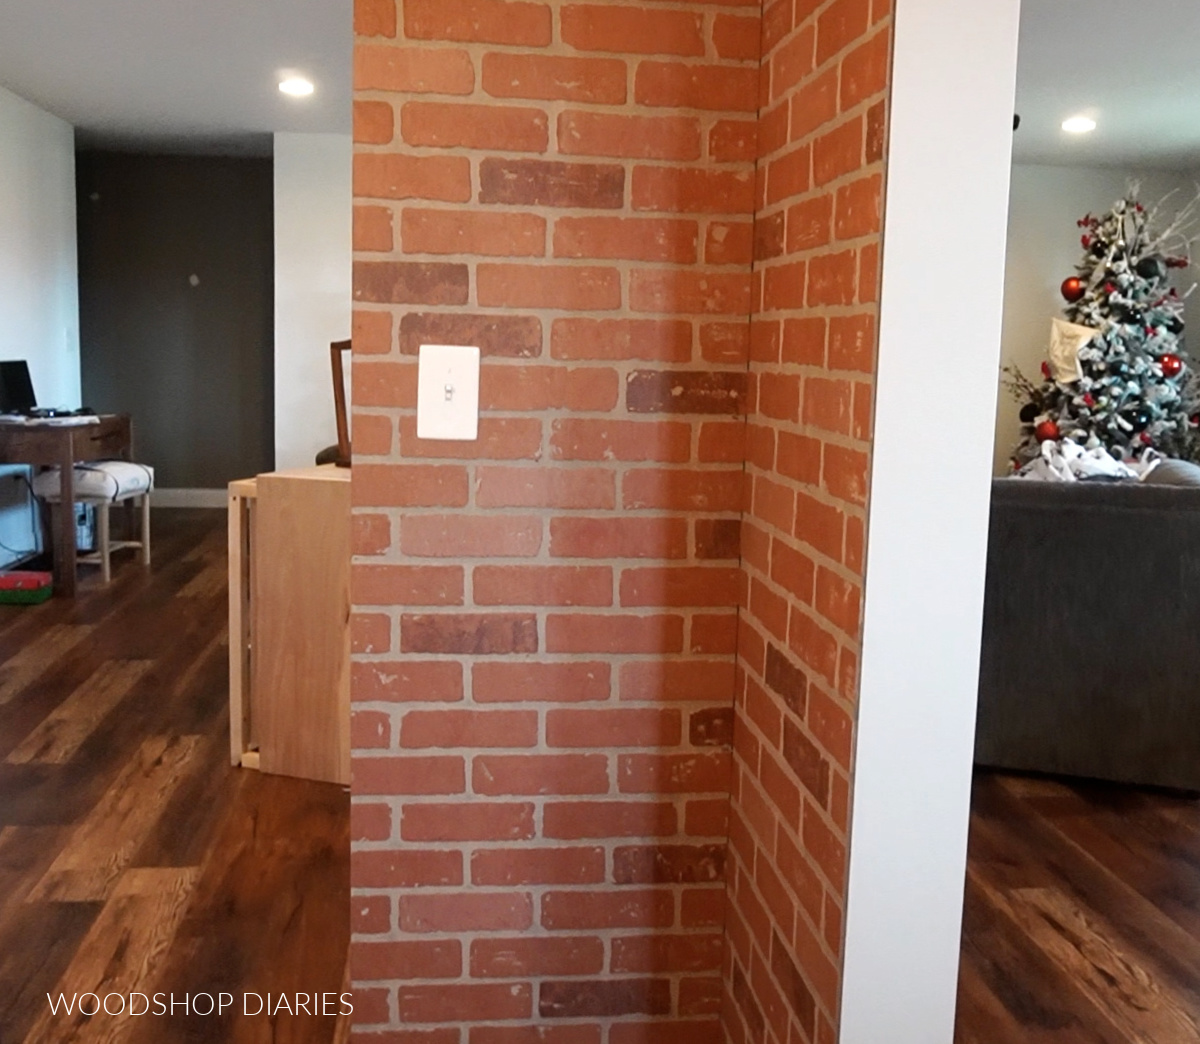
For each piece, I tried to cut so that the brick pattern was centered side to side.
.
You can use a circular saw and saw guides OR a straight edge and some clamps to cut these panels. Or if you have a table saw, you can use that as well.
.
Just like the other panels, I trimmed half a brick off the bottom for some wiggle room, then carried it back inside to check the fit.
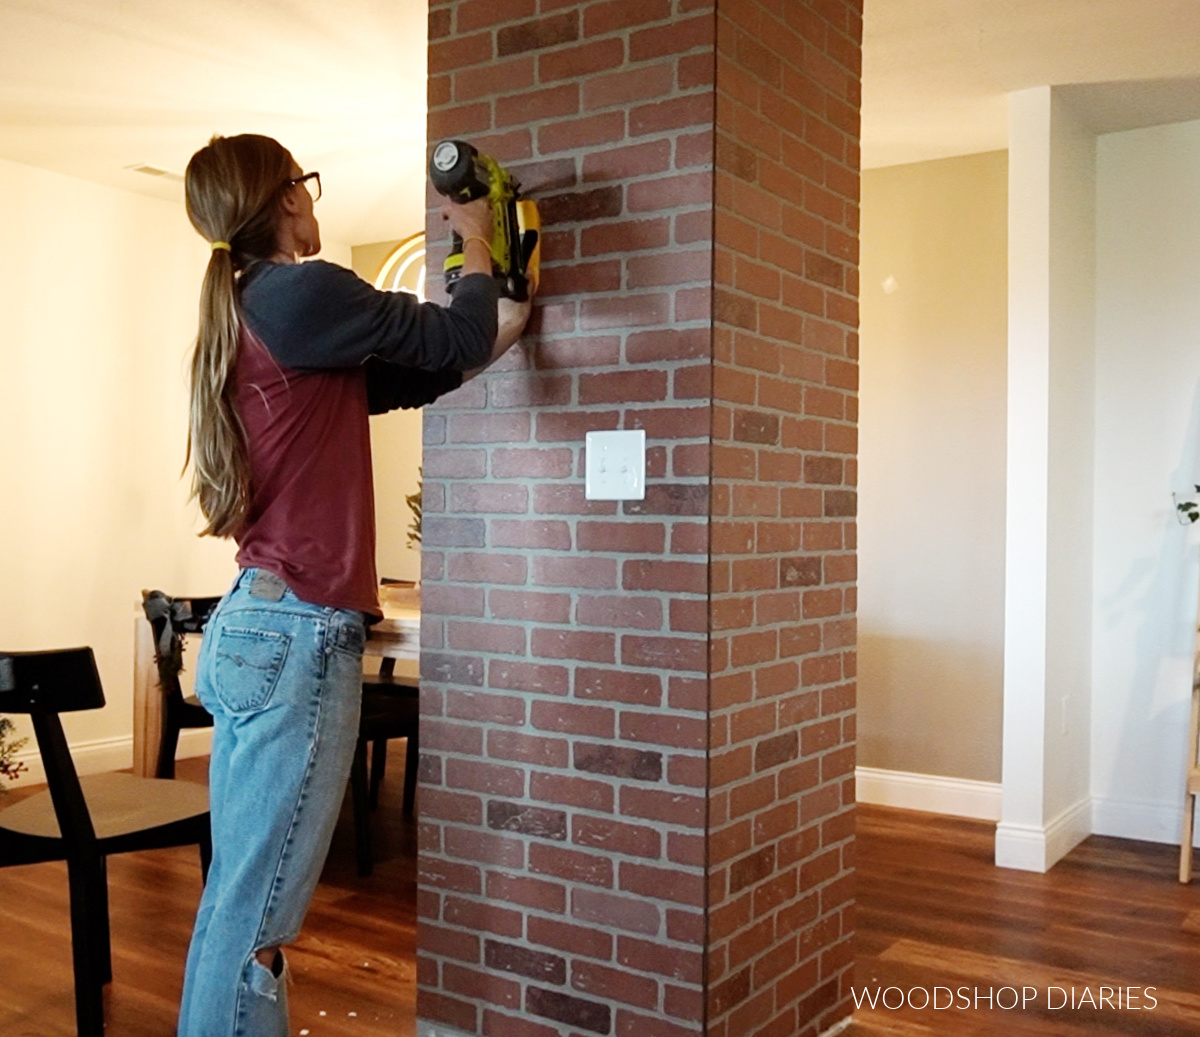
I nailed this piece in place again using several brad nails up and down the column into the studs.
.
I carefully measured and cut out around all the light switches.
Step 5: Install End Caps on Column
After the four main panels were in place, all that was left was the two narrow strips to go on the edges of the “L” shape.
.
I cut these and nailed in place.
.
You’ll notice that I tried to cut each corner so that if a row ended on a whole brick, it “wrapped around” the corner to a half brick.
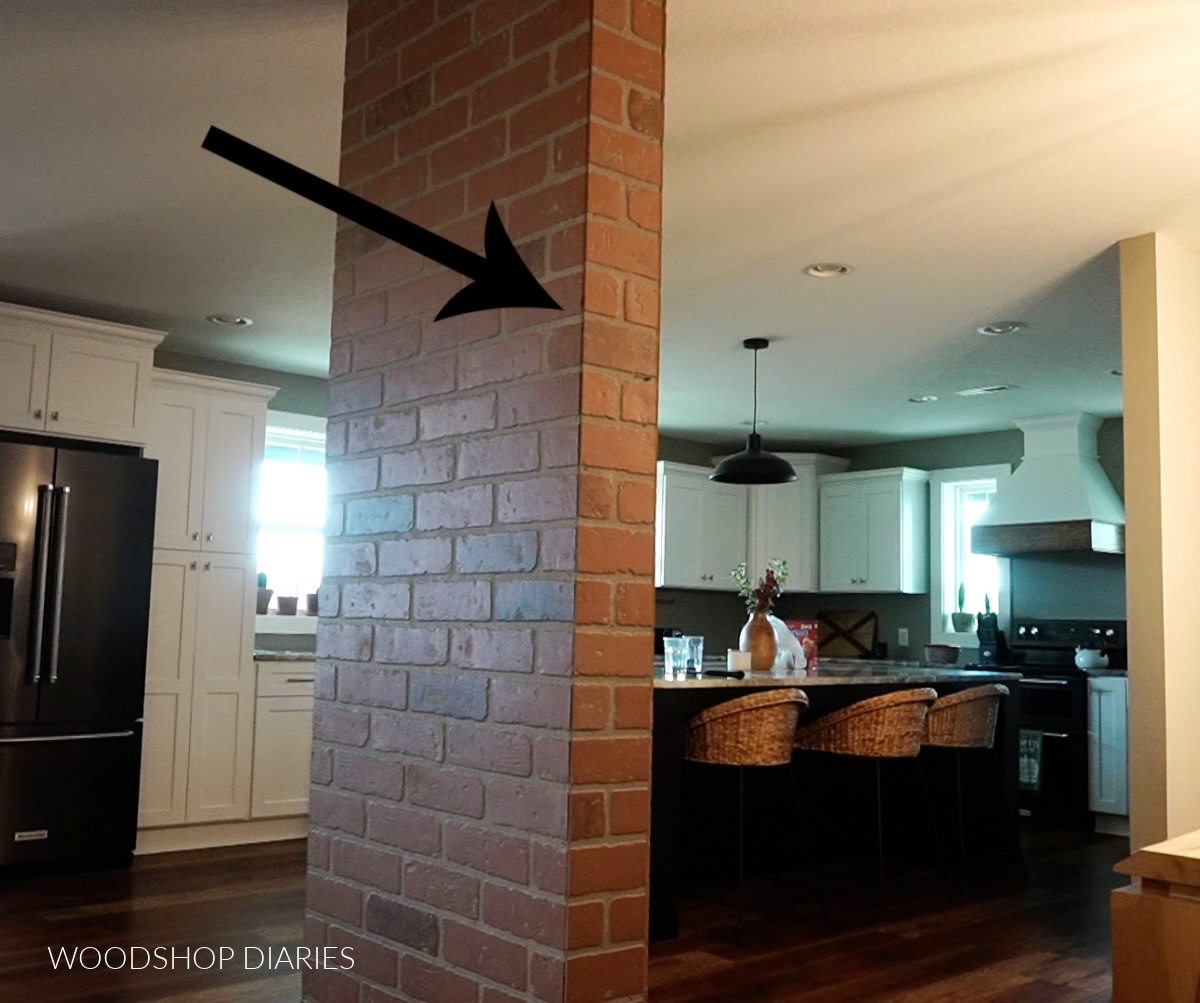
This isn’t vital, but it’s just a little detail that helps make it look a little more realistic.
Step 6: German Schmear Faux Brick Panels
I’m not a huge fan of the plain red brick, so I dressed this up a little. This also helps to kind of “finish off” these outside corners.
.
I laid out some plastic on the floor to protect it and grabbed a bucket of drywall mud I had leftover from sheetrocking the shop.
.
You can also use spackling or simply white wash it with a paint/water mix.
.
I used a plastic putty knife and just smeared mud all over the bricks.
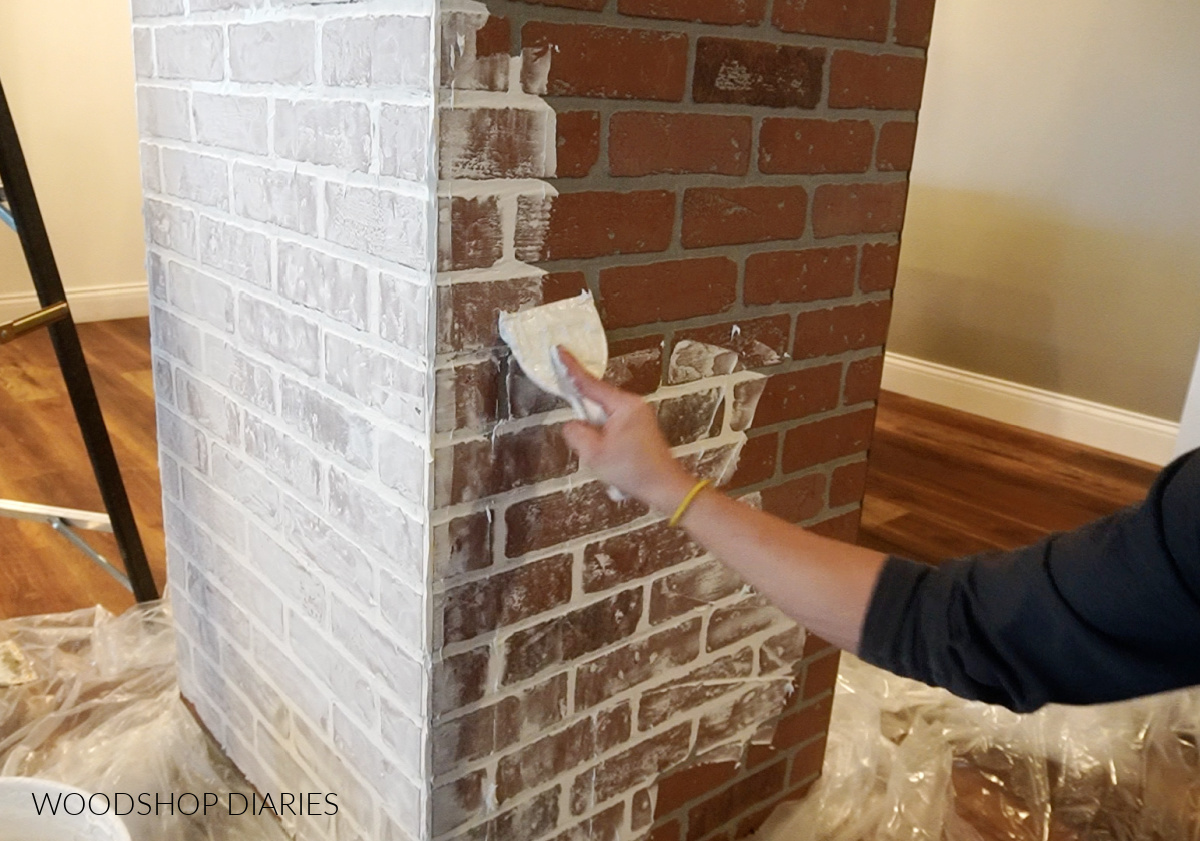
The panels already had some texture and some dimples in the brick and the mud kind of filled those in. I scraped most of it off, but the film and mud that remained gave it a nice color that’s a little more interesting than the plain panel.
.
Of course, this step is totally optional, but it is nice to use to smooth out the joints where the corners meet.
.
I covered all sides—there’s no science to this—just smear it around and scrap off the excess. And for the corners, I just filled them in and tried to kind of square them off. They’re not perfect, but bricks normally aren’t and it blends in pretty well.
.
Once everything was covered, I let it sit for two days to get dry, then I came back and just knocked off any chunks leftover with some sandpaper.
.
If you want more red to show through, you can lightly sand the surface to knock off some more of the drywall mud. Just don’t sand too much or you’ll sand through the paper on the brick panel.
Step 7: Trim Out Divider Column
To finish this project, I just cut to fit some trim pieces for the top and bottom.
.
I just nailed 1x6s around the bottom as a baseboard and 1x4s around the top for trim.
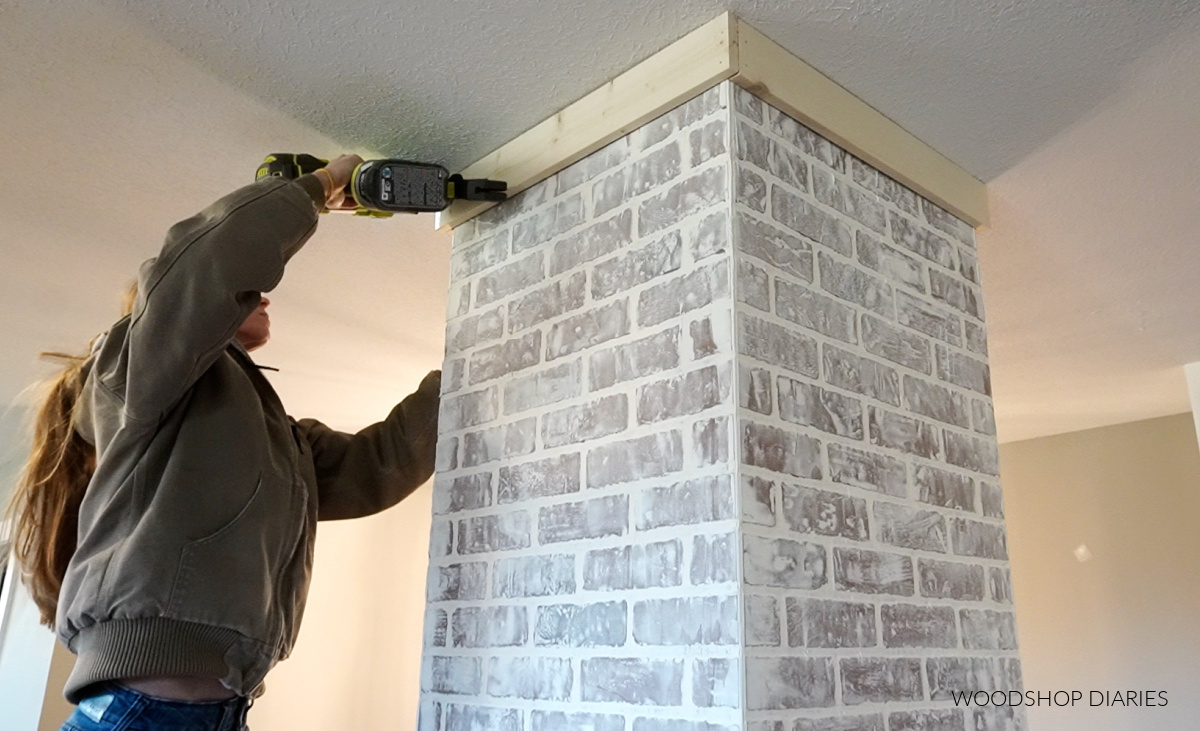
In hindsight, it might have also been cool to cut apart some of the leftover brick and line the top with them running vertically. Or since the panel was butted to the ceiling, I could have just left that as is.
.
But, I just kept things simple by trimming it out the top with 1x4s.
.
I puttied, caulked and painted the trim around the brick and it was finished!
.
I know this isn’t like a major update, but this is really neat to see as you walk in the front door, and it really adds some old world character to our kind of “basic” new home.
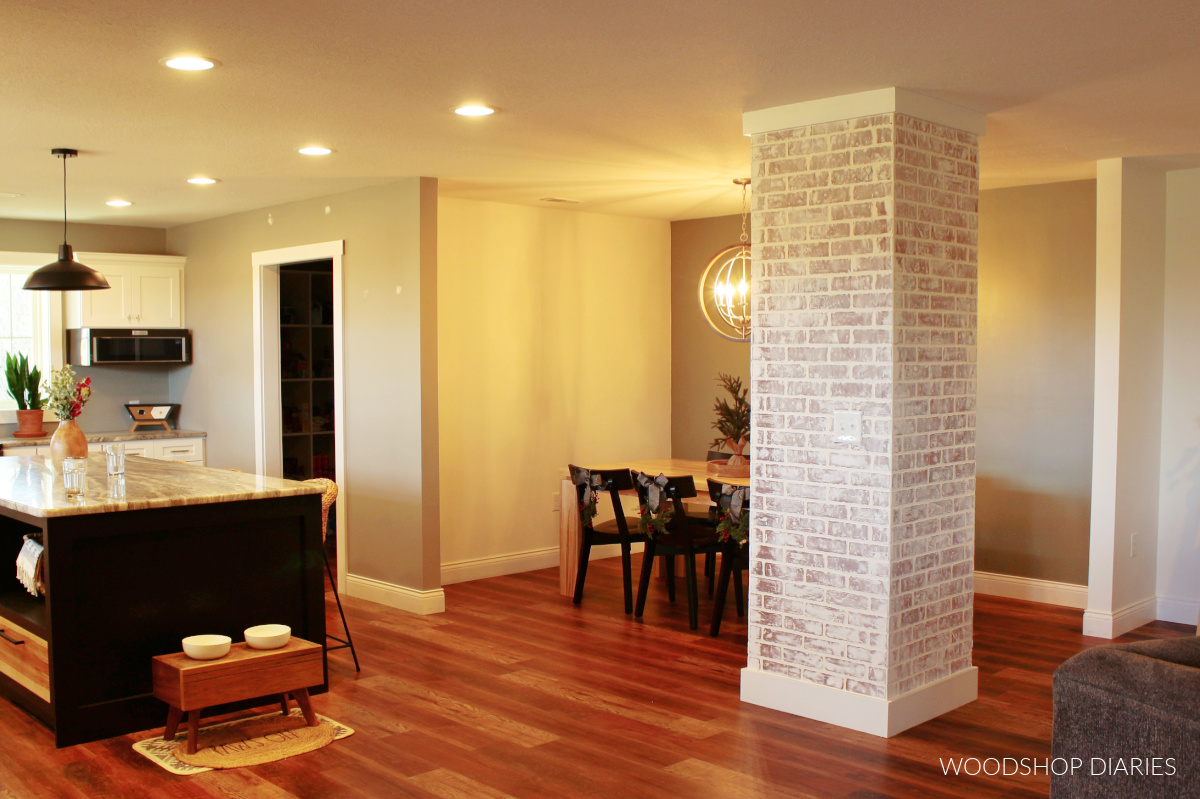
The color ties in nicely with the green accent wall in the dining room and it adds some interesting texture to the space.
.
And although it’s not actually structural, now that it’s “brick,” it looks like maybe it is and it’s serving an important purpose haha.
.
I hope you enjoyed this project and it gives you some inspiration for your own projects!
If you want to follow along and stay up to date on all the latest projects and happenings, don’t forget to subscribe to the newsletter below!
Until next time, friends, happy building! 😊


