
Today, I’m taking you on a trip down memory lane. Well, not really. Today, I’m showing you how to make a super easy DIY spring wreath. But wreath making was where it all started. So it’s kind of like memory lane.
.
Years ago, my sister helped me make a Christmas wreath…my very first DIY wreath. Actually, my very first DIY project in general. It was literally a GIANT glittery ball of deco mesh (is that even still popular anymore??).

I was about as clueless on how to make a wreath when I was done, as I was when I started on it. BUT, it turned out nice, so when spring rolled around, I made a spring version. What’s so hard about wadding up a bunch of deco mesh
and throwing in some pipe cleaners and hoping and praying the whole thing stays together?
.
Everything. Everything is hard about that. Deco mesh and I don’t get along anymore.
.
BUT, since then I discovered a game changer. The grapevine wreath form. Literally life changing.
.
If you remember from my 5 minute Christmas wreath post, grapevine wreaths are the absolute best because you just shove stuff in it and when you’re ready to change seasons, you take it out and shove other stuff in. Not only does it save money, but it’s like the easiest and fastest way to make a wreath. Like. Ever.
.
And it looks like a million bucks!
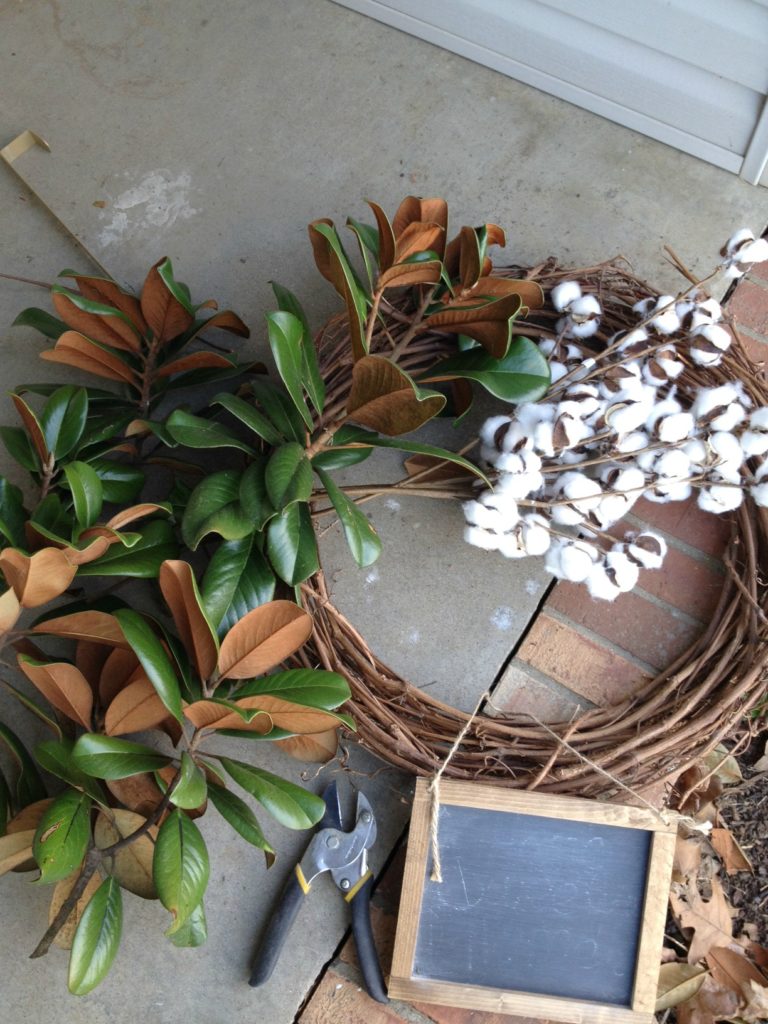
For this super easy DIY spring wreath, all you need is:
A grapevine wreath form
Cotton stems (I got mine from Hobby Lobby)
Magnolia leaves (I chopped them from the tree in the yard)
Some ribbon
Monogram or small chalkboard
Floral wire
First, cut your magnolia. You could buy the fake stuff, but the real stuff lasts quite a long time and since we have a small tree, it’s free! And Danny hates that tree anyway so he was happy to cut it with me. I took this picture to document how much fun we were having.
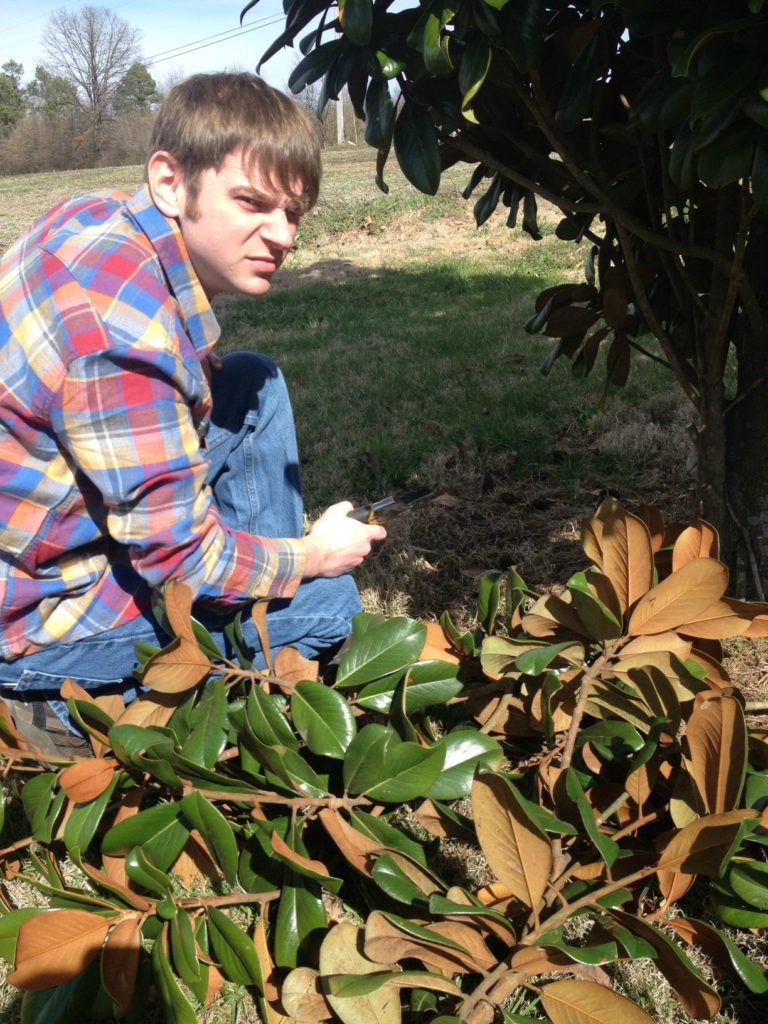
See his face? It’s got fun written all over it. SO. MUCH. FUN. He loves me…he just really hates the tree 🙂
.
So anyway, once you have your magnolia cut (you’ll only need a few stems), then, stick a stem of your magnolia into the grapevine wreath form like the picture below. Kind of weave the magnolia stem in and out of some of the grapevine. That way it will stay “stuck” better.
.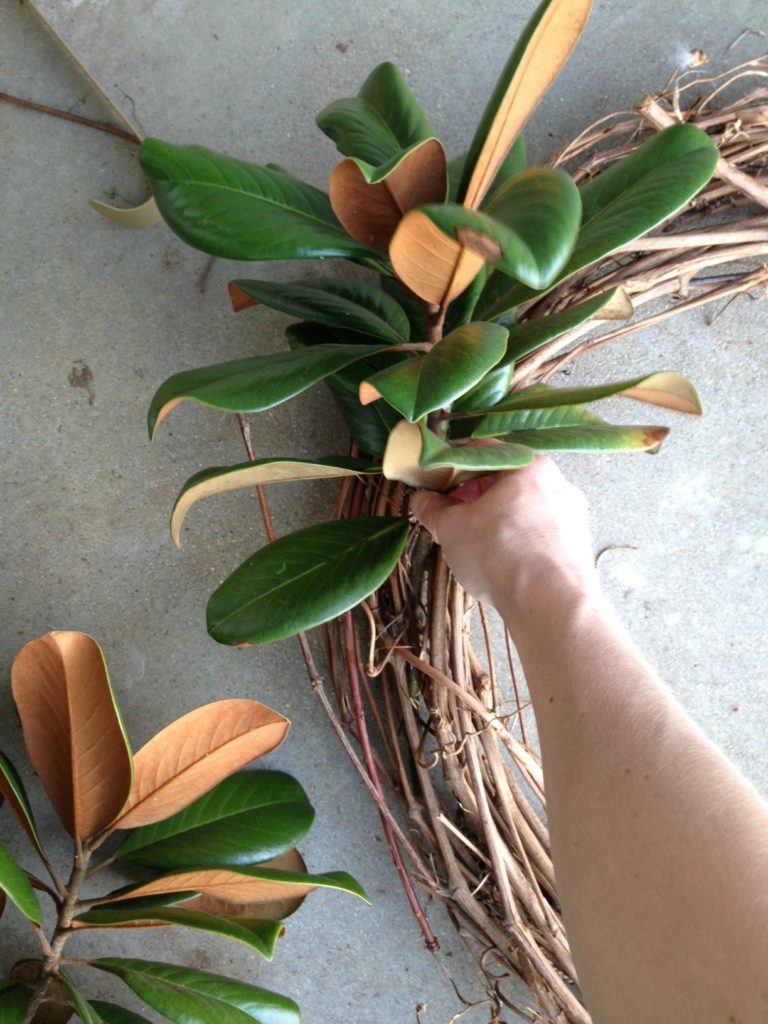
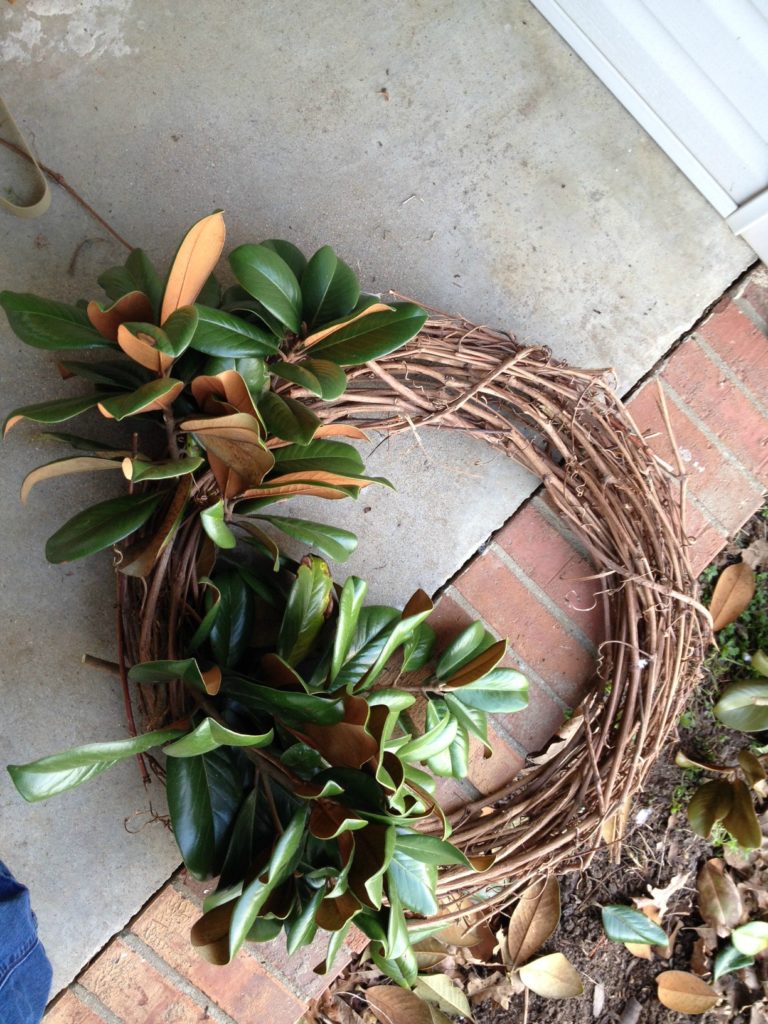
Then stick some more magnolia in like the picture below so that the stem from the first piece and this piece kind of meet in the middle of the side of the wreath. Keep adding some outward until you get it as full as you want.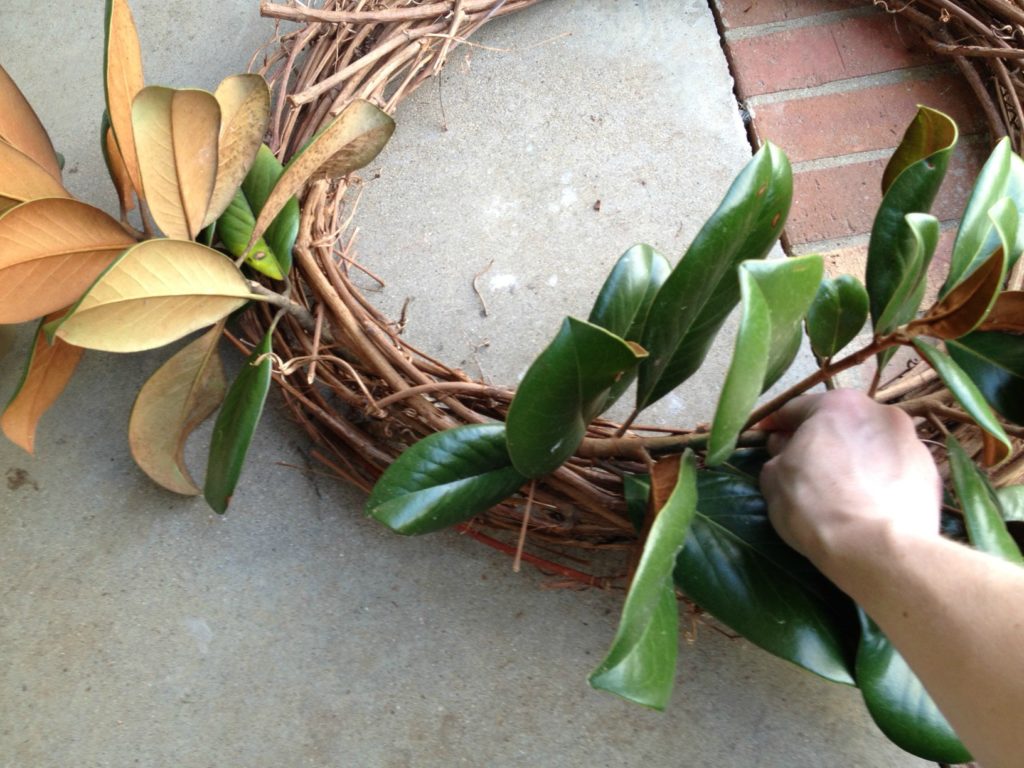
.
Next, add the cotton. You could use something else besides cotton here if you wanted. I just had cotton leftover from winter and thought it would be cute (and didn’t have to buy anything else). Stick one stem in beside each piece of magnolia so that you have one on top and one on bottom.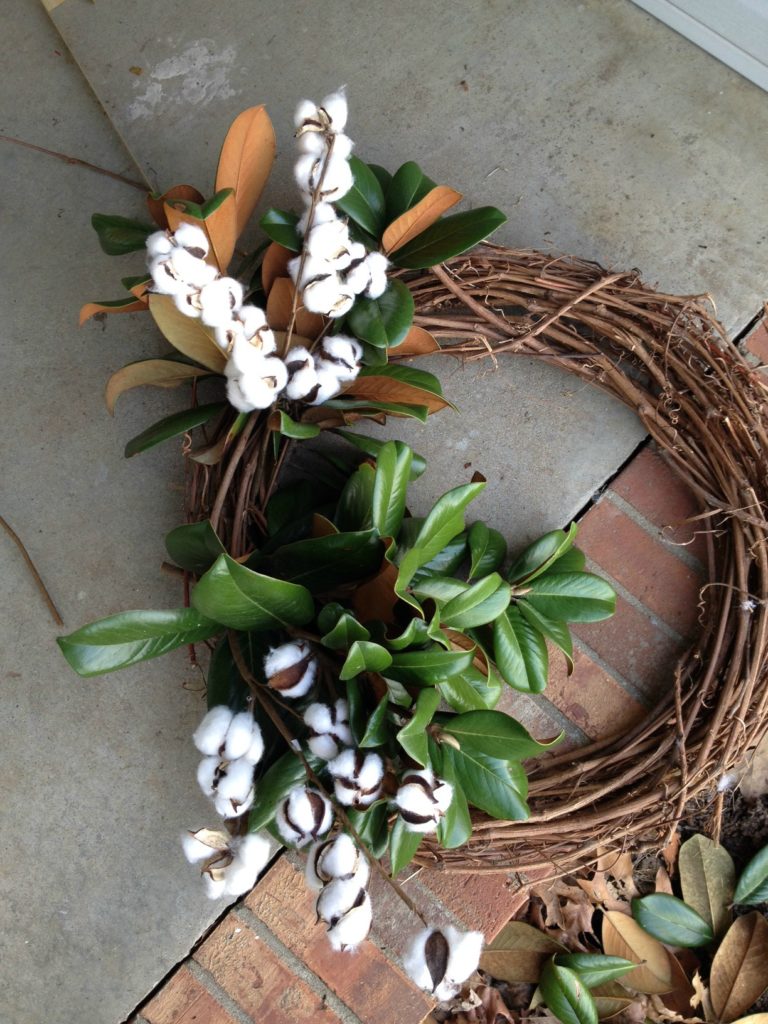
Then, add the other two stems of cotton. You literally just shove things into the form, weaving in and out so they stay in place better. 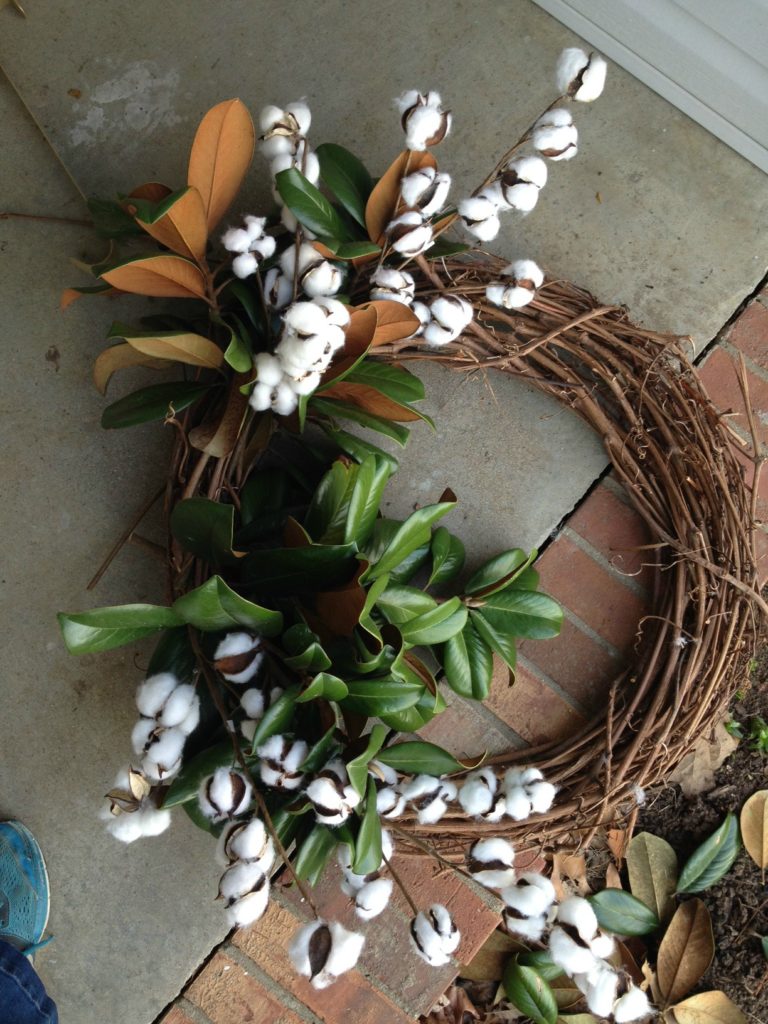
You can arrange however you want, but I just fluffed and worked my way out as I went.
.
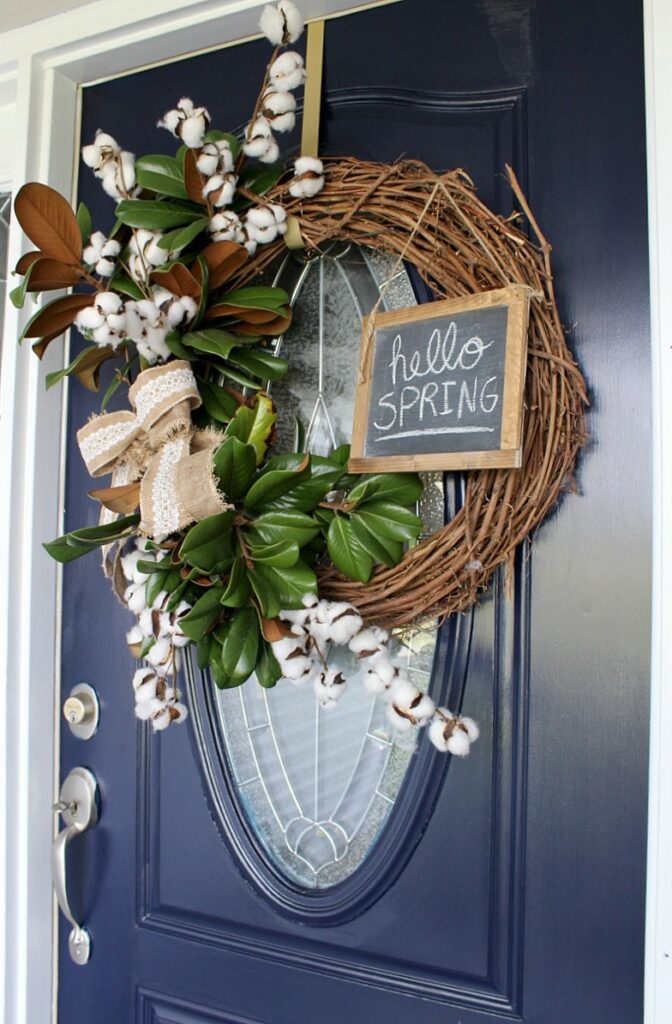
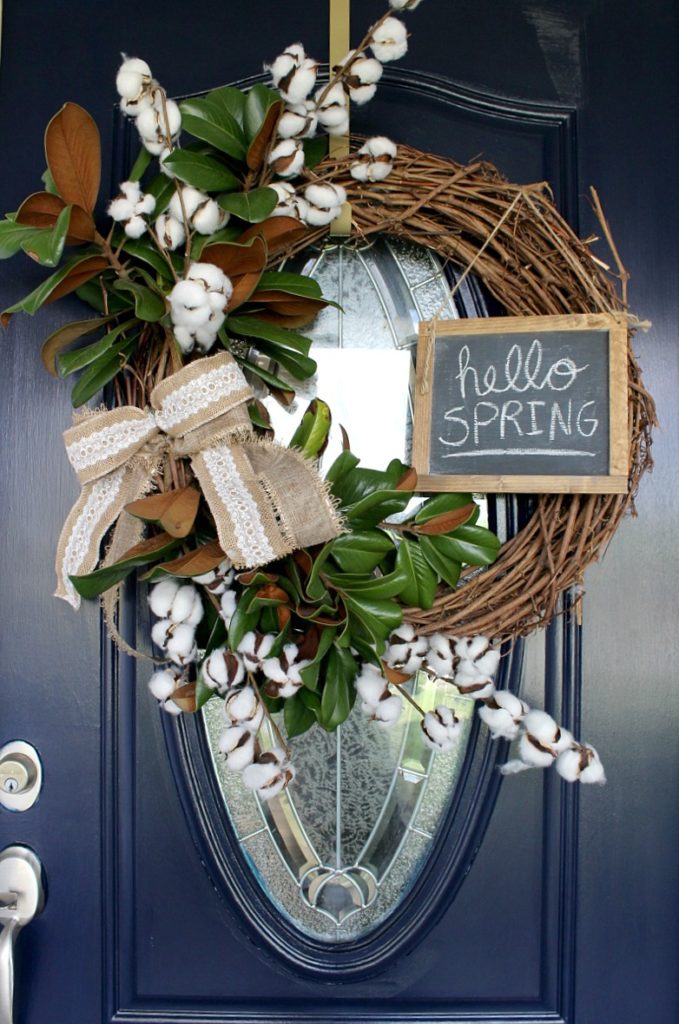
Next, add a monogram or little chalkboard. Or whatever decorative item you choose to the “empty” side of the wreath.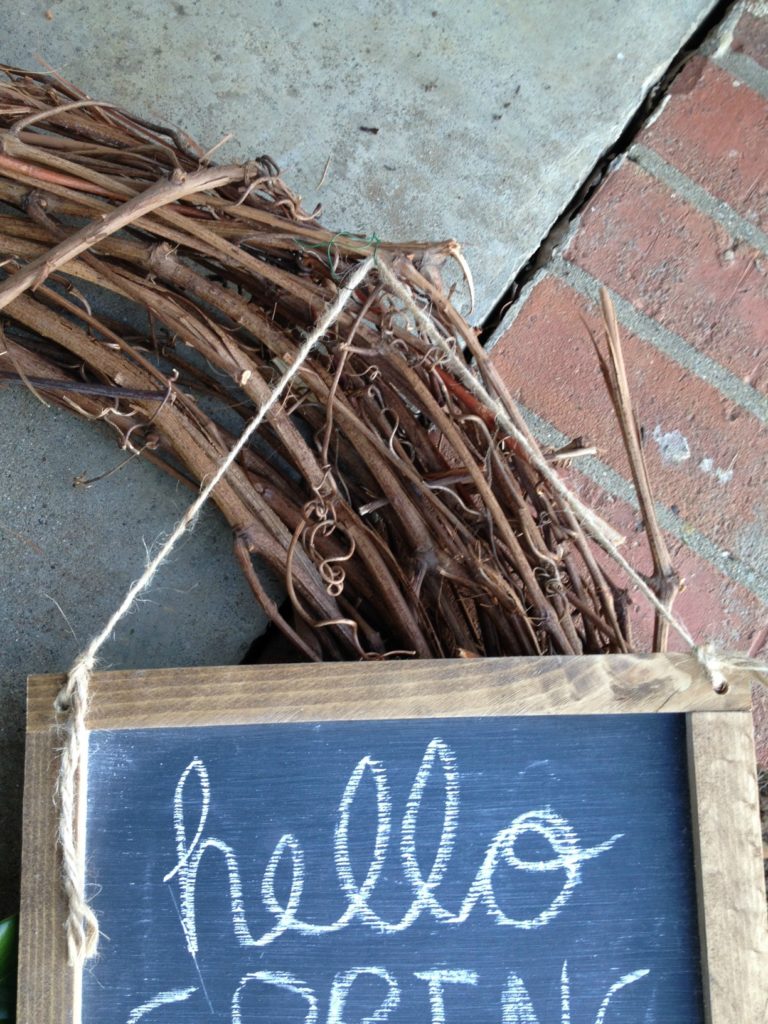
Finally, you can add a bow on the side between the top and bottom set of magnolia and cotton. You can check out my 5 minute Christmas wreath for one way to make a bow or my super easy Christmas swags for another way to make a bow.
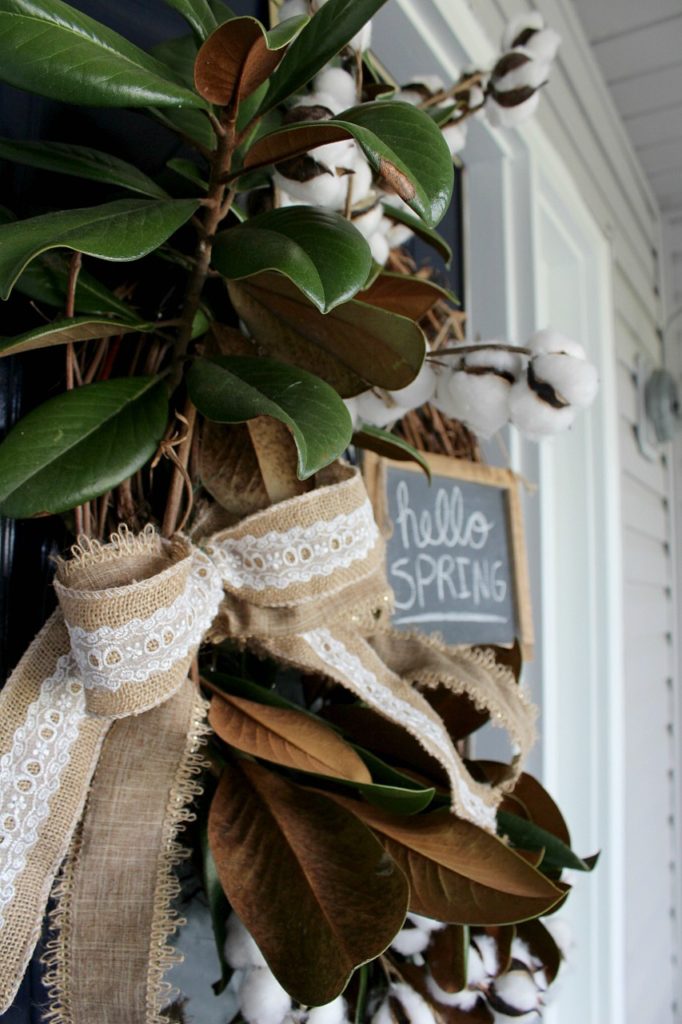
And that’s it! Hang her up and admire 🙂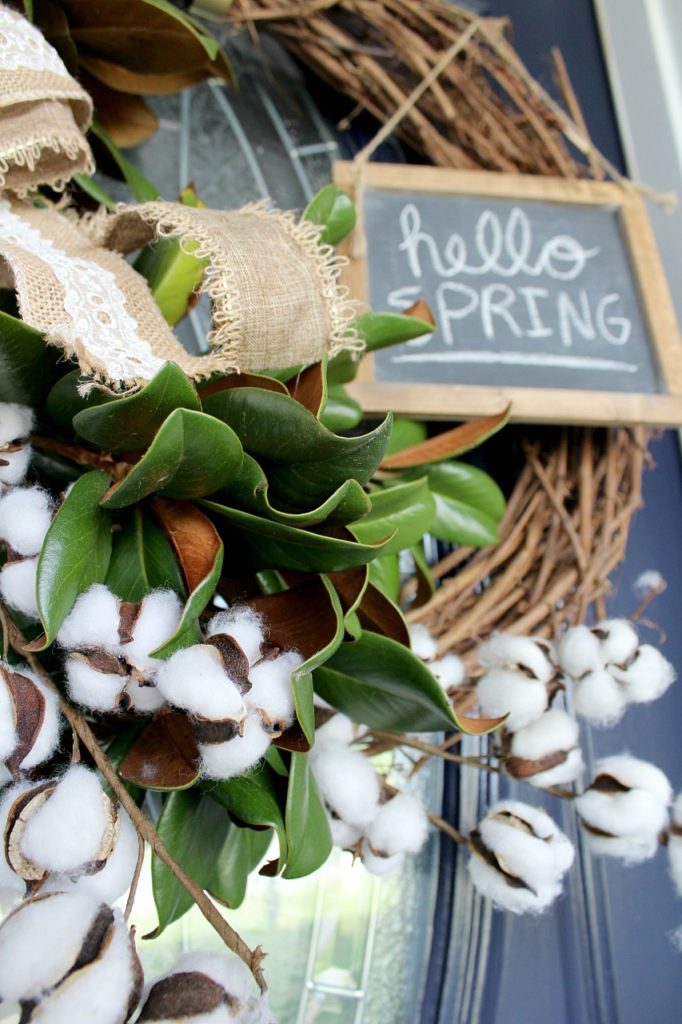
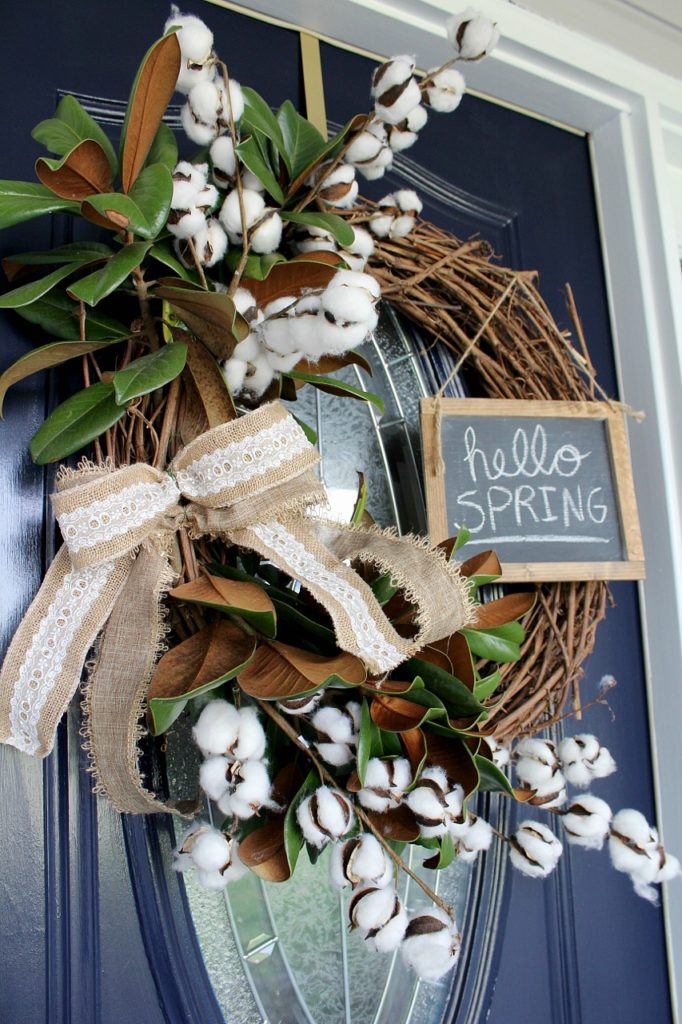
It literally takes 5 minutes and a few bucks. AND when you’re ready to change it up, pull them out and stick some other fake flower (or real flower) stems in the form. Easy peesy. Now pin this thing for later 🙂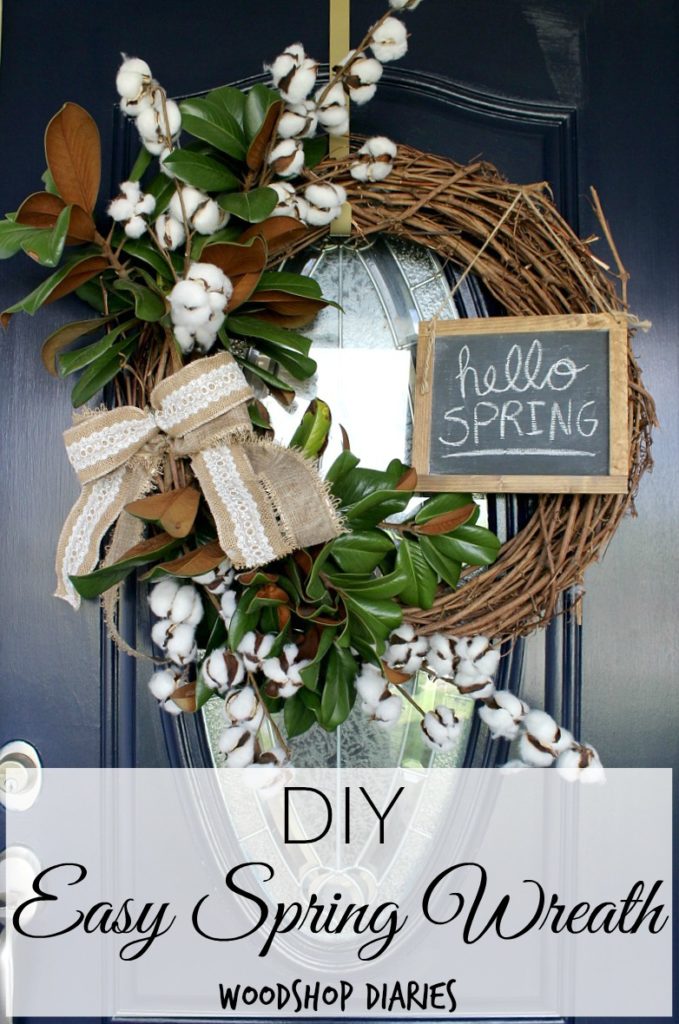
PS stay tuned for plenty more spring projects coming soon. I have been BUSY BUSY BUSY working on them so you will not want to miss the excitement!
.
Until next time, happy DIYing 🙂


Jendy says
Your wreath looks lovely, but I have a question. Are the cotton stems real cotton or some fake plastic lookalike? Tks!
Shara, Woodshop Diaries says
The cotton is real. I got them from hobby lobby. They are definitely not plastic 🙂