*This post is sponsored by The Home Depot.
.
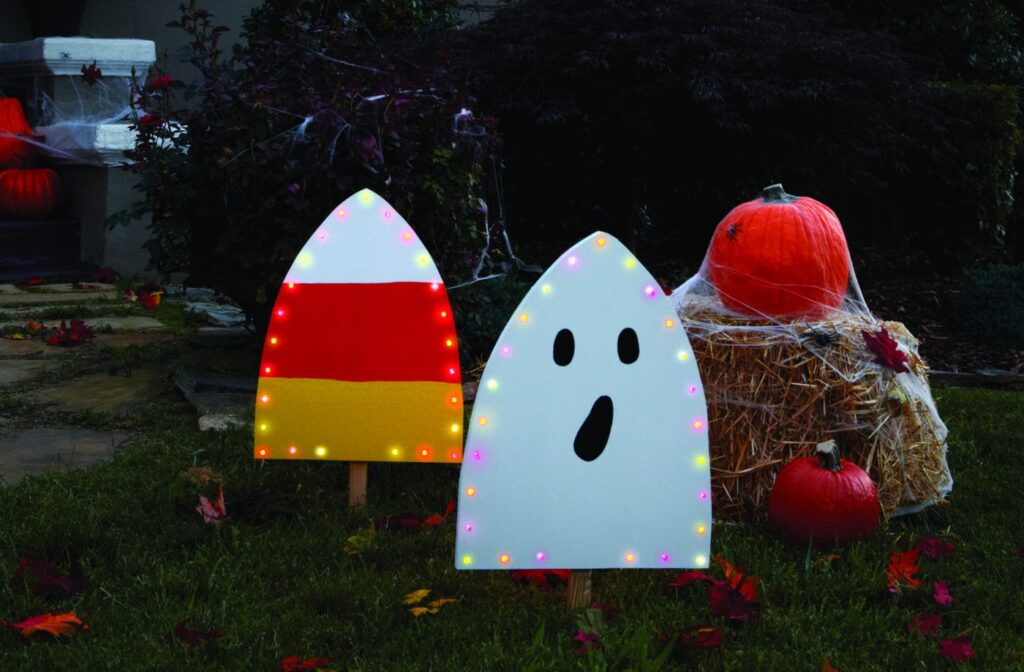
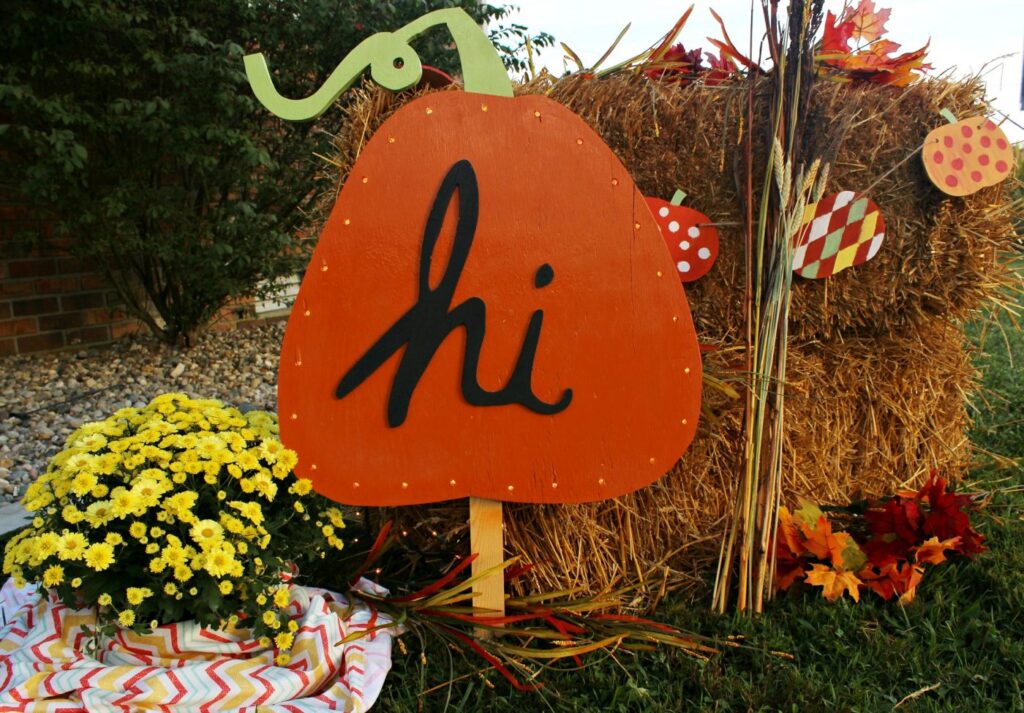
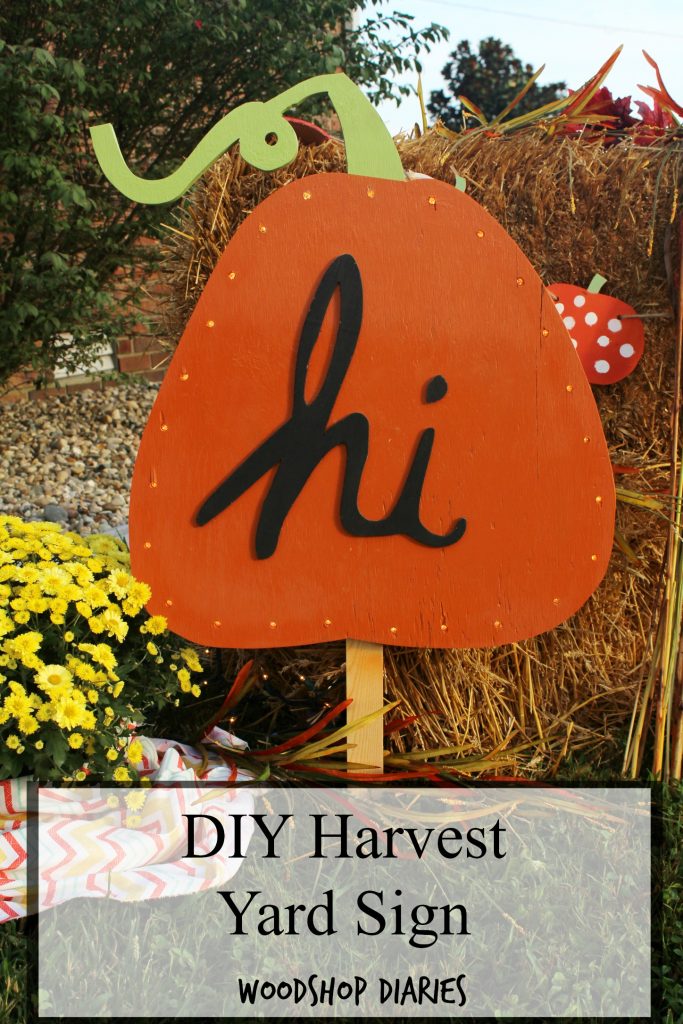
Today is the day!! Last week I told you about how excited I was to partner with The Home Depot to bring you a virtual party and tell you about the upcoming in store DIH Workshop to build a Harvest Yard Sign like the ones below.
If you are wanting more information about these workshops, The Home Depot offers several in store workshops throughout the year for people of all ages and experience levels including Do-It-Yourself Workshops, Do-It-Herself Workshops, and Kids’ Workshops! They offer step by step instructions and demonstrations for how to make decor projects, home repairs, and how to operate tools. You can learn more about the workshops offered at The Home Depot at this link here.
.
So, if you haven’t already, you should definitely get registered to reserve your spot at your local Home Depot to participate in this workshop to build one of these fun signs! You won’t want to miss it!! Plus, how cute are these signs?! The workshop is on Thursday, September 21 at 6:30pm.
.
CLICK HERE TO REGISTER FOR THE DIH WORKSHOP: HARVEST YARD SIGNS
.
Also, if you have previously attended any workshop at The Home Depot and would like to provide feedback, please use this form. Your response helps The Home Depot make improvements for a better future experience.
.
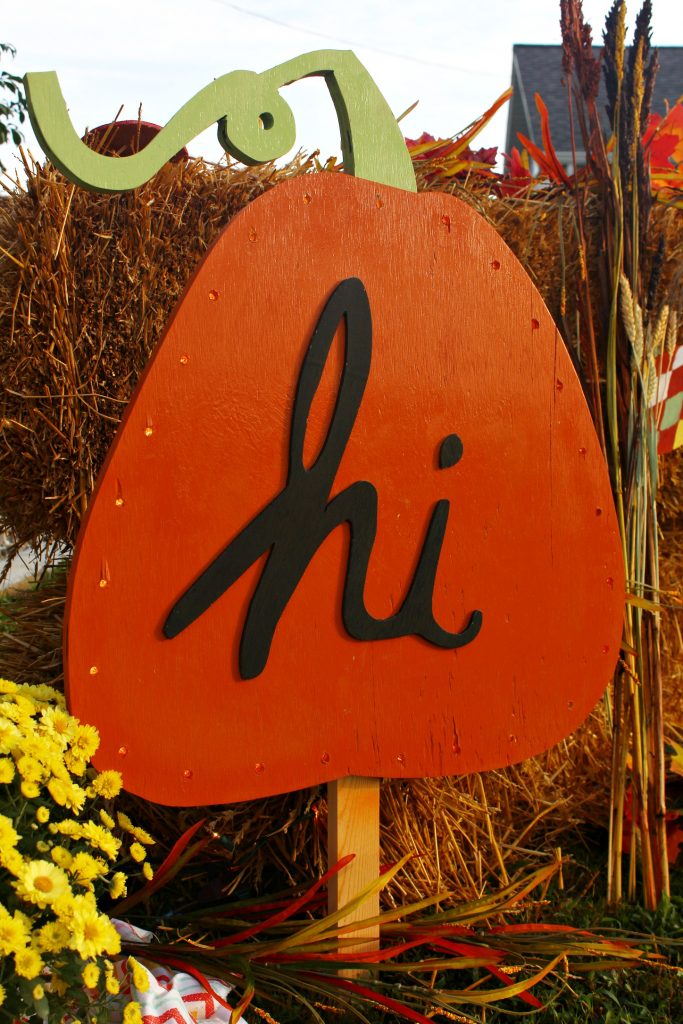
Today, though, me along with several other bloggers are hosting a virtual party to show you our own customized version to give you some inspiration for when you get ready to make your own. Links to all the projects can be found at the end of this post, but first let me show you mine and tell you how I did it 🙂
First, you will need:
(1) 2×2 piece of ¾″ plywood
(1) 1x2x18″ yard stake
(1) Set 100 Mini lights (whatever color you wish, but I chose clear)
Jig Saw
Drill
1 ¼″ woods screws
Spray paint
Scrap ¼″ plywood (optional)
.
Step 1: Cut out your shape
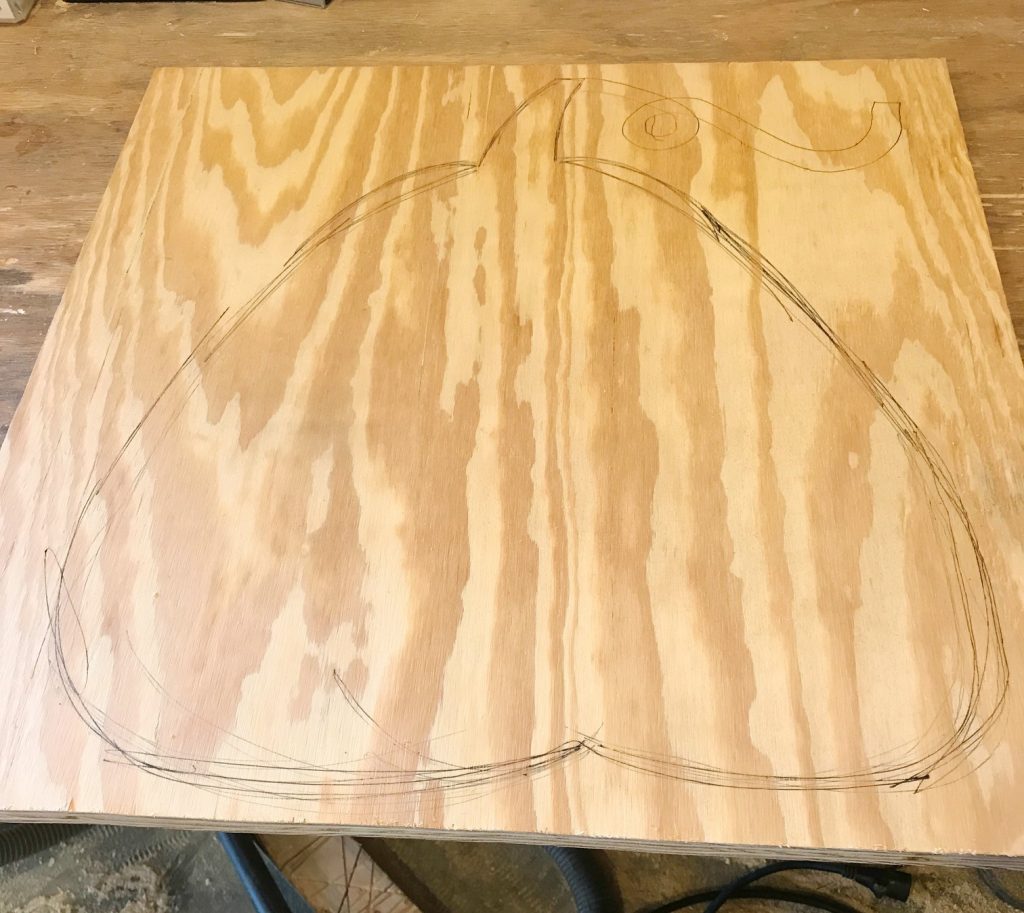
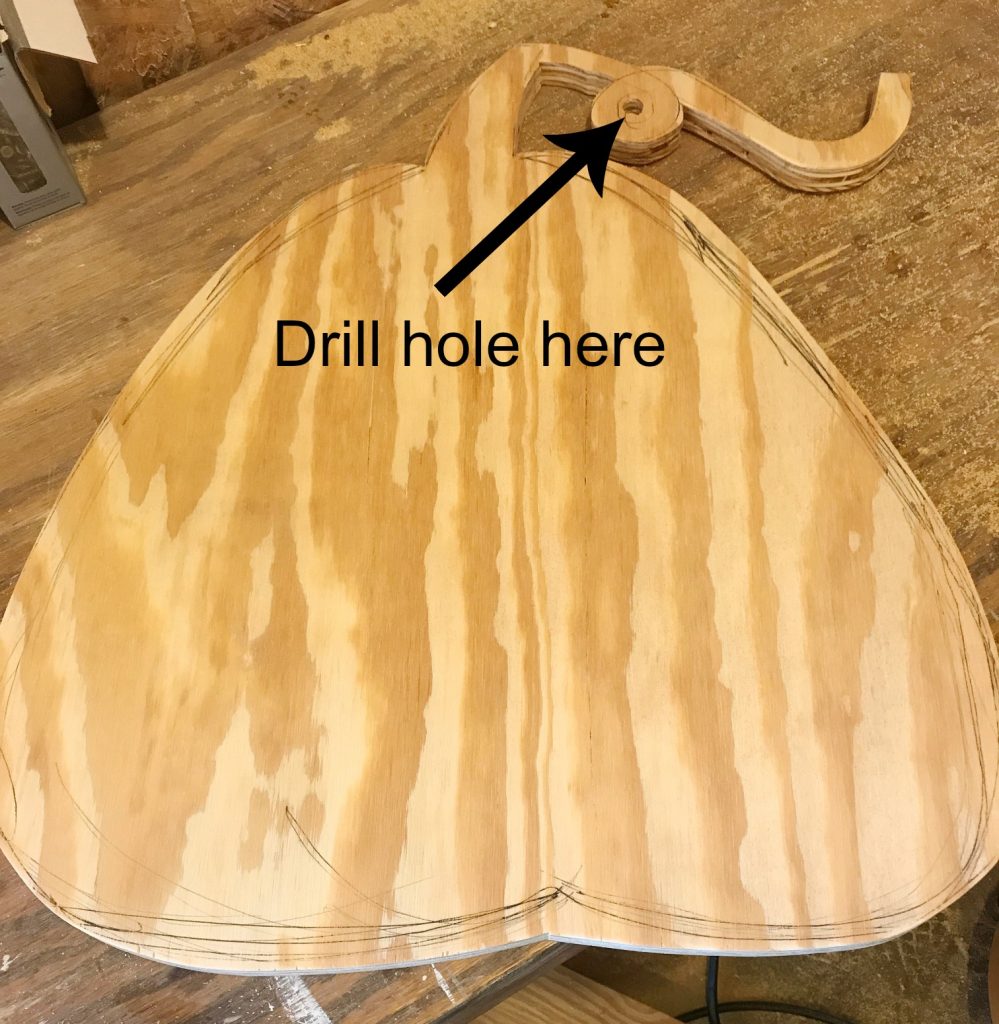
First, draw out your shape on your 2×2 piece of plywood. I just sketched a pumpkin shape with a stem. Then, use a jig saw to cut the shape. You don’t have to cut it perfect.
For the small curly Q at the top, instead of cutting out the hole with a jig saw, I just drilled a hole.
Step 2: Paint your sign
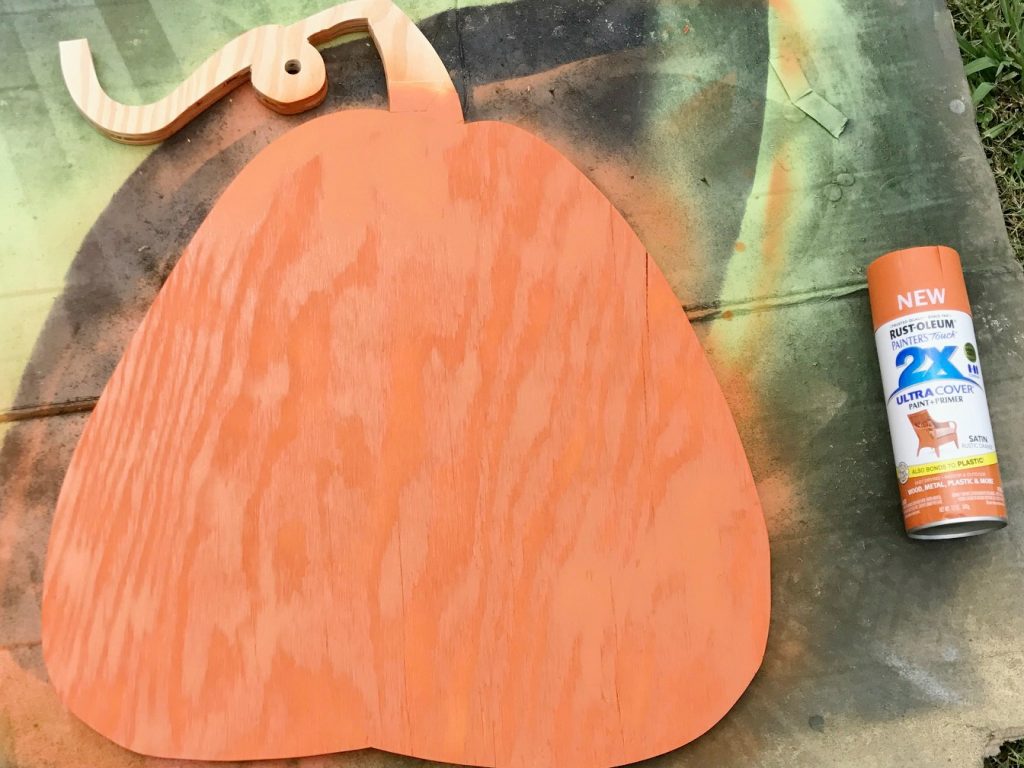
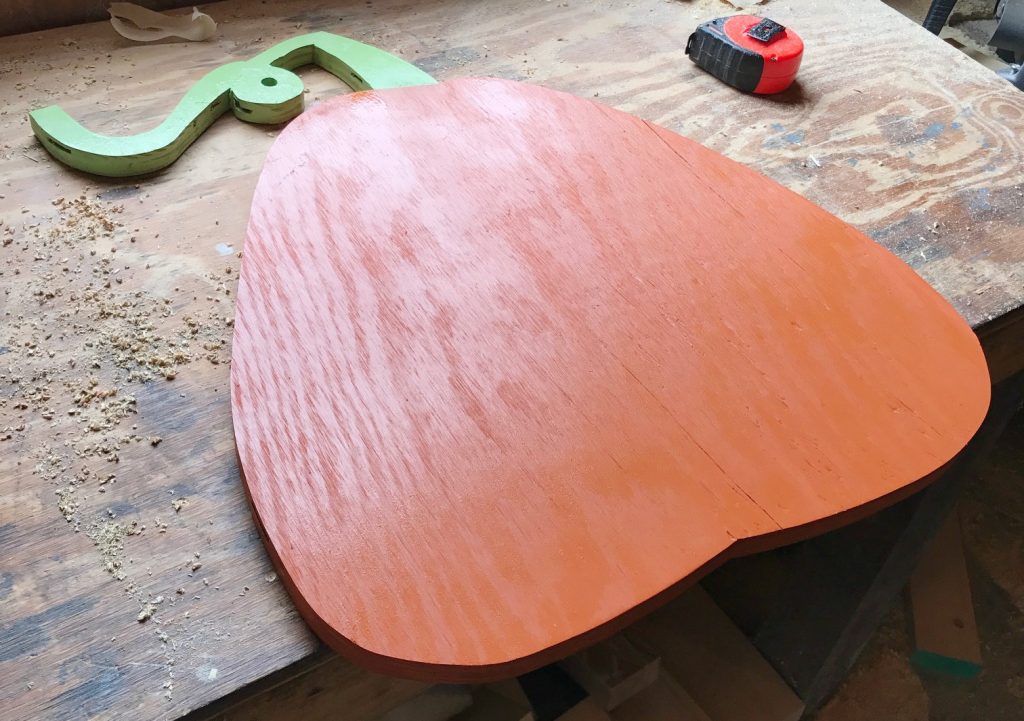
Next, paint or finish as desired. I painted my pumpkin orange and the stem green. You can use painters tape to protect other parts when you are spraying each color.
Step 3: Attach yard stake
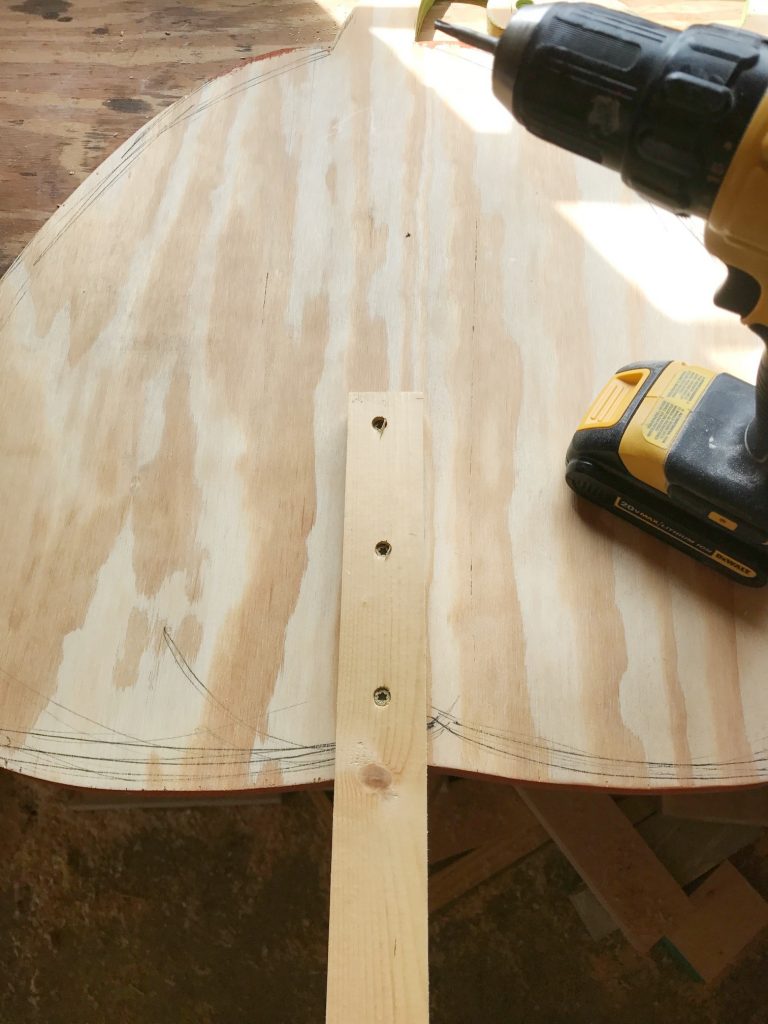
Center the stake on the back of the sign and leave half hanging off the bottom and put half on the wood. Use 1 ¼″ wood screws to attach the stake.
Step 4: Add personalization
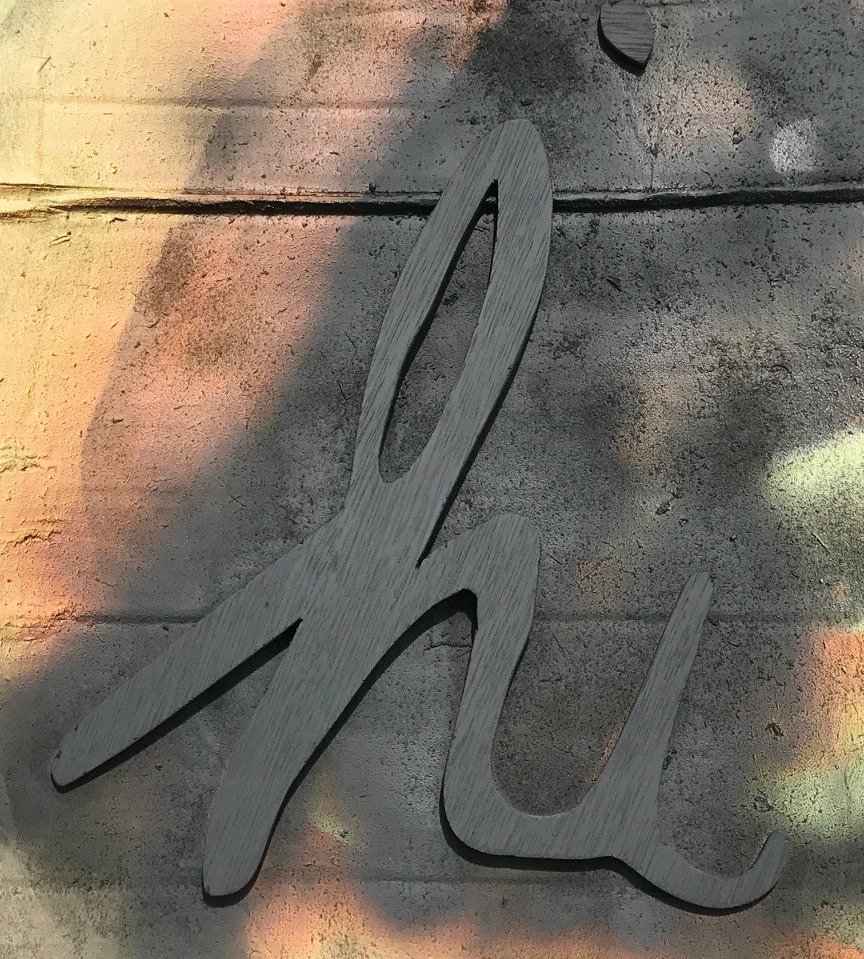
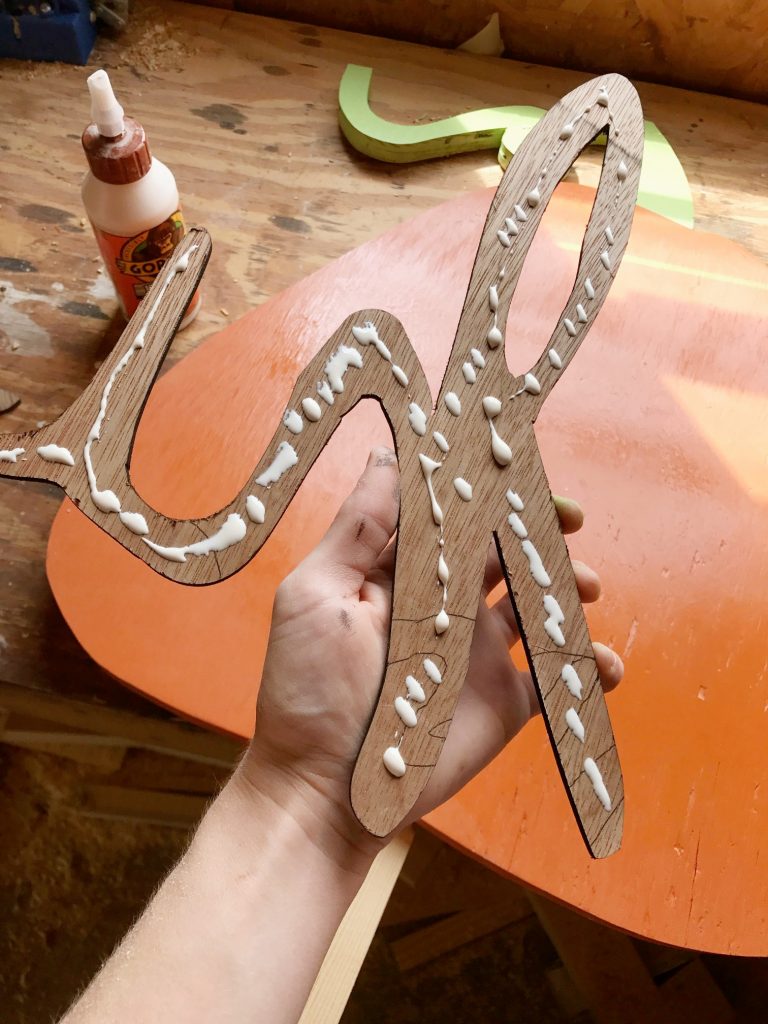
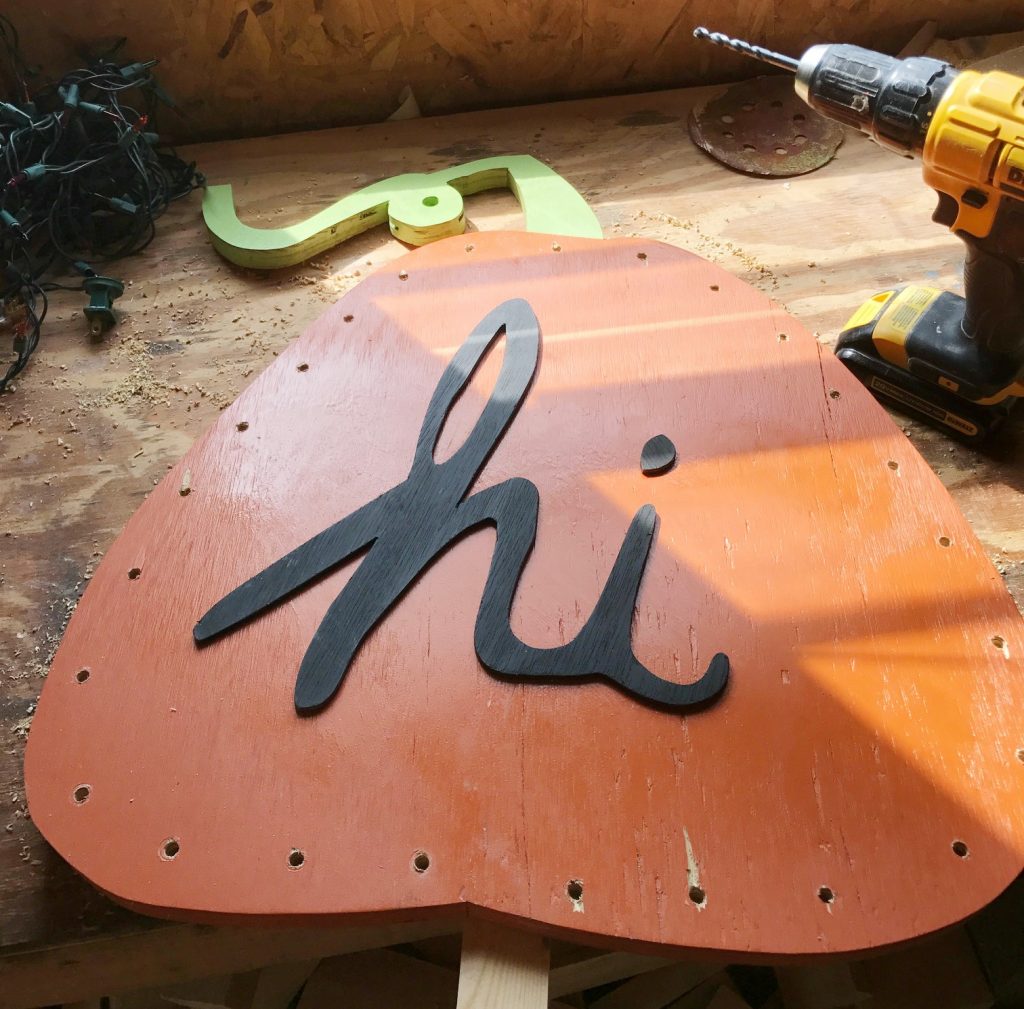
You can hand paint whatever you want or use stencils as well. But, I chose to use some scrap ¼″ plywood and cut out “hi” for the center of my pumpkin. I spray painted it to stand out.
Then just add some wood glue and set in place.
Step 5: Drill holes for lights
Drill holes into the harvest sign for the lights to go into. You can space them as close or far away as you want, but make sure the lights will reach from hole to hole.
After drilling the holes, you may have to touch up a little paint if you have a dull drill bit and it causes some tear out (whoops!).
.
Slip the lights into the holes and staple on the back to hold in place if you wish.
.
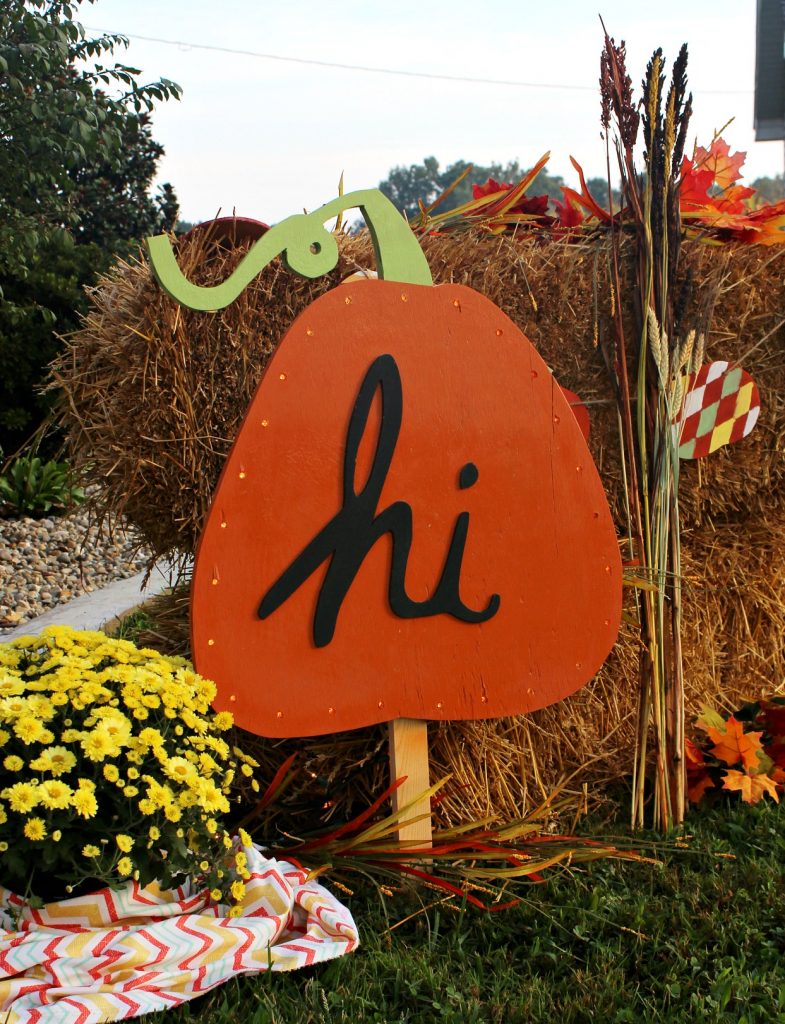
Then, just stick your yard sign in the ground, plug it in, and grab some hay bales and mums and you are ready to go!
How fun for outdoor fall decor, right??
So if you are ready to make one, be sure to sign up for The Home Depot’s DIH Workshop on Thursday!
.
CLICK HERE TO REGISTER FOR THE DIH WORKSHOP: HARVEST YARD SIGN
.
Don’t forget to pin this for later!
And be sure to check out all these other awesome customized projects from some of my other favorite bloggers!
.
f.k
*I acknowledge that The Home Depot is partnering with me to participate in this Workshop Program. As a part of the Program, I am receiving compensation in the form of products and services, for the purpose of promoting The Home Depot. All expressed opinions and experiences are my own words. My post complies with the Word Of Mouth Marketing Association (WOMMA) Ethics Code and applicable Federal Trade Commission Guidelines.


Hi 🙂 Love your pumpkin!
Debbie
Hi Debbie! Thank you so much!! 🙂
This is so cute! Love the hi on there, so fun!
Thank you so much!! I love the Hi too! 🙂 so easy to cut out!
Love the shape of that pumpkin!
Thank you! 🙂
Hi Shara 🙂 That stem detail is over the top cute! Love it.
Thanks Jamie! I loved the curly Q 🙂
This is super cute! I love the “hi” on the pumpkin too!
Thank you so much 🙂
So cute, Shara! This project was so fun!
Thanks Jen! 🙂