
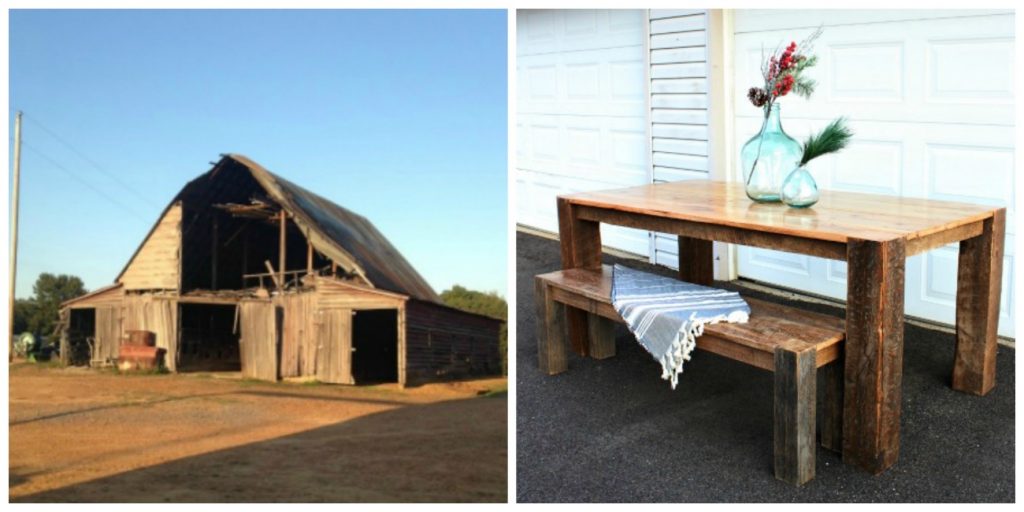
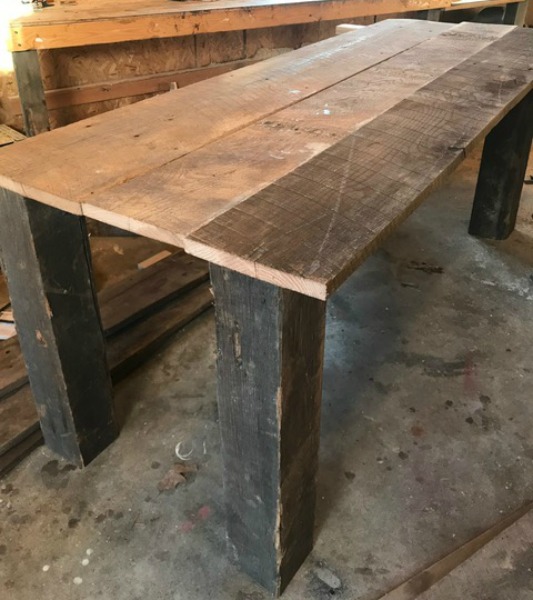
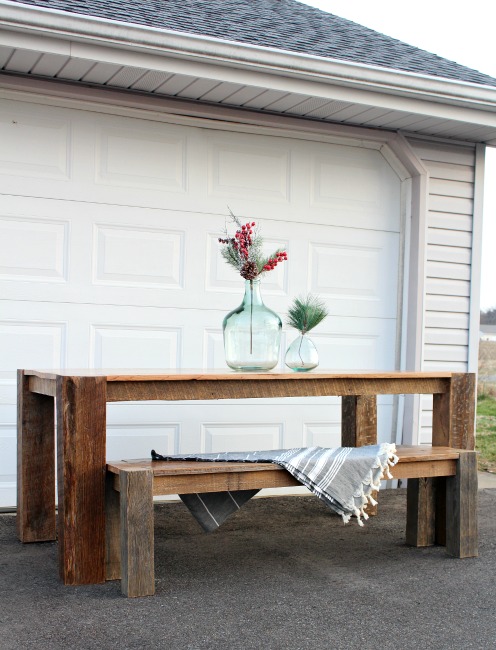
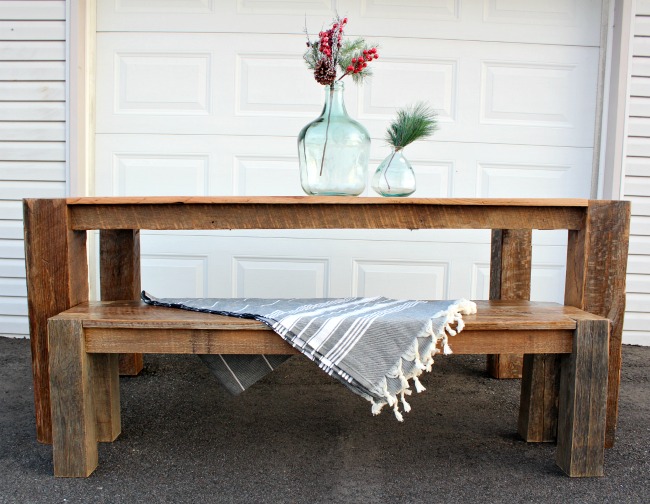
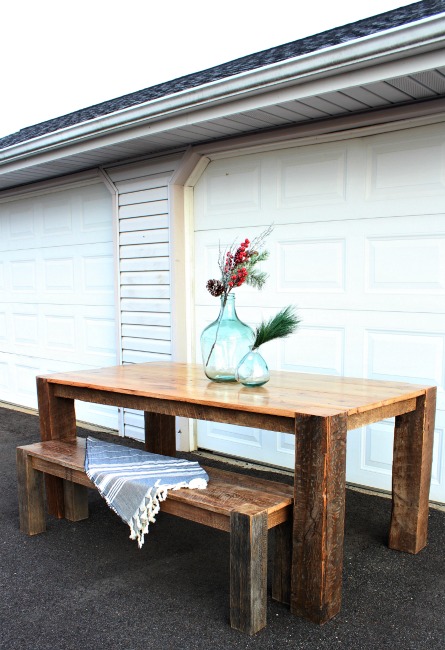
Remember those DIY barn wood picture frames from a couple weeks ago? Well, there’s more where that barn came from! (Get it?? More barn…more wood…more projects??) So today, I’m showing you how to turn this old tobacco barn wood into this beautiful DIY barn wood table and bench.
 But first, a little back story: A friend of ours from college contacted me several months ago asking if I could use some of his family’s barn wood and build him and his wife a new dining table. I was a little hesitant because this wood and this barn was pretty sentimental to the family. I didn’t want to be the one to screw it up haha.
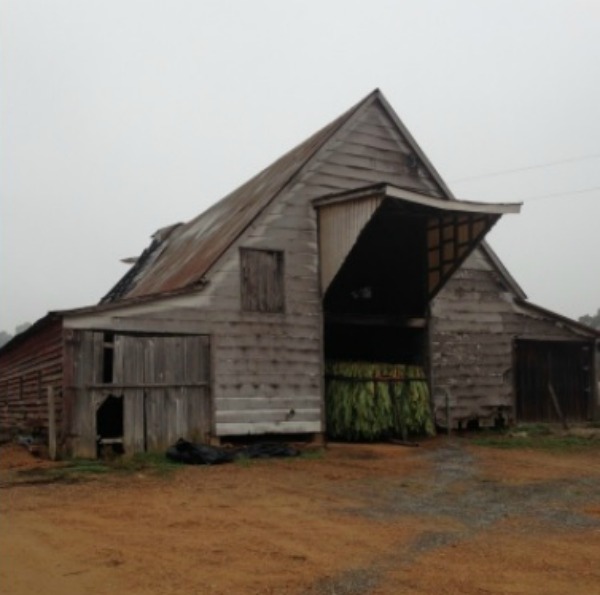
They decided to tear this old barn down after many years of use. My friend’s great grandfather taught his father how to climb up the stairs when he was just a very yound kid. My friend’s father also cured his first crop of tobacco in that barn when he was only 15 years old! So finally, after many years of helping put food on that family’s table, it’s become the table they can sit together and enjoy that food from.
.
So, if you are ready to see how it was done, then let’s get to it.
.
This post contains affiliate links. See disclosure policy for details.
.
For this DIY barn wood table build, I used:
Table Saw
Measuring Tape
Square
.
First, I picked out the lumber for each section of the DIY barn wood table
Several months ago, we took a trip with our friends to the barn to take a look at what wood would be salvageable and what they would need for the table. Then, after they tore the barn down, we took a trip again to pick through all the lumber and get the best boards. We got way more than we needed to build the table just so I would have plenty of extra in case I ran into a not so great board…which I did…multiple times.
.
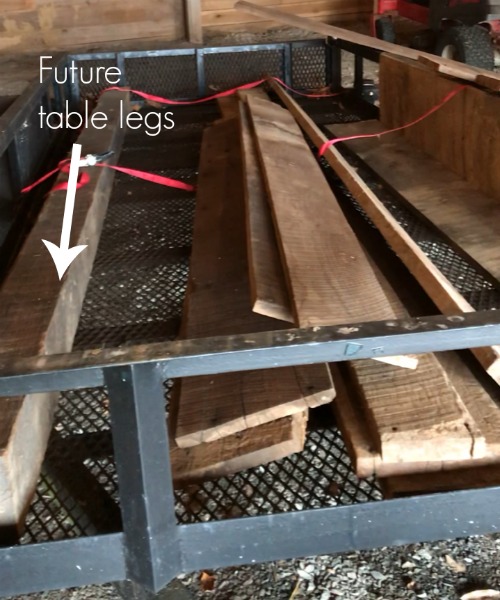
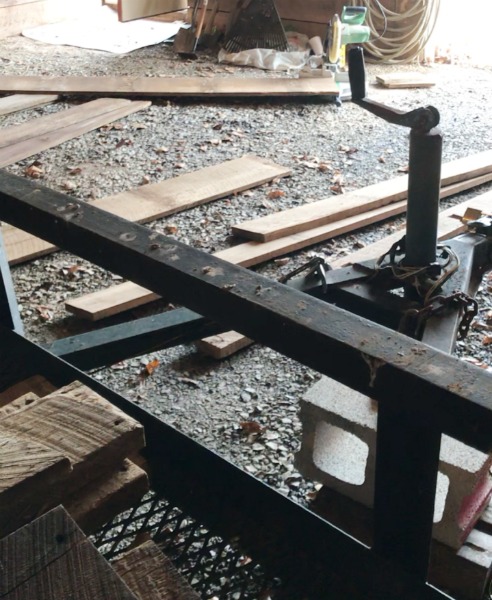
I dug through all the boards on the trailer and separated the ones to be used for the table and bench tops (they were thinner and didn’t have any huge holes…because who wants a gigantic hole in their table top?), and the thicker boards, I set aside to be used as the table aprons and supports. The enormous beam on the trailer was to be used as the legs. I laid it all out on the barn floor at my house and cut them down to manageable sizes before I brought them into the shop.
Then, I cleaned the barn wood up so it was ready to use
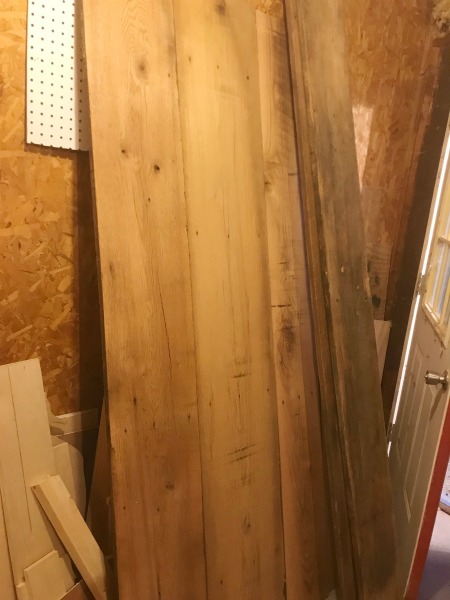
This stuff was filthy. Covered in dirt, and rusty nails and year and years of….who knows what (?!). Originally, my friends wanted the table to be totally rough (not planed)…so basically, like this.
But after I showed them this picture, I suggested we plane the boards for the top and leave the other boards rough cut (sanded some, but still with saw marks) because underneath all that age is some really beautiful lumber.
.
So I washed them first with a water hose and a deck brush and let everything dry out a few days. Then, I planed the table top boards with my planer and I’m so glad I did…check out that gorgeousness (apparently that’s a word because spellcheck didn’t correct me hahaha).
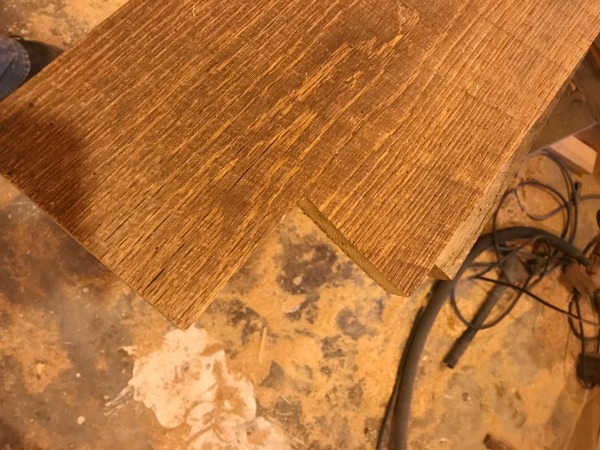
Check out the comparison between this brand new piece of oak and these aged ones. The color is so pretty.
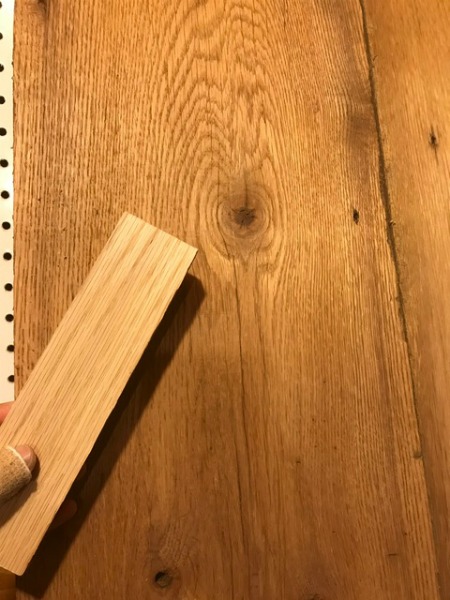
PS see that bandage on my thumb? I got my first stitches right after Thanksgiving. It was from a drill bit on a metal lathe at work. It wasn’t even a good story…the machine wasn’t even on. Apparently, I’m just a goober who can’t hold onto a chuck key. I always thought my first stitches would be from fighting off some vicious animal or doing something awesomely heroic. Nope, just a drill bit, not even spinning… Anyway, back to the table.
.
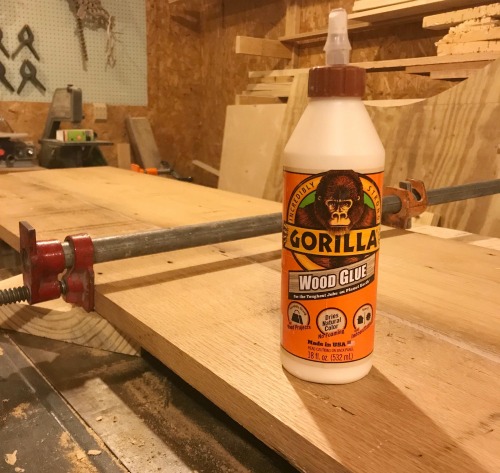
Then, I assembled the top of the barn wood dining table.
You can see my post here on how I make table tops. For this, I simply squared the edges, and glued the boards together.
Once the glue was dry, I trimmed it to size (again, all the details for how to do this are in this post), then sanded…and sanded….and sanded. I sanded until my boogers (even with a mask on) were brown and my face was covered in dust everywhere except where my glasses and my mask was. Sanding sucks, but it sure makes a nice top. Once it was sanded smooth, I set it aside to build the base.
.
Next, I built the table base.
Now, the table design is a little different than a standard table. This is very similar in style to the modern dining table I built last year. The legs are flush with the table top. To do this, I built the table base to match the exact dimensions of the table top (measuring from outside of each leg to outside of adjacent legs). You’ll understand once you see the pictures.
.
The table top (after planing was ⅞″ thick. So I measured the length of my table top, and subtracted the width of BOTH legs and cut a support piece this length. I glued and screwed the supports into the leg making sure it was ⅞″ down from the top of the legs. I just toenailed the screws here.
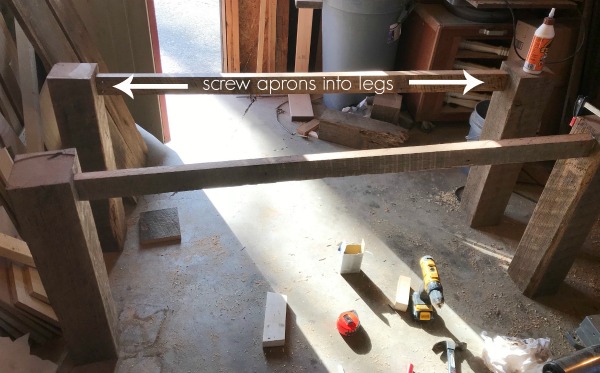
Then, I did the same for the width of the table, and added these supports as well. Now it was time to cut out the leg notches in the table top. I flipped the top upside down and set the table base upside down on it and lined everything up. I traced around the legs at the corners and used a jig saw to cut along these lines. The picture below is just an example, not the actual table.
Once the top notches were cut, I flipped the table base over, then laid the top on and made sure everything fit.
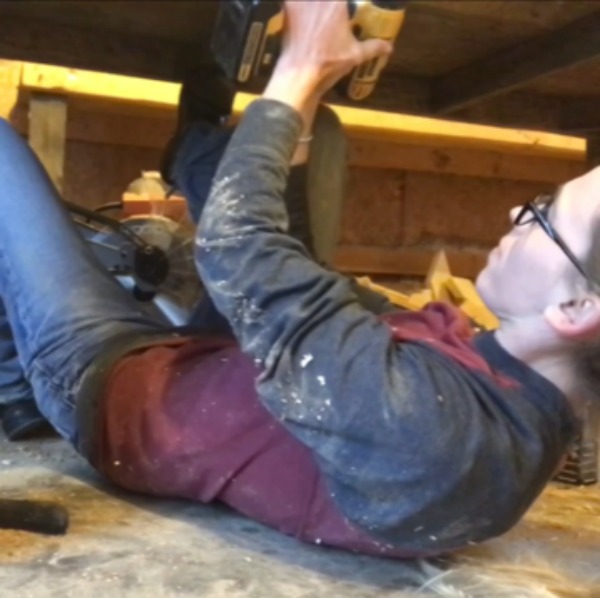
Lastly, I added the table top supports.
You can see a video of my screwing in the supports on my Facebook and Instagram pages, but in hindsight, I could have done this easily without rolling around on the floor in sawdust if I had planned it out better. Oh well. Everyone needs a little sawdust in their undergarments, right? Give it a try 😉
So I cut 4 pieces of support wood at 45 degree angles on each end to place like shown under the table and around each leg. I simply glued and screwed these in place to help hold the legs in place and just as extra support. I also added two more supports evenly spaced running the length of the table width like shown. Again, gluing and screwing these in place.
Once the supports were all in, I screwed the top in place through these supports. I was worried it wasn’t going to be very sturdy with this type of design and using a thinner top than I usually do on tables, but I was really surprised how strong it was.
.
Finally, I finished the barn wood dining table
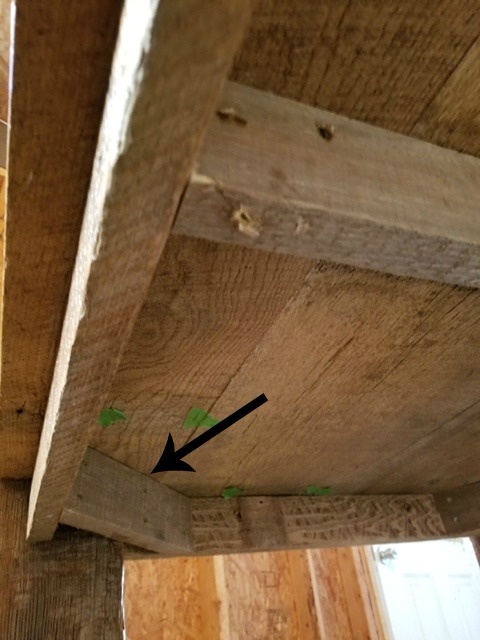
The wood was a little cracked and had some hail holes and knots. I used Gorilla Glue Epoxy to fill these. Did you see the tape on the underside in the picture above? That was where there were nail holes I was filling with epoxy and didn’t want it to drip through.
.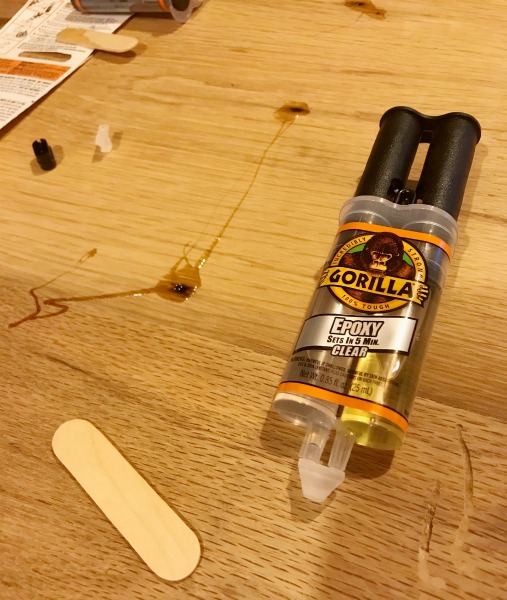
This was my first experience with epoxy and it was really simple. Just follow the instructions on the back to mix the epoxy, then use the provided stick to “putty over” the holes. Once it was dry, I sanded it smooth and applied several coats of Minwax Semi Gloss Polycrylic to the whole table.
.
Without making this post even longer, I think it suffices to say that the bench was built exactly the same way, just on a smaller scale 🙂 This post is REALLY long already.
.
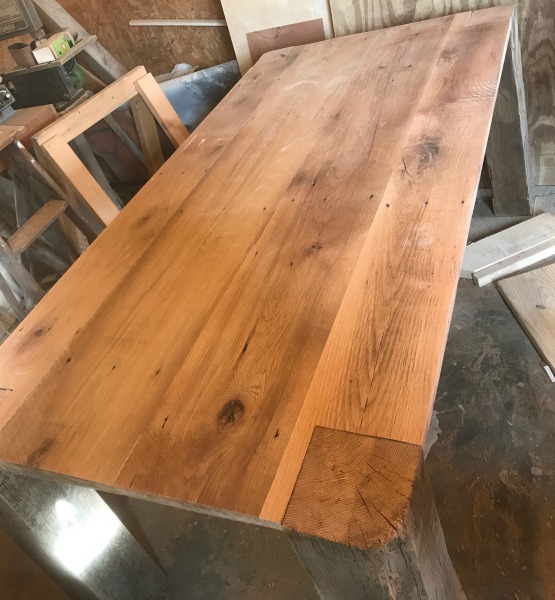
So there you have it…how an old barn was turned into a beautiful DIY barn wood dining table.
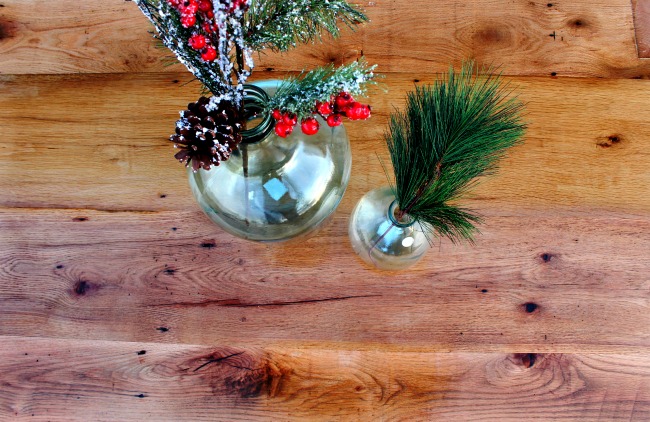
Look at that top…WOULD YOU LOOK AT IT?! All the heart eyes!

Building this table from reclaimed barn wood was a little tricky and was quite the learning experience. Reclaimed wood is imperfect and it wasn’t consistent in dimension and shape. That’s why this isn’t a one size fits all type of tutorial. Hopefully this gives you a good overview, though, of how you could do it with your own reclaimed wood.
Side note: this old tobacco barn wood smelled so interesting in my shop. If you’re into those candles that smell like tobacco barns, you should totally just set a block of wood from an old barn around in your house. HEAVEN.
.
Anyway, I know this post was really long, but if you have any questions that I didn’t cover very well in the post, comment below and I’ll do my best to answer. Also, I would LOVE if you’d pin this for later 🙂
Until next time, happy building! 🙂
Kasia says
This looks amazing! It’s incredible how many things you can bring back to life with amazing results. I got an old bar table frame somewhere in the garage waiting for me be to be turned into a dining table. I’ll definitely use your tips. Thanks for sharing Shara!
Ivory says
Outstandingly gorgeous
Shara, Woodshop Diaries says
Thank you! 🙂
Bren says
I love this table. You are so blessed to have such a slab of history. When I use barn lumber, I try to plane the unseen side (if there is one) so all the boards are at least close to the same thickness. I really like following your blog and the projects you do. Suggestion: I have been wanting to build a corner TV cabinet and haven’t come up with a design yet. Ever thought about making one? Again, love following your blog
Shara, Woodshop Diaries says
Thank you so much! That’s a good idea to plane the unseen side! For this, I planed the side that would be seen because the wood was GORGEOUS underneath all those years haha. A corner TV cabinet would be a fun project! I’ve been brainstorming some building ideas for this year and I may just add that to the list! Several people have asked for a corner cabinet, so that is a great idea 🙂
Maggie says
Great job, but did your friend and his wife LOVE it????
Shara, Woodshop Diaries says
Thank you! Yes, they were very happy with it 🙂
Anthon Byars says
Very timely post, Sarah. We’re in the process of tearing down an okd barn on our land. We have several projects in mind and a table is one of them. Keep up the good work.
Shara, Woodshop Diaries says
Awesome! Thank you! It was a lot of fun turning that dirty old wood into something pretty. Have fun with your projects!