
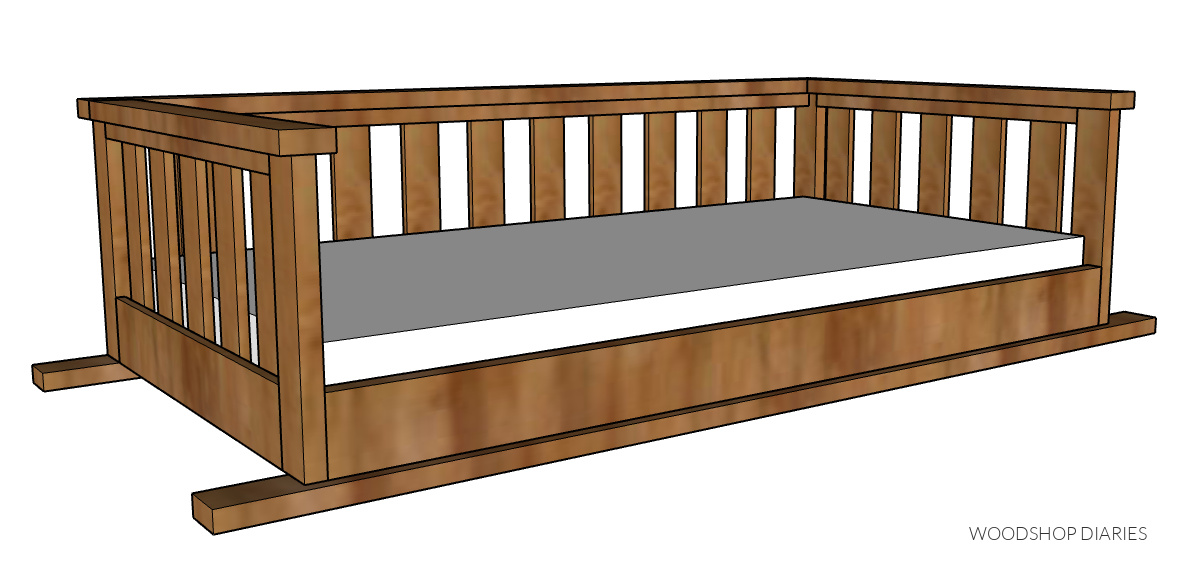
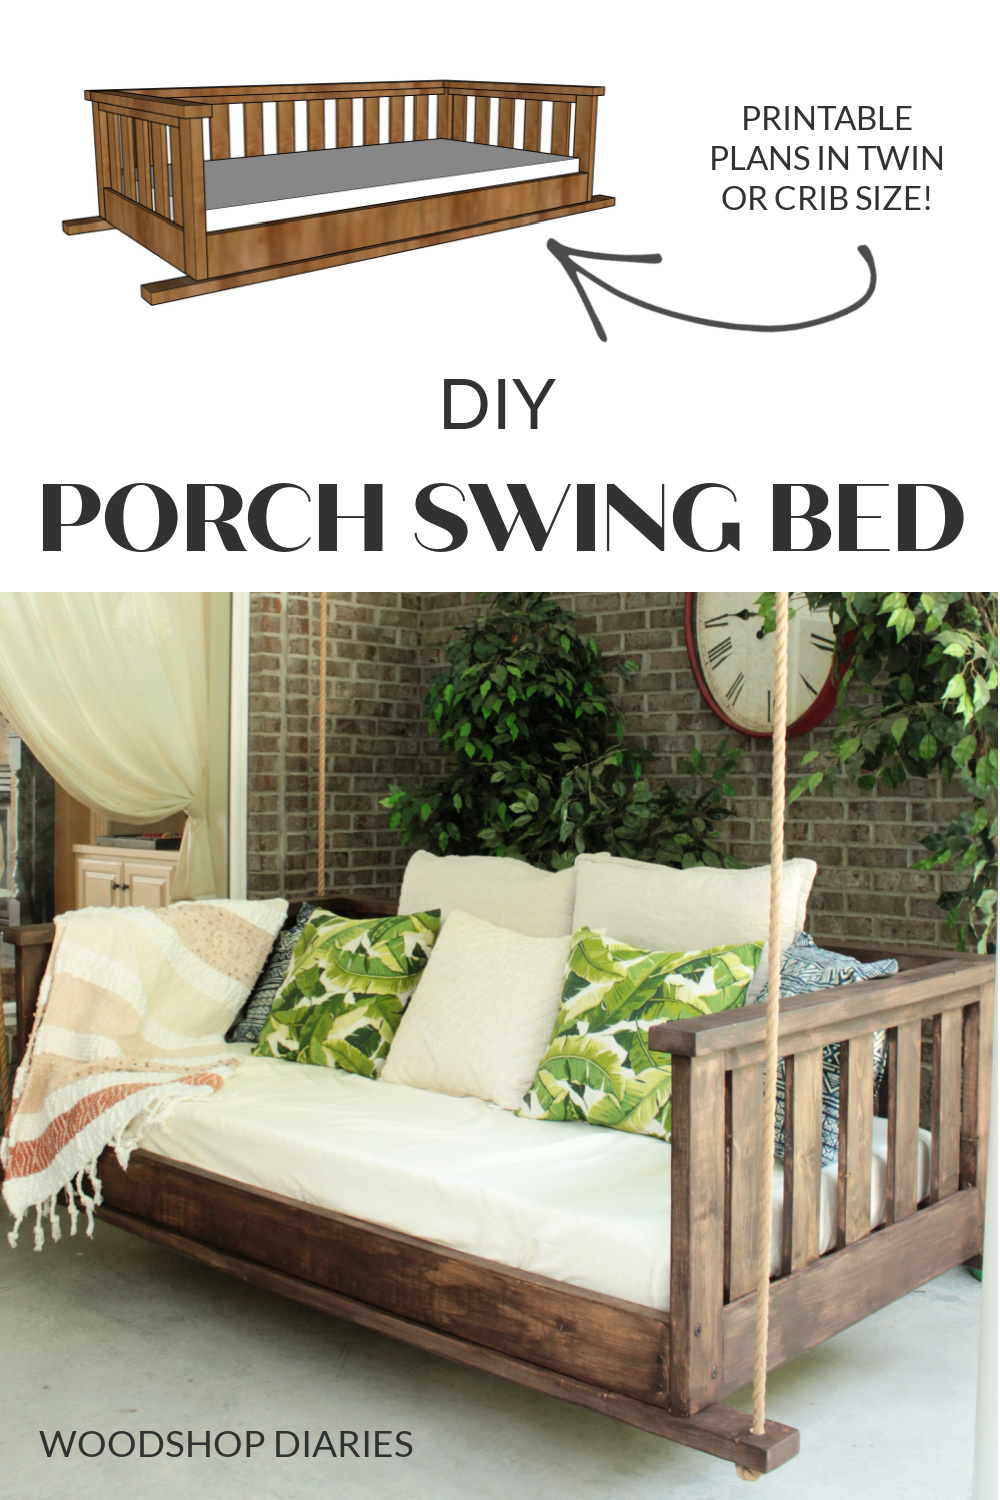
In this post, I’ll show you how to build a DIY porch swing bed!
I’m sharing printable building plans below for both a TWIN and a CRIB size mattress porch swing in this design. So, let’s get building!
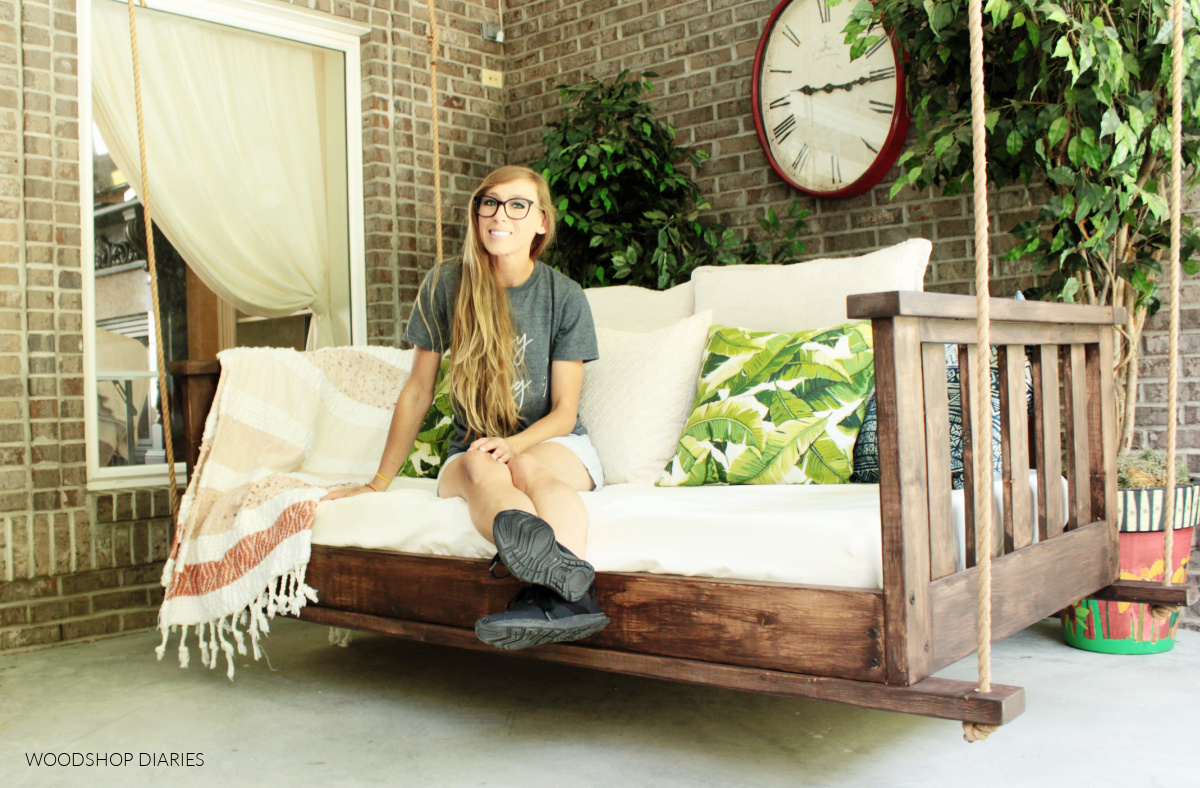
A friend of mine recently asked me to build her a porch swing bed large enough to fit a twin size mattress. Which…is quite large, but I must admit, it’s a good size for napping ha!
So if you can make it fit, I recommend going with the twin size.
However, if a twin is a little too big for your space, I’m sharing the printable building plans for BOTH a twin size and a smaller crib size mattress swing in this post so you’ve got a couple sizing options 😊
*This post contains affiliate links. See policies. This post was originally published in July 2021 and was updated in September 2026.
WHat to consider before building a porch swing bed
Overall dimensions will vary depending on whether you’re building a swing bed for a twin OR a crib size mattress. See full dimensions for both sizes on the plans page.
What wood should you use for a porch swing?
You can build outdoor projects from any wood type, but some will last longer than others depending on where they’re used.
RELATED: How to shop for lumber
Untreated pine (basic construction lumber) will work okay for outdoor furniture, but is best for projects that will be under cover–like on a porch. If exposed to a lot of sun and rain, it will deteriorate quickly.
It’s the most budget friendly option, but may not be the most durable for outdoor use.
This swing is going under a large covered porch. The way it is positioned, it will not have any direct sunlight and will not be subject to much, if any, rain, so I used untreated pine/spruce (basic construction lumber) to build it.
Pressure treated pine is a little more expensive, but is made specifically for outdoor use. It’s a very common material to build decks with.
It’s treated with chemicals to make it more rot resistant and will usually last SEVERAL years outdoors even if left uncovered.
While durable and budget friendly, this material is heavy and can take a while to dry out.
Cedar, red wood, and teak are all naturally decay and insect resistant wood options that look really nice.
But, these wood types can be quite expensive and sometimes hard to find depending on where you live.
So when building for outdoors, consider your budget, availability, and the pros and cons of each option before choosing your wood type. I opted to use cedar for this project.
Don’t forget when building outdoor projects–make sure the hardware (screws), glues and finish you use are rated for exterior use.
PORCH SUPPORTS
Before beginning, keep in mind the weight this will be holding and make sure you have enough support in the ceiling and the hardware you use to hang it to hold both the weight of the swing and the people who will be using it.
2×2 boards
This design did call for using a couple 2×2 boards. I cut my own 2x2s from one of the 2x4s using my table saw. You can purchase these precut, or make your own 2x2s from 2x4s using this tutorial.
You may find these posts helpful throughout this project:
Enjoy DIY projects and woodworking plans? Sign up for priority access for the latest posts on Woodshop Diaries!
How to Build a Porch Swing Bed
If you prefer to watch, I’ve shared the full build video with tons of tips, behind the scenes, and additional details on my YouTube Channel here.
Love watching how-to videos? Subscribe to my YouTube channel for plenty more where that came from!
Prefer to print? Grab the printable porch swing building plans available here:
Tools & Materials
Tools:
- Drill/Driver
- Saw to cut straight lines–Can use miter, jig, or circular saw
- Pocket Hole Jig (optional)
- Saw to cut plywood (see step 7)–Can use jig or circular saw
- Brad Nailer (can use screws instead if you don’t have one)
- ¾″ spade, hole saw, or forstener drill bit
.
Materials:
*Materials will vary based on the size porch swing bed you’re building. Check printable plans for specifics on each size. The following is based off a twin size.
- (2) 2x2x8 boards
- (6) 2x4x10 boards
- (2) 2x6x8 boards
- (5) 1x4x8 boards
- (1) 1x6x8 board
- (1) sheet ½″ or ¾″ plywood (optional–see step 7)
- 1 ¼″, 2″, 2 ½″, 3″ wood screws (use exterior rated if using outdoors)
- 2 ½″ pocket hole screws (use exterior rated if using outdoors)
- Timber Screws (optional)
- Wood Glue
- Rope Kit
- (4) eye screws
- (4) carabiner clips
Step 1: Assemble Swing Seat Frame
This project started off with building a frame for the seat. The dimensions will vary depending on the size you are building. Refer to the printable plans for your particular size for specifics.
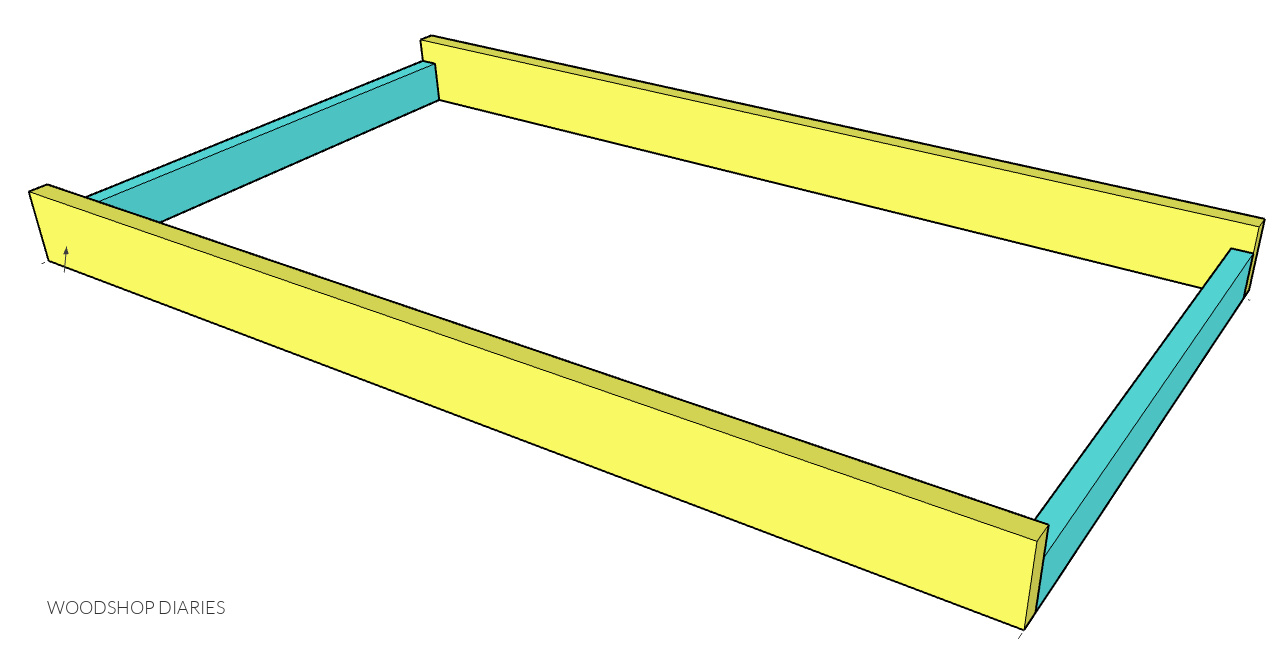
The front and back pieces were 2x6s (in yellow above) and the shorter side pieces were 2x4s (in blue above). I trimmed these boards down to length, then assembled using 2 ⅞” timber screws.
Regular wood screws would work fine here, but I had a few extra of these in the shop and I liked how the bigger black screw heads looked for this, so I used them.
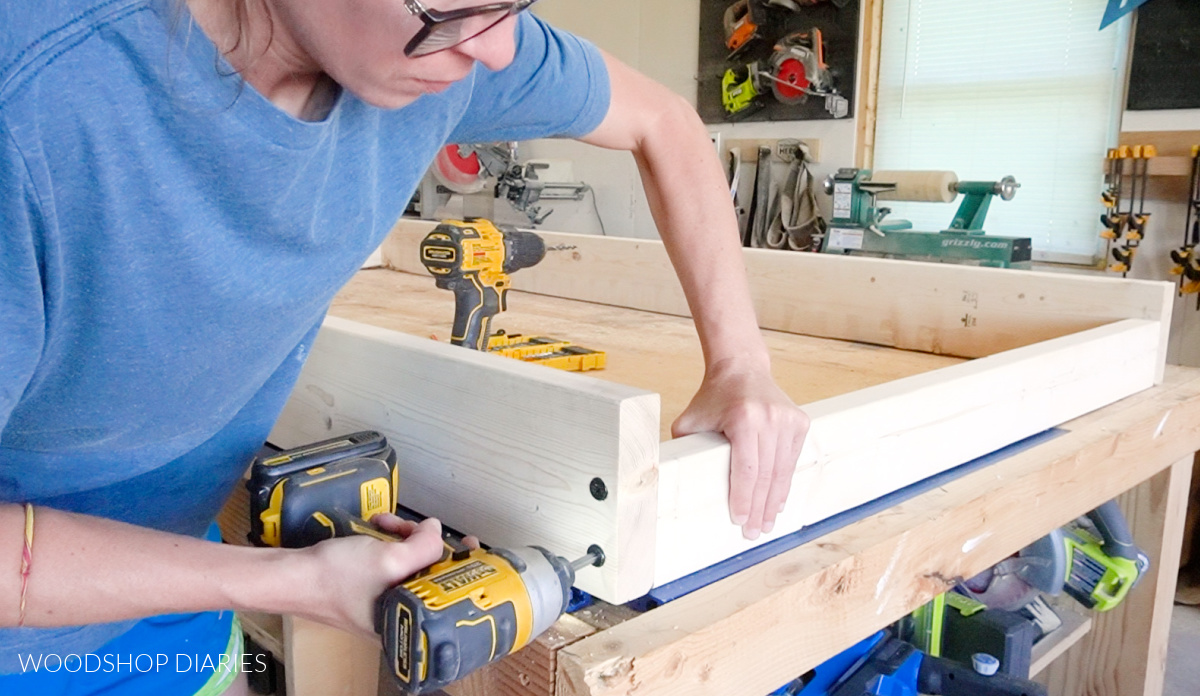
Step 2: Add Corner “Posts” to Seat Frame
I added 2x4s at each corner for what I will call the “corner posts.”
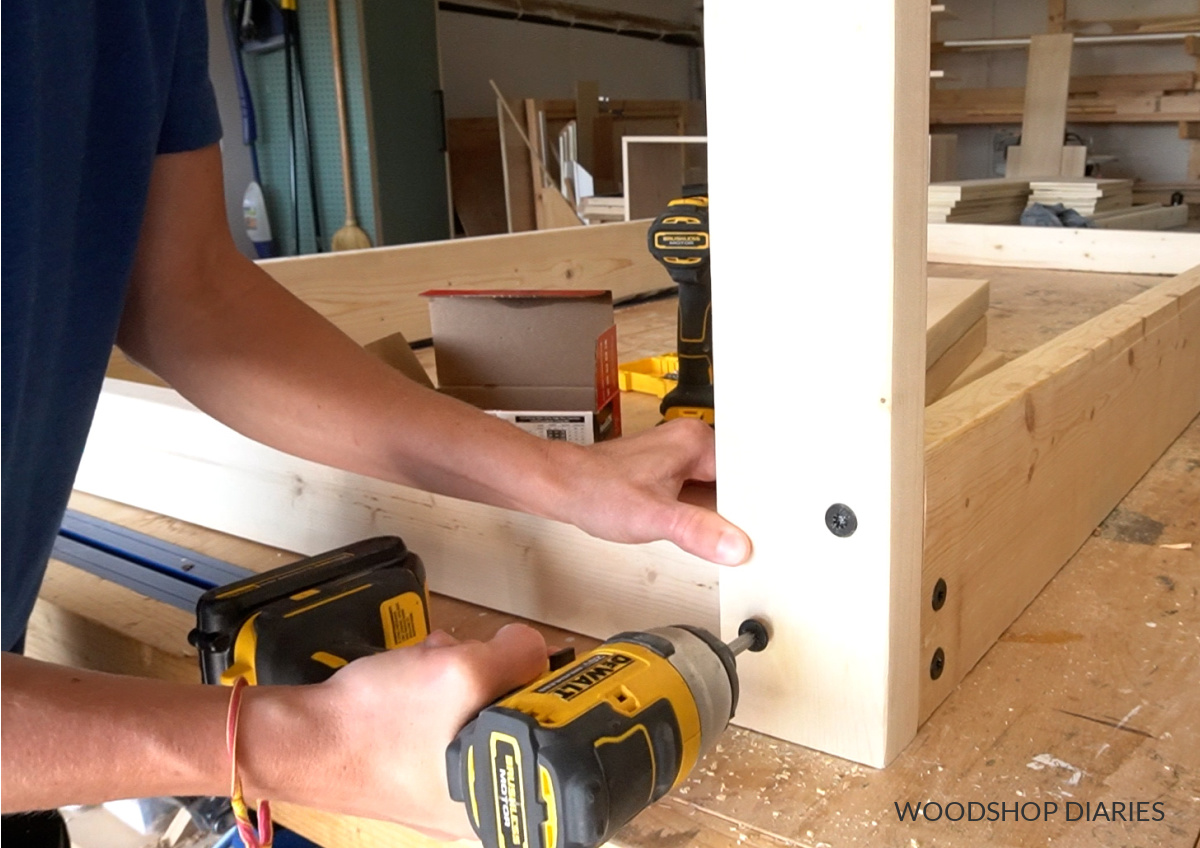
Again, wood screws would work fine here, but I liked the look of the timber screws.
Step 3: Complete Swing Bed Frame
Next, I attached 2x2s between the 2x4s at the corners using 1 ½″ pocket holes and 2 ½″ exterior grade pocket hole screws.
RELATED: How to Use a Pocket Hole Jig
Now, if you don’t have a pocket hole jig, you can use 4” wood screws through the 2x4s to secure these, toenail the screws by driving them at an angle, or just simply screw these pieces on the top side of the 2x4s instead of between them.
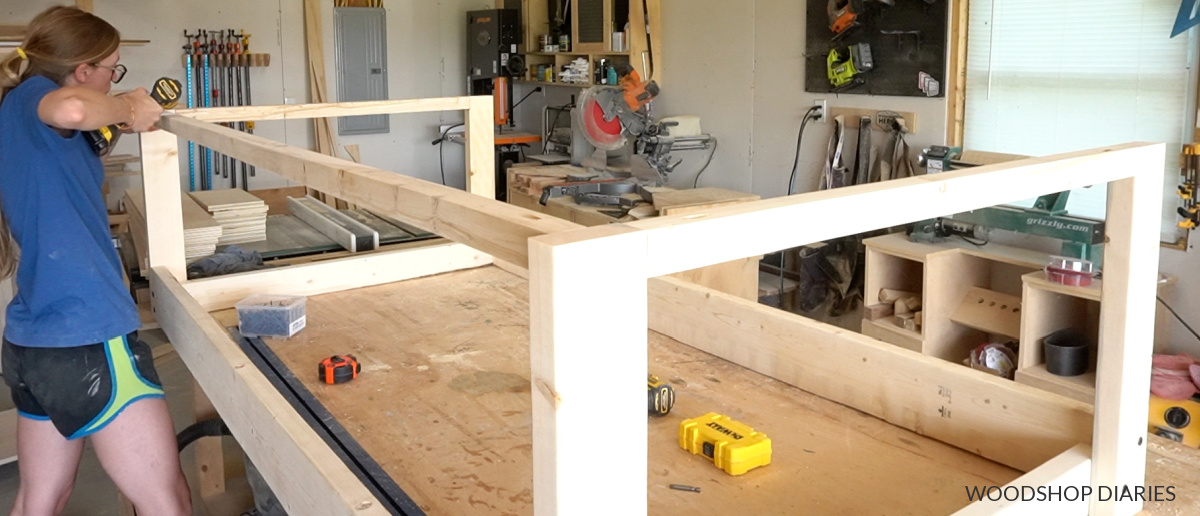
If you add these on top, you’ll need to cut the vertical slats in the next step about 1 ½″ longer, but it’s not a big deal.
Prefer to print? Grab the printable porch swing bed building plans here.
Step 4: Install Slats
I used 1×4 boards for the slats. The ones on the back are a little shorter than the ones on the sides to allow for some seat supports to be added later. Refer to the plans for specifics.
Once they were cut to length, I found the center of each 2×2 and started there working my way out using a scrap 1×4 piece to evenly space them out.
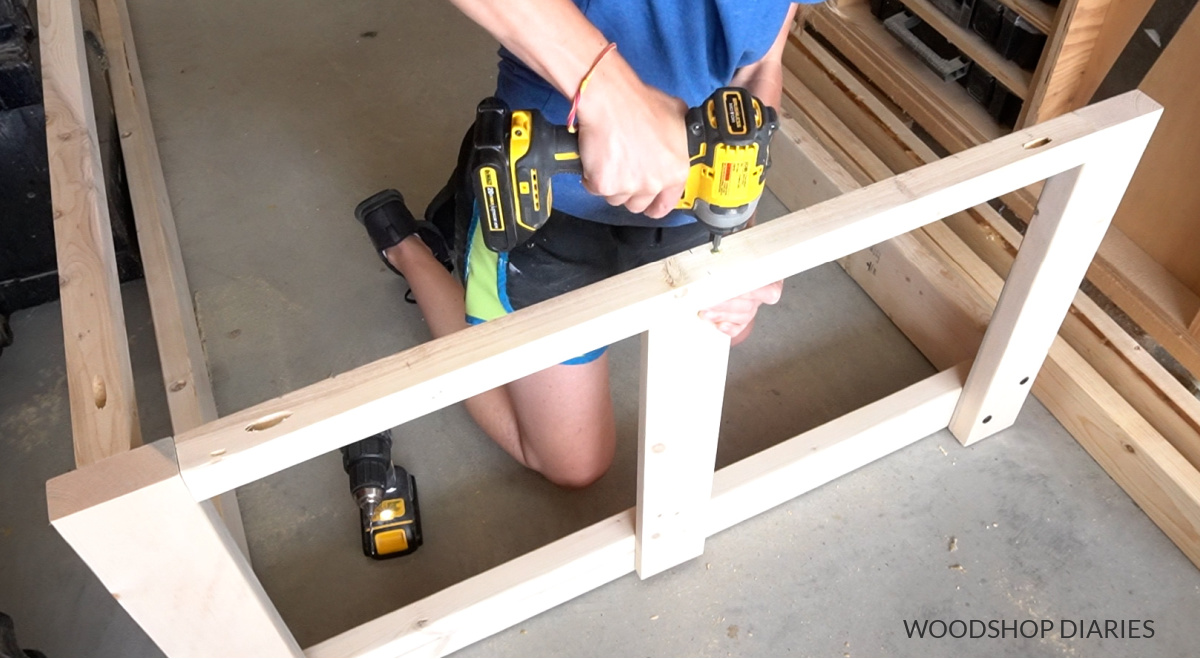
I used 2” exterior wood screws at the top through the 2×2 supports making sure to predrill every hole to prevent splitting. Then, I used the same screws to secure them at the bottom.
I added slats to both sides first, then across the back.
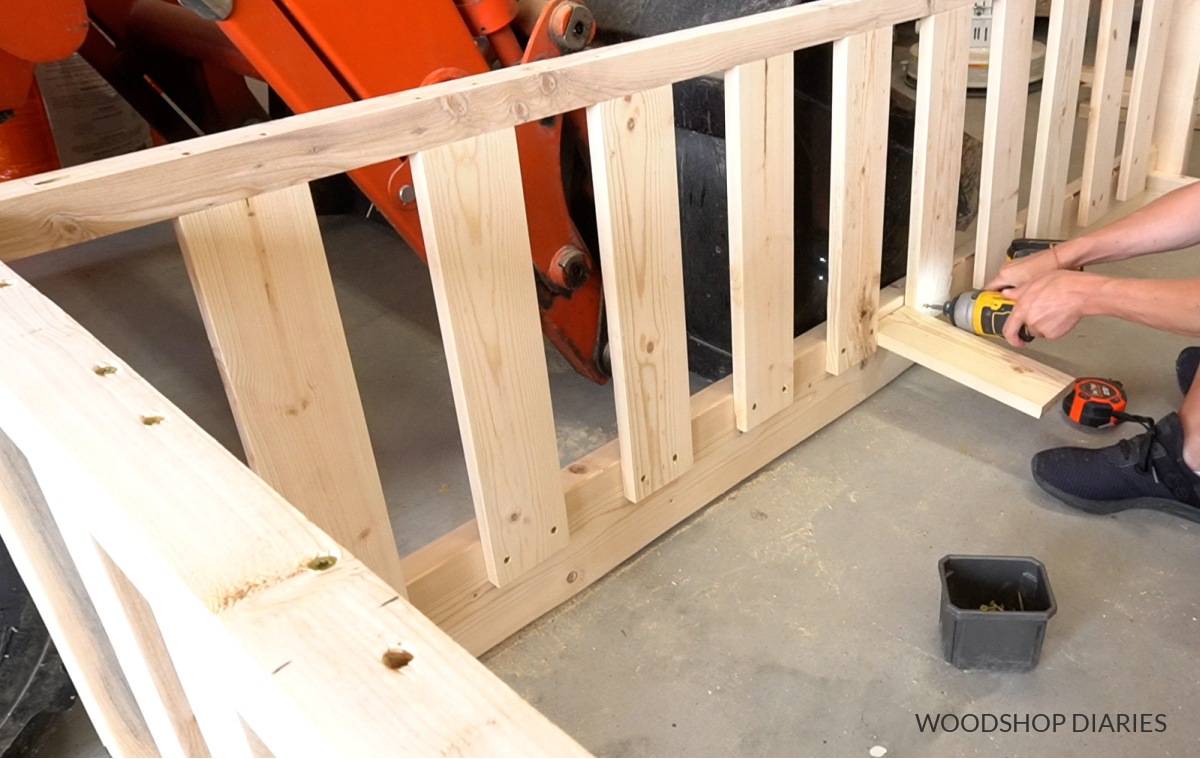
Step 5: Add “Arm Rests” to Swing Frame
Once all the slats were in place, I cut and attached 2x4s along the top edge to act as an arm rest. I used several screws from the underside of the 2x2s to attach these so you wouldn’t see the screw heads from the top.
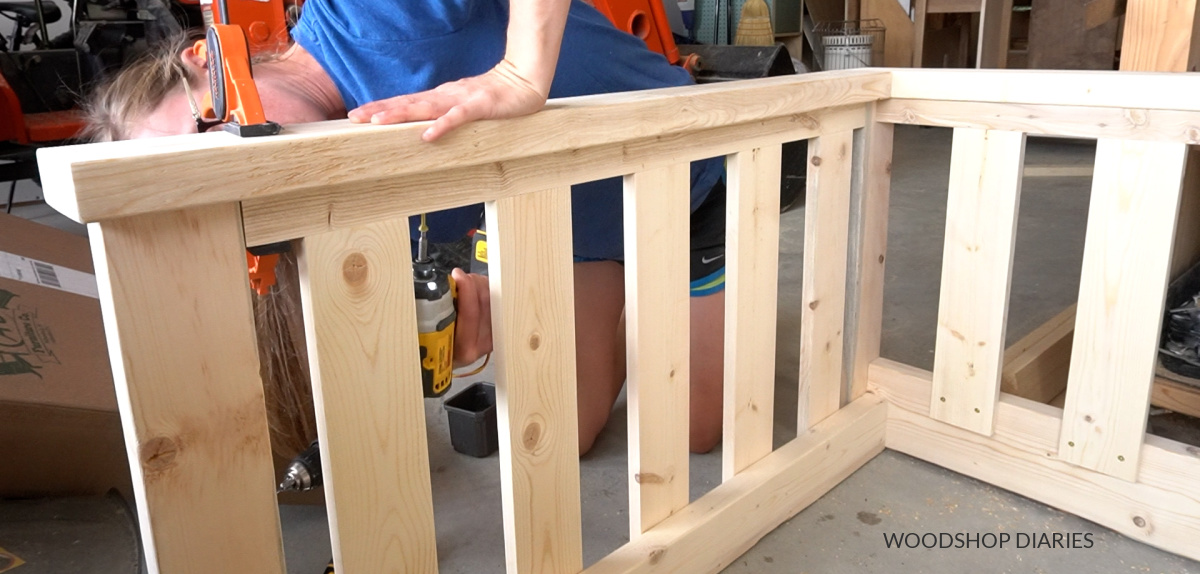
Step 6: Trim Out Side Slats
Then I cut two pieces of 1×6 board to trim out the bottom of both sides of the swing. This 1×6 will cover the screw heads from the slats and also match the 2×6 thickness on the front, so it’s basically just for looks.
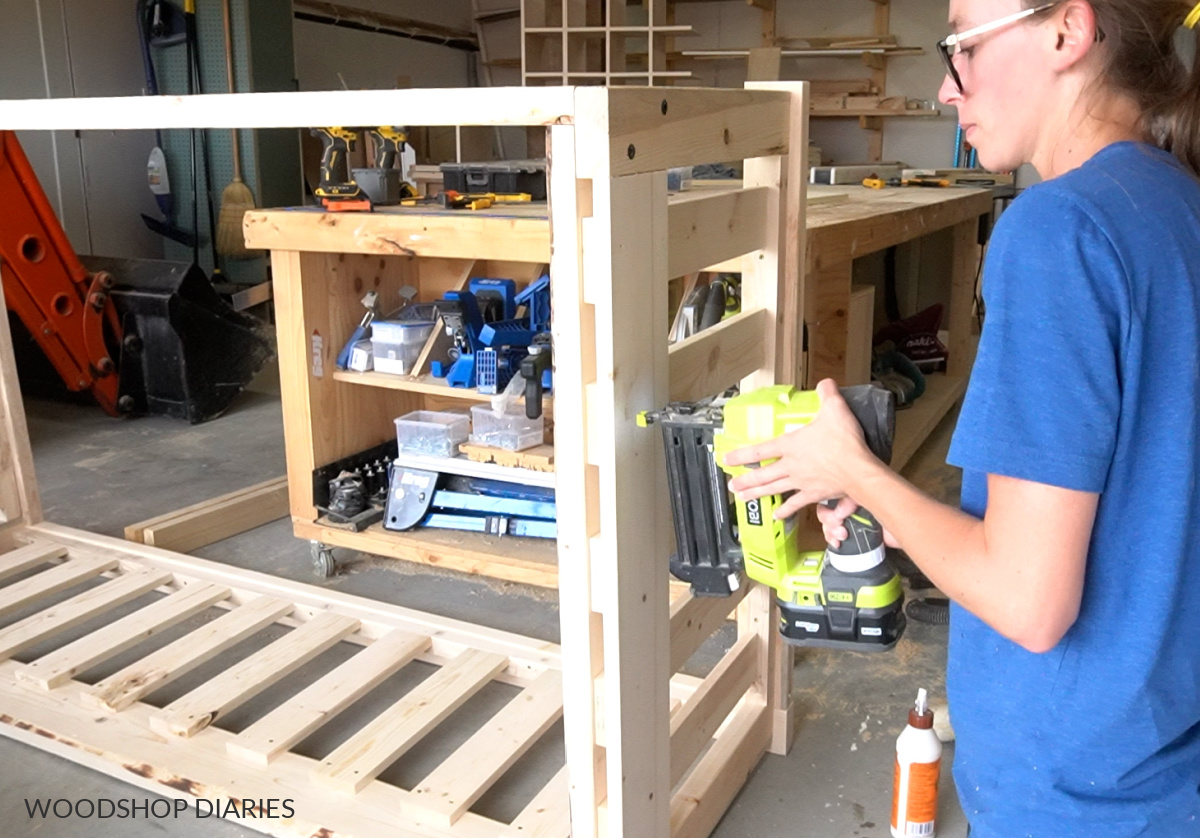
I used exterior grade wood glue on the slats and brad nails to attach. If you don’t have a nailer, you could use screws instead.
Step 7: Install Swing Bed Mattress Supports
To give the mattress some support, I added some 2x4s on the bottom using pocket holes and screws.
You don’t HAVE to use pocket holes. If you don’t have a pocket hole jig, you could use regular or timber screws through the front and back supports instead.
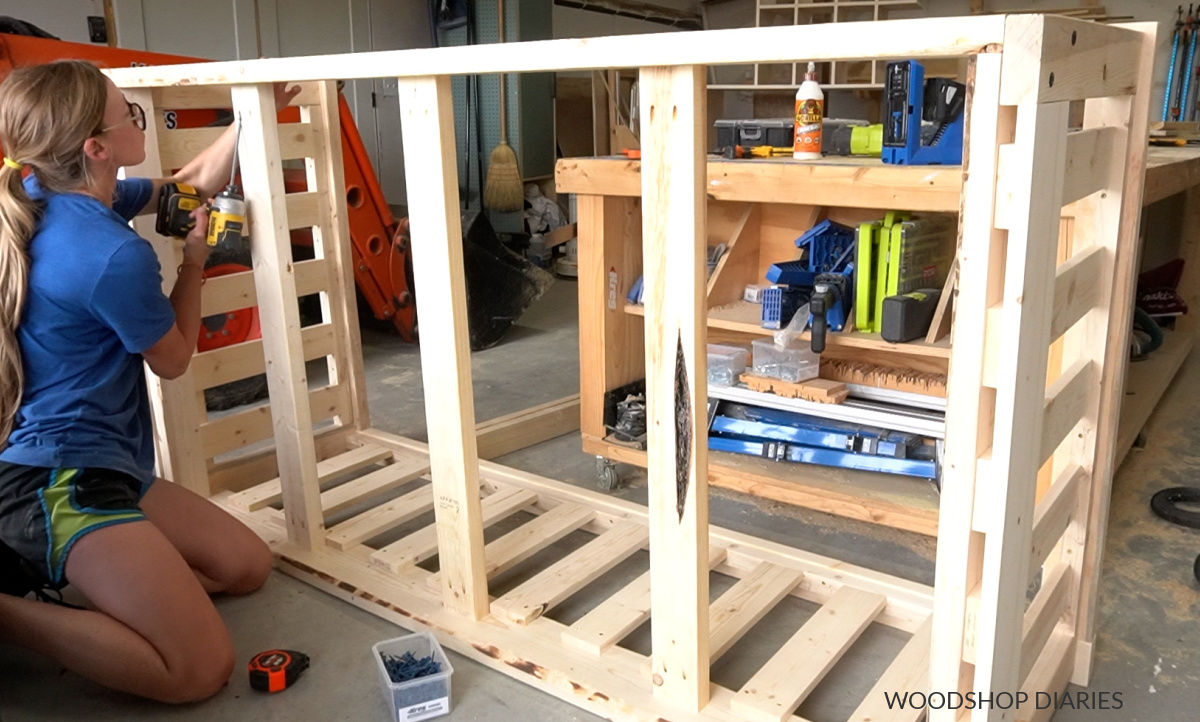
I evenly spaced three supports along the bottom. If you’re using a spring mattress, this would probably be plenty of support.
But the foam mattress my friend was using was a little flimsy, so I actually cut a piece of ¾” plywood to sit down into this frame on these supports.
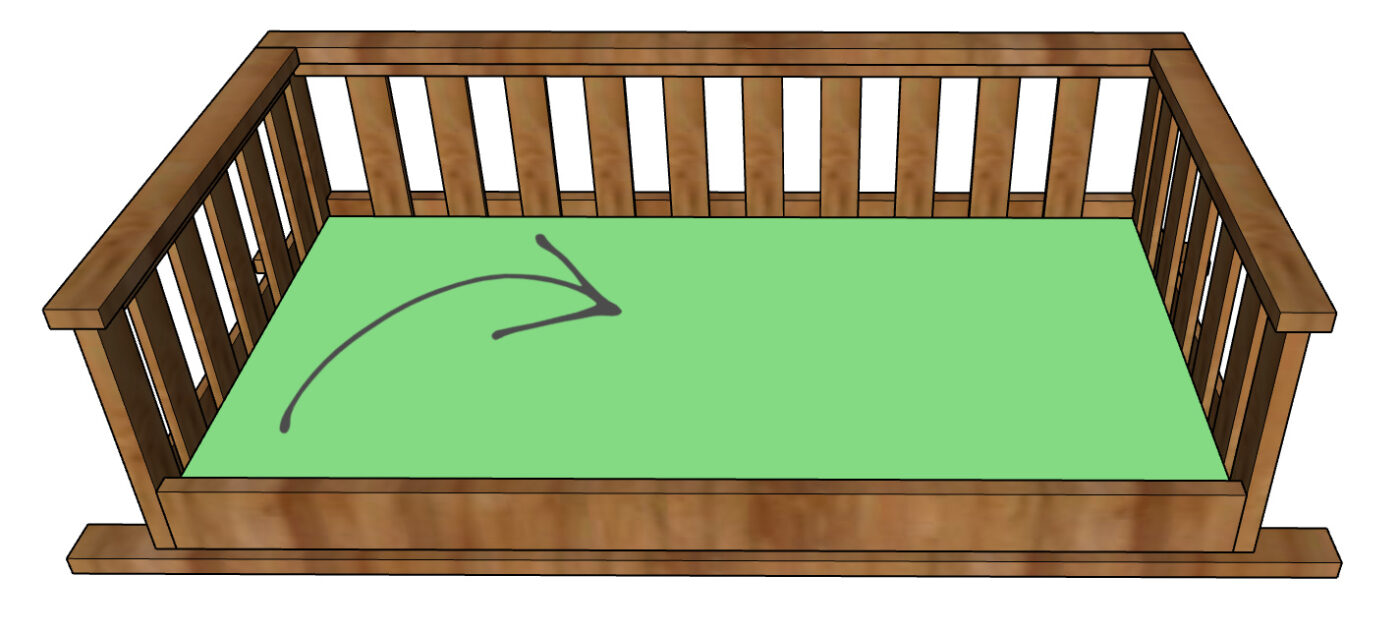
You could save a little money (and weight) by using ½″ plywood instead of ¾″, but I knew I could use the rest of the ¾″ sheet for another project, so that’s why I used it.
I recommend cutting this piece to fit, but not securing it yet. It adds quite a bit of weight, so it’s nice to be able to remove it to hang the swing. After it’s hung, you can place it in the seat and secure it in with 1 ¼″ wood screws.
Step 8: Add Bottom Runner Supports
Now it was time to add the final pieces, which were the runners that the ropes will be tied to to hold the swing.
I cut two 2×4 boards—one for the front and one for the back–so that they overhung each side.
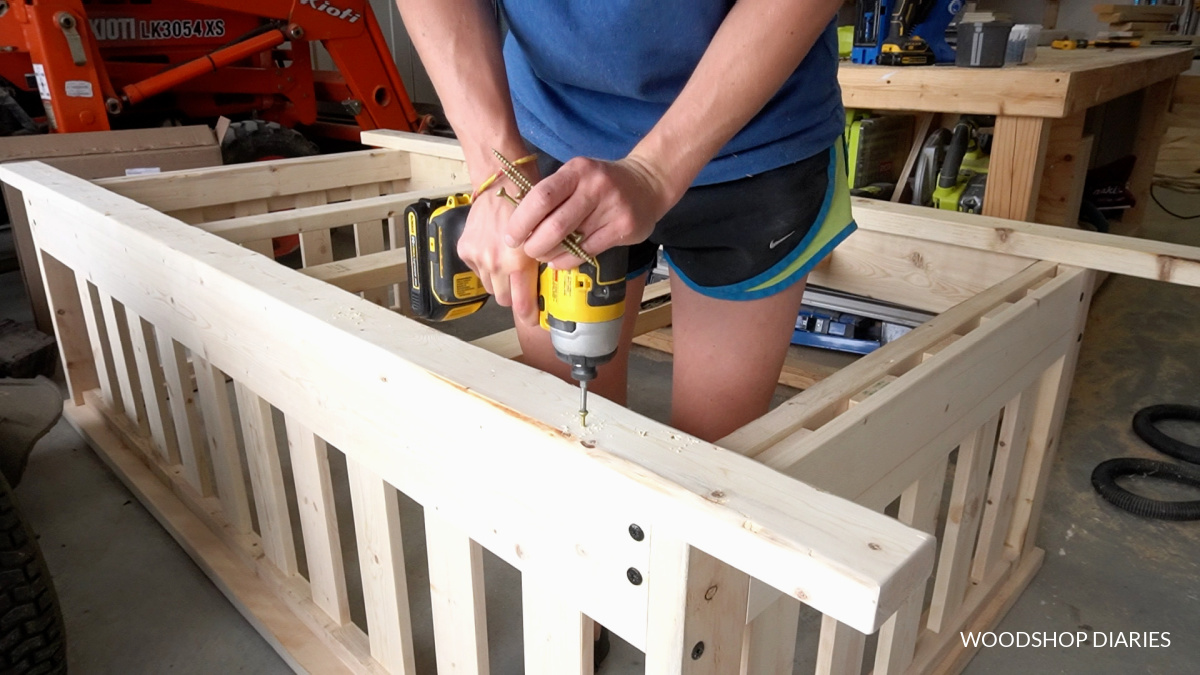
I screwed these in from the bottom side using several screws into the frame of the swing.
Step 9: Finish and Attach Ropes
Then, I used an outdoor stain and sealant (I used Valspar Canyon Brown outdoor semi-transparent sealant) to give it some color and help protect the wood.
Once that was dry, I could attach the ropes.
I purchased this rope kit from Amazon to hang this swing with. It came with 4 ropes–one for each corner of the swing. This one was for a 10′ ceiling, but they make them for 8′ and 9′ as well.
I used a ¾” forstener bit to drill holes through the bottom 2x4s to slip the ropes through and tied a knot.
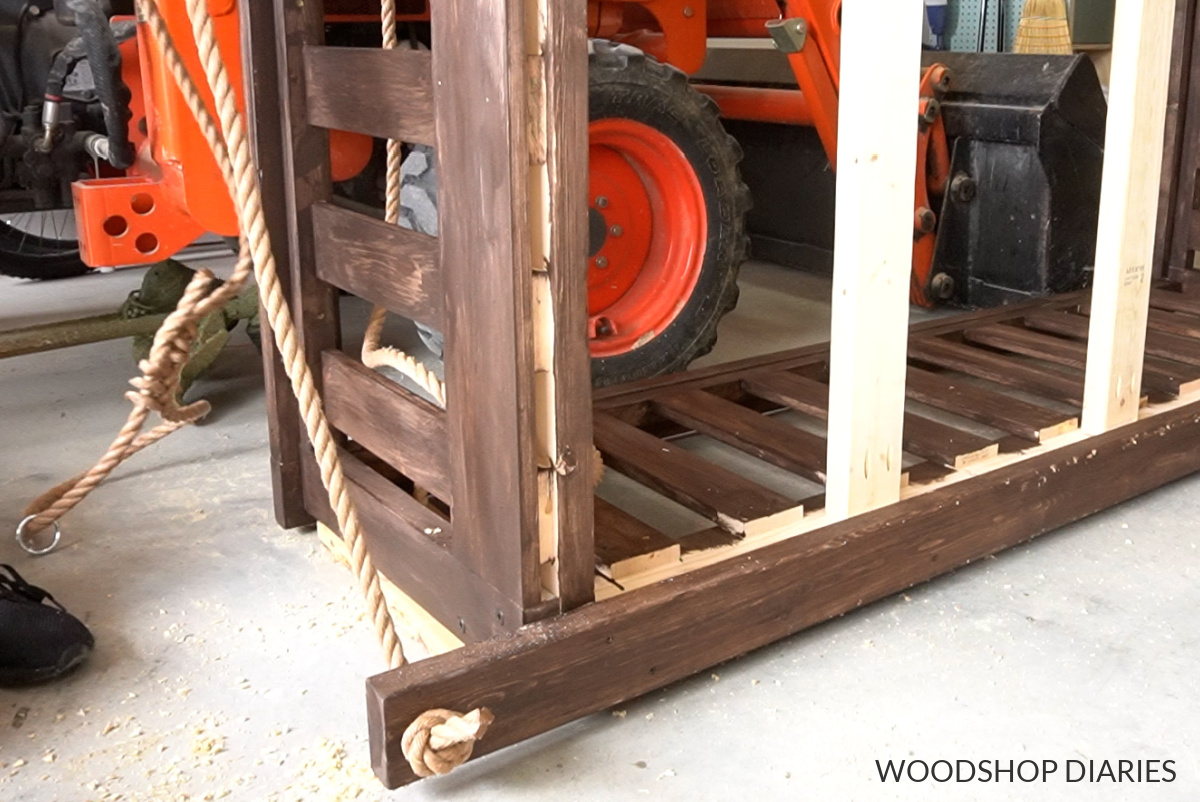
Since these ropes are fully adjustable, I could just tie them on and once we get it installed, adjust the rope length as needed to get the seat height where we wanted. Check out the video for more details.
Step 10: Hang Swing Bed
*If you are unsure about this, contact a professional to ensure your ceiling and the hardware you use can handle the weight.
To hang this swing, we we located the rafters in the attic and found the ones that most closely matched the holes drilled for the ropes in the swing.
Due to the location of the rafters, you’ll notice the ropes do angle out slightly, but that’s better than angling in because this way, they don’t rub the arm rests.
Once we located the rafters we wanted to attach to, we predrilled pilot holes and installed four ⅜″ x 4 ½″ eye screws through the ceiling here and into the rafters above.
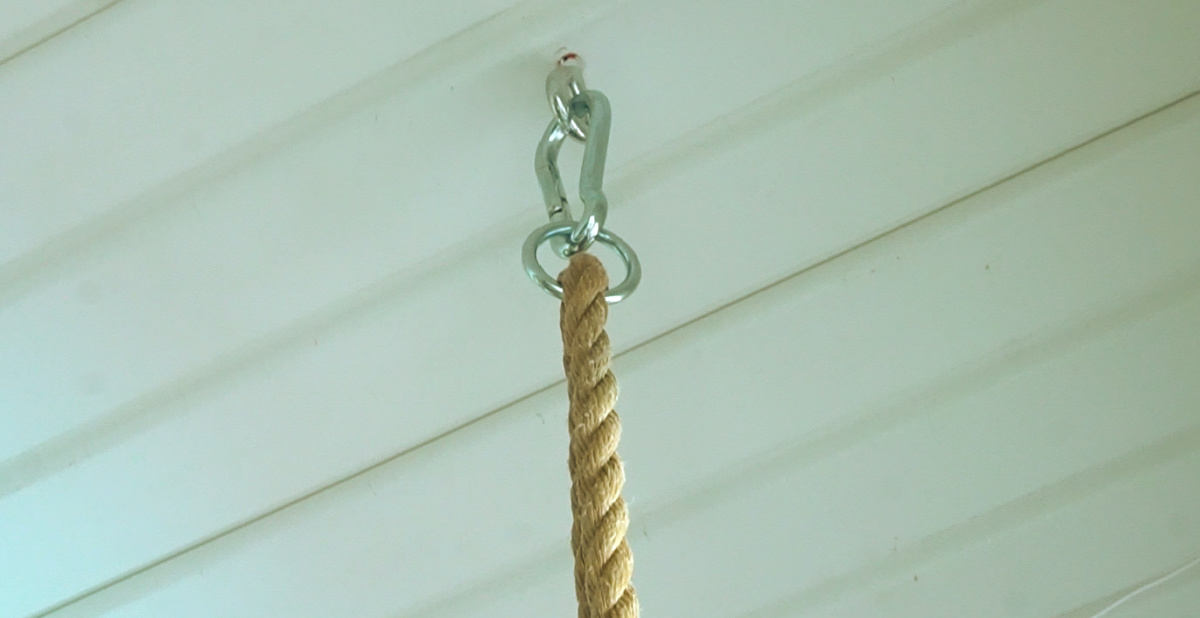
Then I used carabiner clips to hook between the eye screws and the rings on the ropes.
We adjusted the height of the swing by adjusting the ropes. Check out the video for more details.
Once we got the porch swing bed hung, I slipped the plywood piece from step 7 into the seat frame and secured it to the seat supports with a few 1 ¼″ screws. Then, added the mattress, pillows and blanket ha!
And now it’s ready for swinging, napping, or lounging all summer long.
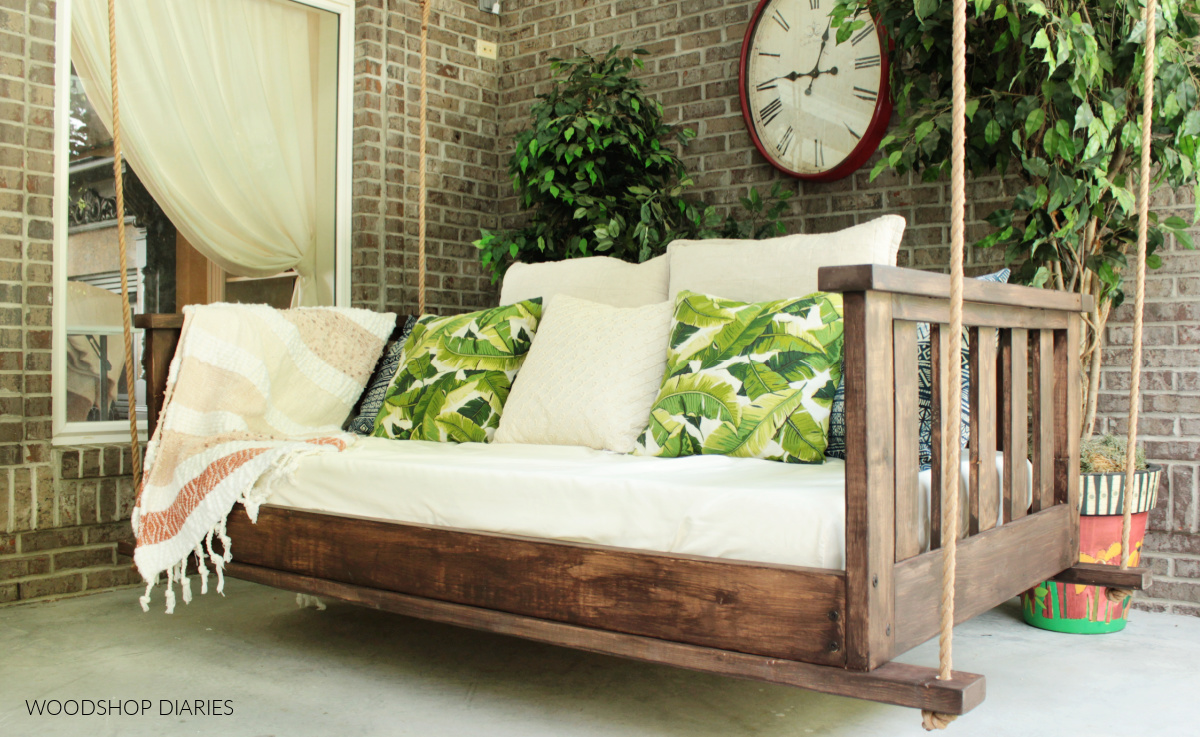
This was such a fun outdoor project to put together and I really hope you enjoyed watching the process.
I hope you learned something new and will grab the plans and build your own DIY pocket swing bed!
Looking for more Outdoor DIY projects?
Enjoyed this project, but looking for more outdoor DIYs? Outdoor projects are some of my favorite to build, so I’ve got you covered with plenty more!
Click on the image(s) below to see how to build each one:
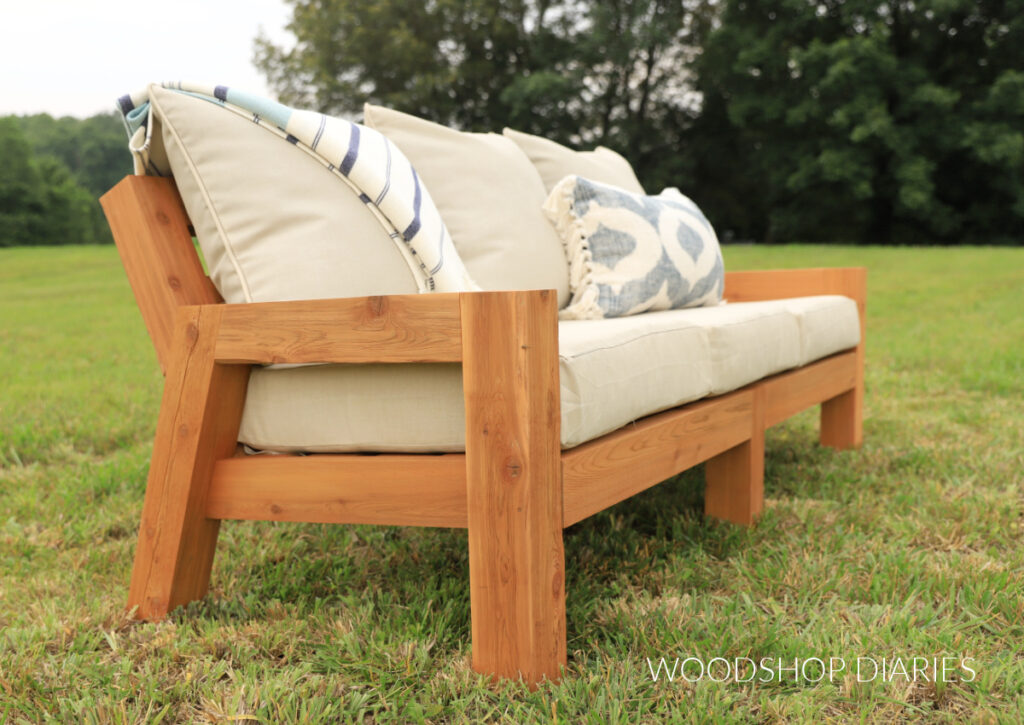
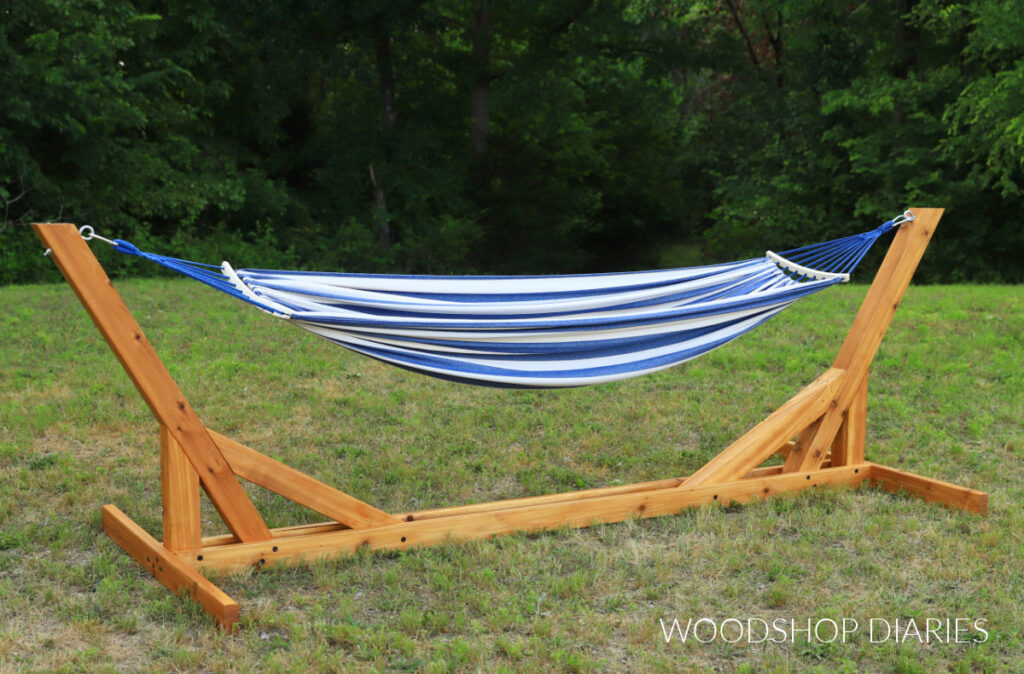
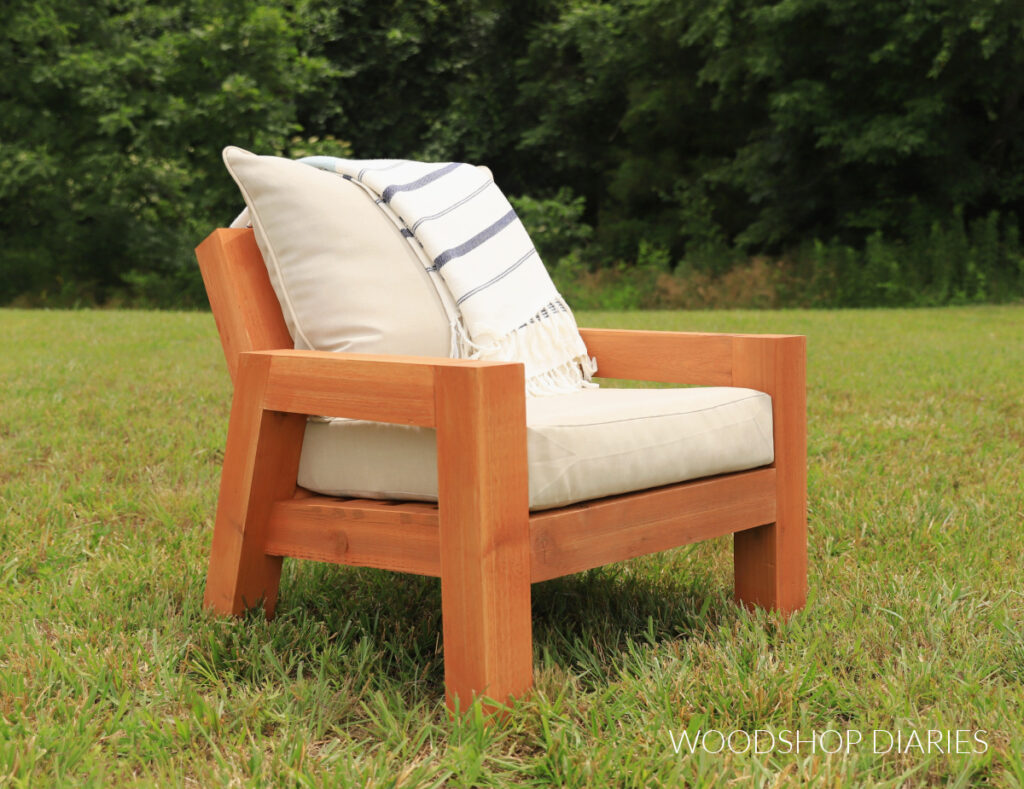
Don’t forget to grab the plans to build your own! And if you want to save this project for later, be sure to pin it or share it to your favorite social channel!
Until next time, friends, happy building!