In this post, I’m sharing how to build a simple jig to make cutting small parts on your miter saw easier.
Have you struggled with cutting very small pieces with your miter saw? I’ll be honest…I cringe every time I use the miter saw to cut a really small piece.
The miter saw is my go to choice for quick, accurate cuts. But, the problem is most miter saws don’t provide the proper support underneath and behind to cut very small pieces.
I’ve admittedly cut some way too small pieces over the years and the drywall behind my miter saw has several dents and scratches from when those cuts went wrong (and the pieces went flying!).
For cutting small pieces, you really need a special jig. Luckily, they’re easy to make and I’m actually quite embarrassed I didn’t do this sooner!

This is a handy addition to any workshop and I’ll show you how to make your own below.
*This post contains affiliate links. See website policies.
What to know before building
There are MANY ways to make a small parts jig for a miter saw, so this definitely isn’t the ONLY way.
But this simple method utilizes just a small piece of ¾″ plywood scrap and is not overly complicated.
I opted to use T tracks to be able to clamp my small parts at any point along the jig. These tracks should be placed on the jig so that they won’t interfere with the blade. This is noted in the steps below.
The size of the jig can vary (see step 1), but I recommend making it at least 24-30″ long.
How to make a miter saw small parts cutting jig
If you prefer to watch, here’s a quick video tutorial, but I’ve also got the step by step instructions below.
Love watching how-to videos? Subscribe to my YouTube channel for plenty more where that came from!
Enjoy DIY projects and woodworking plans? Sign up for priority access for the latest posts on Woodshop Diaries!
Tools & Materials
Tools:
- Miter Saw
- Table Saw (or router or circular saw–see notes below)
- Jig Saw (optional)
- Drill/Driver
Materials:
- Scrap ¾″ plywood panel (approx. 14″ x 30″)
- (4) 1 ¼″ wood screws
- (2) 12″ T Tracks
- (6) #6 x ⅜″ wood screws
- T Track Clamps
Step 1: Cut Jig Parts
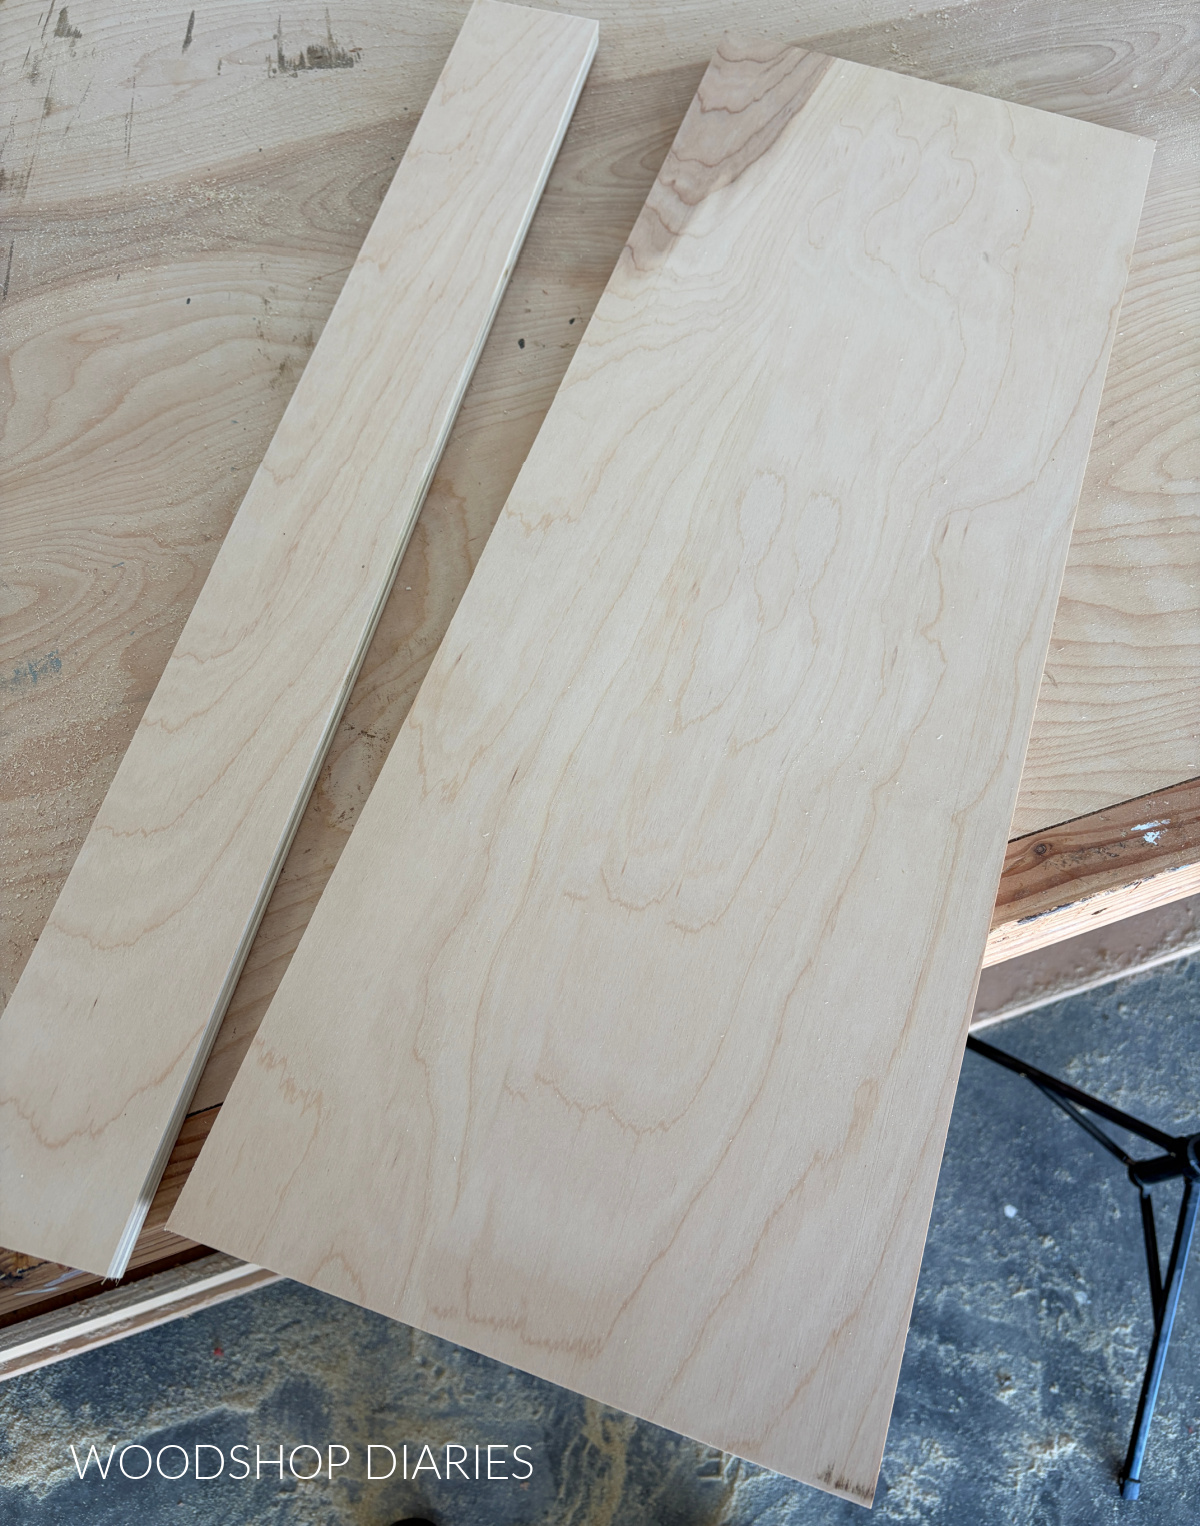
This jig needs two parts: a bottom and a back. These don’t have to be specific dimensions, so feel free to customize or use whatever size ¾″ plywood scraps you may have on hand.
But the bottom piece needs to be a few inches wider than the depth your miter saw can cut.
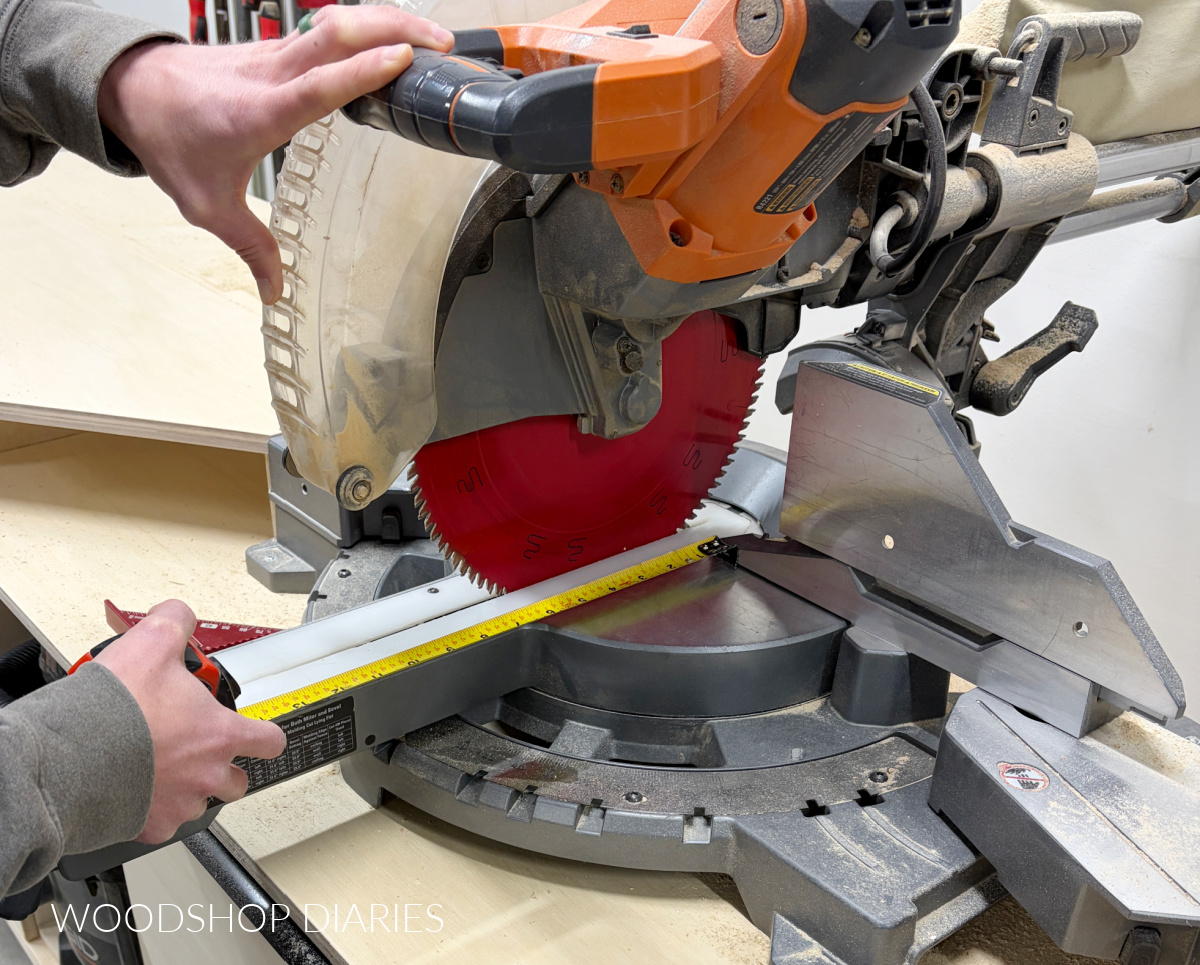
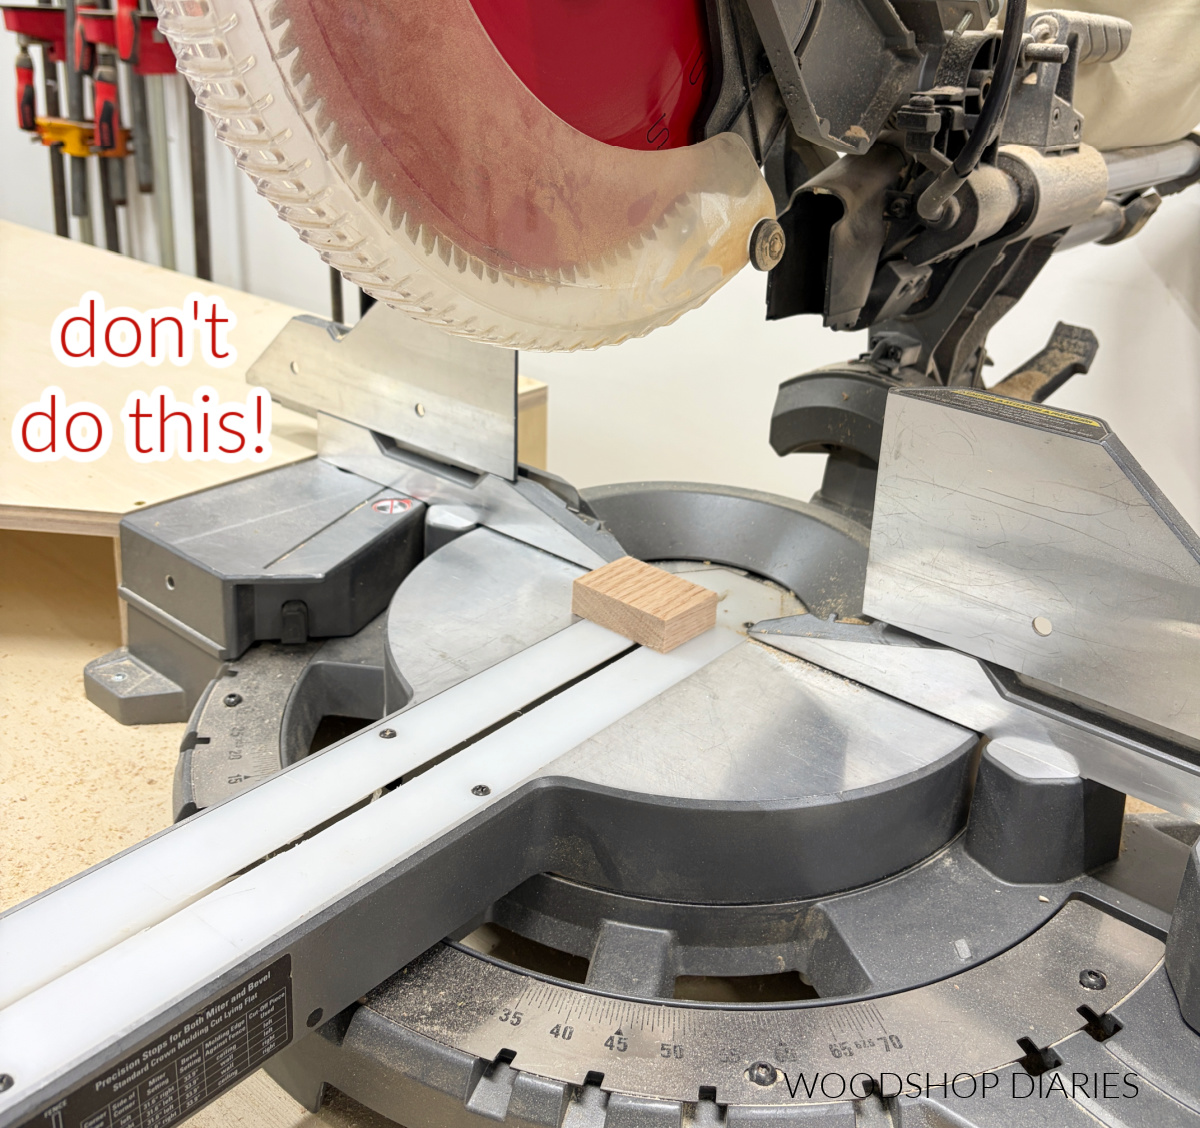
So, first, I measured from the back rail of my saw to the front edge of the blade and added a few inches to give me about 11″. For reference, I have a 12″ miter saw. A 10″ saw will be a bit less.
TIP: If you have a sliding miter saw like mine, measure with the blade pushed all the way back.
So I found a piece of scrap ¾″ plywood about 14″ x 30″ and ripped it to 11″ wide. I can use the leftover ~3″ piece for the back.
Step 2: Cut Slot for T Track
I’m installing a T track into this jig to be able to clamp the small pieces, so I need to notch a slot into the bottom piece for it to slide into.
So I adjusted the blade depth on my table saw to match the thickness of my T track and I cut a kerf about 4 ½″ and 5 ¼″ from one edge of my bottom board. The T track is ¾″ wide, so I checked that it would fit.
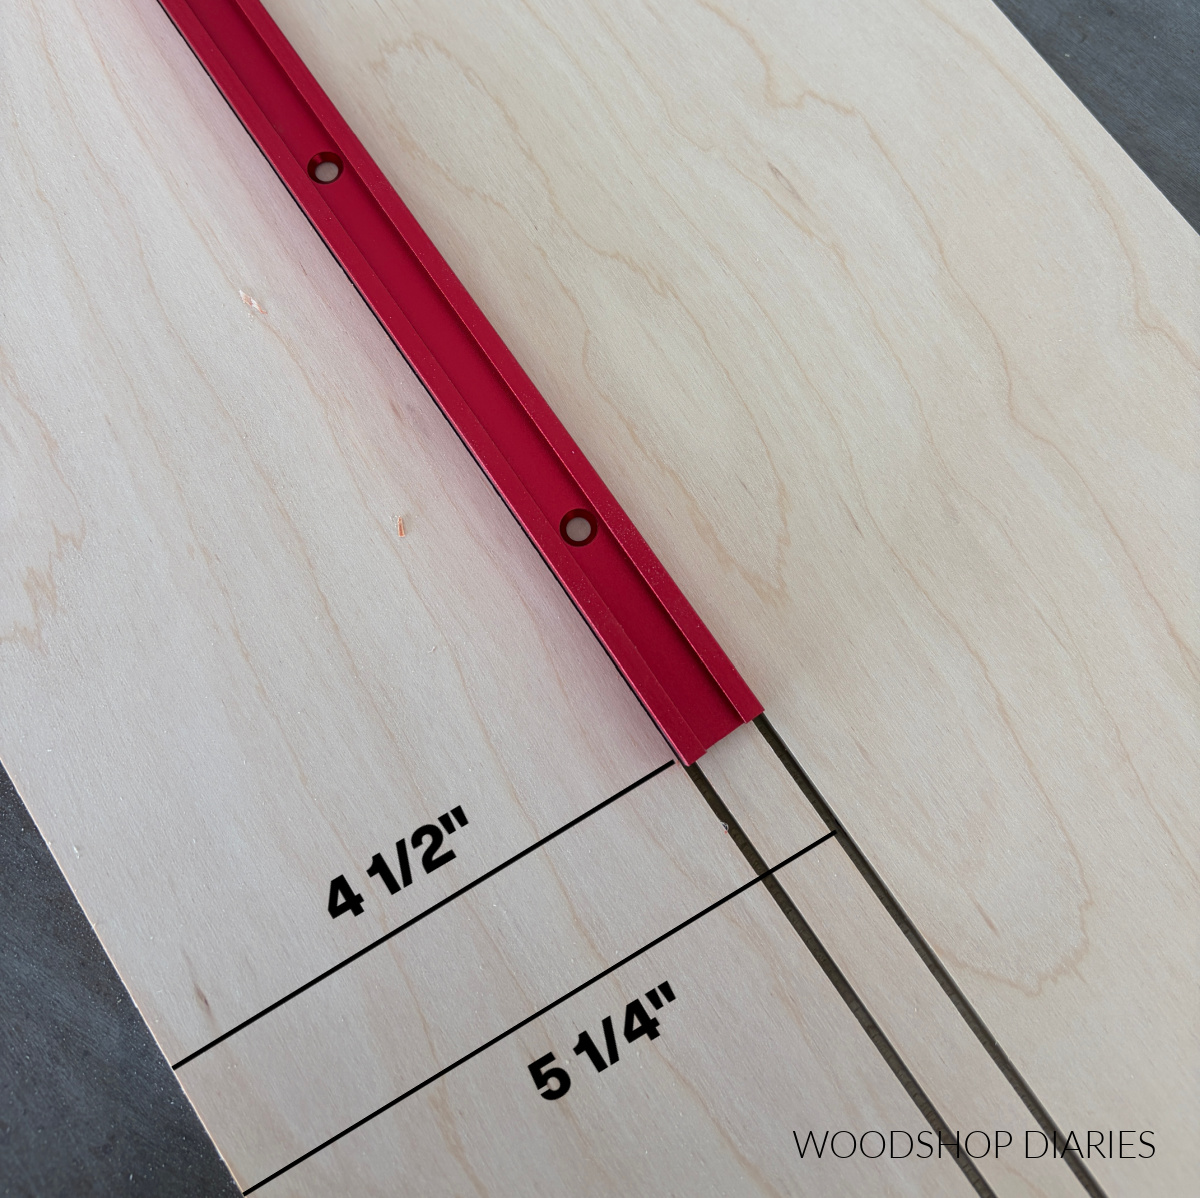
Then, I made multiple passes between these kerfs to cut out everything between them. The T track should fit into this slot and be flush across the top.
TIP: If you didn’t want to use a table saw here, you could also use a router OR a circular saw to cut this slot.
How did I decide where to cut the T track slot?
I’m using these clamps with my tracks. So I made sure to cut the notch close enough to the back edge that my clamp could reach the back board. That way, I knew my pieces would be within range of the clamp no matter what size they are.
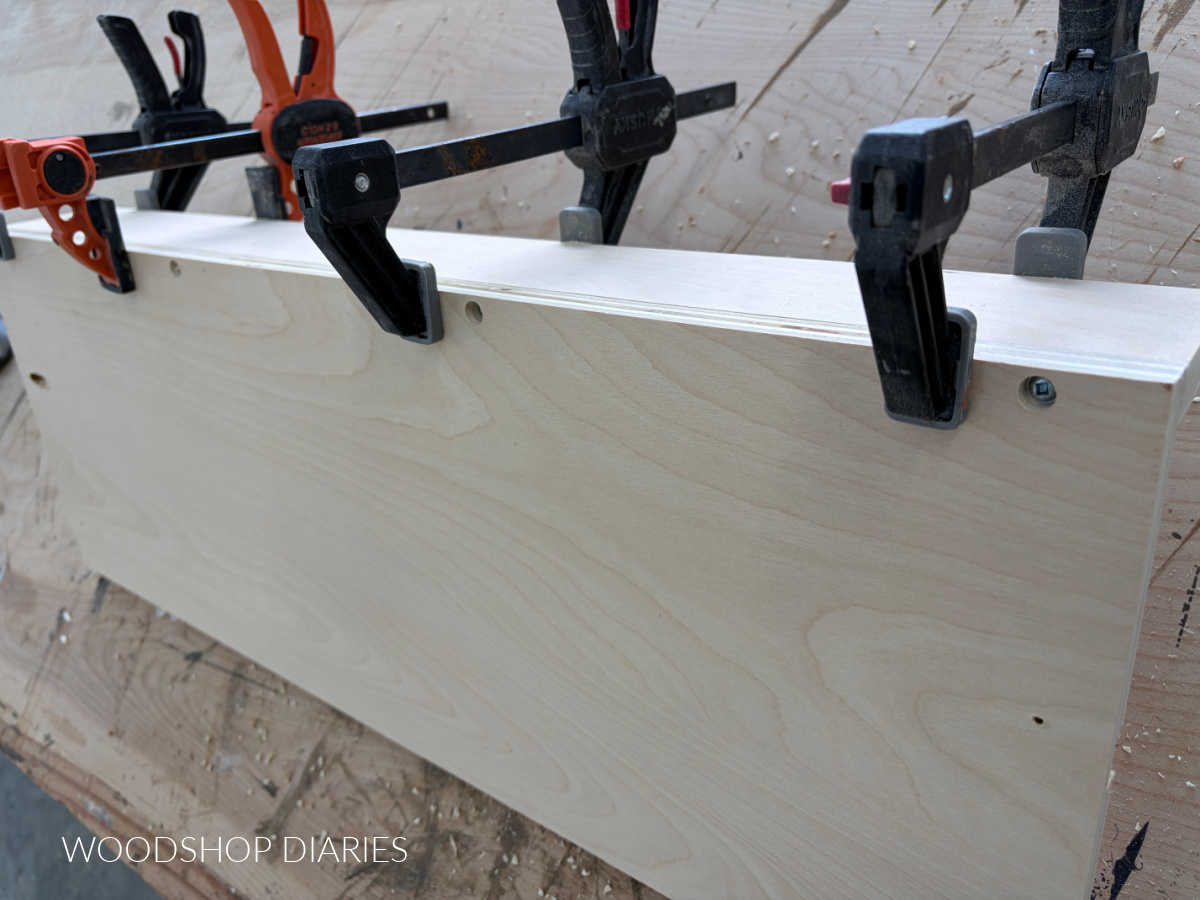
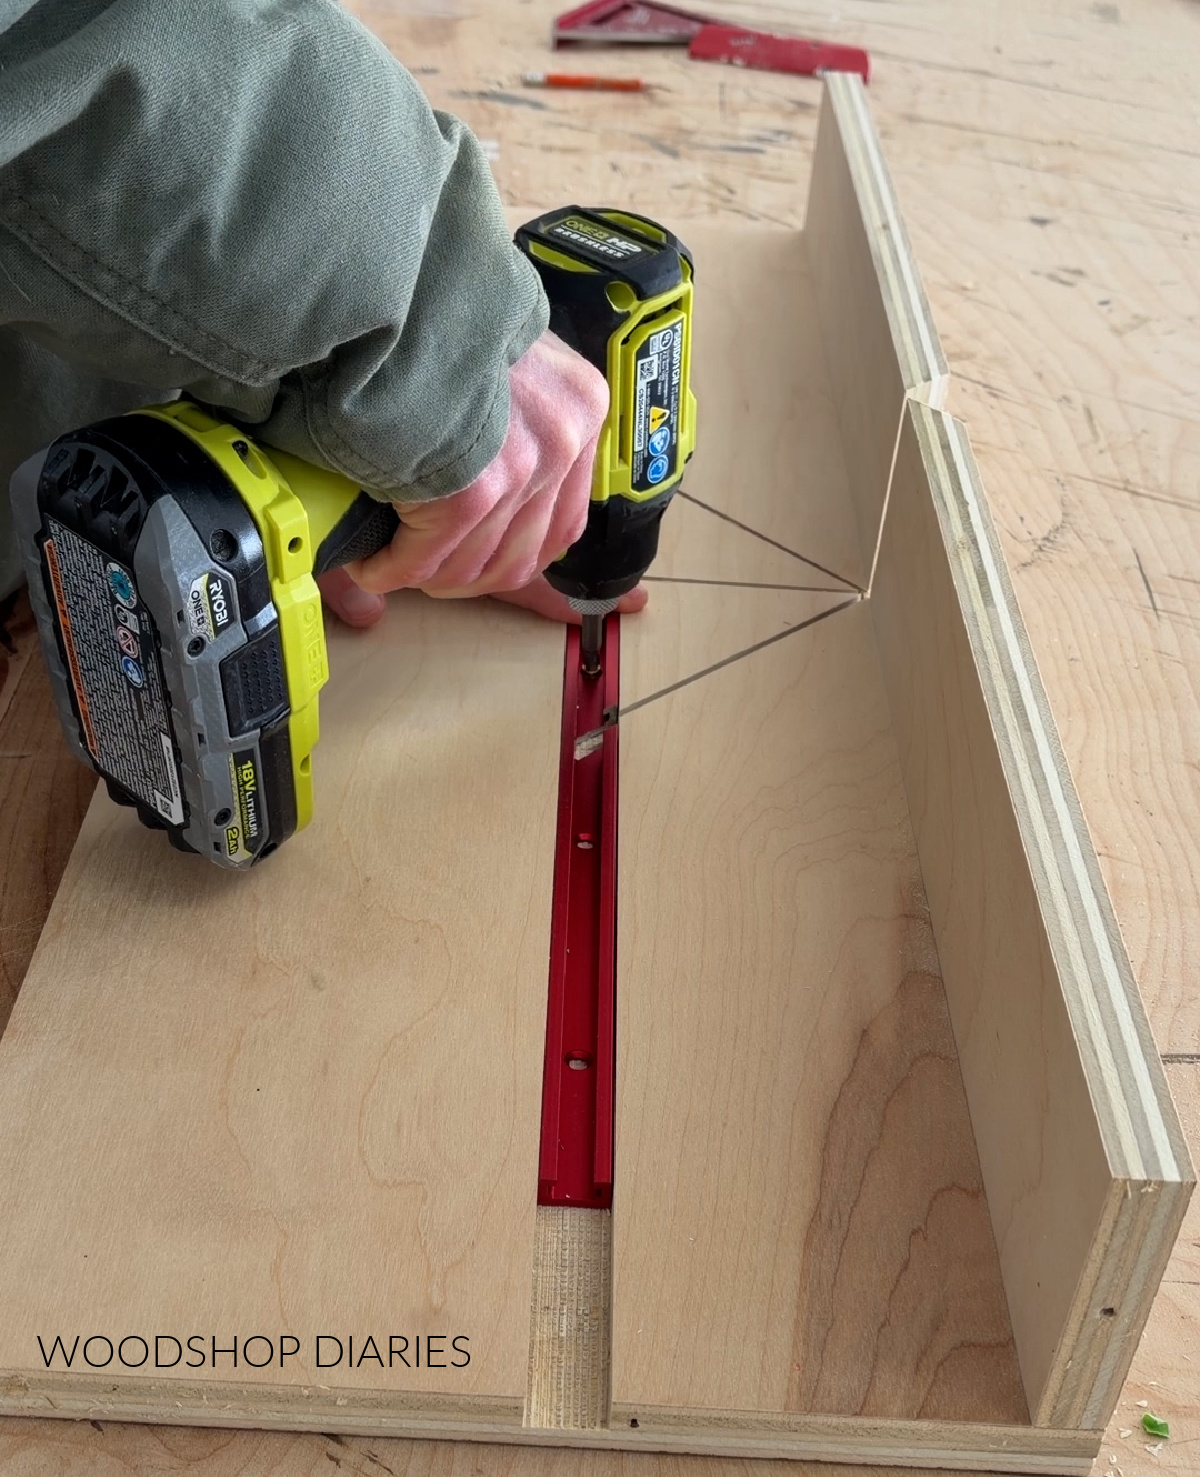
Step 3: Assemble Jig and Cut Kerfs
Next, I placed the smaller back strip of plywood along the back edge of the bottom piece, clamped and screwed together.
I spread out and countersunk 4 screws through the bottom to attach (keep the screws away from the center as this is where the cuts will be made).
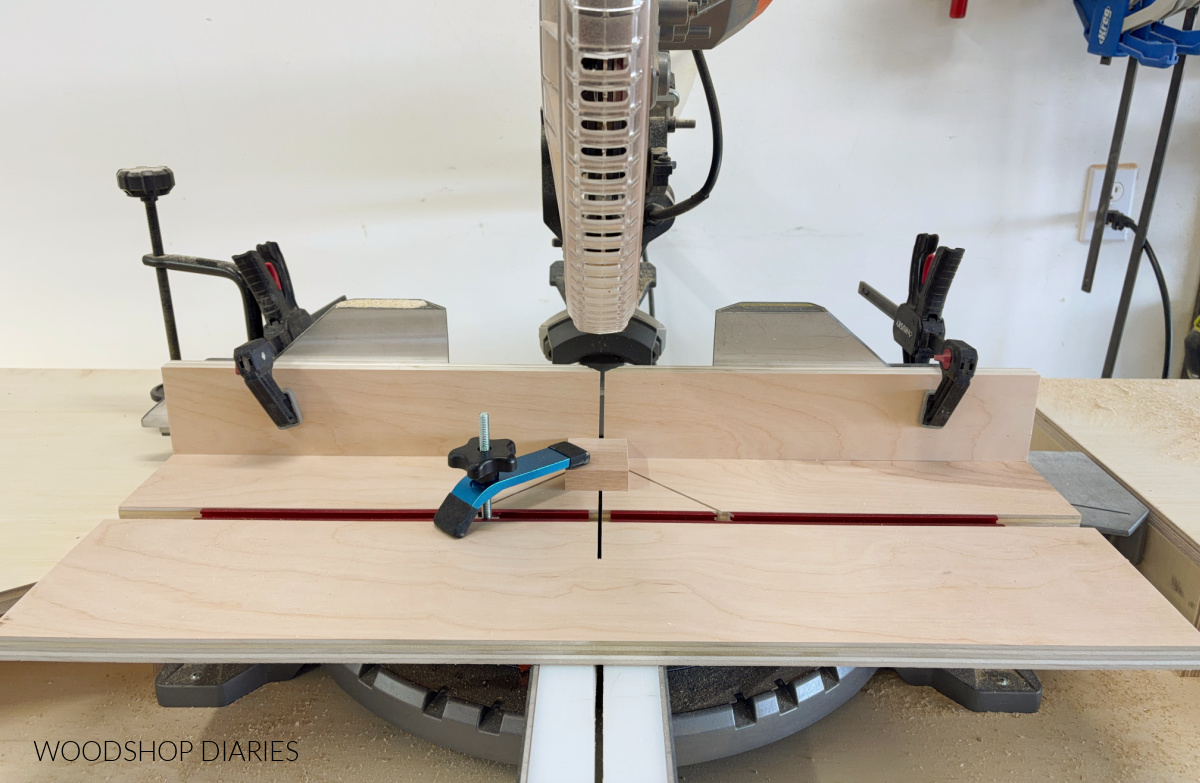
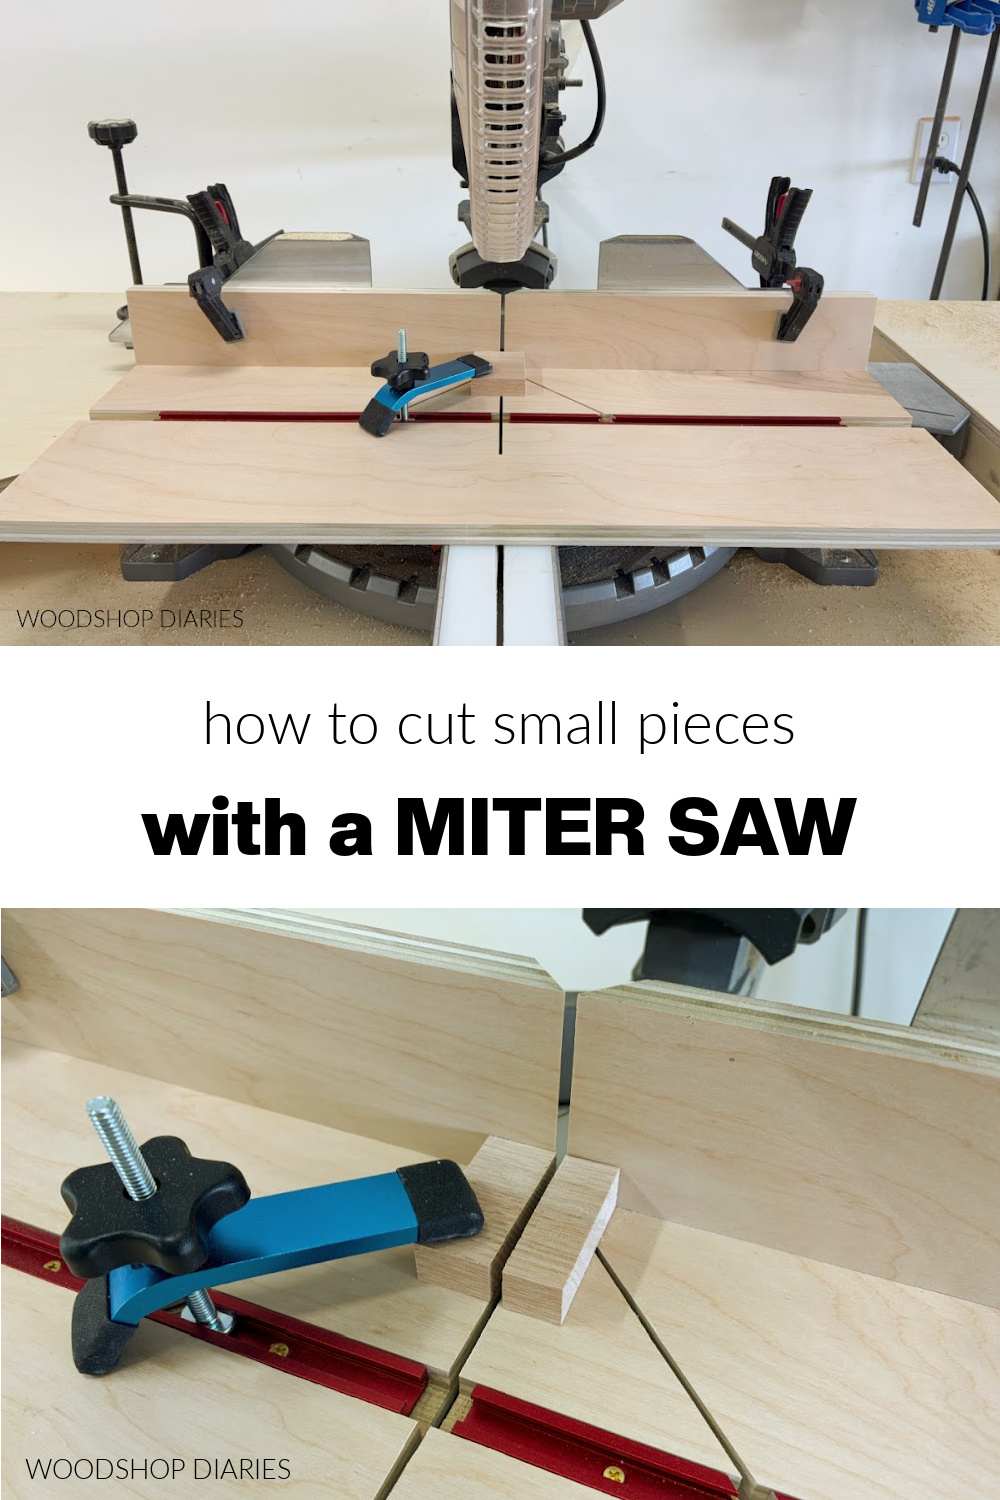
Then, I clamped my jig to my miter saw and cut a 0 degree miter cut in the center and two 45 degree miter cuts on each side.
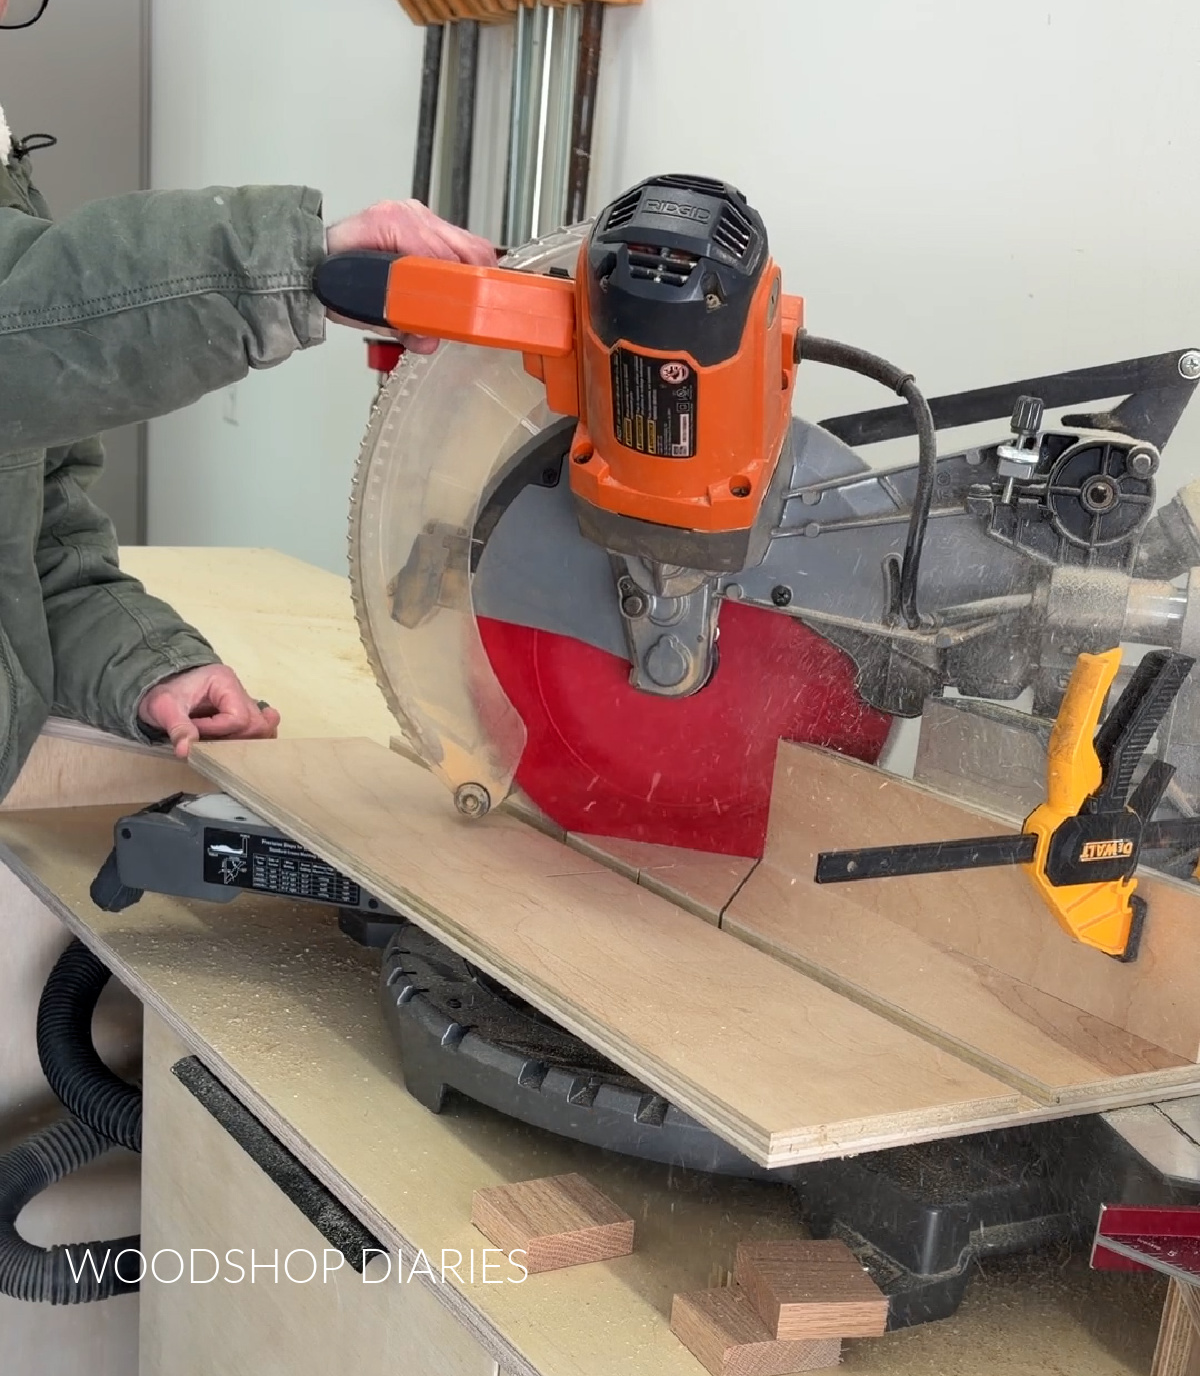
Just like in step 1, if your miter saw slides, make these cuts with the blade pushed all the way back. You don’t want to cut your jig in two.
Why these angles? Most commonly, when cutting small parts, you’ll be cutting at one of these three angles (think about small trim pieces). But, if you wanted to cut different angles for your jig, you certainly can.
Step 4: Install T Tracks
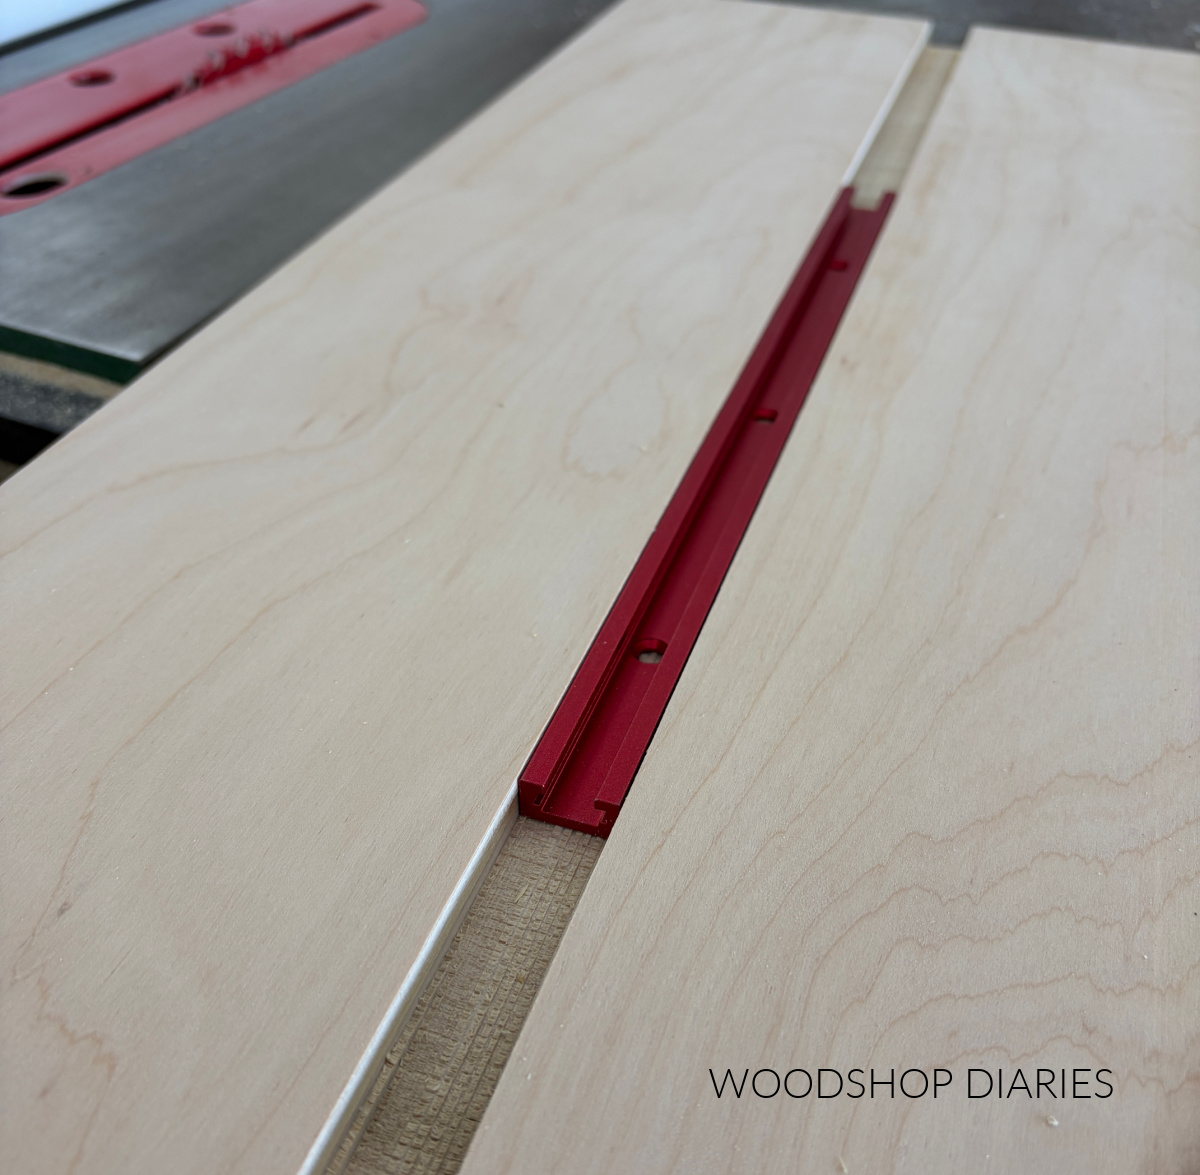
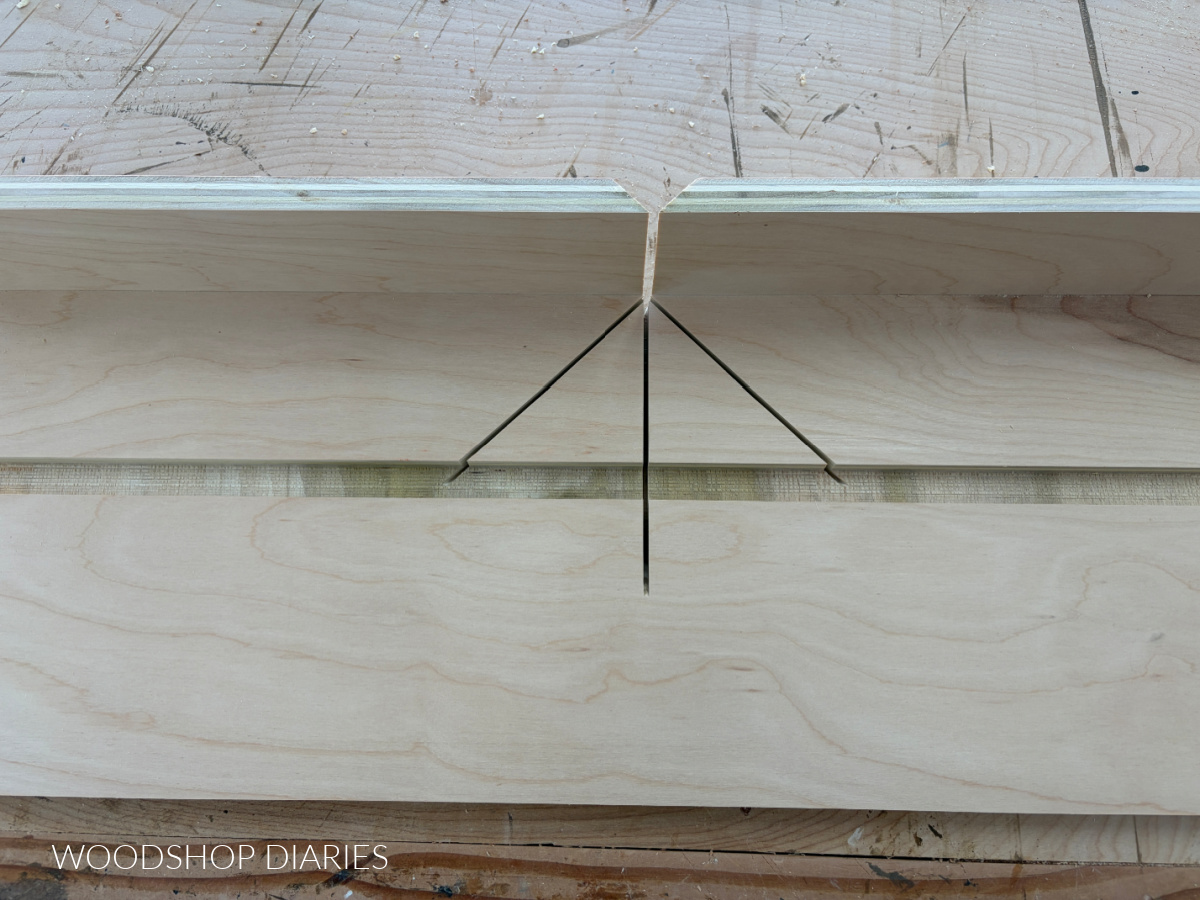
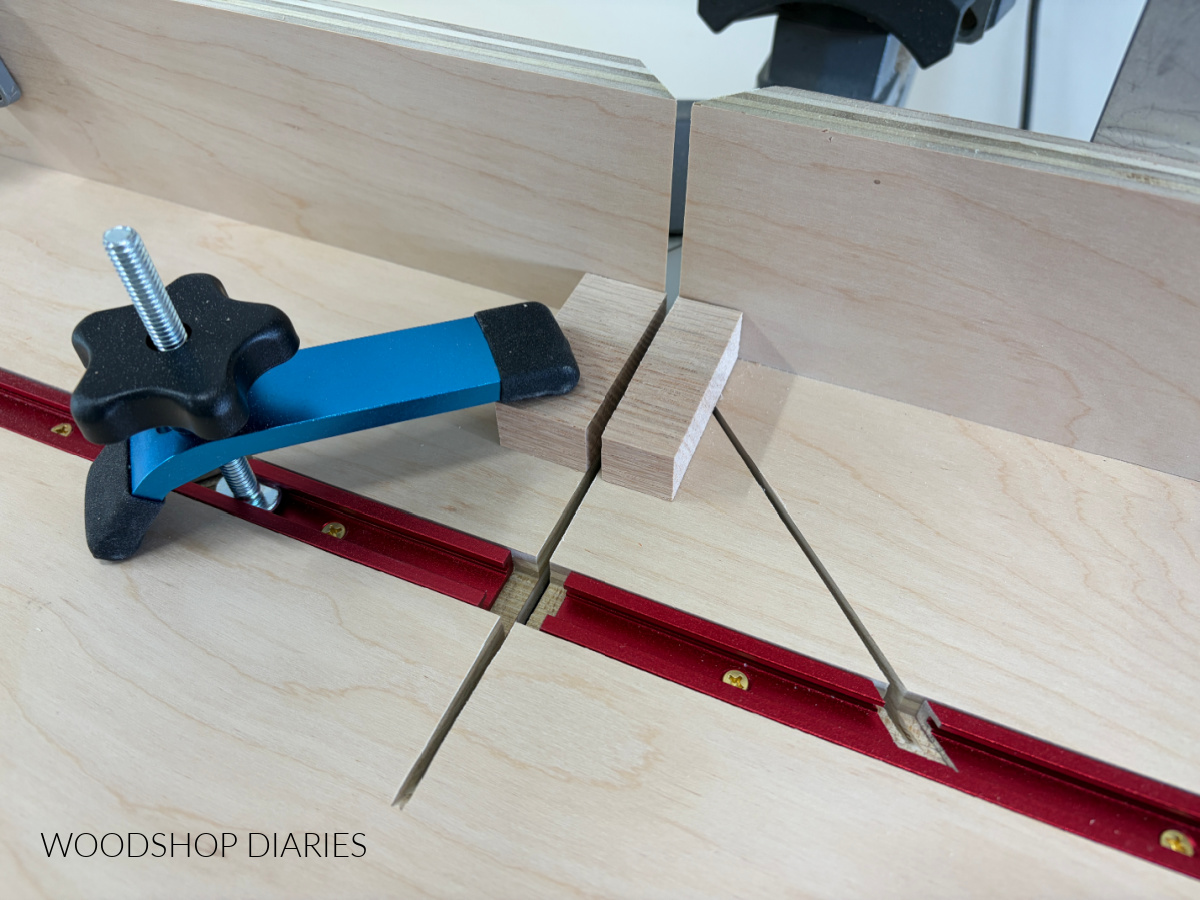
Here’s the kind of pain-in-the-butt part. Unfortunately my blade kerf on the 45 degree miters cut into my T track slot (see image below). This likely wouldn’t be a problem with a 10″ saw, but my 12″ saw is pretty big.
I could have moved my slot further away, but then my clamp wouldn’t have full range (see step 2).
So, to work around this, I used a jig saw and a thick metal blade to kind of notch out my T tracks to fit around the kerfs.
If your kerfs don’t cut into your T track slot, there’s no need to notch them.
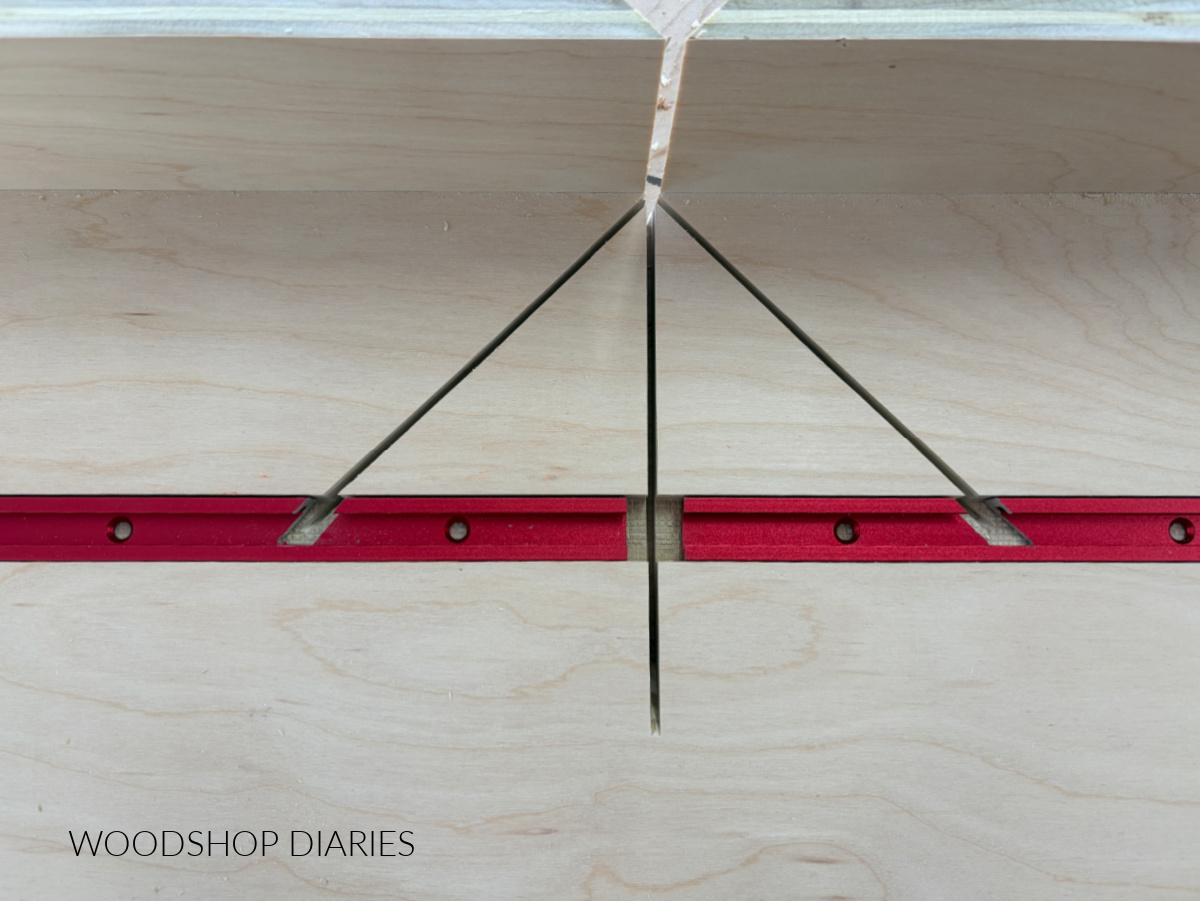
I didn’t want to cut all the way through the tracks because I didn’t want to leave the middle pieces with only one screw hole. Just notching them allowed them to stay stronger and still act as one piece.
Then, I could secure them with wood screws.
Heads up: the screws that come with the T tracks are too long to use in this application. I ended up having to grab a small pack of #6 x ⅜″ wood screws from my local hardware store to secure these tracks. Because they are so short, you can add a drop or two of super glue to them before driving to give them extra hold.
TIP: Leave a little wiggle room between the blade kerfs and the T track (like shown above). You don’t want your saw blade to interfere with the tracks while cutting.
Step 5: Test out the Jig
Now this jig is ready for clamps and a few test cuts!
To use:
- Align the kerf on the jig with the saw blade
- Clamp jig to miter saw (clamp along back rail)
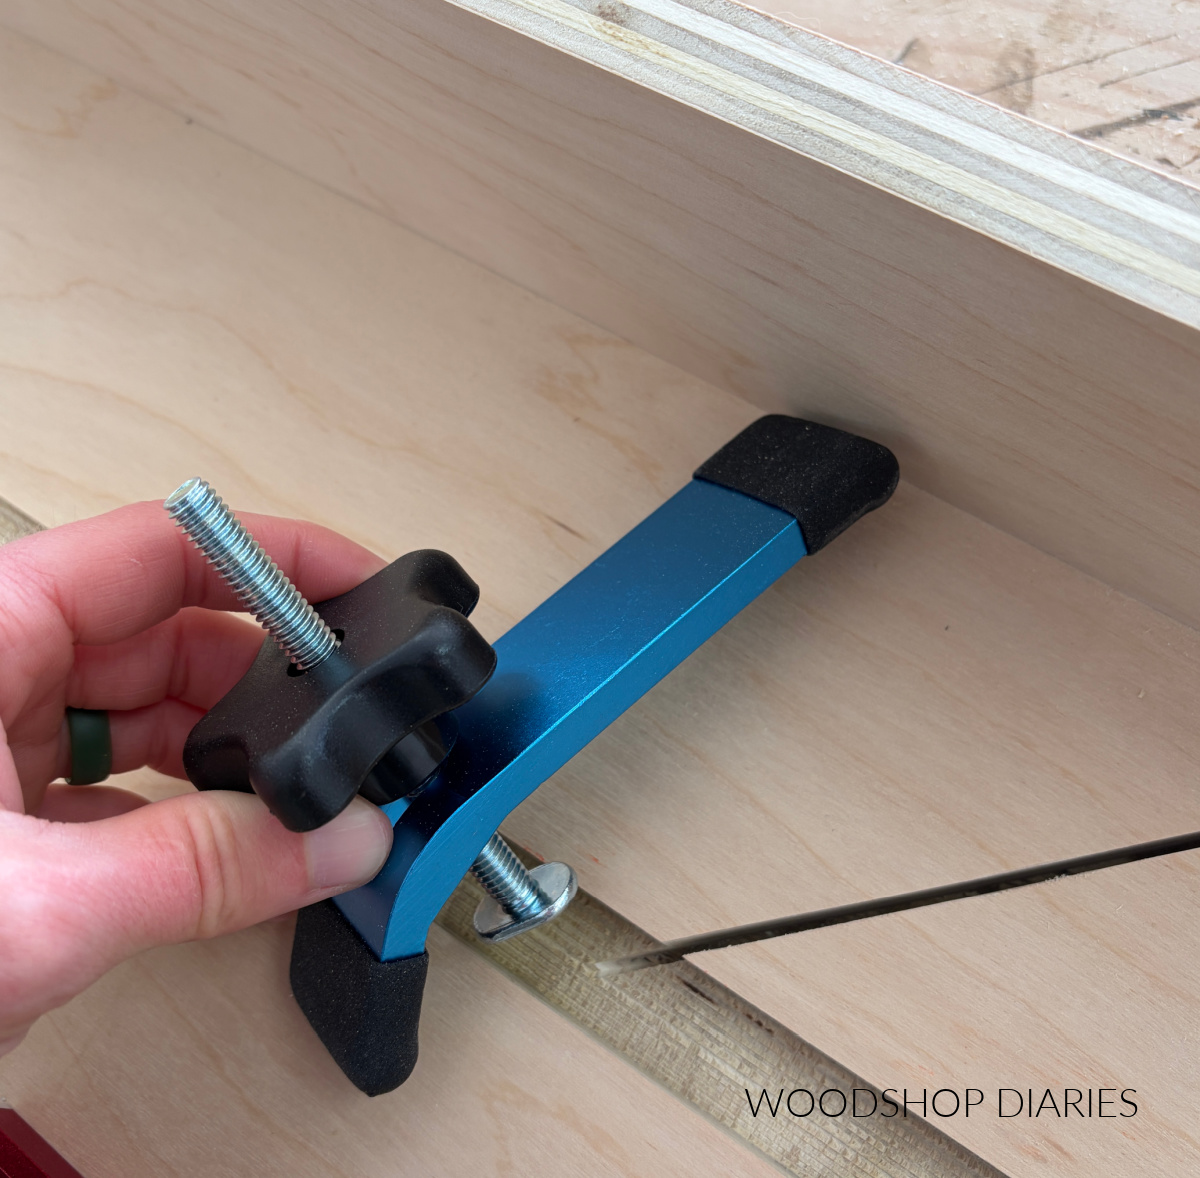
- Slide T track clamp(s) into tracks on the jig and clamp piece to be cut. Ensure wood piece is secure and not moving
- Carefully cut piece. If you’re using a sliding miter saw, keep the blade pushed all the way back.
This simple jig works great because it supports the small piece both at the back and at the bottom during the cut. And it allows you to securely clamp the piece close to the blade without using your hands.
I wish I’d added this to my workshop years ago!
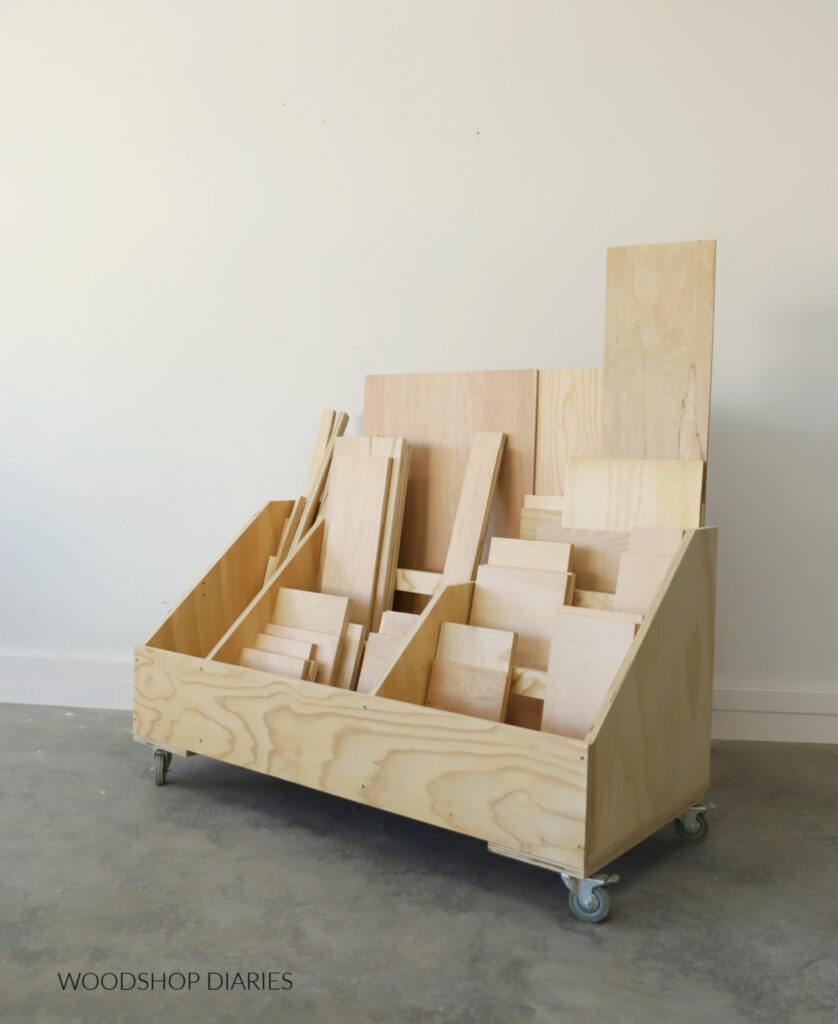
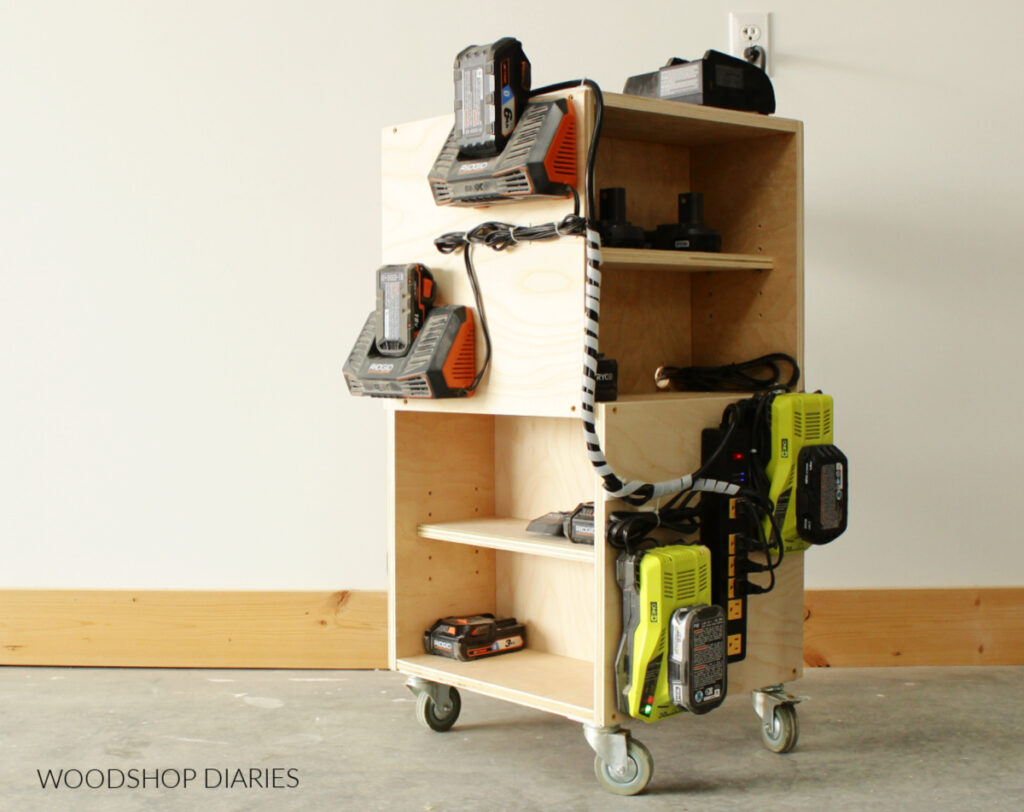
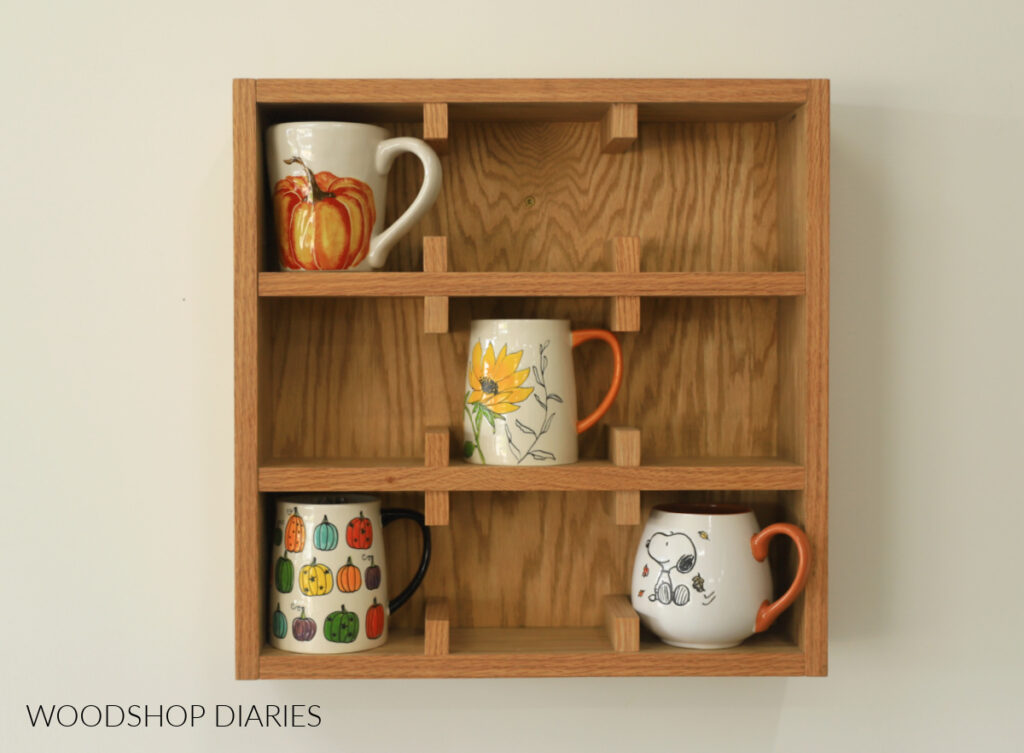
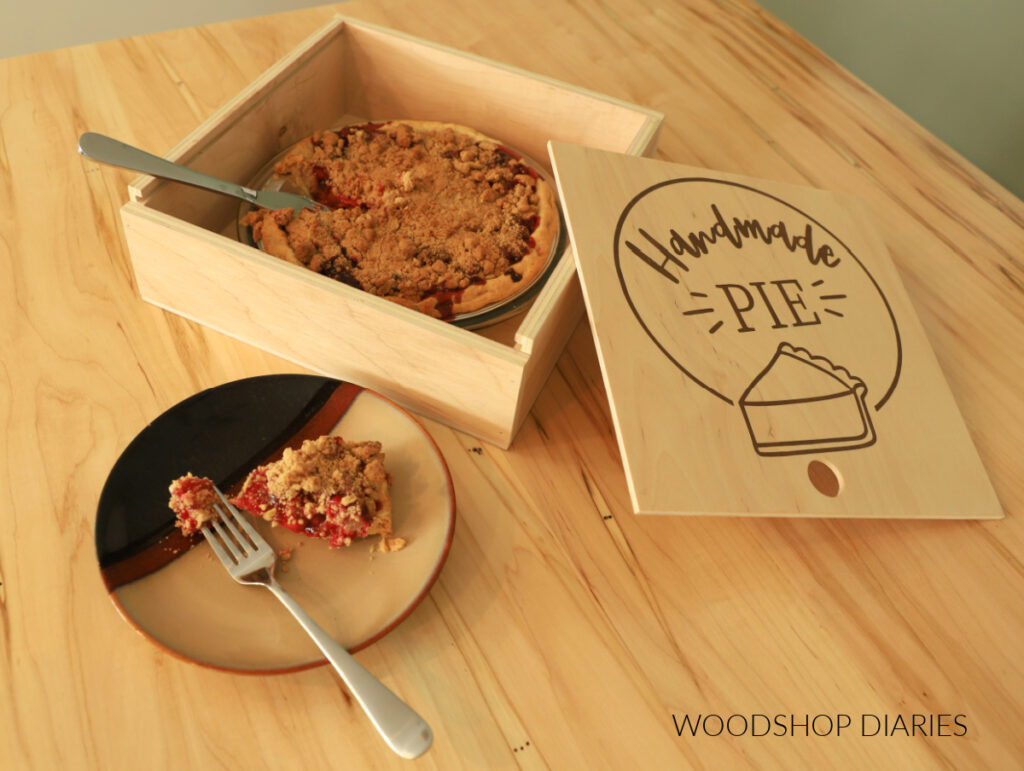
Looking for more DIY Scrap Plywood Projects?
Enjoyed this scrap plywood project, but looking for more ideas? I got you! Click on the images below to check out these popular scrap wood projects:

If you’d like to save this project for later, don’t forget to pin it or share to your favorite social channel!
Until next time, happy building!