
It’s me again. Long time no see–uh, I mean write?? I said on my first blog post of this year that my goal was to be more consistent this year with posting. Obviously I don’t do very well with new year’s resolutions. Let’s just pretend the last two weeks hasn’t been post-less, okay? They sure haven’t been project-less. I promise 🙂
Before we move on, let me remind you about the big news from the last post. I’M A FINALIST IN THE MRS. MEYER’S HOMEMAKER HUNT!!!! Like what?! Yes, and I need your help. You can vote for me–Shara M (here)–and my video every day until Feb 15th. That’s only 2 more weeks! I’m the underdog in this competition (all other finalists have TONS more followers than me) so I could use all the votes I can get. If I win, you will be seeing more of my DIY projects on their blog as well. Which, for real, that would be AMAZING, right?
So anyway, back to business…way back when (I think it was in December), I was searching for “geometric tables” on Pinterest, just out of curiosity. I’m such a math nerd. I like to try to figure out how they make all the weird angles. Hey, it passes the time…
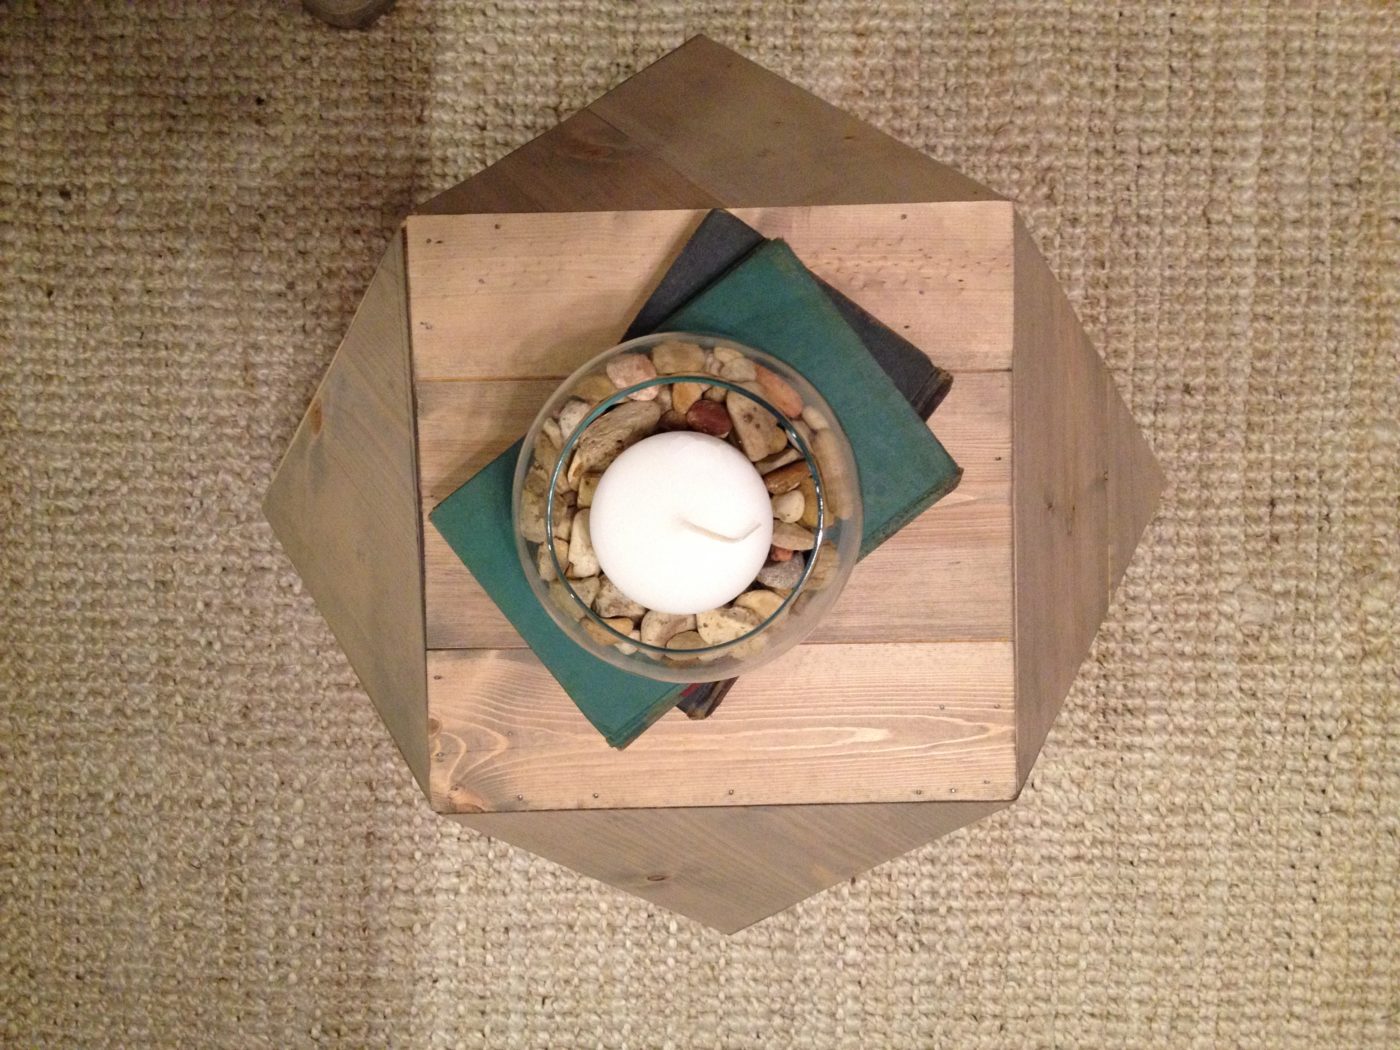
So while I was searching, I came across this weird looking table/cube thingy. NOTE: People get their panties in a wad when you “steal” their pictures, so I am not even going to go there and copy and paste the original picture from Pinterest to show you all. But here is my finished product, and I really don’t mean to brag, but it looks exactly like the original, only a different stain color. Of course, you can search “geometric table” on Pinterest and find the original idea.
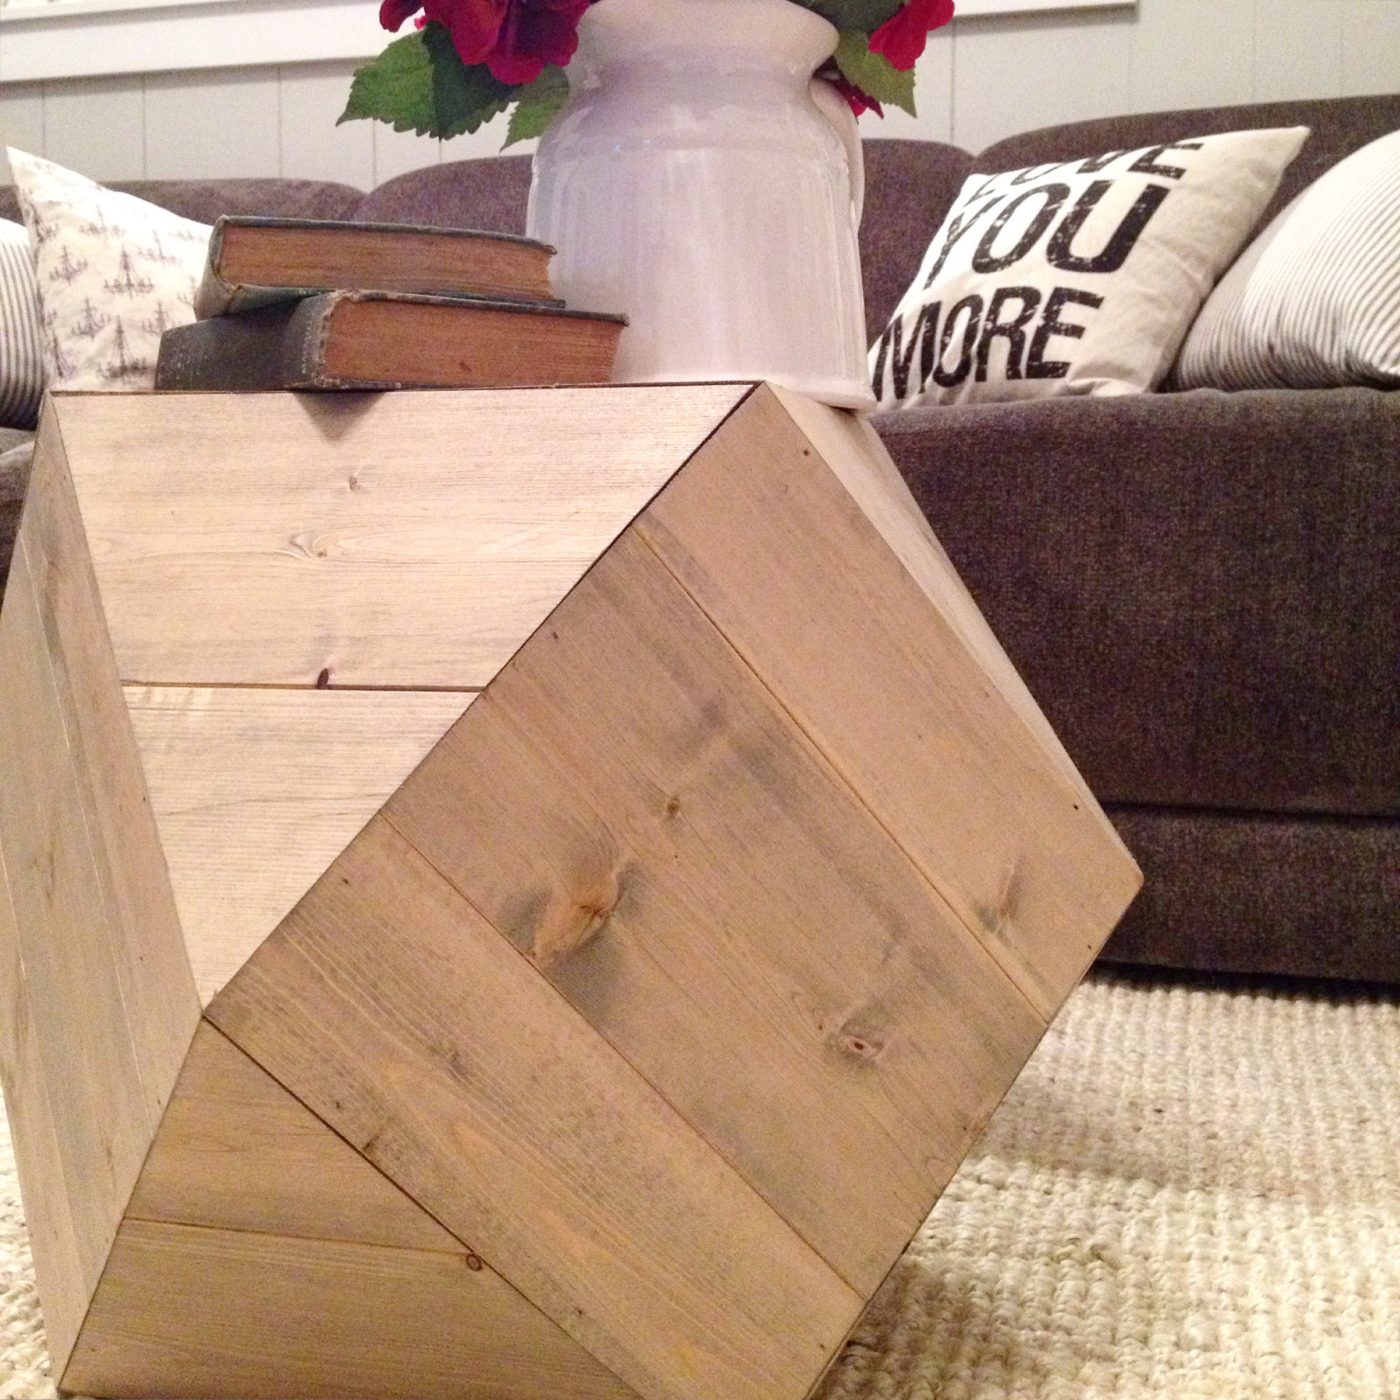
So what do you think? Yay or nay? I’m a fan of the geo stuff. I can’t help it. I want to be a single “style” and stick with the country/rustic thing, but I have a soft spot for modern/geo shapes.
Okay, so I’m going to attempt to tell you how I did this, but be forewarned. I made A LOT of mistakes. Well, I made two mistakes. The word “a lot” is relative. I have saved you the trouble of finding the angles. They are weird. Don’t ask how I got them, just trust me. They’re right. I can show you my doodle papers if needed 🙂
Let’s get started. The following directions will give you a table that is about 17″ tall.
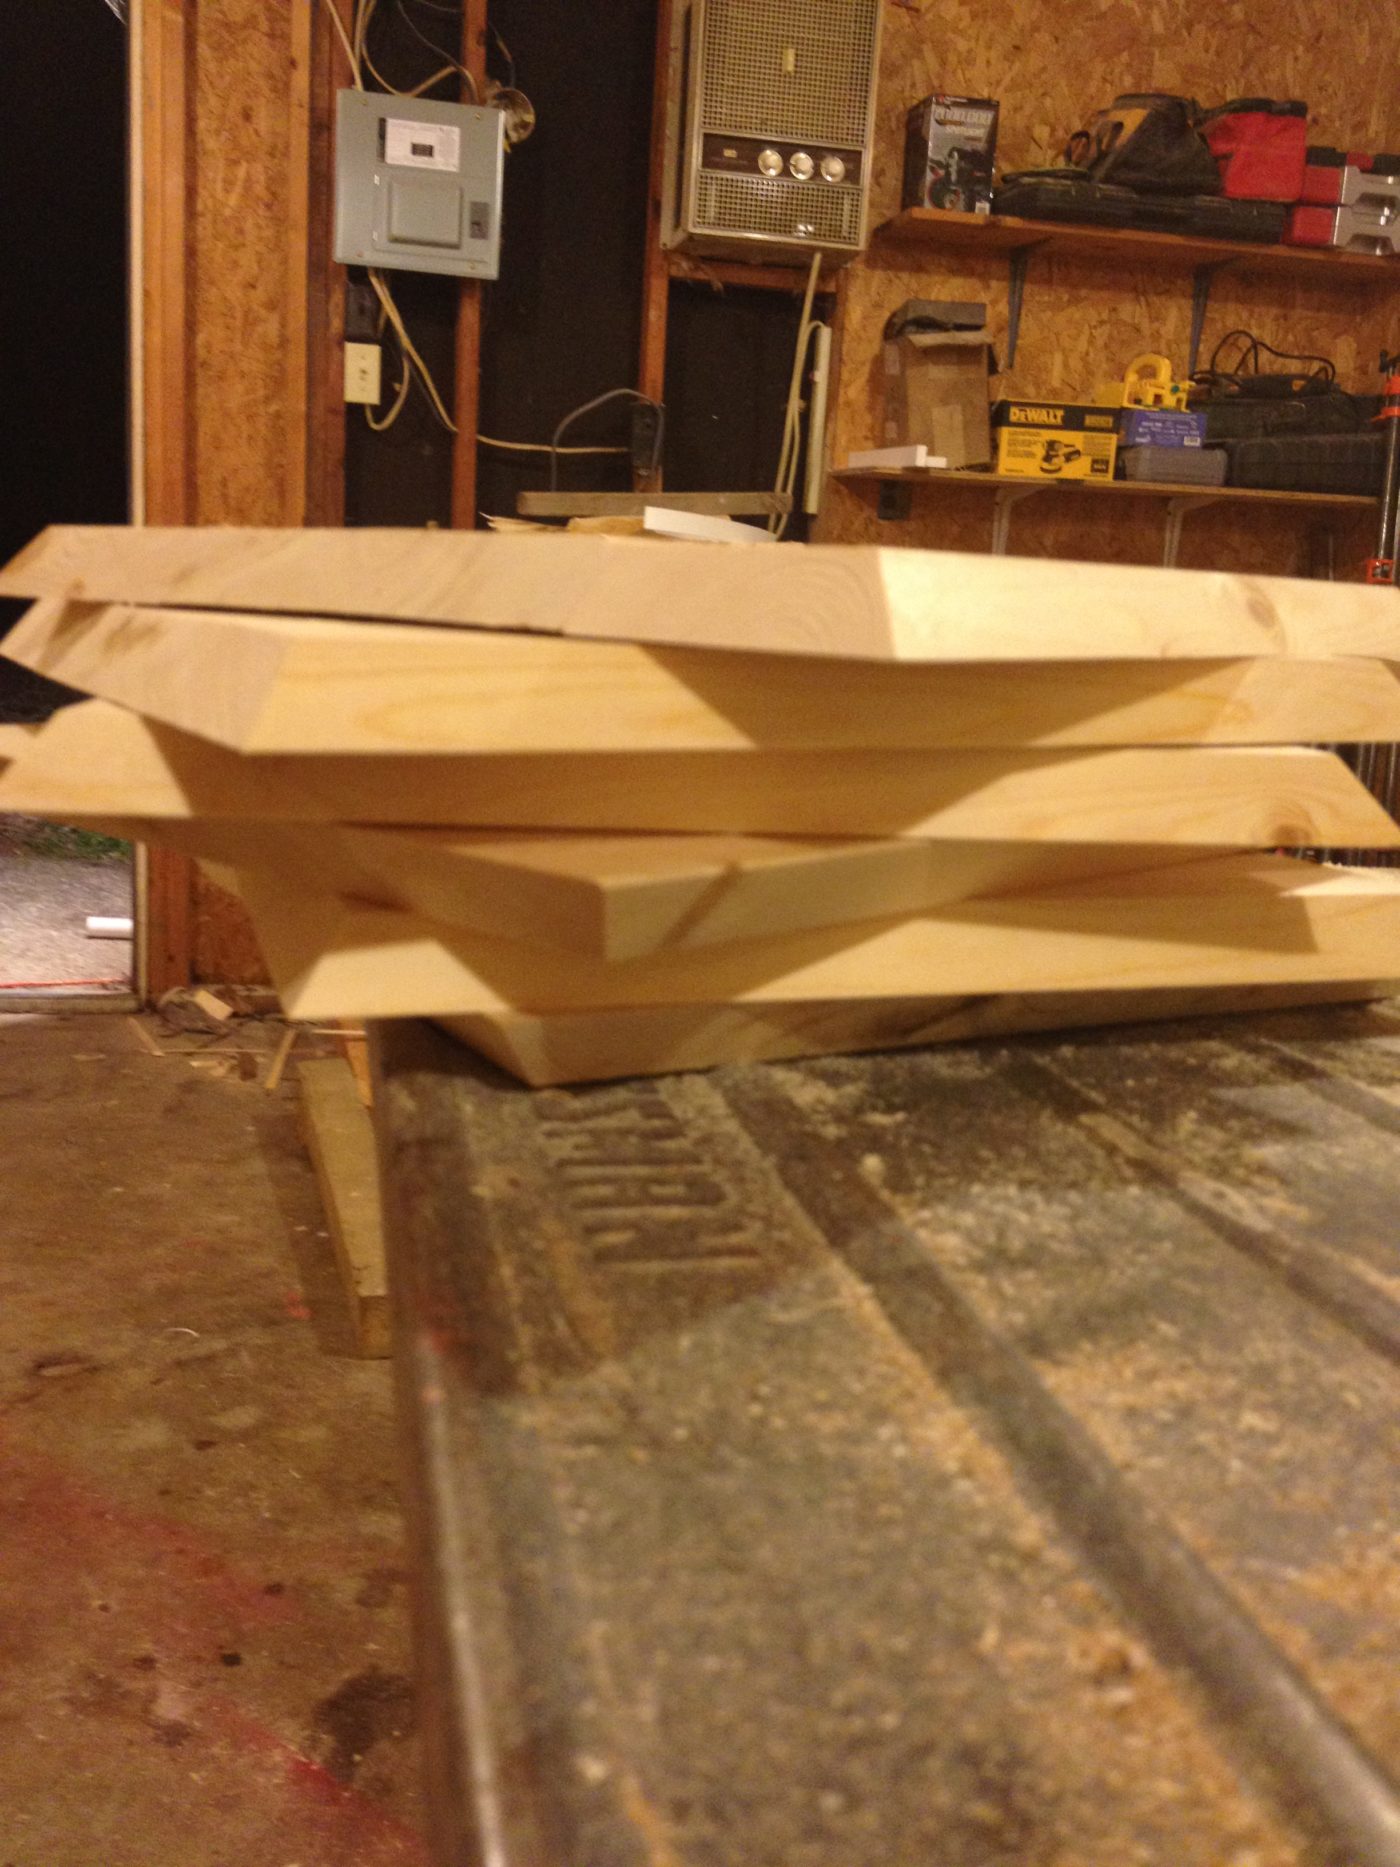
First, I glued two 1x4s and a 1×6 board all a little over 6 ft long together and clamped it. These will become your squares. For this table, you will need 6 identical squares and 8 identical triangles.

Once the glue dries, set up your table saw to a bevel of 35.2 degrees. Unless you have a SUPER accurate table saw, you’ll just have to eyeball the 0.2 part. I have an old hand-me-down table saw from my grandpa, so it’s not that accurate. We are working with wood–it’s never going to be PERFECT unless it’s fake. I could write a book…Life lessons Learned Through Woodworking 101: Nothing is ever perfect unless it is fake.
Set up your rip fence/guide so that the distance between it and the tip of the blade is 12″. You want your squares to be 12″ long on all sides from the longest points.

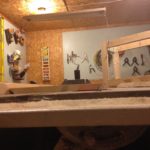
Run the 6ft boards you glued together through the table saw so that you have six identical squares 12″x12″ on top and ALL sides beveled toward the center on the bottom. See pictures below.
Here is where I “messed up” the first time. If I could do it over, I would screw all these pieces together so it would be more sturdy. But, I didn’t. I nailed them. I’ll show you what I did–and it works okay. But the next time I make one, I will not assemble until I have all the pieces cut, then I would screw them together piece by piece.
I measured the diagonal of one of the squares and subtracted 1.5″ and cut four 2x4s this length. I drilled pocket holes on each end of the 2x4s and attached two squares with the pocket holes and screws like the picture shows below. I put the 2x4s in each corner, but not overlapping the bevel.
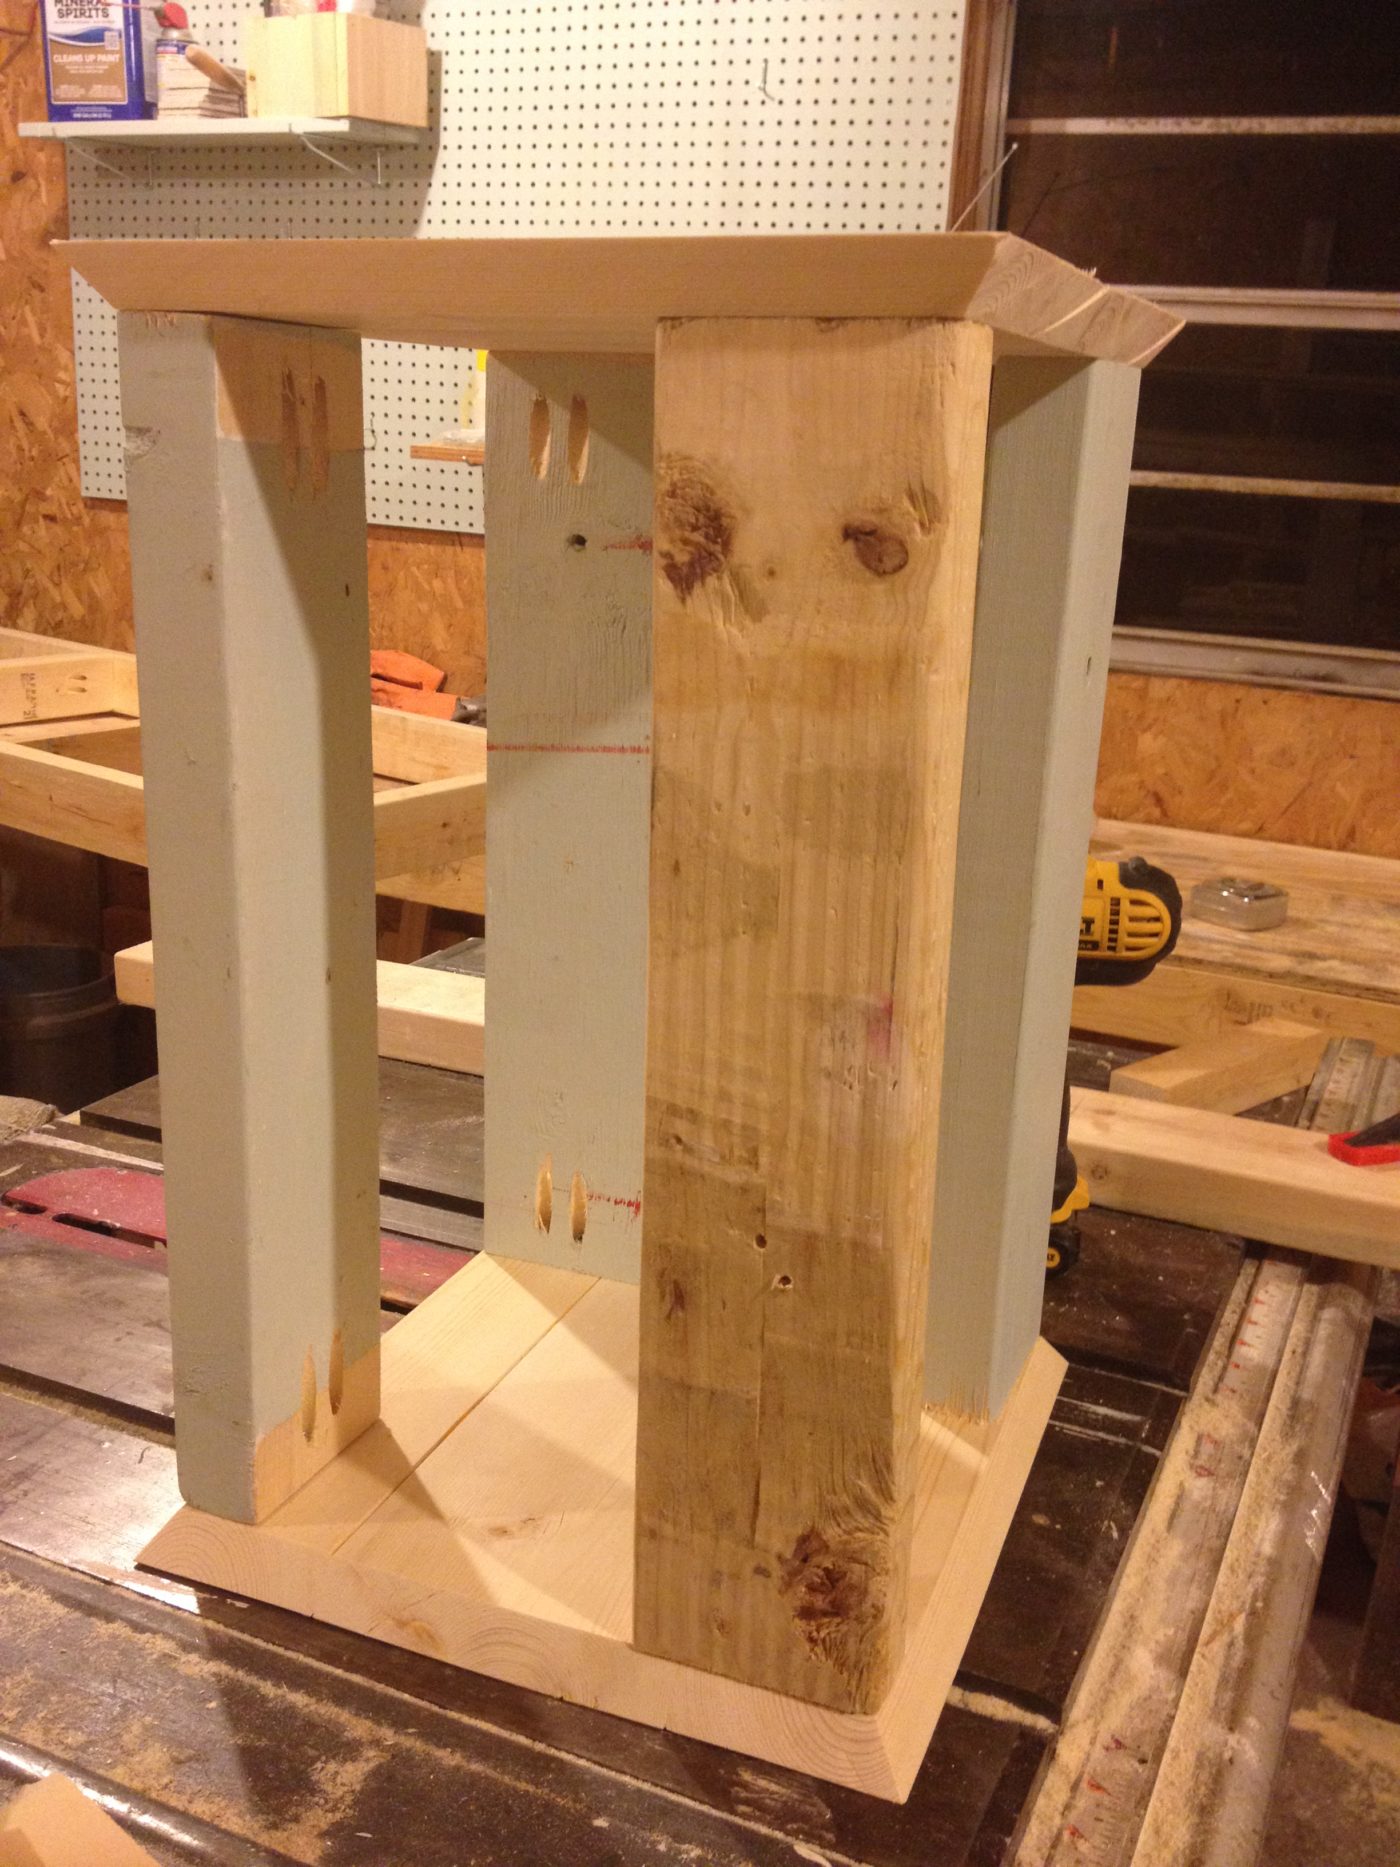
Then I nailed the four remaining squares on like the picture below. I tried my best to match up the corners, but if they aren’t perfect, it’ll line up better once you get the triangles in. This is another reason I should have screwed everything instead of nail.


Do you like my sneaks? I know…I’m so weird. I’m a big fan of Rocket Dog shoes. Google them 🙂
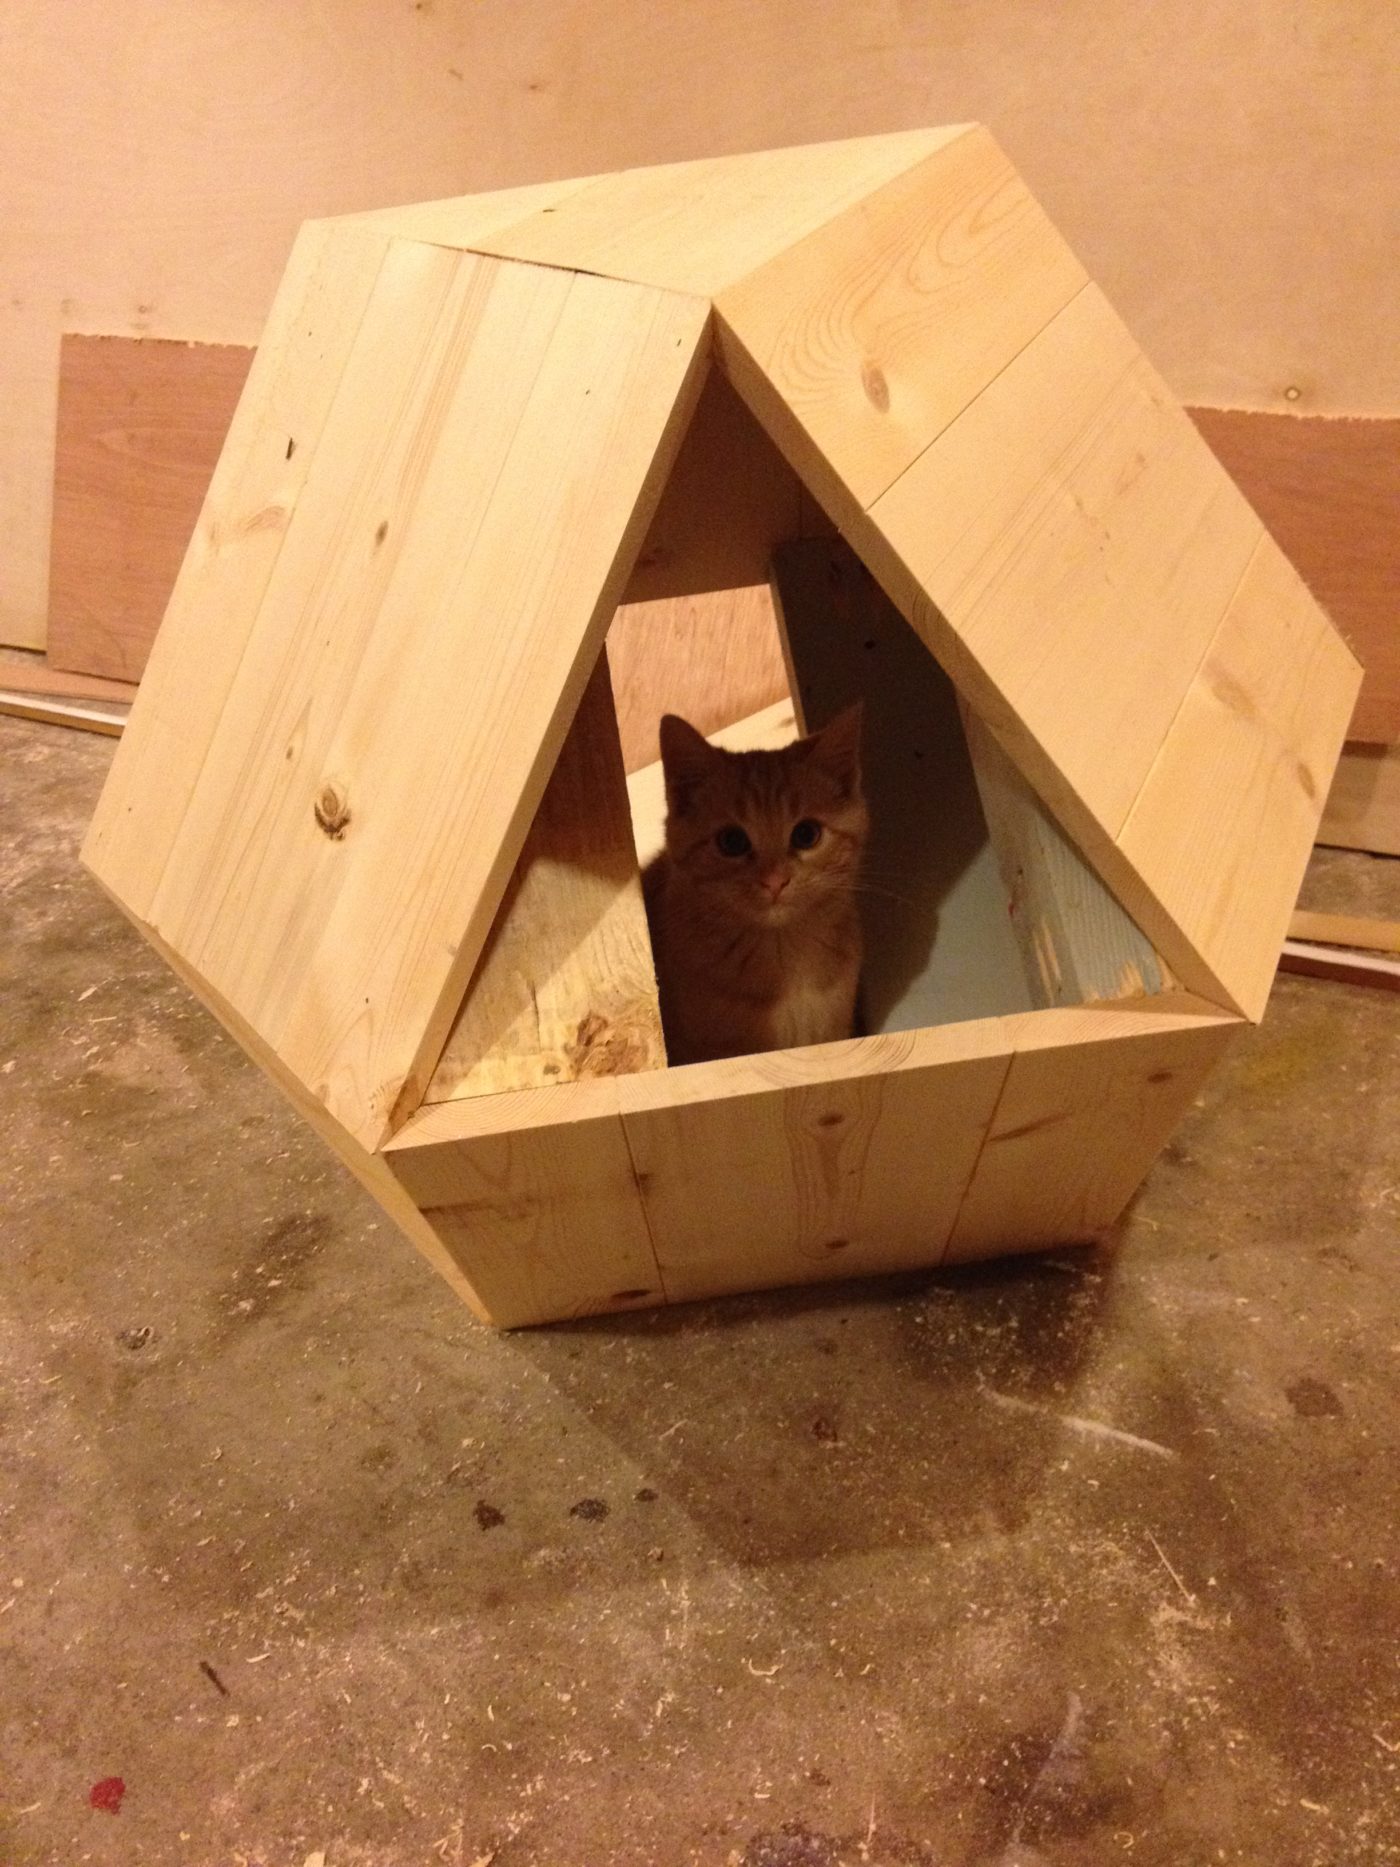
Orange Baby (our orange kitty) thought this was his new hiding place. How adorable 🙂

Now, you need to make your 8 triangles. This is where I messed up the second time. I tried to save lumber so I would make less scrap. Hello, my name is Shara and I’m cheap. I screwed up a bunch of wooden triangles because I didn’t want to scrap wood. That’s dumb. Don’t be like me.
I glued two 1×6 boards together so that I could cut out 8 triangles and not waste hardly any wood.
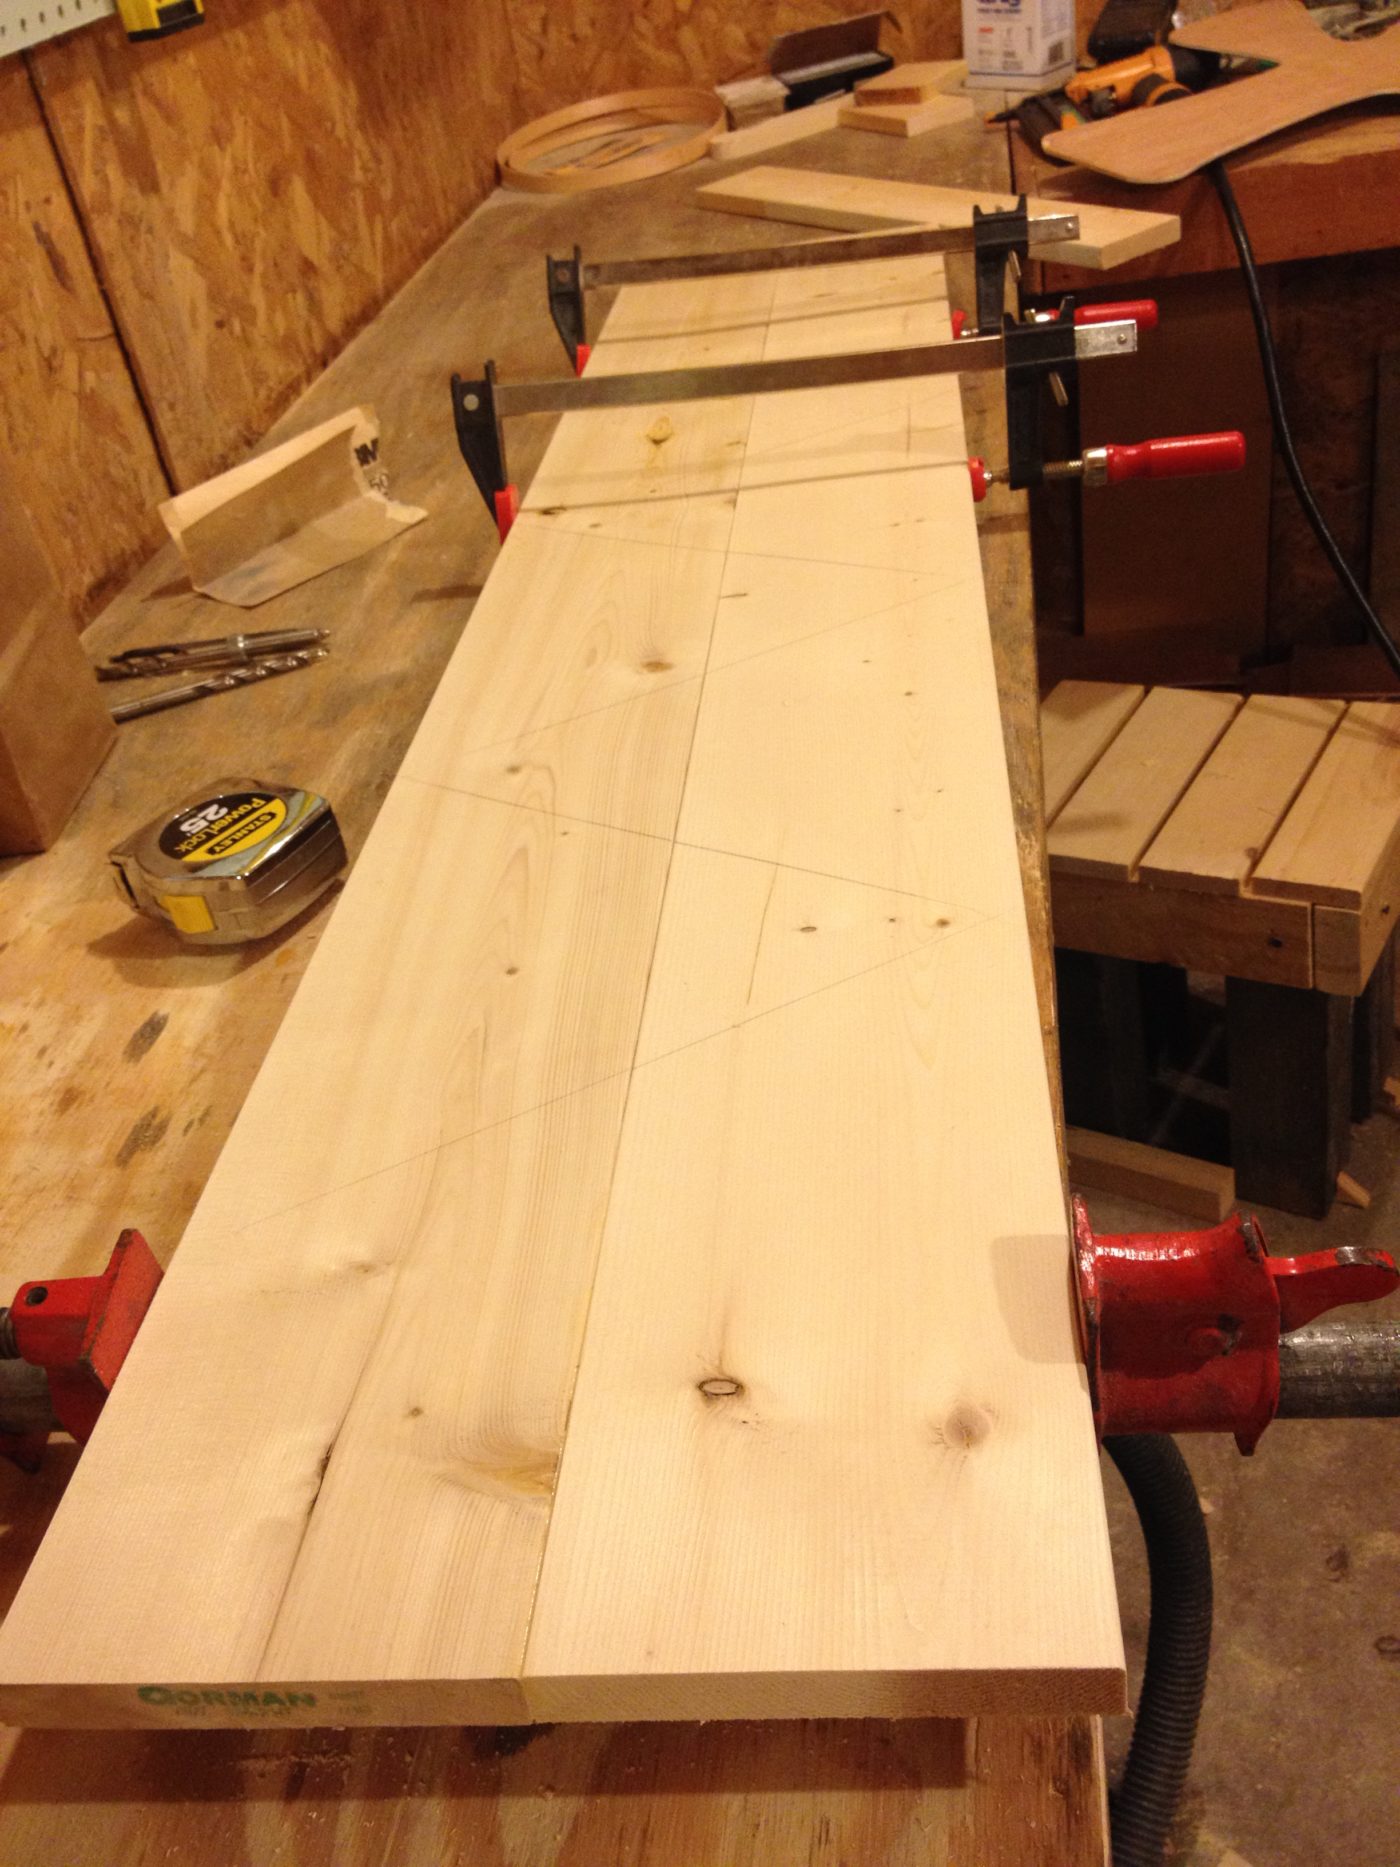
DON’T do that. Cut your boards about 9 ft (this will give you a little extra) and glue them together. Once the glue is dry, cut that board into pieces about 13″ wide (you really only need 12″, but this will give you a little extra). You’ll need 8 of these pieces.
If you cut your squares from earlier exactly 12×12, then your triangles should be 10.4″ tall (from center of base to the tip). Have you ever tried to find 10.4 on your tape measure? It’s not there. You’ll have to guesstimate it haha. Set up your table saw to bevel 19.6 ish degrees and set your rip fence to about 10.4″ from the tip of the blade.
I used a scrap piece of 2×4 mitered at 30 degrees to help me with my triangles. I pocket hole screwed it to my piece while I ran it through the table saw. You want 8 triangles with 60 degree angles and bevels all going toward the center of the bottom side.

Pretend the above picture has the 2×4 attached to one of your 13″ pieces you cut, not this huge long piece. Again, bear with me…I’m trying to tell you how to do it correctly…not exactly how I did it haha.
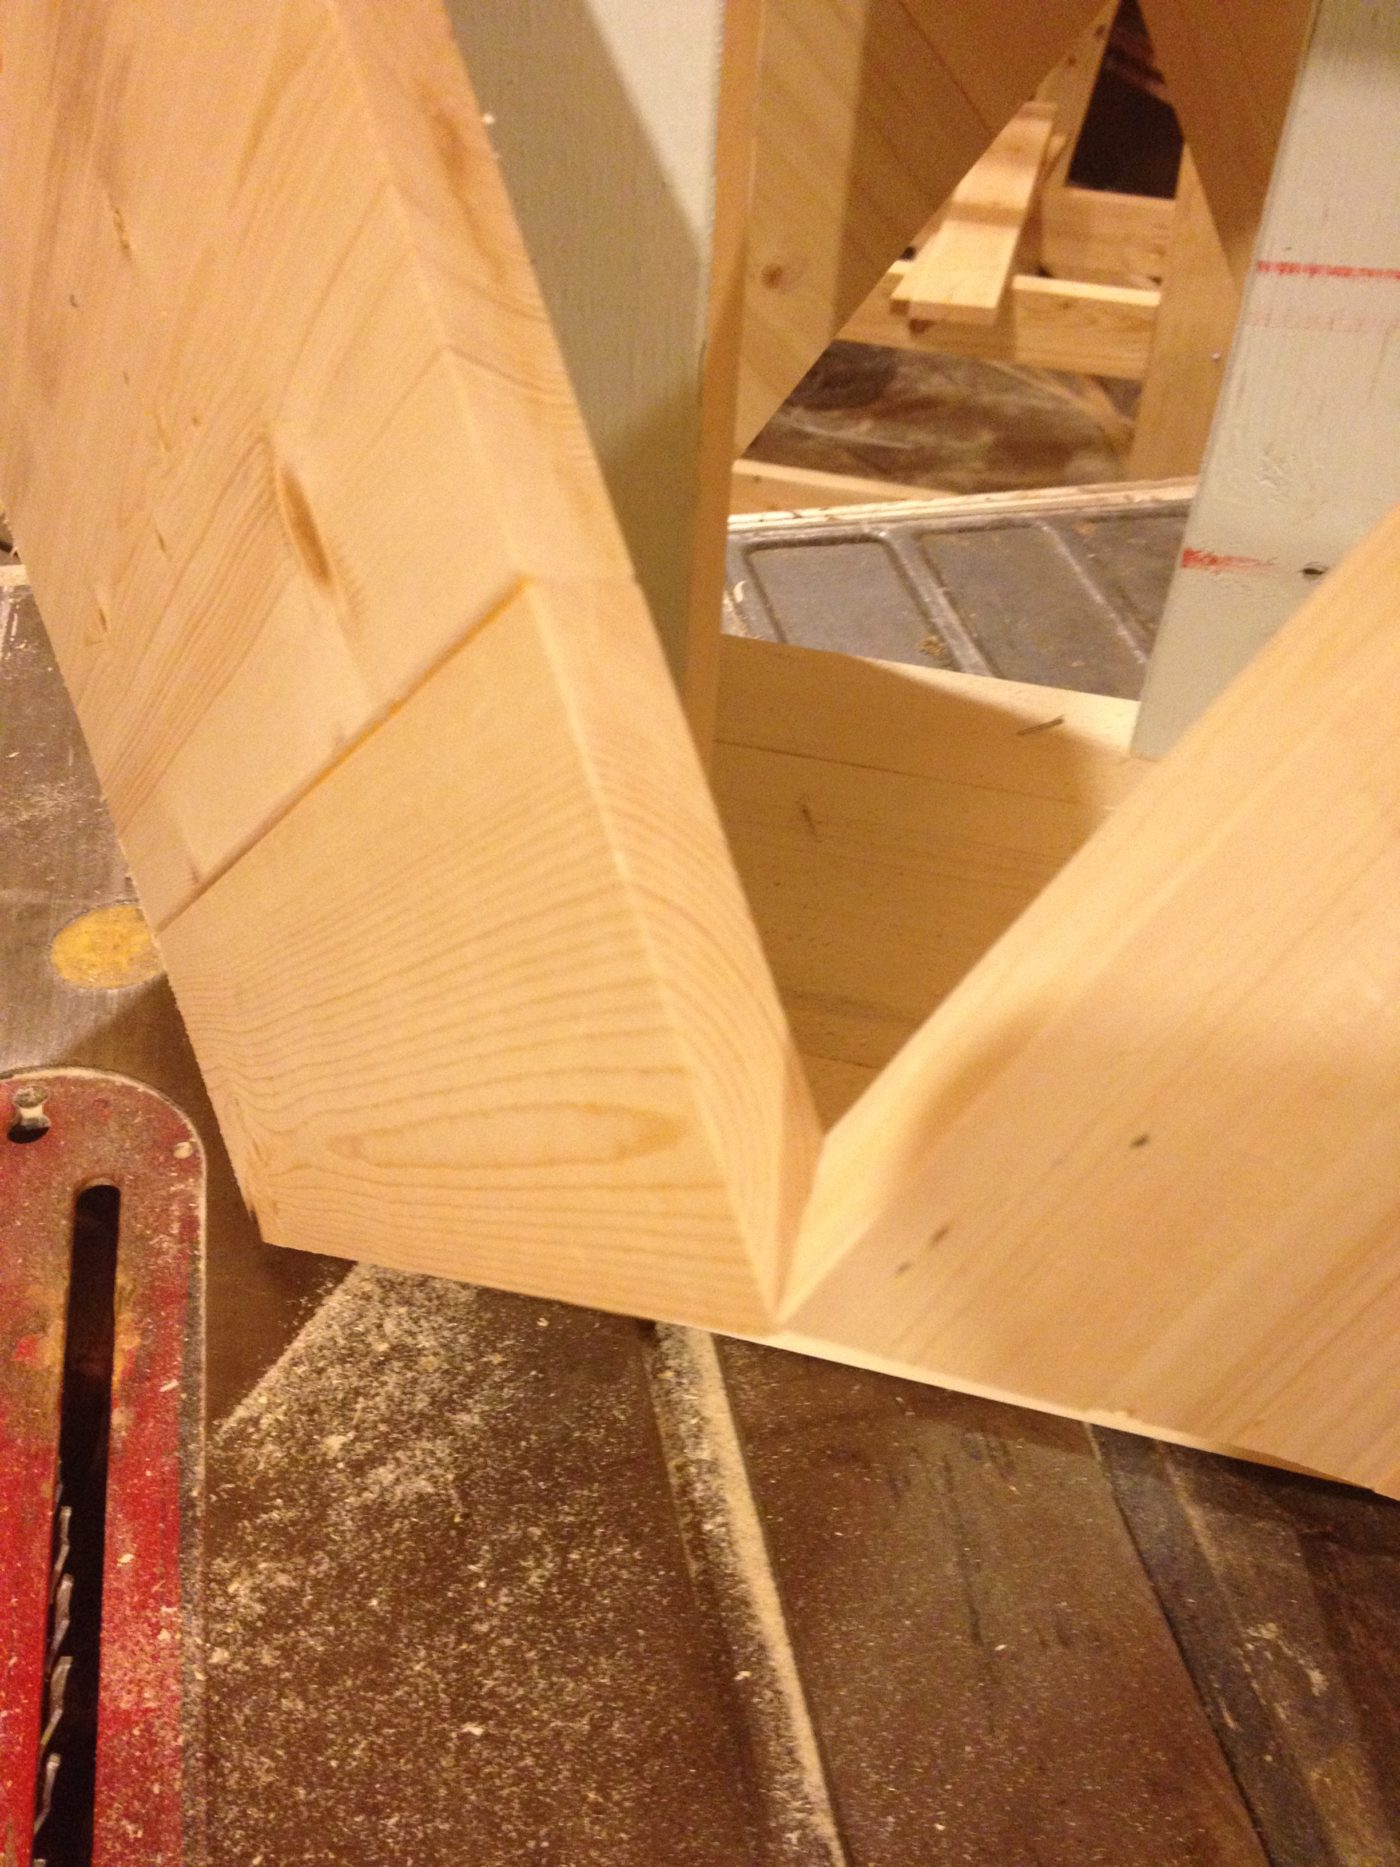
Flip the piece from the picture above over and run through the table saw using the 2×4 as a guide. The mitered end of the 2×4 should run smoothly along the rip fence. You should end up with a shape that looks something like this.

Take the 2×4 off, and attach it (like shown above) to the side you just cut on the saw. Line up the tips so they match. Don’t screw too tight, since it is beveled. You want it the 2×4 to still be flat. Flip it over again and run through the table saw again with the 2×4 as your guide. You will end up with a triangle with two beveled sides and one flat side.
Remove the 2×4 once more, and attach it to the beveled side you just cut. Run that through the same way, using the 2×4 as a guide along the rip fence. Now you should have a triangle with all sides on top 12″ and all bevels going toward the center on the bottom.
Because I messed up on mine, the last side I cut on my triangles didn’t cut just right and caused me to have a few gaps in my finished product.
Once my triangles were cut, I fit them in between my squares and nailed them together. Again, I should have screwed the pieces together, but what’s done is done.

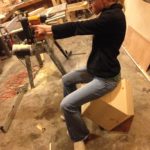
I sat on it to see if it would hold me. This is what happens when I give Danny my camera and I start playing around in the shop…

I stained it in Minwax Weathered Oak. It was a new stain color I hadn’t tried before. I think I like it. I haven’t 100% decided yet. I kind of wish it was a little bit more “brown.” But it’s growing on me.
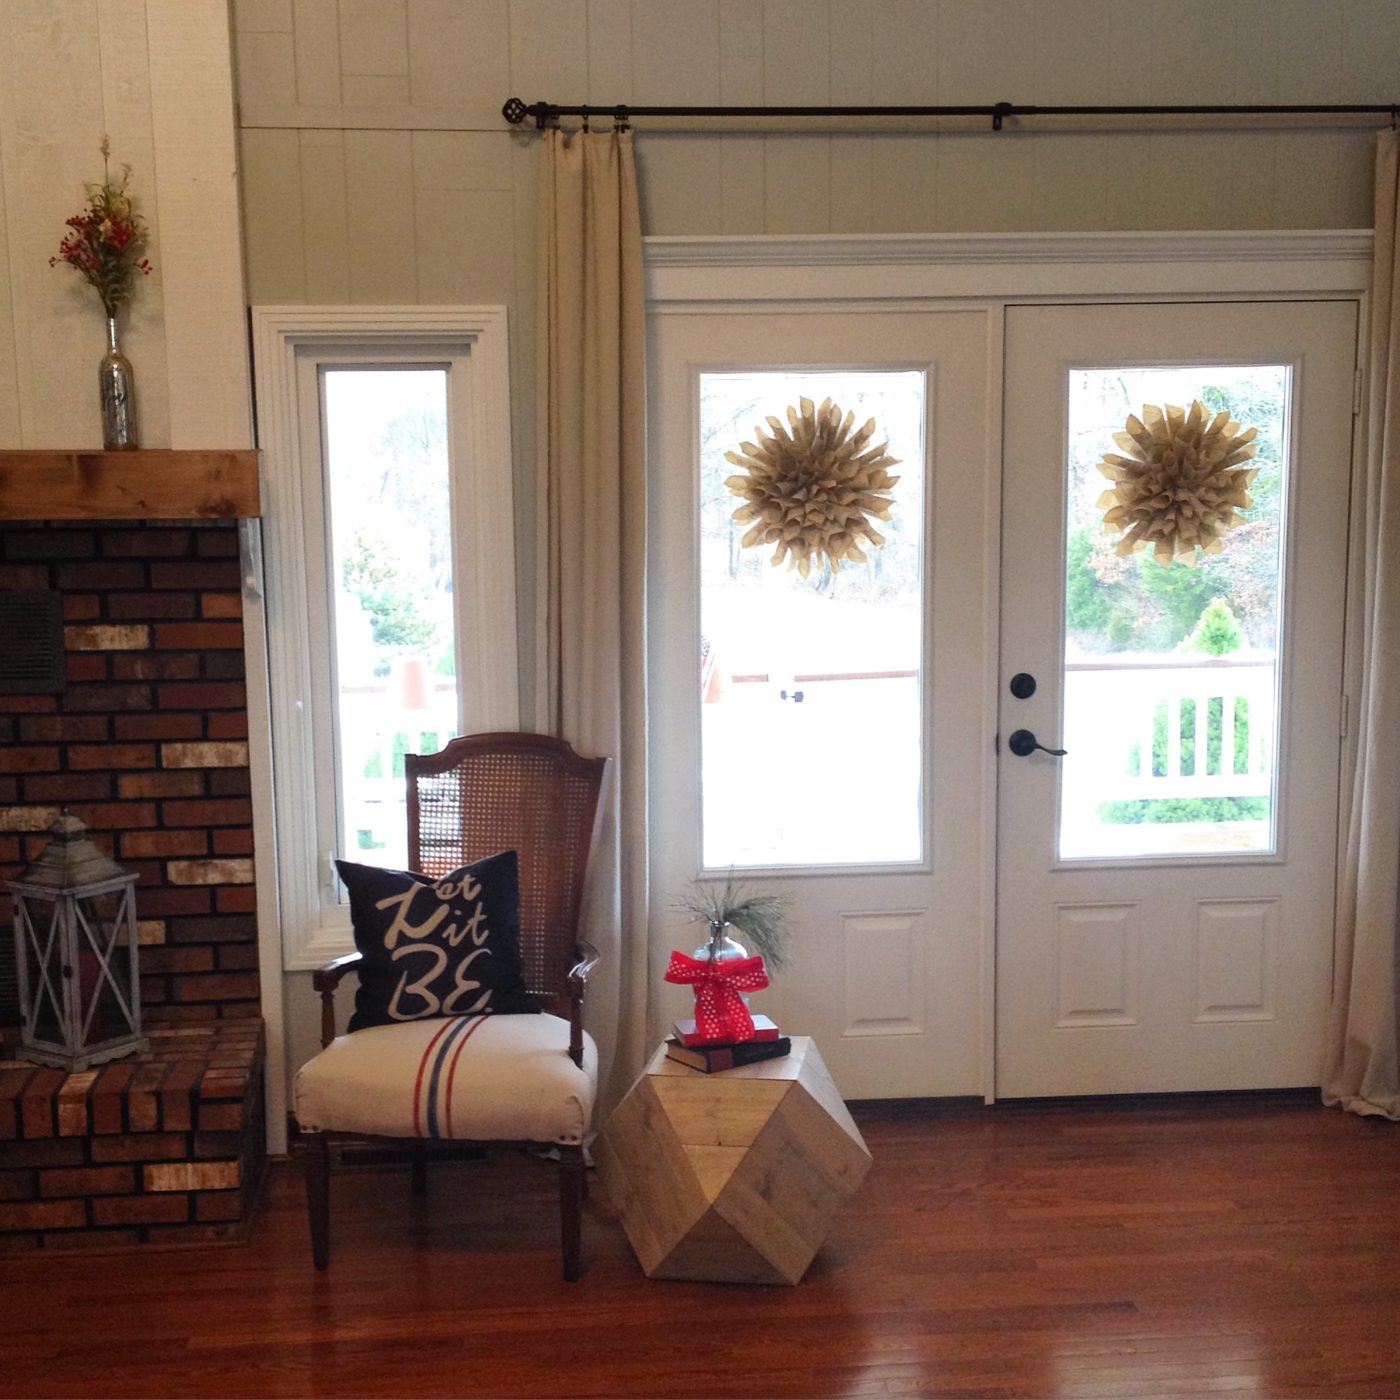
I LOVE this little table…even though I want to go back and make another one the RIGHT way this time. It totally doesn’t fit in my house, but it makes me happy, so it’s staying.


So did you get all that? I need to consider making videos of these things. I think a lot of it would be easier if you could see it instead of reading it. Do you agree? Maybe I’ll give that a try 🙂
So seriously…the table…yay or nay? My mom thinks it’s too “out there.” But I’ve had compliments on it too. I have several more geo things in the list to make soon, so if you’re a fan, stay tuned 🙂
Russ Kiddy says
This is awsome and if it makes “you” happy by all means keep it. It will find a spot that you both like, trust me on that.
Shara, Chasing A Dream says
Thank you! 🙂
diggerjack says
Hello Sarah
This project is awesome. You can use it for a lot of possibilities.
Thanks a lot for sharing
Shara, Chasing A Dream says
Thanks! Yes, it can be modified for a lot of cool uses!
cassandramay says
oh my gosh, I love it sooo much (but I’m an architect so that’s not really a suprise)! I am so impressed at your math skills! Thanks for linking up with The DIY Collective Link Party this week! I hope you come back and link up again next thursday! xo! Cassie
Shara, Chasing A Dream says
Thank you! I have a BS in math that I never get to use in my day to day life, so when I get the chance, I try to! Haha. I am really enjoying the Link Party! I will be back for sure 🙂
Candi says
Honestly I bow down to your bevel skills! I’m totally in love with this, but my table saw and I only do straight lines & 90 degree cuts so far LOL I think it’s awesome and looks GREAT in your house! It’s geometric but rustic at the same time, perfect!
Shara, Chasing A Dream says
Don’t bow down to my skills haha…the “skills” I have obtained come from the many lessons I have learned from my mistakes. I do really appreciate the compliment, though 🙂 Thank you so much! PS table saws are so scary…But I think you should give the bevels a try…you may just like it 🙂
freda says
it is fantastic!
Shara, Chasing A Dream says
Thank you!
Re-Fabbed says
Definite yay! So unique and takes a massive amount of talent. I live everything you do! 🙂
Shara, Chasing A Dream says
Thanks Brooke!