In this post, I’m showing you a few common and helpful ways to use a basic square in your woodworking projects!
Squares come in various sizes and are often referred to as a speed, a carpenter, a rafter, a quick, and/or a triangle square.
No matter what you call them, they’re a must have for woodworking and DIY projects and have many uses.
Below, I’ll show you some of the ways I use a square in my shop for marking, measuring, finding angles, cutting, and checking projects for accuracy.
*This post contains affiliate links. See policies.
What is a Square?
A square is a triangular tool commonly used for measuring, marking, and finding angles.
Squares come in various sizes and with varying features. Most are made from aluminum or heavy duty plastic and have the following features:
- Fence/Lip: This edge of the square has a lip on both sides so you can rest it flat against a board edge.
- Pivot Point: This point is the 90° corner of the square. It’s the point you pivot around to find or mark specific angles (more on that later in the post).
- Ruler: This edge of the square has a ruler etched along it. This measures the distance from the pivot point.
- Protractor/Angle Markings: The diagonal edge of the square has angle markings from 0° (at the lip) to 90° (at the tip).
- Scribe Bar: This section of the square has notches (usually every ¼″) starting about 1″ from the lip.
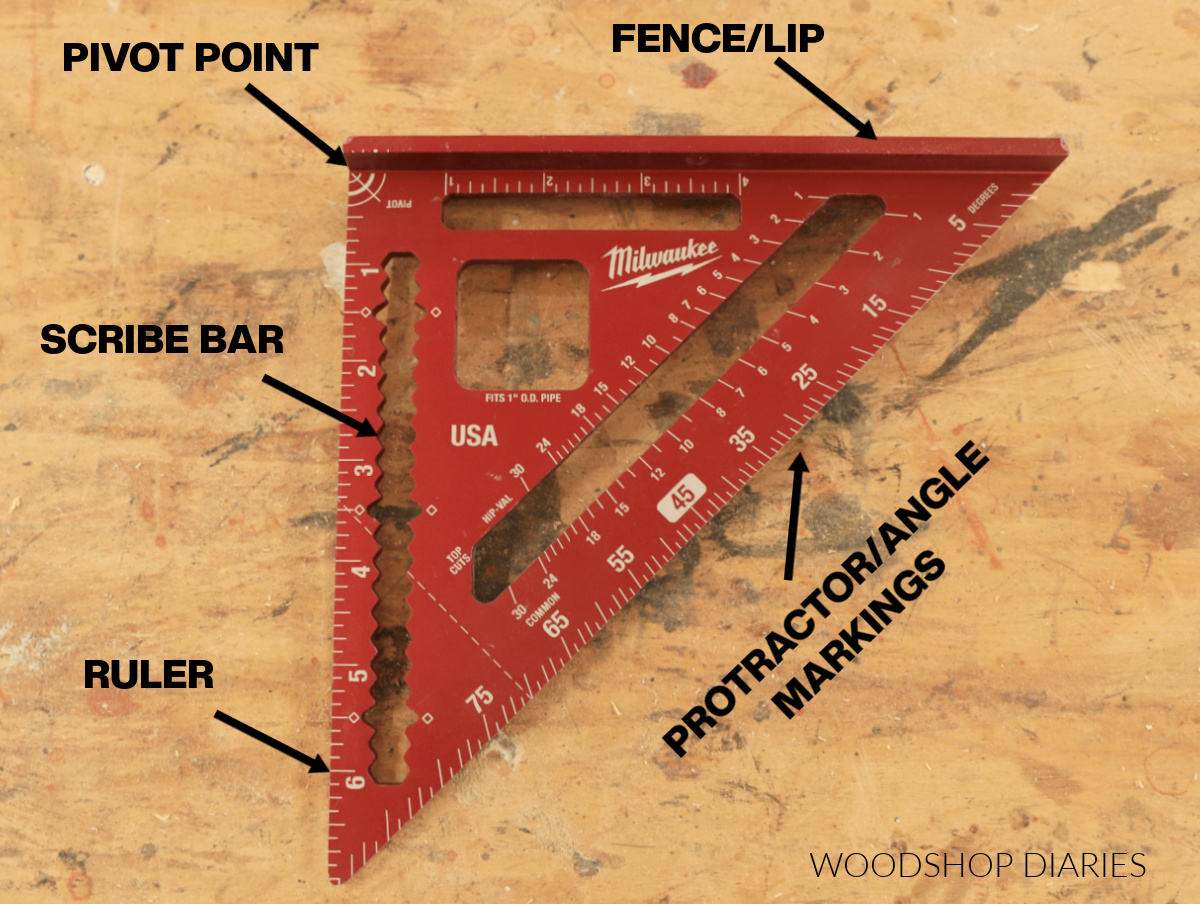
Every square may not have every feature, but these are the most common.
PRO TIP: I personally recommend opting for an aluminum square as I’ve found the plastic ones don’t hold up as well (or maybe I’m just too rough on things haha).
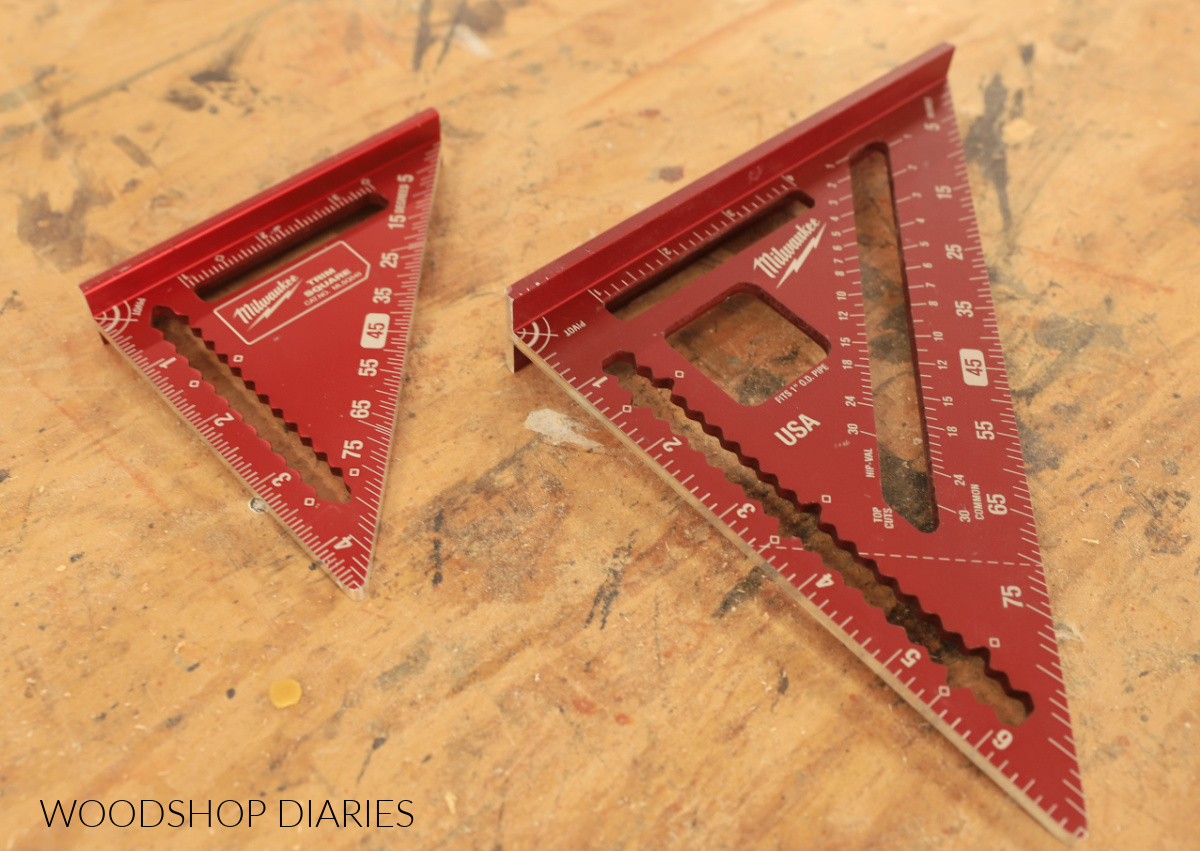
My Favorite Square
I have a few different squares in the shop, but my personal favorite is this Milwaukee trim square set–it comes with a larger 7″ and a smaller 4 ½″ square. The bright red color makes them easy to find and the marks are super easy to read.
Are DIY projects your thing? Sign up for our newsletter for priority access to the latest projects and build plans!
What Can You Use a Square For?
Speed squares can be useful for so many applications. In this post, we are focusing on basic woodworking, furniture building, and basic DIY applications. But squares also have tons of additional uses in framing and building roofs, large structures and homes.
I frequently use a speed square for:
- Marking a quick 90° (square) line
- Marking a quick 45° line
- Checking a project for square
- A cutting guide for a saw
- Finding or marking specific angles
- Drawing straight lines and offsets
Let’s discuss these uses in more detail below.
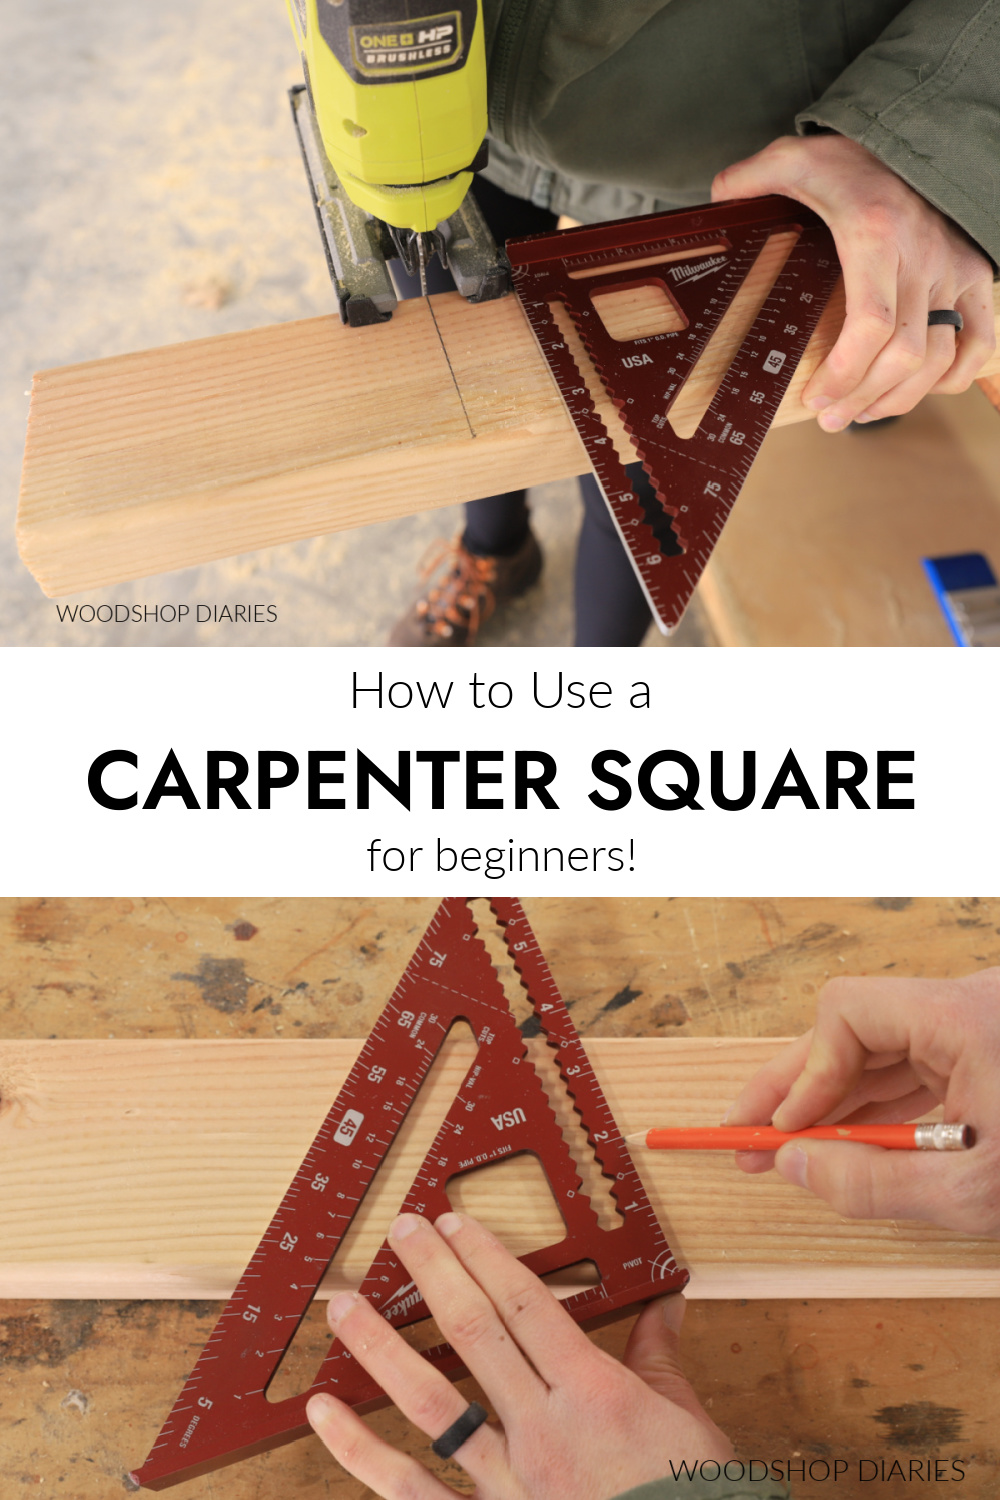
How to Mark 90° Lines with a Square
The most common (at least for me) use for a square is to simply draw a square line on a board.
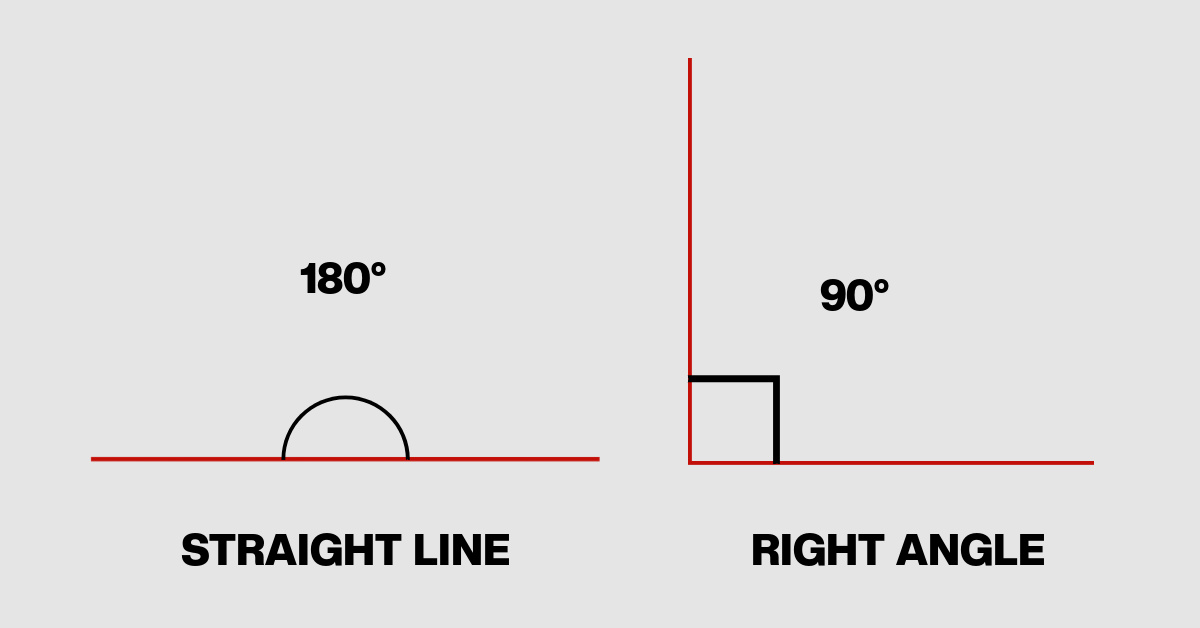
First, just to clarify–when something is “square,” it means it’s at a 90° angle (also called a “right” angle.).
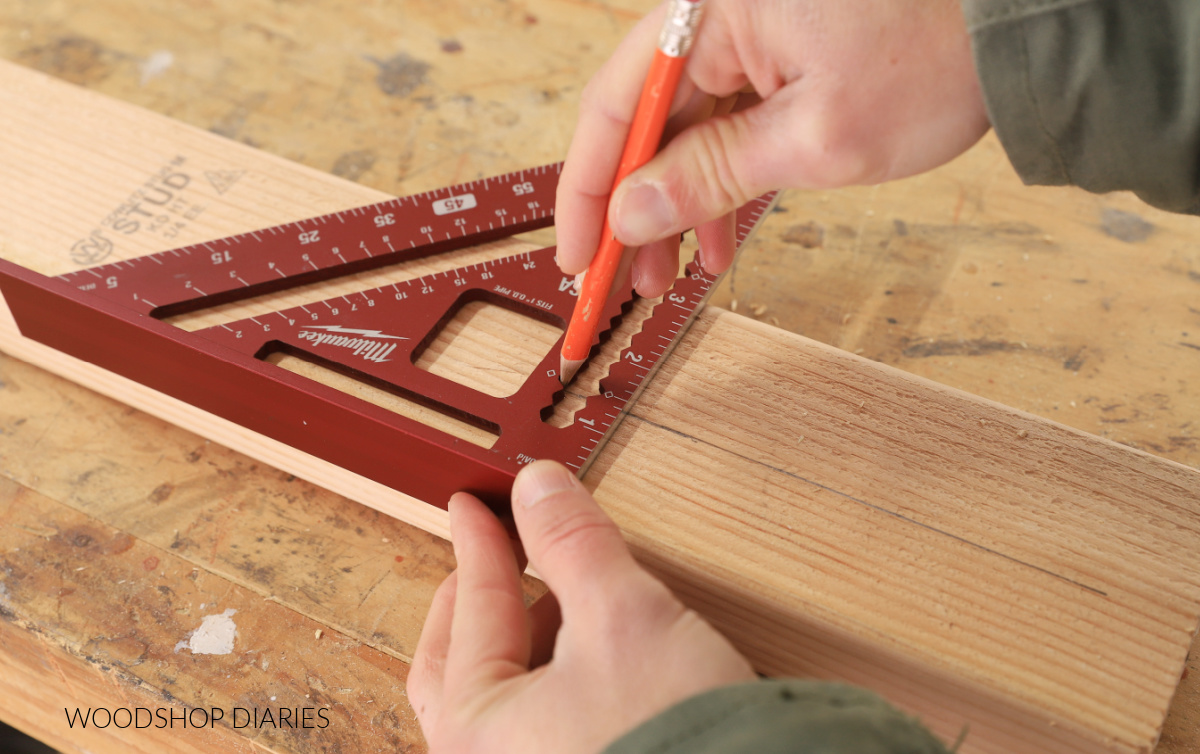
Squares are designed so that the pivot corner is exactly 90°. So if you align the lip of the square against the edge of your board, you can quickly mark a 90° line by running your pencil along the square.
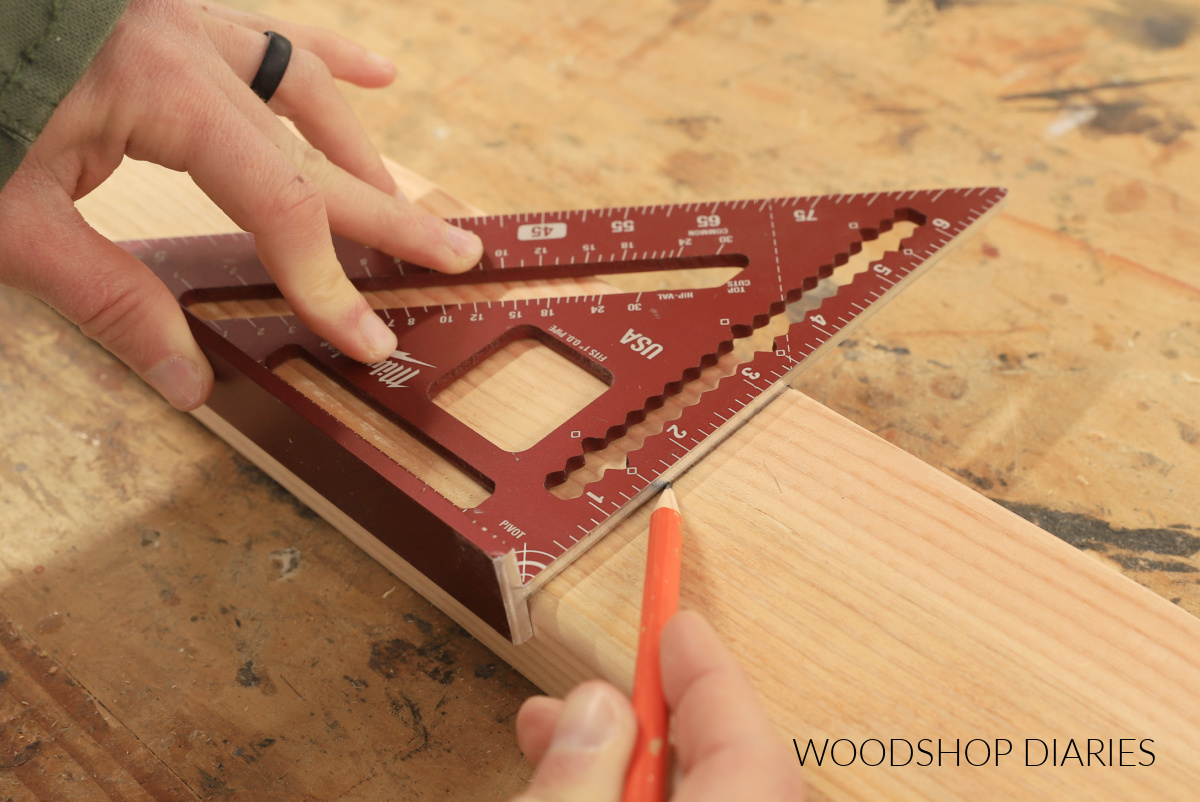
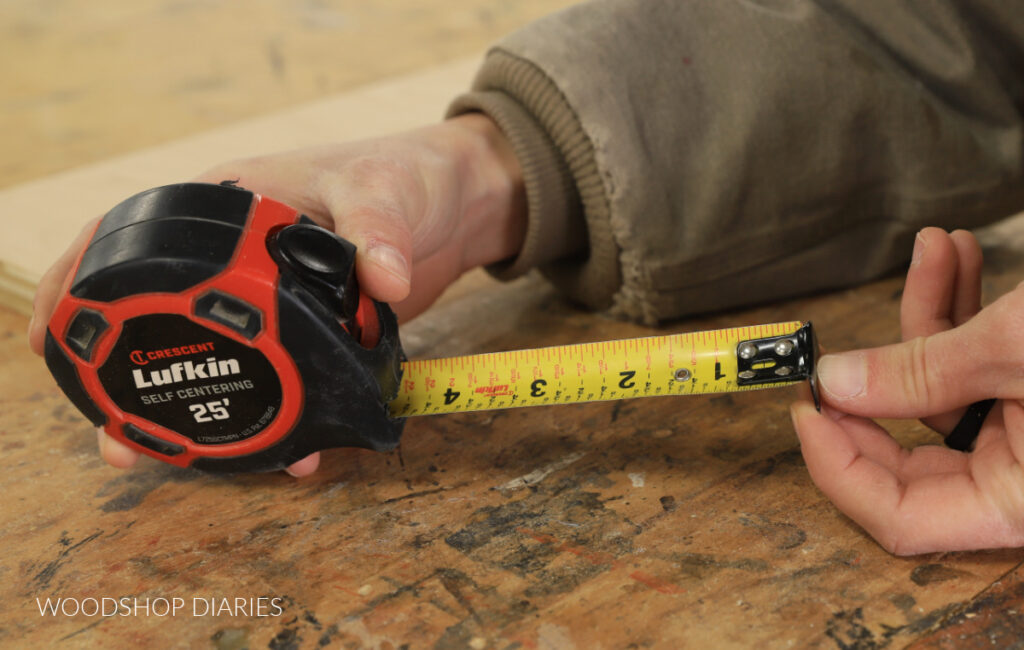
This is super handy for marking basic cross cut lines. First, use a measuring tape to mark the length you want to cut, then come behind it with a square to make that mark a line that’s easier to see.
PRO TIP: Hold the pencil on your measurement mark, then bring the square up to it before marking the whole line. This ensures your line isn’t off a little to the left or right.
This helps line up your saw to make more accurate cuts. Be sure to cut on the WASTE side of the line!
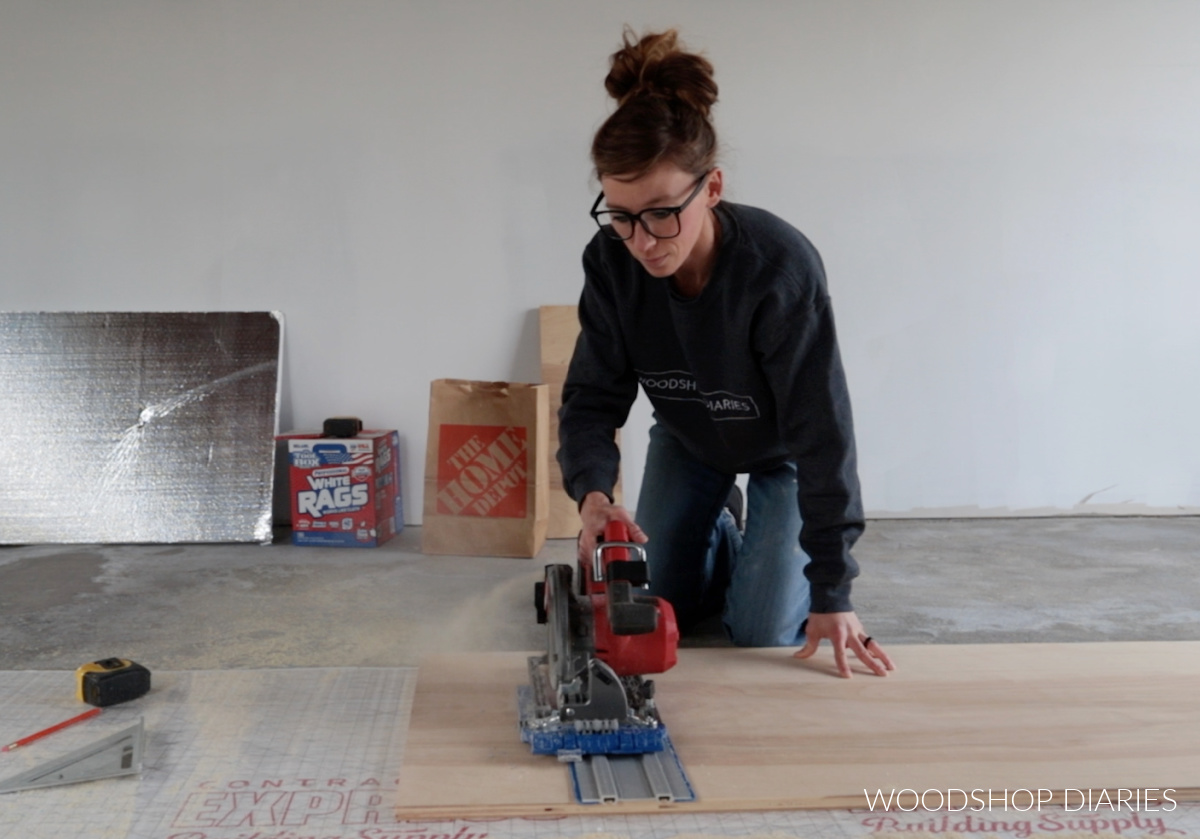
It’s also very helpful for lining up a track saw or straight edge when cutting large panels.
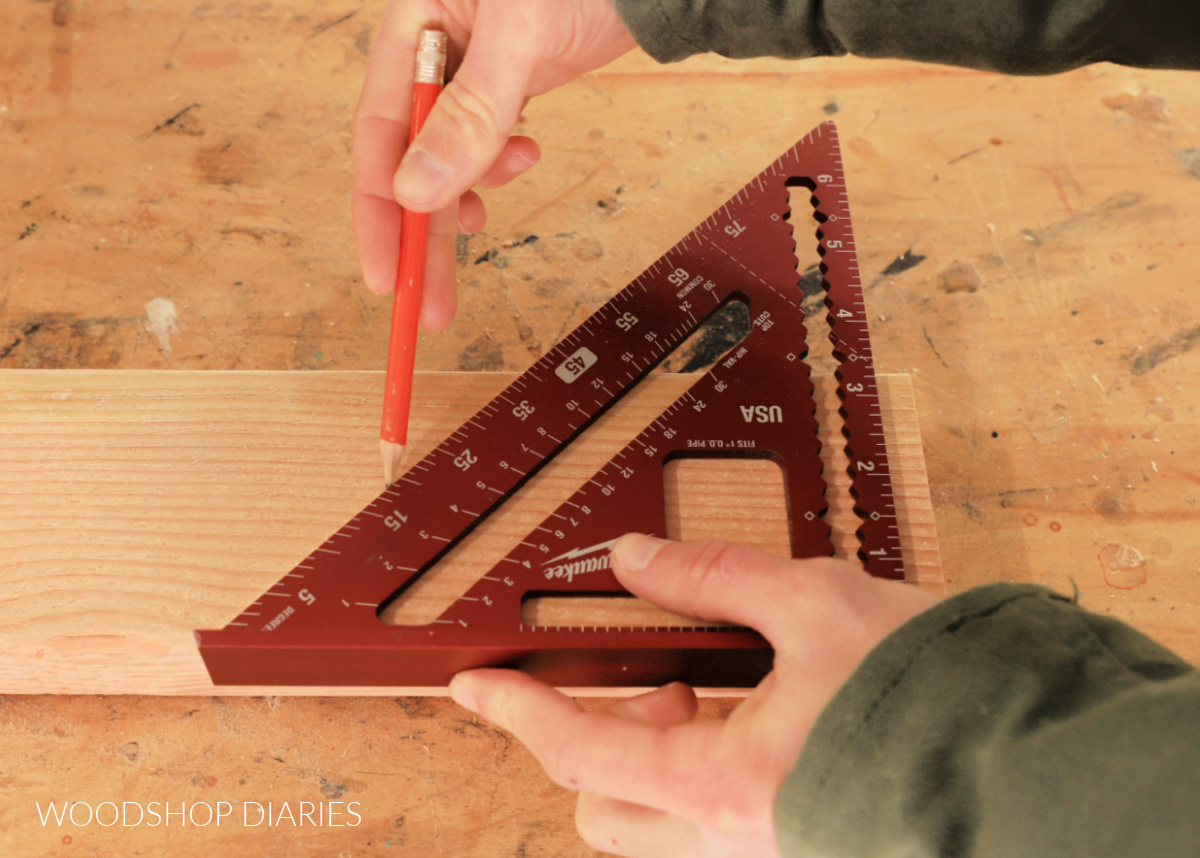
How to Mark 45° Lines with a Square
45° angles are very common in woodworking because two 45° angles, when put together, make a 90° angle. These angles are common in picture frames, cabinetry, trim work, and more.
Making 45° marks with a square is exactly like making 90° marks, only you use the other side of the square.
The two other angles of a square are 45°, so if you butt the lip up to a board edge, and mark the angled edge, it’ll be a 45° line.
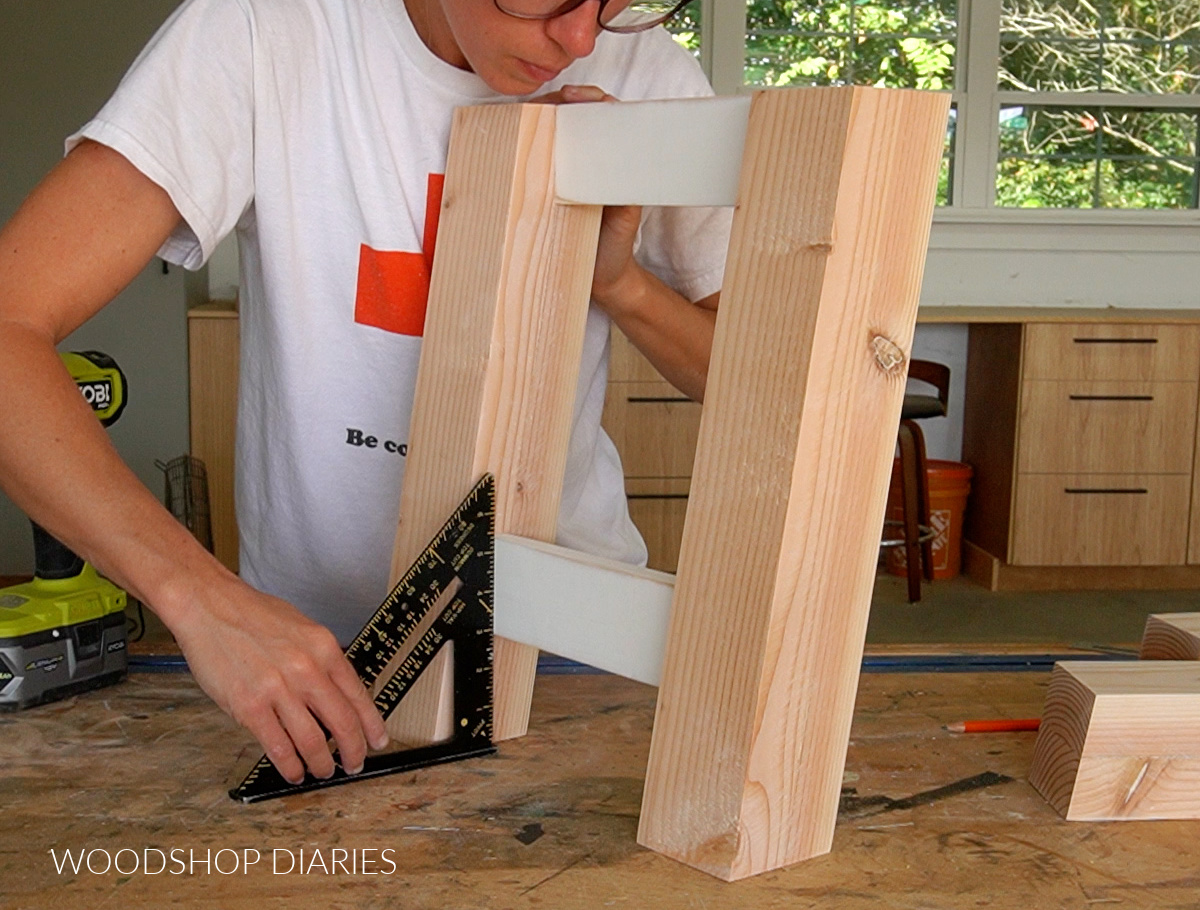
How to Check a Project for Square
When someone says they’re “checking for square,” they’re checking that the corner(s) are 90°.
NOTE: That doesn’t necessarily mean whatever they are checking is an actual square–all sides are equal length. A rectangle is “square” at the corners even though it’s not, by definition, a square.
I often use my square to check that a cabinet box, drawer box, face frame, door frame, etc. has 90° corners after or during assembly. It’s a quick way to make sure you’re on the right track and if not, adjust as needed.
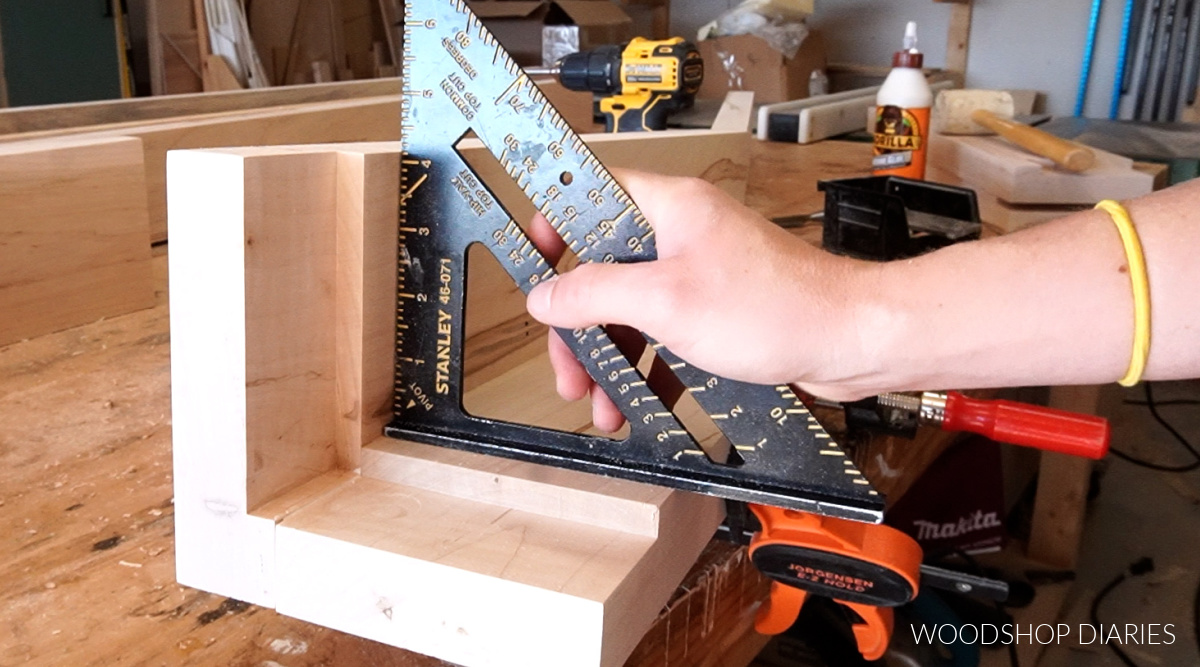
To do this, simply place the pivot corner of the square inside the corner of whatever you’re building (like shown in the image above). OR, place it on the outside corner–depending on what you’re checking.
If both sides line up perfectly with the square, the corner is 90°. If the opening is larger or smaller than the square, it needs some adjusting.
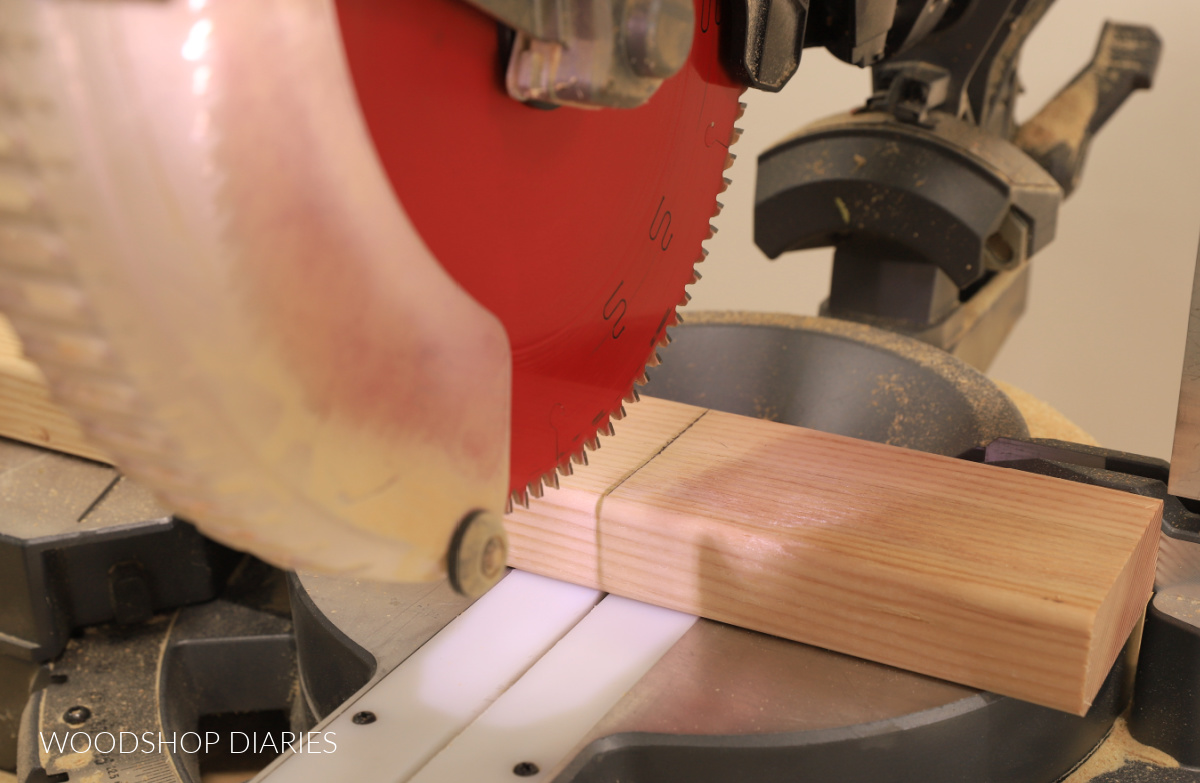
How to Use a Square as a Cutting Guide
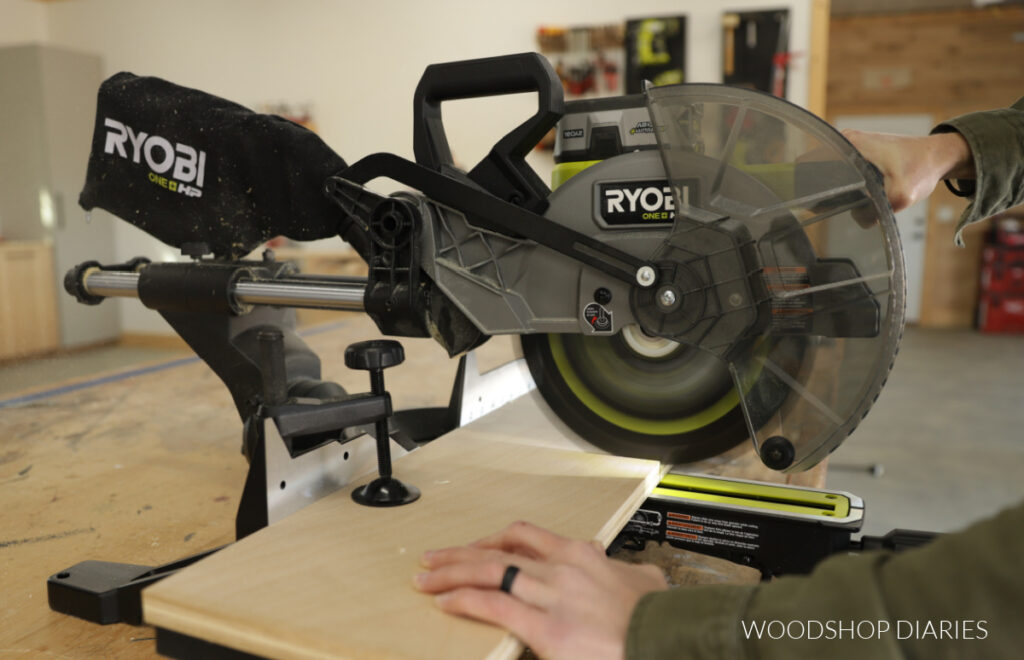
Just like using a square to make 90° and 45° marks, you can also use it to help make 90° and 45° cuts. While I’d recommend using a miter saw when possible, you can use a jig saw or circular saw with a square to make straight cuts in a pinch.
To do so, mark you board where you want to cut. Make sure to pay attention to which side is the “waste” side of the board–the part of the board you’re wanting to cut off. You want the blade to cut on that side of the line.
Line the blade of your saw up so that it is just to the waste side of the line. Place the lip of the square against the board edge and slide it up to the edge of the saw plate.
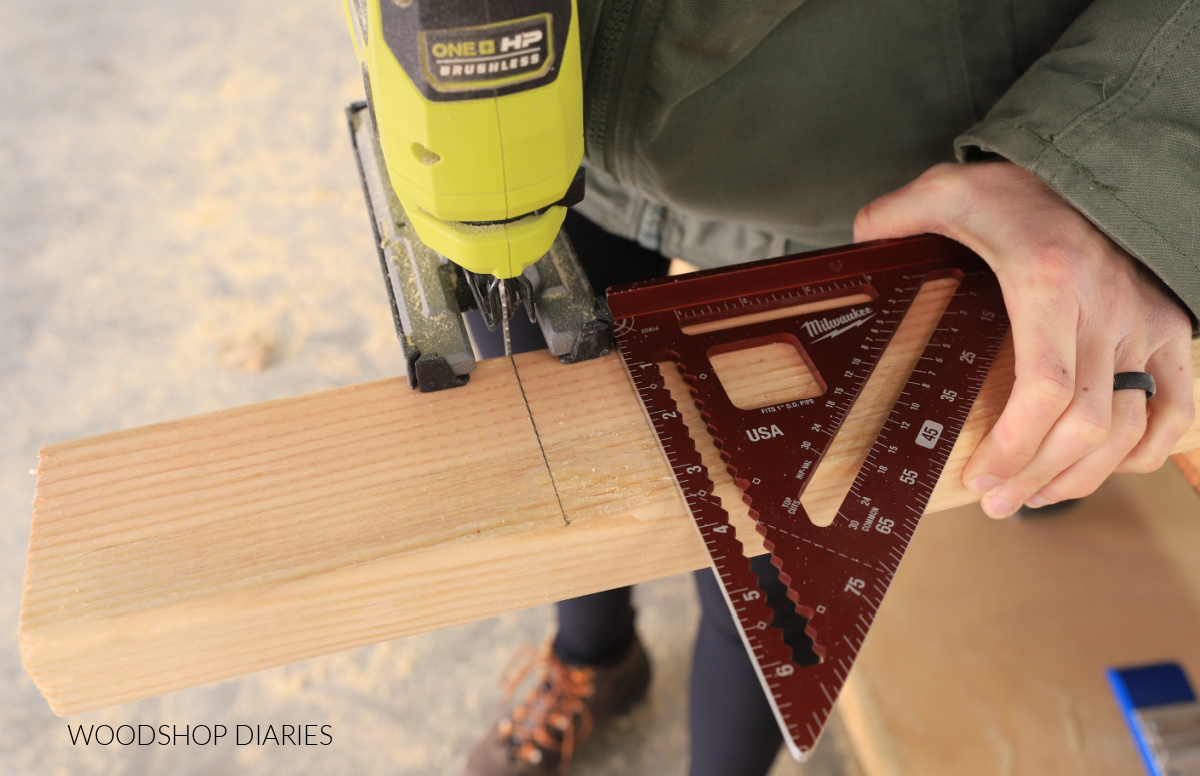
Clamp or hold it tightly in place. Then (make sure your fingers are out of the way!) CAREFULLY cut across the board keeping the saw plate flat against the square.
How to Find and Mark Angles with a Square
You can also use a square to find and mark angles besides just 45° and 90°. This is my absolute favorite feature of the square!
NOTE: Keep in mind that this method may not be SUPER accurate (to the exact tenth of a degree), but it’ll be close enough to work fine in most applications.
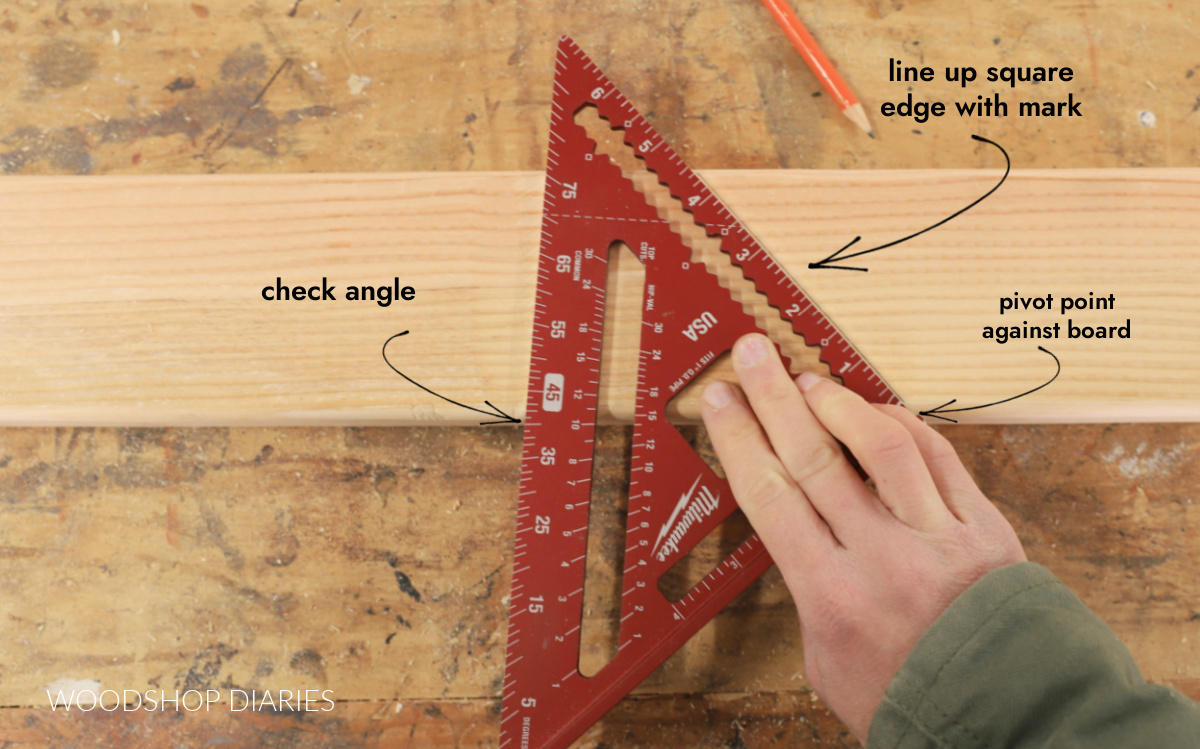
Let’s take a look at an example: If you have a board and you want to mark it at 20°, you can place the lip of the square flat against the board edge. Then, keeping the pivot corner tight against the board, pivot the square until the angle mark for 20° is even with the board edge.
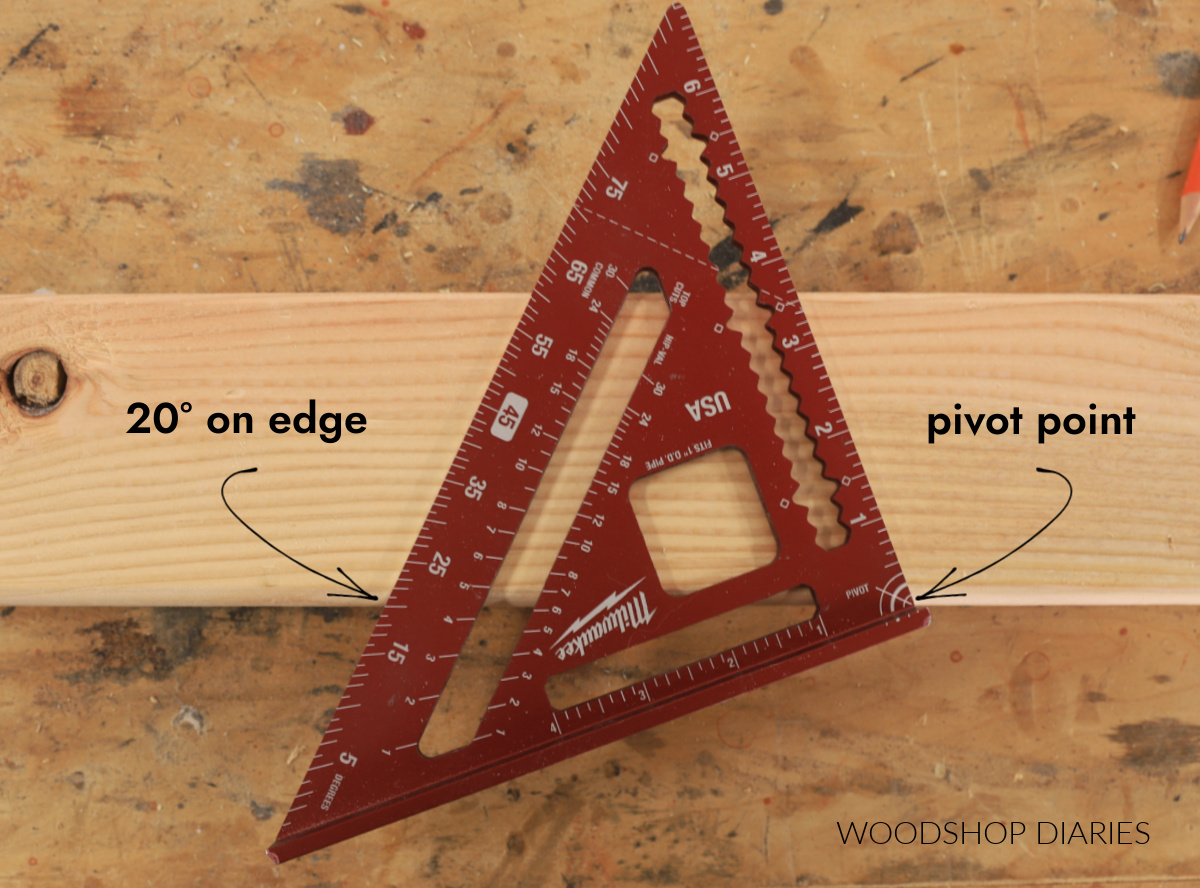
By the way, this same process applies for any angle you’d like to mark, not just 20°.
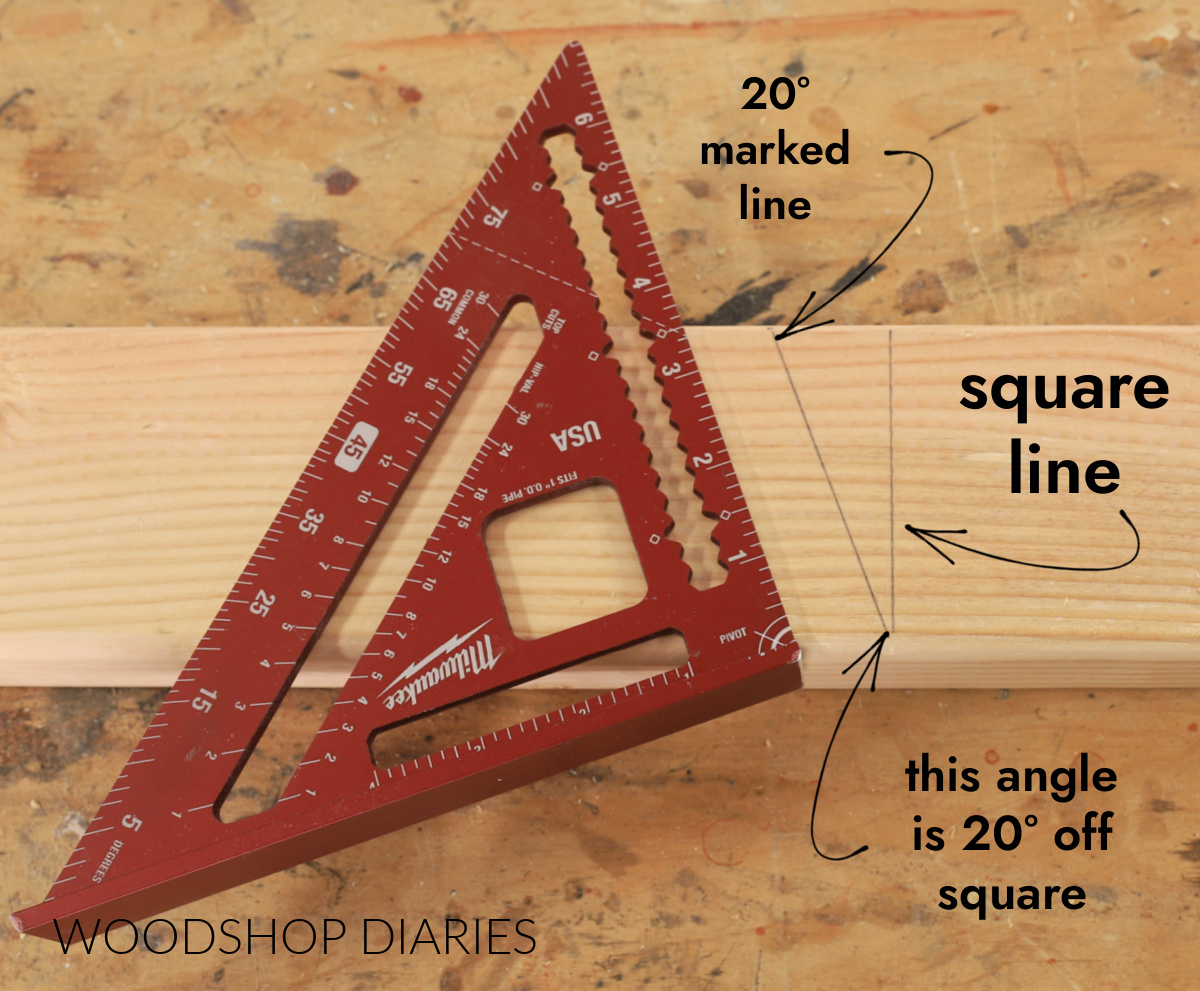
Then, mark your line against the square edge.
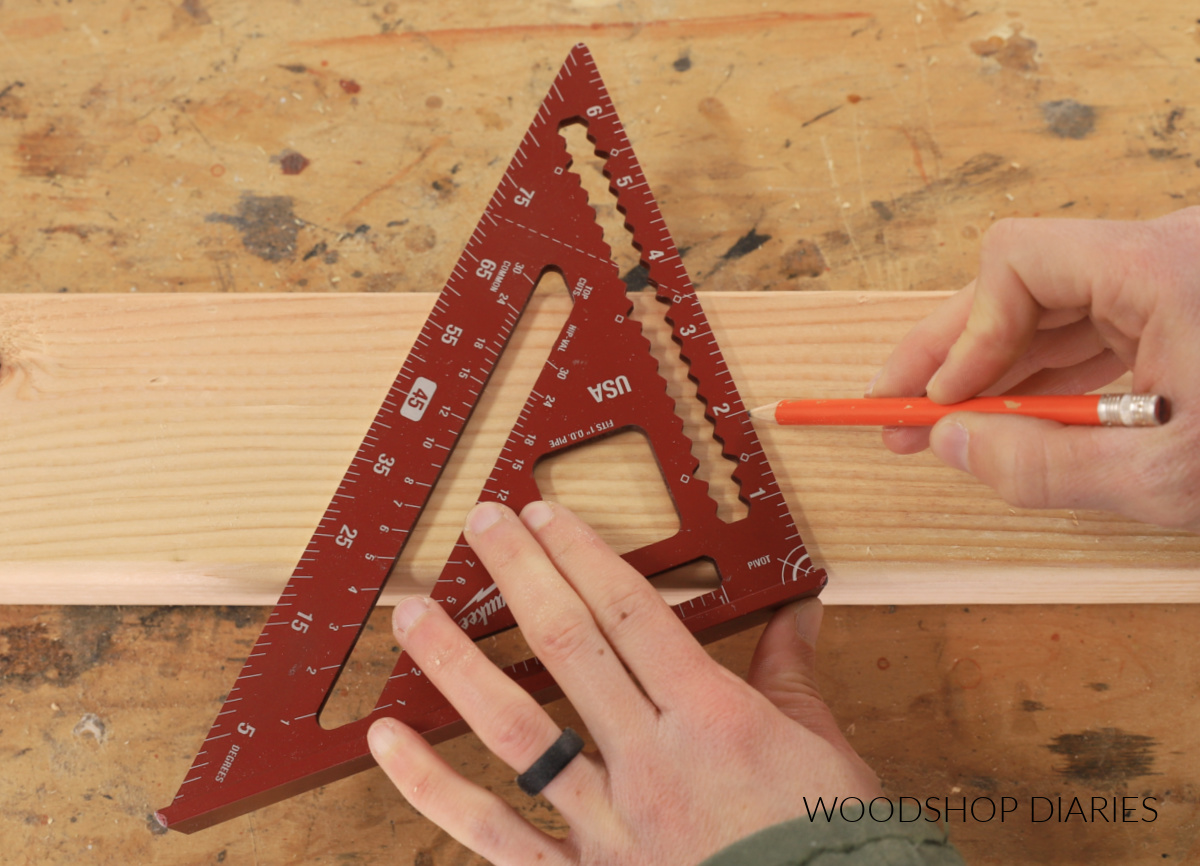
Keep in mind that this mark is 20° OFF SQUARE. So if you take this to the miter saw and adjust to 20°, you’ll cut right along this line. New to DIY? Learn how to cut angles on a miter saw here!
You can use the same method to FIND an angle as well. Let’s say you marked a board where it needs to be cut, but you aren’t sure what angle it is.
You can line up the square’s lip on the edge of the board, rotate along the pivot corner until the edge meets your mark. Then, read what angle the edge intersects on the square.
Now, you can take this to the miter saw, adjust to that angle, and cut along the line.
For a great real life application of this, check out this quick video where I share how I used a square to easily figure out the angles to install X trim on these DIY planter boxes:
You can also do the same to figure out the angle of a board that’s already been cut, too! The square is such a valuable tool for finding and marking angles in various projects.
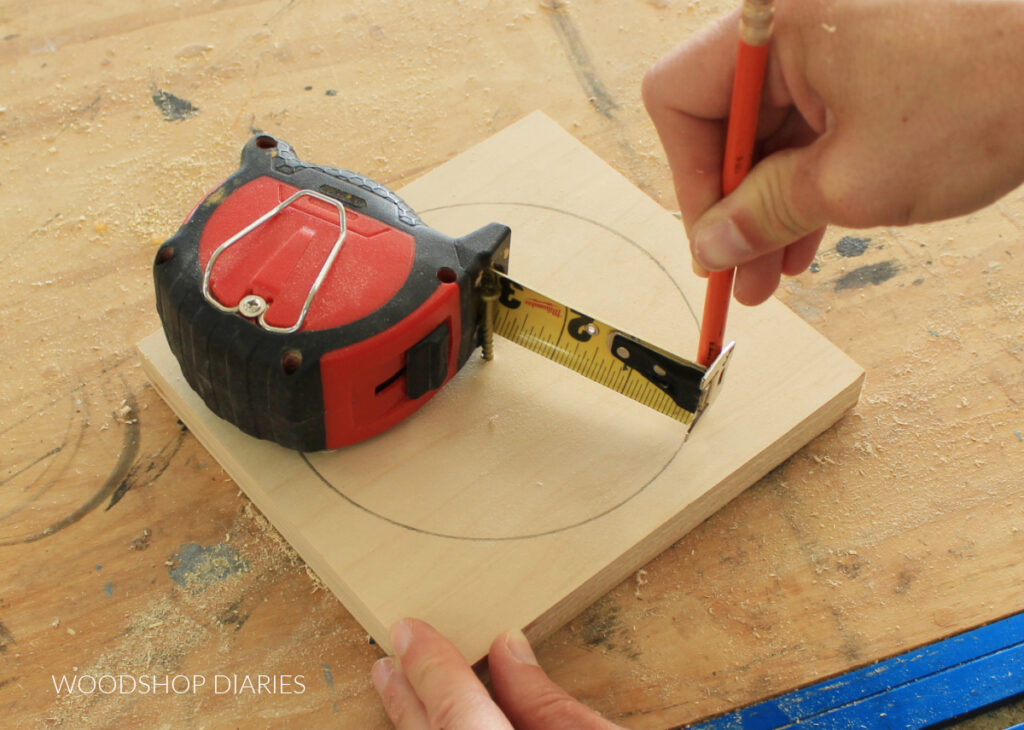
How to Use a Square to Draw Offsets
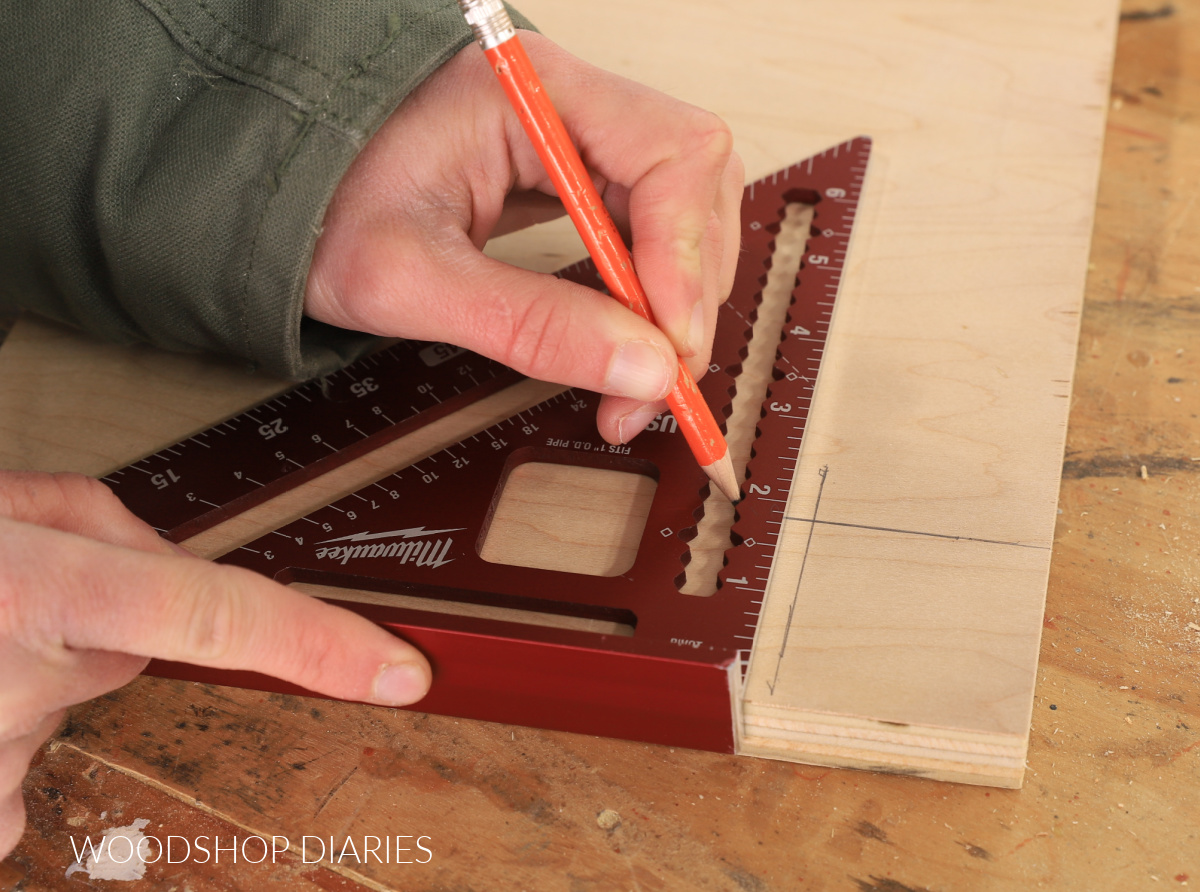
Another feature on most squares are these scribe marks. These are little notches at (usually) every ¼″. These notches typically start around 1″ away from the lip and span a few inches depending on the size, style, brand of your square.
These allow you to draw straight, even lines a certain offset distance from the edge of a board.
Let’s say you want to draw a straight line 1 ½″ from the edge of a board. You can place the square lip against the edge of the board, and place your pencil in the notch at 1 ½″.
Run the square’s lip along the edge of the board, keeping the pencil tight in the notch. Now you’ve drawn a 1 ½″ offset.
There are a lot of ways this might come in handy, but one common application is drawing corner notches. Maybe you need to notch out 2″ x 2″ corners of a piece of plywood.
You can use the scribe lines on the square to quickly mark 2″ offsets from each edge to cut out without having to grab the measuring tape.
And while a little challenging, you can also use a square on rounded objects to draw an offset following the outside of the curve.
More Beginner DIY Tips to Get Started
I hope this post has been helpful in introducing you to the square and shown you it’s value in the workshop, home, and tool box!
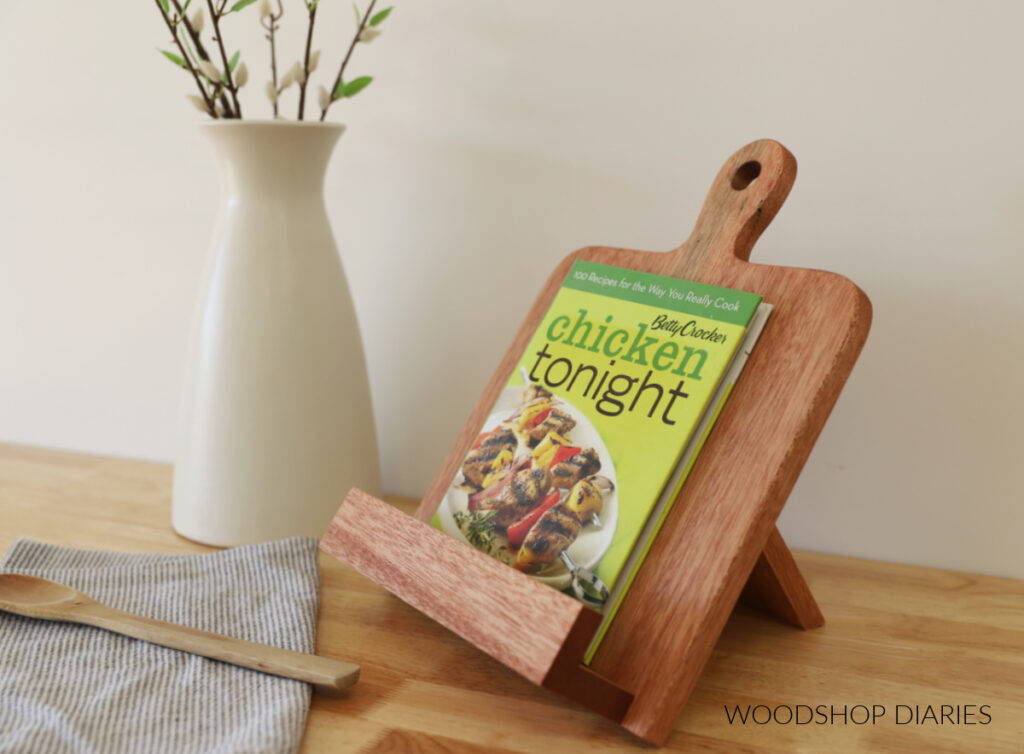
If you’re ready to tackle a simple project and put these new skills to use, here are a few fun ones that I recommend:


And if you’re new to DIY and looking for more tips on getting started, check out these helpful guides:
If you’d like to save this post for later, don’t forget to pin it or share to your favorite social channel!
Until next time, friends, happy building!