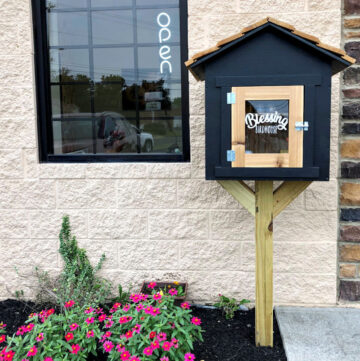
Have you ever wanted to use your love for building, woodworking, making, and crafting to help others in your community? Then you’re in the right place. This DIY community pantry is a fun build that will help those who may have a little extra give to those who may have a need.
It’s similar to those little community libraries that are becoming popular where people share books with each other in the community. Except in this case, people stock the pantry with food and people who need some can come and take what they need.
.
It’s a great way to give back to your community and to encourage others to get involved, too! I can’t take credit for this idea though…a sweet friend asked me to build one and now she’s got me inspired to find other ways to build things to help the community 🙂
.
So, if you’re ready to get involved in helping others around you, let’s get to the building, shall we?
.
This post contains affiliate links. Please see disclosure policy for details..
You will need:
1 sheet ¾″ treated plywood
1 treated 4x4x8 post
(2) 1x2x8 PVC boards
⅛″ thick plexiglass (cut to fit…see step 7)
Scrap 2×2 pieces
Roof protection-like sheet metal or shinges (optional)
2 hinges
1 latch
1 ¼″ exterior wood screws
2 ½″ exterior wood screws
Router and ⅜″ rabbet bit (optional)
.
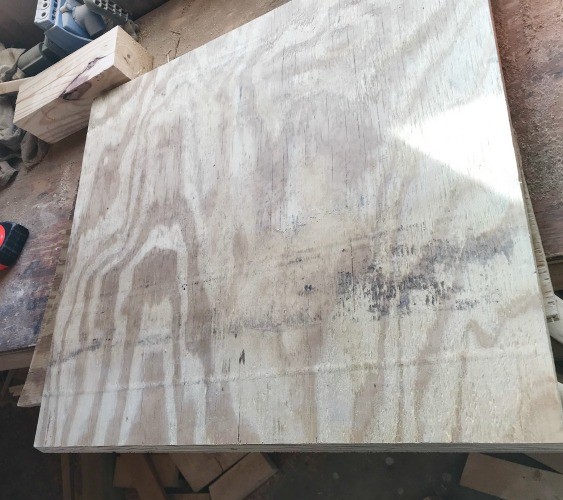
Step 1: Cut Out the Back Side of the Pantry Box
First, I cut a piece of the ¾″ treated plywood for the back side. You can modify your measurements as desired for this pantry, but I made my back piece about 22 ½″ x 24″. Since the sides of the box are slanted, it’s also best to bevel the top edge of the back side to about 14 degrees for a better fit. (See step 3)
Step 2: Cut Sides of Pantry Box
Next, I cut a piece of ¾″ treated plywood to 16″ wide and 48″ long. I measured up from one end 22″ and made a mark on the edge of the plywood. Then did the same on the other side and drew a straight line to connect the two marks. This gave me two identical sized pieces of plywood with a slant on one end going from 22″ up to 26″. I cut along this line with my circular saw to make the two sides.
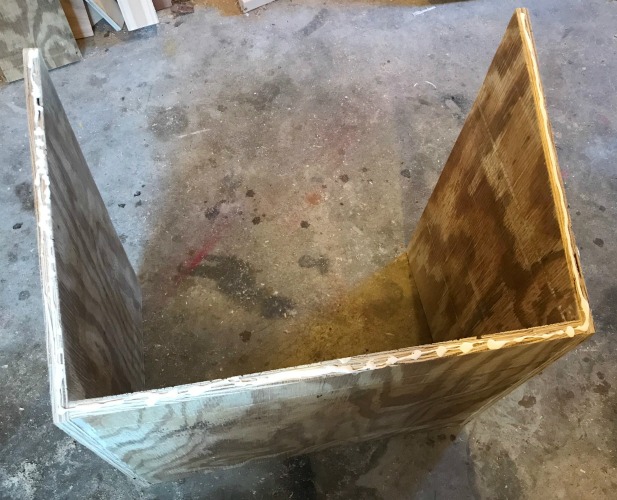
Step 3: Attach Sides and Back of Box
Then, I glued and screwed (using 1 ¼″ exterior grade wood screws) the sides and back together like shown. Since it’s rather large and I only have two hands, I used the clamp to hold the pieces in place while I attached.
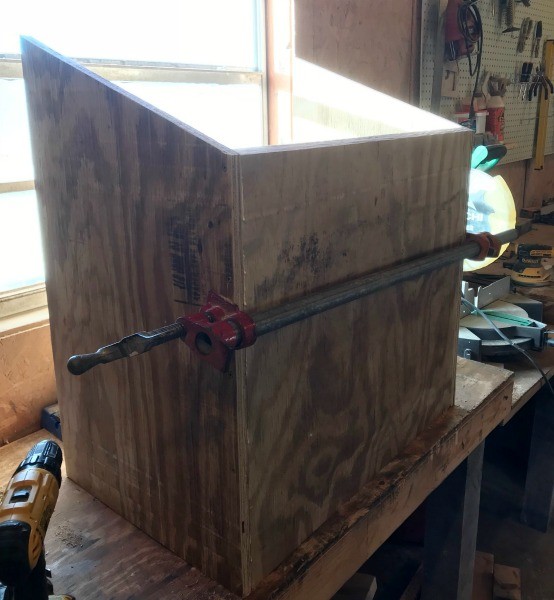

Adjust the cut on the back piece as needed to allow it to fit flush along the back edge with the two sides.
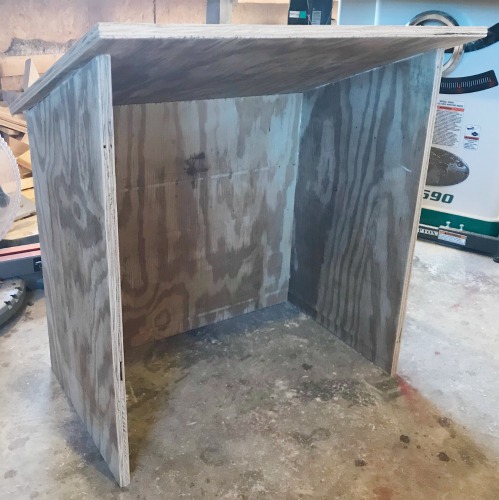
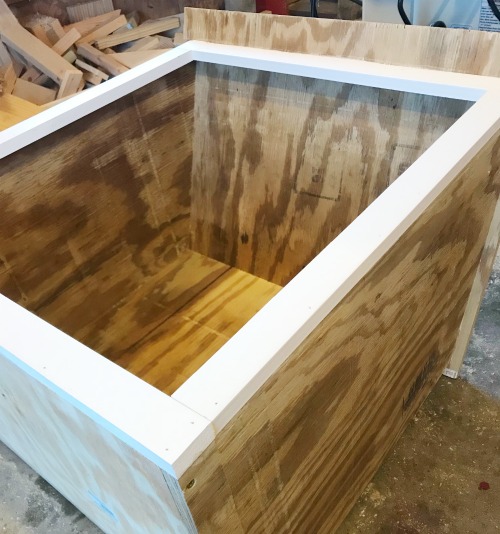
Step 4: Add the Top to the Pantry Box
For the top, I cut a piece of ¾″ plywood about 27″ x 20″ and glued and screwed onto the top of the box like shown. It’s important here that you check that the box is square before screwing together. Again, I used wood glue and 1 ¼″ exterior wood screws. I left 1″ hanging off the back side and about 2 ½″ off the front.
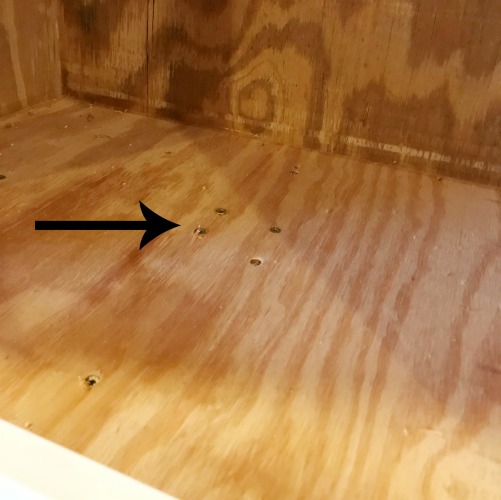
Step 5: Add the Bottom of the Pantry Box
I cut a piece of ¾″ treated plywood to 24″ x 15 ¼″ for the bottom and screwed in place using 1 ¼″ exterior grade wood screws through the back and sides.
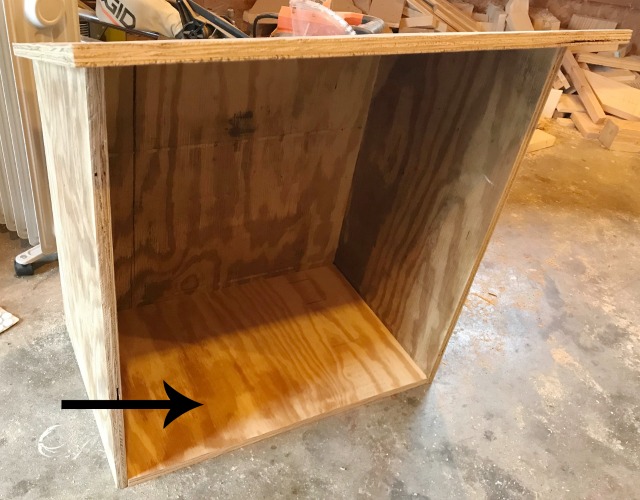
Also, at this point, you could add a shelf the same way if you wanted.
Step 6: Add Face Frame to Community Pantry Box
For the face frame and the door frame, I used 1×2 PVC board. You could also use treated 1xs here, but the PVC looks much cleaner. It’s basically plastic, so it won’t rot being outside in the rain. You can find PVC boards at Lowes, Home Depot, or your local building store.
.
I cut these to fit around the front of the box and glued and nailed in place like shown. I beveled the top piece to about 14 degrees just like I did the back side for a better fit.
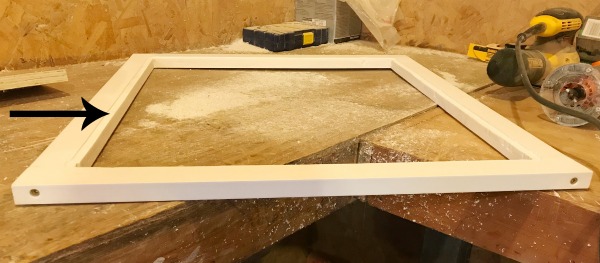
Step 7: Build Door for Pantry Box
I built a door frame that was about ¼″ smaller in both dimensions than the opening for it. So, the opening here was 22 ½″ wide and 23″ tall, so I made the door 22 ¼″ x 22 ¾″. I assembled the door using 2 ½″ wood screws like shown.
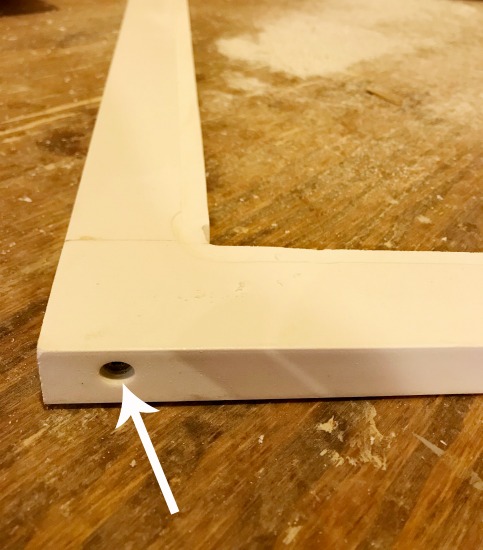
Then, I routed out a groove to place the plexiglass in on the back of the door frame. One thing to note: PVC will melt if the router bit gets hot. If you look closely, you can see some spots where the bit cut a little deep into the sides of the frame. Whoops. In hindsight, I would have used some clips to hold the door in place OR cut dados in the frame to slide the glass into.
.
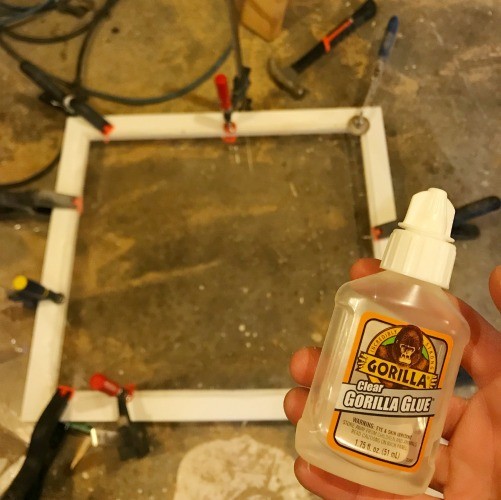
I used clear Gorilla Glue to hold the plexiglass in place in the back of the door frame. By the way, you can purchase plexiglass at Lowes and/or Home Depot and cut it yourself with a special cutter, have them cut it, or buy it from your local glass place precut. I chose option one and it was very difficult to cut myself without cracking and/or marring it. I recommend doing either of the other options haha.
Once the door was good and dry, I attached with simple hinges, and added a latch. Also, if you haven’t at this point yet, now is a good time to add a shelf before you attach the door.
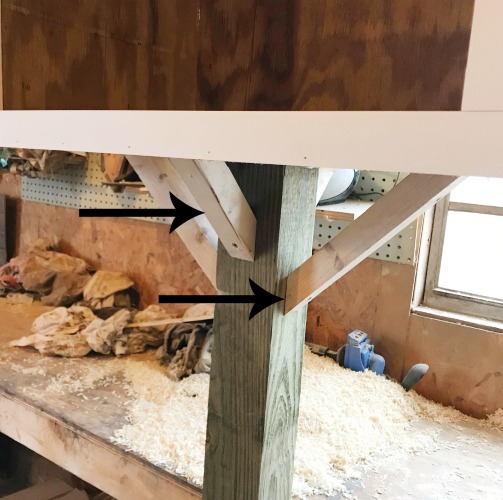
Step 8: Add the Post
I added a 5 ft 4×4 post to the bottom so that about 2 ft could go into the ground and that means the pantry box would stand about 3 ft off the ground. Feel free to adjust as desired. I simply glued and screwed the post to the box through the bottom (making sure it was centered) using 2 ½″ exterior grade wood screws.
For some added stability, I also added some scrap 2x2s on each side. I mitered the ends 45 degrees and screwed one end into the post and the other to the box.
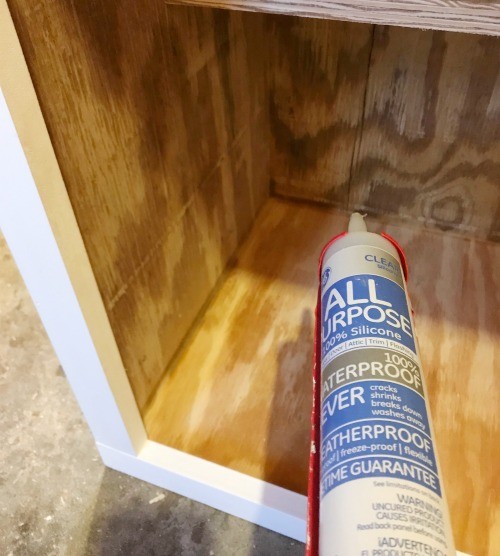
Step 9: Finish the Pantry
Finishing the box with exterior grade paint will help protect the wood from damage from the elements since it will be outside. For some added protection, I used clear silicone caulk along all the joints on the inside of the box and around the roof. This will help protect the items inside from getting wet when it rains.
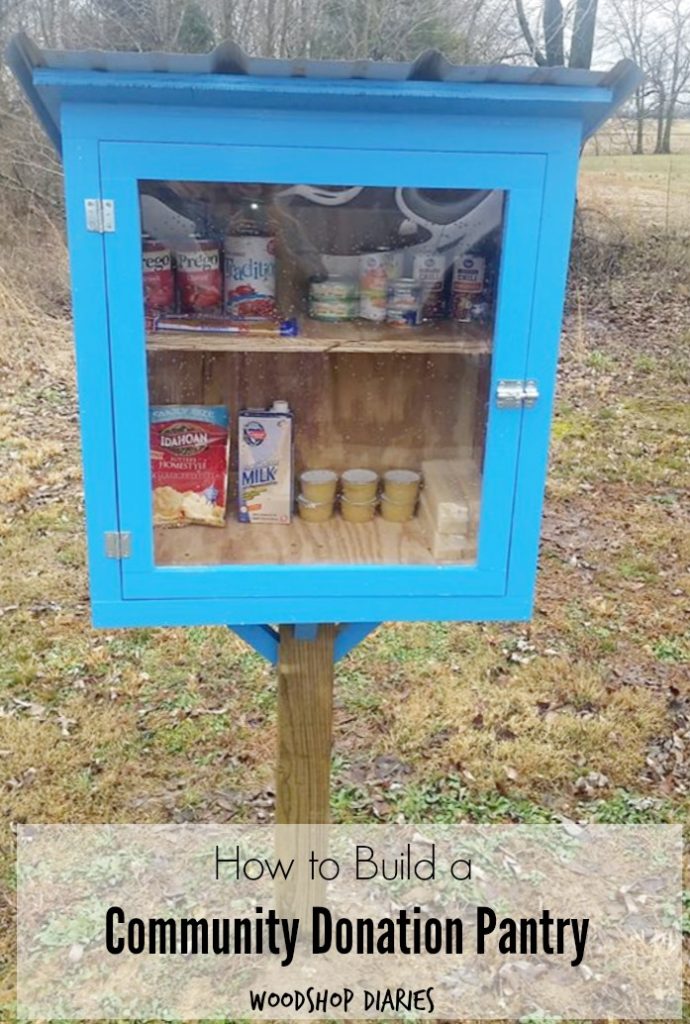
Once it’s painted and sealed, it’s ready for use!
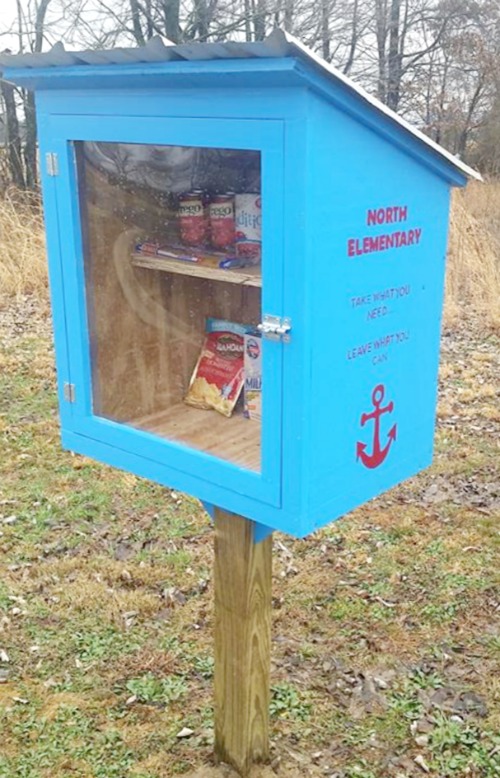
An optional step is to add some sheet metal, or shingles to the roof. It’s not required, but any extra protection never hurt 🙂
.
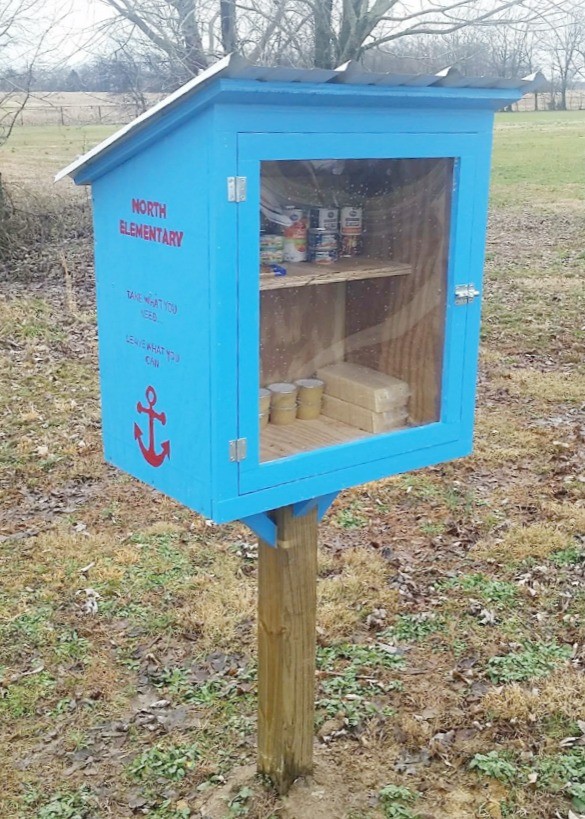
These pantries are great for helping those in need in your church, community, or even at a local school. Simply stock it and encourage others to do so. Then, those who need it can come take what they need. It’s a great way to get involved in giving back locally 🙂
A DIY project that gives to those in need…I mean, what are you waiting for?? Get out there and get building! And don’t forget to pin this idea for later and to inspire others who see it 🙂
.
Until next time, happy building 🙂