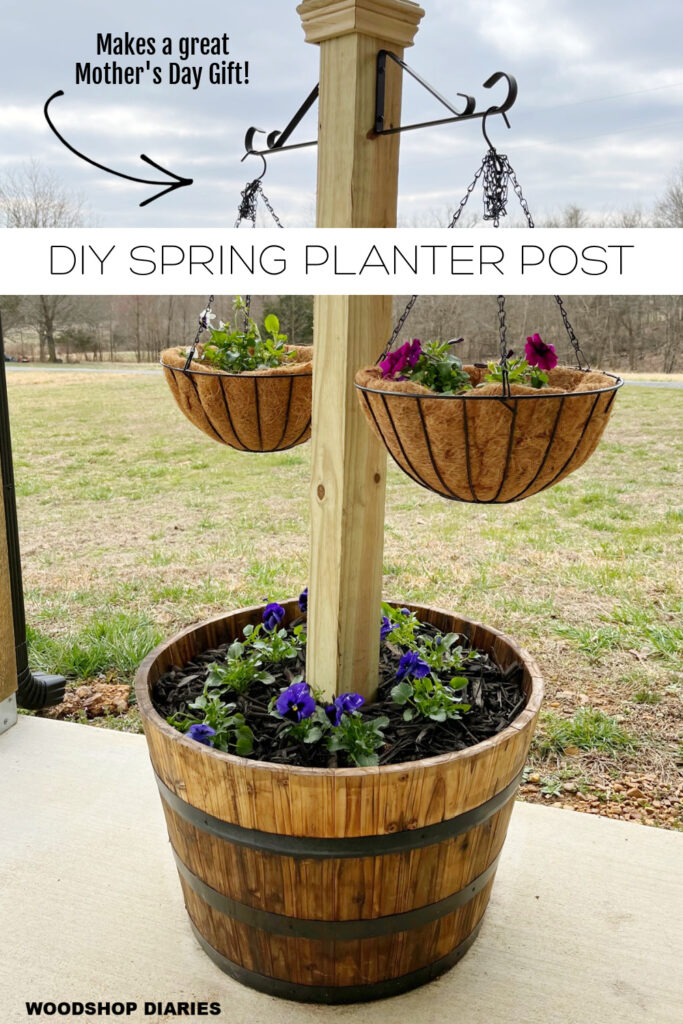
In this post, I’m sharing how to create an easy DIY planter post to hang flowers on this spring and summer!
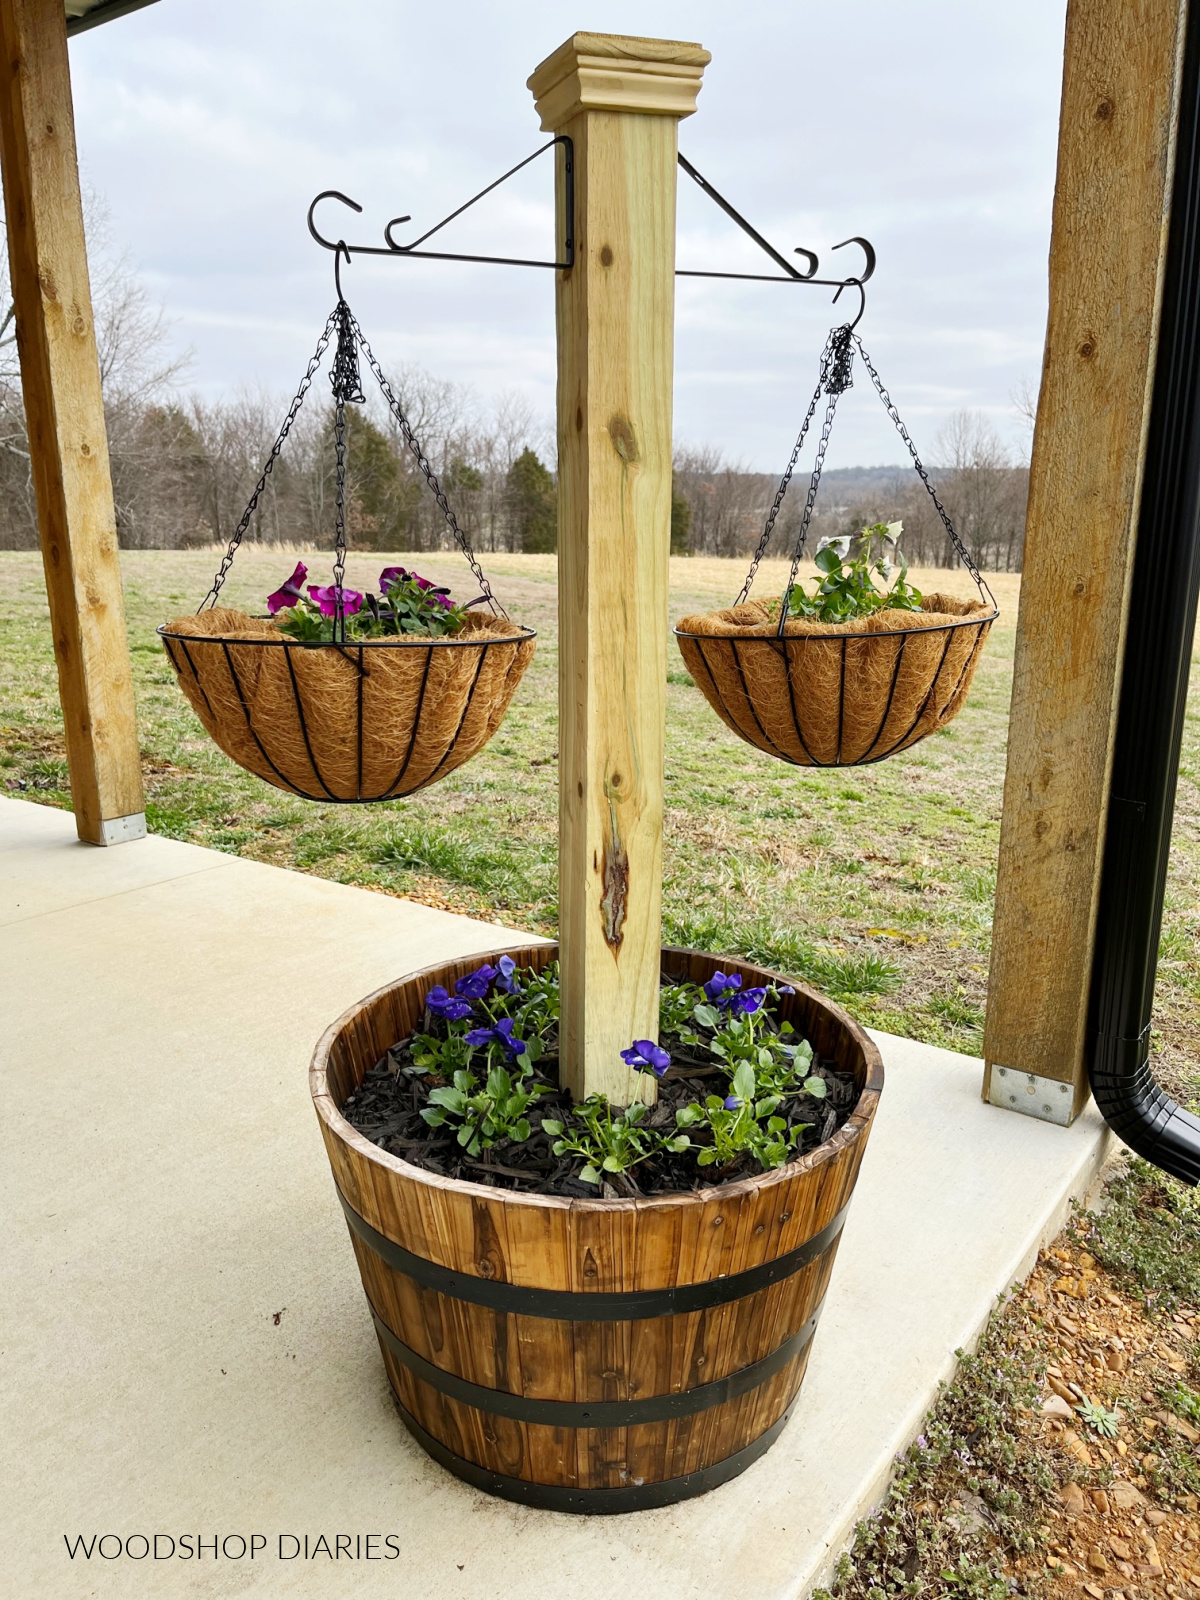
This spring, combine your potted plants with your hanging plants with this quick and easy DIY planter post.
.
You can make this project in under an hour and it makes a great DIY Mother’s Day gift if you need something that goes above and beyond your basic basket of flowers this year 🙂
.
Whether you’re making it for your porch, your garden, around your mailbox, your flagpole, or to give as a gift, it’s a great spring project you’ll enjoy putting together.
.
Here’s a short video showing how it came together, and below is the step by step tutorial.
.
*This post contains affiliate links. See policies for details.
Materials:
- (1) Vigoro Barrel Planter
- (1) 4x4x8 treated post (or can use cedar instead)
- (2) plant basket hangers
- (2) coco baskets
- Mulch/potting soil
- Flowers
- (1) post cap
- Exterior wood glue
- 2 ½″ exterior screws
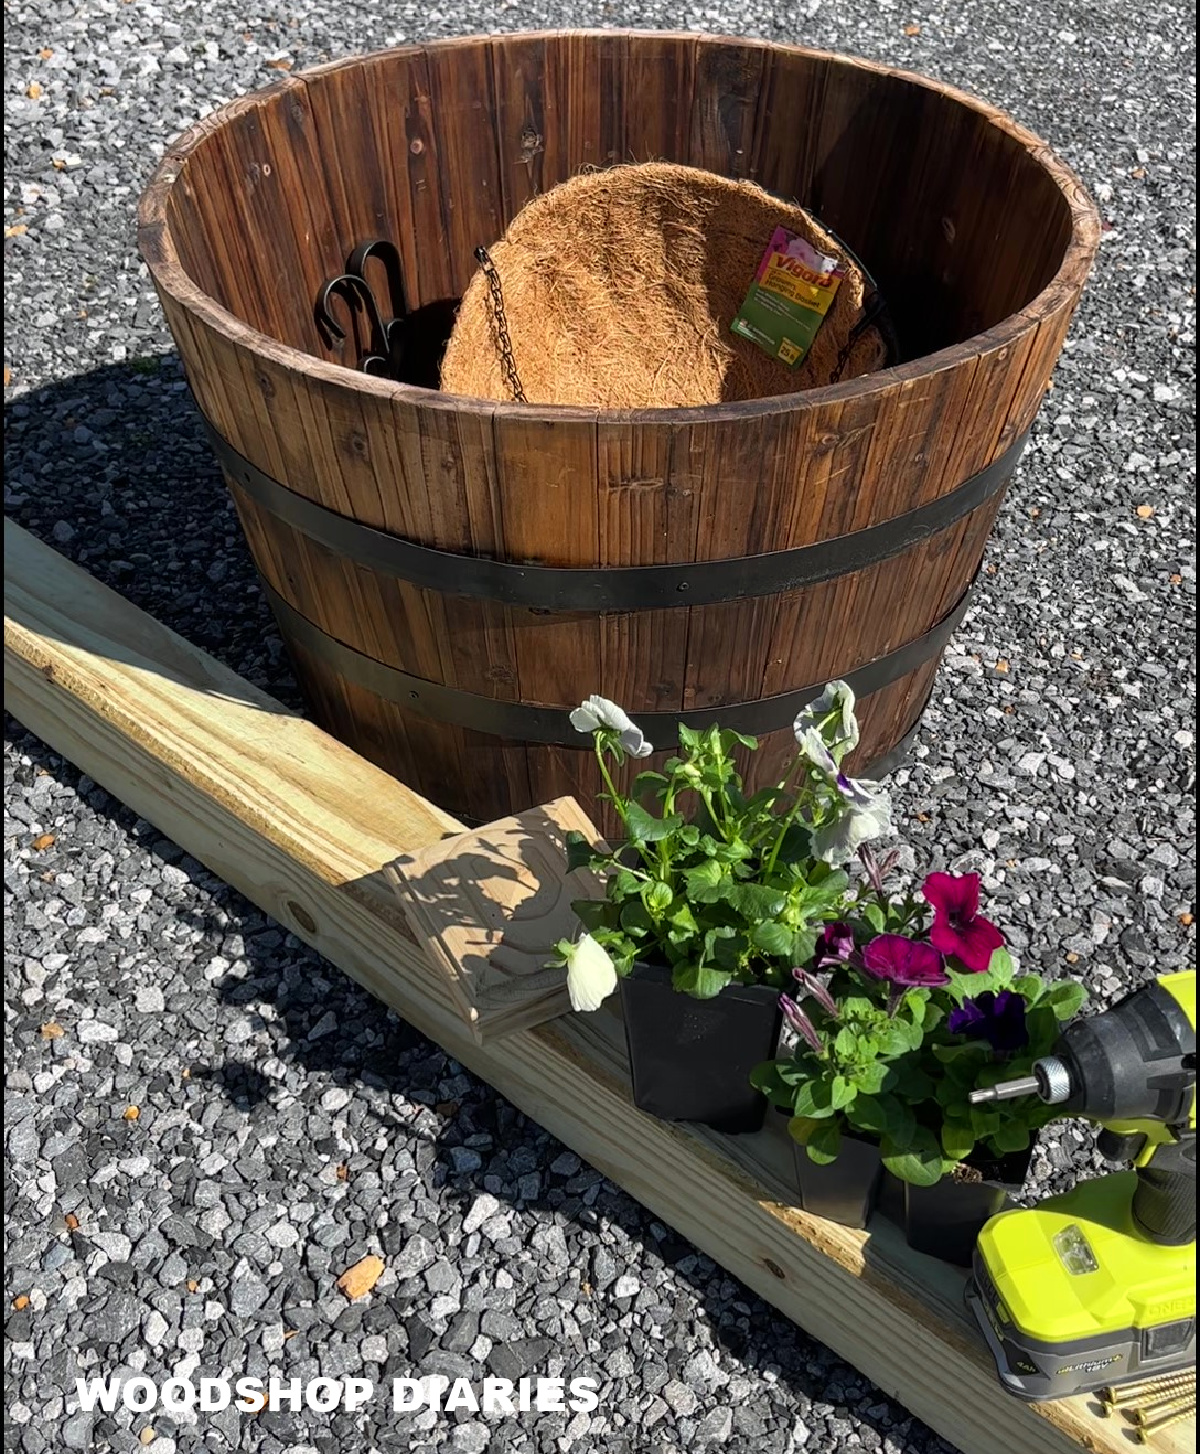
Step 1: Cut Planter Post and Supports
You can make your 4×4 post any height, but I made this one about 54″ tall. So I cut a 54″ long piece off my 4×4 post first.
.
Then, I cut two angled supports to go inside the barrel planter to help keep the post upright.
.
I adjusted my miter saw to 45 degrees and cut these two support pieces roughly 16″ long. In order to fit down into the barrel, I had to trim some off the bottom of these supports. You can see the image below.
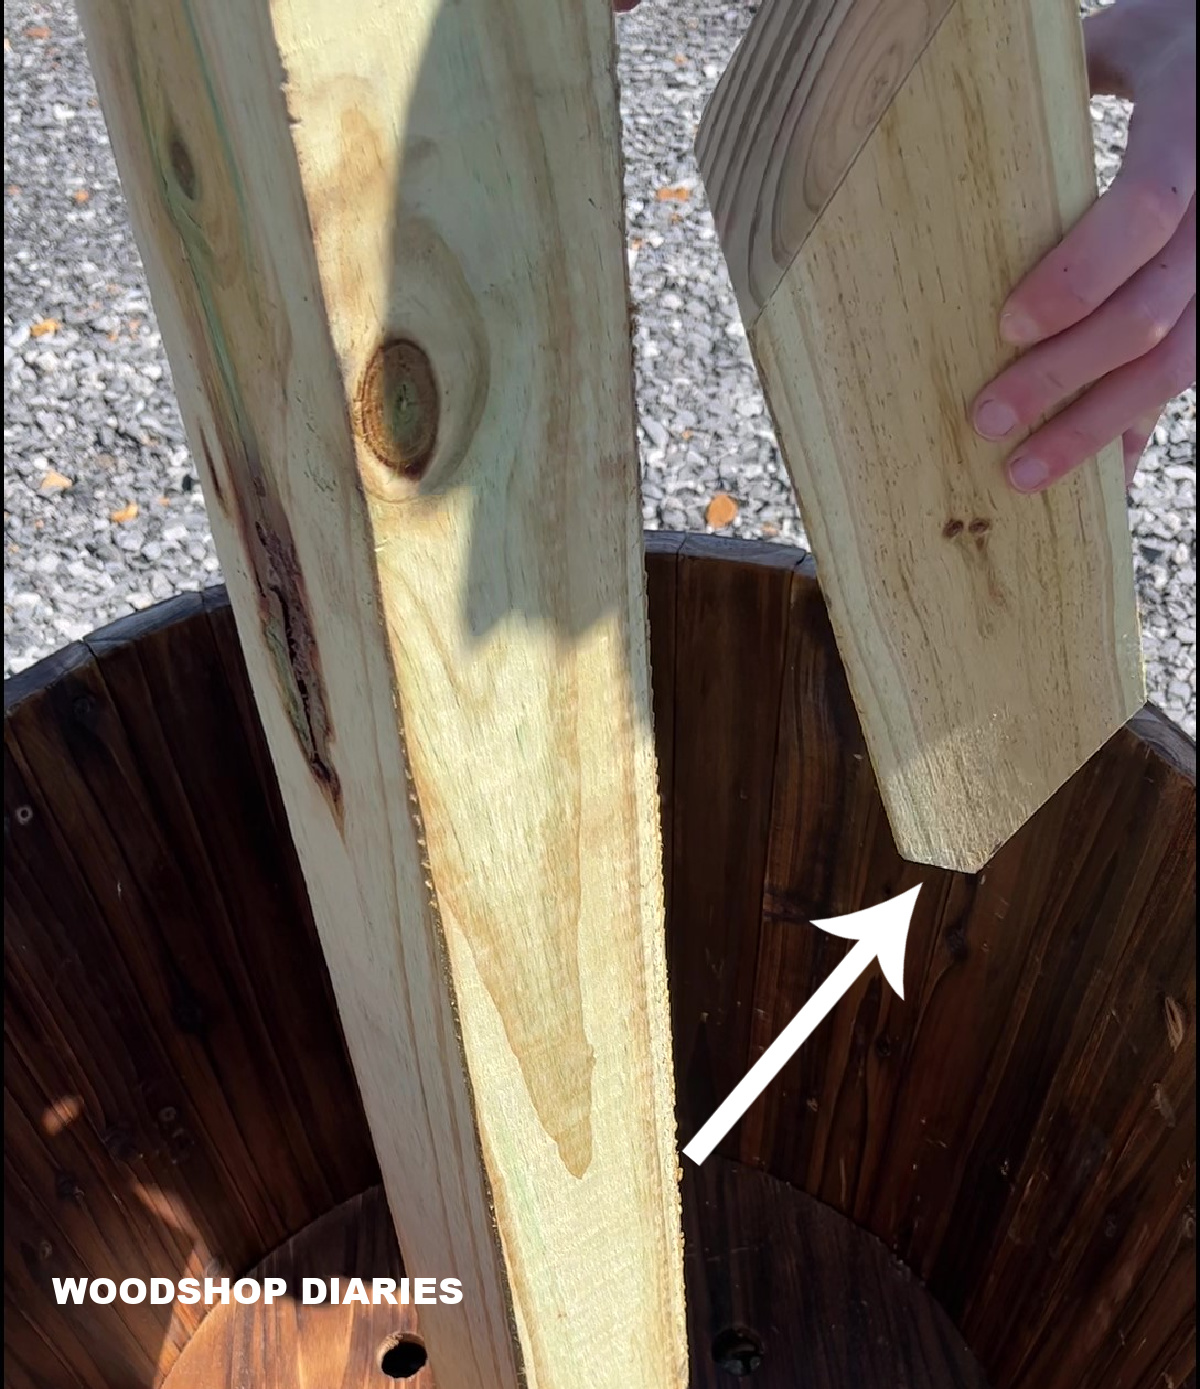
To do this, I adjusted my miter saw back to 0 and just cut a little off the long end until both supports and the post were able to fit down into the barrel. This doesn’t have to be exact.
Step 2: Secure Post to Planter
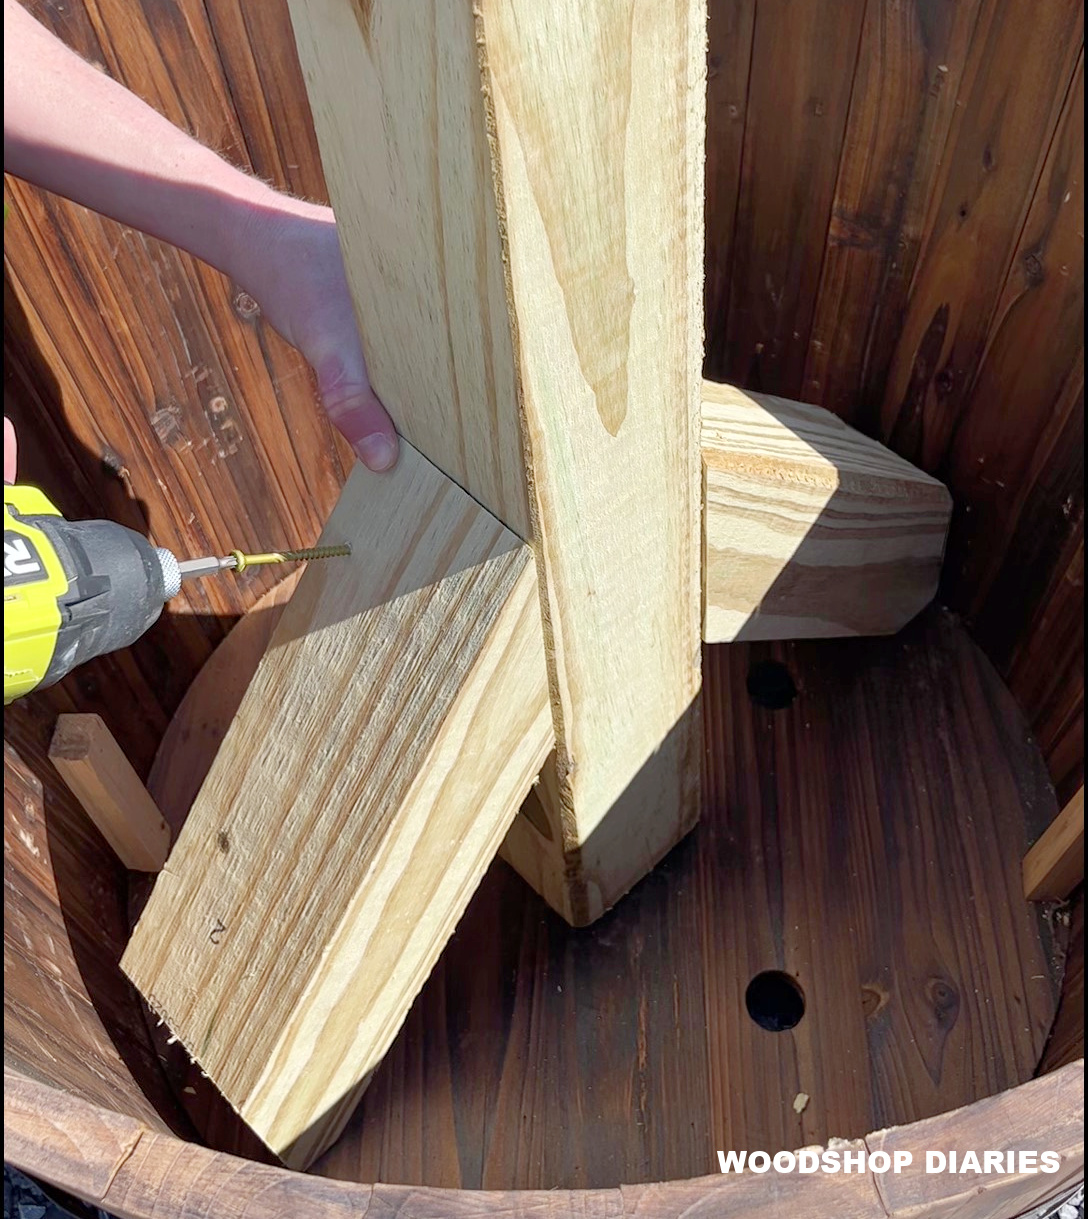
First, I placed the pieces down into the barrel and used (2) 2 ½″ exterior screws to secure the supports into the post.
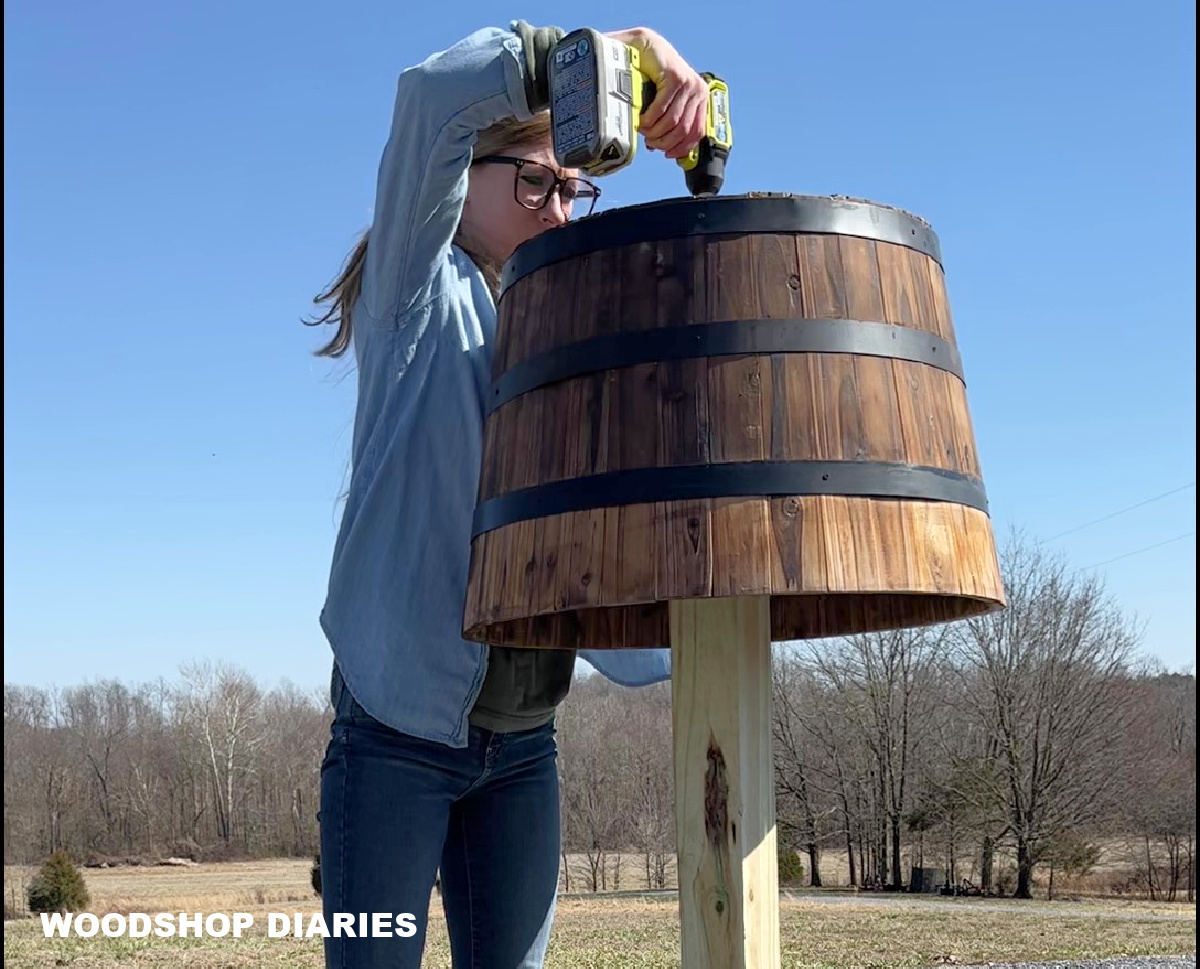
Then, I flipped it upside down and centered the barrel planter on top. I used a couple more screws to secure the barrel planter to the center post.
Then, I laid it on its side and added some screws through the bottom into each angled support.
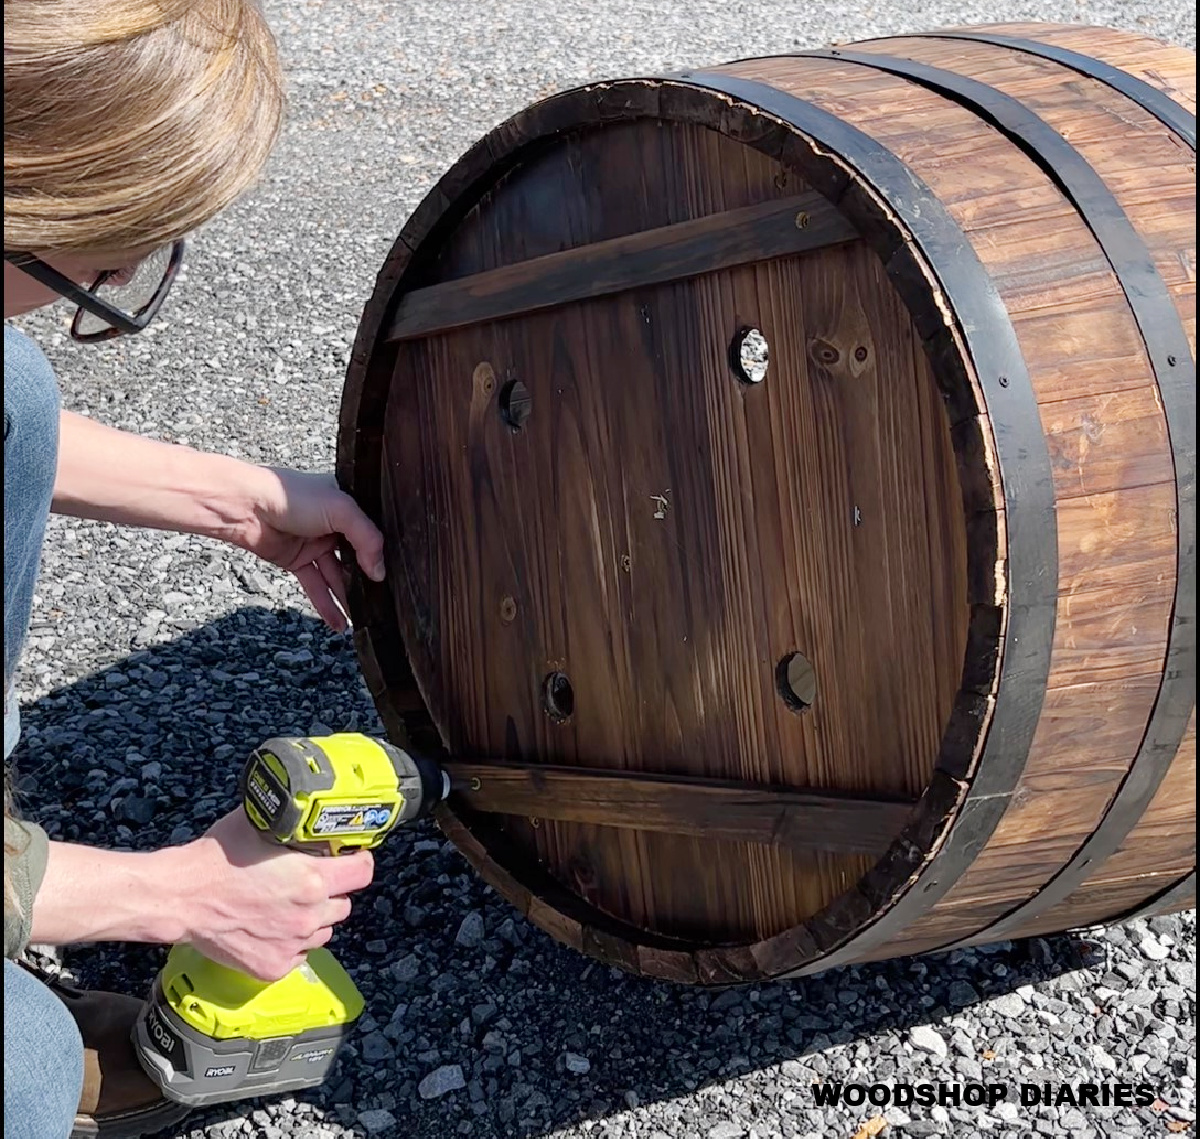
The barrel planter should be securely attached to the post and supports.
Step 3: Fill Planter
Once the post was secured to the planter, I filled it with mulch. Now, I used mulch here because it’s a little lighter and this will make it a little easier to move around.
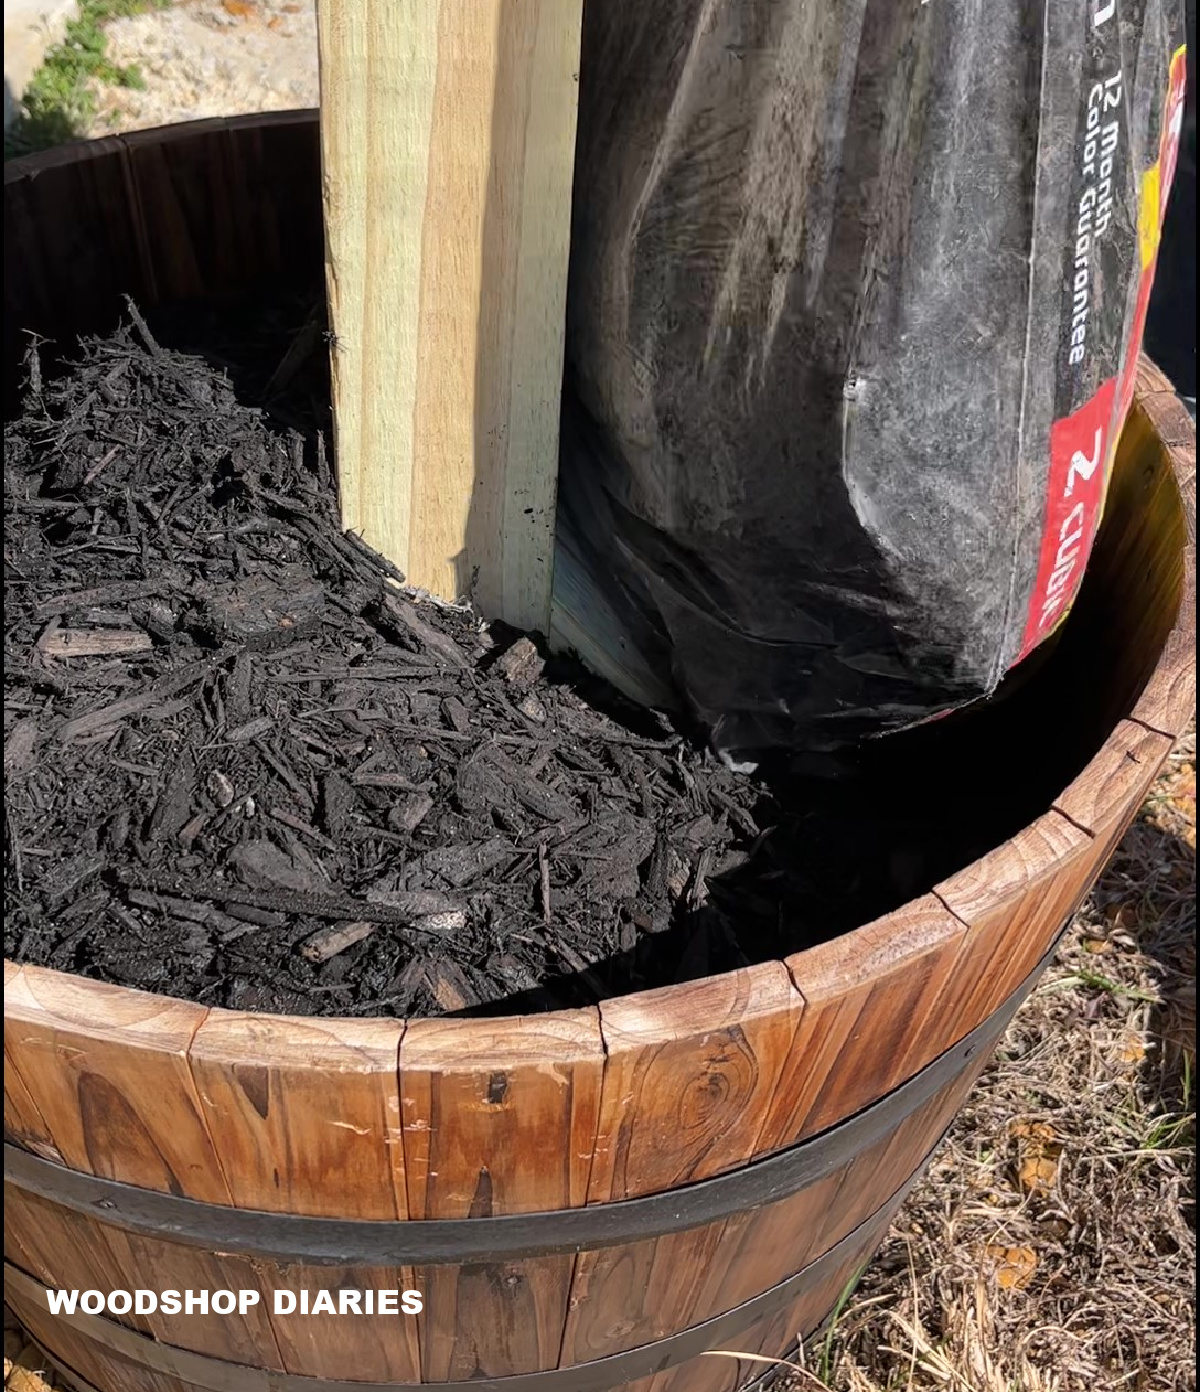
However, if you plan to plant anything in here, I’d recommend using a potting mix. You CAN plant in mulch, but you have to keep it well watered, and likely whatever you plant will only last for the season.
Step 4: Add Hanging Baskets
I screwed these simple plant hangers into the post about 2″ down from the top. You can use a drill, but you’ll likely need a screwdriver to get them tightened down all the way because of the tight space.
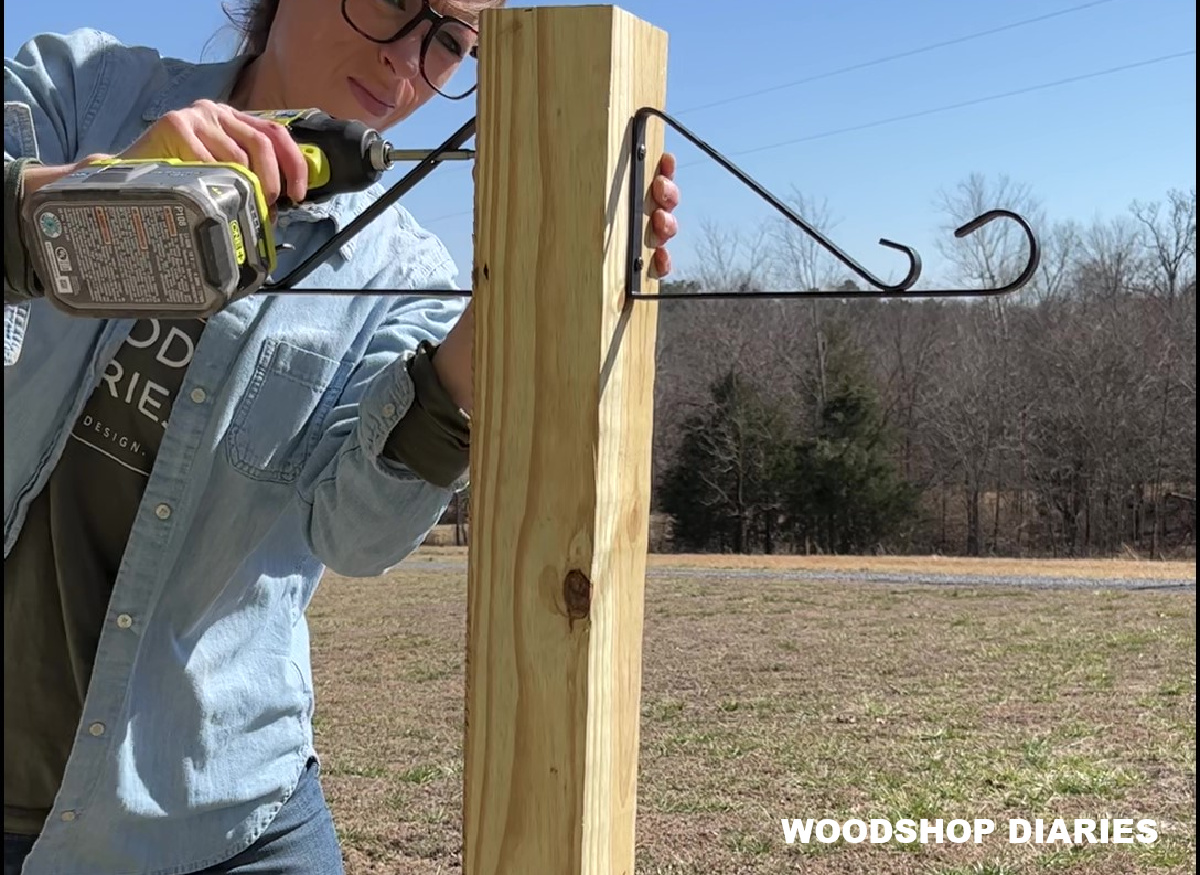
Then, I filled these coco baskets with potting mix, added some flowers, and hung them up.
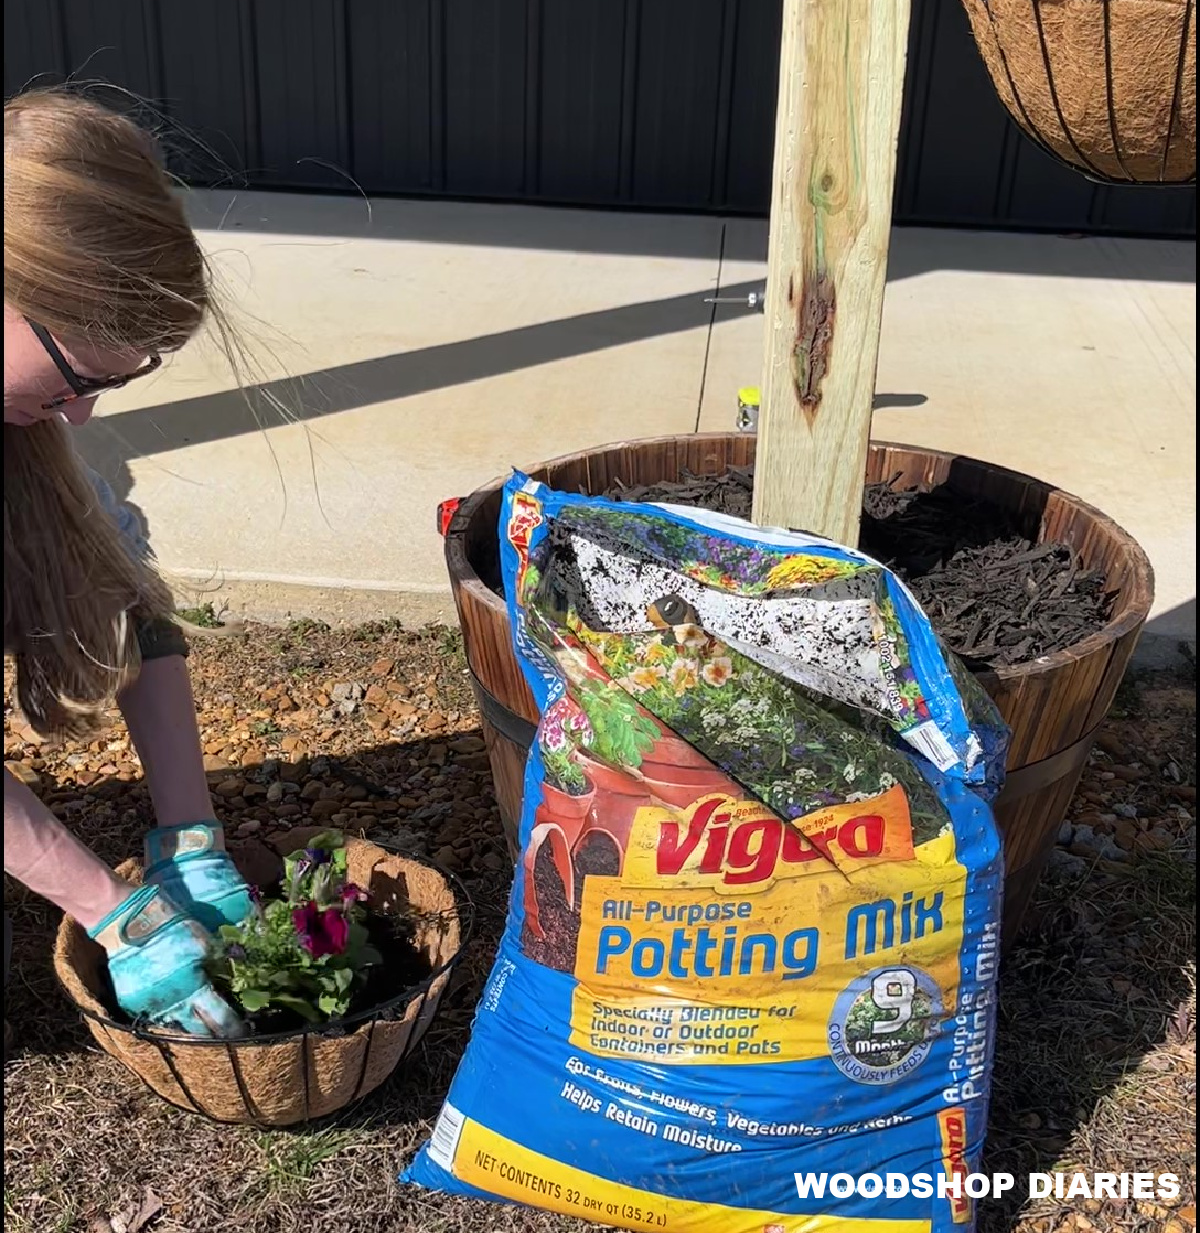
I adjusted the height of the chains so they didn’t hang down so low. You can adjust this however high or low you like.
Step 5: Add Planter Post Cap
The final piece was adding the post cap on the top. This is optional, but it looks a little more “finished.”
.
I just used some exterior wood glue to glue a fence post cap onto the top of the post here, and it was complete!
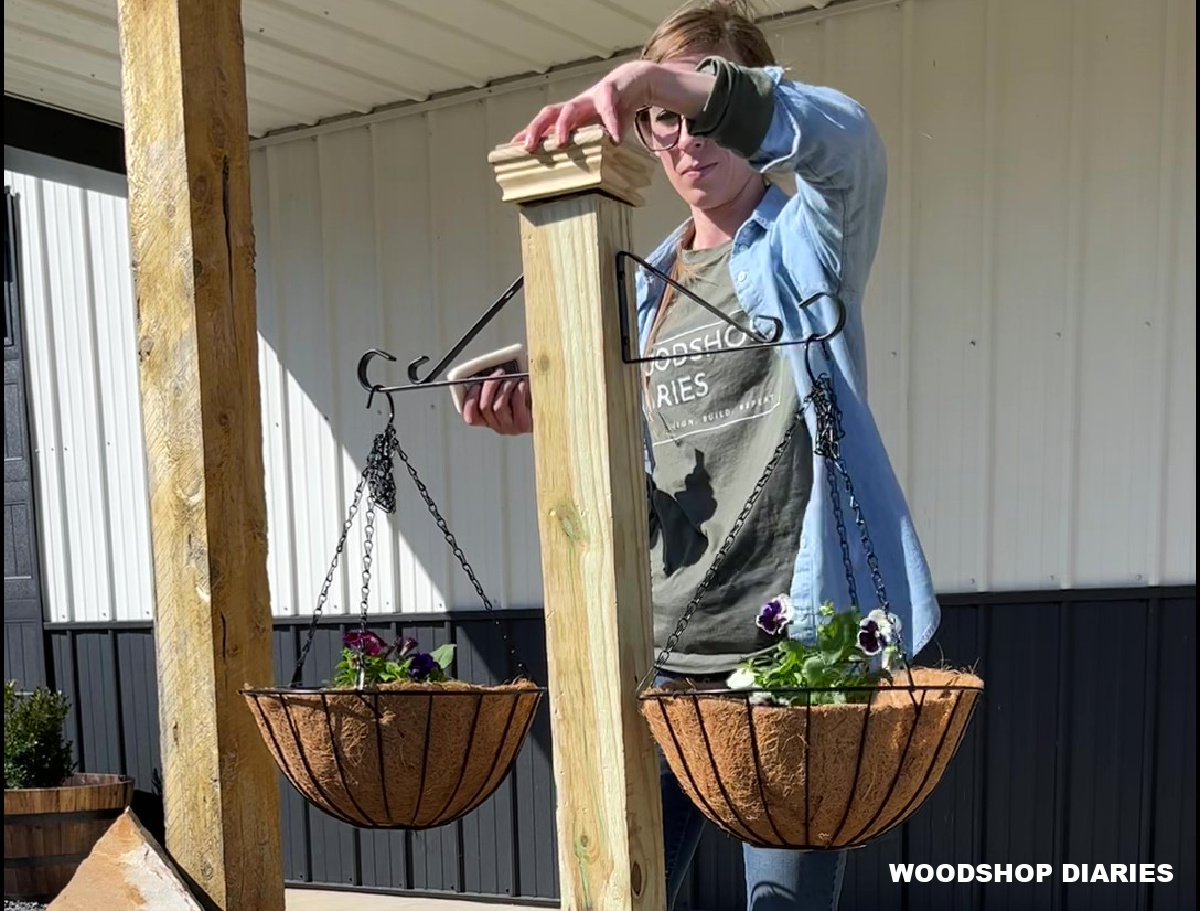
This is such a simple way to add some flowers and interest around your home, garden, or outdoor landscaping.
.
I hope you enjoyed this simple spring DIY planter post project and if you’d like to see more outdoor project ideas, check out a few favorites here:

If you want to stay up to date on all the latest projects and plans, be sure to subscribe to the newsletter so you’ll be the first to know about new posts and videos:
Save this for later by sharing to your favorite social channel or pinning it!
Until next time, friends, happy building! 🙂


