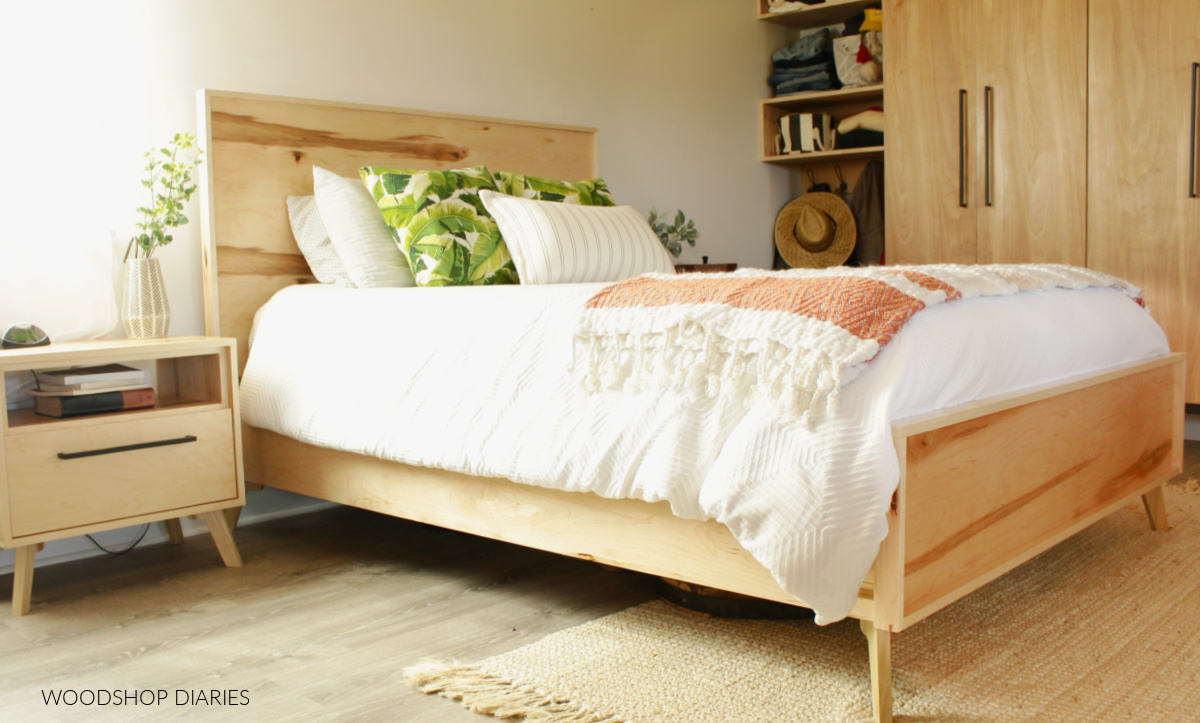
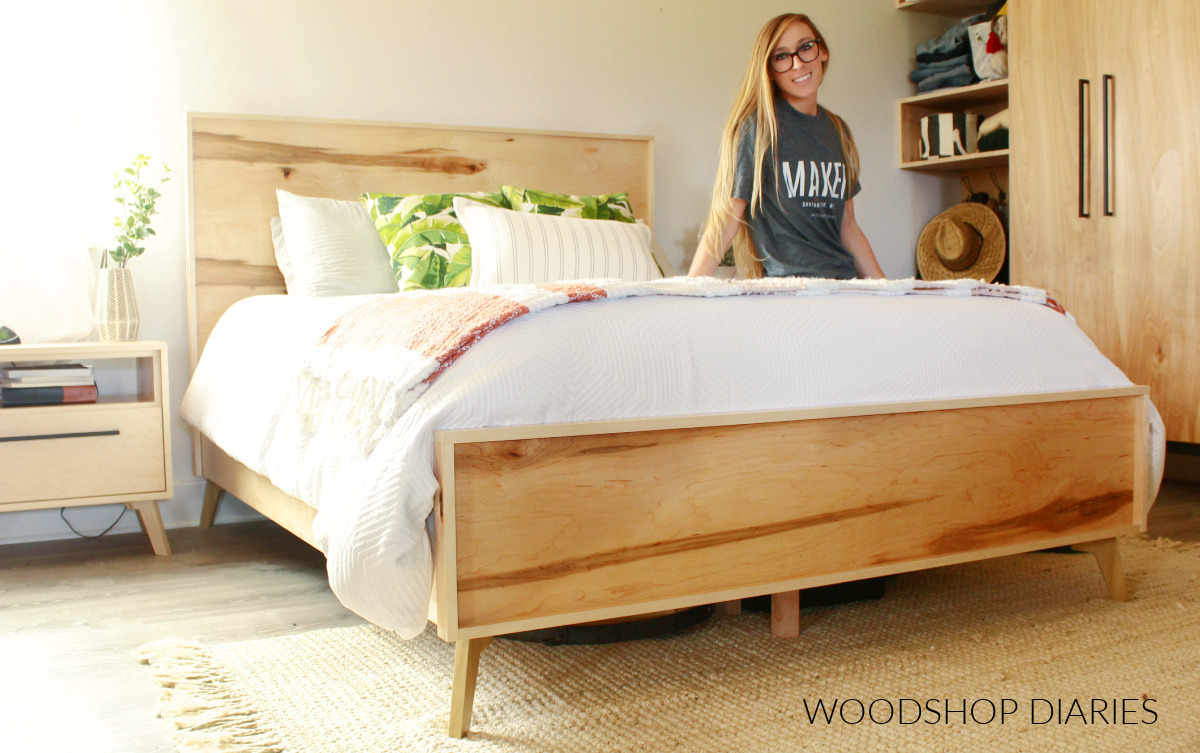
In this post, I’ll share how to build this DIY mid century modern bed frame!
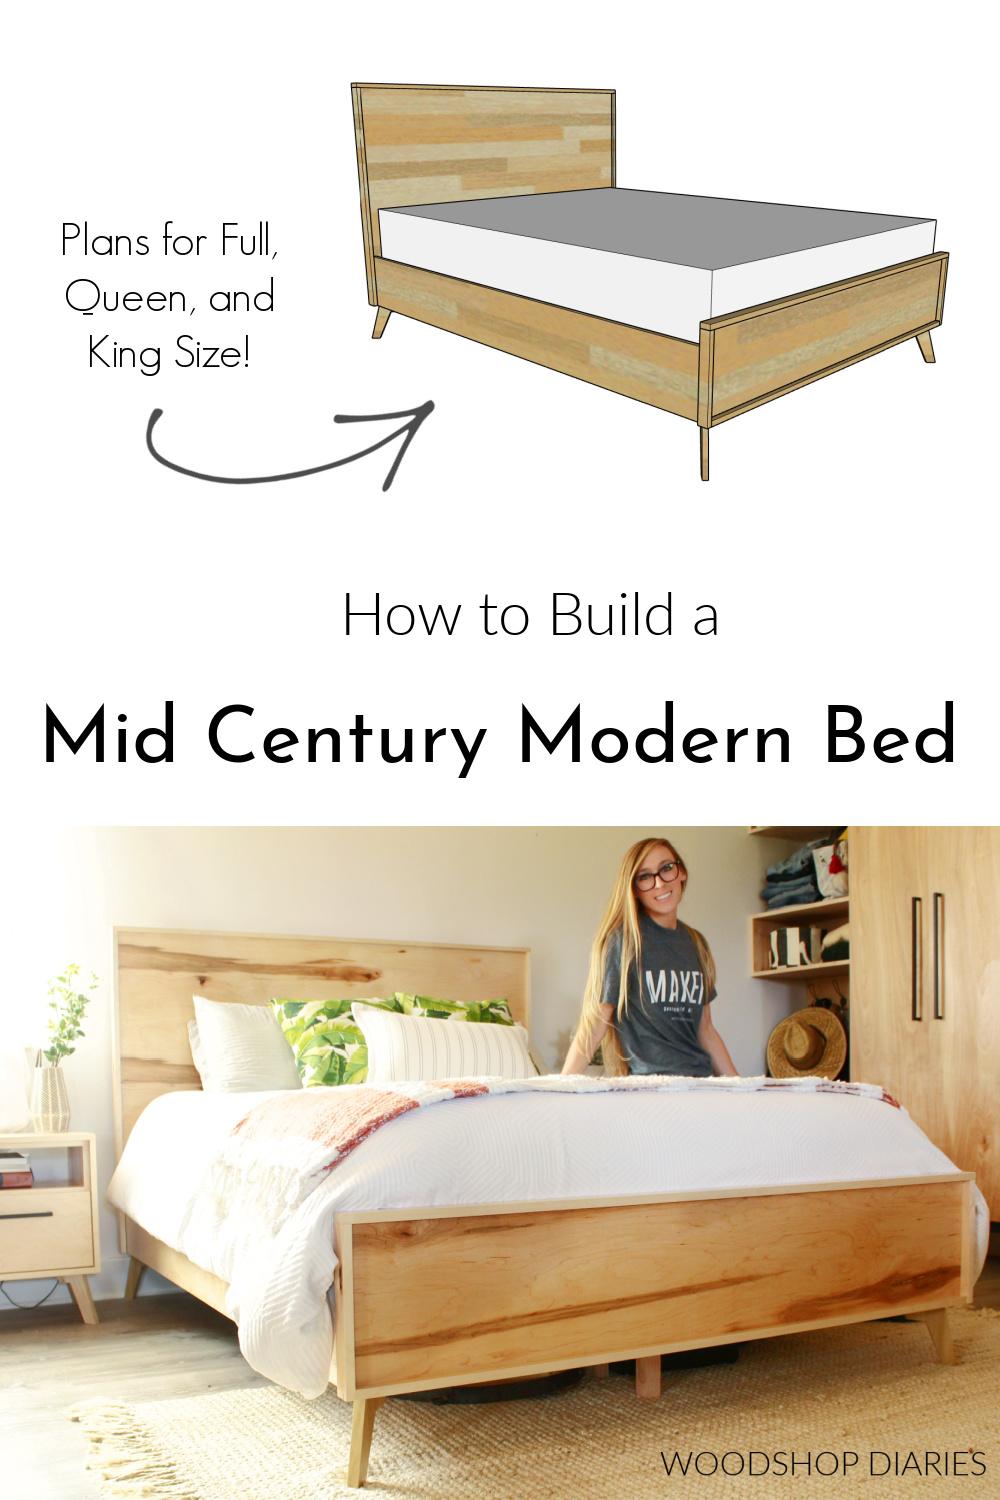
I’ve got printable plans below for full, queen, and king bed sizes so you can build your own in whatever size you need!
I love a matching set of furniture…in case you hadn’t picked that up between the various matching sets I’ve built already haha.
.
This bed finishes off my latest matching series–this time, a mid century modern bedroom suite!
.
This bed is the fourth part of the series. If you haven’t already, be sure to check out the other matching pieces in this set here:
.
I built this particular mid century modern bed as a queen size for my parent’s guest bedroom, but I’ve got the plans, details and dimensions for a full, queen, and king size below, plus a video and step by step tutorial to walk you through the process as well.
This post contains affiliate links. See website policies here.
Tools & Materials:
Materials:
- (3) sheets ¾″ plywood sheet (I used maple)
- 2x scraps to cut legs out of
- (2) 2x2x8 boards
- Edge banding
- Bed rail brackets
- 1 ¼″ pocket hole screws
- 1 ¼″, 2″, 2 ½″ wood screws
- Finish nails
- Wood Glue
- Wood Finish of your choice (I used Minwax Helmsman Clear Coat)
Tools:
- Circular Saw
- Miter Saw (optional)
- Jig Saw
- Drill/Driver
- Pocket Hole Jig
- Nail gun (or hammer and finish nails work, too)
Notes About the Mid Century Modern Bed Build:
Just like with all the other pieces in this series, I used ¾″ maple plywood for the vast majority of this build.
.
You can use whatever species of plywood you prefer, but a good quality hardwood (cabinet grade) plywood is always recommended for best results.
.
This build calls for cutting some thin pieces from a plywood sheet for some of the trim pieces. If you prefer to use solid wood instead of plywood for this, feel free to do so.
.
I typically use a Kreg Rip Cut for ripping strips from a full sheet, however, the Rip Cut is not designed to cut very thin pieces, so for the thinner trim stuff, I recommend using a straight edge as a guide or a table saw if you have one.
.
This design is made so that a box spring is not needed under the mattress. The slats that run between the side rails will support the weight of the mattress. Typically, I prefer to support these slats in the middle using 2×2 posts.
However, if you don’t want to see these posts under the bed, I’ve seen people run a 2×4 or 2×6 support between the head and footboard to support the slats in the middle. However, I don’t prefer that method, so I’m showing center posts for support here.
.
Overall dimensions will vary based on the size you’re building, so refer to the plans for specifics.

This bed (like most of my other bed builds) is broken down into 4 basic parts–the headboard, the footboard, the side rails, and the slats. I’ve found it easiest to build these sections separately, then put it all together at the end.
.
Some posts you may find helpful in this build:
Step 1: Assemble Mid Century Modern Head Board
Since the headboard was the biggest piece, I started with it first. I ripped a few 5″ wide strips from a ¾″ thick plywood sheet to build a frame.
RELATED: How to cut down plywood sheets with a circular saw
.
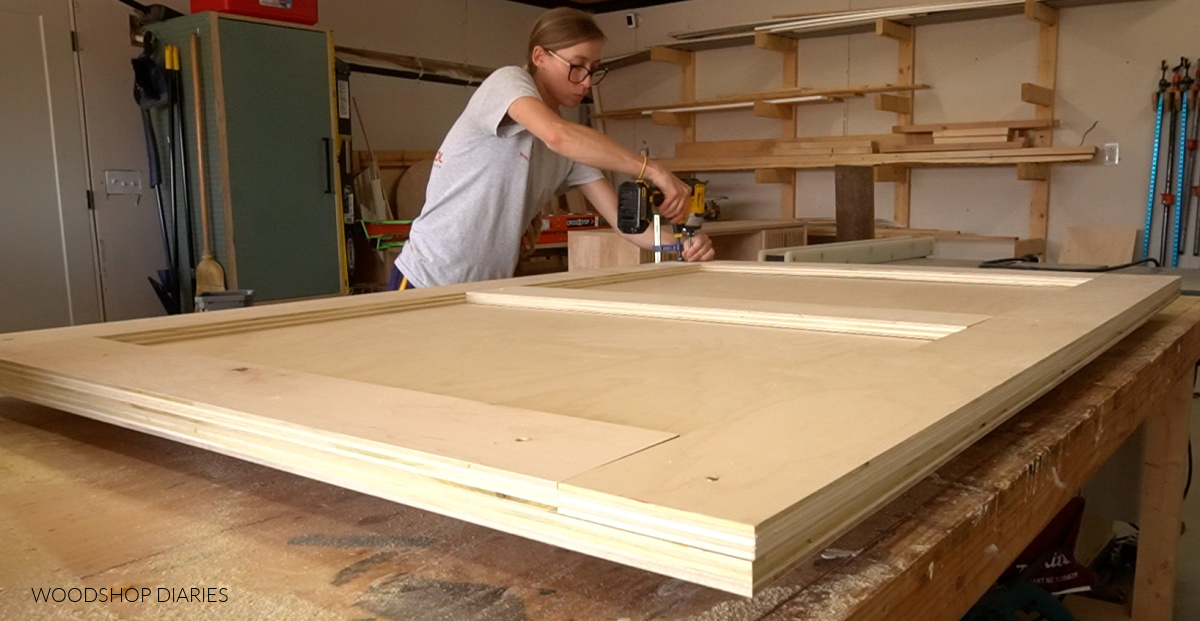
I basically cut and assembled a plywood frame the size I wanted the headboard to be using pocket holes and screws.
RELATED: How to use a pocket hole jig
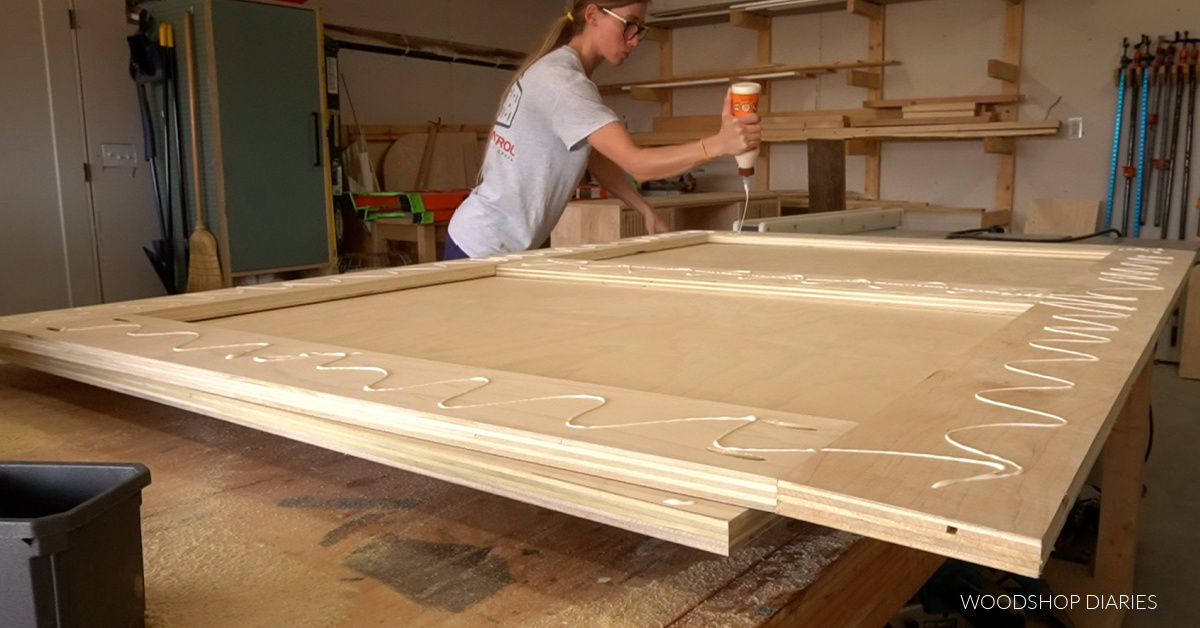
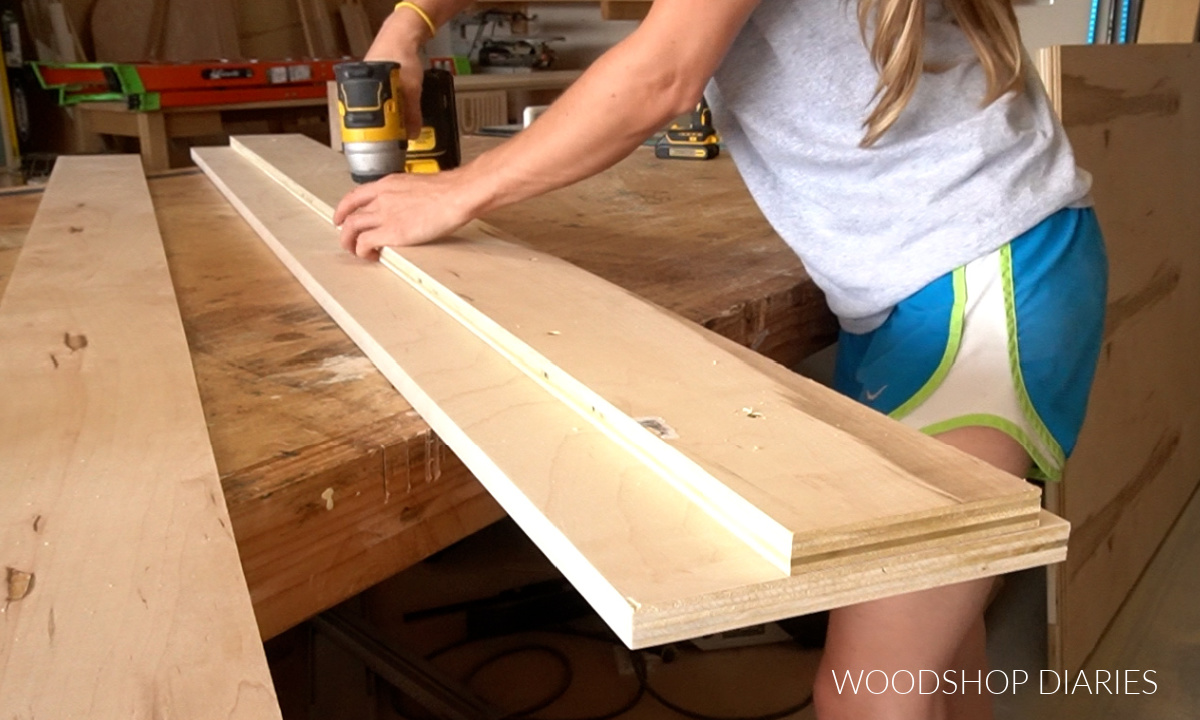
Once the frame was together, I cut a piece of ¾″ plywood that was the same width, but ¾″ SHORTER in height than this frame. There’s no need to edge band any of this as trim will cover these edges up later.
.
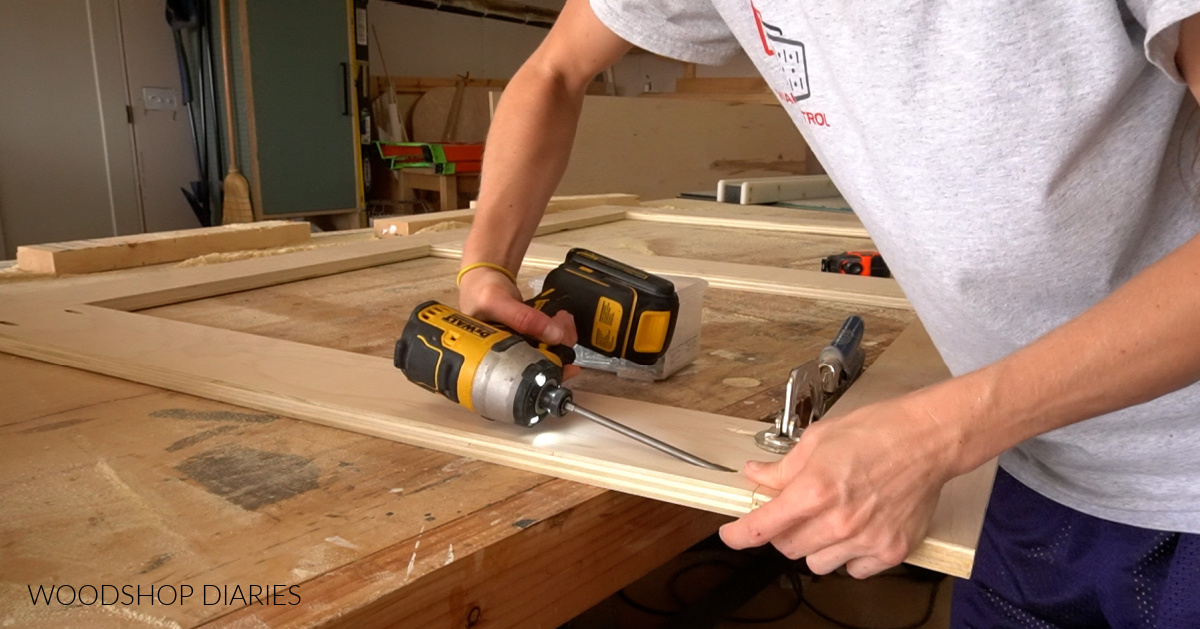
I glued and screwed this frame onto the BACK side of the panel leaving ¾″ hanging over the bottom edge.
This frame isn’t totally necessary, but it does add a little strength and rigidity to the large panel and also allows me to use longer screws to secure the brackets later.
Step 2: Build and Attach Modern Legs to Head Board
If you’ve seen the other pieces in this series, this leg design probably looks familiar. I used this exact same template to draw out identical legs as what I used on the nightstands and the dressers previously.
.
The only difference was that I made the top section about 2″ thick vs the 1 ½″ I had done earlier.
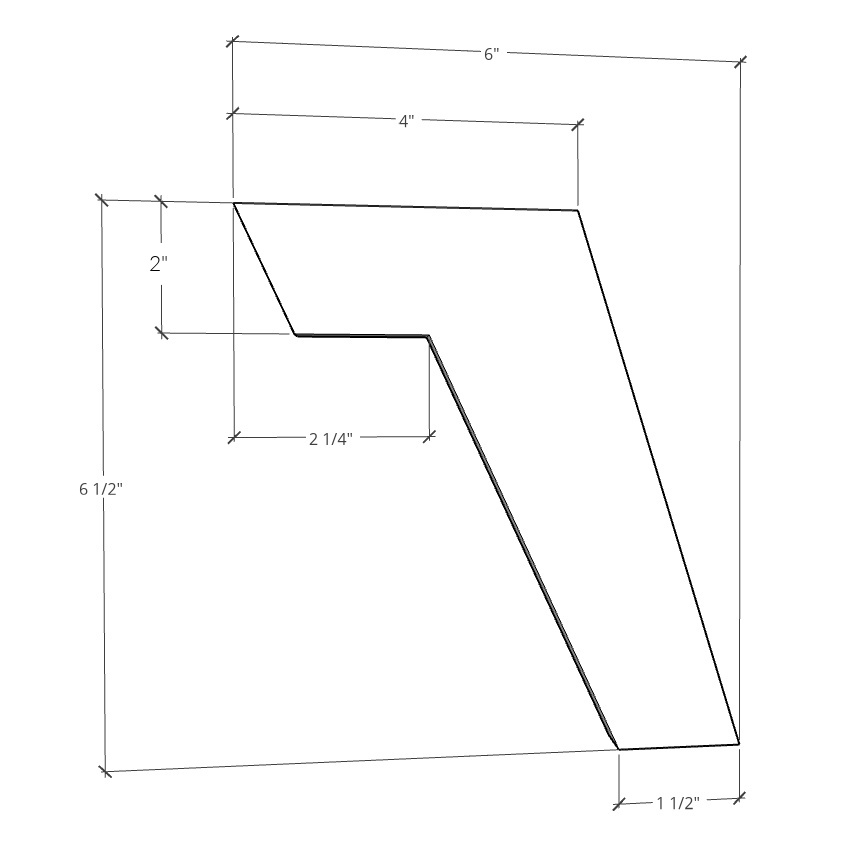
This just helped add some strength.
.
I drew these out on my board and cut them out with a jig saw.
.
Now, just like with the other projects, I used some poplar here for these legs. However, it was 1” thick poplar and not regular 1x material (which is actually only ¾″ thick), so it was a little thicker than is normal.
.
I think these will hold just fine for this guest bed, but I would probably recommend going with 2x (or 1 ½”) thick material for the legs just for a little extra strength at the corners.
.
I wouldn’t recommend ¾” thick material for these legs in this application.
.
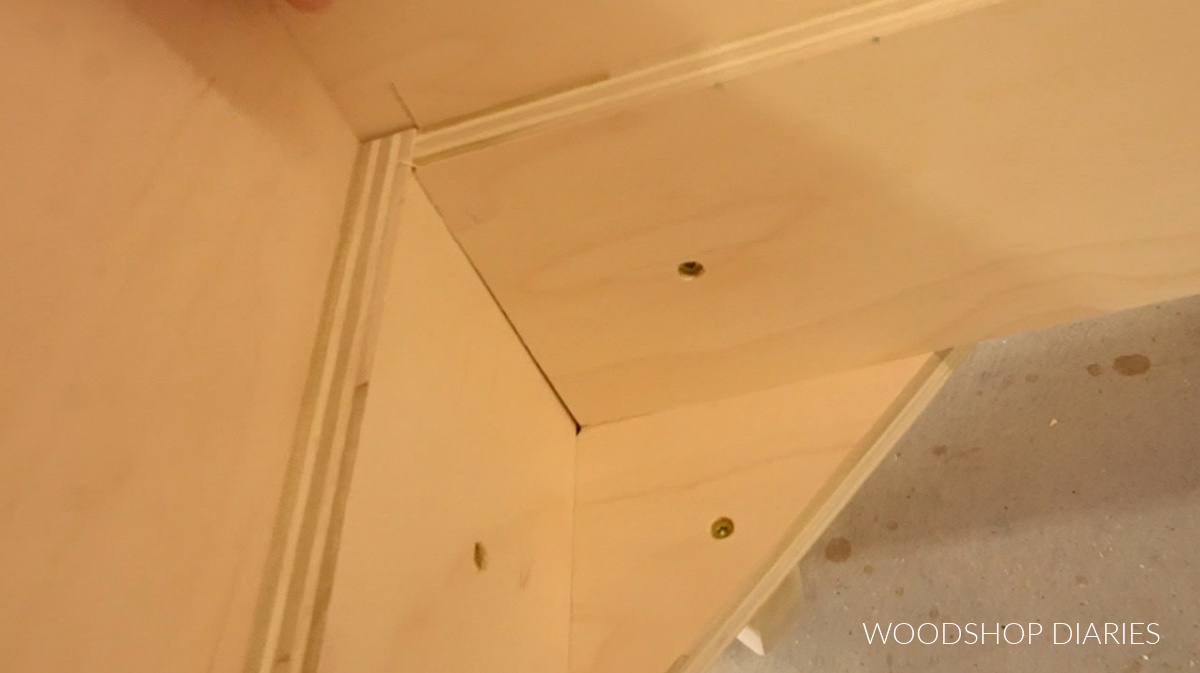
I used some scrap ¾″ plywood strips and laid these legs across them at a 45 degree angle and marked where to cut using a speed square. I cut these pieces at a 45 degree angle so that the leg would fit fully across the diagonal.
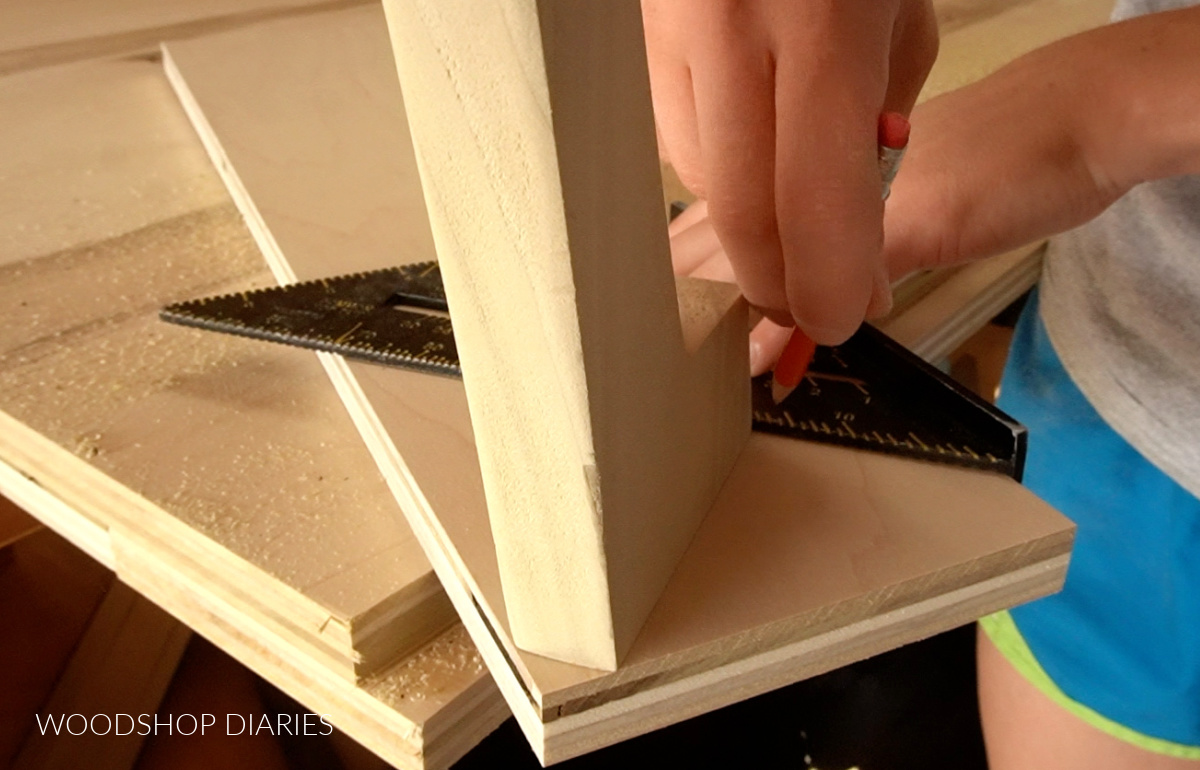
I cut four of these—one for each leg.
.
Then, I glued and screwed these legs onto these pieces using (at least 2 per leg!) 2 ½” wood screws.
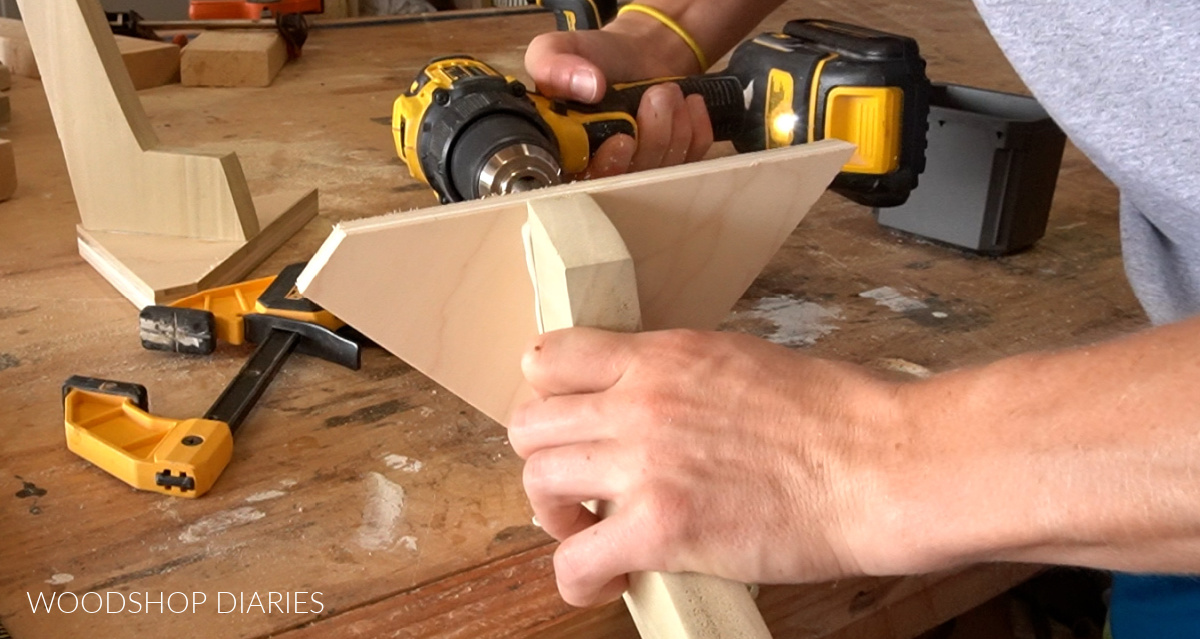
Then, I attached two of these onto the headboard.
.
I glued and screwed two of these leg pieces into the headboard using four 2” screws—two through the headboard from the back side and two through the bottom up into the headboard panel.
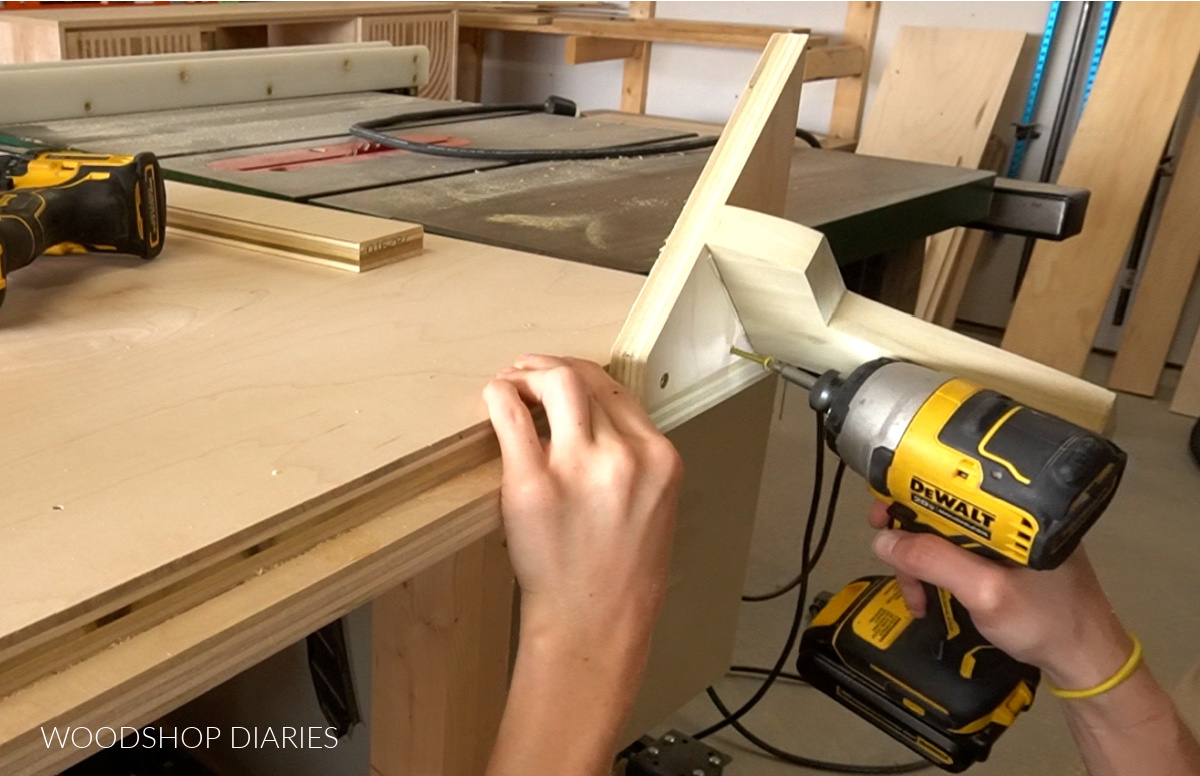
I attached these so that they are ¾” in from the outside edges so the side rails will fit beside them later.
.
*NOTE: There are other ways to add these feet, and you’re welcome to use your own method if you prefer.
The weight will be distributed quite a bit once the mattress is in place, so there really shouldn’t be a lot of concentrated stress on them individually. But, make sure they are secured well, here.
.
Once the headboard was together, I moved it out of the way and began assembling the footboard.
Step 3: Assemble Foot Board Panel
The footboard was just a solid panel like the headboard, but without a frame. So I cut down a piece of 12″ wide plywood the same width as the headboard to use as the footboard.
.
Then, I cut a piece of 5” wide plywood to run across the back side of this piece. I cut this 5″ piece so that it would be 1 ½” narrower than the footboard panel to leave an extra ¾” space on each side.
This plywood strip on the back side will help keep this panel more rigid, but also allow me to use longer screws with the brackets I’ll install later.
.
I glued and screwed this in place ¾” up from the bottom edge and ¾” in from each side.
.
Then, I installed the little foot pieces just like with the headboard with glue and two screws through the bottom and two through the headboard keeping them ¾″ in from each outside edge.

Step 4: Assemble Modern Bed Side Rails
Each side rail consisted of one 9 ¼” strip and one 5” strip of ¾″ plywood.
.
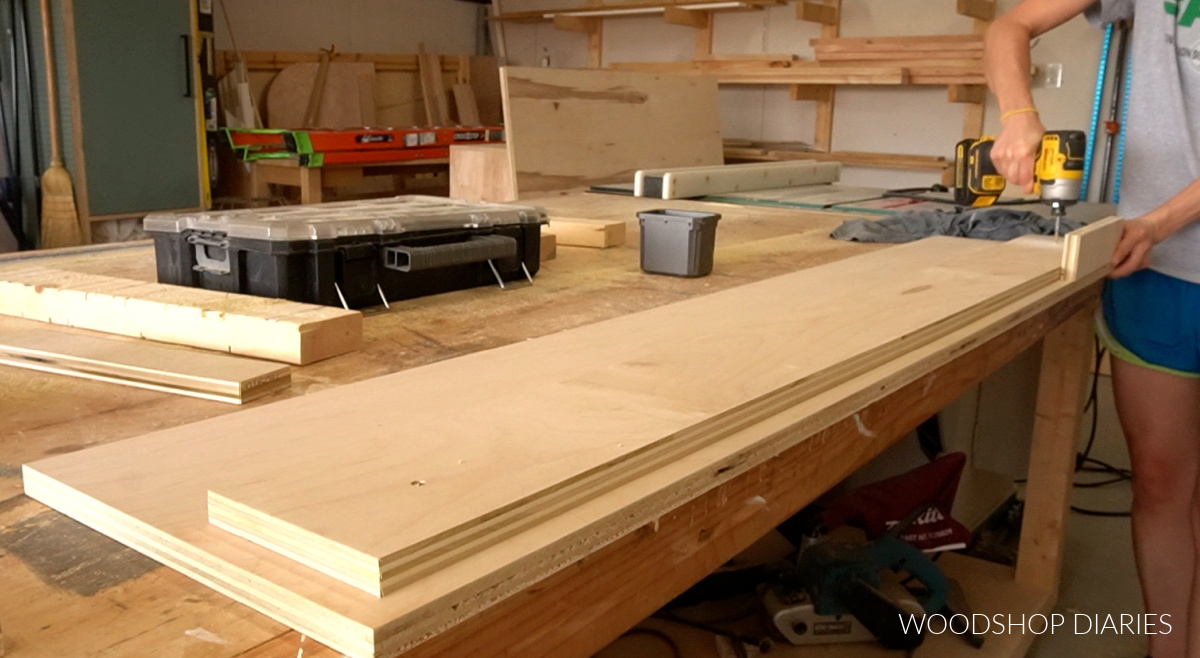
So, I ripped two 9 ¼” wide plywood strips from one of my plywood sheets and trimmed them to length on the miter saw to make the side rails. Then, I cut two 5″ wide strips ¾″ shorter than these side rails.
.
After I cut them to length, I glued and screwed the 5” strip to the side rail ¾” up from the bottom edge and ¾″ inset from the FOOTBOARD end of the rail.
Keep in mind that this means the side rails will be mirrored–so pay attention to inset these on the FOOTBOARD side of each rail.
.
Now, because I don’t like exposed plywood edges, I edge banded the tops of these side rails, but that’s totally optional. If you’re interested in how to apply edge banding, I’ll link a detailed guide here.
Step 5: Assemble the Bed and Install Brackets at Corners
I found it easiest to kind of dry fit the four sides of the bed together and attach the brackets at the corners.
.
Basically, I assembled the pieces together loosely (it helps to have another person to hold the pieces steady while you fit them together) so that the side rail supports rest on the sides of the foot pieces on the head and footboards.
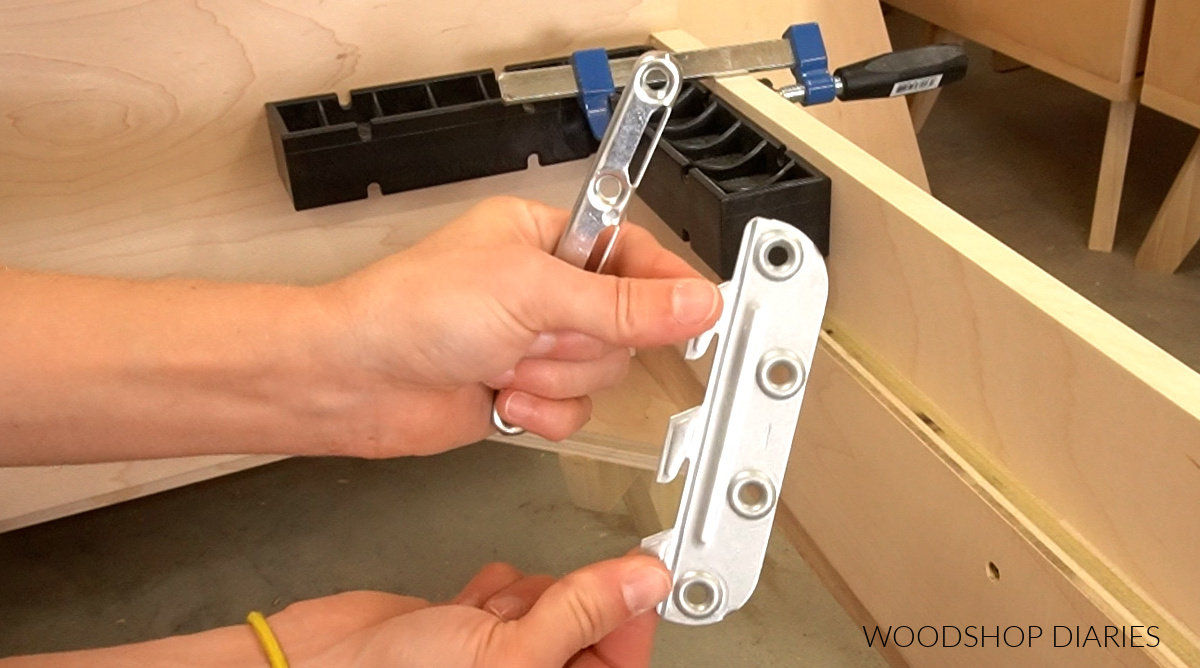
They make many types of brackets to assemble bed frames, but I’ve used these particular ones in several beds and they work great and are fairly inexpensive.
.
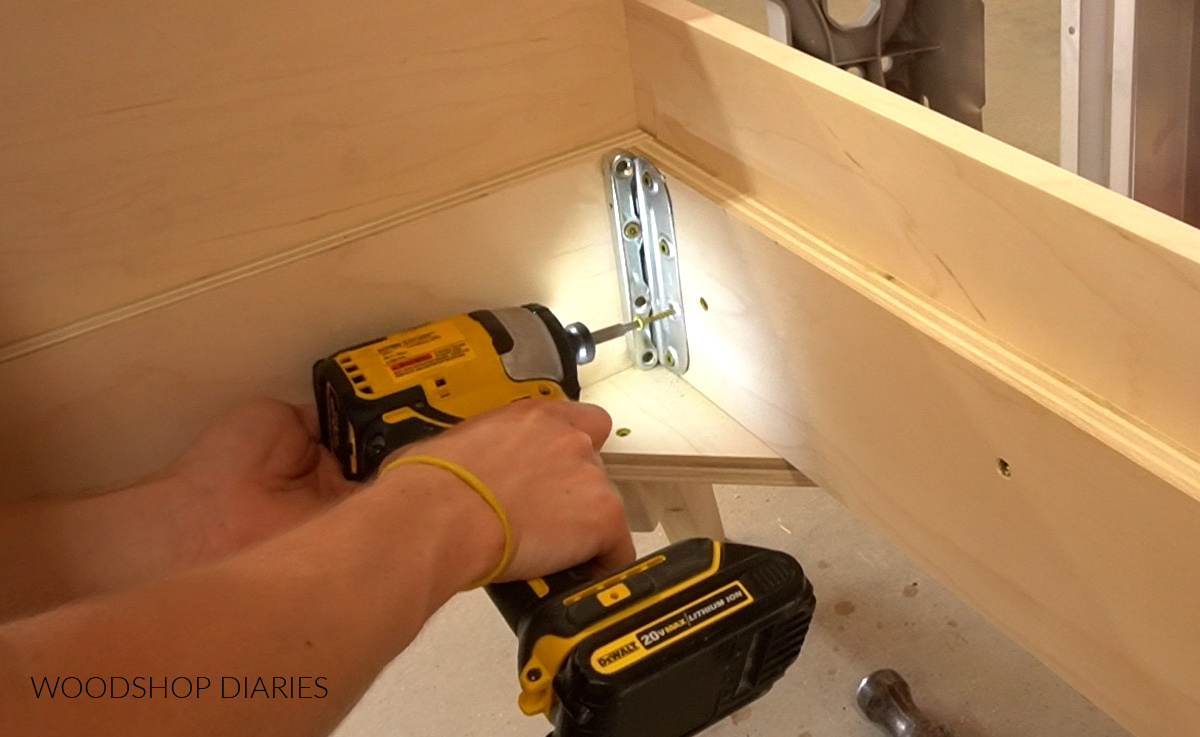
Check out the video for more details, but each corner will get a bracket with “teeth” and a bracket with “slots”. Make sure the “teeth” are pointing DOWN when installed. I just slid the brackets together, placed in the corner and screwed in place.
I used 1 ¼” long screws in all the holes in the brackets and once installed, I test fit each corner to make sure it could come apart and go back together smoothly. You’ll simply lift the side rails up to remove the teeth from the slots to separate.
When you put them back together, MAKE SURE THE BRACKET GOES TOGETHER SNUG and the teeth go all the way down into the slots.
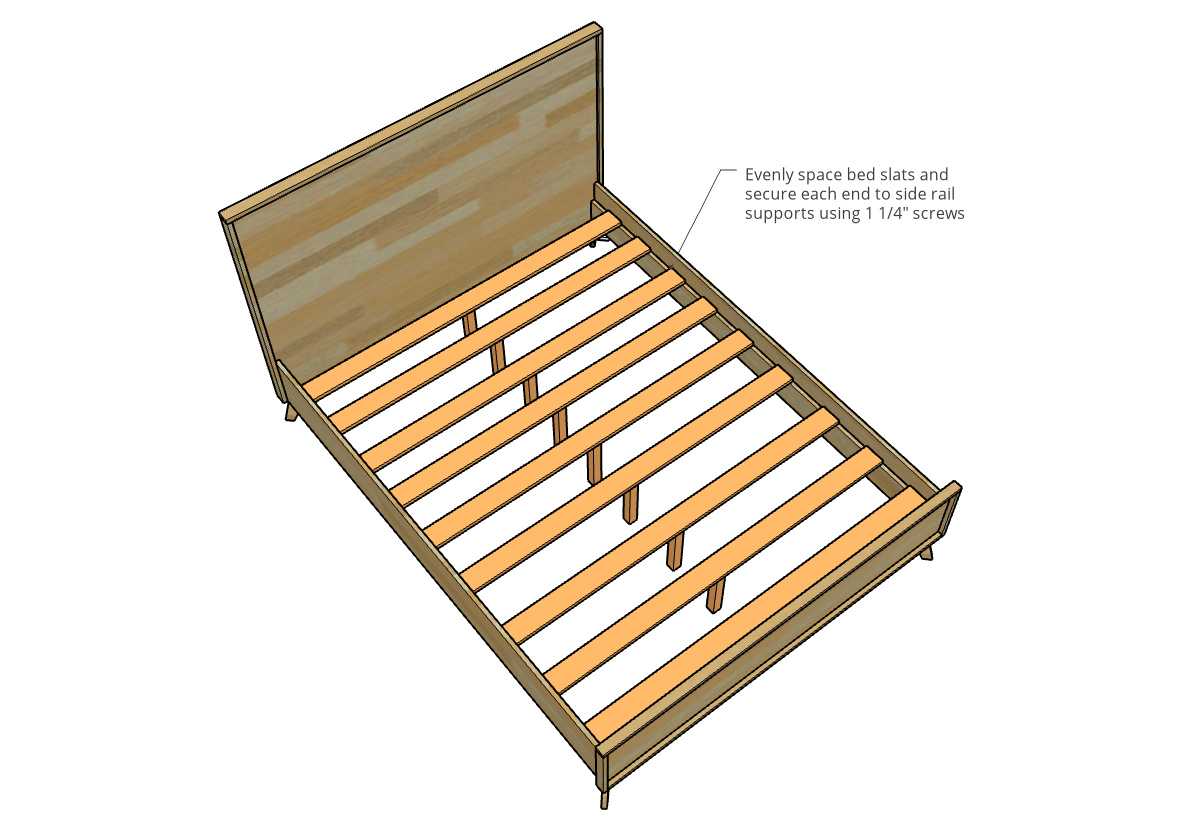
Step 6: Add Bed Slats
Once the brackets were installed, I used what plywood I had left to rip some strips to use as the slats.
.
This design allows you to skip a box spring by using slats spaced along the side rail supports, but these need to also be supported in the middle.
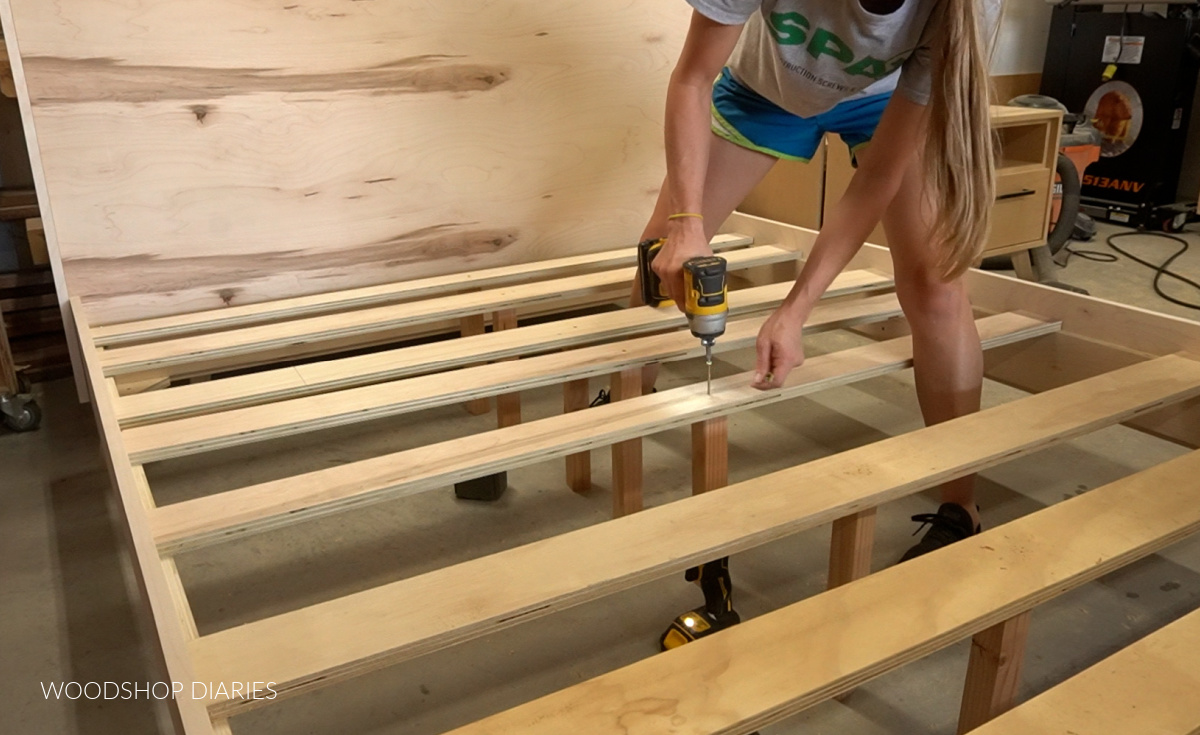
I’ve seen people use a 2×4 running from the head to the footboard in the middle, and you could do that I guess, but I prefer to add some 2×2 pieces in the center from the slats to the ground as this is less likely to sag over time.
.
I marked the middle of each slat and screwed a 2×2 in there with 2 ½″ wood screws so that the slats are level all the way across from side rail to side rail.
Step 7: Trim Out Head and Foot Boards
The final part of this bed was adding some trim around the edges of the head and foot boards.
.
I used some scrap plywood strips, cut them to fit, and edge banded the edges that will be exposed. However, if you had some 1x2s or 1x3s you wanted to use for this, instead, that works great as well.
.
I glued and nailed them along the edges of the footboard and the headboard. I used 2” wide pieces around the headboard and 1 ½” wide pieces around the footboard. But you can play around with the thicknesses of your trim pieces to suit your style.
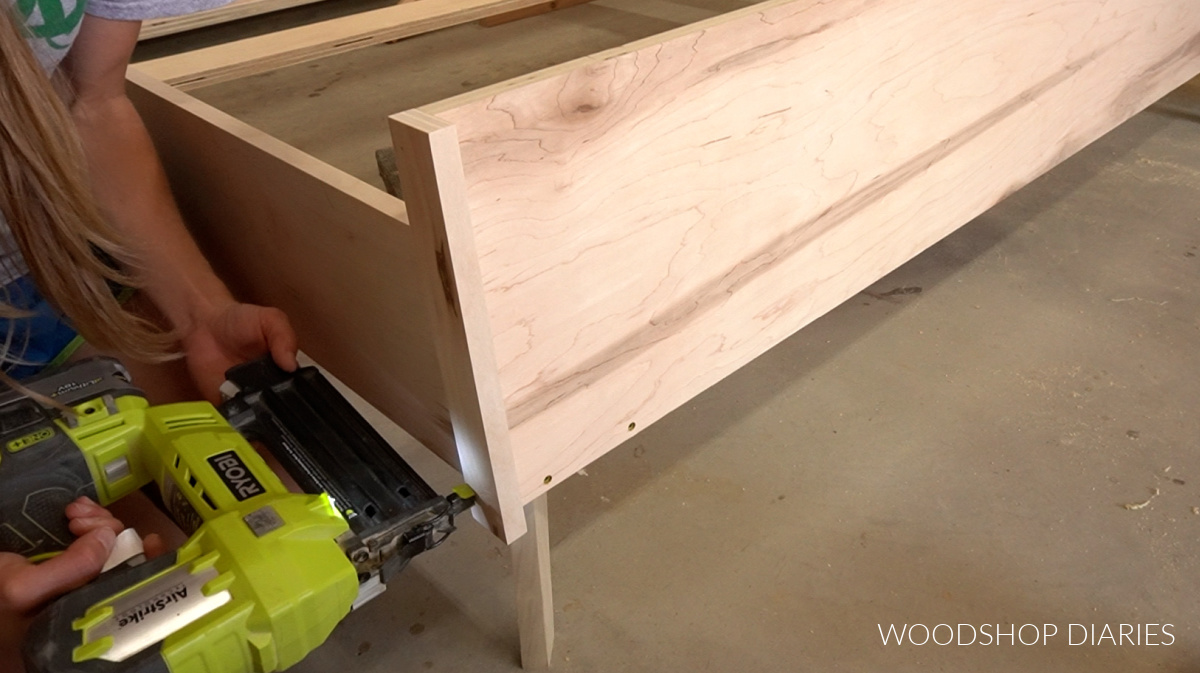
The bottom piece on the footboard was just ¾” square and I nailed it across the front instead of along the bottom so that it would cover the screw heads leftover from attaching the feet pieces.
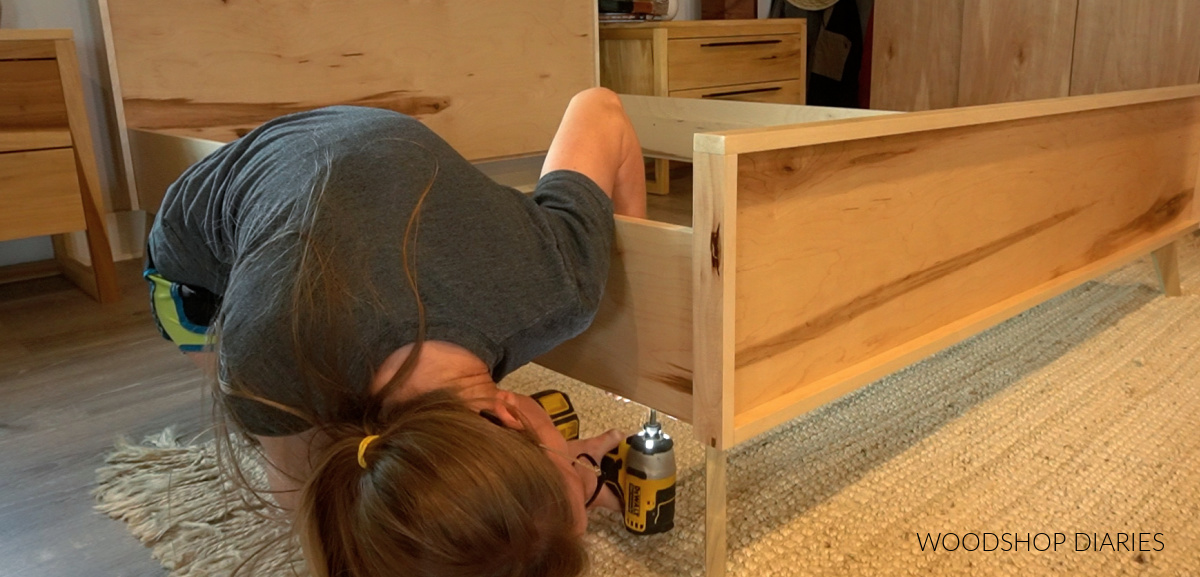
Step 8: Finish and Assemble
I gave these pieces a few coats of clear poly, then brought it inside to assemble it for use.
.
Once the pieces were where the bed was going to stay, I attached the side rails between the head and foot boards using the brackets from step 5. Once the teeth were securely in the slots, the side rails should be resting on the corner braces for the feet.
.
These corner braces are attached to the head and footboards, but not to the side rails at this point.
.
So once the side rails were in place, I drove a screw up through the bottom of these foot braces into the side rail supports so they will be secured on both edges.
After securing the feet to the side rails, I evenly spaced (just eye-ball this…it doesn’t have to be EXACT) out the slats on the side rails, and screwed them in place.
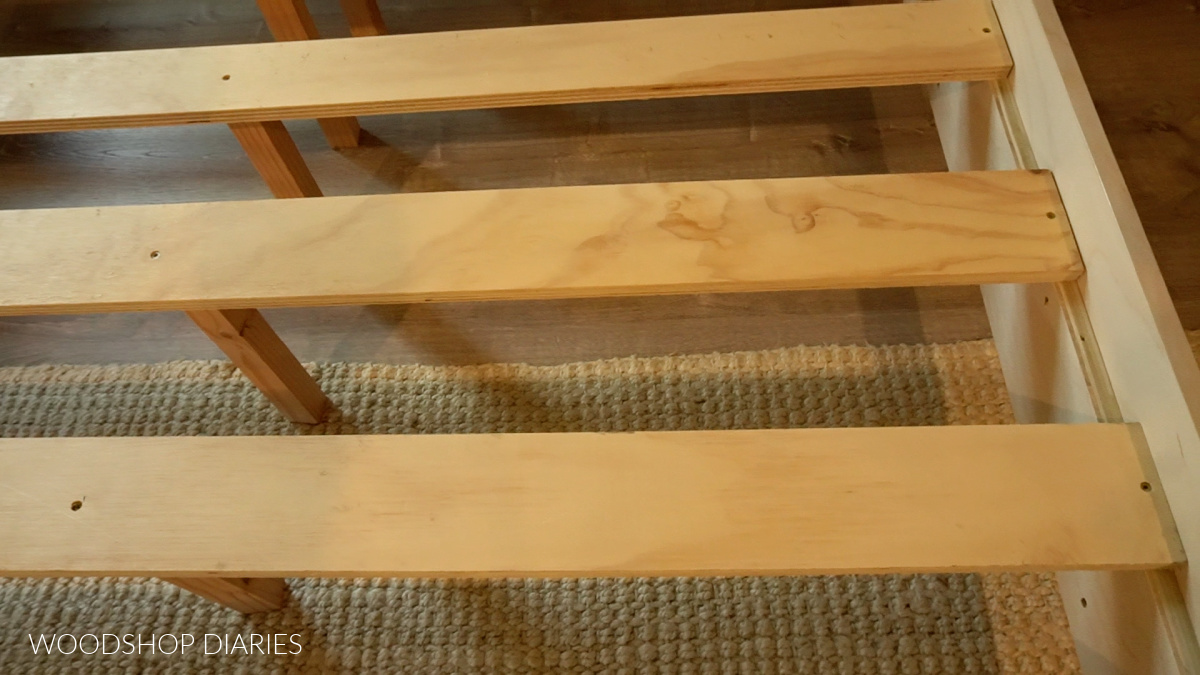
Then, I threw on the mattress, the sheets, the comforter, pillows, blankets, and all the things that make a bed look pretty, then took a break to recover from the build haha.
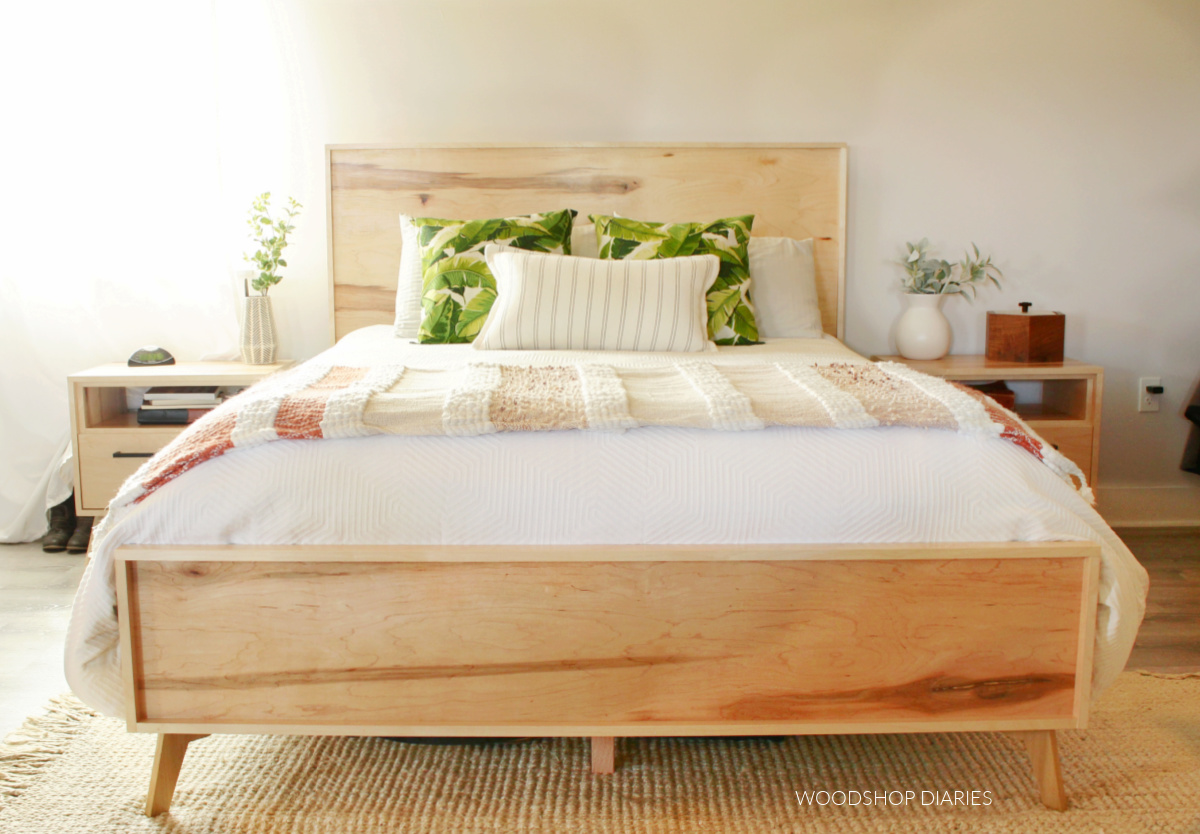
All in all, this mid century modern bed frame was a fairly straightforward build, and is simple enough to work with any style if you want to mix and match furniture.
.
But, I have to admit, it looks pretty good with the matching nightstands here.
If you want to grab the plans with all the details for this, or any of the pieces in the matching series, be sure to check them out here:
- Mid Century Modern Bed Plans
- Mid Century Modern Nightstand Plans
- Mid Century Modern 6-Drawer Dresser Plans
- Mid Century Modern Dresser Console Plans
.
I hope you guys enjoyed this series and this build. And if you can’t wait to see what’s next, I’d love if you’d subscribe to my newsletter to be the first to know about new projects and posts!
And if you’d like to save this DIY mid century modern bed project for later, be sure to pin it or share it to your favorite social platform!
Until next time, friends, happy building!