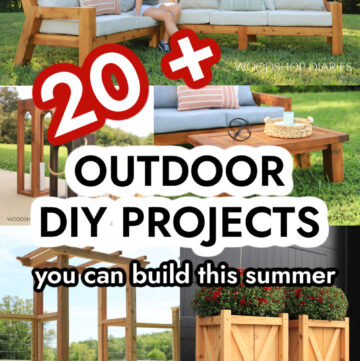
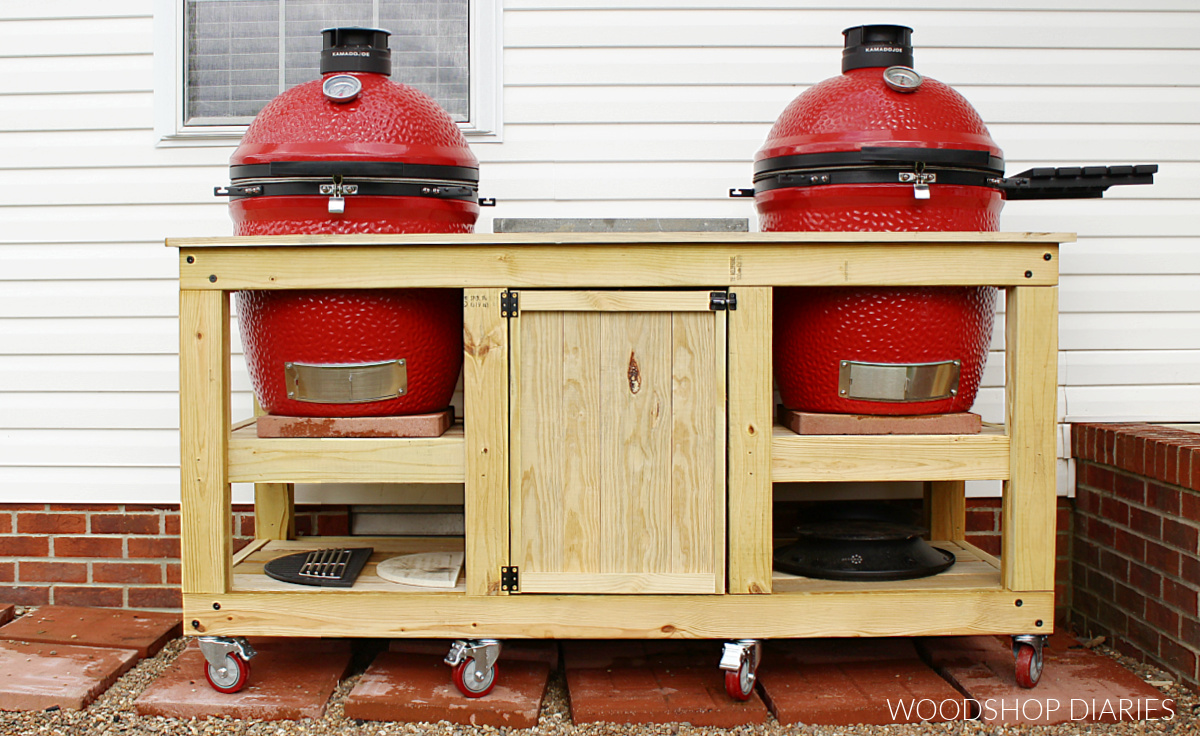
In this post, I’m sharing how to build a DIY Outdoor Ceramic Grill Cart!
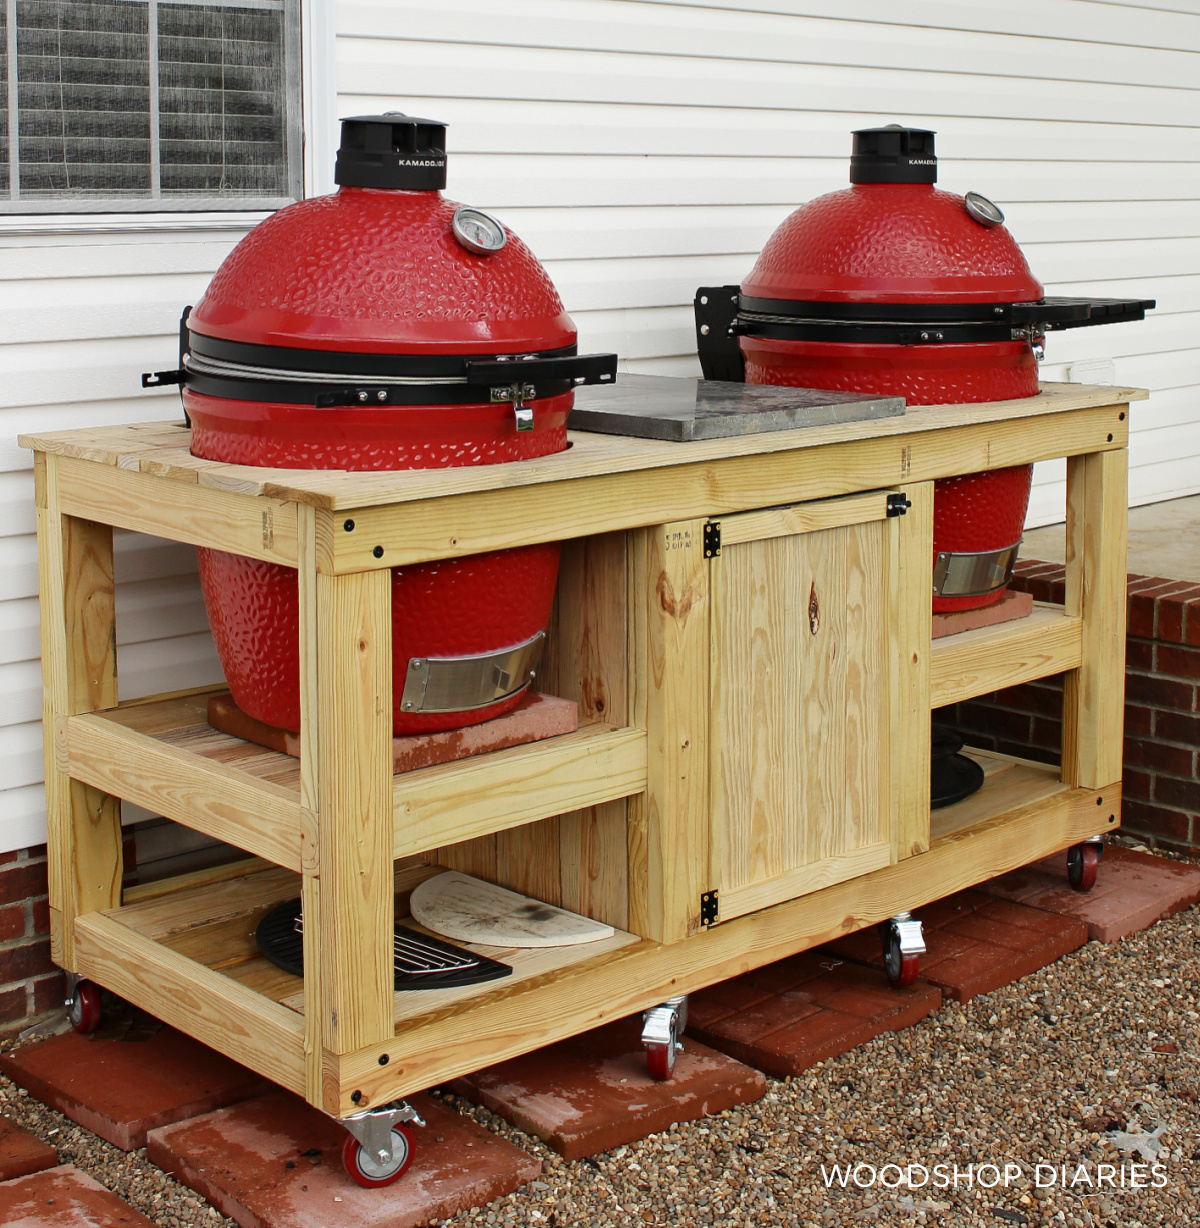
I built this for my Dad to fit his two Kamado Joe Classic III Grills.
.
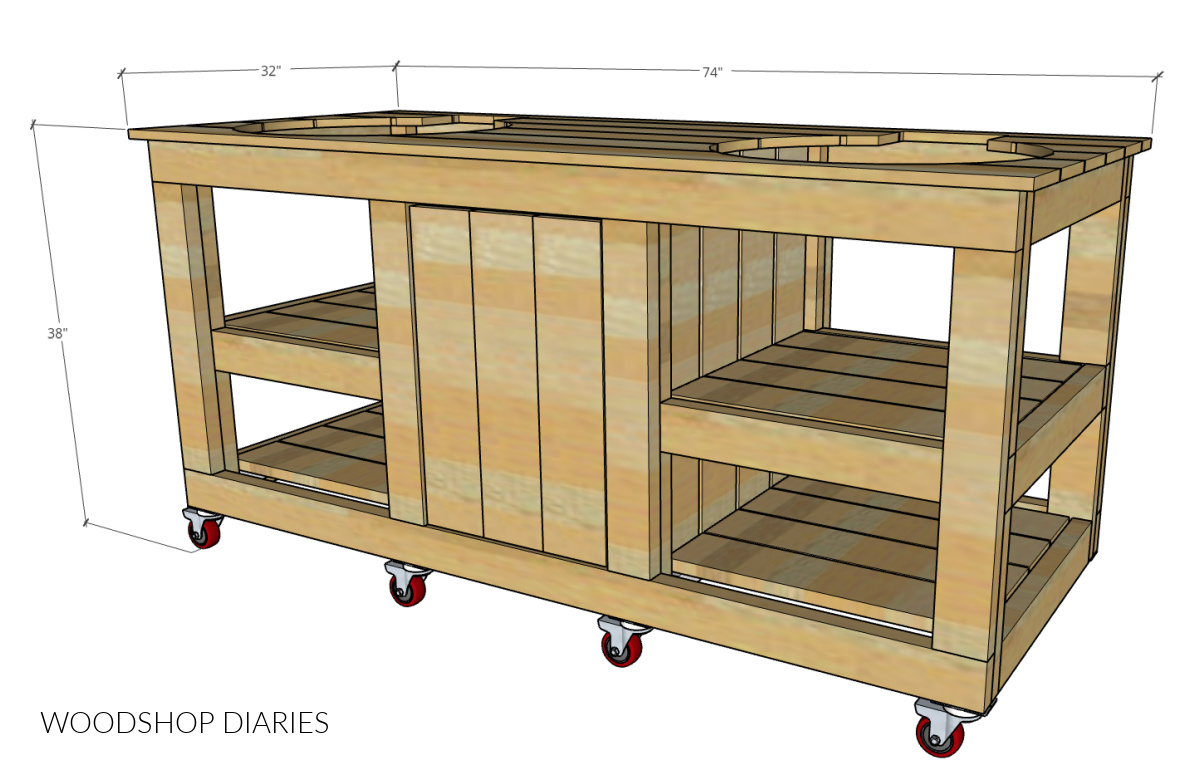
But, this design is easily modified to fit your needs. It’s got open shelves for storage below, an enclosed cabinet for storage in the middle, and can fit either one or two ceramic grills.
.
(My Dad has two, but that’s only because one of them has a broken lid and he didn’t want to get rid of it because it still grills okay haha. Whatever, Dad.)
.
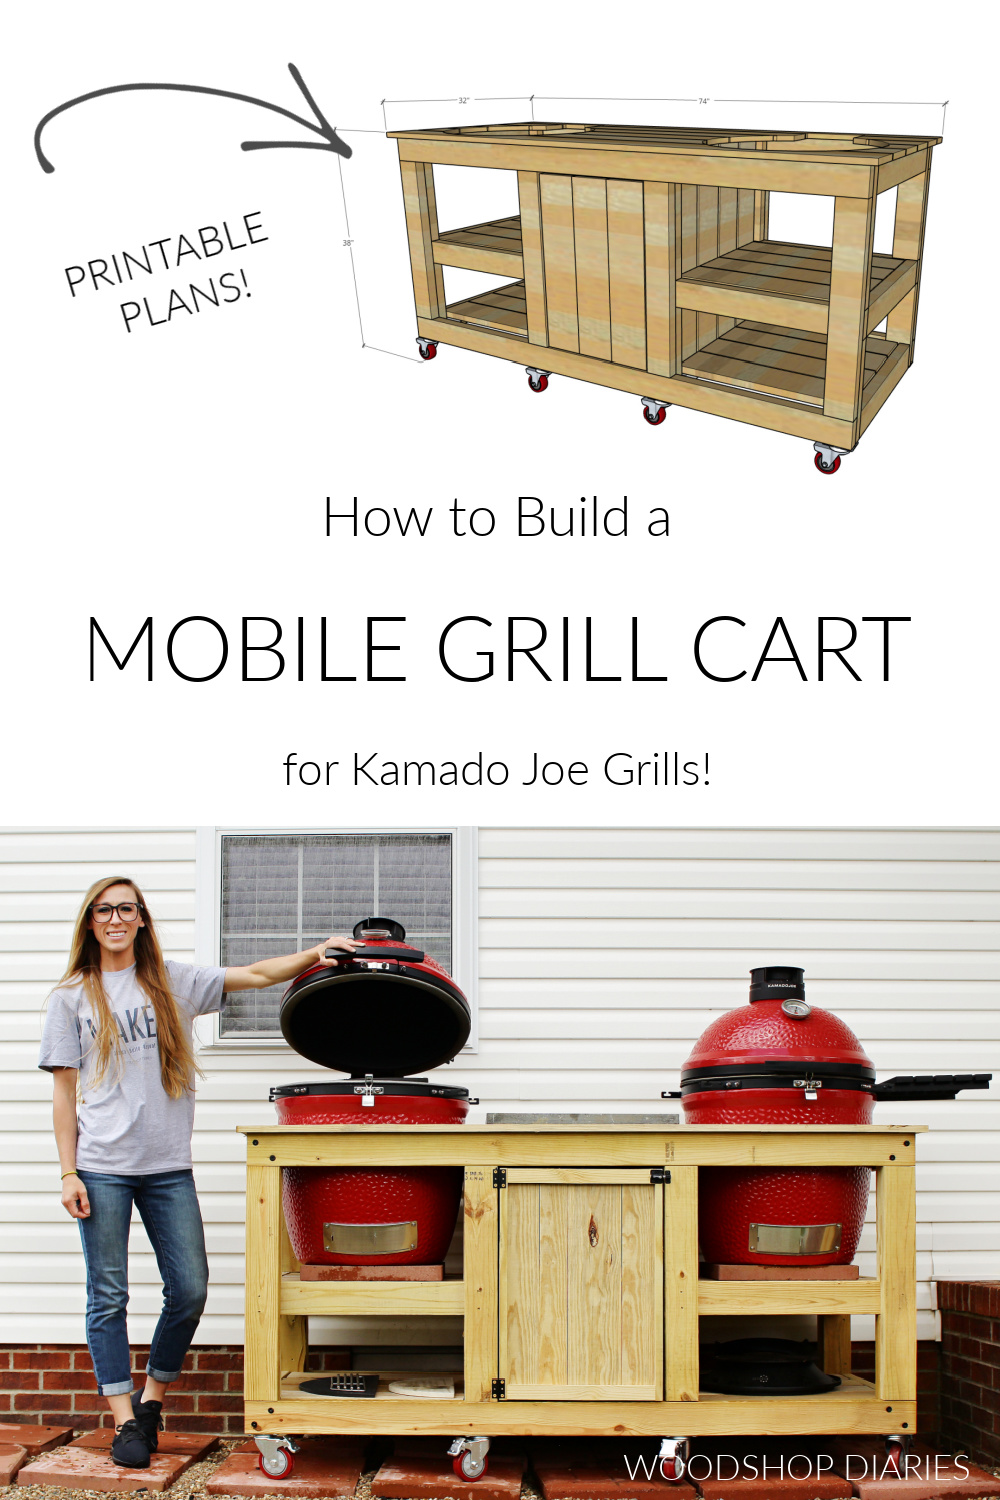
I’ve got the printable plans linked below with all the dimensions to build your own, but if you want to see how it came together, I have a video tutorial here as well.
**This post contains affiliate links. See website policies.
Tools & Materials:
Tools:
- Miter Saw
- Drill/Driver
- Pocket Hole Jig
- Jig Saw
- Clamps
- Table saw
- Measuring Tape
- Square
Materials:
- (2) 2x2x8 boards (I used treated)
- (15) 1x6x8 boards (I used treated)
- (13) 2x4x8 boards (I used treated)
- (1) pair butt hinges
- (1) door latch
- ¼″ washers
- 1 ¼″, 2″, 2 ½″ & 3″ exterior wood screws
- 2 ½″ exterior pocket hole screws
- 2 ⅞″ black timber screws (optional)
- (8) heavy duty 4″ caster wheels (I used two of these–they come in sets of four)
- (2) concrete pavers to set grill on
Some Notes about the DIY Outdoor Ceramic Grill Cart Build:
Design and Material Choices:
This design was actually inspired by a similar cart I’ve seen built by Smoking Dad BBQ on YouTube. However, to keep things simpler, I made a few modifications to materials used, changed a few dimensions, and kept this design a little more open than his.
.
I built this cart using basic treated lumber–2x4s for the frame, 1x6s for the top, sides, and shelves, and 2x2s for the shelf supports.
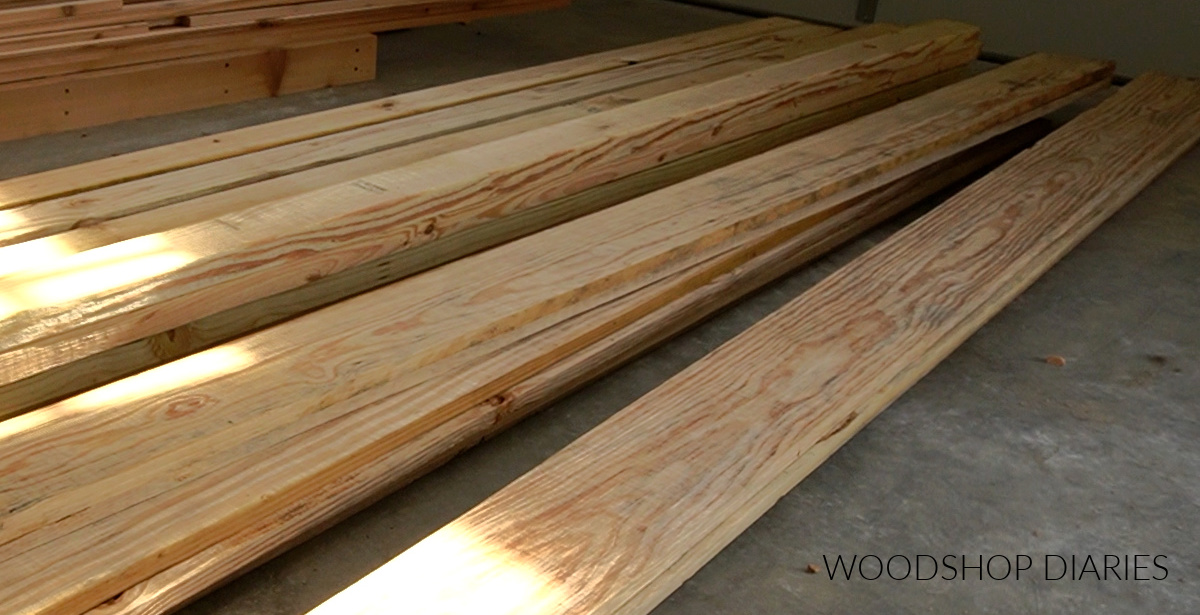
I would have preferred to use cedar, but it would have cost about 3-4 times as much and since this was already a couple hundred bucks in materials, I opted to stick with treated.
.
You’re welcome to use any weather/rot resistant wood for this build. Treated wood is great for outdoor projects, but shouldn’t come in direct contact with food. So use a pan or a cutting board for food prep–not the actual wood top.
Cart and Grill Sizing:
This cart was built with the intention of using with TWO Kamado Joe Classic III grills. The cut out hole opening to insert the grills was 23″ diameter with an 8 ½″ wide box cut out the back for the box on the back of these grills.

Different styles and brands of grills may require different spacing/sizing and clearance specifications, so BE SURE TO CHECK YOUR GRILL TO MAKE SURE IT WILL WORK and make the modifications necessary for yours to fit.
.
The distance between the top of the shelf and the top of the cart is 16 ¾″. We used a concrete paver underneath the grill to go between the grill itself and the wooden shelf below, so this sat the grill up an additional inch or so. If you want your grill raised, lowered, then adjust the height of the shelf as desired.
.
Overall project dimensions are 38″ tall, 32″ deep, and 74″ wide.
A Word of Caution:
And as a blanket disclaimer–yes, there is a risk of fire. To state the obvious, grills are hot, and wood burns.
.
Wooden grill carts are very common (just Google it), but, yes, they do come with a risk of catching fire. But so does grilling next to a house, on a wooden deck, or anywhere else reasonably close to combustible materials.
.
So, use common sense, check your own grills specifications on clearance space, check often that the outside of your grill and the surrounding wood isn’t getting too hot, and always grill with a fire extinguisher close by—wooden cart or not—sparks and ash when opening the lid can ignite a fire even if the outside of the grill is cold as ice.
.
Basisally, attempt at your own risk and take necessary precautions to avoid a fire. Okay, now that that’s out of the way, let’s get building.
How to Build a DIY Outdoor Ceramic Grill Cart
Step 1: Assemble the Front and Back Grill Cart Frame
These ceramic grills are really heavy, so I wanted to make sure to build a sturdy frame. I’ve detailed all the dimensions in the plans, but I cut down several pieces of 2×4 to assemble the front and back frames.
.
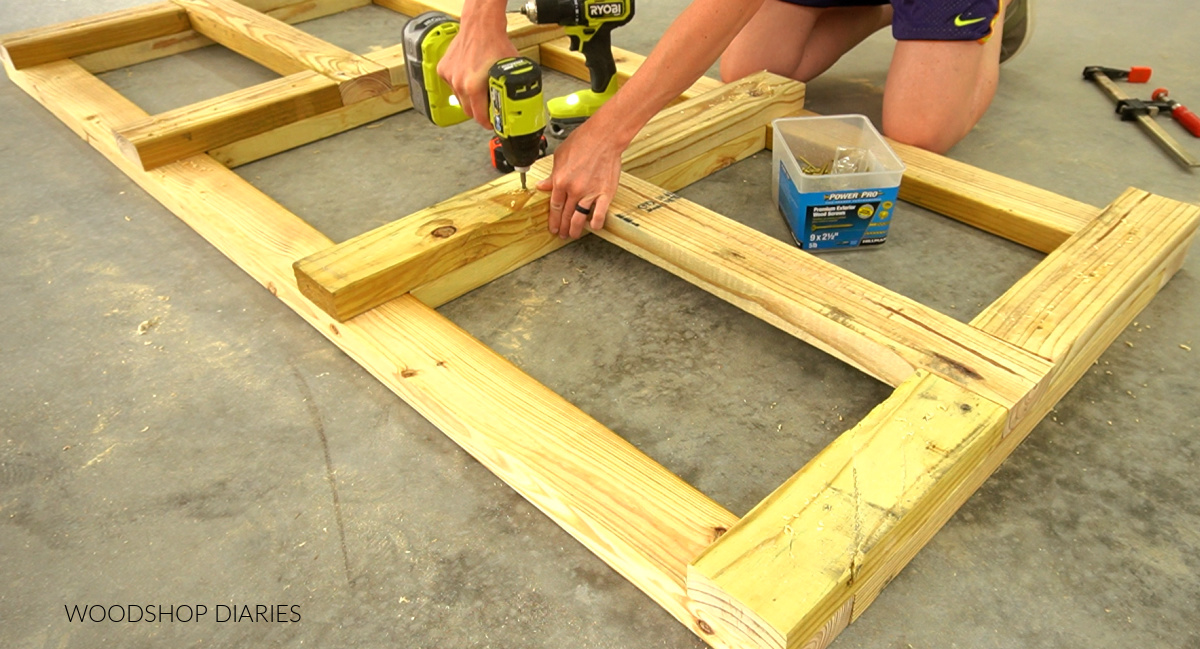
I made this frame 32” tall and 72” long and I laid these pieces out on the workbench to get a better visual of where everything went.
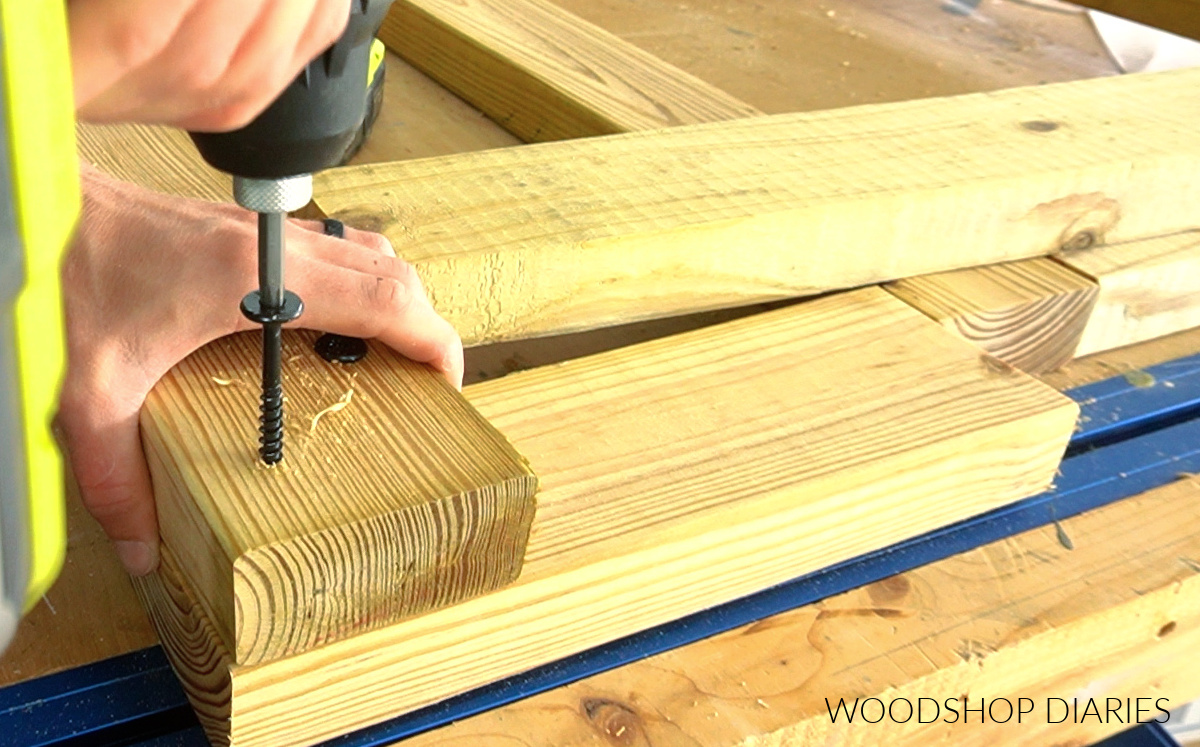
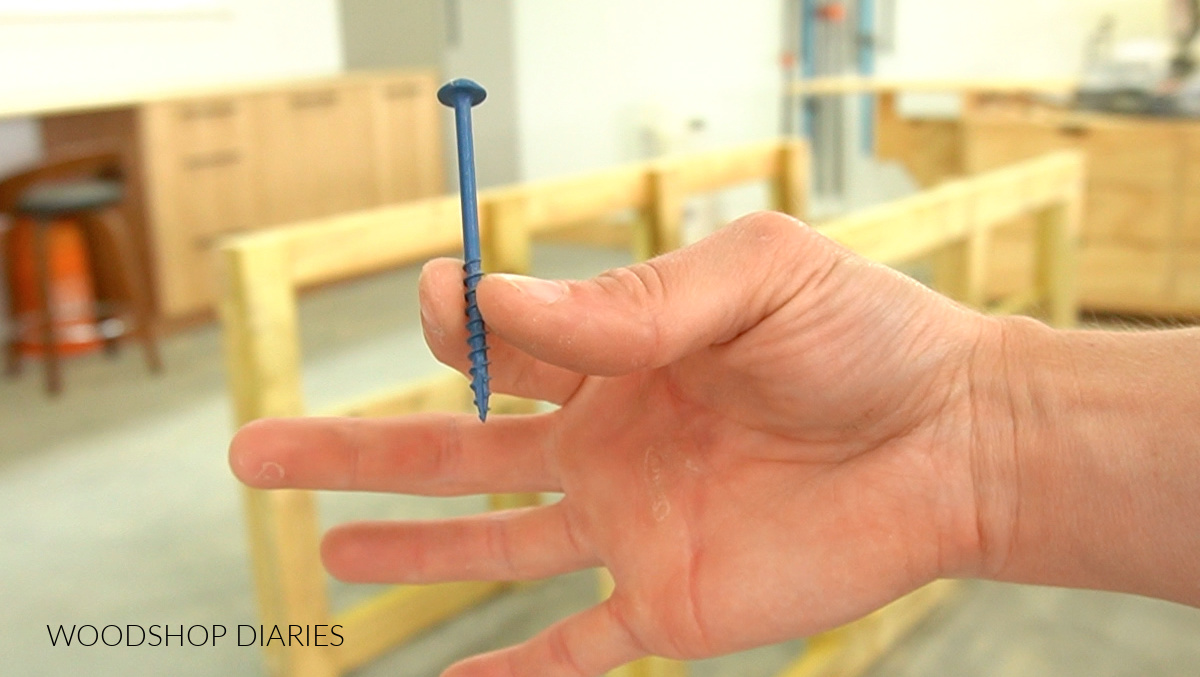
I used black timber screws at the corners just for some decoration, but I used basic 2 ½” decking screws for the rest of this assembly. I could certainly have used the timber screws throughout, but they’re a little pricey, so I used them sparingly haha.
.
After the corners were attached, I screwed the 2×4 for the middle shelf between the front 2×4 pieces to make what looks like a capital “H.” Then I moved these pieces to the floor and screwed together the rest of the pieces to make the entire frame.
I made two identical frames just like this—one for the front and one for the back. Note that the middle shelf is 16” below the top—you’d need to adjust this as needed to raise/lower your grill if building your own.
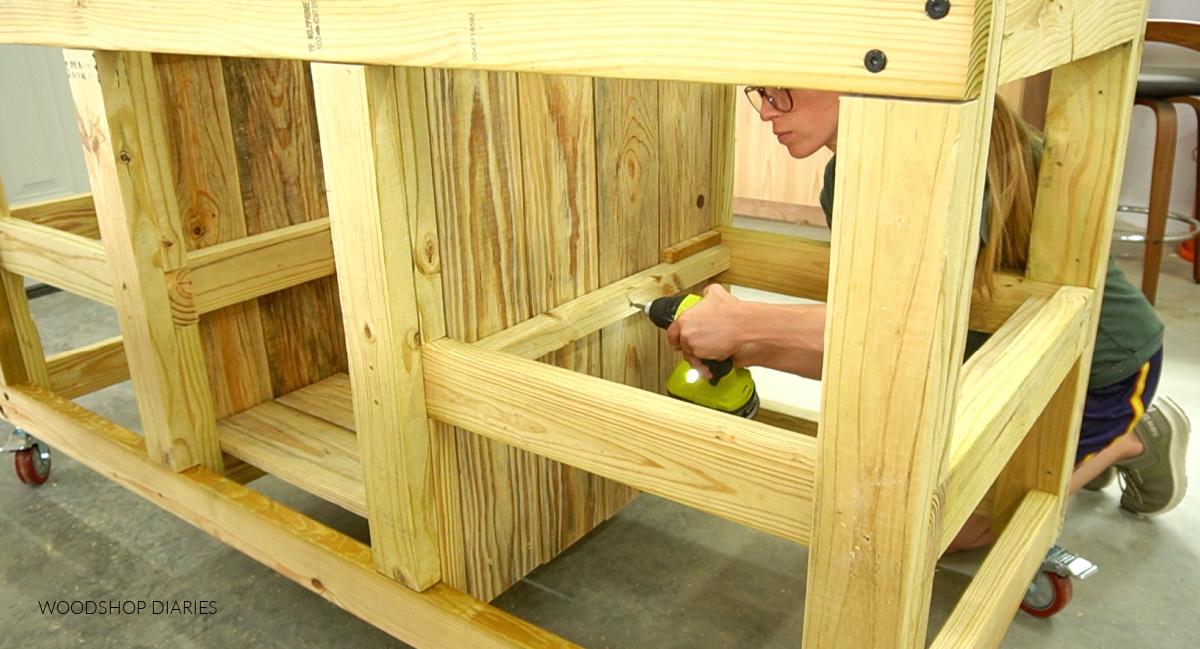
Step 2: Attach Front and Back Frames
I cut 12 pieces of 24” long 2×4 and drilled 1 ½” pocket holes into the ends of each.
RELATED: How to use a pocket hole jig
Then, I assembled the two frames together by screwing these pieces between them with 2 ½″ Kreg Blue Kote pocket hole screws.
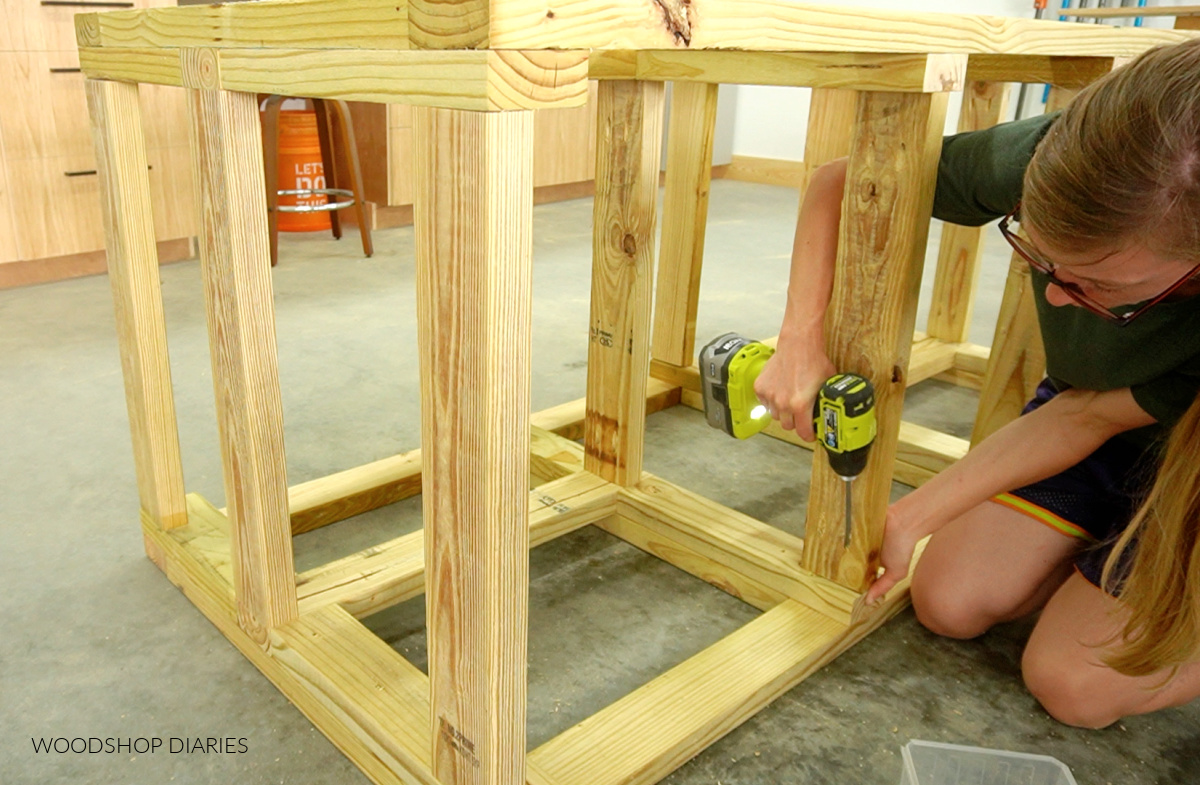
These screws are made for use in exterior applications where regular zinc coated pocket hole screws would rust and corrode.
Step 3: Add Casters to Make Grill Cart Mobile
After the main frame was assembled, I flipped it upside down and attached the caster wheels.
.
I added these heavy duty caster wheels to the corners using some washers and 2 ½” exterior screws. And at first, I thought that 4 was enough, but I ended up going back and buying 4 more to add later.

I added this second set of four to the corners of the middle section framing.
Step 4: Line the Middle Section of Grill Cart Frame
For the middle cabinet and shelves, I used 1×6 treated wood. Now, let me clarify—I used 1x6s, not 5/4 decking boards. These boards were actually ¾” thick.
.
You could use thicker decking boards, but these were quite a bit cheaper and worked just fine.
.
I cut three of these to line the inside of the back middle section. There were some small gaps between boards—which was intentional—so I just kind of clamped these in place and evenly spaced the gaps, then screwed these in using 1 ¼” decking screws.
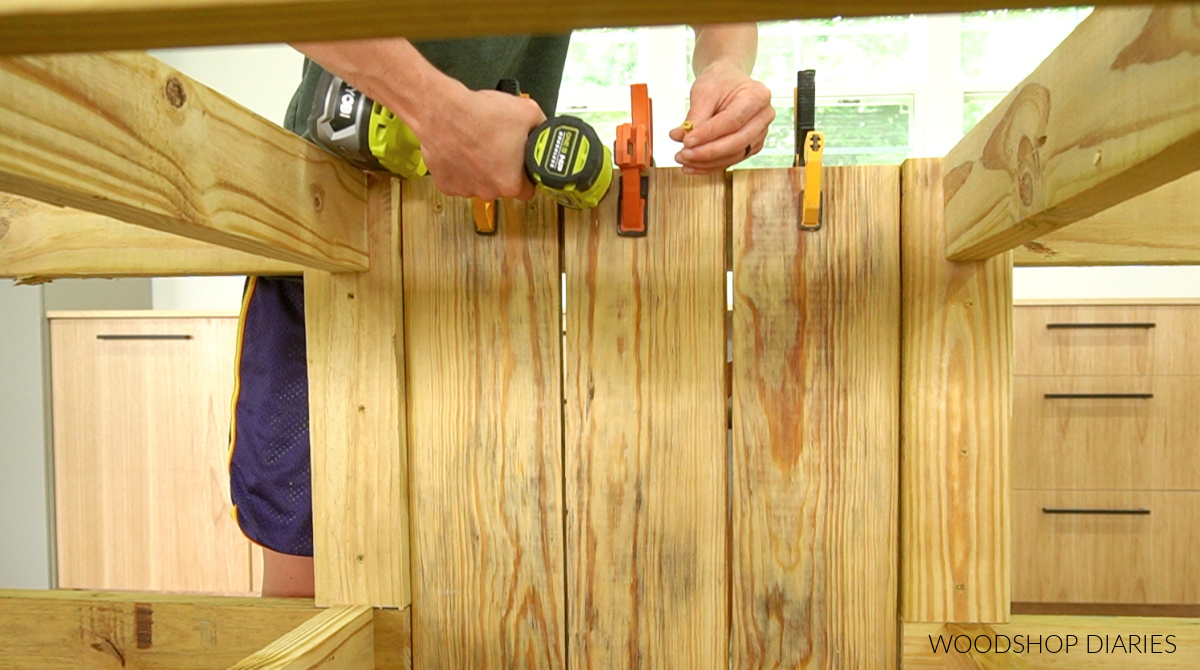
After the back was in, I did the same for the sides of the middle section, this time, using 4 boards on each side.
Step 5: Add Bottom Slats
For the bottom, I cut four pieces of 1×6 to place across the 2×4 frame pieces on the inside. I came back and notched out the front piece at the corners so it came closer toward the front and the spacing wasn’t so big.
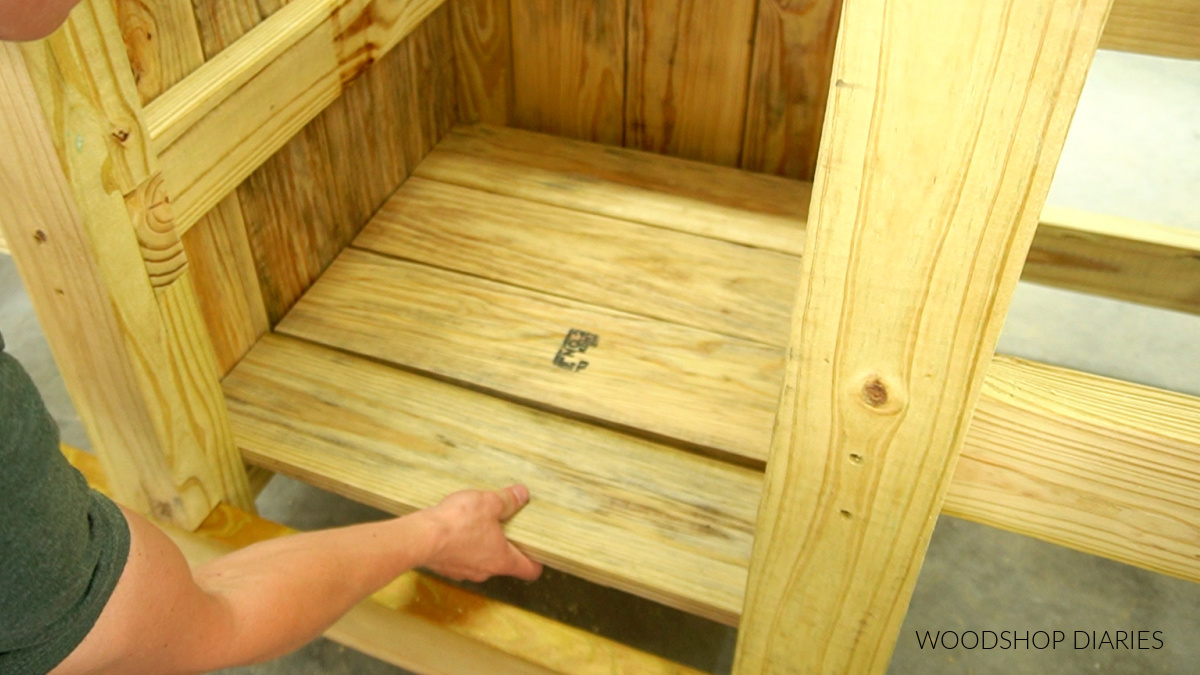
If you wanted to add a shelf inside this cabinet section later, you can install some more 1x6s across the middle framing this same way.
Step 6: Install Shelf Supports into Grill Cart
I bought a couple of treated 2x2s to use as the shelf supports.
.
I cut and screwed them into the frame using 2 ½” long screws on the outside pieces and 3” long screws on the inside.
.
NOTE: Since these screws needed to go through the side panel pieces and into the framing behind them, the inside screws needed to be a little longer.
I installed these so that they were ¾” down from the top of the framing so that the shelves would sit down into them and be flush across the top.
.
I decided that the top shelves needed an additional support to hold the weight of the grills.
.
So, I cut two more 2x4s to go in the middle of the top shelves. The bottom shelves won’t be holding hundreds of pounds of “grill weight,” so I didn’t add them there—just the tops.
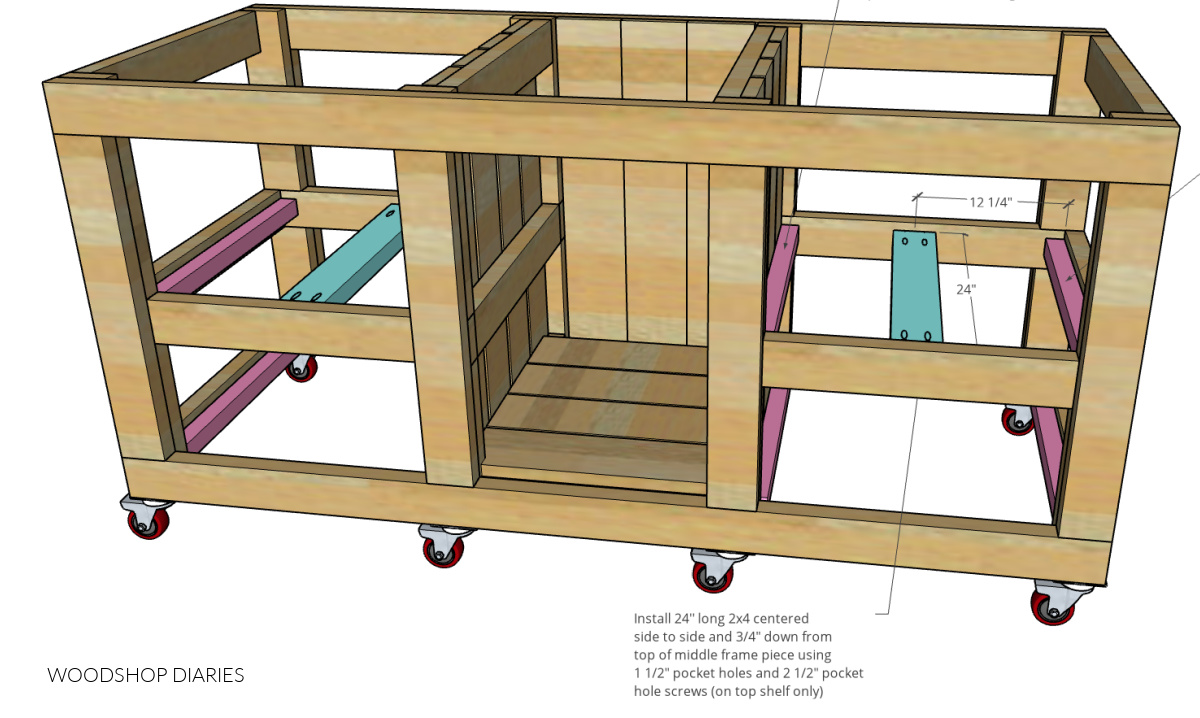
I installed these ¾” down from the top and centered side to side with pocket holes and screws.
Step 7: Add Shelf Slats
Then, I cut 16 shelf pieces to place across the supports in all four sections. I notched out the front, outside corners so that they kind of “wrapped around” the corner legs and made the spacing not look so odd haha.

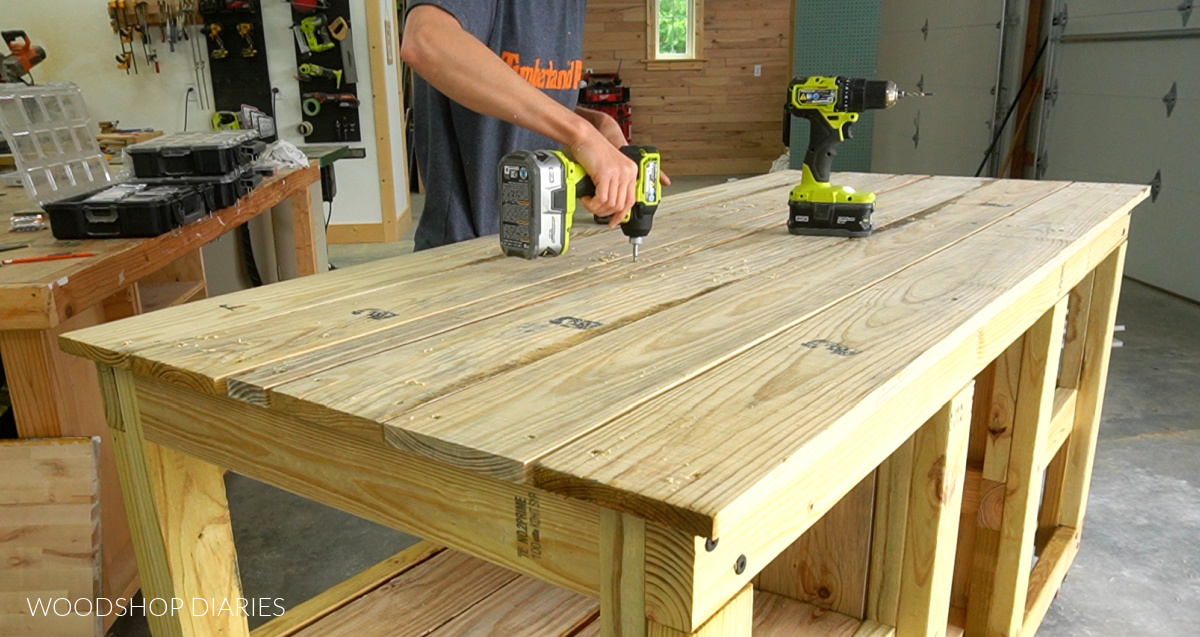
Step 8: Add Top and Cut Out Ceramic Grill Shaped Holes
At this point, I moved on to the top. I cut 5 pieces of 1×6 to go on the top so that they would overhang both sides, the front, and the back by 1”.
.
I installed the front and back pieces first leaving 1” overhang on the front and sides, then spaced the rest of the pieces out between them to figure out how wide to cut my last piece.
.
I spaced these approx. ¼” apart and installed them with 2” decking screws into the framing of the cart.
.
I used the table saw to rip my last piece to fit and installed it the same way.
Then, I needed to cut out the hole for the grills. These grills are round, but they have a box sticking out the back side. So this cut out needed to accommodate both the grill body, but also needed a cut out for the box to fit.
.
I took measurements of dad’s grill and ended up cutting out a 23” diameter circle with an 8 ½” wide section off the back.
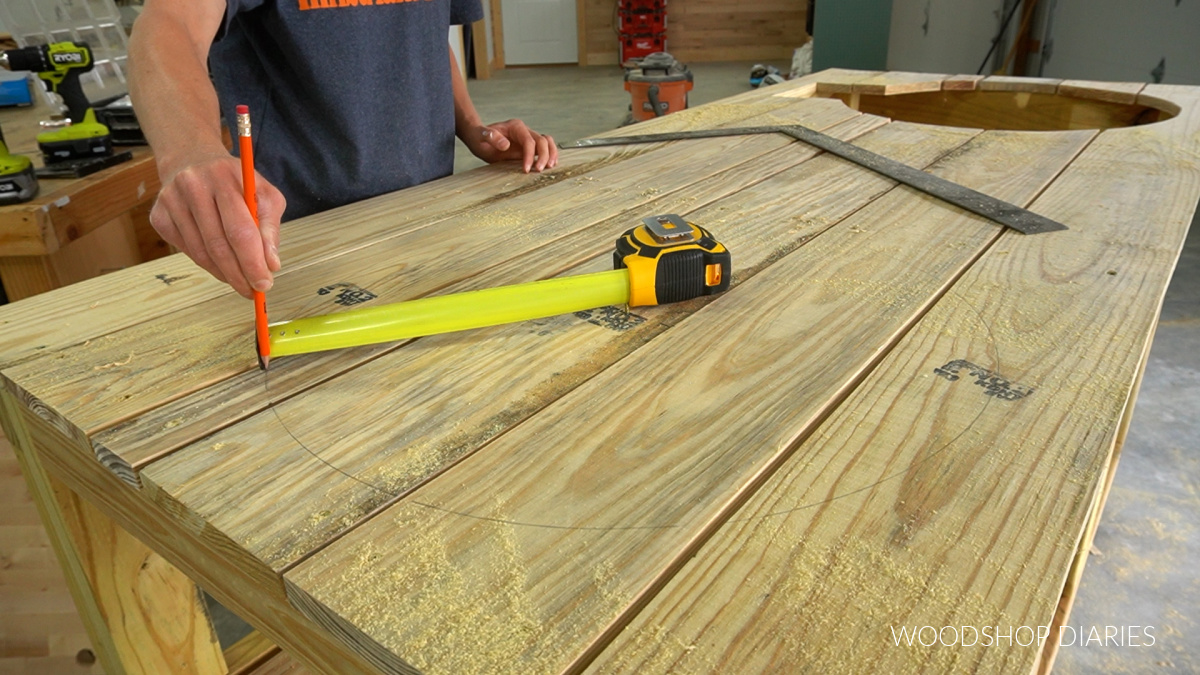
I cut this out with a jig saw and sanded the edges to smooth things out as best I could.
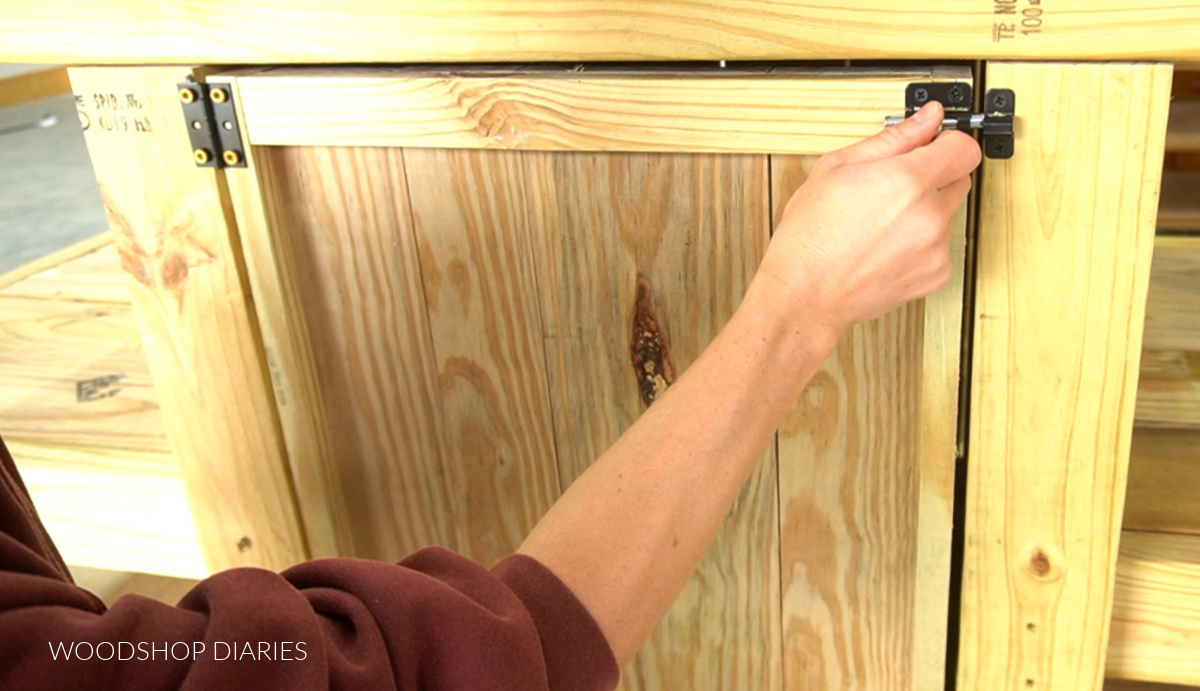
Step 9: Add Cabinet Door
My door here and the door in the plans are different. That wasn’t intentional…but I made a mistake haha.
.
Truth be told, I wanted to buy 8 foot 1×6 boards and when I went to the store, they were out, so I had to buy 10 foot boards and I hadn’t figured what I needed for 10 foot boards, so I had to do some quick calculations in the store and I miscalculated and ended up being one board short.
.
Because it’s a 20 minute drive one way to town to get another board, I decided to make do with what I had leftover at this point.
.
I ended up cutting what was left of my 1x boards down to make a panel and cut some strips off a 2×4 to kind of “frame them out” to make the door.

This worked fine and I like the design, but in the printable plans for this project, I show a simpler way of making the door simply using 1x6s with some horizontal slats between them.
.
Anyway, once the door was together, I installed it with some butt hinges and a simple latch so it’ll stay shut.
At this point, I loaded it into the back of the truck and drove it over to my parents house to get the grills in and set it up in its new home.
.
We set these grills up on some concrete paver blocks so that they weren’t sitting directly on the wood.
Anyway, now Dad is ready for all his summer time grill outs! Let the summer begin!
.
I really hope you enjoyed this DIY outdoor ceramic grill cart build and if you’d like to keep up with all the latest projects and videos, don’t forget to subscribe to the newsletter below!
And if you’d like to save this project for later, be sure to pin it or share it to your favorite social channel! Don’t forget to grab the plans here!
Until next time, friends, happy building!