In this post, I’m sharing some tips to help you quickly and easily install a drawer front in any project!
This is the fourth part of the drawer building series I’ve been sharing to help make adding drawers to your projects a little (well, hopefully a lot!) less intimidating.
*This post contains affiliate links. See website polices.
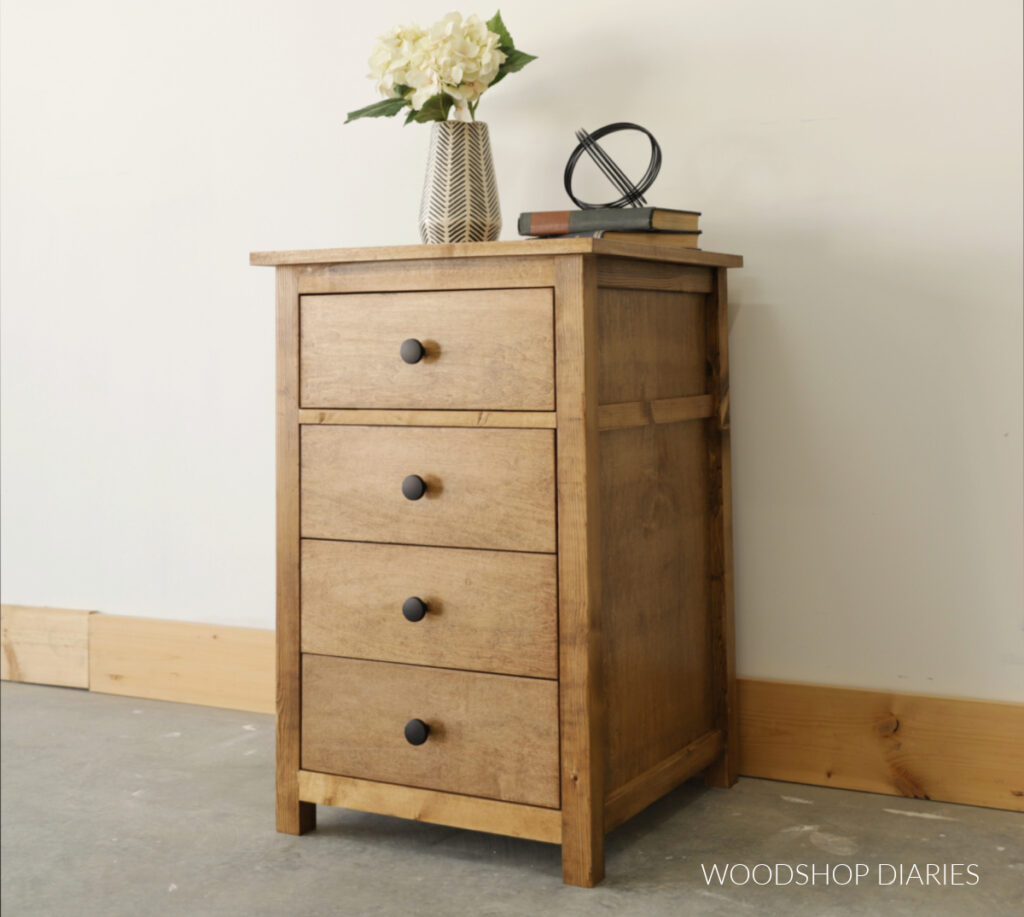
Drawers are one of my favorite elements to add into any project–cabinets, dressers, end tables, etc. But, I know when you’re first getting started, drawers can be a bit scary.
So I created a whole drawer buildings series to help squash some of those fears. Always remember–drawers are simply boxes. If you can build a box, you can build a drawer.
This post details the last step to adding drawers–installing the fronts! If you’ve missed any of the previous parts of the series, you can check them out here:
Alright, friends, let’s dive in. If you prefer to watch, I’ve got a video here:
Types & Styles of Drawer Fronts
Before installing the drawer front, first, you need to determine what kind of drawer front you have.
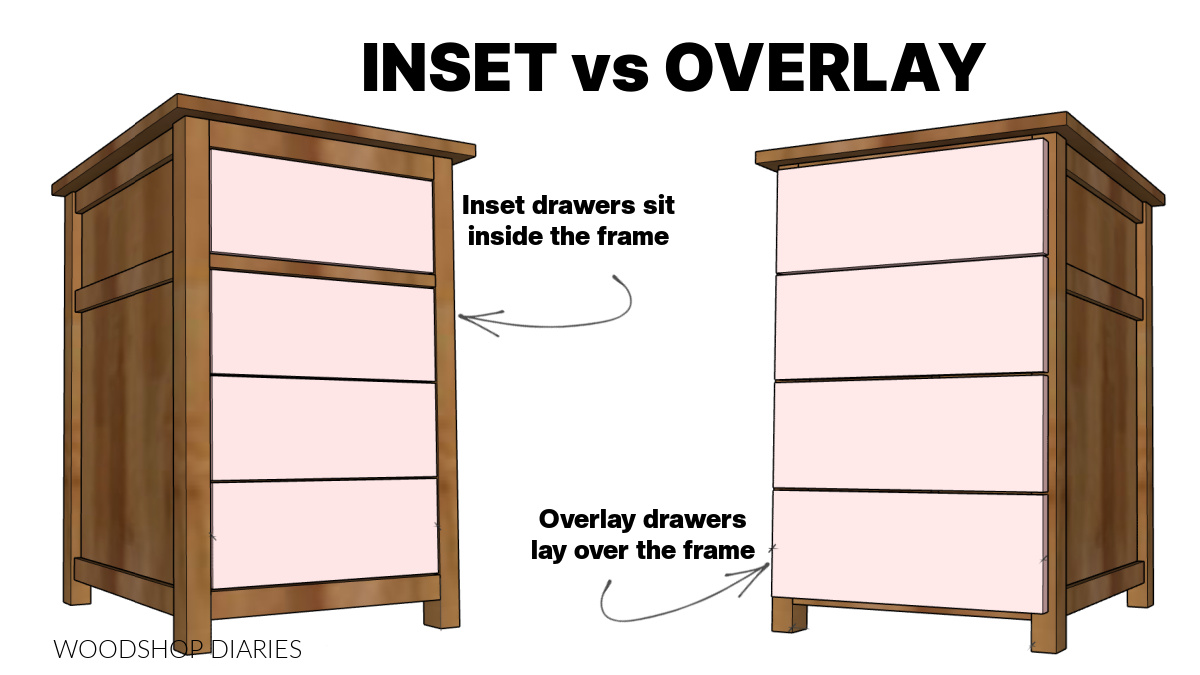
In part 1 of this series–determining drawer dimensions–I explained the difference between inset and overlay drawer fronts. Remember that inset drawer fronts set inside the frame and overlay drawer fronts lay over the frame.
But besides determining whether the drawer front is inset or overlay, you also need to think about how the drawer front is actually assembled.
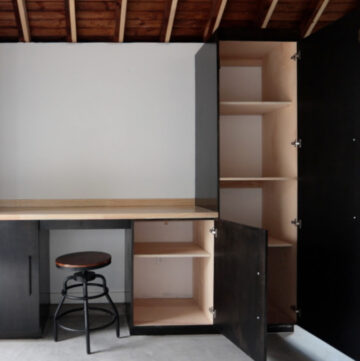
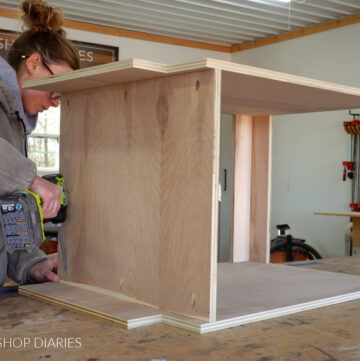
Drawer fronts are very similar to cabinet doors in that they can be made a million different ways. Here are a few examples of types and styles of drawer fronts I’ve used in the past.
Want the ENTIRE DRAWER BUILDING SERIES in printable form so you can keep it handy in the workshop? Grab the printable drawer building guide here!
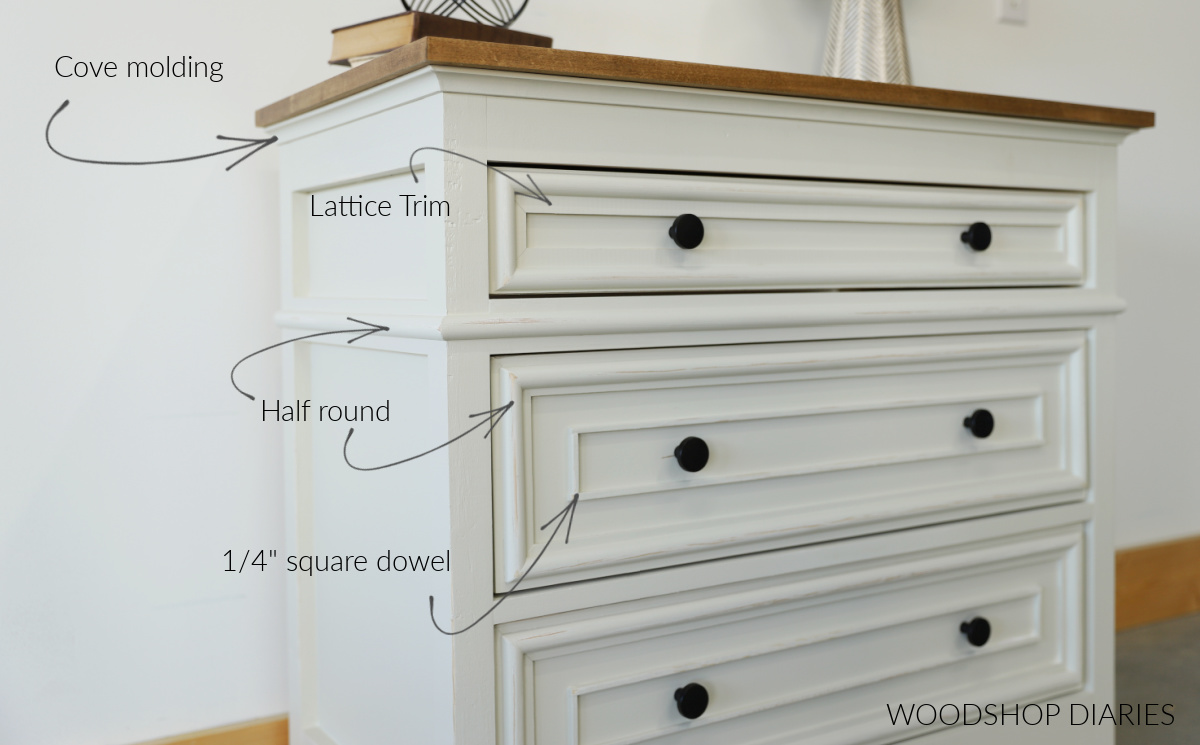
Shaker Style (Frame & Panel)
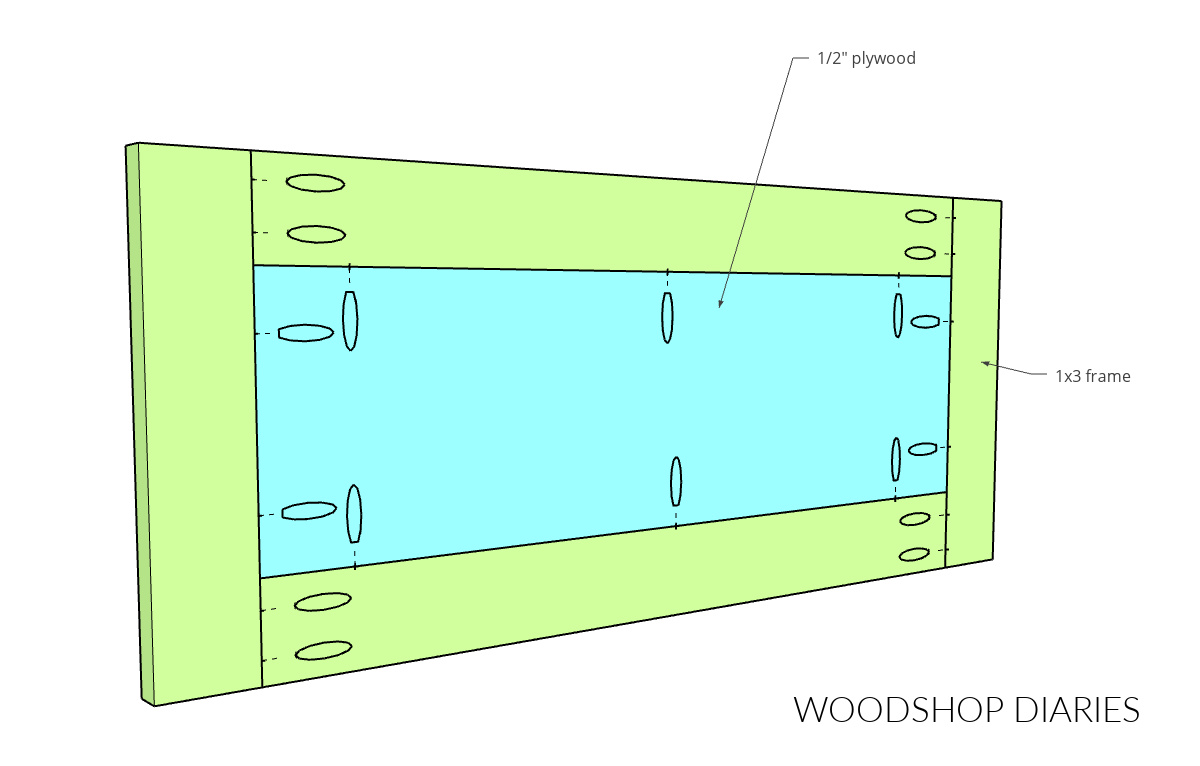
A Shaker style drawer front is also sometimes referred to as a frame and panel or a 5 piece drawer front.
The reason this is sometimes called a 5 piece drawer front is because it’s made of 4 solid wood pieces that make up the outside frame and the 5th piece is the center panel. These can be flat or raised panels.
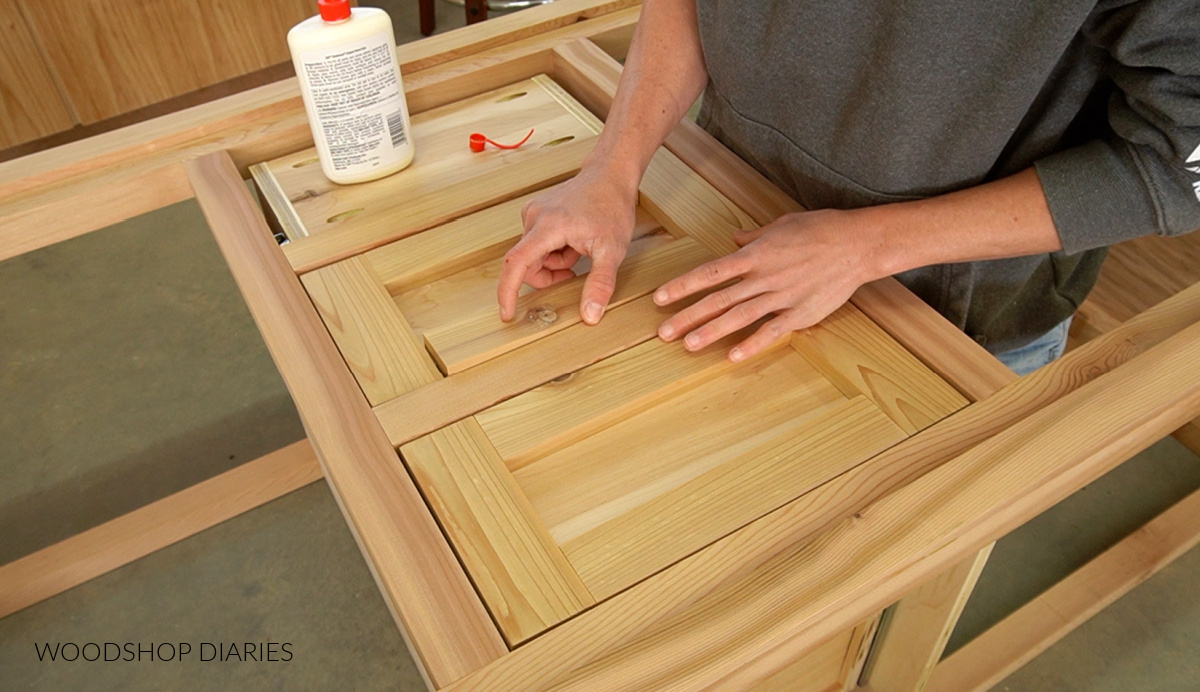
There are several ways to assemble this style of drawer front, but in many cases, the frame is a 1×3 board and the center panel is either plywood or MDF.
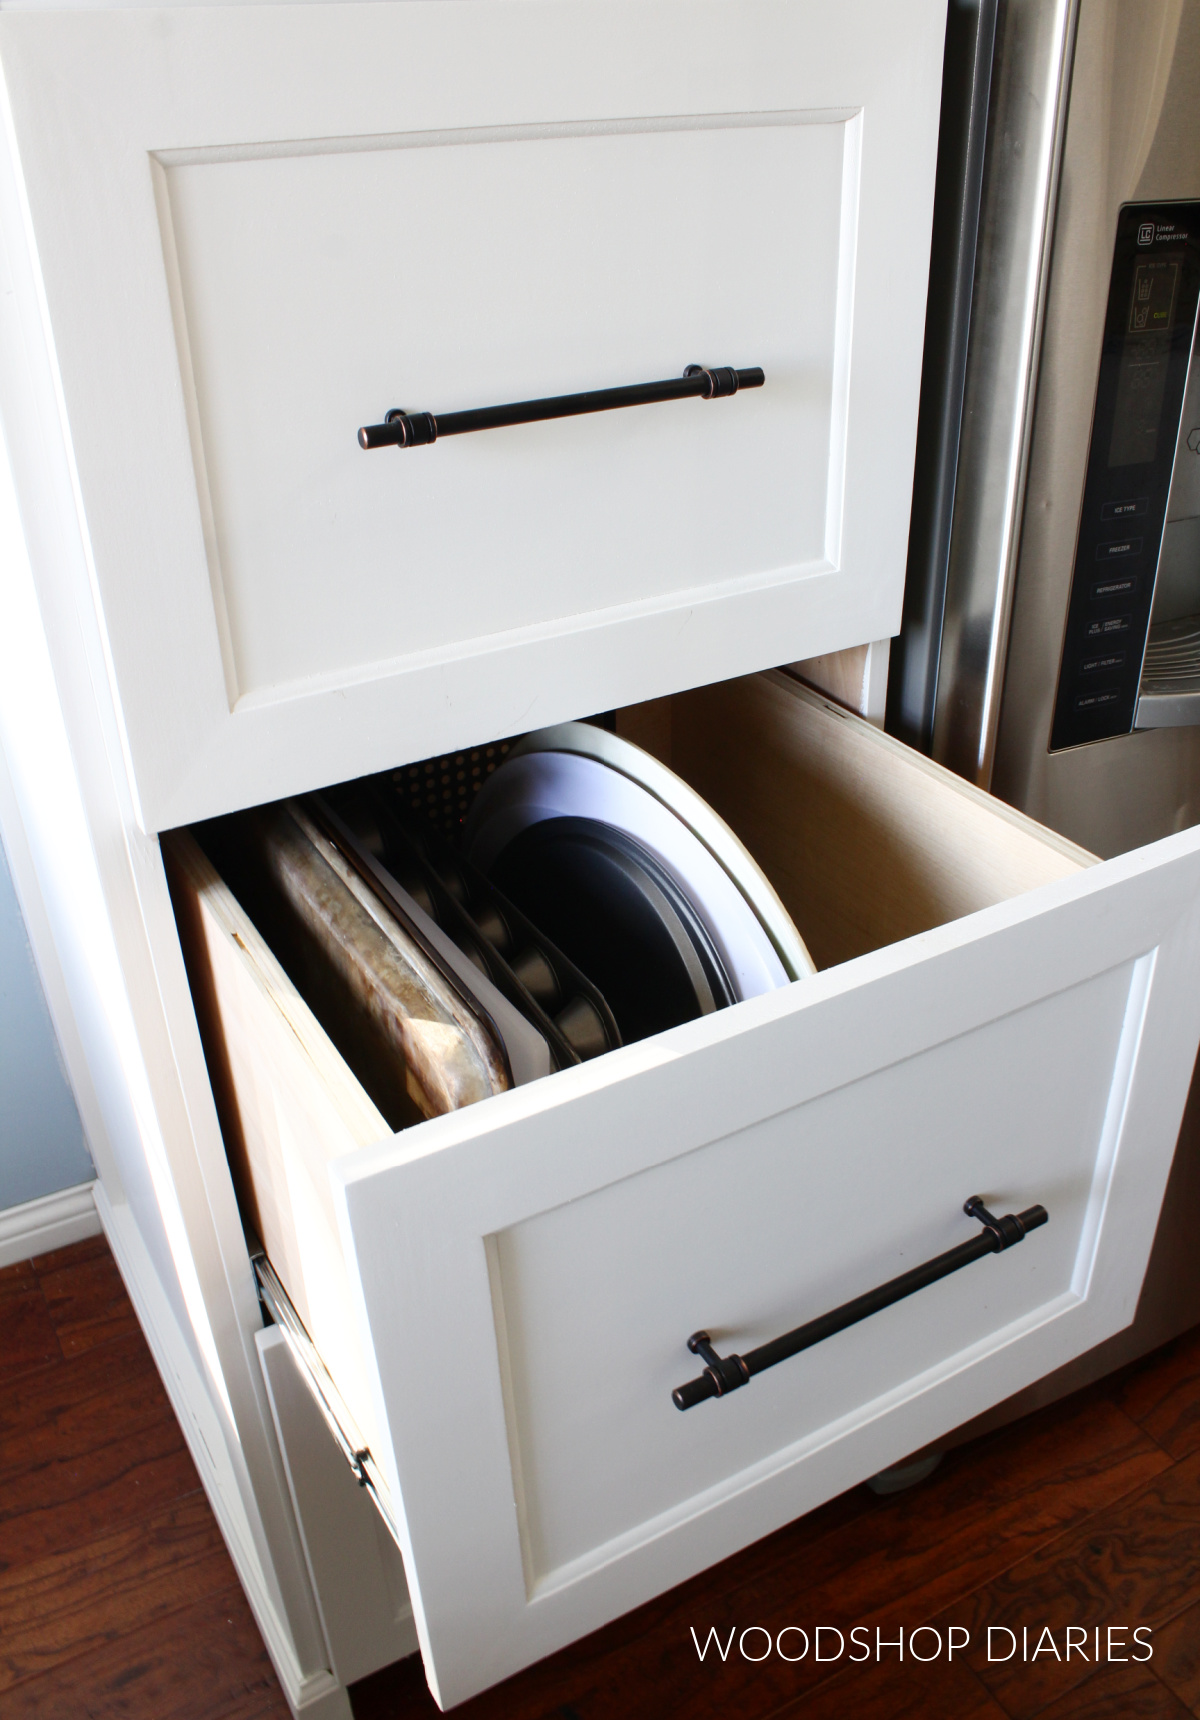
Sometimes the panel is installed into a dado cut in the frame (like shown in this tutorial), sometimes it’s installed into a rabbet cut along the back side of the frame, and sometimes it’s installed using pocket holes and screws (on the back side) like shown below.
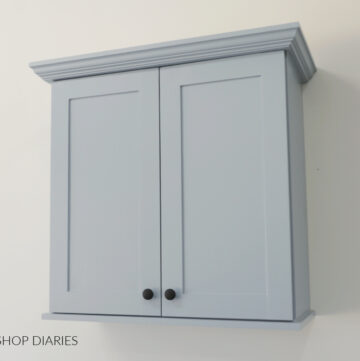
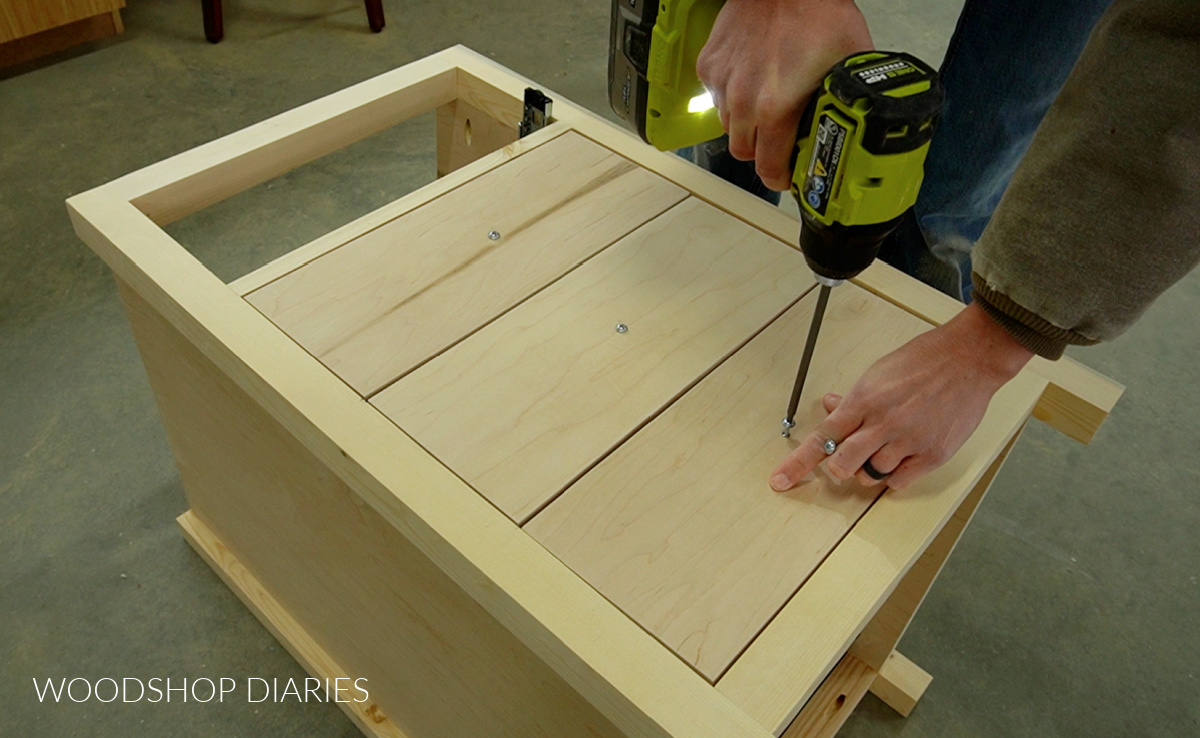
Slab
Another type of drawer front can be solid wood or plywood—basically just a solid, flat panel front. You can see an example on the drawer at the bottom right corner.
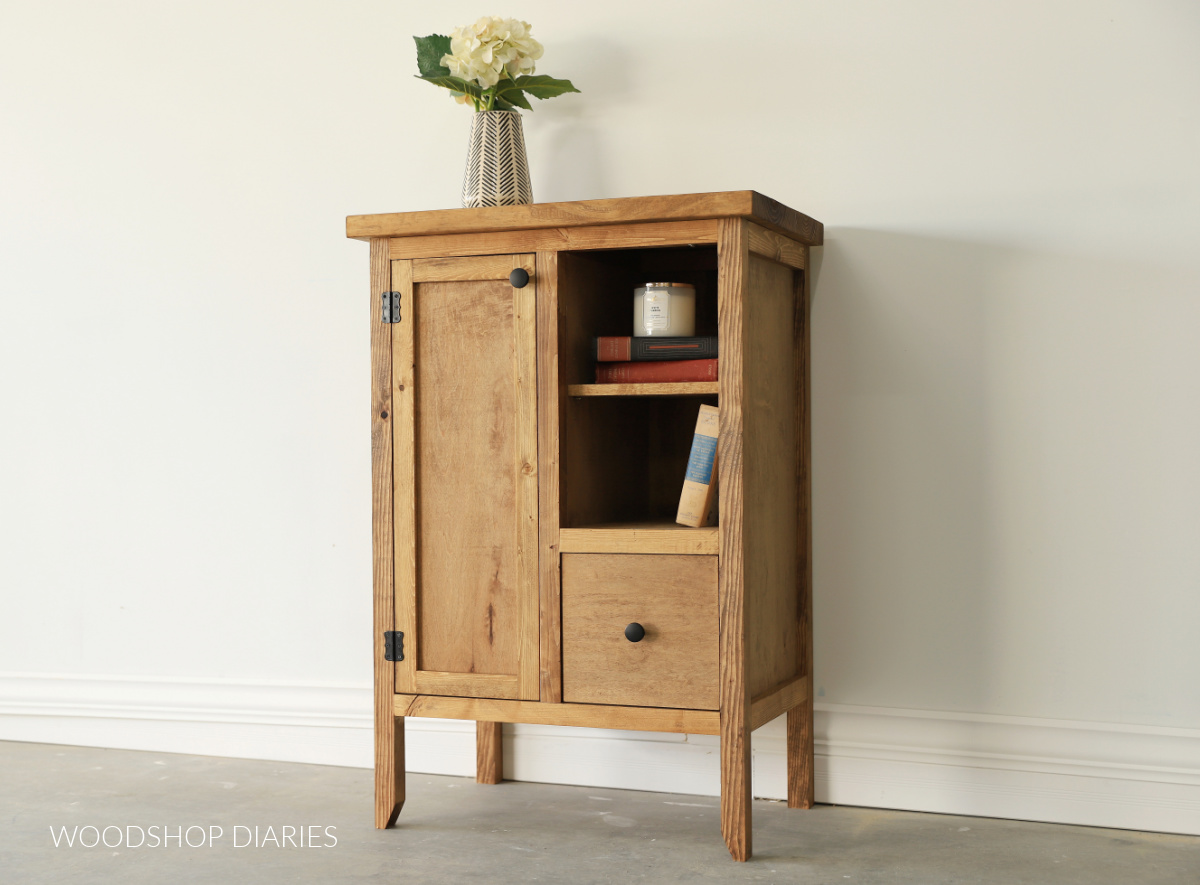
If you want to dress these up, you can also add some trim pieces to the drawer front like I did to the door shown in the image above.
This is actually an easy way to “fake” a Shaker style drawer front–use a slab and glue/nail trim around the front to look like a frame and panel. Here’s another example of trim installed on a slab drawer front.
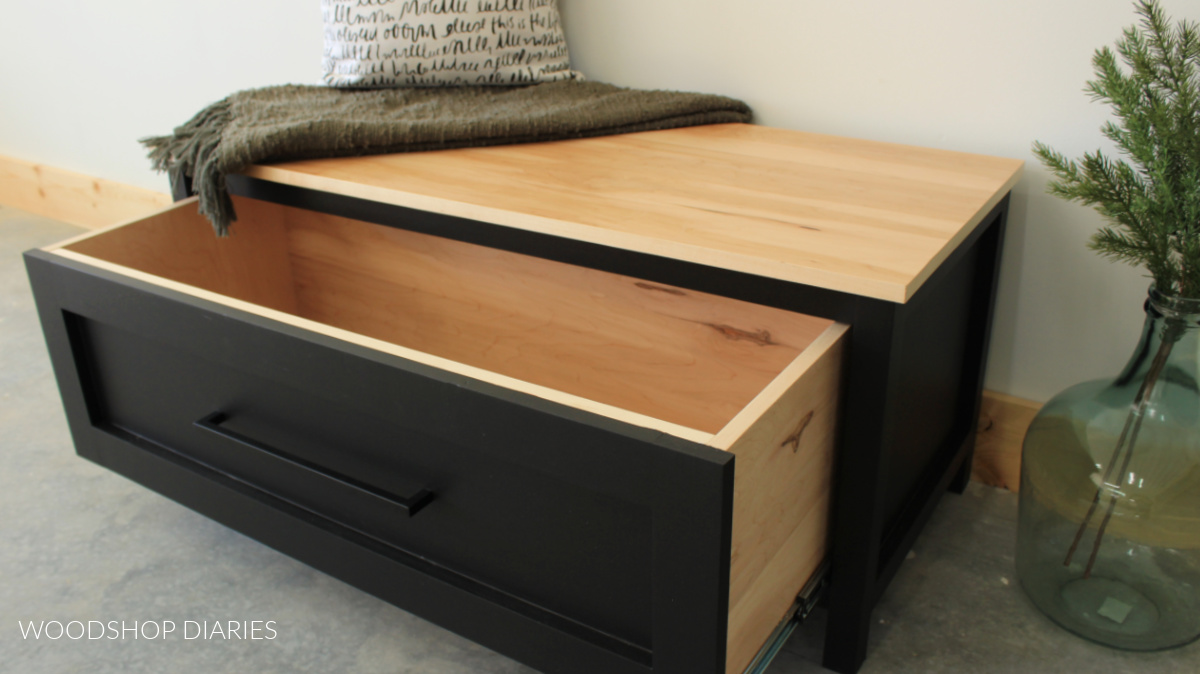
The “Cheater” Drawer Front
And another kind of “cheaters” way of adding a drawer front is what I did here on my bathroom vanity drawers.
I simply glued 1x boards around the front of the drawer boxes to kind of “fake” a Shaker style drawer front.
I also did the same thing on the drawer front for this storage bench project.
What holds the drawer fronts on?
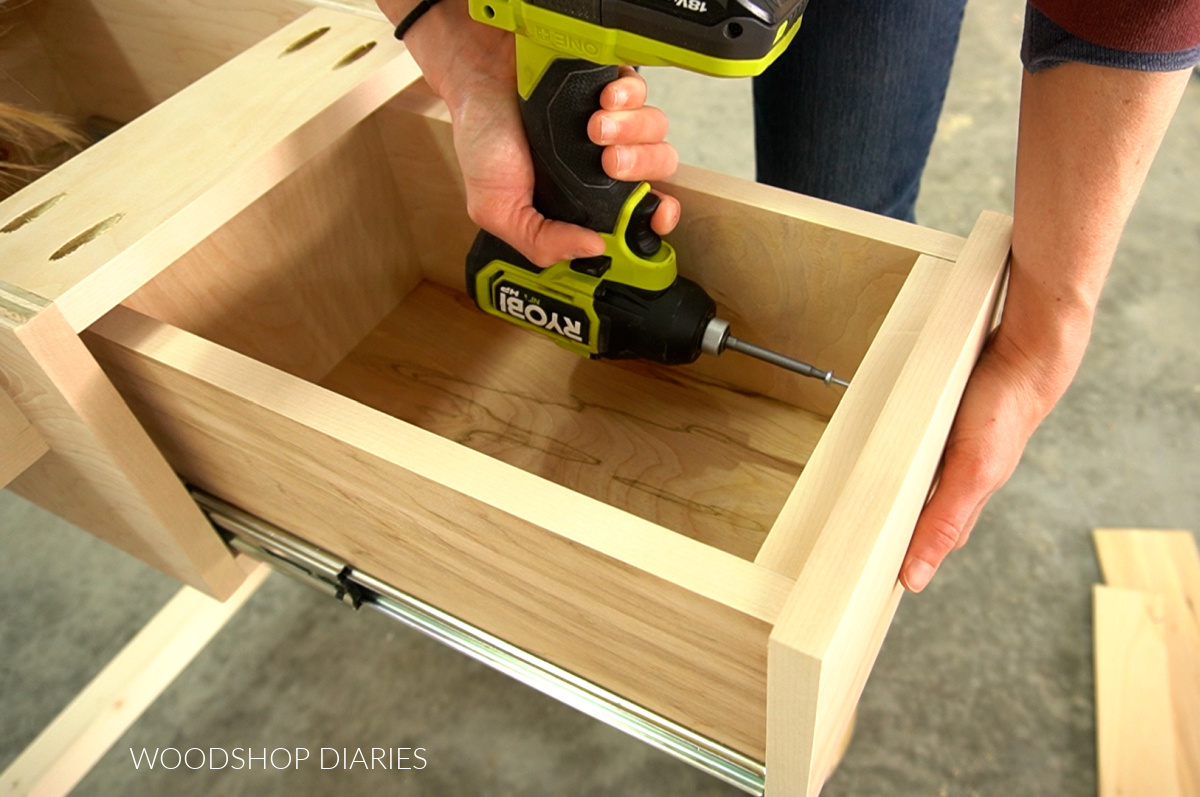
In most cases, screws are used to install drawer fronts. There are some special cases–like in that “cheater” drawer front example above–that screws aren’t used.
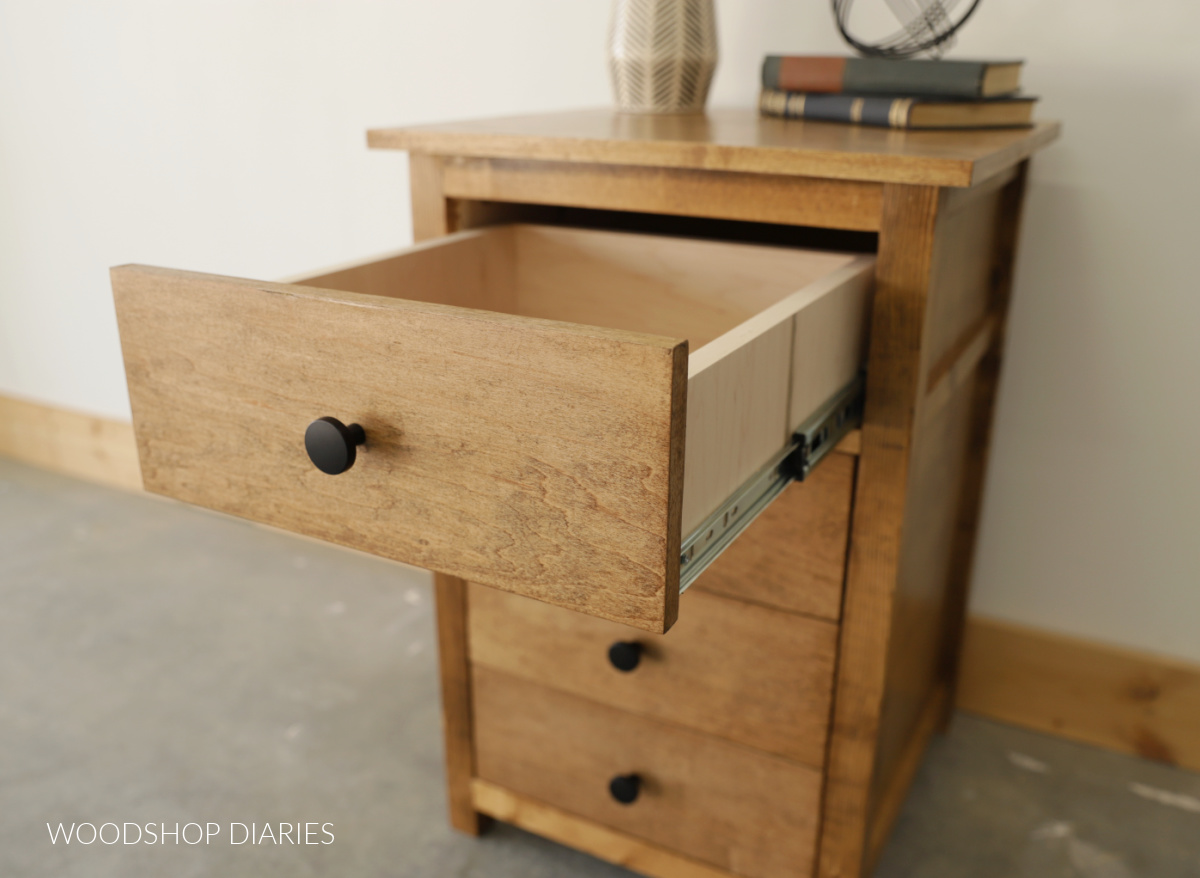
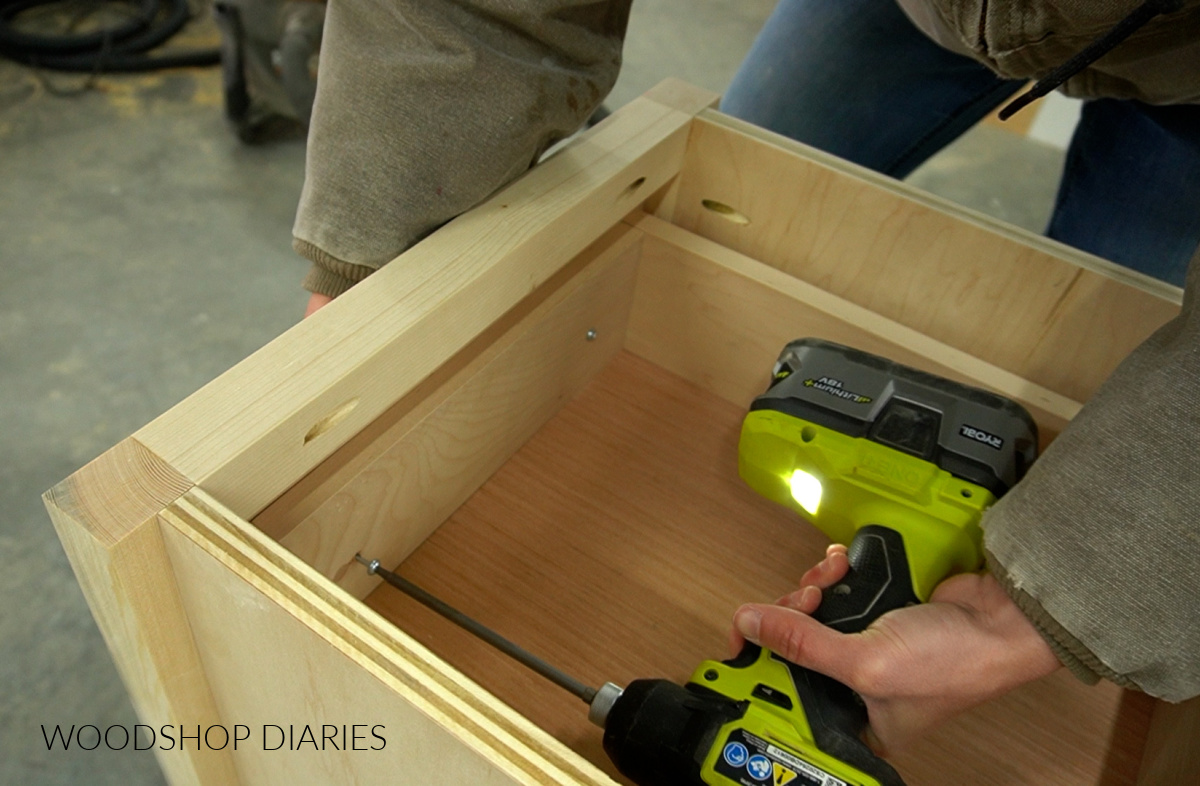
But if the drawer front is a slab or a frame and panel, you typically use screws to secure them to the drawer box. So that the screws don’t show, they’re driven through the inside of the drawer box.
Should you use wood glue?
A common question I get is whether you should use wood glue with drawer fronts. Personally, I don’t use wood glue when installing my slab or frame and panel drawer fronts unless I’m absolutely 100% confident I’ll never need to adjust or replace anything.
There are some cases where glue may be helpful–like in the “cheater” style drawer front mentioned above–but in most cases, I don’t use it.
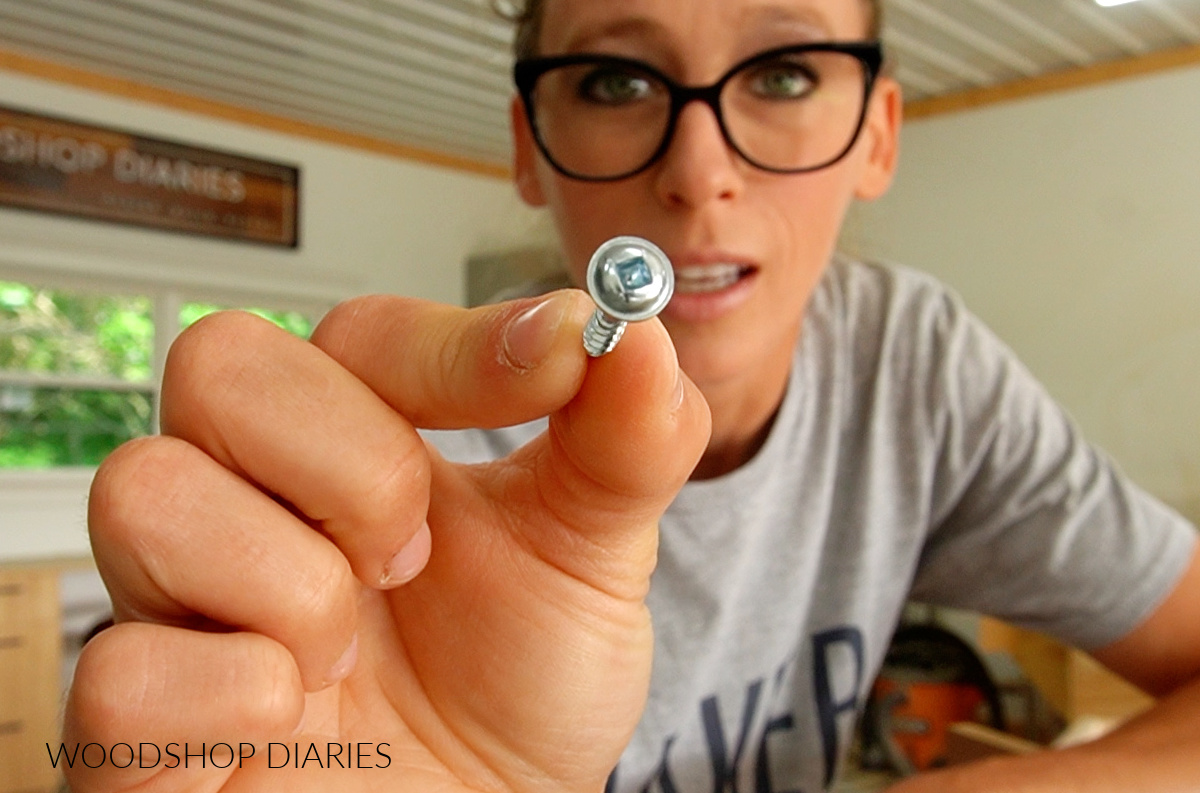
What size screws do you need to install drawer fronts?
To determine the length of the screw you need, consider the thickness of the front of the drawer box and the thickness of the drawer front.
You don’t want to use a screw that’s longer than the thickness of these two pieces combined or it’ll poke out the front. But you want to make sure it’s long enough to go through the drawer box and still “bite” into the drawer front so it’ll hold.
Usually I’m using ¾” plywood for my drawer boxes and ¾” thick material for my drawer fronts. So I’ll use 1 ¼” screws.
I like to use pocket hole screws for this because they have this washer head that prevents the screw from countersinking and driving too far, but it pulls the drawer front nice and tight.
A note about installing Shaker style drawer fronts
I recommend trying to drive your screws into the FRAME portion of the drawer front if you’re installing Shaker style fronts, especially if you’re using ¼″ thick material for your center panel.
The frame will be thicker than the panel, so screwing into it will allow you to use a longer screw and have a better hold.
Also, if your center panel is installed into a dado in the frame and isn’t flush across the back side, I suggest adding a shim or spacer between the panel and the front of the drawer box.
This will prevent the panel from flexing when you add the knob(s) or drawer pull later.
Enjoy helpful tips, woodworking how tos and new project plans? Subscribe to the newsletter for priority access when new posts, videos, projects and plans go live!
3 Easy Ways to Position and Attach Drawer Fronts
The general rule of thumb with drawer fronts is that there should be ⅛” space between drawer fronts and, if it’s inset, ⅛” gaps between the drawer fronts and any surrounding framing.
Check out this post to learn how to figure your drawer front sizing.
Some people use playing cards, coins, or special spacers to help them with these gaps.
But, I’ll be honest with you, I just eye ball it. If the gaps look even, then they’re even. No one’s coming over your house to measure your drawer front gaps. But, if you want to be extra precise, you can certainly use spacer blocks.
Anyway, here are 3 tips/ways to help you position your drawer fronts where you want them when installing.
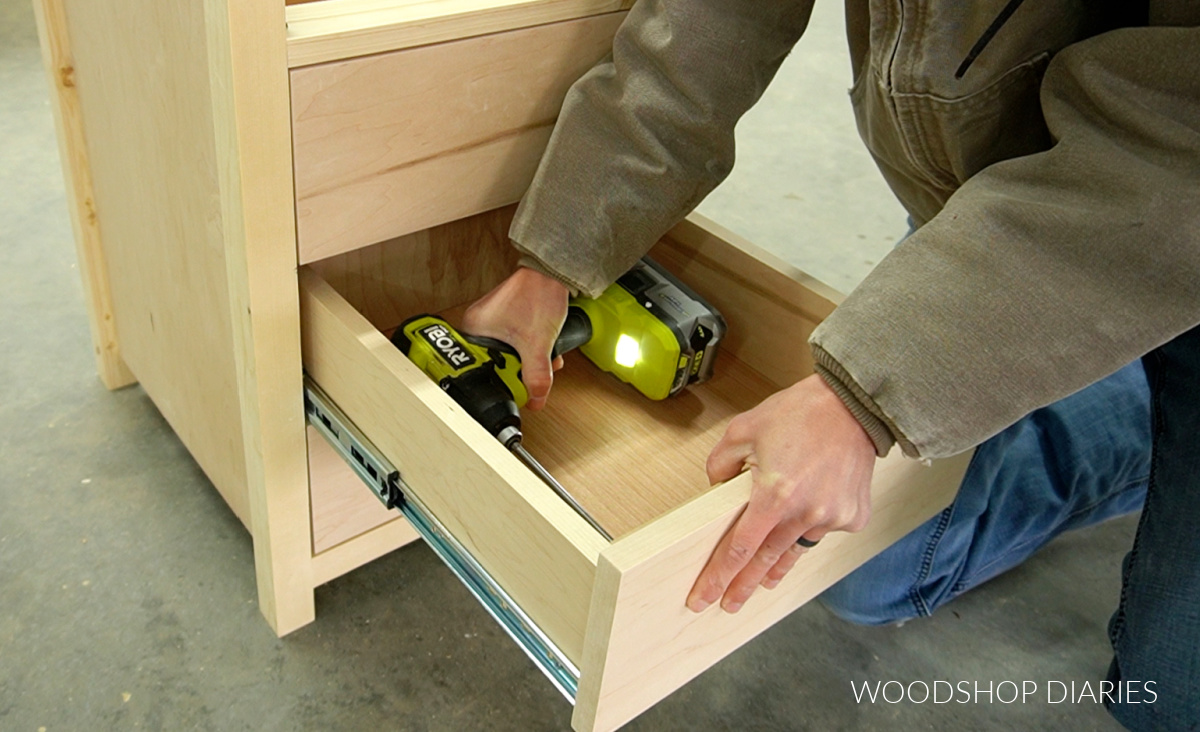
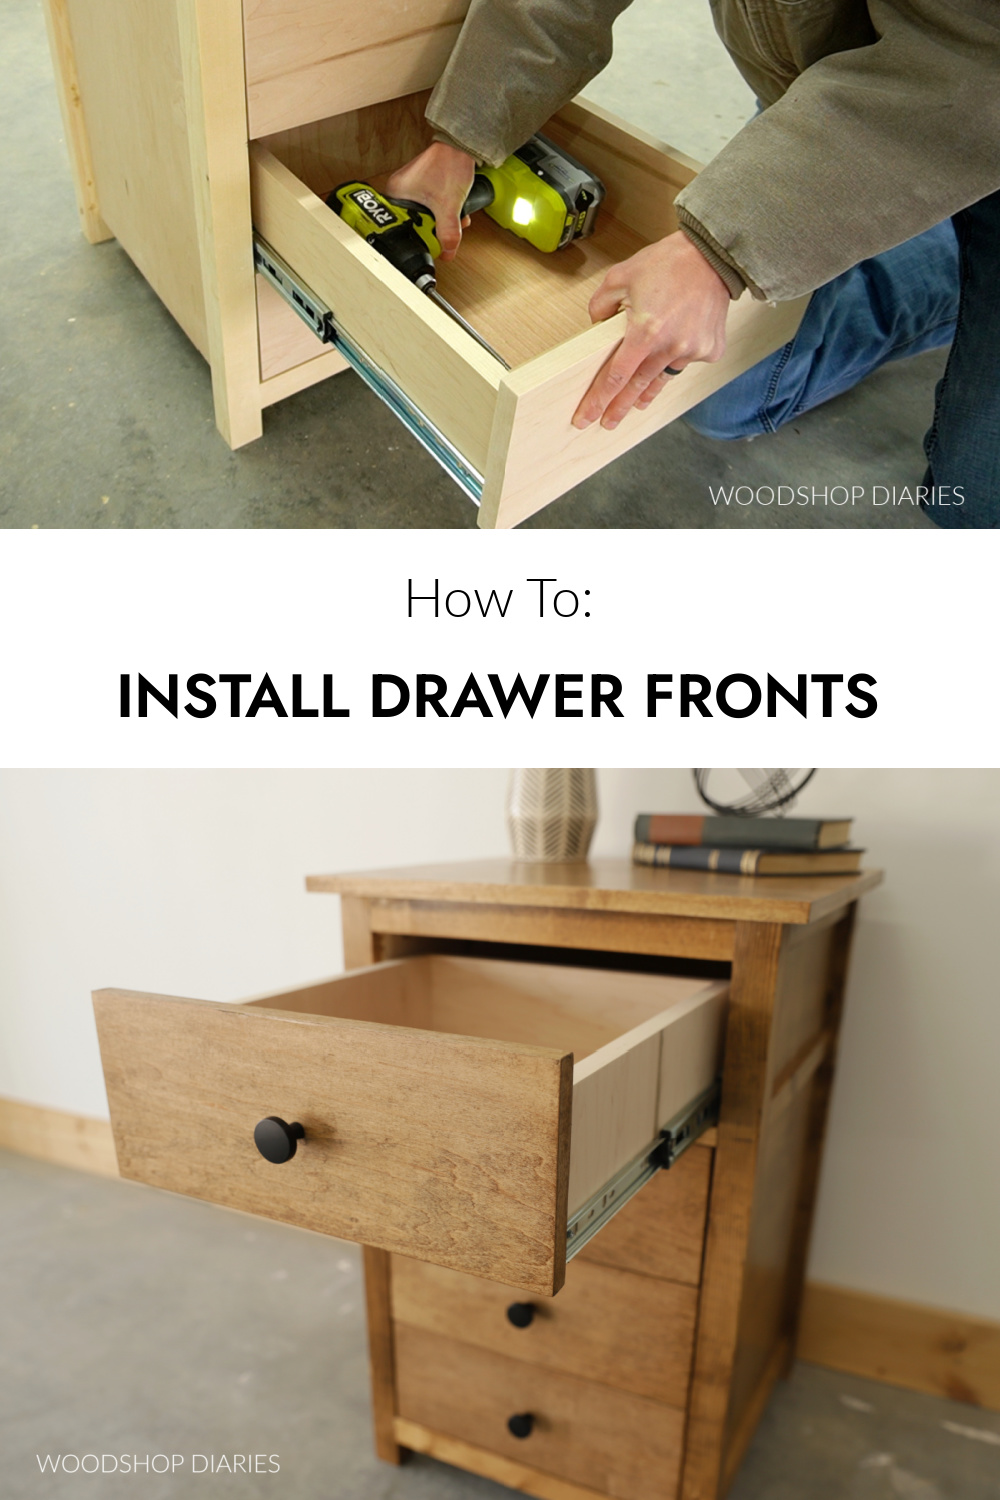
Method #1: Freehand
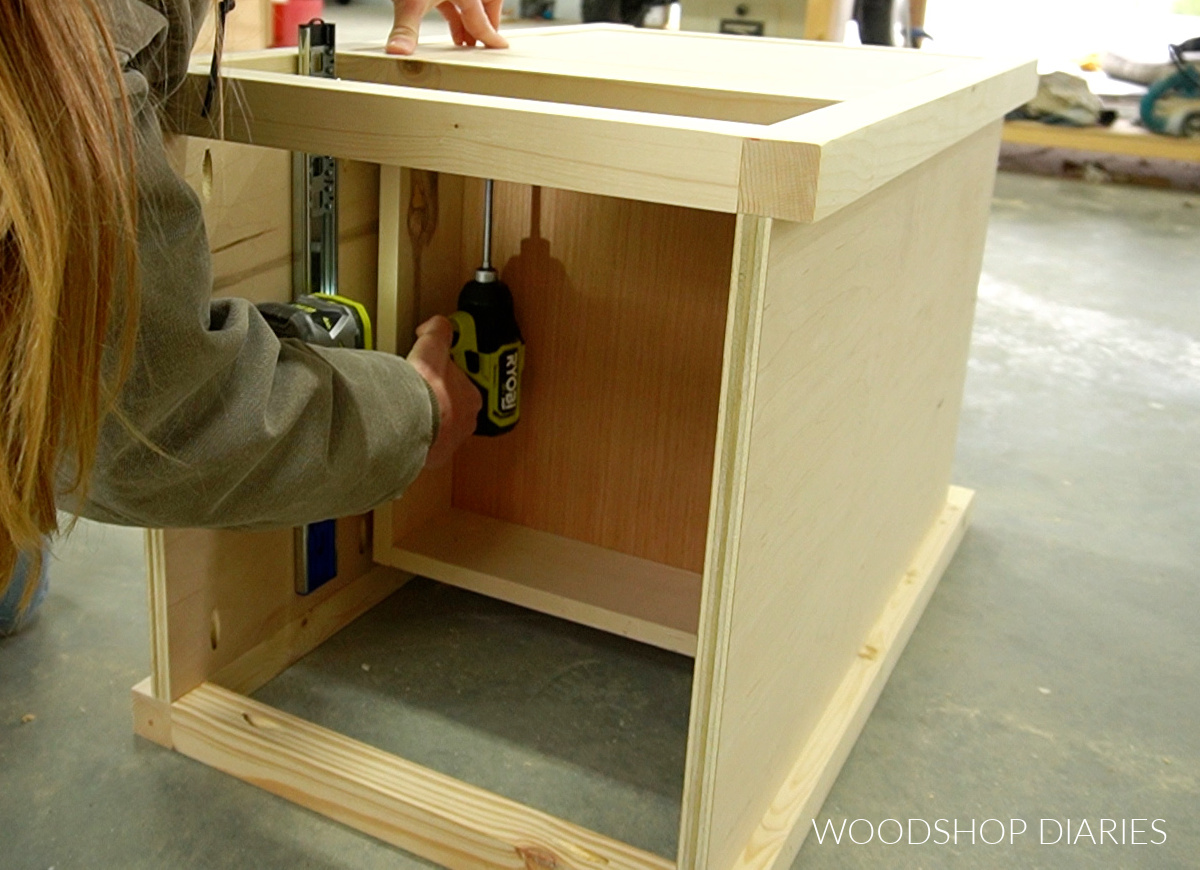
NOTE: Installing drawer fronts is usually easiest if the top of the project isn’t installed yet. This allows you better access to the inside of the cabinet or piece of furniture.
One way to install drawer fronts is to simply place the front into (or over) the opening so that the gaps (or overlay) look even around all sides.
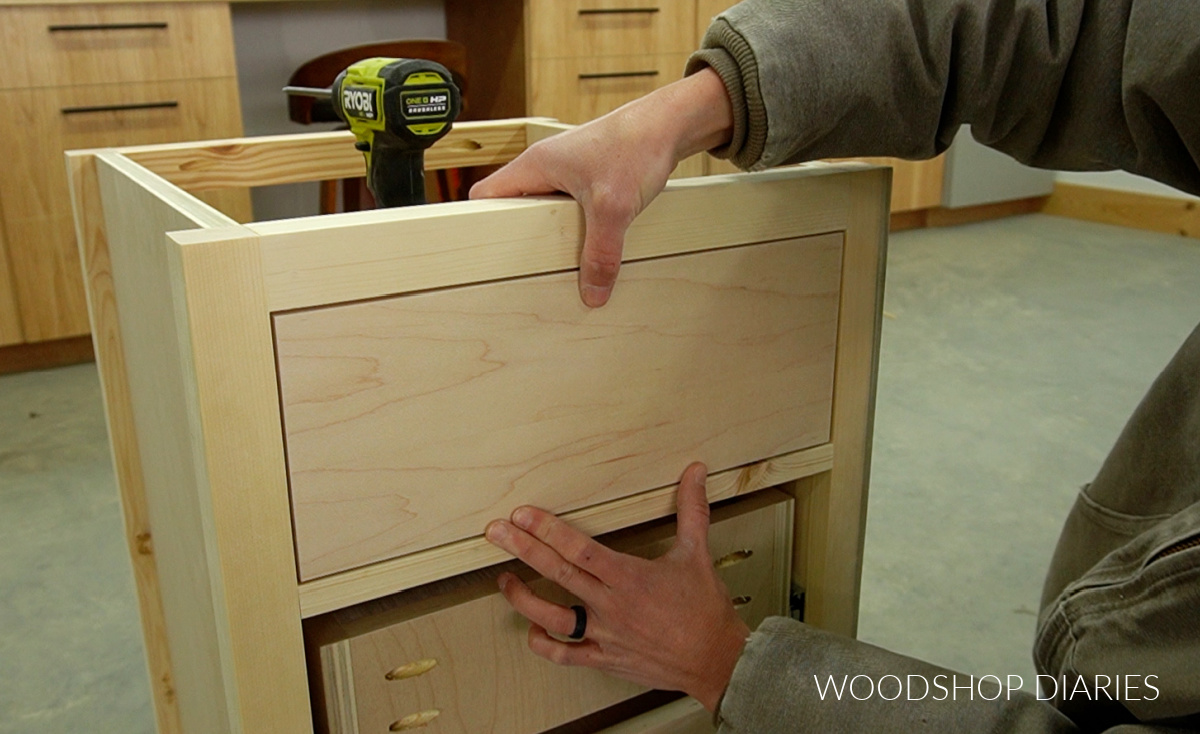
Then, just hold the drawer front tightly in place with one hand while driving the screw through the front with the other hand.
This method works for either inset or overlay drawer fronts. It’s the quickest and easiest way, but also the most prone to error if you aren’t careful.
After one screw is in, double check the spacing and adjust as needed, then drive the second screw.
This works best if you work from top drawer to bottom. Once the top drawer front is on, you can remove it to access the drawer box(es) below it and repeat the same steps.
If each individual drawer front isn’t framed out, and you need to evenly space several fronts at the same time, I find it easiest (if possible) to lay the project on it’s back to let gravity help you hold the pieces in place while you position them.
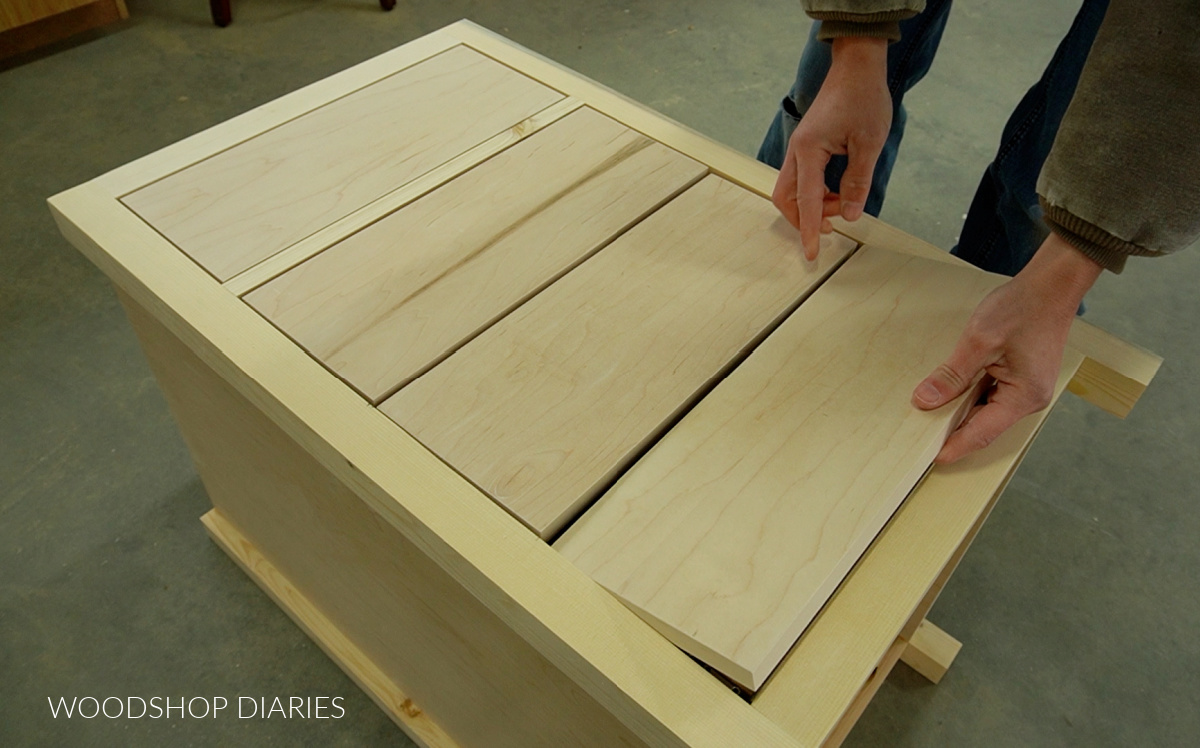
This way, you can lay out all the drawer fronts at once and still access the inside to drive the screws. Secure the top drawer front, carefully remove it, and repeat working your way down.
This is the way you see me installing most of my drawer fronts. There’s really no science to it–just eyeball the spacing, hold in place, and screw in.
Method #2: Pilot Holes or Mounting Tape
This method is really effective and works well for both inset and overlay drawer fronts, too.
For this method, you need to go ahead and drill the pilot holes for the knobs or handles you’re planning to add to your drawer. Measure, mark and drill the holes into the drawer front.
Then, position the fronts where you want them and use screws through these holes to temporarily “tack” them in place.
Double check the spacing and alignment, then, drive screws from the inside to permanently secure the drawer fronts. At that point, you can remove the screws through the pilot holes on the front.
This is a great way to help you get your fronts in position and now you already have your pilot holes predrilled for your hardware.
ALTERNATIVE METHOD: Double sided mounting tape
Apply this same concept, but without screws. If you wanted to skip the pilot holes and screws, you can also use double sided mounting tape to temporarily hold your fronts in position while you drive the permanent screws through the inside.
Method #3: Use a Drawer Front Mounting Jig
Another way of installing drawer fronts involves using a drawer front mounting jig. In this case, I’m using the Kreg Drawer Front Mounting Jig.
This jig includes shims to help with installing inset drawer fronts. However, the jig itself is designed to work only with overlay drawer fronts.
For installing new drawer fronts on new projects using a jig like this, it’s best to start at the bottom and work your way up. That way, you can rest the shims on the drawer front below and let gravity help you out a little.
However, I didn’t have a new project at the moment to demonstrate this on, so I’m going to reinstall one of my workshop cabinet drawer fronts to demonstrate how this jig works.
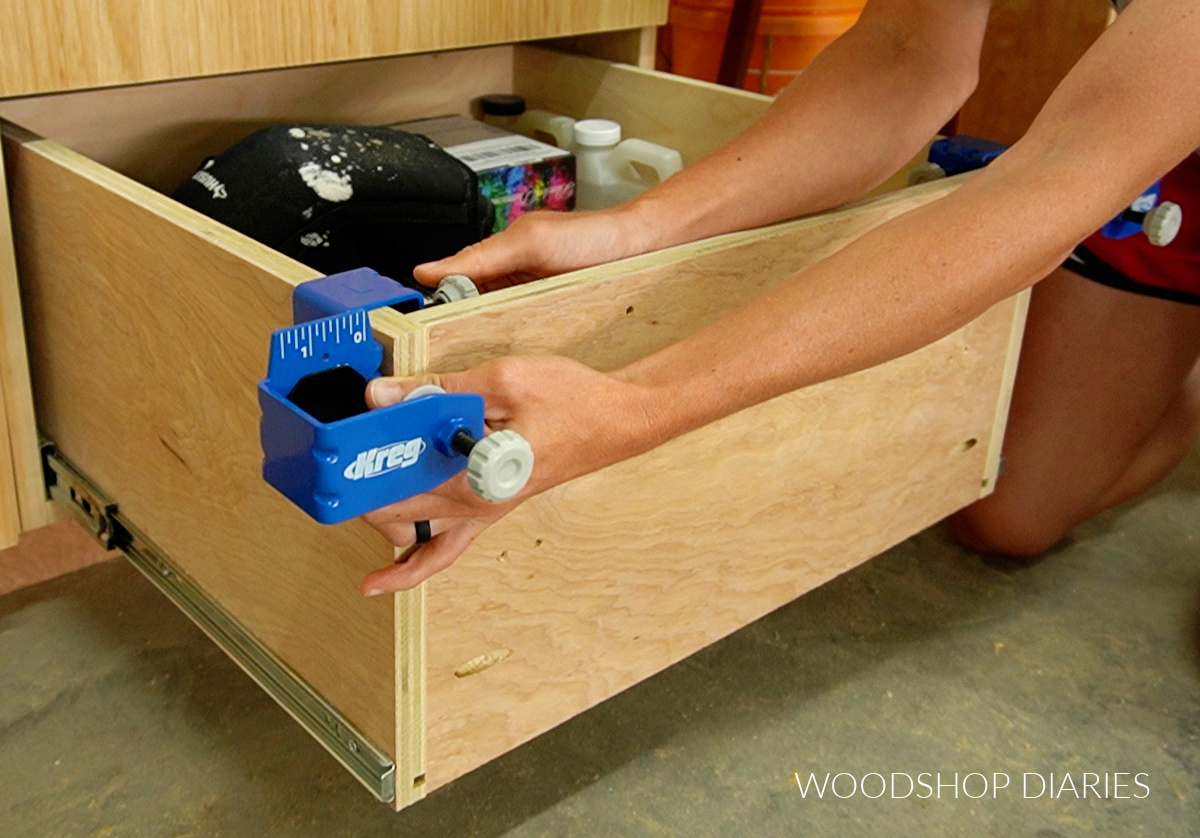
First, tighten the left and right parts of the jig on the left and right sides of the drawer box like shown above. Note that each part of the jig has two clamps–one clamps to the drawer box and one clamps to the drawer front.
Once the clamps are tight on the drawer box, you can slide the drawer front in. You’ll notice the jigs have a gauge on each side to help you get the proper overlay.
I pulled the drawer above it out (normally, you’d be working from bottom to top, so you’d pull the drawer out below it) and used the shims included with the jig to position the drawer fronts ⅛″ apart.
Then, I tightened the clamps on the front of the jigs to hold the drawer front in place.
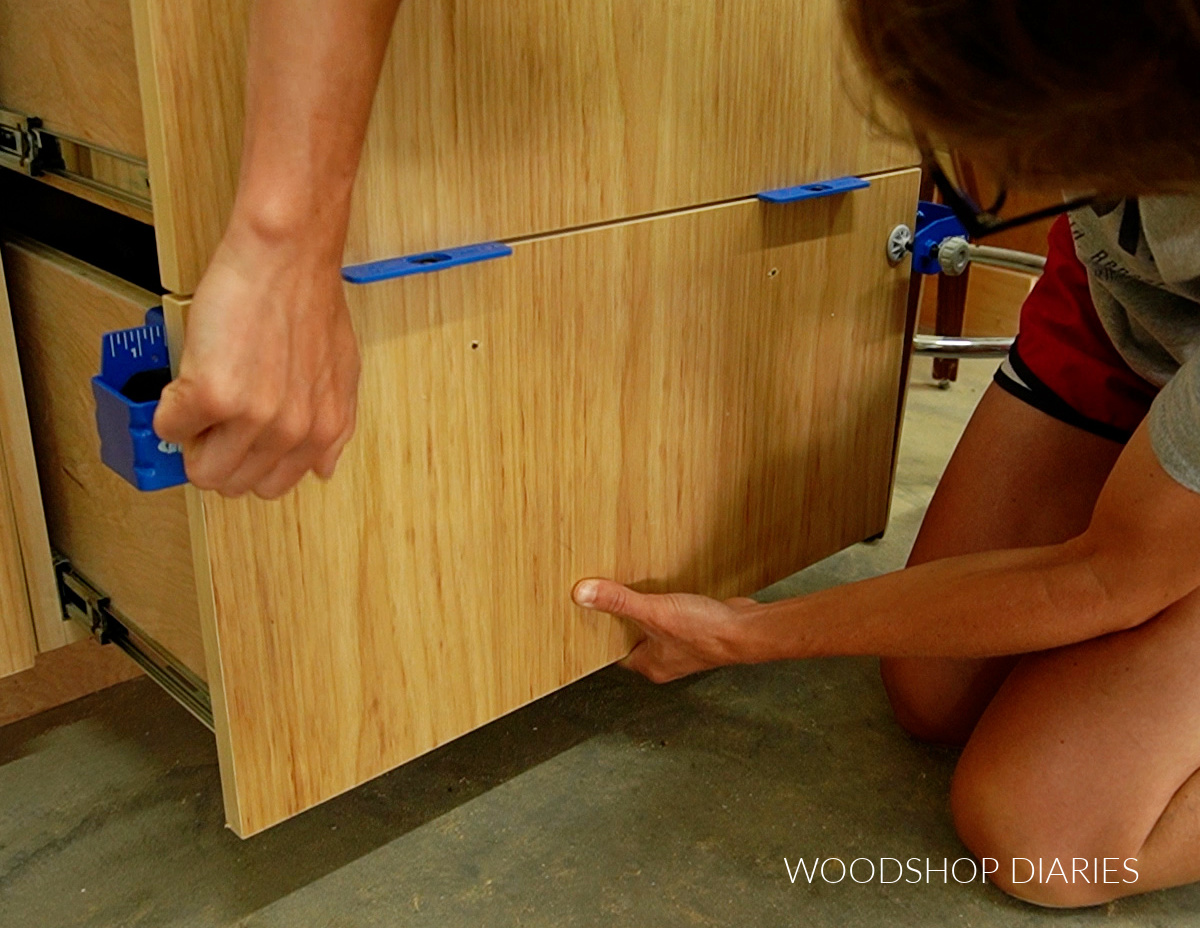
Now that the front is clamped in place, you can simply drive the screws to secure it from the inside. If you’re working with multiple drawer fronts, you’d just continue working your way up (or down) to attach each one.
Looking for practice working with drawers?
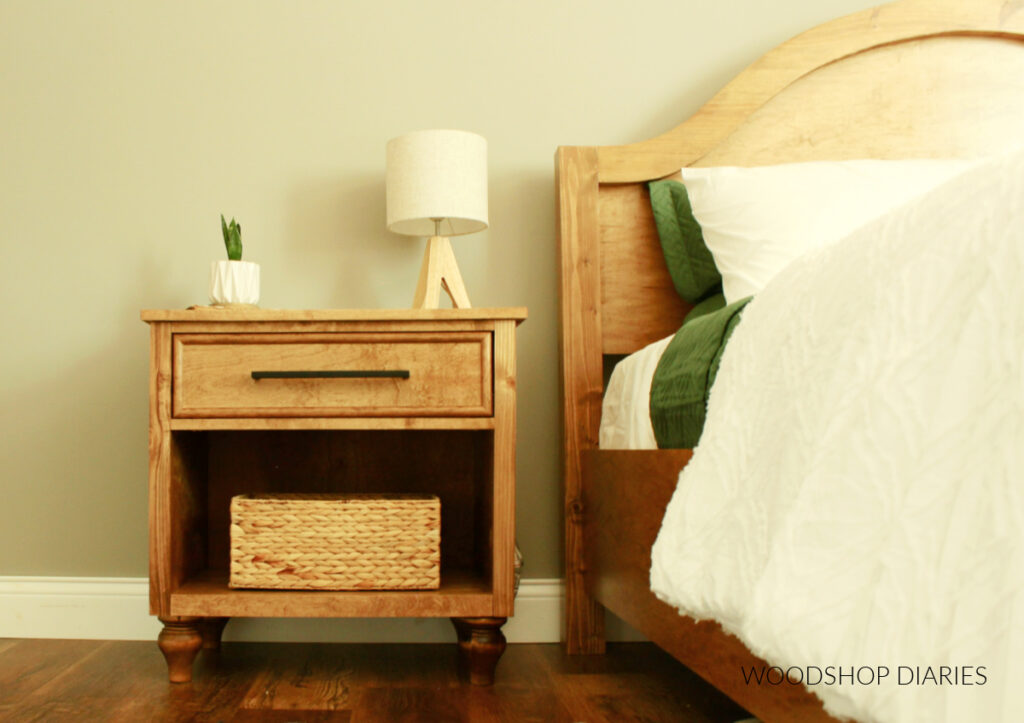
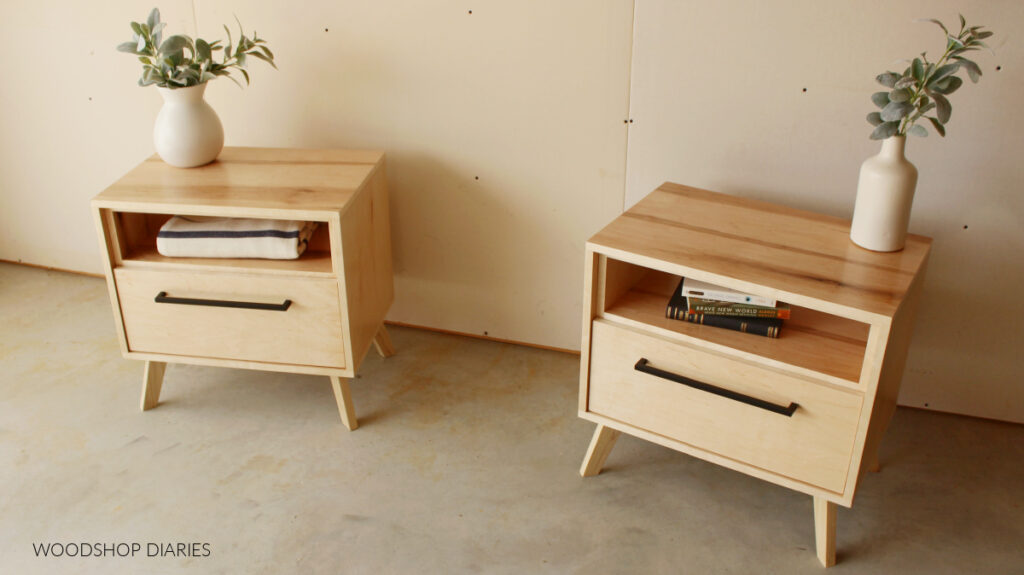
Now that you know how to install drawer fronts, you’re ready to tackle a new project with drawers!
Want a printable guide to take with you to the shop? Grab the complete drawer building guide printable here.
If you’re looking for some simply projects to start with, here are a few favorites!


Save this guide for later by pinning it or sharing to your favorite social channel!
Until next time, friends, happy building!