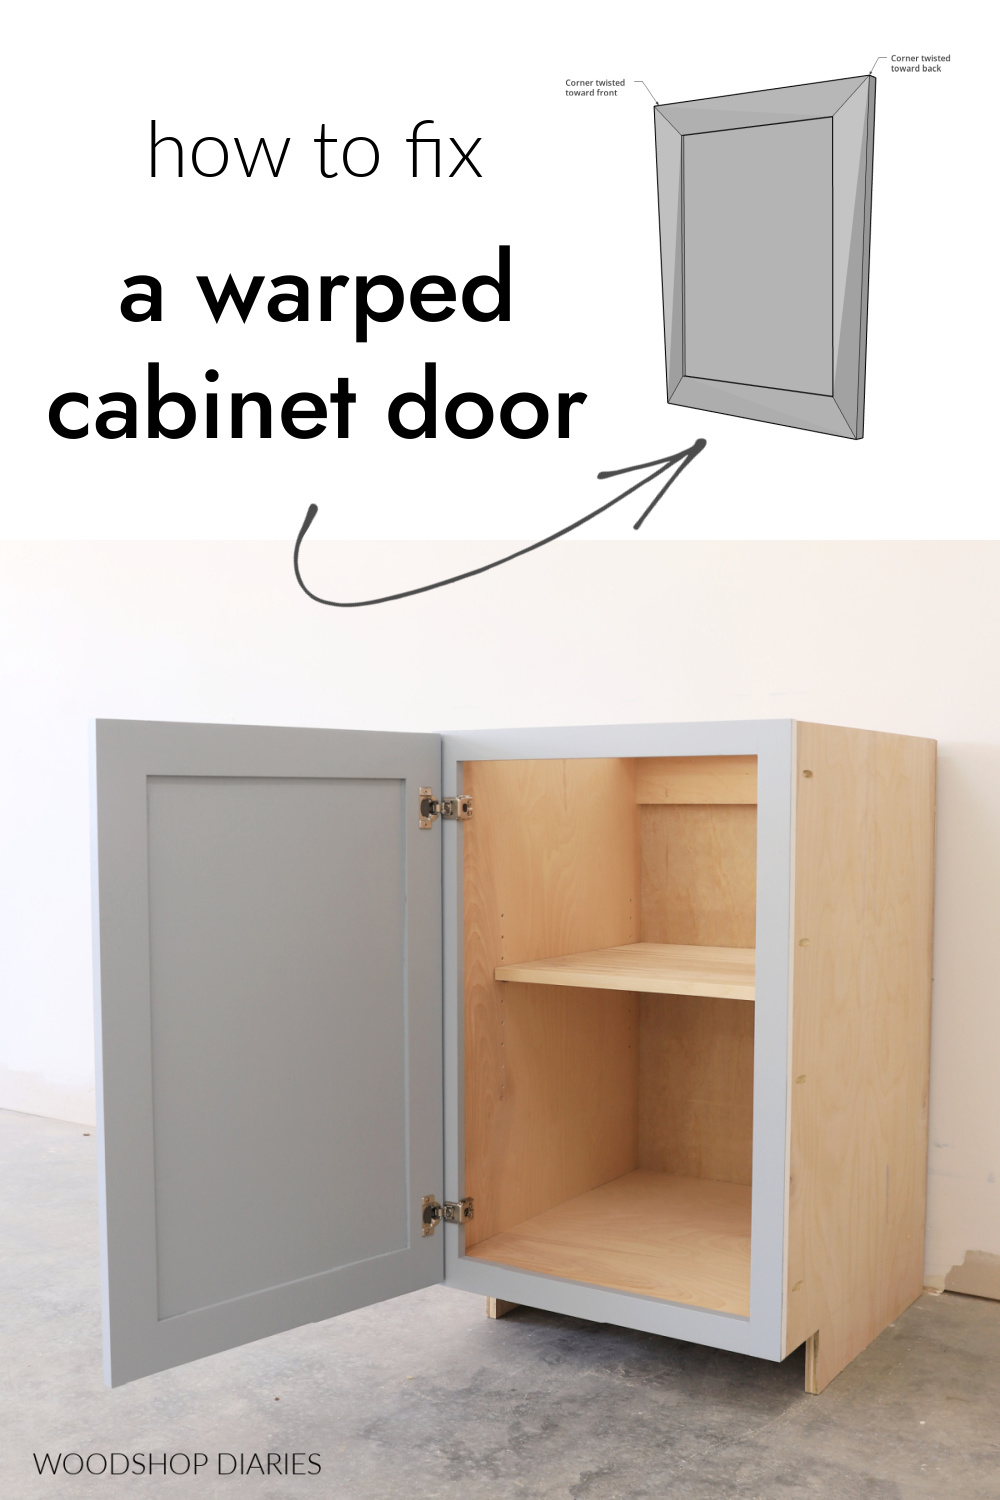
In this post, I’m sharing 5 ways to fix a warped cabinet or furniture door without having to replace it.
One of the most challenging things about building cabinet and furniture doors is their tendency to twist and warp.
They can develop the warp during the assembly process due to the way the pieces are clamped together.
Or they can develop the warp after the assembly process due to the way it’s finished and/or the moisture content in the air.
No matter when or how the warp developed, it can be annoying to deal with if your door won’t lay flat in your project.
So in this post, I’m sharing 5 ways to deal with a warped cabinet or furniture door plus some tips on how to prevent them in the first place.
*This post contains affiliate links. See website policies.
Types of Warped Cabinet Doors
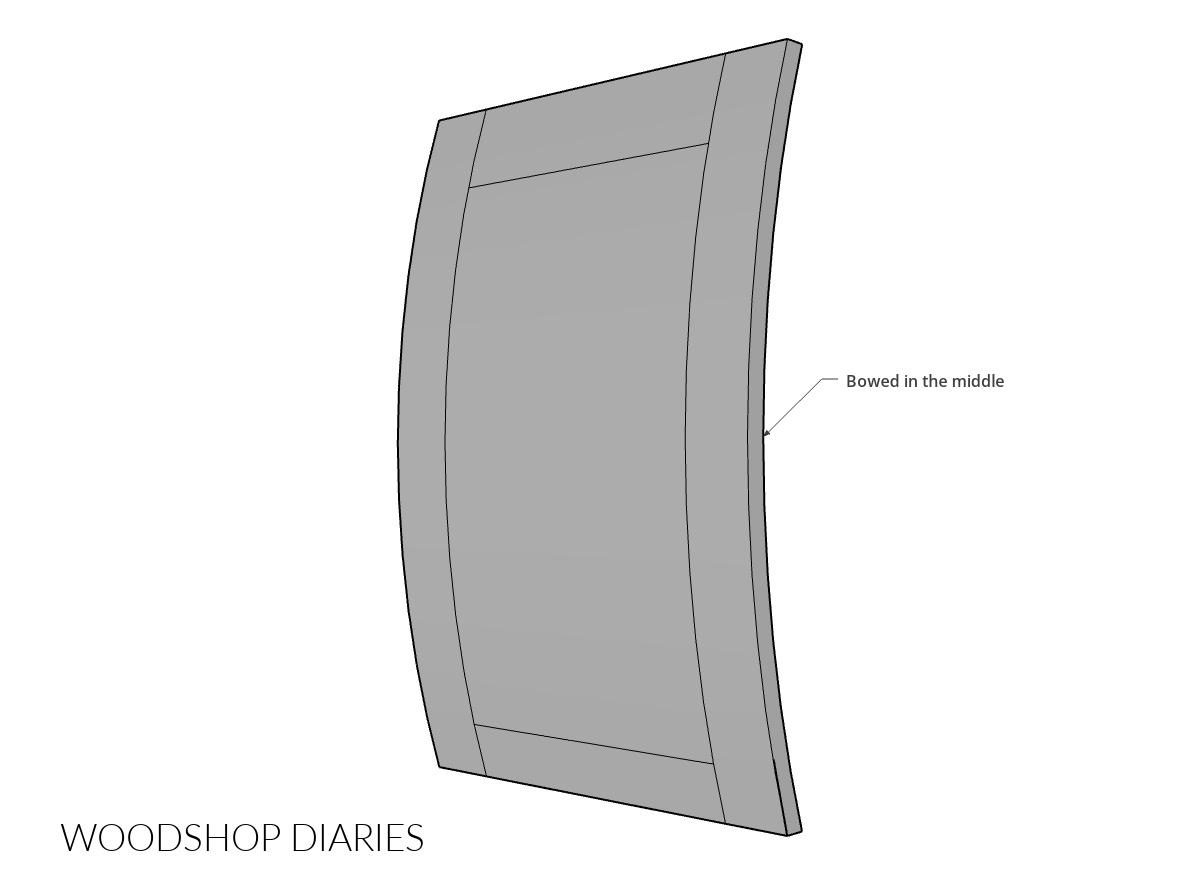
First, let’s identify the difference between a bow and a twist. Either of these can be considered a “warp.”
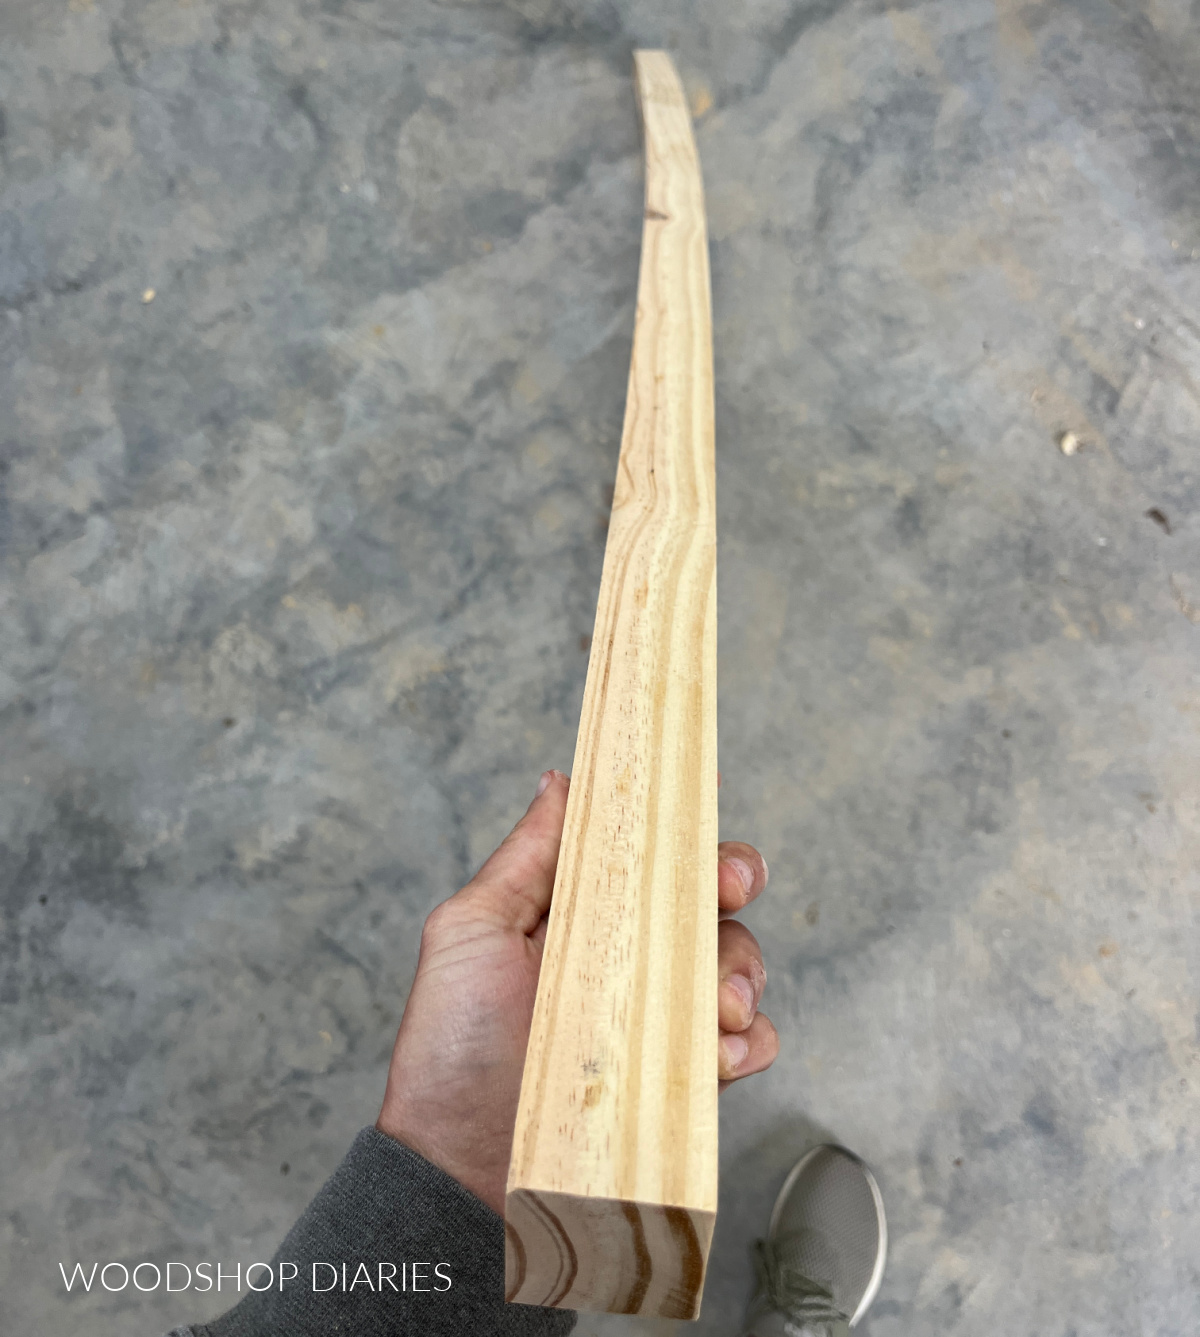
A bow is when the door has a hump in it–like it’s curved. This is usually caused by the board(s) or panel already being bowed before assembly.
A twist is when the door is literally twisted. Two opposite corners are “twisted forward” while the other two opposite corners are “twisted back”.
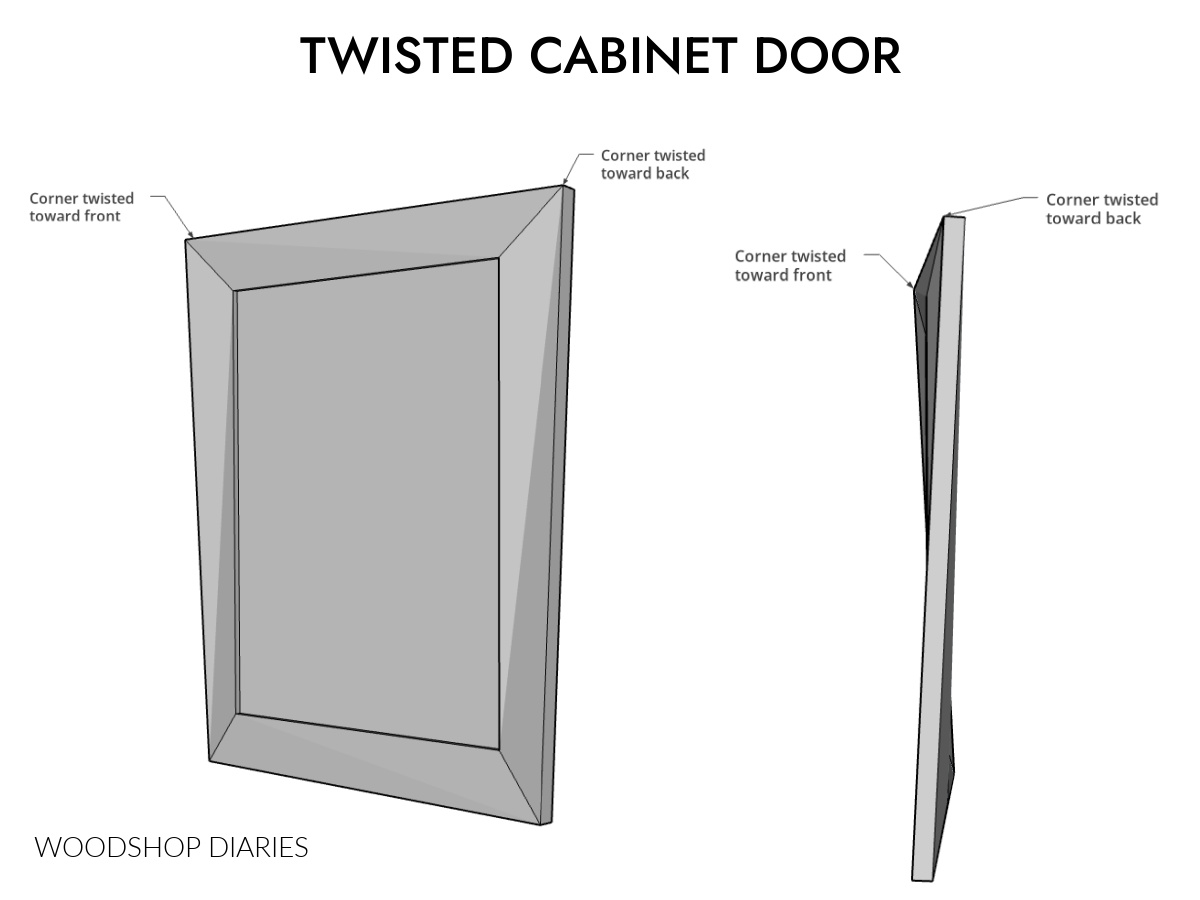
A twist could have occurred for many reasons and is one of the most common issues with cabinet doors.
Are DIY projects your thing? Sign up for our newsletter for priority access to the latest projects and build plans!
5 Ways to Fix a Warped Cabinet Door
This post is focused on fixing already warped doors, so I’ll share some remedies first.
But at the end, I’ll also share some tips to prevent cabinet door warps in the first place so you can avoid having to fix them on your future projects.
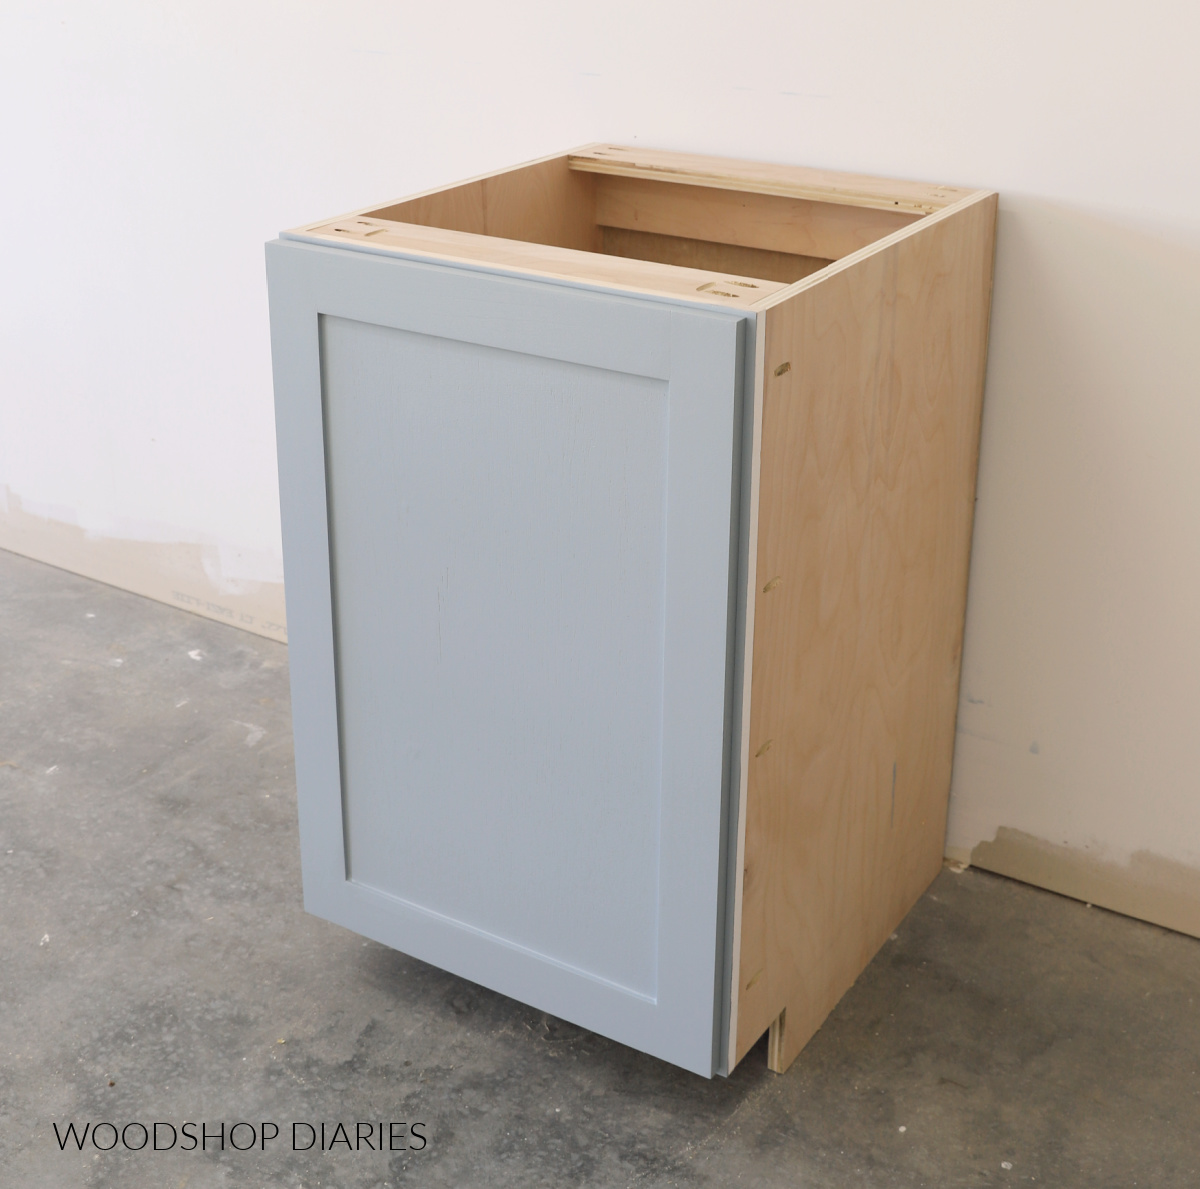
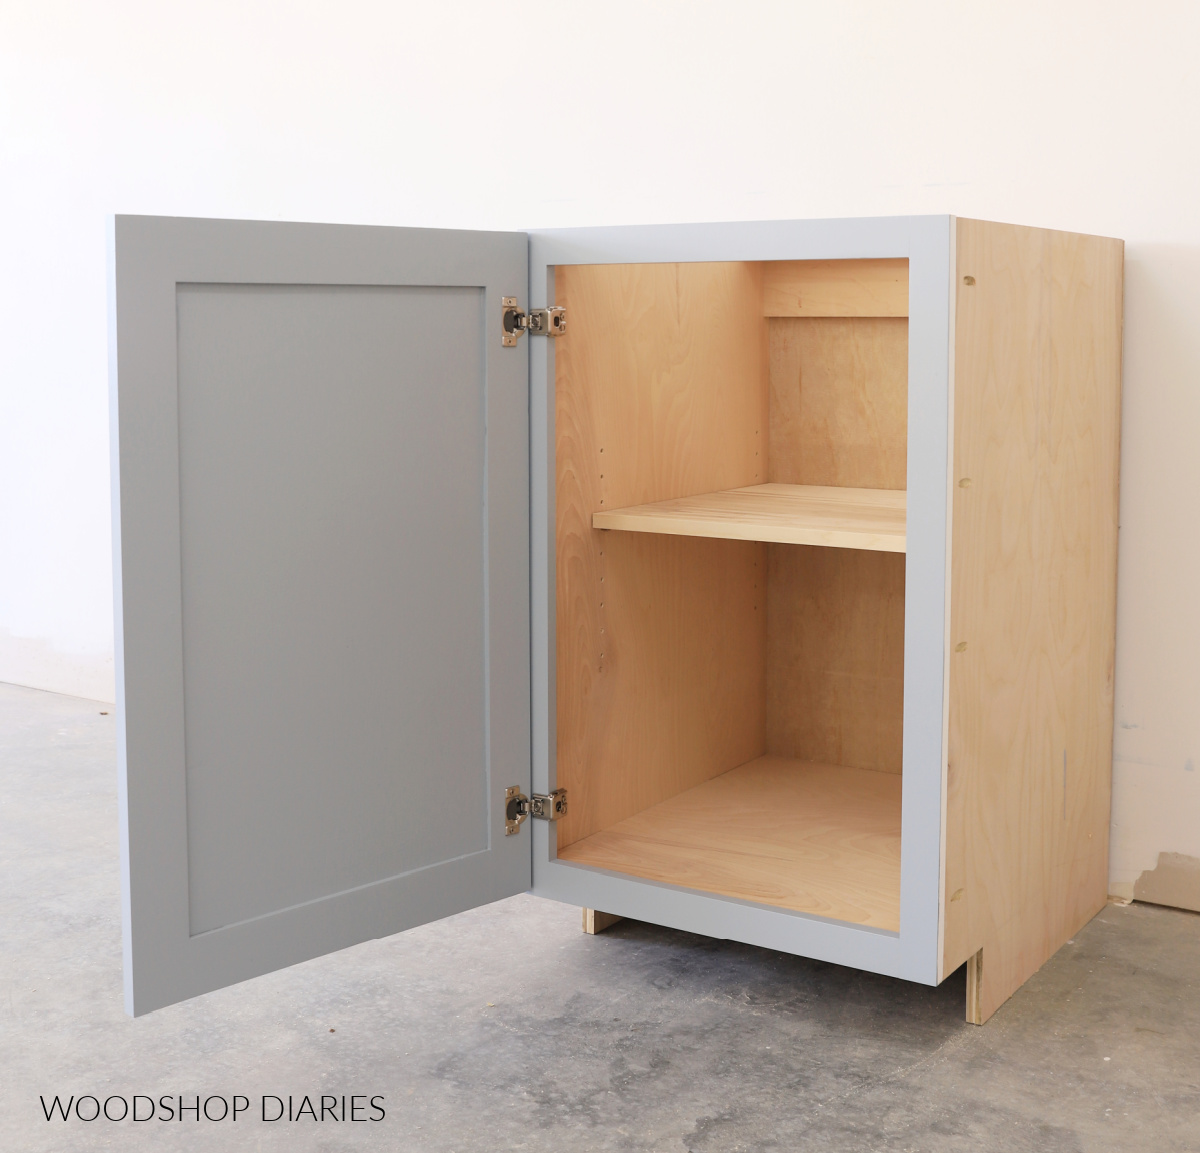
Fix #1: Adjust Cabinet Door Hinges
I always recommend this option first as it’s the easiest, least invasive, and will fix most minor issues.
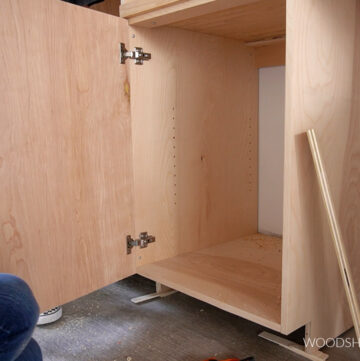
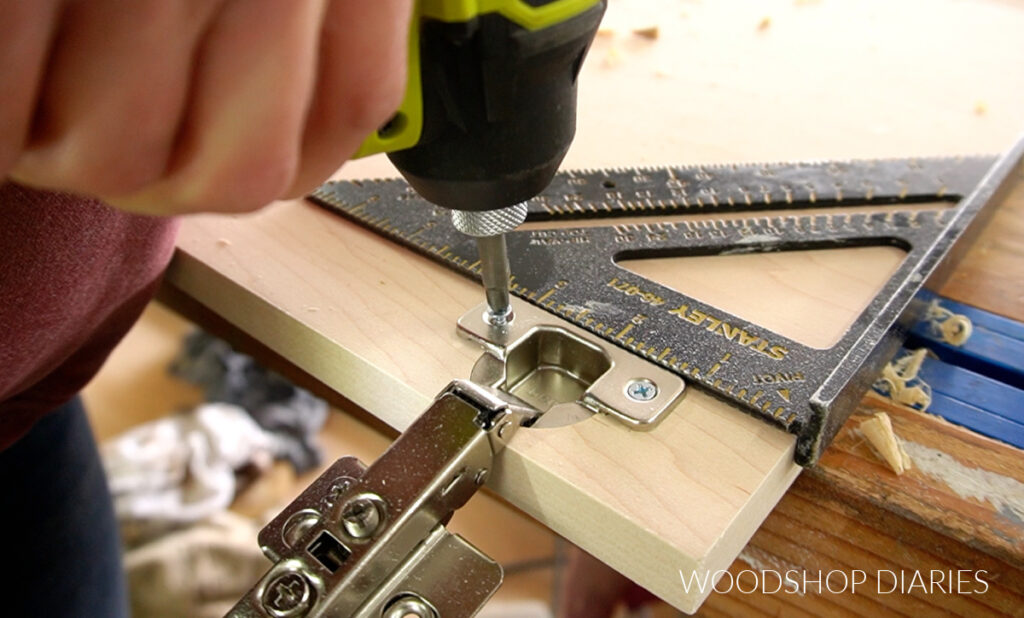
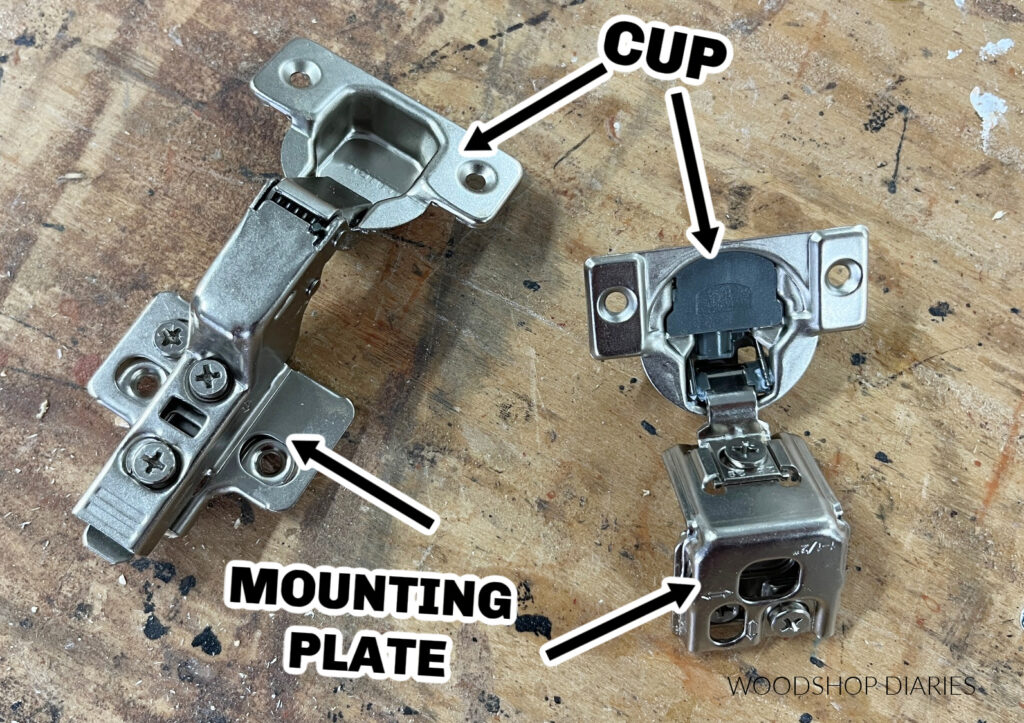
Check to see what type of hinges your cabinet door is hung with. Hopefully, it’s a concealed hinge that looks something like this:
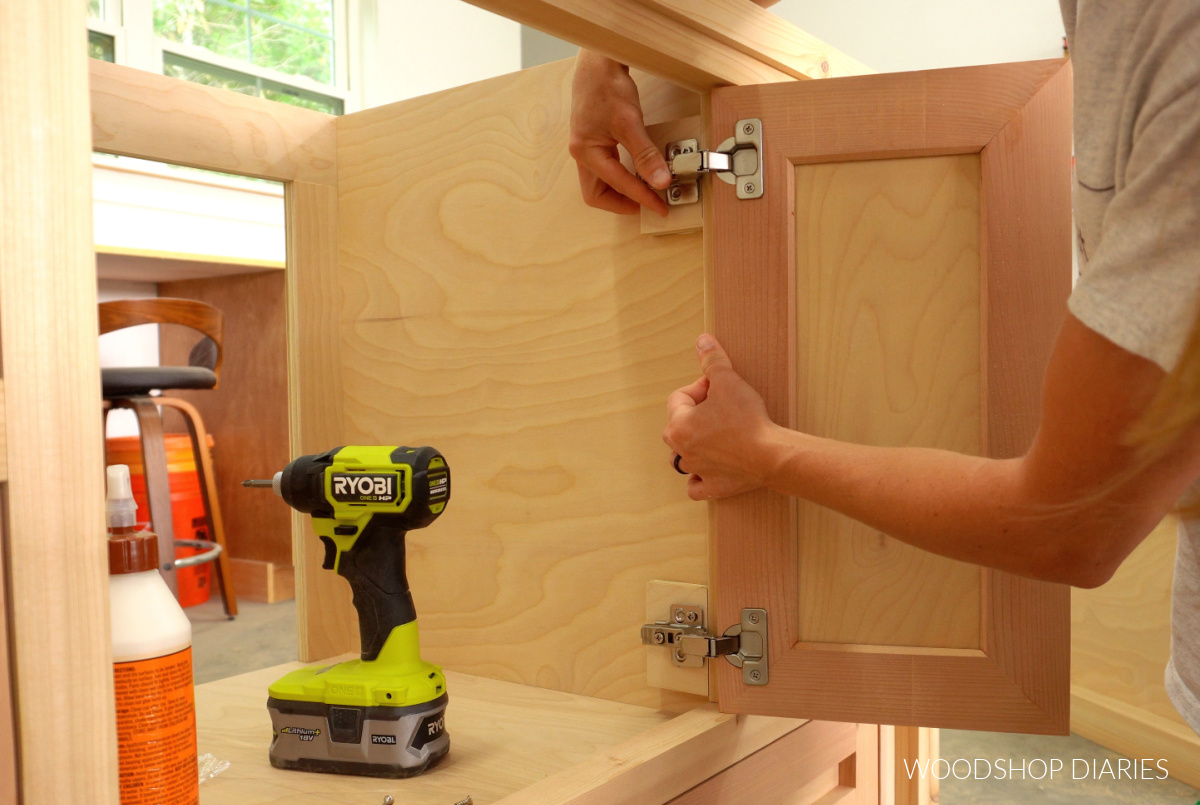
Most modern cabinet and furniture pieces use these types hinges for hanging doors. They’re a very common style.
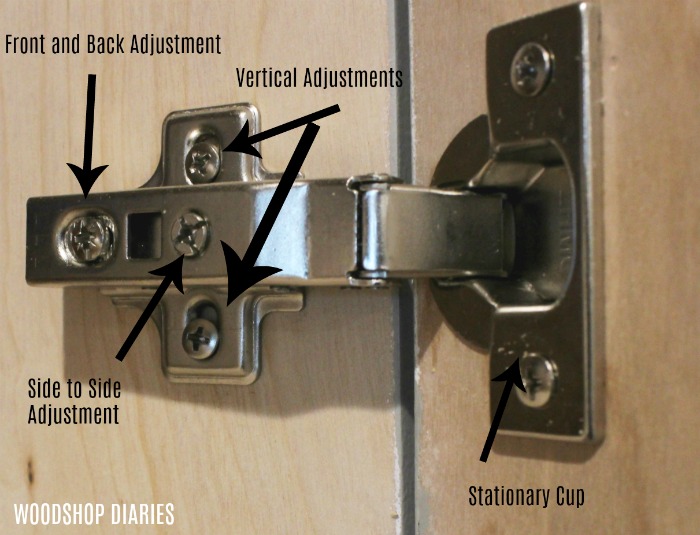
Concealed hinges have adjustment screws that allow you to adjust the door in all three directions–up/down, left/right, front/back.
There are different styles and brands of concealed hinges, so these adjustment screws aren’t always in the same place on every hinge. But here’s an example:
RELATED: Learn more about the different types of concealed hinges here.
If you’re not sure which screws move in which direction, use a screwdriver and start slowly turning the different screws to see how the door moves.
Check out this quick video for a demonstration!
Once you’ve got a feel for how to adjust the hinges, you can adjust as needed to help compensate for the warp.
For example, if the door is twisted, you can adjust the bottom hinge to pull the door closer to the cabinet and adjust the top hinge to push the door further out. Or vice versa depending on which way the door is twisted.
This adjustment basically transfers the warp to the hinge side of the door, which may be less noticeable.
If the door is bowed, you can consider adding another hinge to the middle of the door that can help pull or push the bowed part in line with the rest of the door.
Fix #2: Install Magnetic Catch
If adjusting the hinges isn’t working, adding a magnetic catch is another simple solution that will work in most cases.
You can find inexpensive magnetic catches or stops in many shapes, styles, colors and sizes, and they’re usually about $1 at my local big box or hardware store.
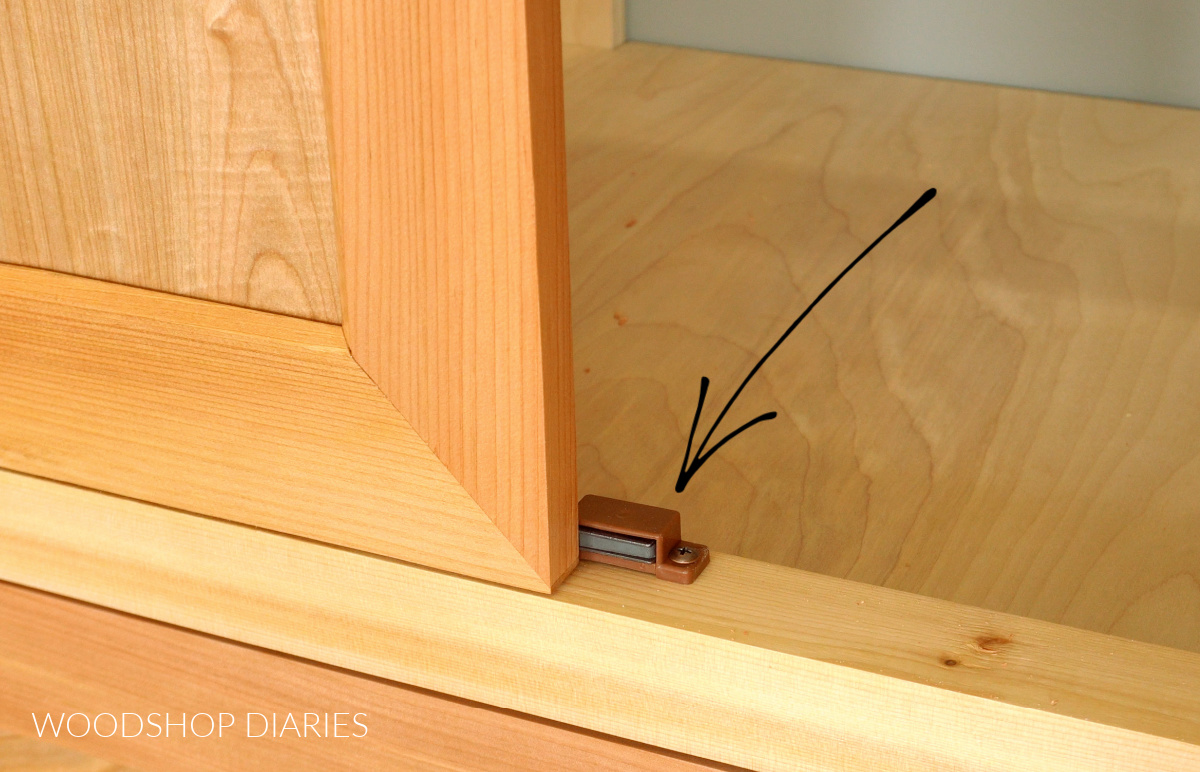
Magnetic catches work by attaching the small metal plate (included with the catch) to the back side of the door. Then you install the magnet part inside your cabinet.
So when the door is shut, the magnet attracts the metal plate to pull the door tight.
If your door is twisted and one corner sticks out, install the magnetic catch behind that corner so that when the door is shut, it pulls the warped corner flat.
If your door is bowed outward, you can install the catch behind the middle section of the door that needs to be pulled flat.
If regular strength catches don’t have enough holding power to keep your door in place, you can try extra strength catches like these.
TIP: If the door is inset and you pull one corner in, it may pull the other corner in, too. If that’s the case, you can install a stop block behind the “good corner” so when you pull the “bad corner” in, it flattens out.
Fix #3: Sand the Door
Sanding the door CAN work on minor warps, but if the door is already finished, it will need to be refinished if you start sanding on it.
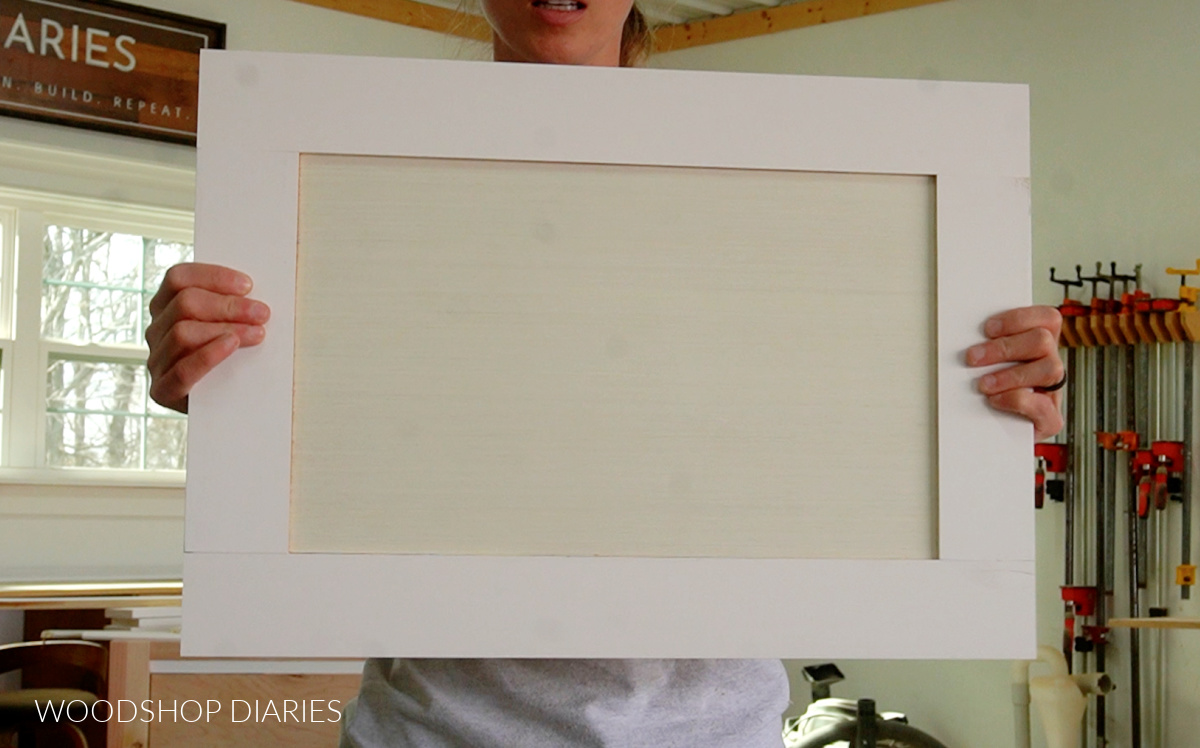
How to sand will depend on what kind of door it is (inset vs overlay) or if the door is plywood.
Avoid trying to sand down plywood doors as the veneers are very thin. You’ll likely sand through them trying to “re shape” it.
However, for solid doors, you can sand some areas to get the door to lay flat (or at least appear flat).
You’ll be able to remove material more quickly with lower sandpaper grits (like 80 or 100), but you’ll need to work your way back up to smooth it back out before finishing.
RELATED: How to sand wood
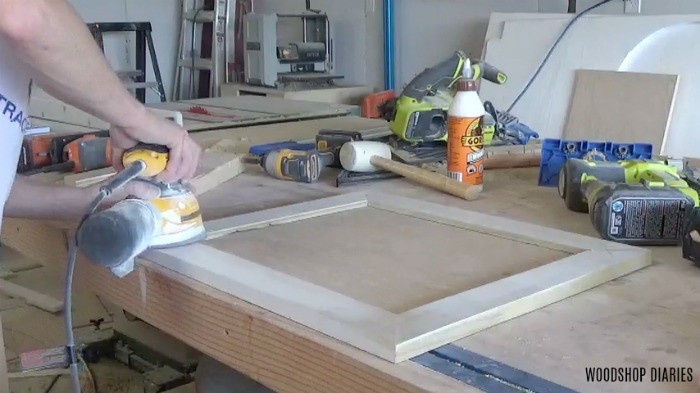
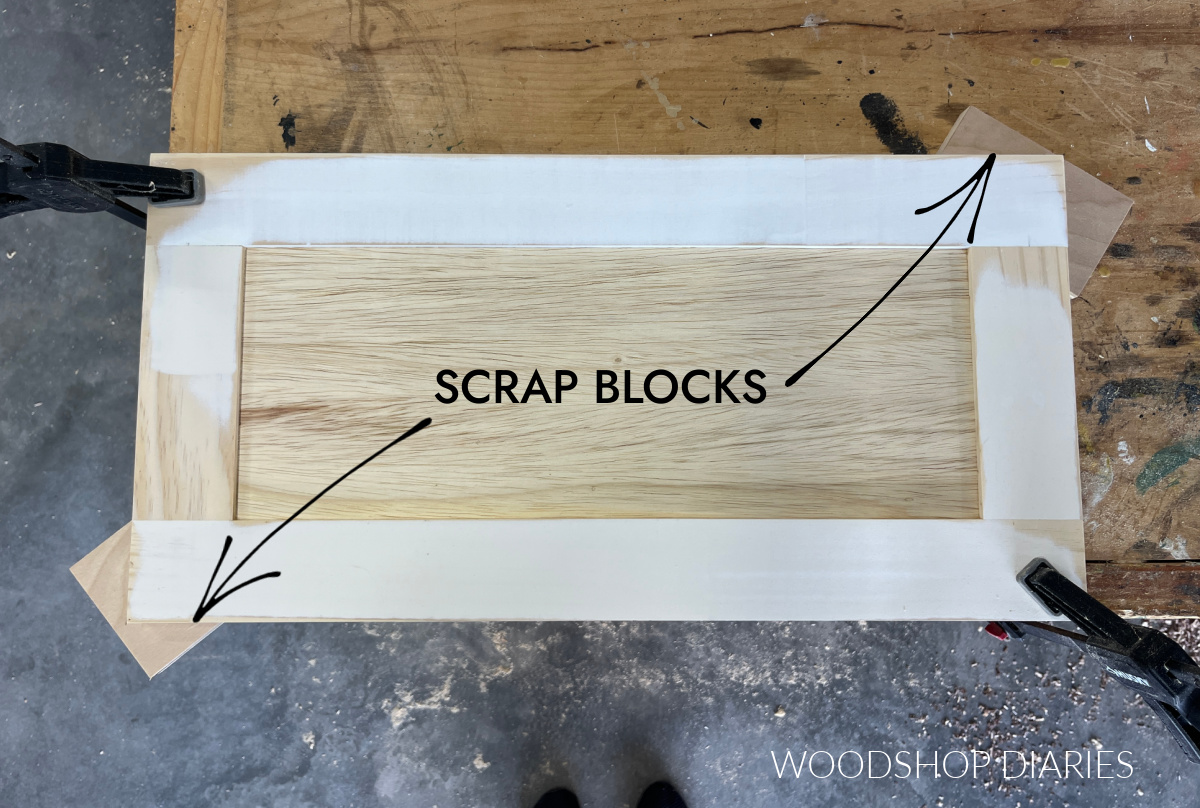
Fix #4: “Reverse Warp” by Counter Clamping
Another option is to essentially clamp or position the door in a reverse warped position for an extended period of time to help even it out.
Unlike the last three fixes, this option can help reverse the warp of the door vs hide it. Sometimes it works, sometimes it doesn’t. So don’t get your hopes too high, but it’s worth trying.
To do this, CAREFULLY clamp the door in a way that it bends or twists the door in the opposite direction as it is currently warped.
For example, you could place a couple scrap blocks under opposite corners and use clamps to pull down the other two corners to bend it slightly.
If you don’t have a good way to clamp your corners down, you could also use a weight to help pull them down.
Additionally, you can use a hairdryer at the joints to heat and loosen the pieces a little. Leave the door clamped for at least a day or two–longer if you can stand it.
After you remove the door from the clamps, check to see if it’s flattened out any. If not, you can try again with more heat and stronger pressure.
Fix #5: Install a Cleat
If all else fails, you could also try adding a permanent cleat to the back side of the door.
Essentially, this is just adding a brace across the door on the back side. It attaches with a screw to the two twisted corners to help pull them flat.
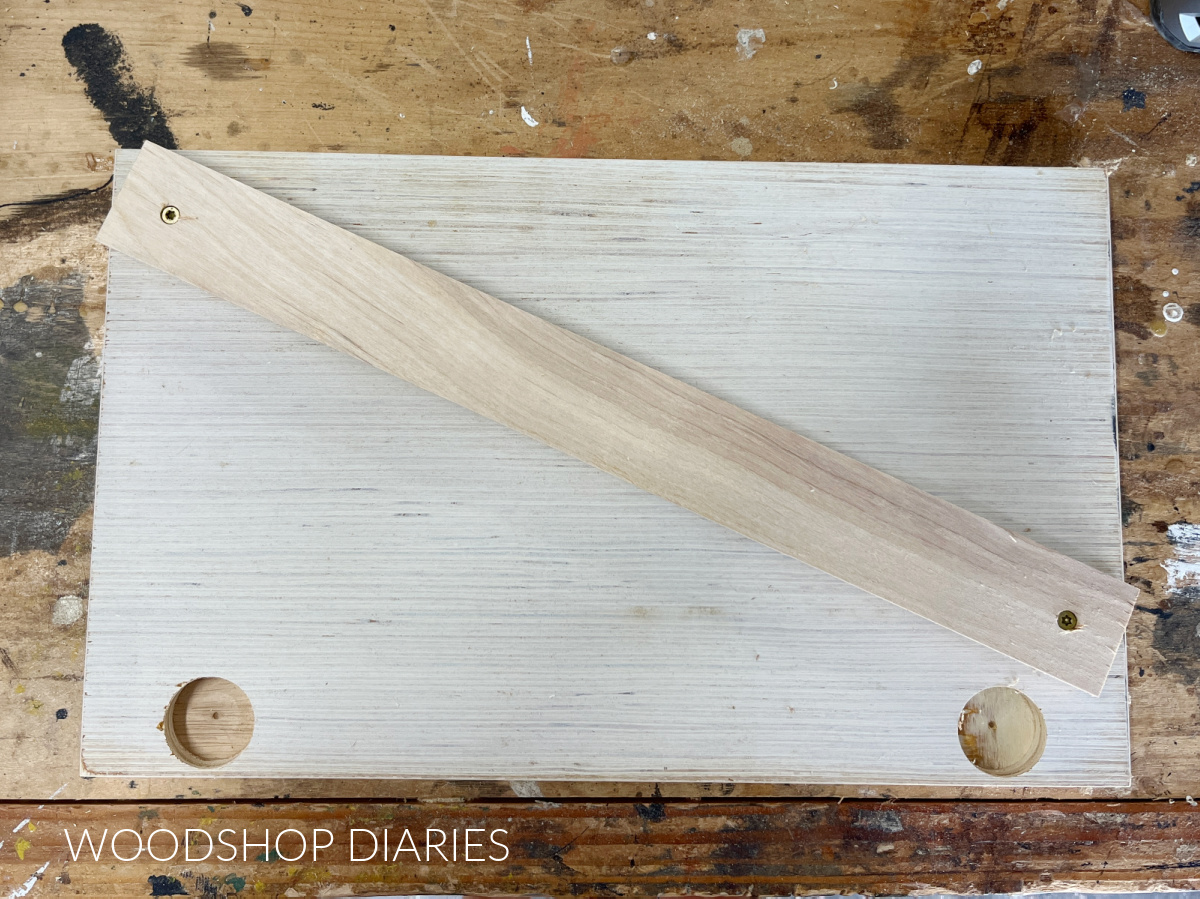
You can use a 1×2 or 1×3 as this cleat. Or even a strip of ¾″ plywood. You want it to be strong/thick enough to be able to pull the warp out (instead of just bending with it).
Just make sure to position the cleat so that it won’t interfere with the hinges and/or the cabinet framing so it can still open and close properly.
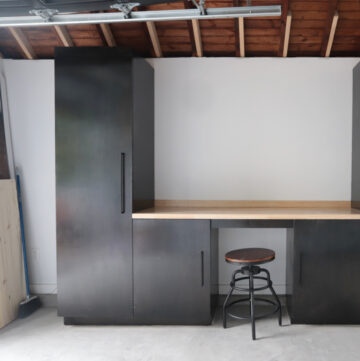
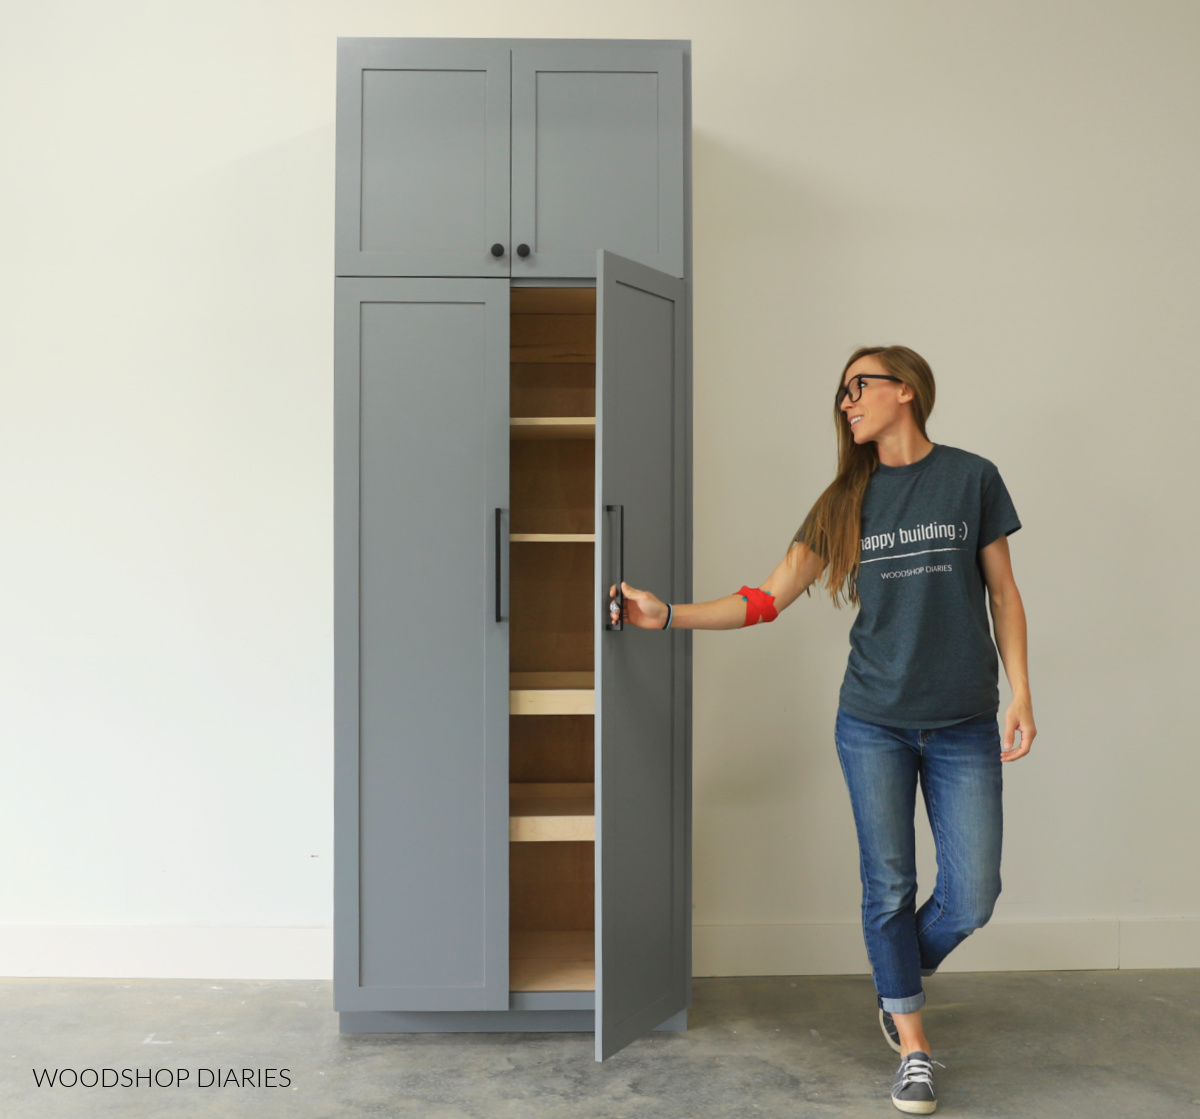
This method isn’t ideal since you can see it when you open the door. But it can work well, especially if it’s on a door in a garage or workshop where you don’t mind seeing it.
Tips to Preventing Cabinet Door Warps
While fixing a warped door is possible, it’s always ideal to prevent a warped door in the first place.
Here are a few simple tips to help prevent building a warped door for your DIY cabinet and furniture projects.
Examine material carefully
This one seems pretty obvious, but before building your doors, make sure the wood you’re using is good quality, and as flat/straight as possible.
If you build a door using wood with bows and twists, don’t be surprised if your door is bowed and twisted.
Learn how to shop for and inspect wood here.
A note about plywood: I use ¾″ plywood for my cabinet doors quite often and I’ve found if it’s flat to start, it rarely warps once it’s hung (even on huge doors like on my workshop cabinets!). But if it’s warped to start, it’s hard to flatten back out.
So double check your material–especially plywood. And avoid using warped, bowed, or poor quality lumber to build your doors.
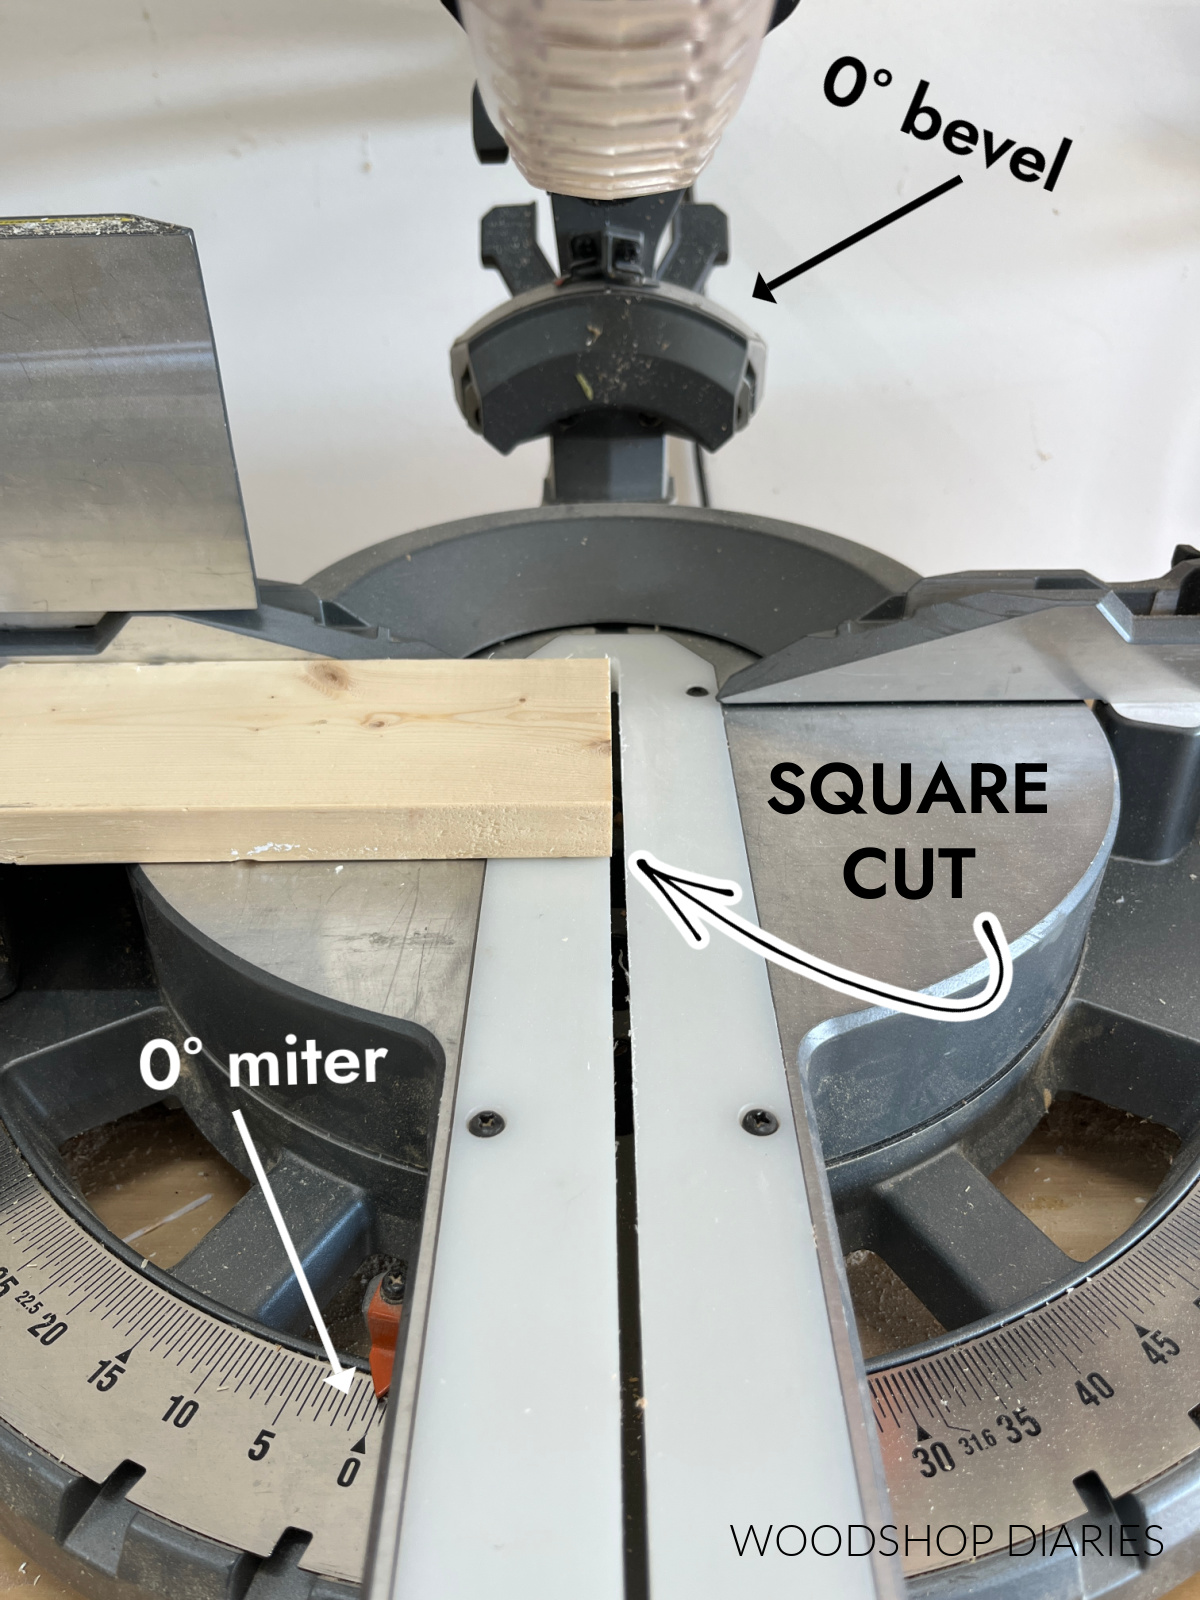
Make sure cuts are square
It’s not enough to have the straightest boards, though. If your boards are perfect, but your cuts are not, you can still easily end up with warped doors.
Double check that your saw is cutting square–not just on the miter, but also on the bevel. Even a slight bevel can cause a warp in a door frame, especially on a large door.
Pay attention when clamping
When clamping up a door frame, be careful to pay attention that the door is clamped up flat.
Don’t place the clamps on an uneven surface where they may be twisting the door. Make sure the pieces are flat in the clamps. You can use a level across the diagonal of the door to check for flatness.
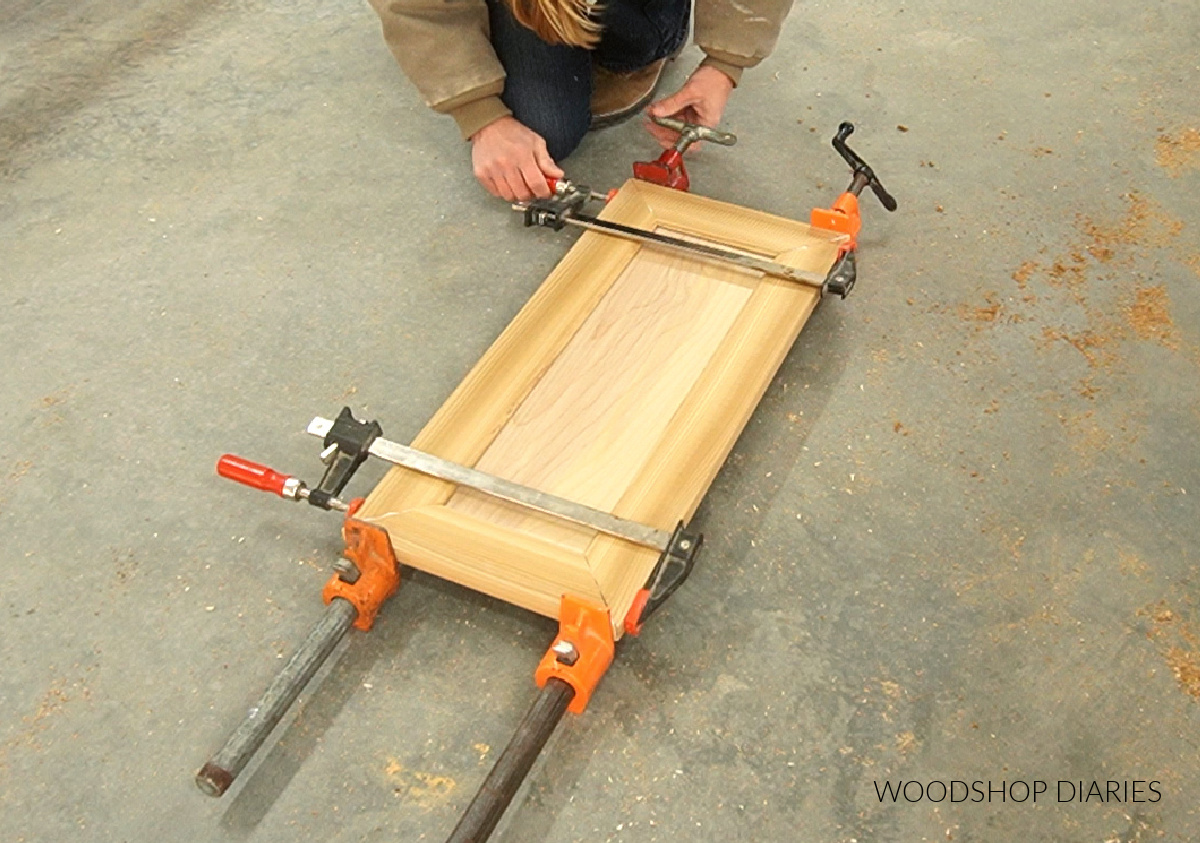
If the door frame is clamped up warped, it will stay warped once the glue dries.
Seal properly
If you’ve built a nice, flat door, you can help keep it flat by properly sealing it. Whether you’re painting, staining or just clear coating your piece, make sure to finish and seal all sides of the door.
Sealing only the front of a door can cause the wood to absorb moisture in the air unevenly. This can cause it to warp even if it was flat at one time.
Looking for more tips on DIY cabinet doors?
If you’re looking for more tips and information on cabinet doors, you might find these posts helpful:
If you enjoyed this article and want to save it for later, don’t forget to pin it or share it to your favorite social channel!
Until next time, friend, happy building!