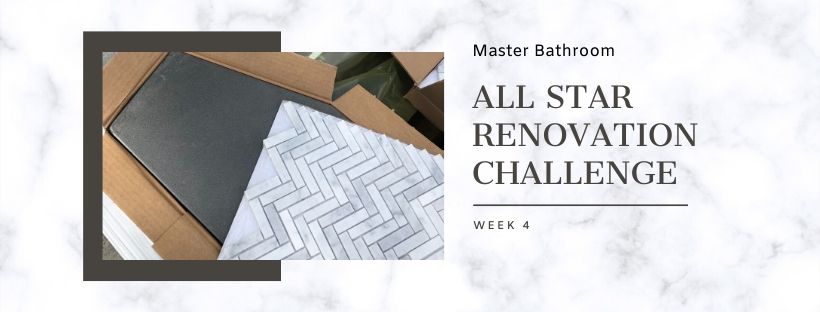
Hey friends! Welcome to Week 4 of the All-Star Renovation Challenge with Jeffrey Court, FrogTape, and Behr Paint! We are talking master bathroom renovation again, and I’m updating you on week FOUR of our progress. This post contains affiliate links. See policies.
If you remember from the last three weeks, these brands challenged several bloggers from past renovation challenges (remember my kitchen renovation???) to take on another renovation challenge as the “All-Stars.” I’m so excited to be included in this group and to share with you the journey as we transform my parents’ master bathroom! Check out all the designers and their spaces here.
Last week began fan voting…the winner of the challenge takes home the grand prize of $5,000 and, of course, bragging rights that they won the ALL STAR Challenge. The winner this time around will be determined solely by fan votes, so I’d be forever grateful if you’d click on over and cast your vote! You can vote once a day until the winner is announced!

So if you missed last weeks update, head over and check that out first. But I’ll give you a quick recap of where we started this week.
.
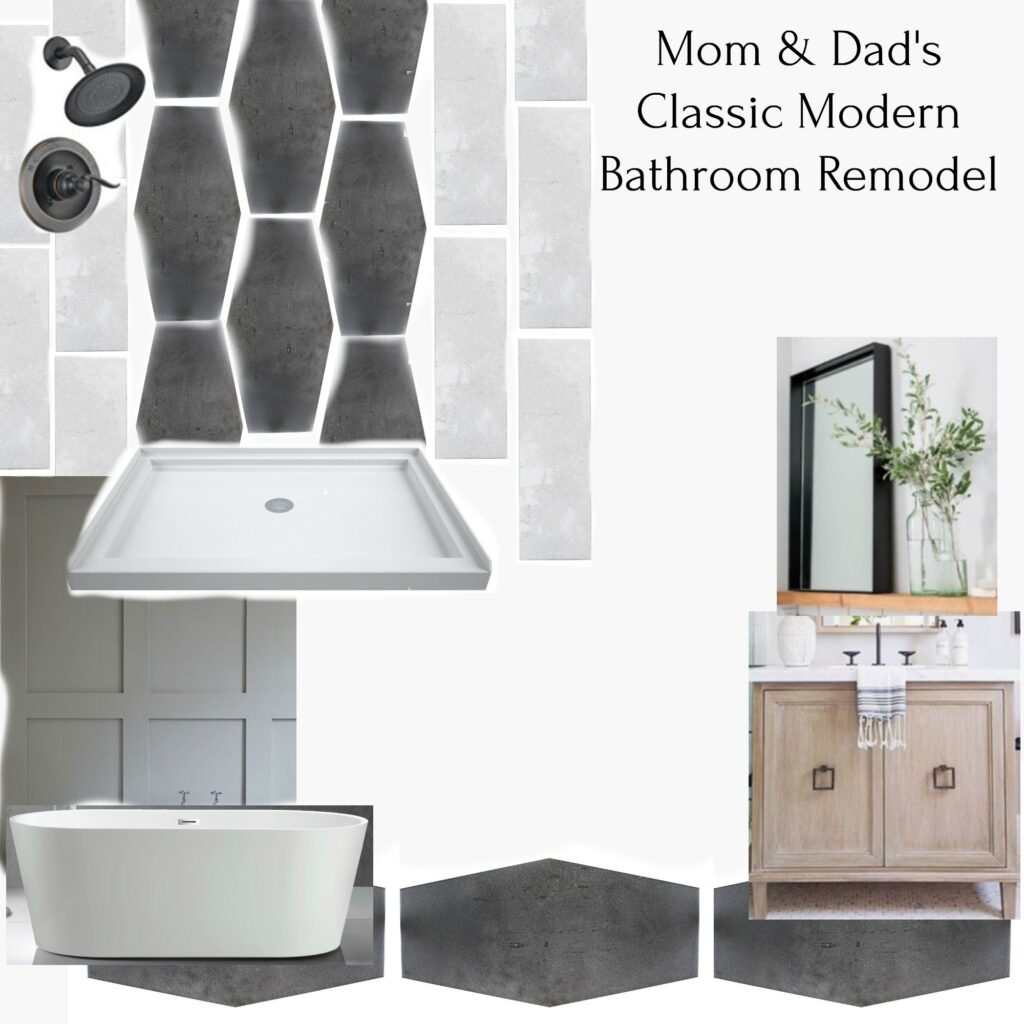
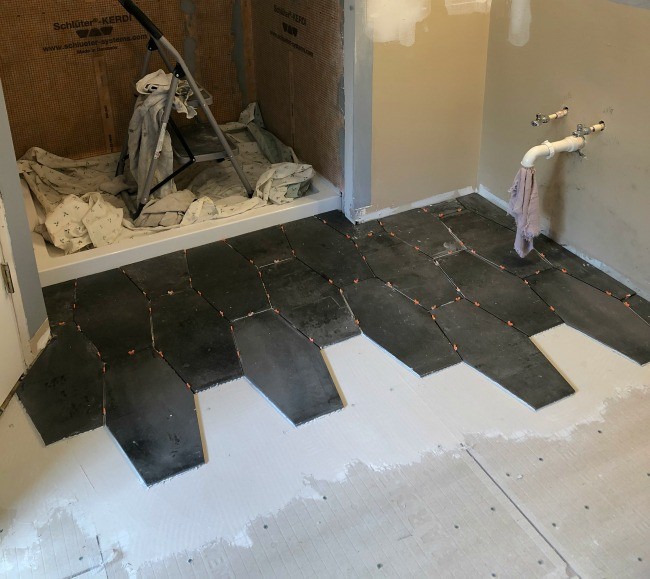
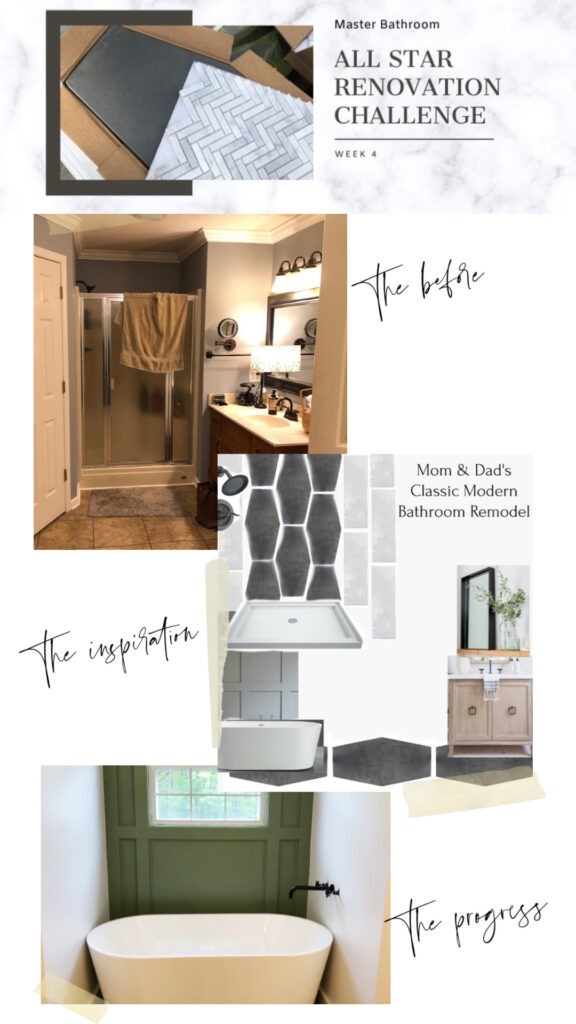
At the end of week two, we had removed everything to the subfloor and taken out the tub and shower stall. We replumbed the shower water supplies and drain and set the shower pan in place. I also prepped the floor and shower for tile, laid the floor tile, and one wall of the shower (we used Jeffrey Court Castlerock Tile). It doesn’t sound like a lot, but trust me…it was a busy first two weeks! There was also some drywall patching in there somewhere, but you get the idea 🙂
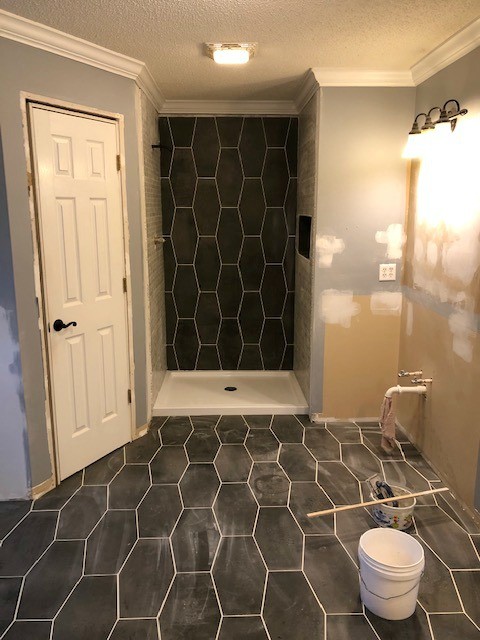
At the end of week three, everything was tiled (we also used Jeffrey Court Jetstream tile on the shower walls), grouted, and trimmed out ready for paint.
.
So we started week four with high hopes, seeing the light at the end of the tunnel and watching things slowly come back together 😊 Here’s what happened in week four:
The Walls Got Paint:
The biggest transformation we saw this week was PAINT. And what a difference the paint made! My parent’s before bathroom was a sky-ish color blue. Once things were demoed, you could see previous shades of tan that the bathroom was originally painted…20+ years ago.
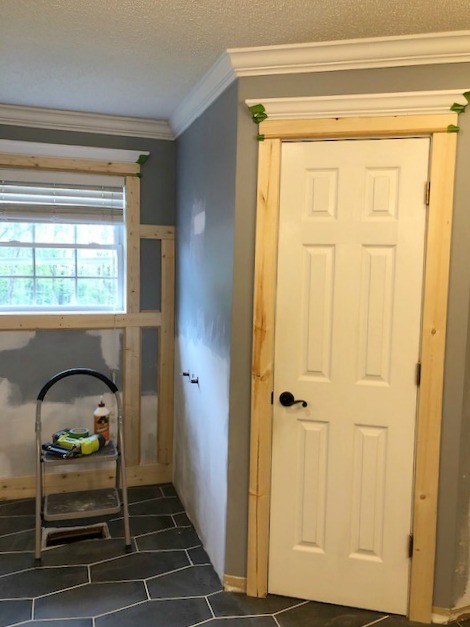
Then, I patched the drywall around where the old garden tub was, so the last few weeks were spent looking at a patchwork of wall colors and it was hard to see how everything was really looking together.
But once the paint was applied, it looked like a real room again!
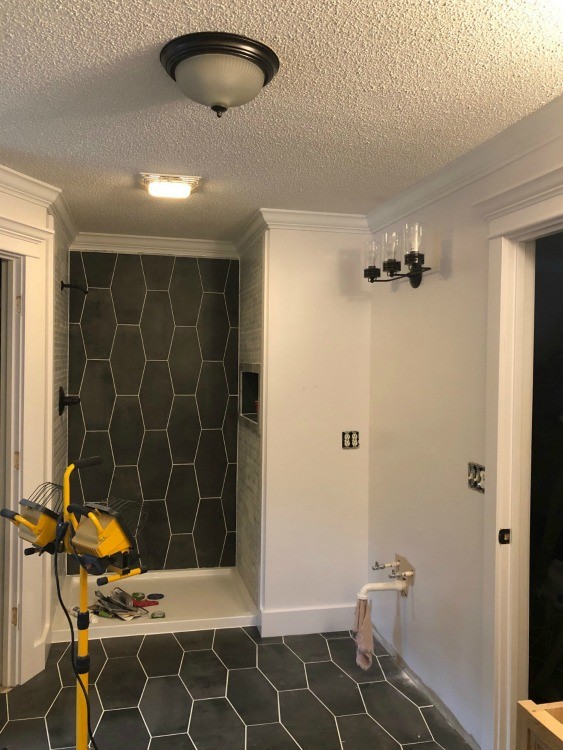
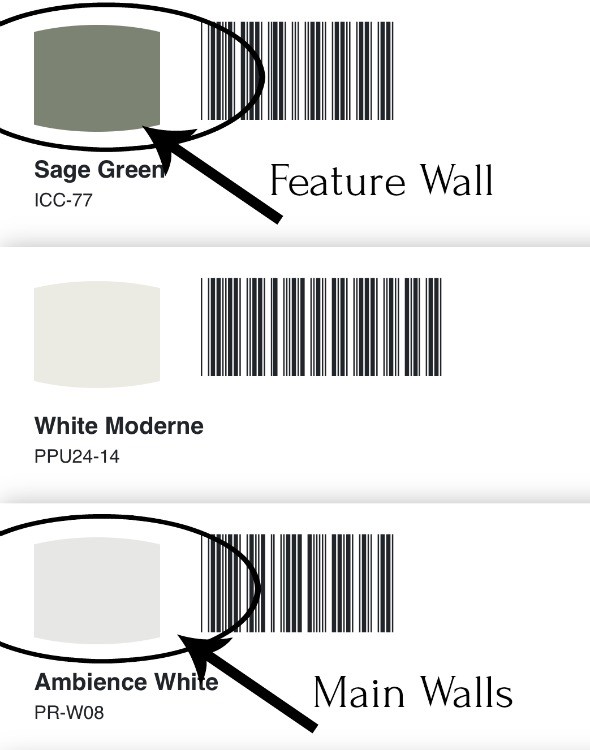
I went with Behr Ambience White for the walls and trim. I hate caulking new trim and being careful to paint the door trim clean around the walls. So I decided since it all needed to be painted anyway, I’d save time and sanity and tape and just paint the trim the same as the walls. I’m happy with my choice 😊
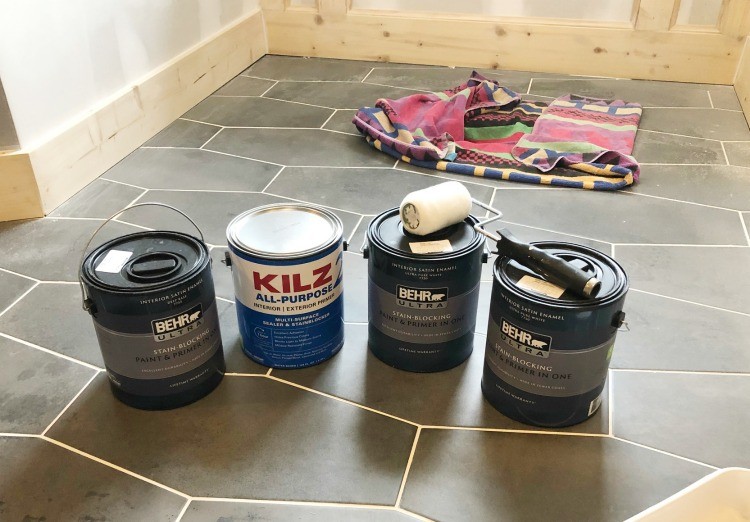
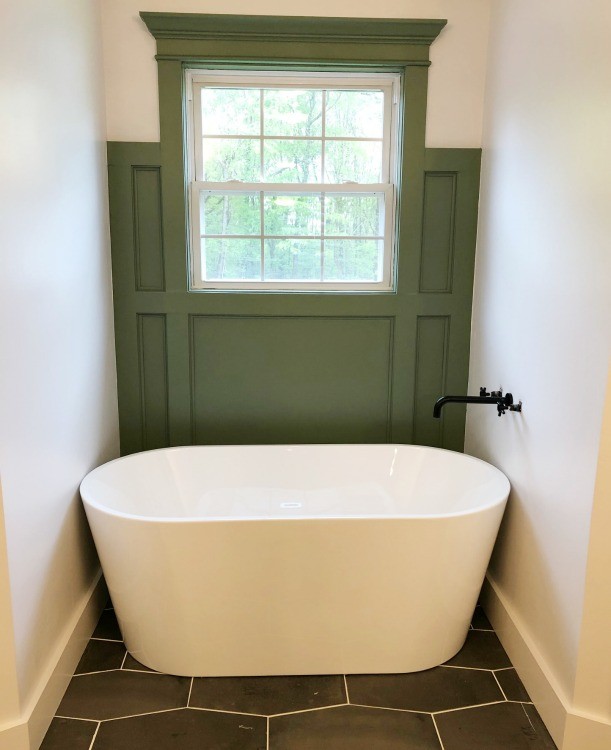
But to give the room a little color, I painted the feature wall behind the tub Behr Sage Green. I wasn’t sure at first about this color—I’m usually a white walls only type of girl. But I decided to be a little bold and paint this section green.
It looks really good here and isn’t too overwhelming. I think once it’s paired with some warm wood décor on the wall (stay tuned for that *wink wink*), it’ll really look nice. I’m glad I decided to be a little…out of the ordinary…here.
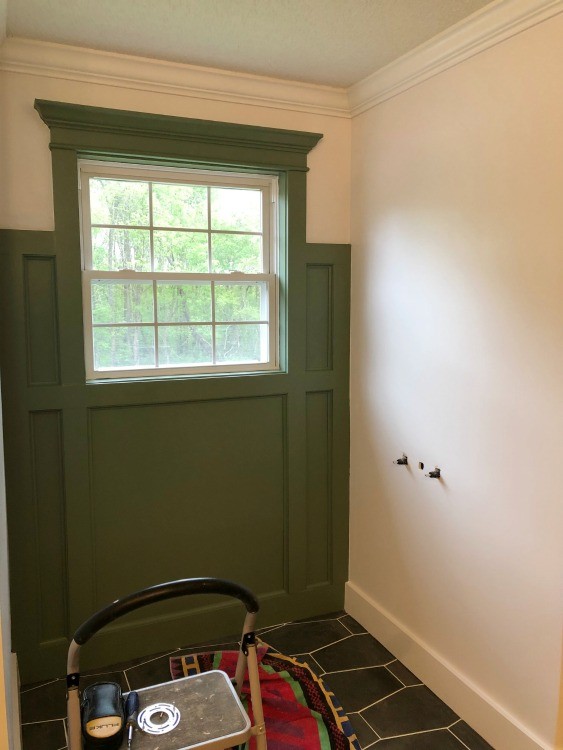
To keep my paint lines nice and clean, I used FrogTape to cover the green painted trim while I painted the white around it. It’s a little nerve racking around all the fancy trim lines and crown molding, without tape.
Installs:
Once the paint was finished around the main walls, trim, and feature wall, it was time to start putting things back where they go. The first thing was the vanities.
.
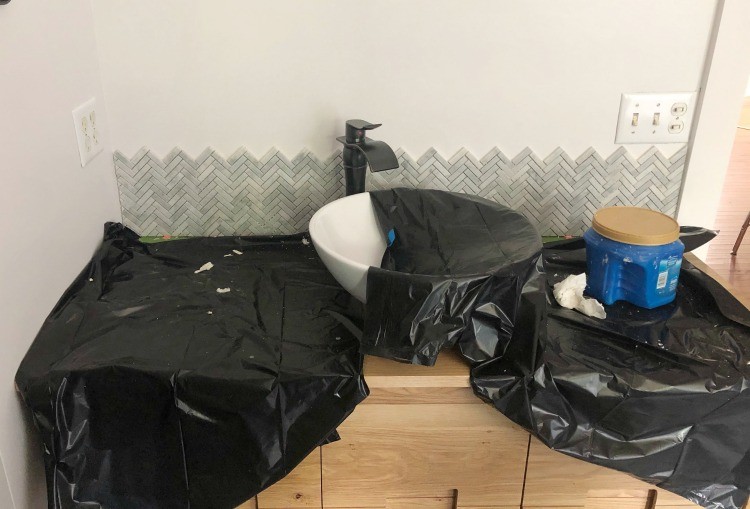
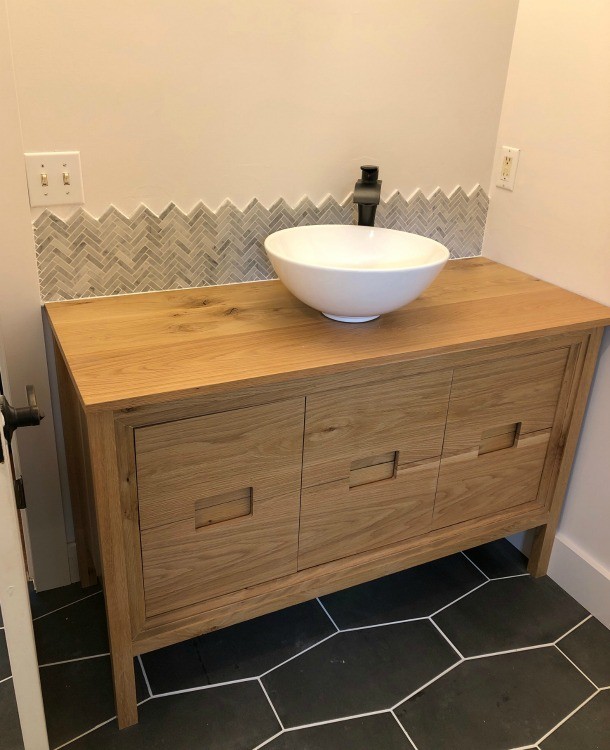
I built my parent’s these white oak vanities a few weeks ago and they’ve been sitting in my shop taking up all my space since then. I was SO excited to get them to their new home and have my shop back haha.
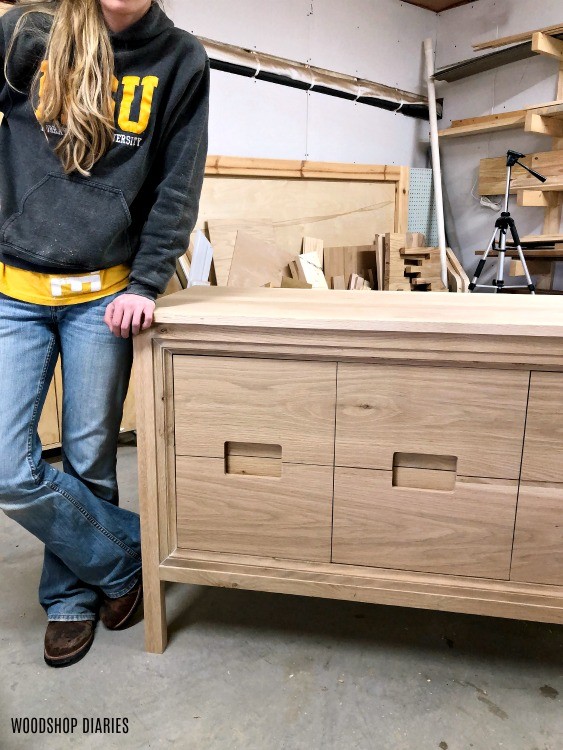
We got these installed with the sinks and faucets fairly easily. We only ran into one snag with my mom’s side. Silly me assumed the plumbers centered the plumbing on the wall here and they definitely did not. So the supply line was going to hit right on the divider panel of the vanity.
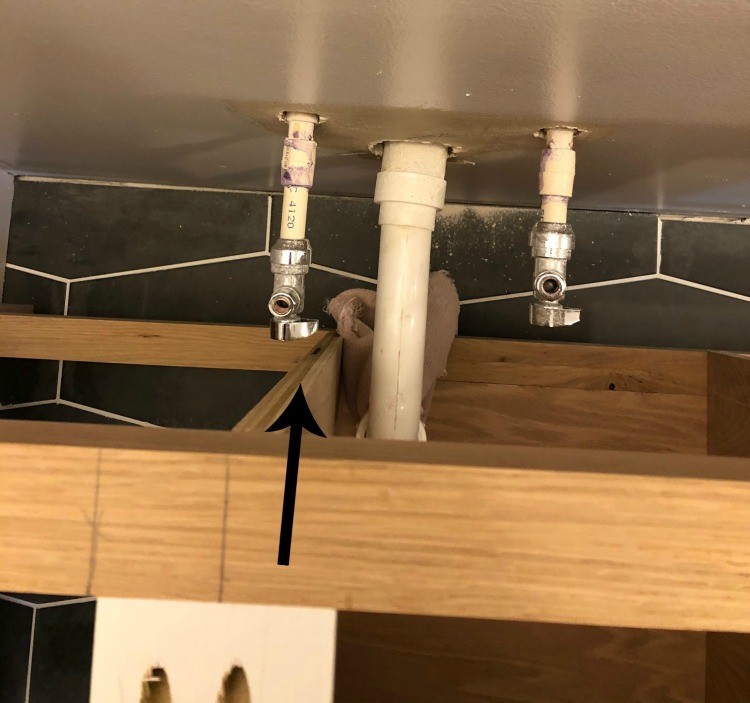
Luckily it hit between where the two drawers go, so we were able to cut out a section of the divider for the water line to go into. Crisis averted. I was not about to take these things apart and redo them…and I also wasn’t about to redo the plumbing either haha. You can see below the pieces we cut out on the floor.
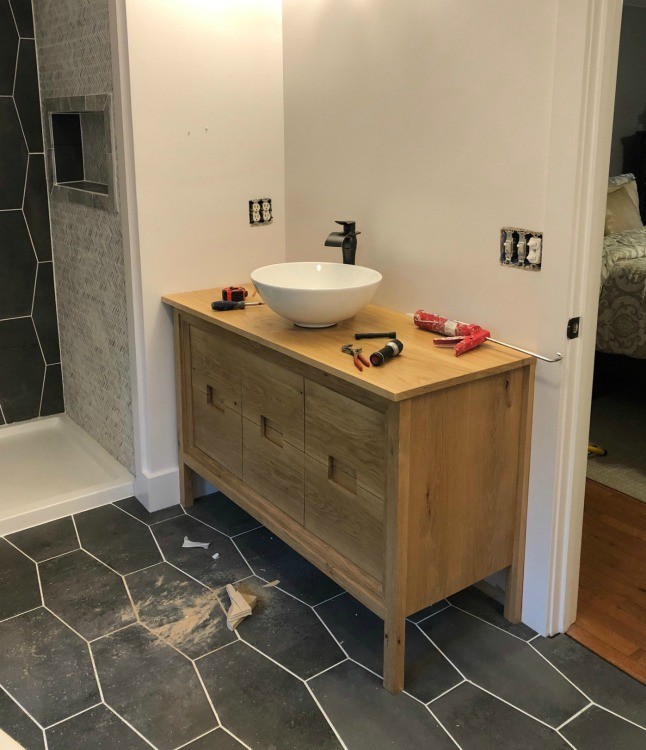
Dad and I installed these bowl sinks and these modern faucets on the top and hooked up the p-traps and water supply lines and Mom was pretty excited to finally have running water in her bathroom again haha.
.
Once the vanities and sinks were installed, we moved to the tub. After a few trips to the hardware store, we finally got all the parts we needed to redo the tub drain to connect back to the existing P trap. The old tub drained at the right end of the tub…but this tub drain was in the center. Remember that from week 1?
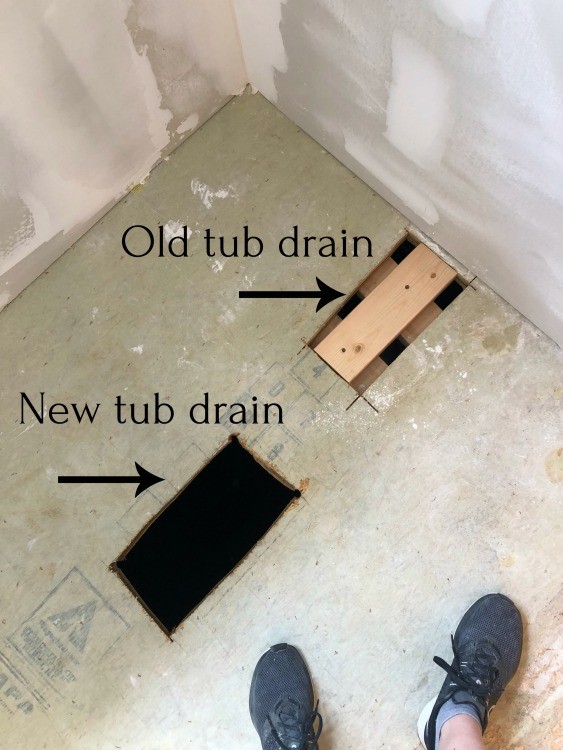
So it was a little challenging to modify the pieces, but we got it worked out…eventually haha.
.
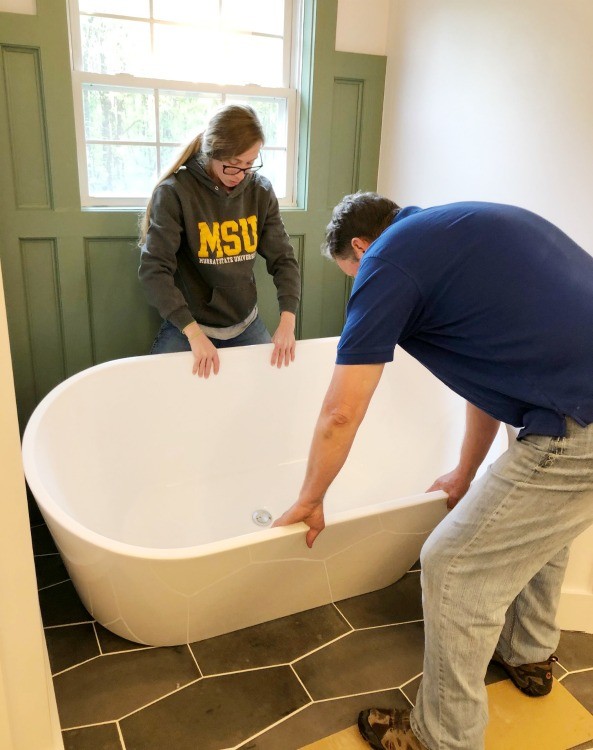
So we set the tub in place and I headed back under the house to hook up all the new plumbing.
All that was left was the faucet and the toilet. Funny thing…neither of those were easy. There’s always got to be something that didn’t go as planned, right?
.
First, the toilet. We installed the toilet just fine. BUT it took four trips to the hardware store to purchase the correct length braided hose to connect the water supply line to the toilet bowl. HOW DOES THAT HAPPEN!!??
.
And the tub faucet here had two issues. One: I cut the drywall holes too large, so the trim pieces on the handles didn’t cover them when it was put on. That meant I had to putty these holes until I puttied enough that the trim would cover it. That took a couple rounds of putty and sanding.
Two: the faucet supply hook ups were copper. We had to buy several fittings to try to get from the copper outlet to a braided hose connection to run to the cut off valve. Dad and I both aren’t super familiar with copper plumbing (we’ve mostly done CPVC), so this was a learning experience. A couple trips to the store and a couple rounds of smashed fingers from tightening copper fittings, and we finally were good to go 😊
Backsplash:
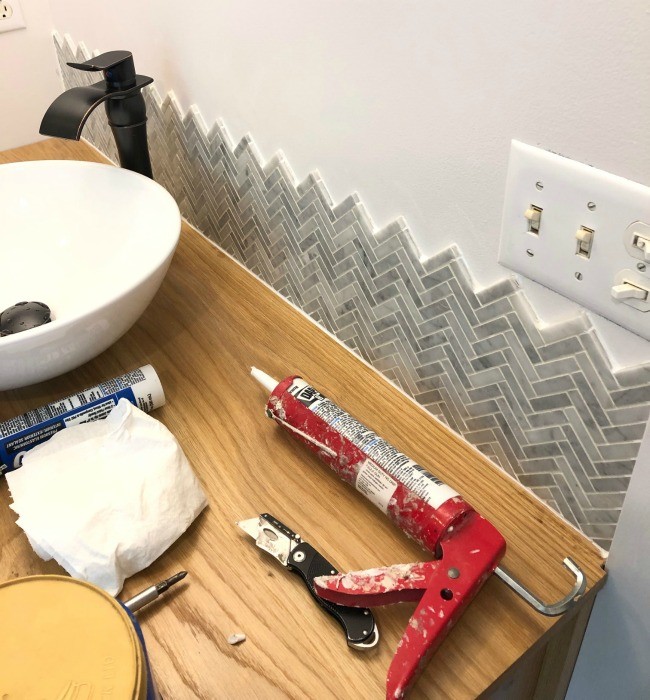
Once of the final touches I added this week was backsplash. I used some more the of Jeffrey Court Jetstream for the backsplash over the vanities and left a “jagged edge” along the top.
I thought it was kind of a unique idea and I like the style…but it was really hard to clean up all the thinset on the wall around the edges haha. Live and learn.
.
I got it grouted, and caulked, and also finished up caulking any parts of the shower that I missed while I was at it.
Finishing Touches:
We also installed the thresholds in all the doorways, and switched out some of the light fixtures. LOTS AND LOTS of little touches. Like installing the baseboards around the vanities (see below), paint touch ups, and CLEANING haha.
Things are SO CLOSE to being done…but I’ve still got a few design elements left to go before the final reveal. Stay tuned for the finishing touches, and the full reveal in just two more weeks!
Until next time, happy building 😊