Want to know how to save $1800 in one weekend? It’s so easy! You don’t have to pick up a side job. You don’t have to create a new budget. You don’t have to clip a bazillion coupons for random things at the grocery store. You don’t even have to sell a body part…or a body fluid. (Everyone together now….) EWWWWWWWW.
.
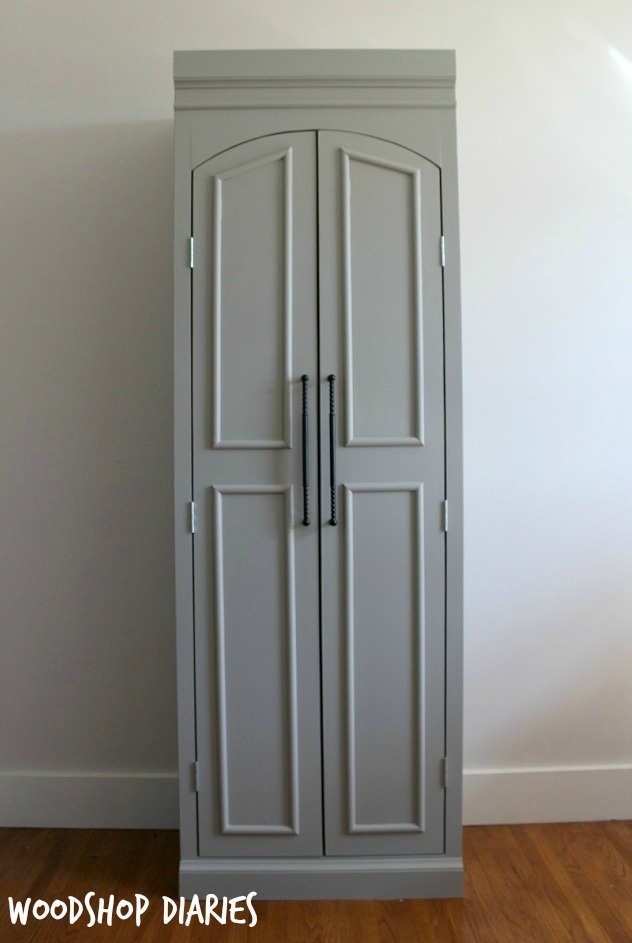
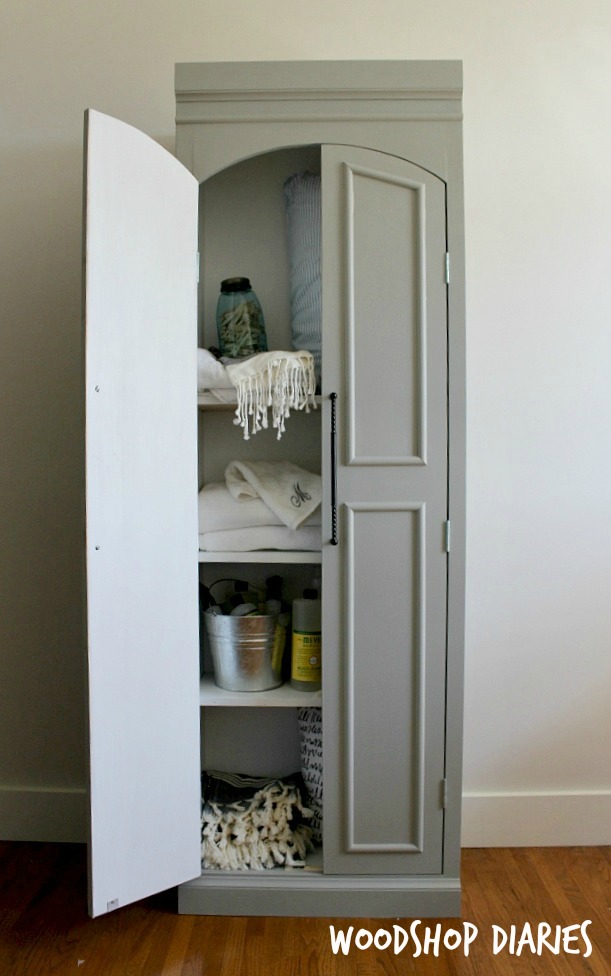
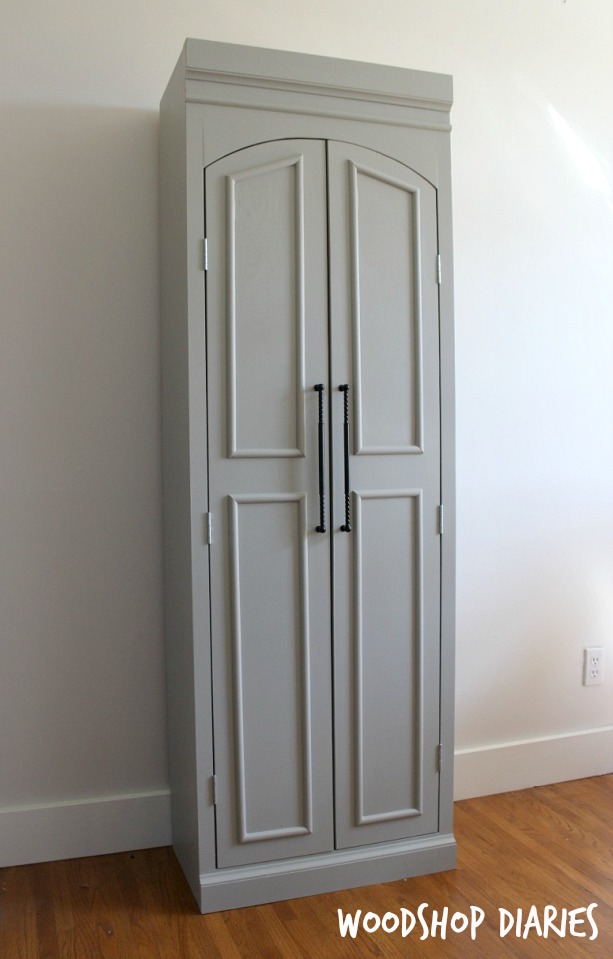
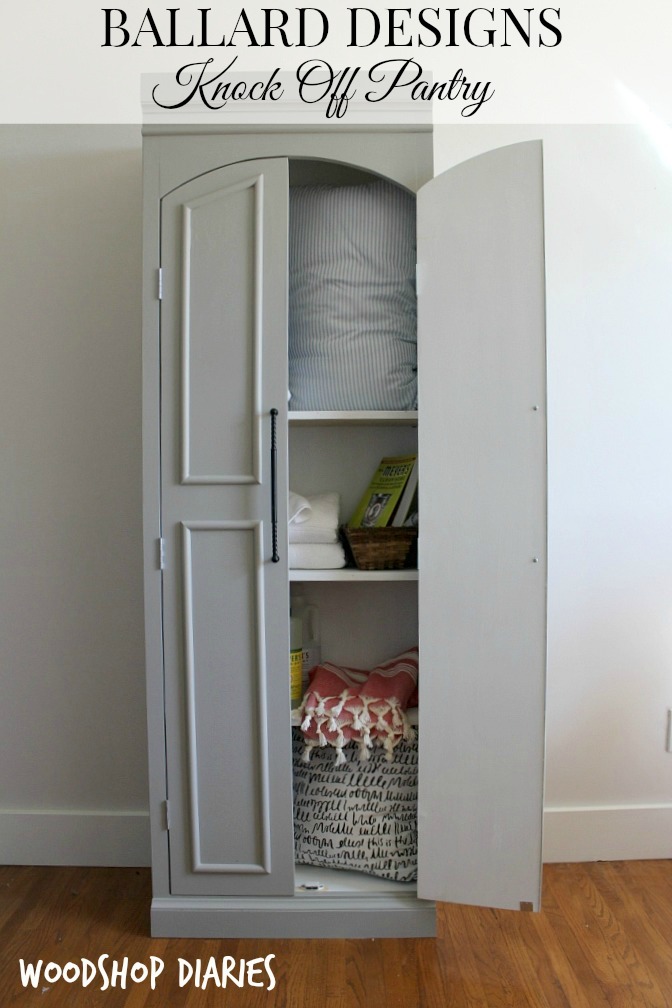
All you have to do is build this cabinet/pantry/linen storage.
Now, of course, you’re wondering…how’s that supposed to save me money? Well, first off, does it look familiar? Have you guys seen it possibly HERE?? With it’s shiny, flashy, super inflated price tag of (cough cough…I’m choking on my coffee over the insanity of the number I’m about to type) $1,900?? NINETEEN HUNDRED DOLL HAIRS. Also known as ONE THOUSAND NINE HUNDRED DOLLARS. Oh, plus shipping…and the extra $30 handling fee for it’s enormous size. What the?!
.
You guys, I just made it for about $100. #howboutdat?
.
Let me show you how.
.
This post contains affiliate links. If you purchase from these links, I may receive a small commission at absolutely no extra cost to you. This helps keep this site’s content free. Thank you for your support. Please see disclosure policy for more details.
.
Due to space constraints, my cabinet is slightly smaller than the original. The following instructions are easy to modify to make larger if desired. Final dimensions of my finished cabinet are 12 ½″ deep, 73″ tall and 24 ½″ wide.
Materials Needed:
1-2 sheets ¾″ plywood (this used one sheet, but if you want any larger, you will need two)
1 sheet ¼″ plywood
(1) 1x4x8
(1) 1x3x8
(2) 1x2x8
(1) 1x6x8
Cove molding (one 8 foot stick optional)
Half round molding (four 8 foot sticks optional)
6 hinges
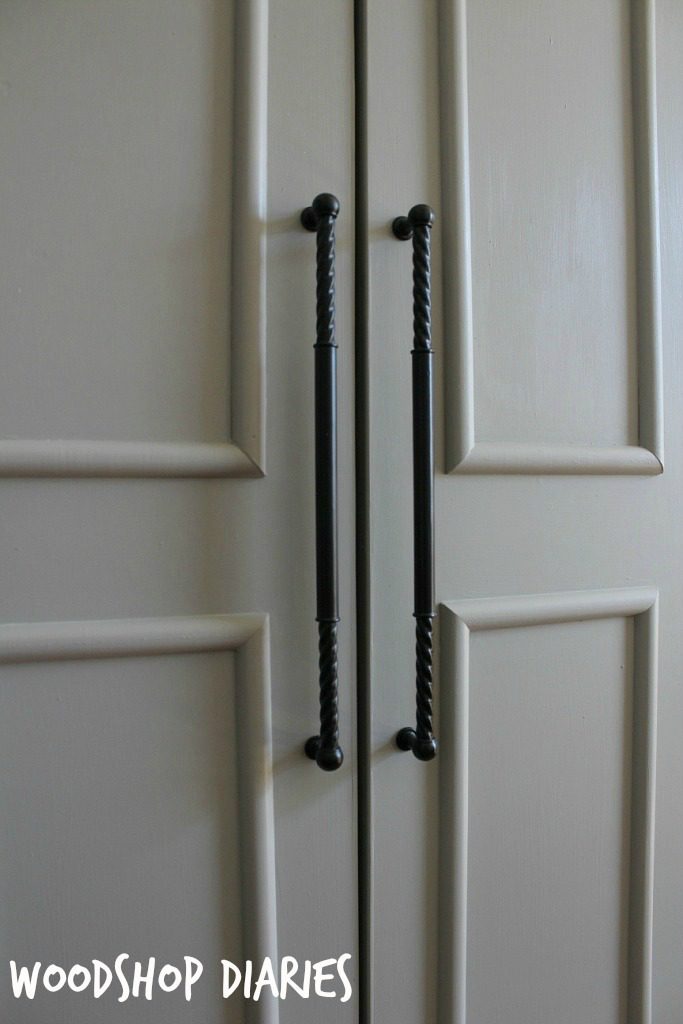
2 door pulls (I got these from D. Lawless Hardware)
Wood putty/filler
Wood glue
Tools needed:
Kreg Shelf Pin Jig (optional)
Step 1: Build the carcass
Seriously I LOVE building cabinets because you get to say carcass all the time and it’s so fun. Try it. CAR-CASS. Or, if you’re like my mom with the thick southern accent, CAR-CUSS. Oh, hey mom, thanks for reading 🙂
.
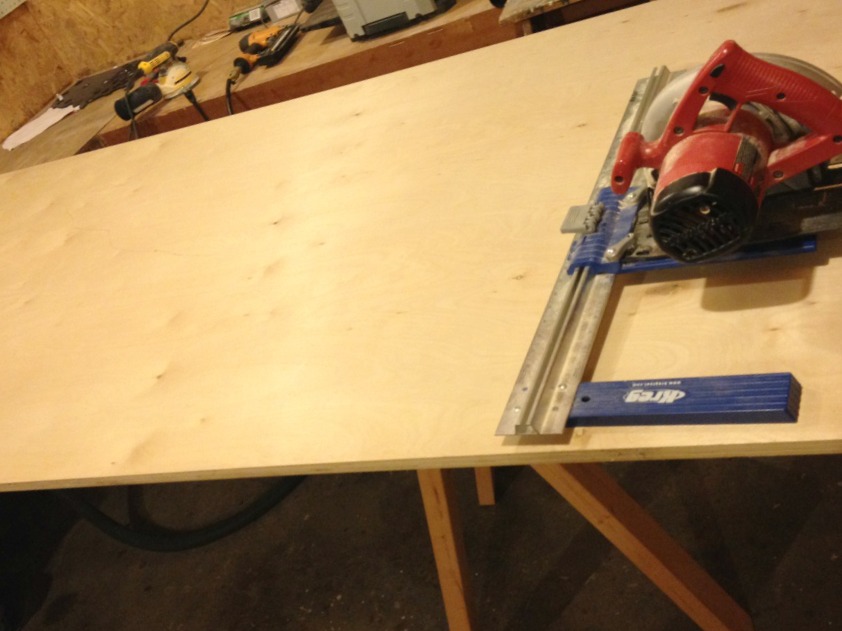
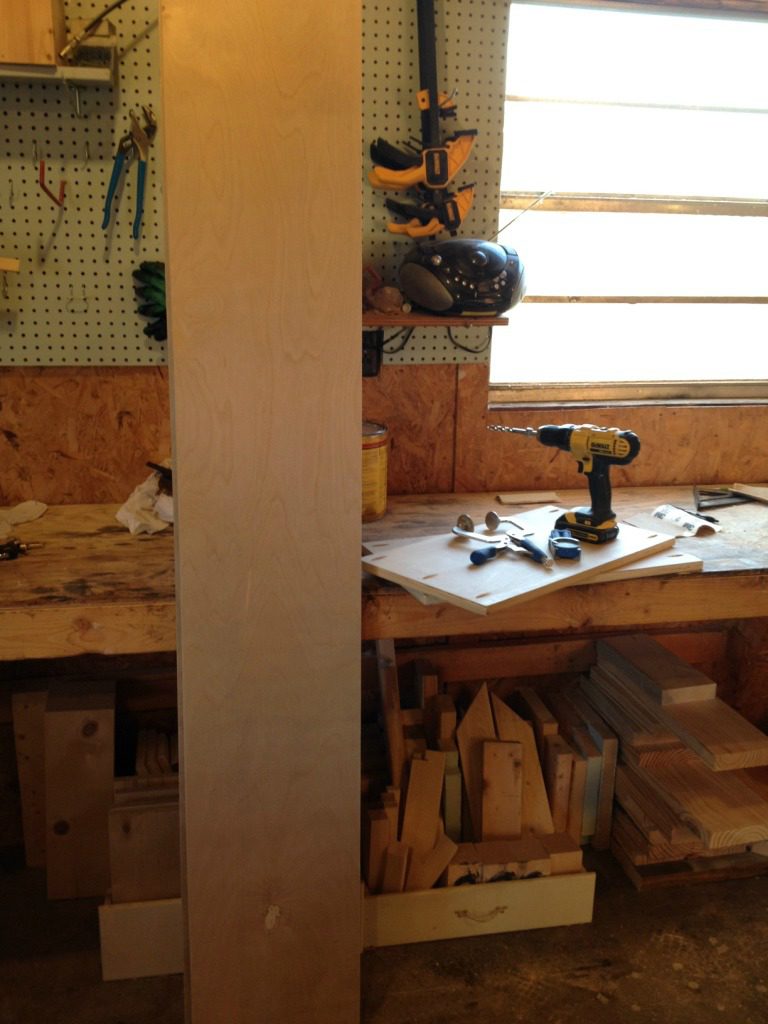
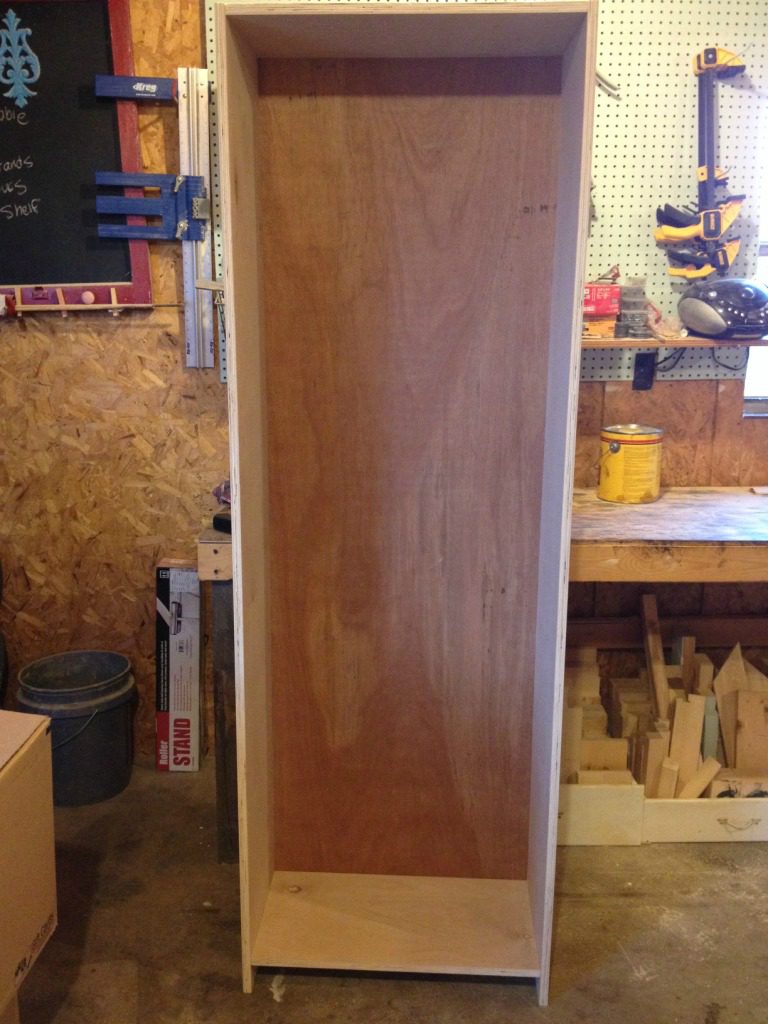
Okay, so…I ripped the plywood using my Kreg Rip Cut down to two 11″ strips.
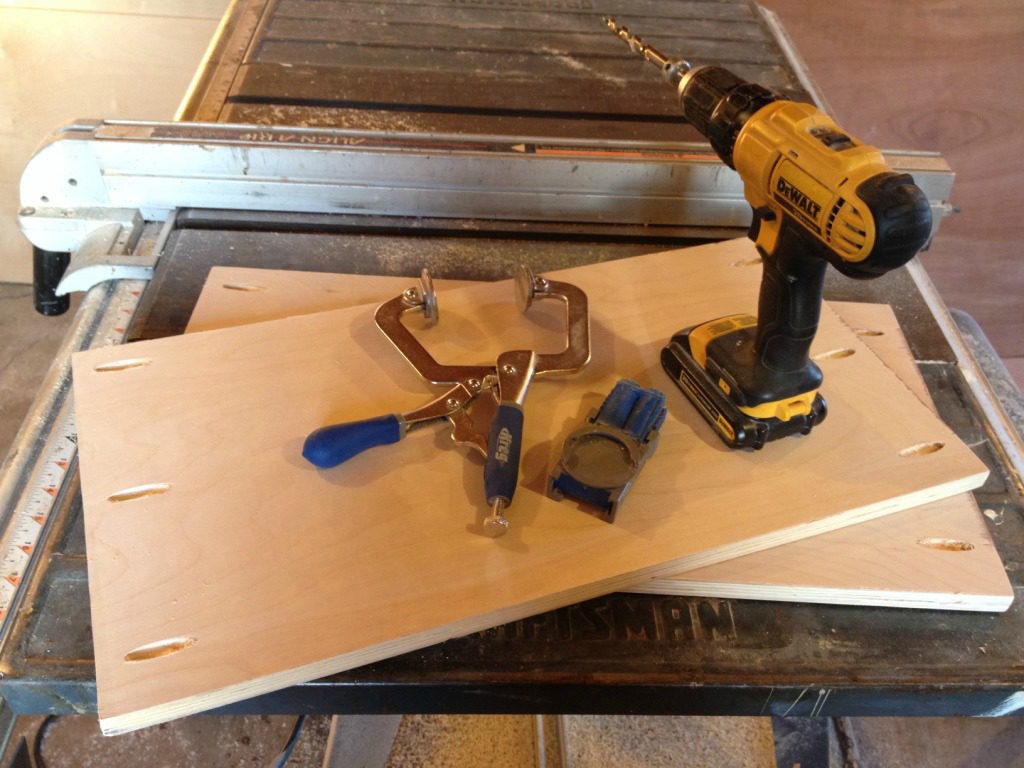
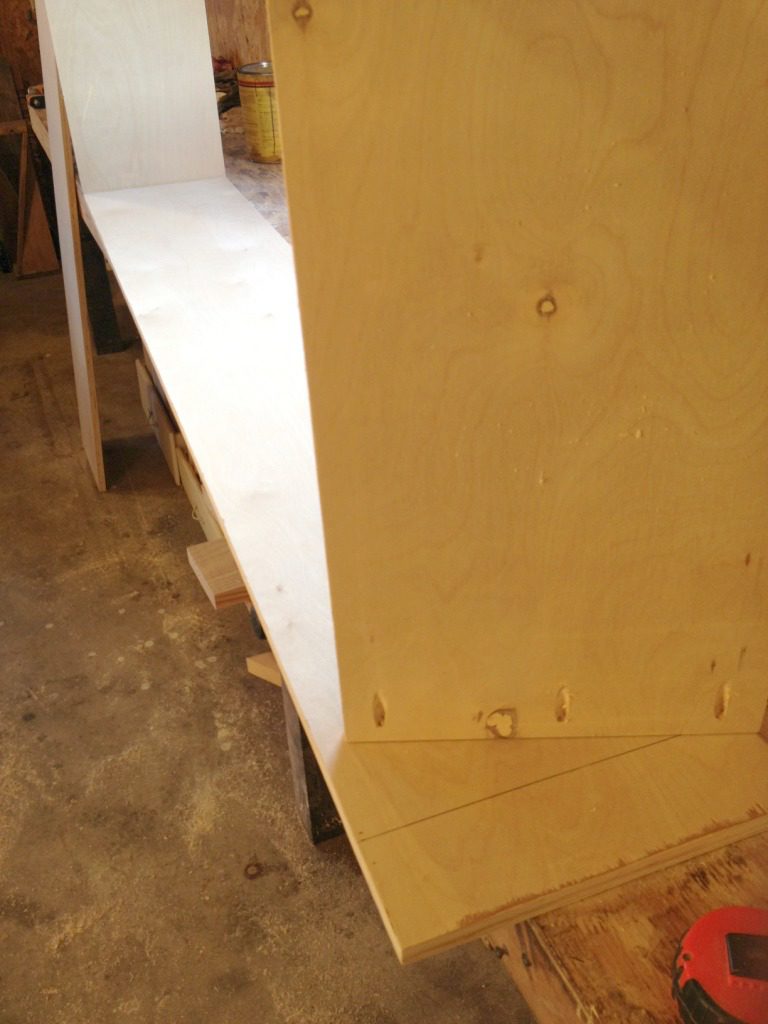
Then I cut both strips into a 23″ piece and a 73″ piece. I drilled pocket holes in the bottom of the two 23″ long pieces.
I marked 3 ¼″ from the bottom of the two 73″ pieces and drew a line.
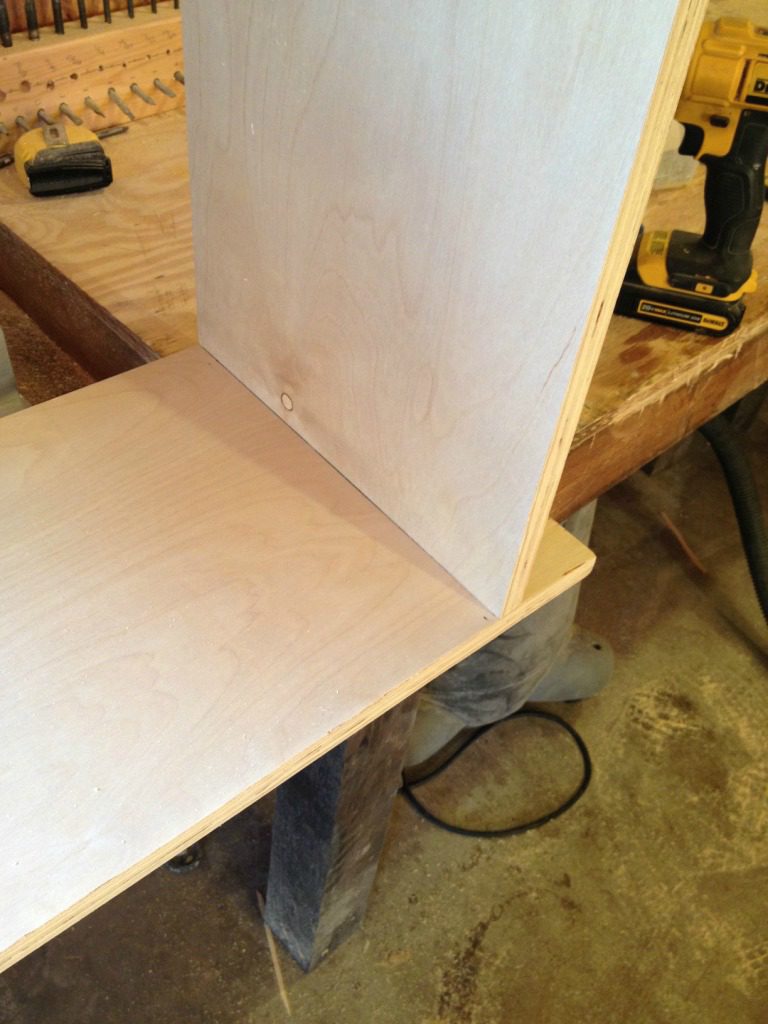
I screwed the 23″ pieces onto the top of the 73″ pieces and at the bottom. But at the bottom, I lined the top of the 23″ piece with the line I drew at 3 ¼″.
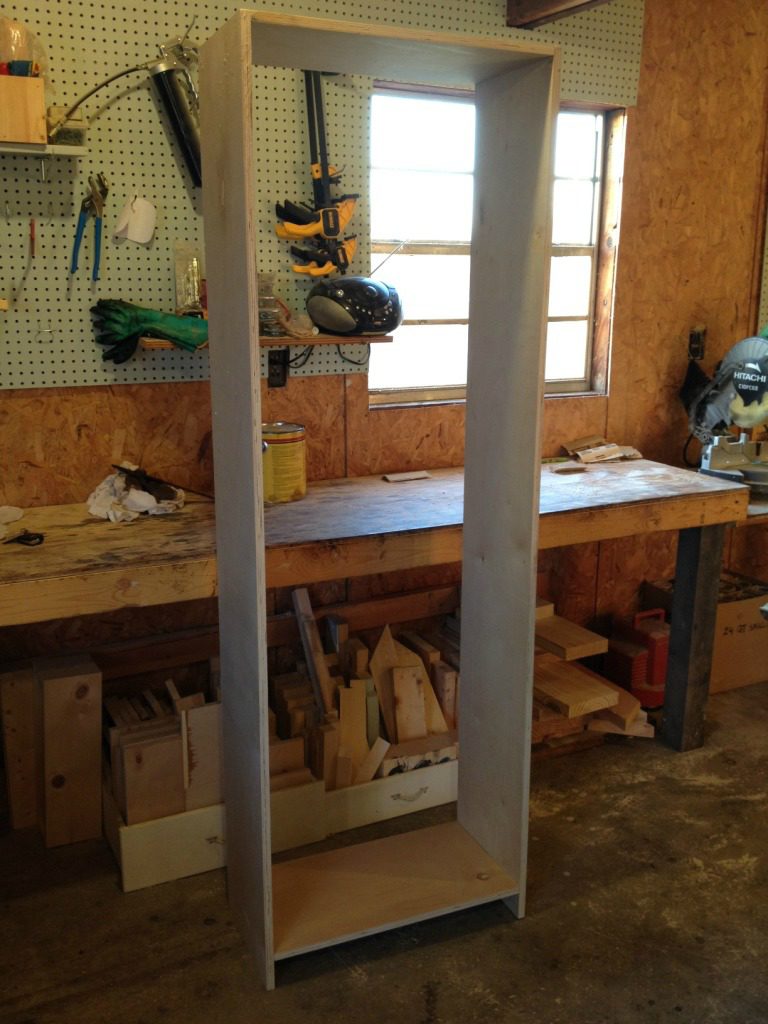
That gave me a carcass.
Then, I stapled a piece of ¼″ plywood onto the back of the opening.
Step 2: Add face frame
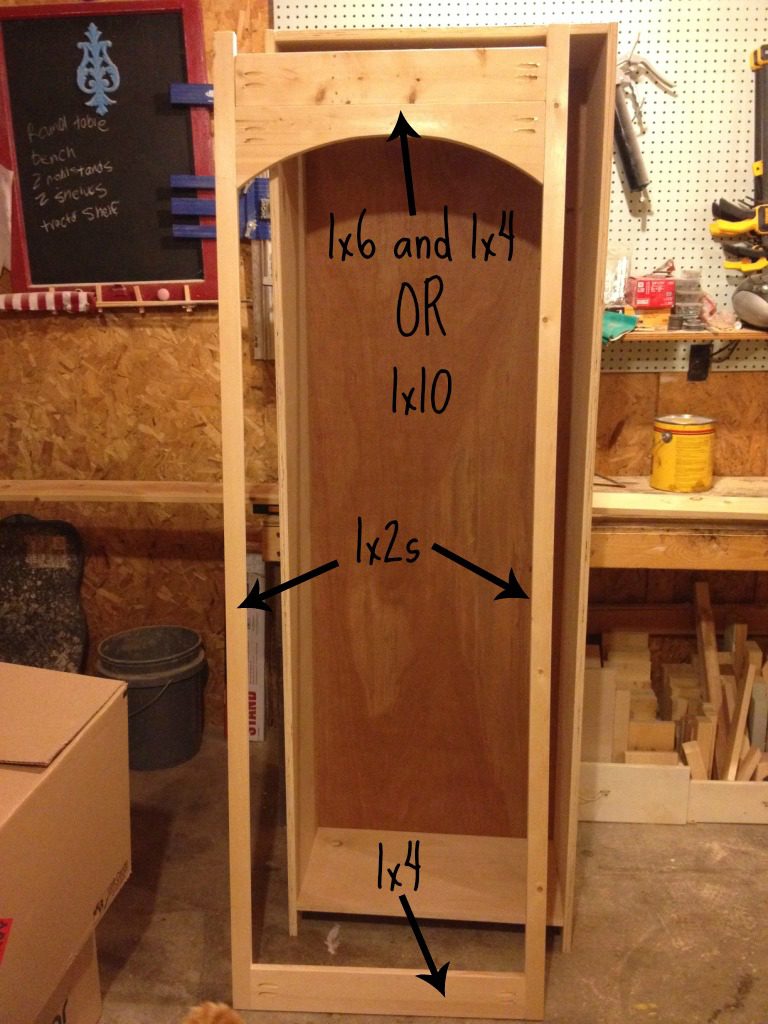
To make the face frame, I cut two pieces of 73″ long 1×2 for the sides. I cut two pieces of 1×4 at 21 ½″ long for the top and bottom, and one piece of 1×6 at 21 ½″ for the arch.
I screwed everything together like the picture shows above with pocket holes and screws. Just a note: I screwed the top 1×4 in 1 ½″ from the top. It’s a long story. You could do this, too, or use a 1×6 instead of a 1×4 OR you could use a 1×10 to replace both these boards OR a 1×12. It really doesn’t matter as long as you have something up there to attach the top of the face frame together and is tall enough to make an arch.
.
Before I screwed the arch piece in, I used a large metal barrel to trace the arch and cut it out with a jig saw.
.
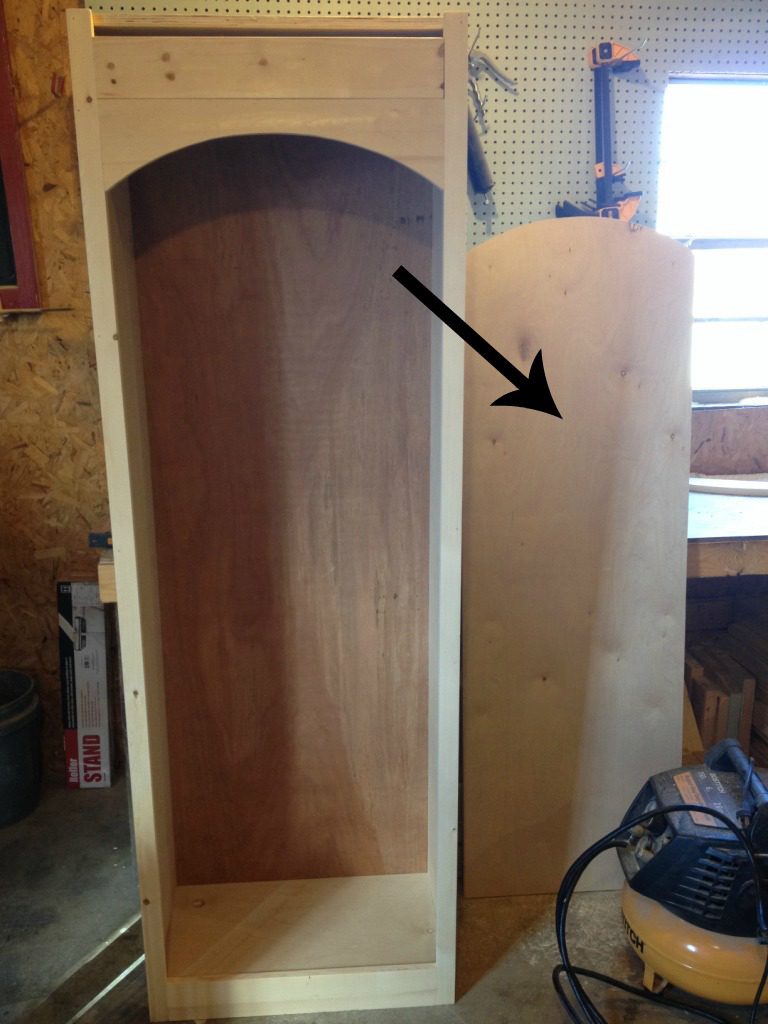
Once the face frame was screwed together, I just nailed it onto the front like the picture shows below.
Step 3: Cut the doors
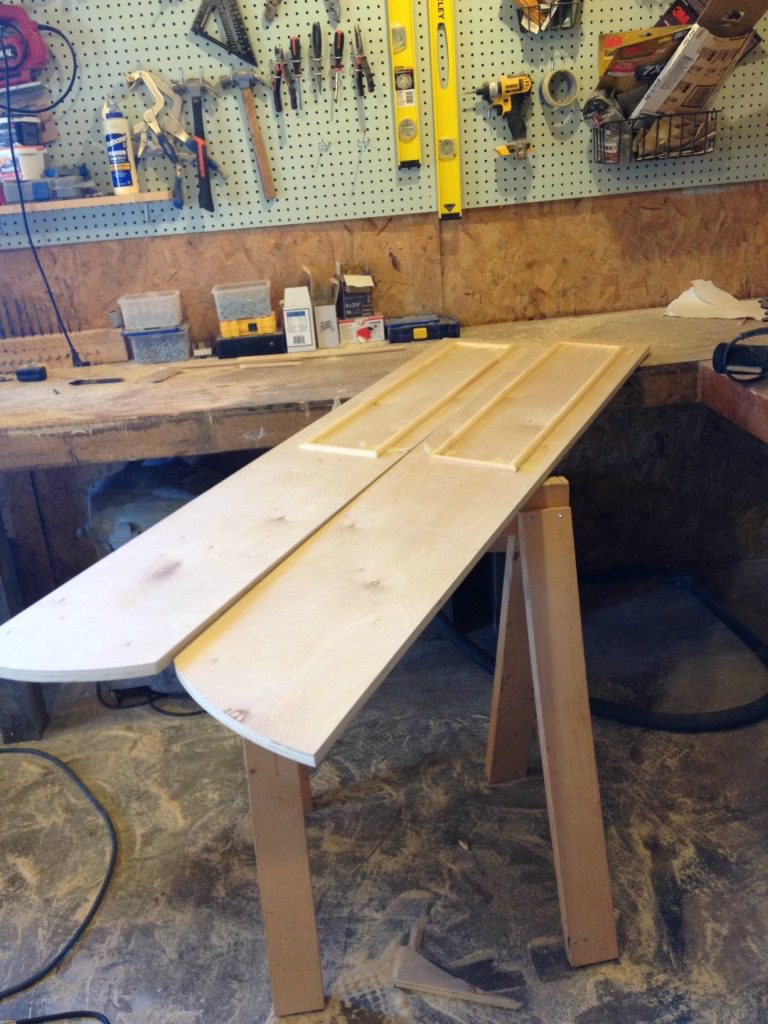
For the doors, I cut a piece of the remaining plywood to be ¼″ narrower than the door opening and about ⅛″ shorter the tallest part of the arch. I placed it on the inside of the cabinet and traced the shape of the face frame arch onto the piece and cut with a jig saw. You can see the piece I ended up with on the right side of the picture.
Then I ripped this piece exactly in half to make two doors.
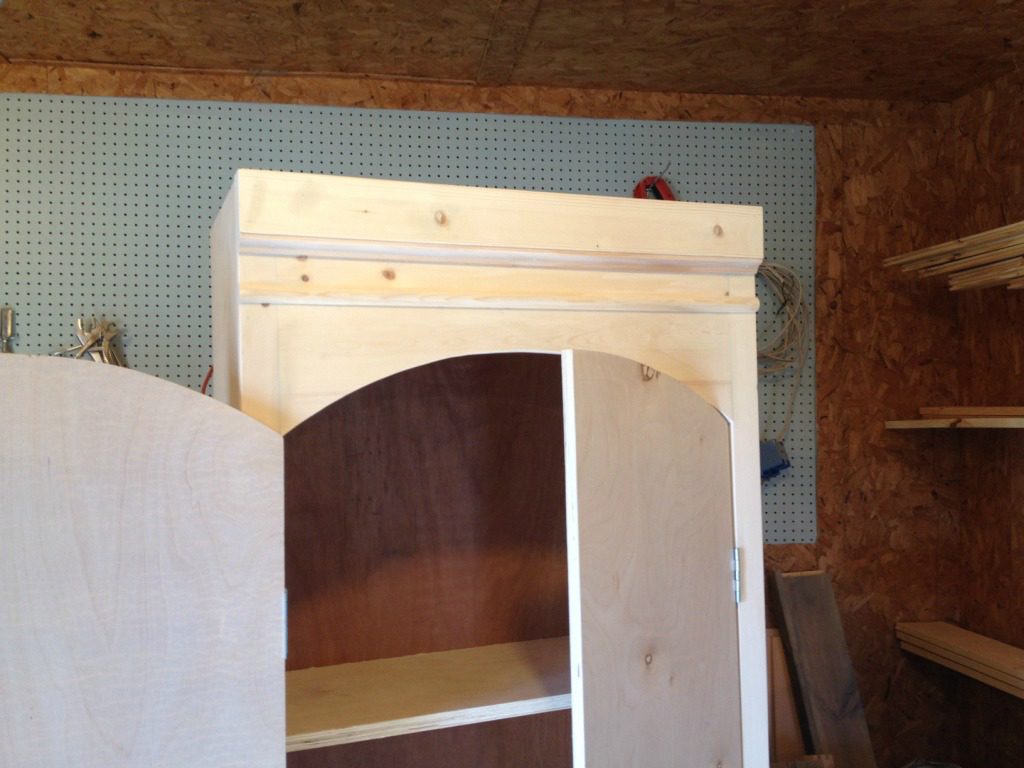
At this point, I attached the doors to the cabinet with three hinges per door to make sure they fit. Adjust as needed. You may have to sand the arches to get them to match as good as possible. I sanded A LOT. I’m not perfect on a jig saw 🙂 Just sand slowly so you don’t make anything misshapen.
Step 4: Add Trim
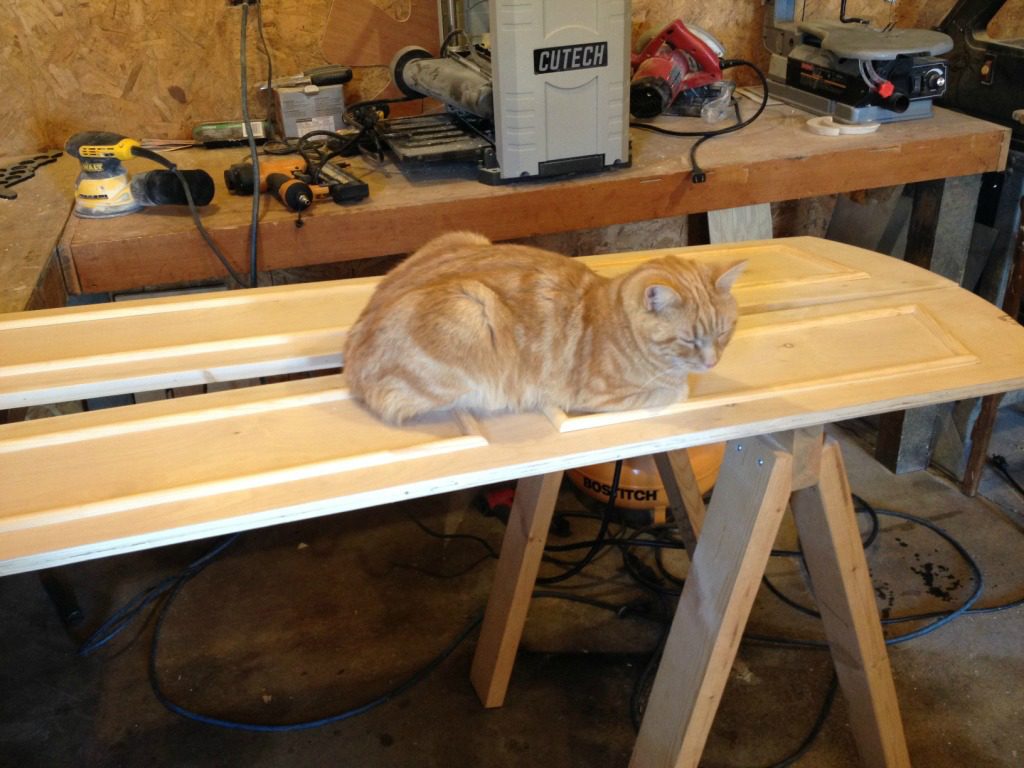
I added trim to the doors and the cabinet itself. Once I made sure the doors fit, I removed them and cut to fit half round molding on the front. I used wood glue and held it in place until the glue was dry with masking tape.
The weight of a shop cat helps hold it in place too…silly shop buddy.
.
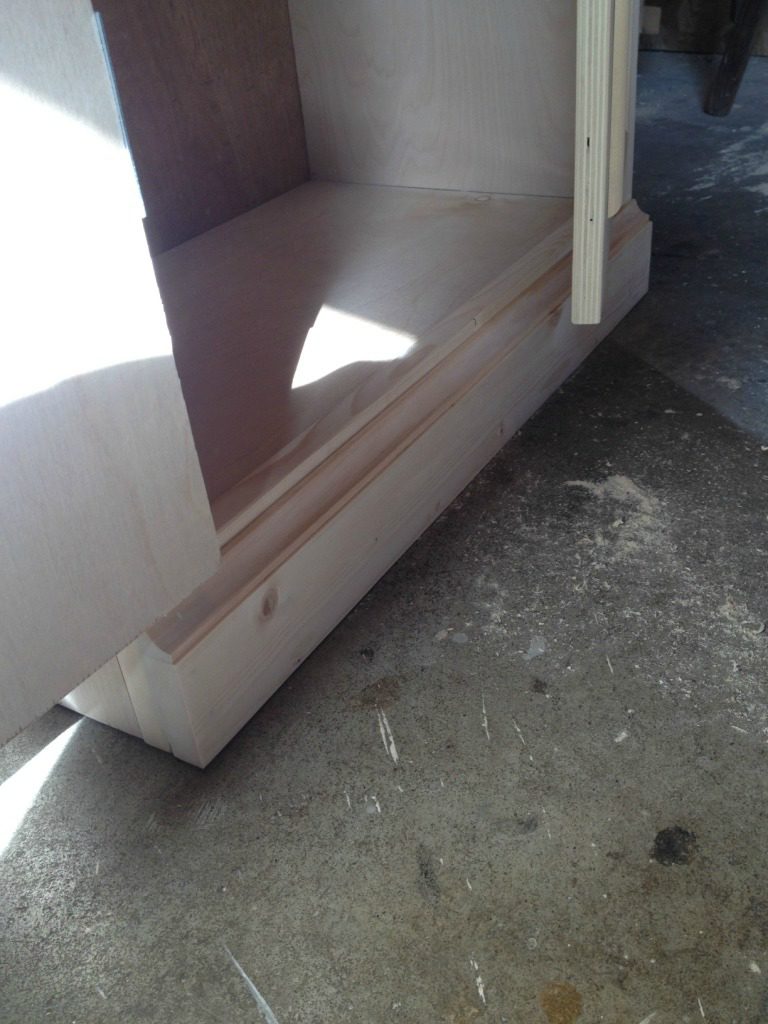
While the glue dried, I nailed pieces of 1×3 to the top and bottom. I cut all these pieces to fit. Make sure trim on the sides are flush. I added a piece of cove on top of the bottom 1×3 and on the bottom of the top 1×3. I also added a strip of half round across the joint in the top of the face frame. You can see all this in the pictures below. Putty and caulk around the trim as necessary.
Step 5: Add Shelves
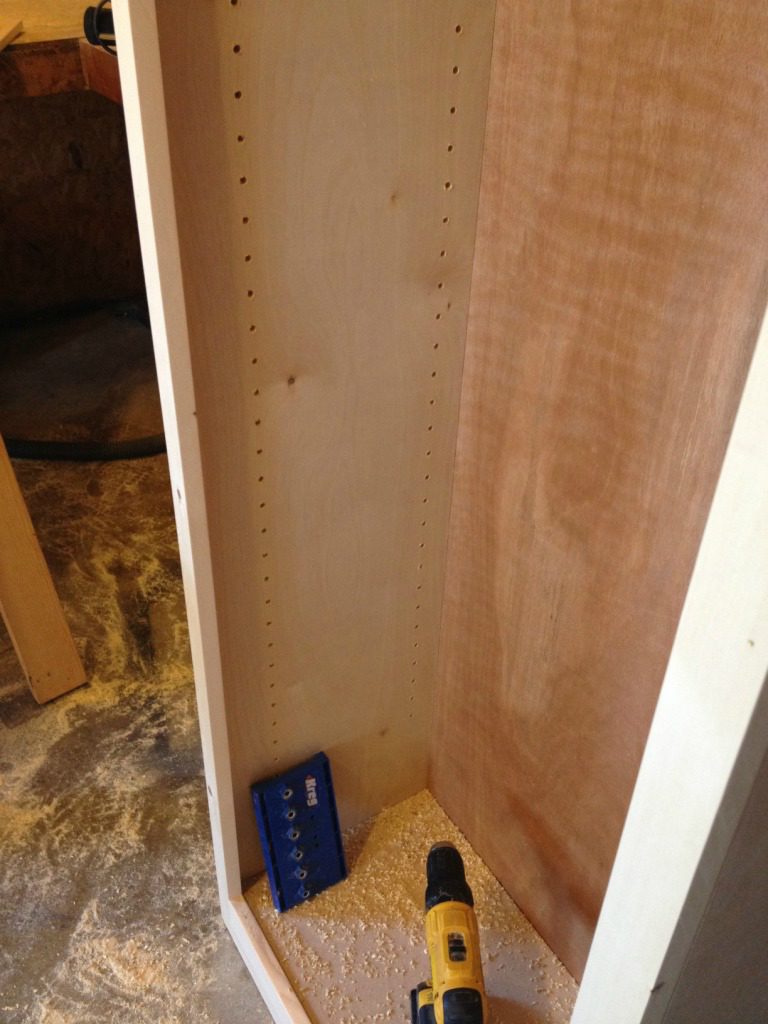
I used my Kreg shelf pin jig to drill shelf pin holes for adjustable shelves. If you don’t want adjustable shelves, you can use pocket holes and screw shelves into the sides for stationary shelves as well.
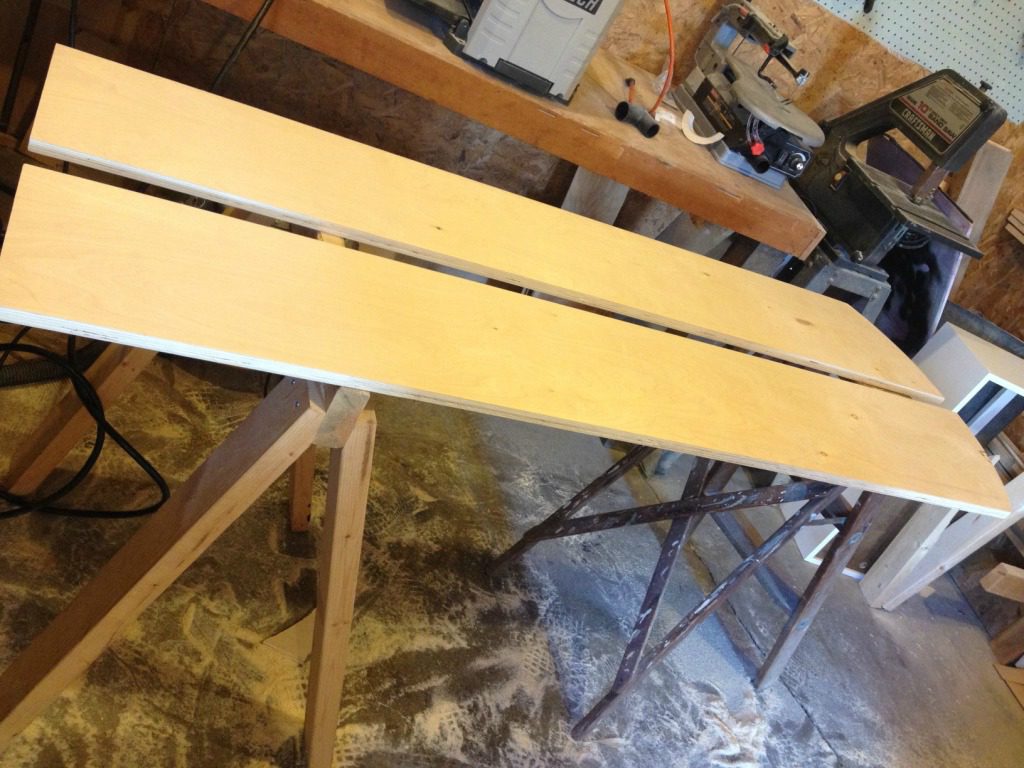
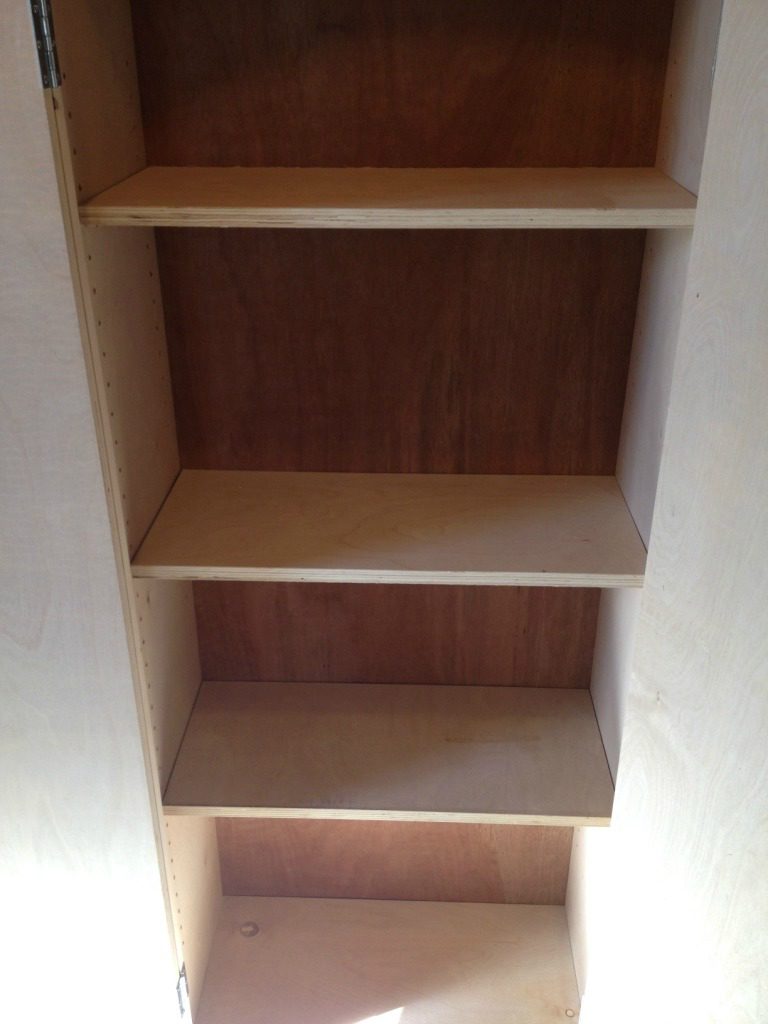
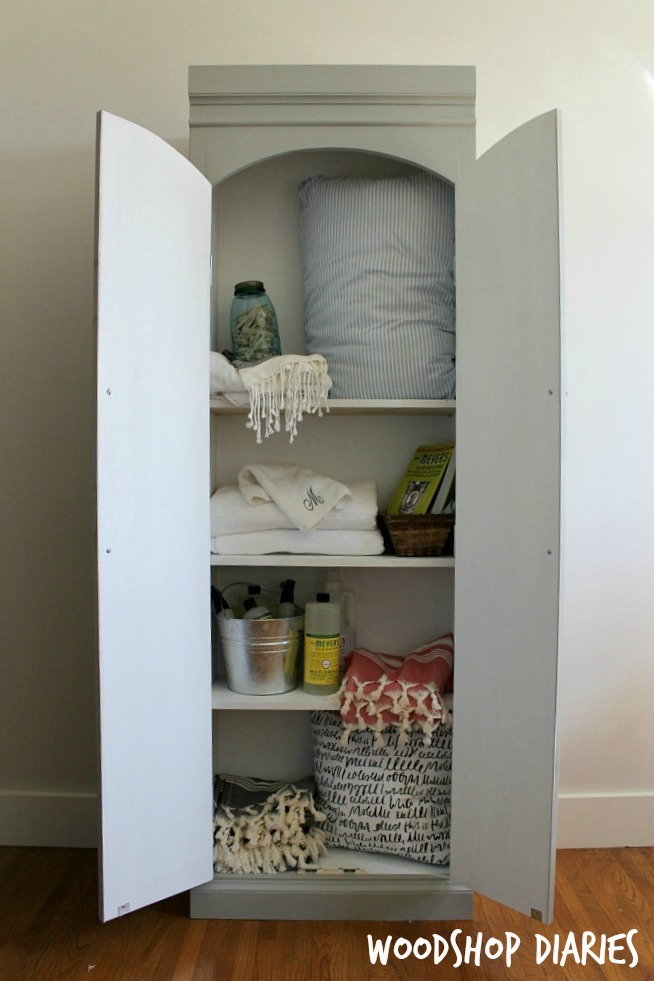
I used the remaining piece of plywood to cut three shelves to fit in the cabinet. I made them about 9″ deep and ¼″ shorter than the width of the inside of the cabinet.
.
I used these shelf pins to hold the shelves in place.
Step 6: Finish
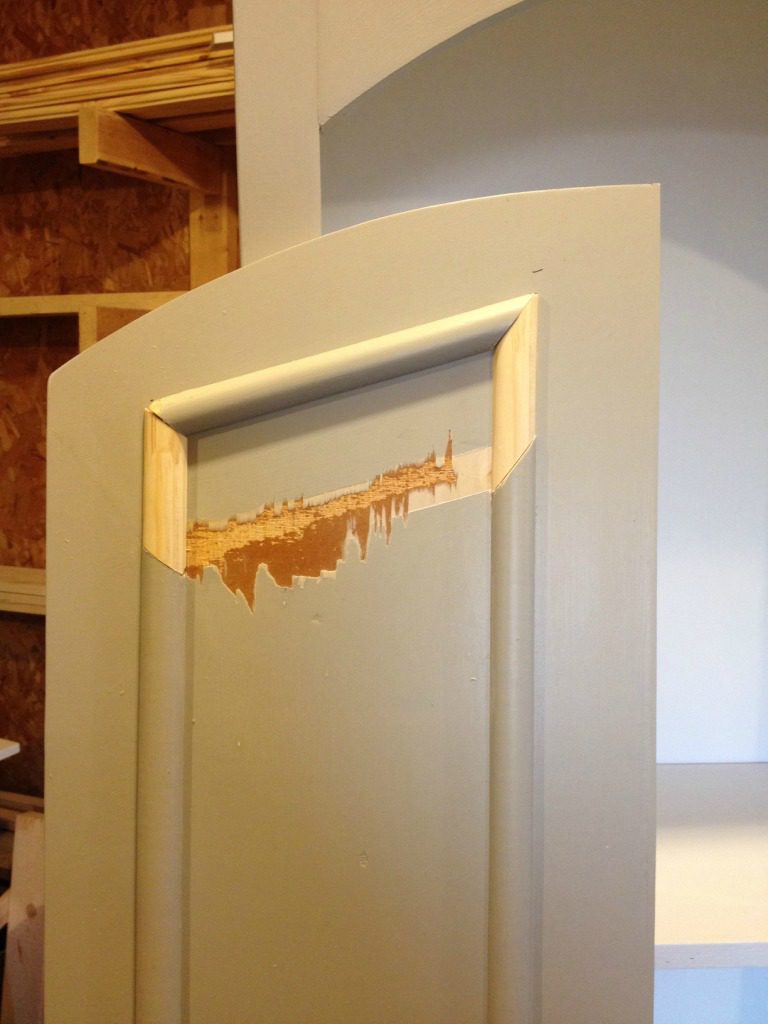
I primed the entire cabinet with Kilz water based primer, then painted the inside of the cabinet with Sherwin Williams Extra White and the outside with Sherwin Williams Dorian Gray. Once the paint was dry, I put the doors on and realized I had put the top part of the half round too far down. (commence horror movie sound effects!!)
NOOOOO! So I spent two days convincing myself it was okay, then one day I came home from work hangry (you know….hungry and angry) and I ripped them off. Which was a mess. And I made it taller and puttied and repainted.
So don’t be like me. Get it right the first time, or just leave it alone. Five sessions of puttying later, we were good to go. FIVE TIMES.
.
PS totally tried to bend the half round. It just wasn’t working out. I tried kerfs…kept breaking little pieces out of the molding. Tried soaking in water and bending, broke three pieces. Tried bending by hand, cried. So I left it straight. I don’t think it looks bad straight. Next time, I may try thinner molding though. The ¾″ stuff just wasn’t going to budge.
.
Oh and PSS, huge thanks to D. Lawless Hardware for these AMAZING door pulls. This cabinet needed something long and sleek and these were the perfect fit. I added these and the magnetic catches after the paint was dry and put the doors back on.
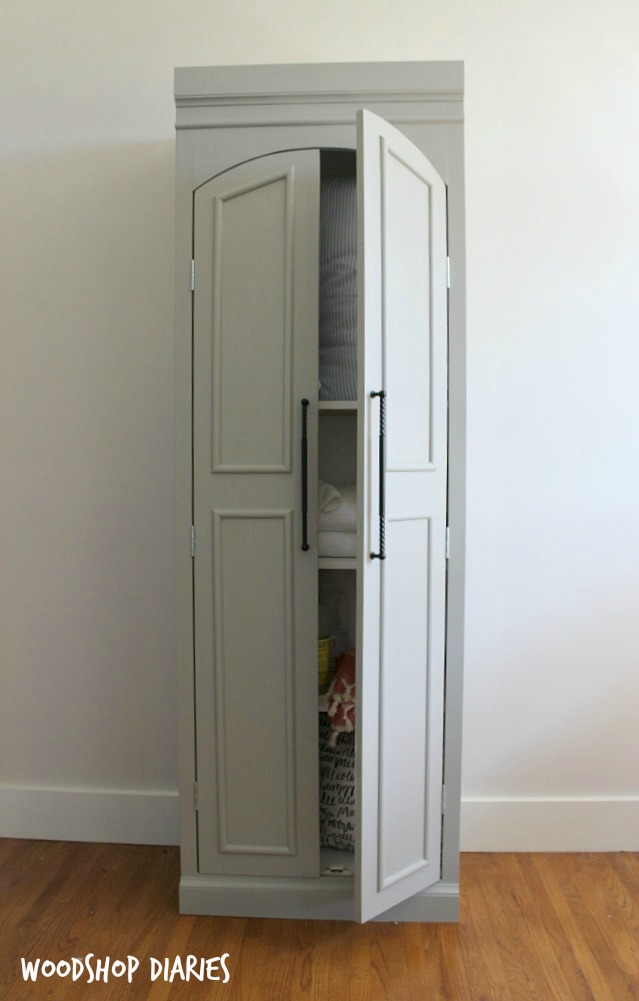
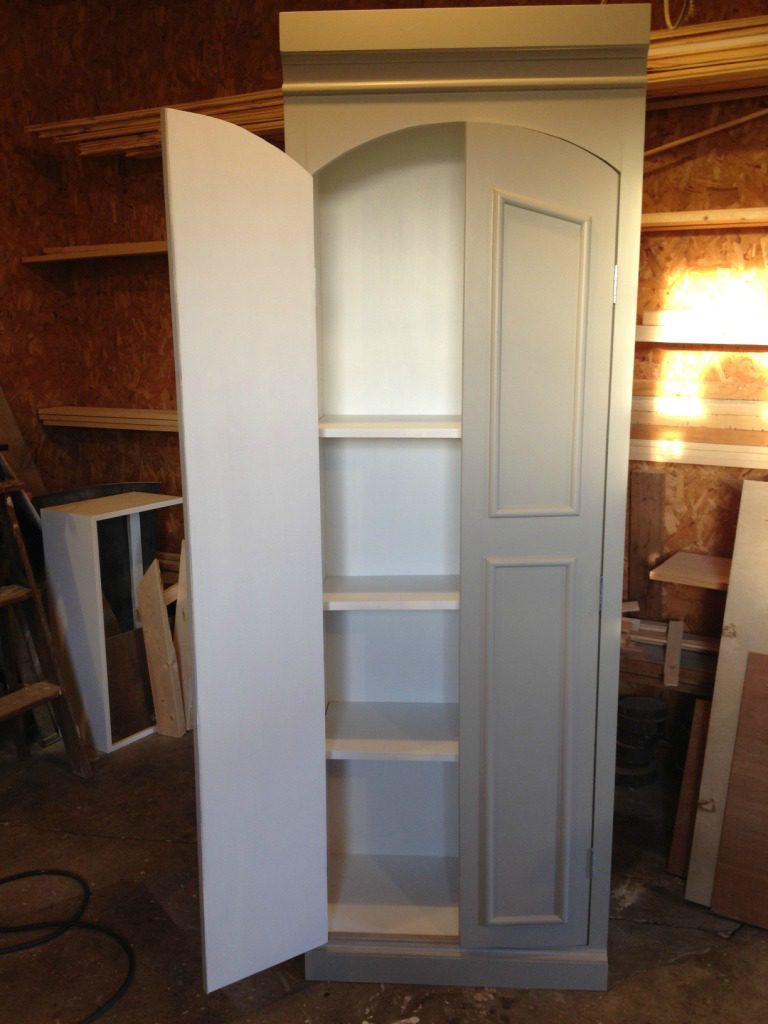
Anyway, when all was said and done, it looked like this:
On Ballard Designs website, they had a whole article on what their cabinet could be used for. Craft cabinet, kitchen pantry, linen closet. Pretty much anything. Oh and side note, I made this cabinet so shallow (due to space constraints) that it wasn’t practical to add the slide out drawers, so I only did shelves. However, these plans are super easy to customize to make your cabinet deeper and then you could add drawers like the original.
You could also add more shelves in here if you wanted as well. It’s pretty versatile and can be customized for whatever your needs are.
So, what do you think? How about that for saving $1800 in a weekend? For reals.
.
Do me a huge favor and don’t forget to pin if you plan on tackling this knock off this weekend. Or, you know, if you just liked the project. Oh and let me know what you spend your extra $1800 on 😉
Until next time, happy DIYing! 🙂




What size and length brad nails did you use to attach the face frame to the carcass?
I don’t remember in this particular case. I switch between 16 and 18 ga nails, usually 1 1/4″ or 1 1/2″ long. Any of those should work fine as I’ve used them all on various projects similar to this one.
Could you have used pocket holes on the inside of the carcass to attach the face frame instead of nailing it on? Wouldn’t that be stronger than nailing into the end grain?
You could have used pocket screws. Personally, I don’t like seeing the pocket holes on the inside of the cabinet, so I usually glue and nail unless I really need a lot of holding power.
Please explain to me why there is a gap at the top of the face frame. If I have a larger board and make it is one piece, should the boards completely cover this area or is the gap serving some purpose?
Thanks
You are correct…if you used a wider board to make it one piece, that would be fine. I just used what I had on hand and I didn’t have a wider board to use at the time.
The ugly truth about 4 legged “shop helpers” many years ago I had a 95lb Pyrenees/Shepard mix that loved to help. I was finishing up the 7′ tall armoire for my soon to be born granddaughter. I wanted durable & a sleek, super glossy coat of polyurethane finish. So after 4 coats, and sanding in between, applied the last coat, took a deep breath while backing out of my shop so carefully. I was determined that no dust, dog hair or other “no see ups” would mar the beautiful finish. I went in the house for a much needed shower (working in a 10×20′ wood shed w/o AC in 110 degree heat). Ahhh, clean, dry & cooled off an hour later I went outside to discover the shop door open!!!! I may or may not have screamed on the way to the shop, but upon entering discovered that the dear “helper” (I forgot to padlock the door & simple slide latches were too easy for her to open) had spent the last hour nibbling, chomping & pawing at the armoire!!! Her wet “poly paws” were on the glass door inserts, and put dirt, dust & BIG SEE UMS everywhere. The moral of the story, I HAVE NEVER forgot the padlock nor checked for sleeping kitties since. The armoir? It’s amazing what sandpaper, woodfiller & a few “left there” paw prints will do!
Totally awesome! Love your writing style, exactly how I think too. Your kitty is an excellent supervisor! Love your project! If I had an inch of space left, I would want at least a couple! Great job and thanks for sharing! ☺
Thanks so much!! 🙂
Shop cats will always make a good dust rags.
HAHA that’s true!
Hey Shara…. not only did I love your humor but I loved your comment in regards to the difference of Pro vs Amateur…. so very true. And oh… the project was pretty cool too ?
I am very green to this DIY thing and sticking with very simple projects like painting ….Even tried a staining project… won’t bore you with the gory details on how well THAT went.
So do you post DIY for kindergarteners?!
Hi Janessa! Thank you so much! I totally understand being “green.” We were all there at one time…and honestly I still feel like I am there most of the time haha. I have some good beginner projects if you check out the Getting Started page (on the top header menu). Or you can check out the projects page as well. There’s a category for Super Simple DIYs 🙂 If there is a certain area of interest (like staining and/or finishing or a certain project) you’d like to know about, feel free to email me from the contact page and I’d be glad to either answer your question or write a post about it 🙂
Great job!
Thank you so much 🙂
I love reading your posts Shara! They’re so honest and hilarious 🙂 I was crying just the other night trying to build a set of stools when I broke one of the legs … good to know that happens to everyone now and then 😉
Thanks sweet friend! 🙂 True story: WAY more tears have been shed in my shop than in my house in the last two years haha! It’s easy to get frustrated, but part of building is making mistakes 🙂 My dad always tells me that the difference between a pro and an amateur is that a pro just knows how to cover up their mistakes. Because no matter how good you are, you will always make mistakes. Thanks so much for following along and for the encouragement 🙂
Great looking cabinet, very well done ,I was wondering what type of hinges did you use
Thanks!! I used some small cabinet butt hinges (that name makes me laugh!). I think mine were 2″ tall. I got them at the local big box store, but here are similar ones on Amazon: (affiliate link) http://amzn.to/2n6kpHj