If you’ve followed along for very long, you know that I love a good remodel project. And you probably know by now that I try to be pretty thrifty (AKA I’m cheap). So when we decided to replace the bedroom carpet floor after the bathroom remodel, my budget was about $1.50/ sq ft. And I wanted real wood flooring. I know, I know…give me some of what she’s having because she is CRAZY, right?
.
Have you guys seen the prices of prefinished real wood floors? They’re high…like real high. Like higher than the Spice Girls’ platform boots high. And we just finished a bathroom remodel. So here we are, on a REALLY tight budget, but needed real wood floor for a pretty big sized bedroom (we are talking about 400 sq ft). What to do?
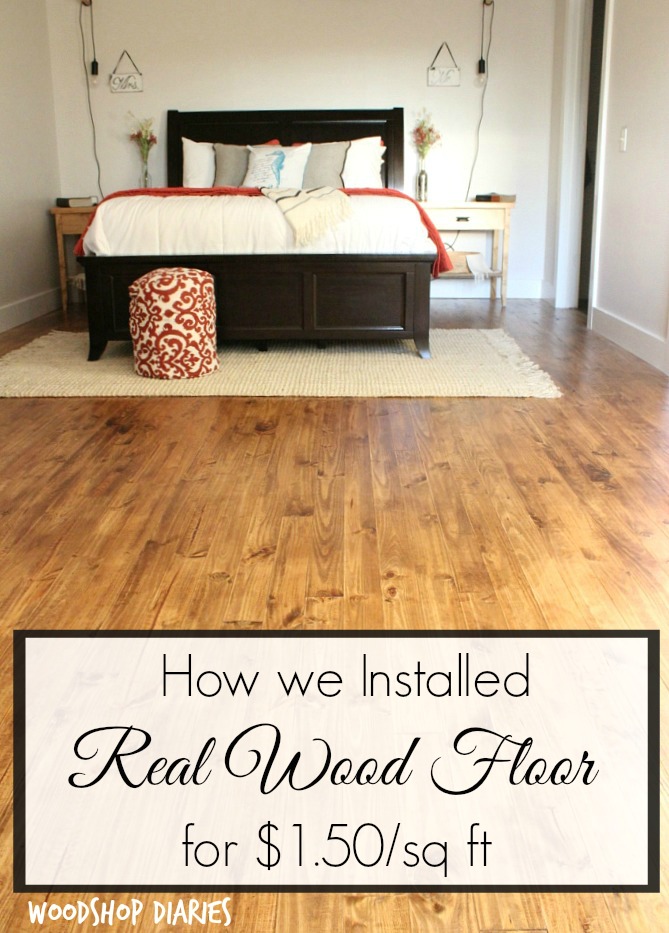
I’ll tell you what we did….we installed our own solid wood pine floor for less than $1.50 a square foot. And you thought I was crazy. So let me tell you all about my “cheap” new wood floor.
.
Actually, to be honest, there isn’t a whole lot to tell. It was pretty simple. I know, you were thinking there was some big secret, right? Nope. We installed unfinished yellow pine flooring and finished it ourselves. Easy as it gets.
.
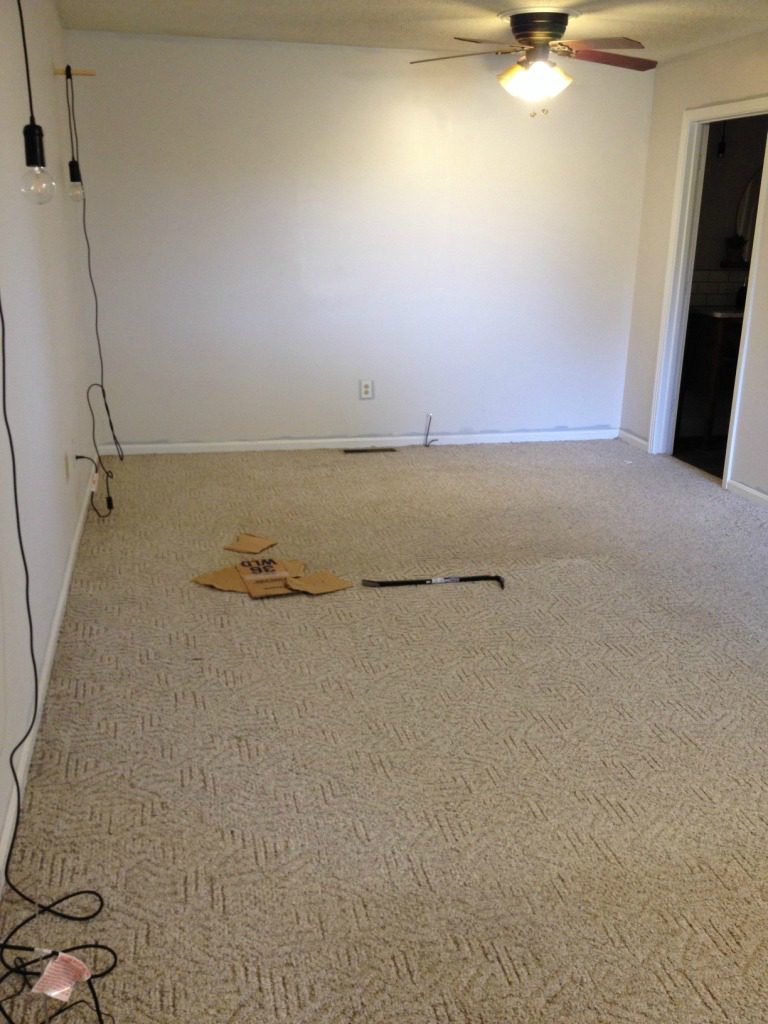
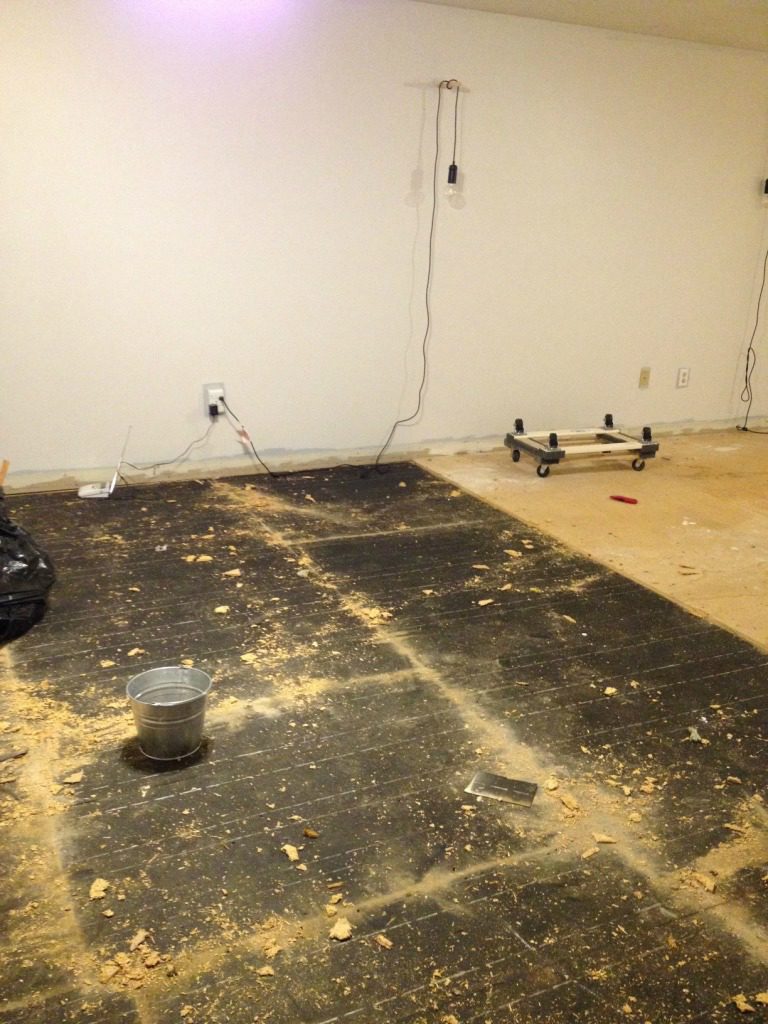
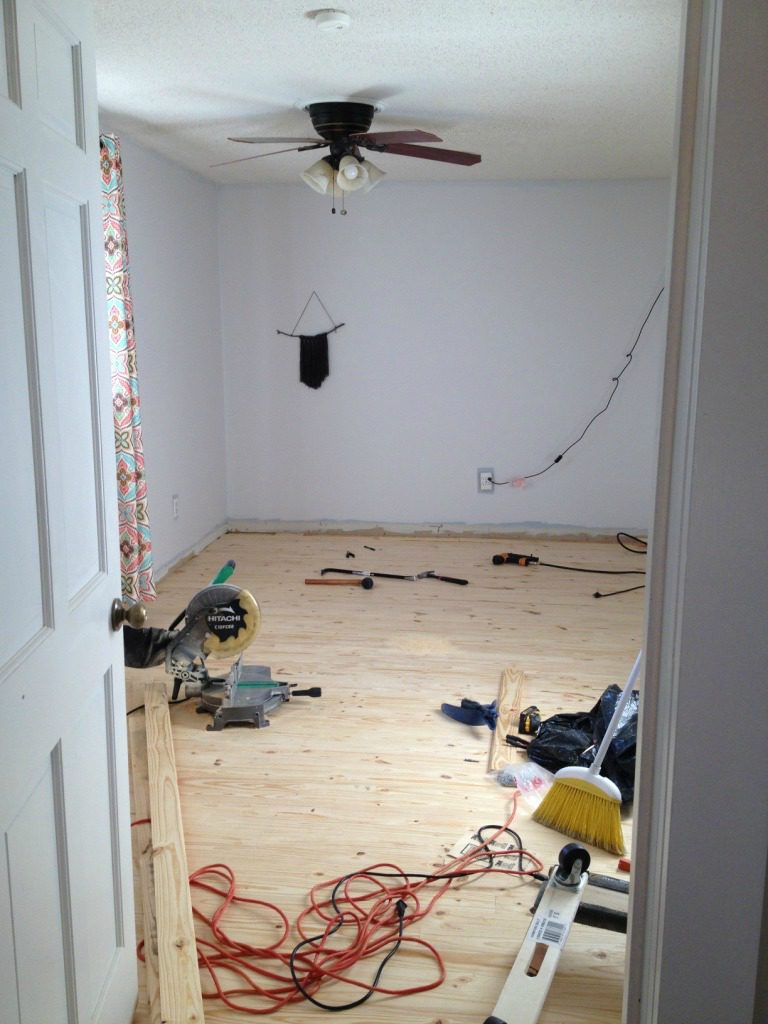
First, we removed all the baseboards and door trim (door trim was optional, but I was redoing it anyway), and pulled up all the carpet. Our carpet was laid on top of particle board. You’re not supposed to lay wood floor directly over particle board (so says the internet), so we removed it as well to get all the way down to the subfloor. The black stuff here is tar paper…that’s a moisture barrier over the subfloor boards. It looked to be in good shape, so we just left it instead of getting a new one. We swept it really good before we put anything on top of it to prevent creaks.
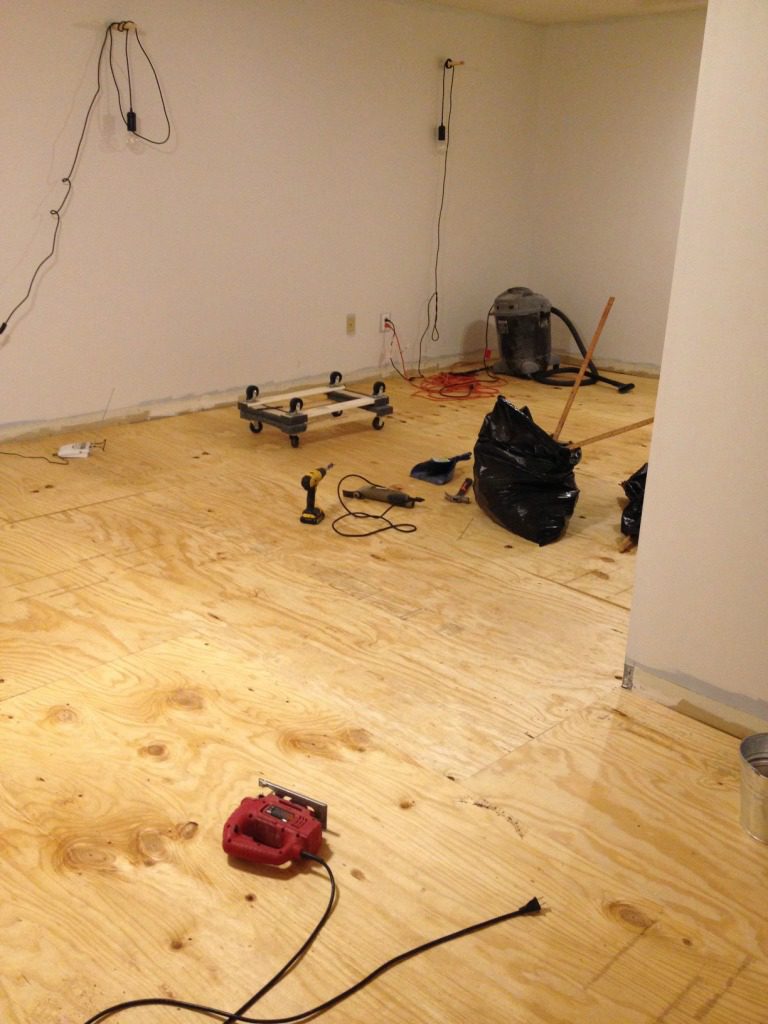
Once the particle board was gone and the tar paper swept clean, we laid plywood down as our underlayment. Now, I’m not including the cost of the plywood in the $1.50, because you would need to do this no matter what type of wood floor you were laying down….just wanted to clarify. It actually didn’t add much to the cost anyway, though.
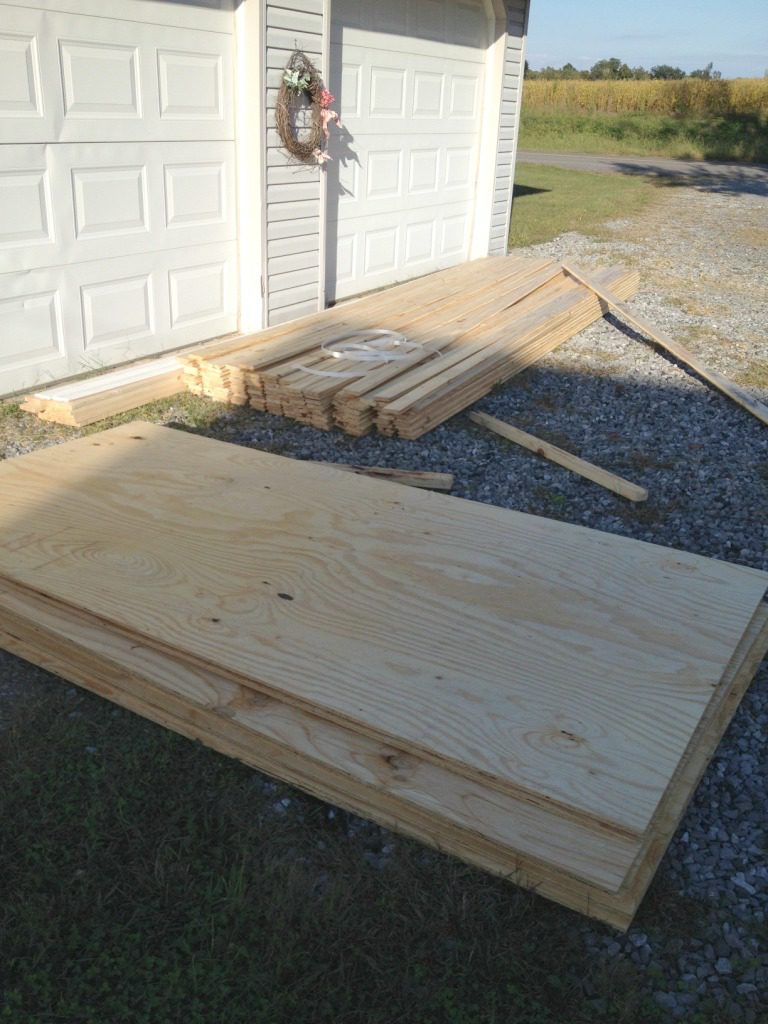
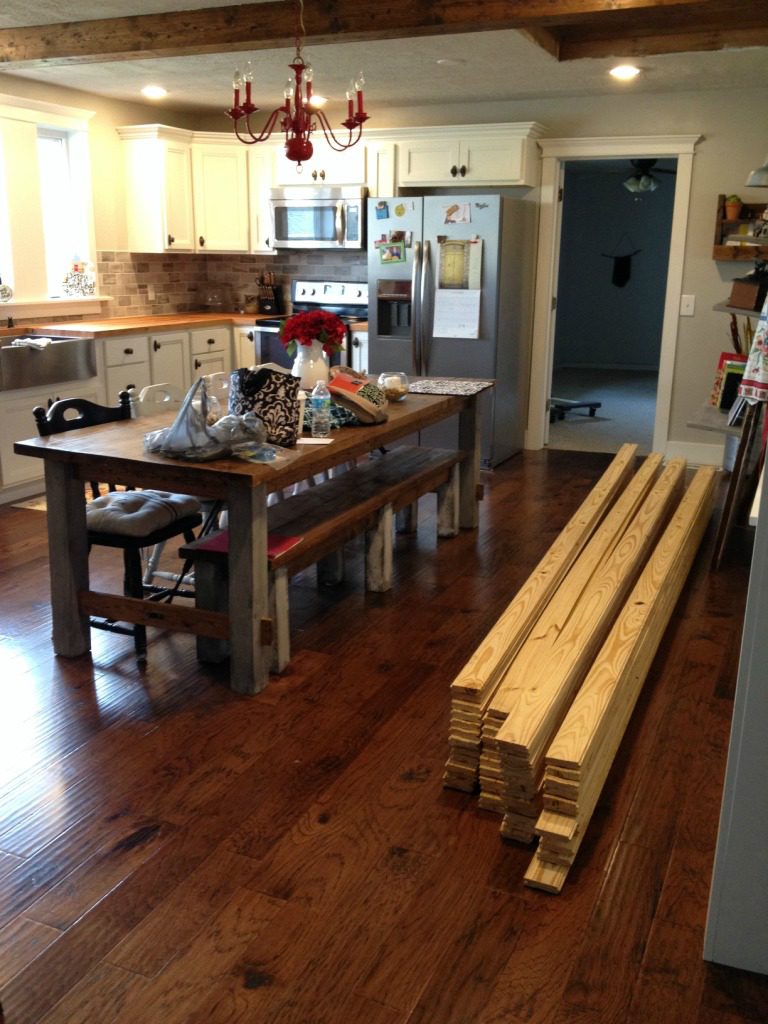
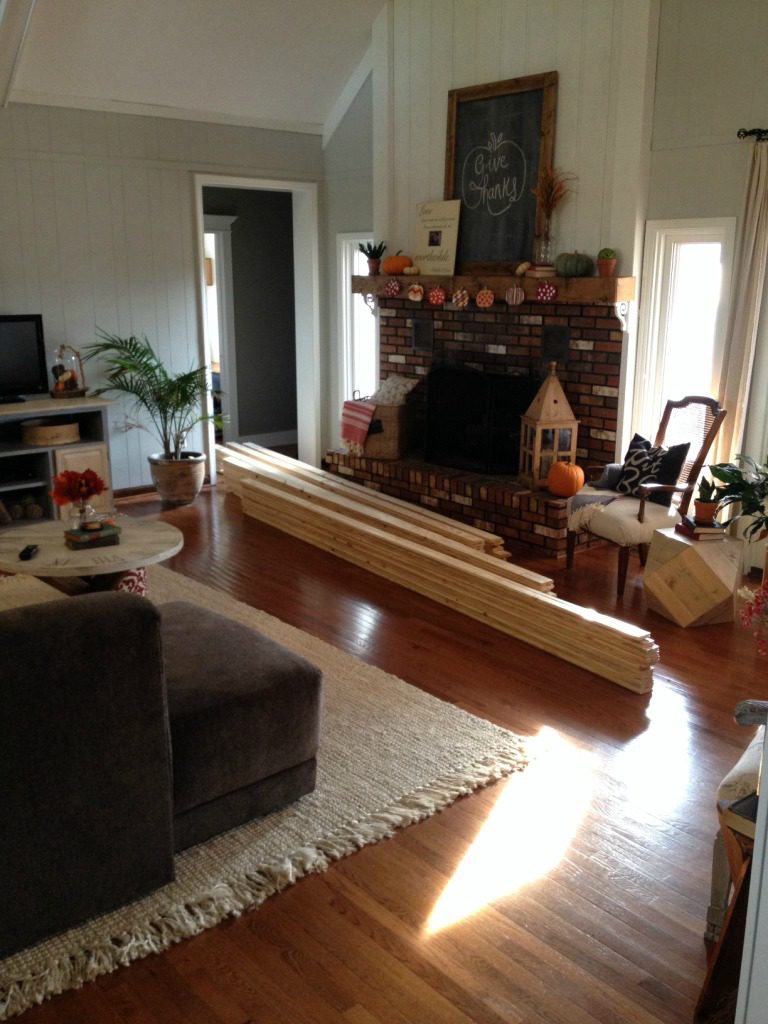
Once the plywood was screwed in place, it was time to lay the floor. I had ordered (I will discuss where in a second) about 400 square feet of tongue and groove unfinished pine flooring and had it delivered about a week prior to this.
We moved it inside (where we could find room) to let it get acclimated to the inside humidity and temperature.
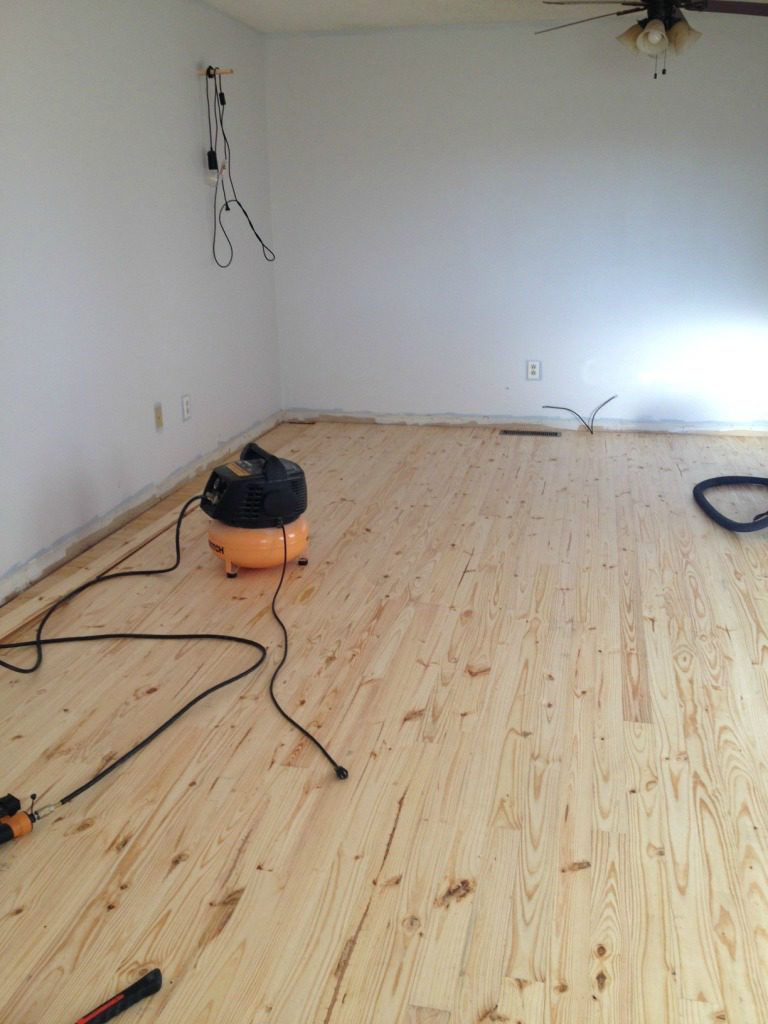
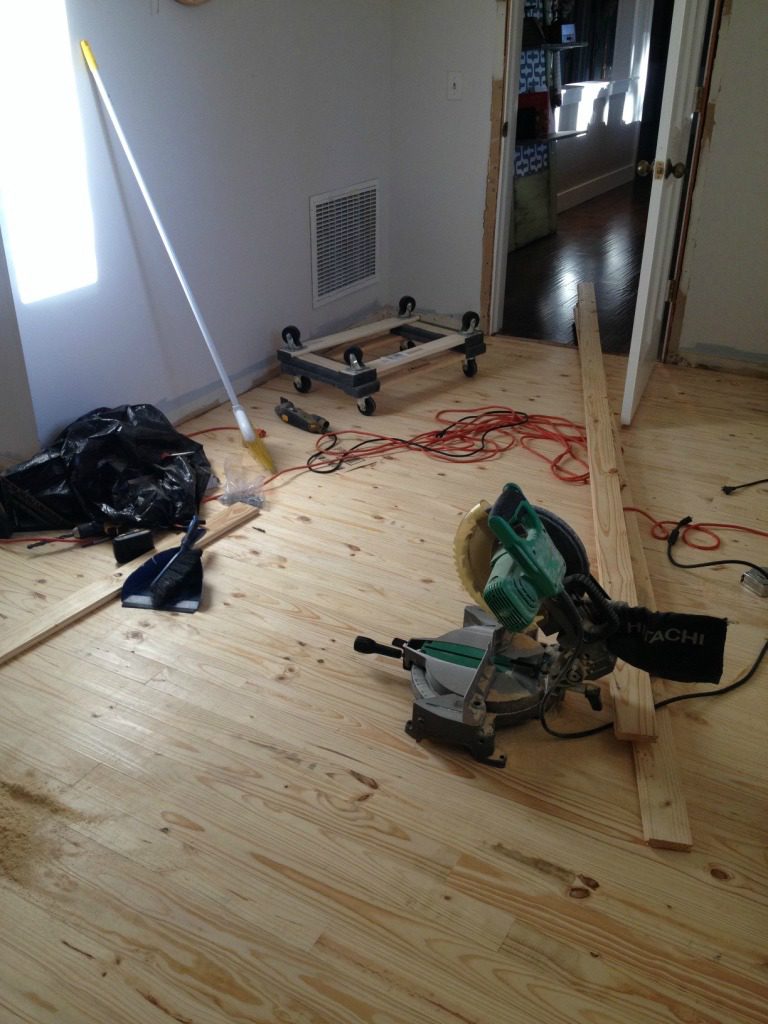
When we got ready to lay it, I brought my miter saw into the bedroom and cut pieces as we went. The boards were 12 ft lengths, so laying it went fairly quickly. We would cut at random lengths so none of the ends lined up next to each other. We borrowed the floor nailer from a friend and stapled into the tongue of the board. When we got close to the wall, we used my finish nailer since the large nailer wouldn’t fit.
Once all the floor was down, it was time for cleanup. We swept and vacuumed all the dust up and then sanded. Here’s the deal with the sanding. The internet (which we all know is always right) will tell you to rent a large floor sander and go to town. However, I’m cheap, lazy, and never off work when the rental place would be open. So I took my chances. Our floor was already very level and I didn’t see any places where the boards didn’t match up, so I gave it a good sanding with my orbital sander and some 220 grit discs. I really don’t think any more sanding was necessary. And, yes, in case you were wondering, it took FOREVER and my knees felt like they were on fire by the time I got done. Note to self…invest in knee pads.
.
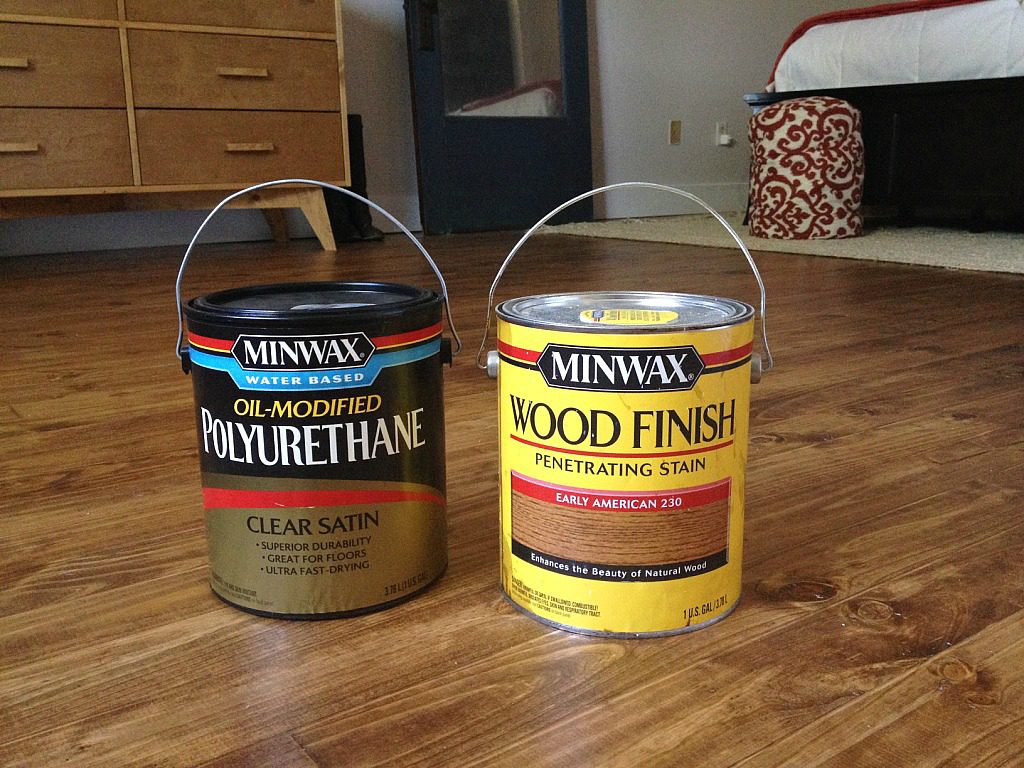
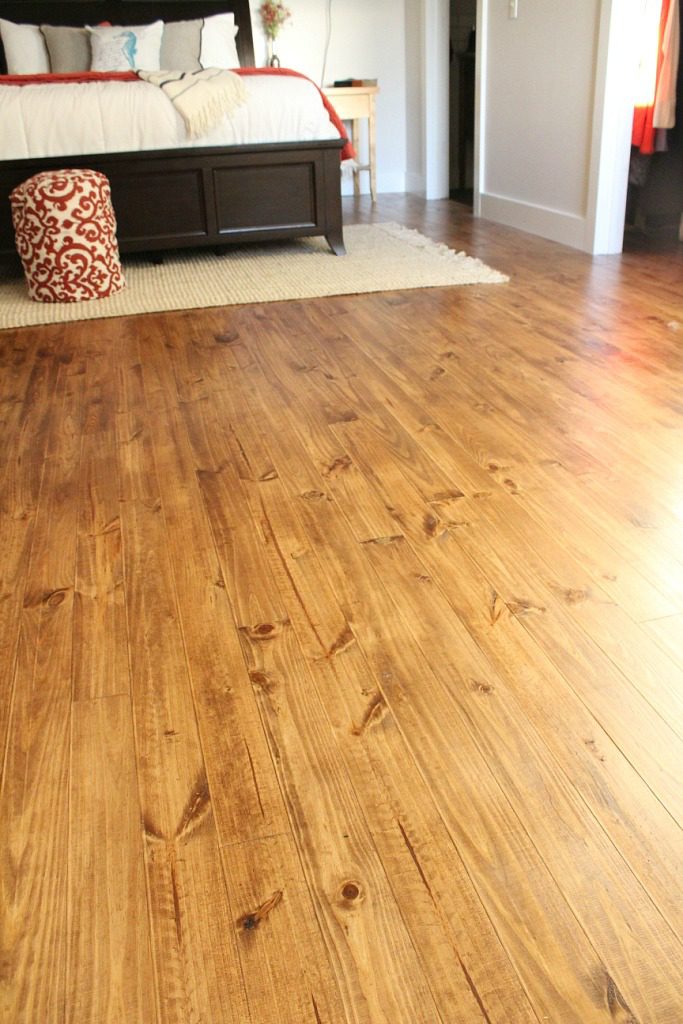
Once the sanding was finished, we cleaned….and cleaned….and cleaned some more to get all the dust off everything. Then it was time for stain. I used an old rag and got on my hands and knees AGAIN and stained the entire floor with Minwax Early American (aff link). I bought the gallon, but I probably could have done it with a little over a quart. A little stain goes a long way.
Once the room was stained, I let it dry overnight and then polyed it with Mixwax Oil Modified Poly (aff link). We hand sanded with 400 grit paper between coats. It was a lot of work, but totally worth it. The poly was supposed to cure for a few days before replacing furniture, so I used this time to work on the baseboards and door trim. Trim always takes longer than you expect it to….
.
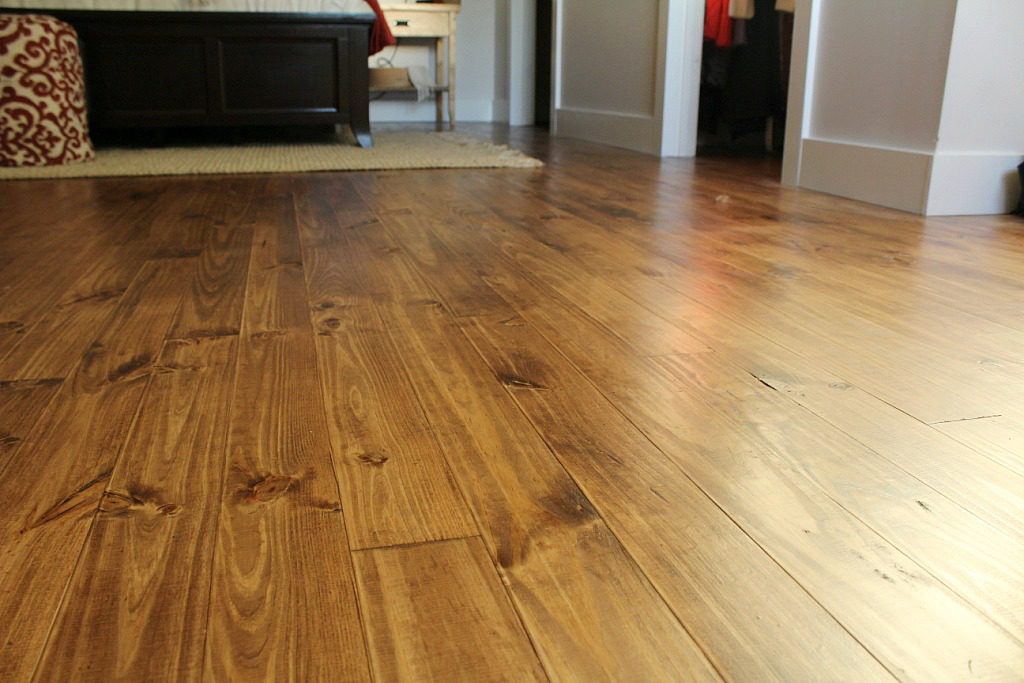
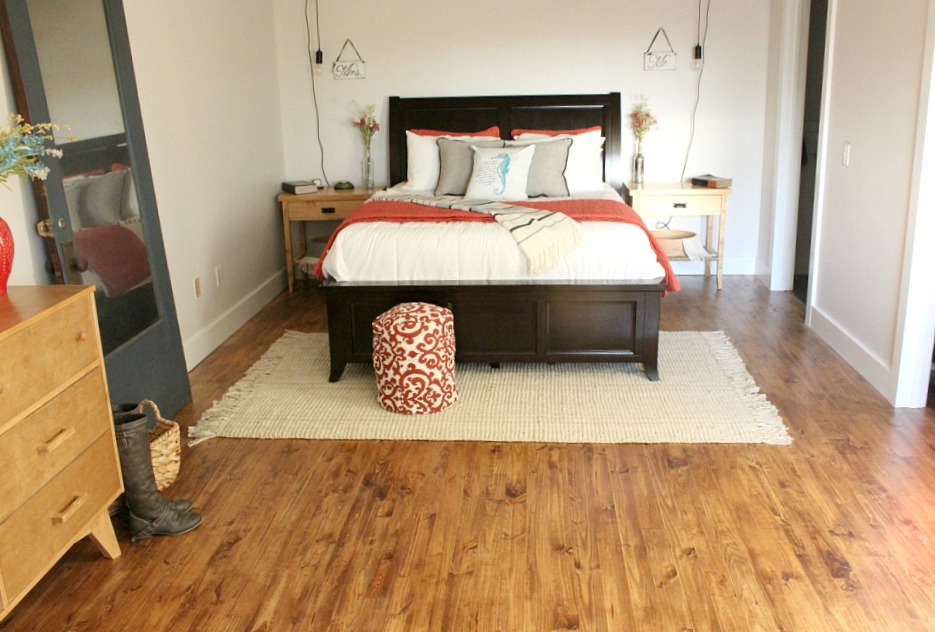
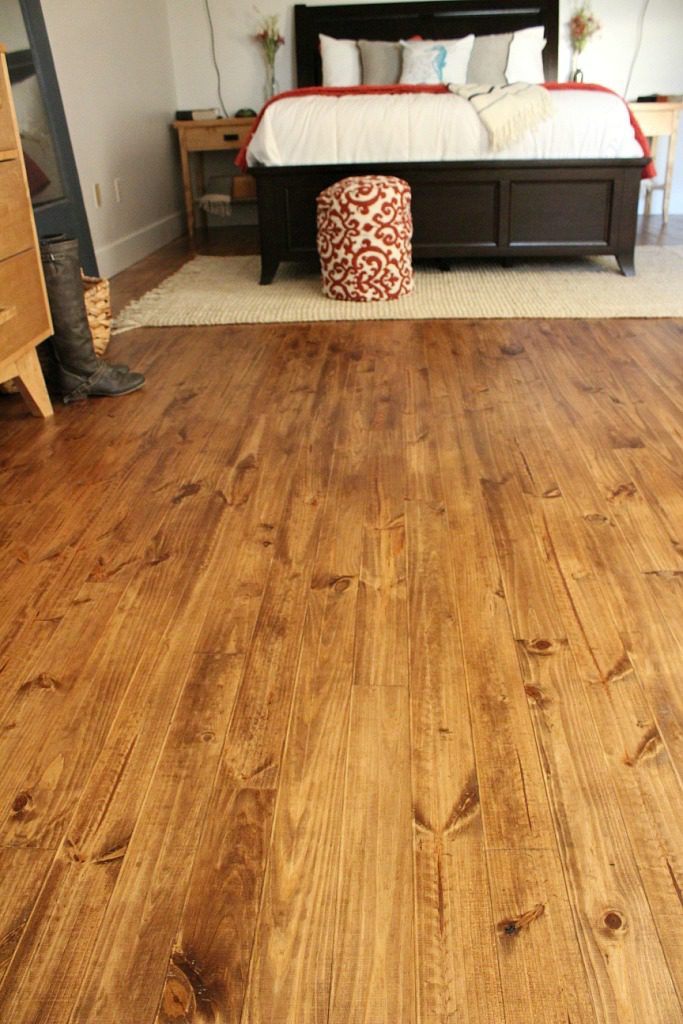
When all was done and the furniture was back in, I LOVED the new floor. I’m going to be honest, when it was delivered, I was a little worried I made a bad decision, but I’m telling you, once it was installed and finished, I love this stuff and you really cannot tell it was a “budget” floor option.
So now to the cost details….that part you all want to know about. Our flooring itself was about $1.30 per square foot. We bought it from the local lumber yard. Who would have thought to check there?? You can purchase unfinished pine flooring from big stores like Lumber Liquidators and other online stores for reasonable prices, but then you’ll have to pay shipping and what if you get a bad batch? Where do you go to return something like that?
.
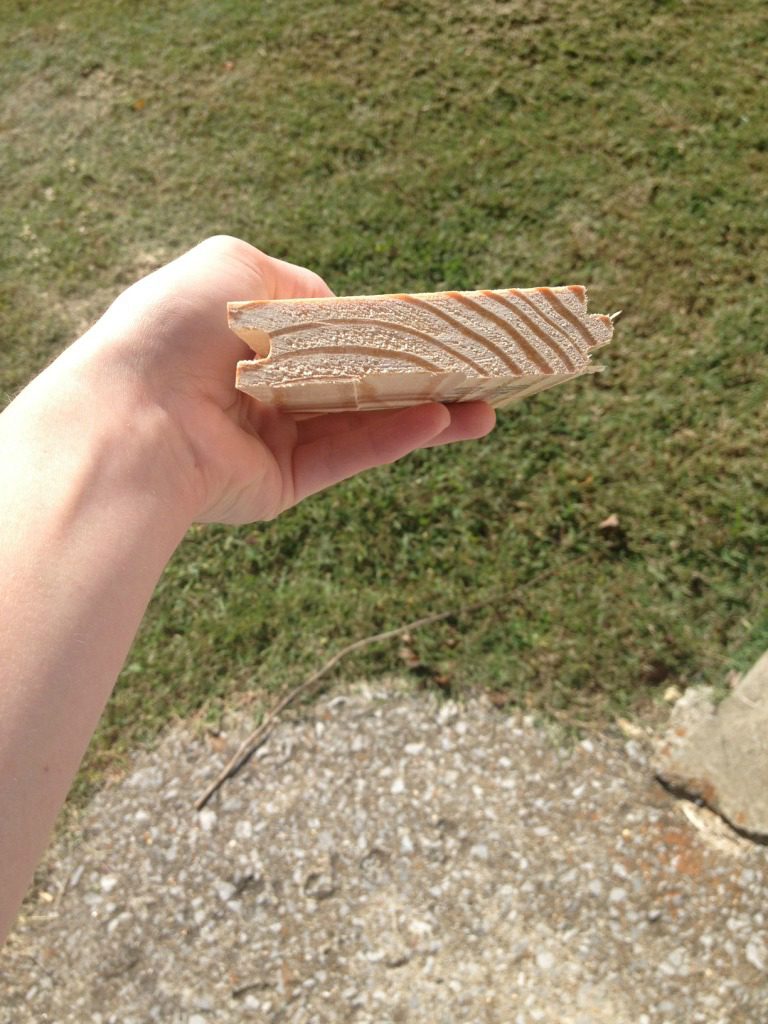
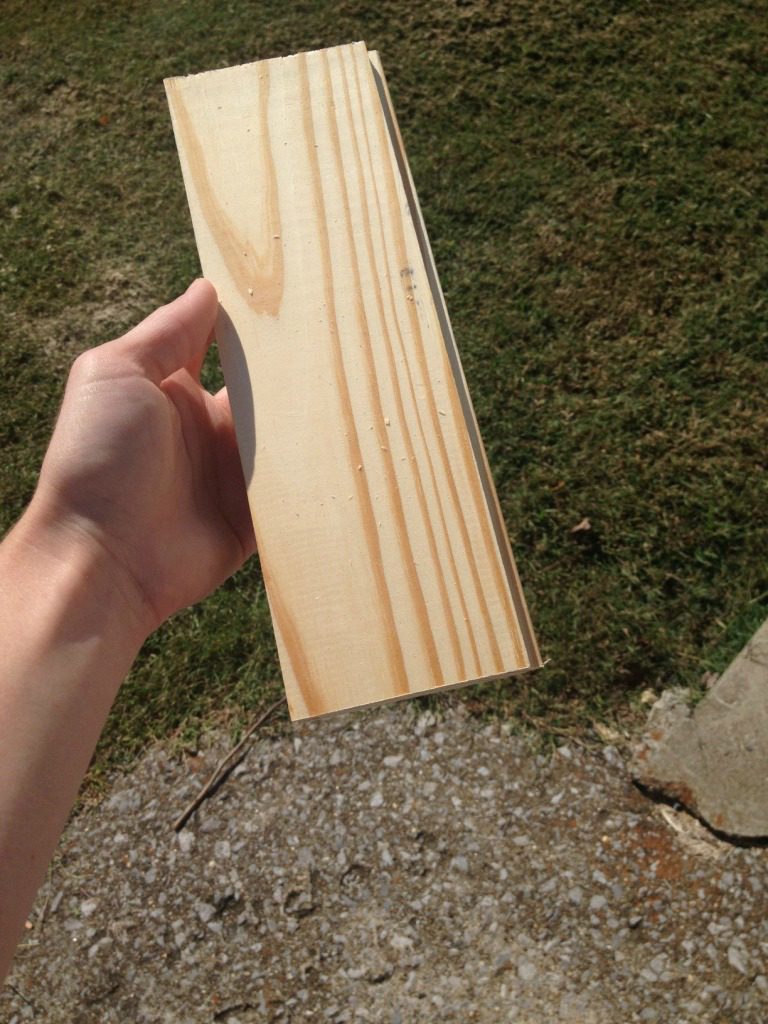
That’s why I chose to go local. I trust the guys at the local lumber yard (by the way, if you are local to West Kentucky, I highly recommend Cole Lumber–good prices and good service–and I don’t get paid to say that), and they were very helpful when we were trying to decide what we wanted. What we purchased was 1×4 tongue and groove yellow pine #2 in 12 ft lengths. The tongue and groove is only on the long edges, not the ends. This makes it a little more difficult to get a super tight fit, but it saves you a TON in waste. You can butt any board up to any board and don’t have to worry about the direction of the tongue on each end.
They price them to you in price per board, not in square feet. You have to figure the sq ft per board to figure out what the price is per square foot and figure out how many boards you need. With the tongue and groove, the board was about 3 ¼″ wide x 12ft long so 3.25″x12ft / 12″/ft= 3.25 sq ft per board. Each board was about $4.22 (if I remember correctly), so $4.22/3.25 sq ft= 1.30/sq ft.
.
I wanted wider planks, but they were much more expensive and would have to be special ordered. The 1×6 planks were three times as much and they came in what they call a “D” grade, which basically means there are like no knots. To me, no knots=no character, so I wanted #2 grade, which will give you plenty of knots, but not a lot of deep knots. So I went with the #2 1x4s instead and I’m glad I did. The narrower the board, the less likely they are to cup too, so that’s another plus side.
The cost of the stain and poly and sanding discs divided over the almost 400 sq ft that we laid, added about $0.20 to the sq ft, so basically, the floor costs us about $1.50/sq ft and some sore hands and knees. That’s a steal if you ask me.
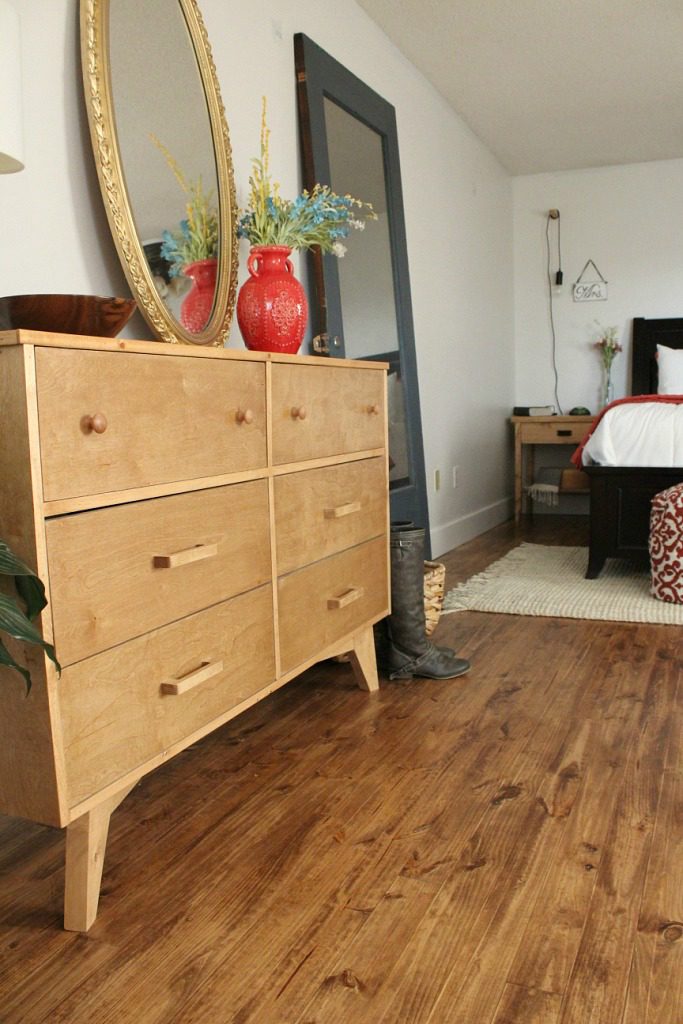
PS, remember my dresser and nightstands? I love them so much more sitting on wood floor than the old carpet floor.
One thing to mention is that you do have to consider that pine is a soft wood. Oak, hickory, birch, and other common floor types are hardwoods. So pine won’t be as hard as hardwood flooring, but the thing about pine is that is wears really beautifully. A dent or a scratch here or there will blend in with the knots and just add more character. Plus, unless you plan to be dropping big heavy things on it all the time, I don’t see that dents would really be that big of a concern. The plus side of finishing your own flooring is that if you do get a scratch, gouge or dent, you can just wipe a little stain and poly over it and no one will know. That gives me so much peace of mind.
I seriously love this flooring and the wood adds so much warmth to our bedroom. Can you believe we did it for $1.50/sq ft?! What do you guys think? Is this something you would try?
I would do this all over again (and I plan to for our other two bedrooms later) and I do not one bit regret putting this in. It makes me smile every time I walk in here. My wallet is smiling, too. So, if you guys are looking for a budget flooring option, you can TOTALLY do this. It’s a good project to DIY and it’ll obviously save you a TON of money. Give it a try 🙂
.
Until next time, happy DIYing!





Shara,
One thing to remember about the pine floors is that high heeled shoes will dimple the surface. That doesn’t always look too good or blend in easily. My mother’s house, which is now mine (I hate that house – long story; currently residing in what was my Grandmother’s house – also long story; hopefully moving into a house I want soon – and yes, another long story {I really don’t have any short stories, lol}), has pine floors and when I was a teenager, my sisters and I learned the hard way to put our shoes on as we were leaving the house and not to walk around on the floors with our heels on.
Maureen
Hi Maureen, Yes, pine floors aren’t as hard as the typical oak or hickory flooring. We haven’t had any issues so far with ours (going on two years with them now), but I also don’t wear high heels except occasionally on Sundays for church. We are careful not to drag anything sharp around on them, but I’ve scooted a VERY heavy dresser around on them and surprisingly, it didn’t mark them. They’re not for everyone, but for the look and the price, we would still do them again 🙂
Floors look beautiful. Can I ask why you changed direction of the flooring from the other room into this room? thanks, chris
Thank you! We changed direction because we wanted to lay the floor so the boards ran parallel to the length of the room. The two rooms lengths were perpendicular, so we switched the flooring direction to be perpendicular.
Your floors are FABULOUS! Well worth the work involved. Great job, Shara!
Thanks, Brooke!! The pine flooring is such a great budget friendly option…and it has so much character too!
Well done! I’m 73 and laid 1200 sq ft of vinyl planked flooring, so I know what you mean about the sore knees! Love the look and the idea that any damage will only add character.
Thank you! I can imagine how sore your knees were…I only laid a third of what you did! Thanks again 🙂
So so beautiful! I basically want everything in your house. Come help me with my new house please! 😉
Thank you so much, Mary!!! I’d be glad to come help 😉