
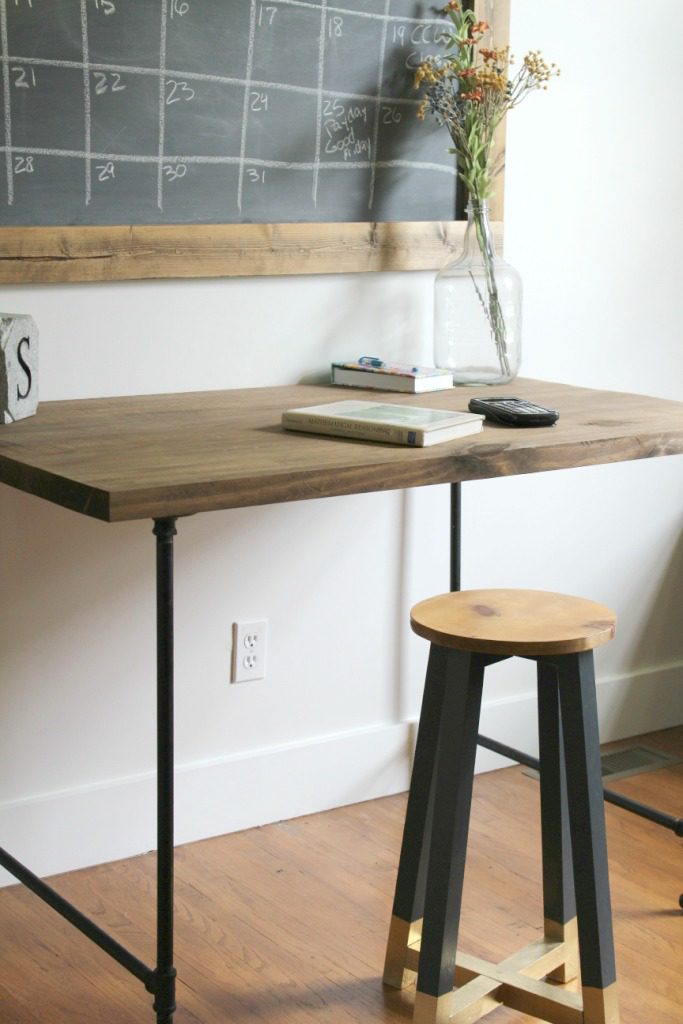
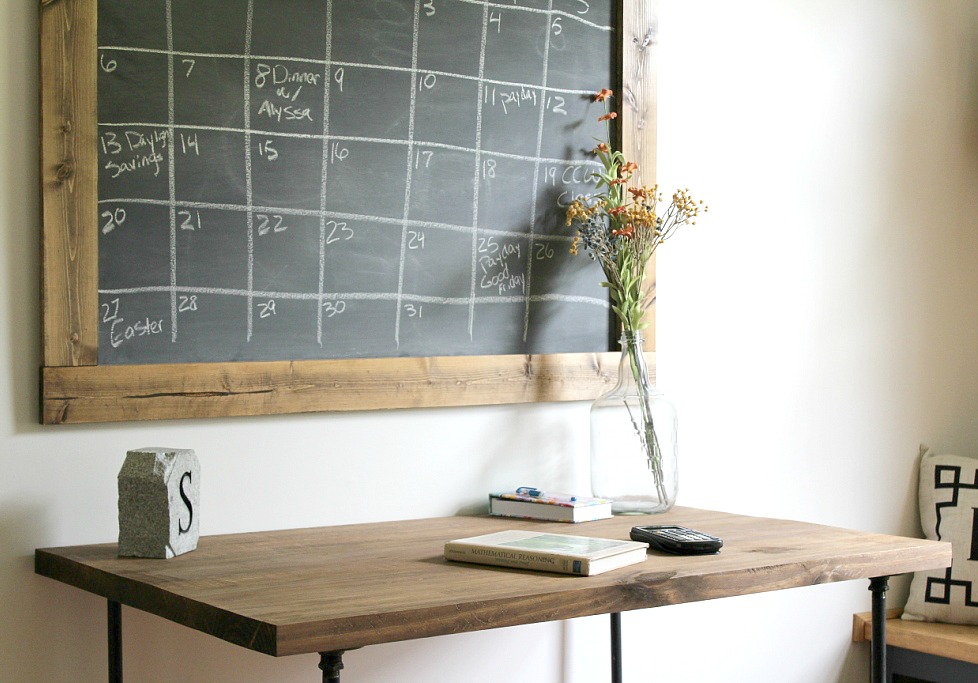
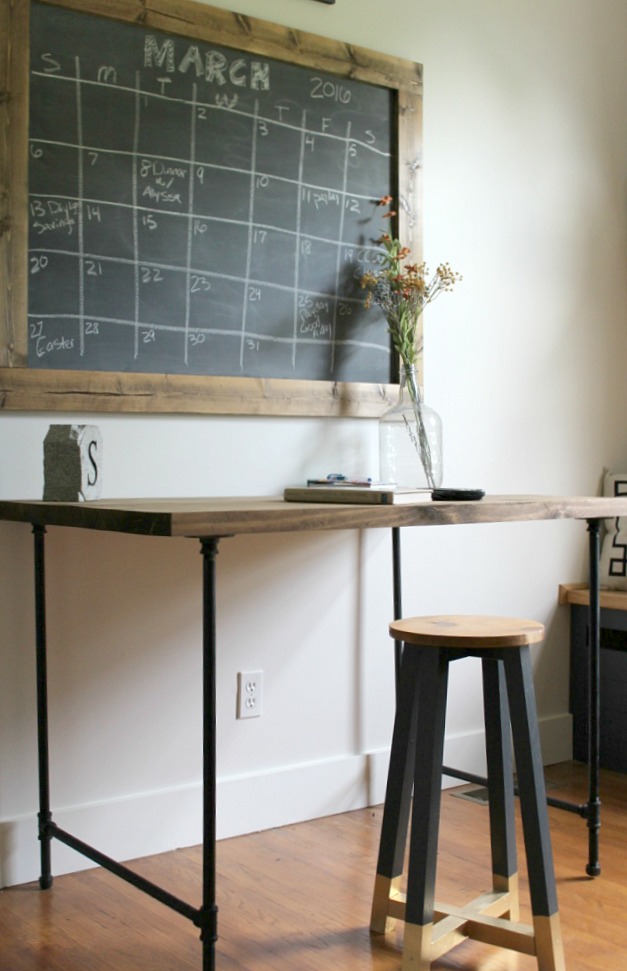
Need a super easy desk idea? Look no further. Not only is its style “on point” (kids these days…where do they come up with this strange lingo?), but it is a crazy simple build and sure to be a conversation starter.
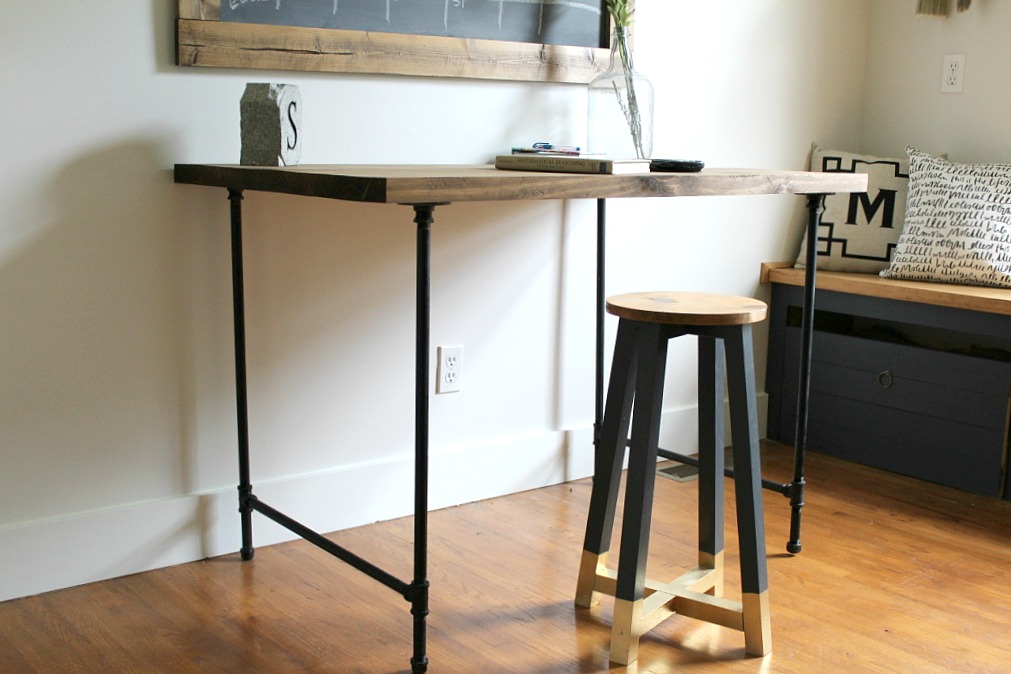
Simple, industrial, rustic. What more do you want?
.
Plus, this could be a console table, dining table, foyer table…the possibilities are endless. And you can have it done in no time. No kidding.
Of course, if industrial isn’t your thing, I have a few other suggestions on desk ideas I might suggest ; ). This one is nice, too.
.
So anyway, let me tell you how to build this desk. It’s literally 5 steps (YOU CAN TOTALLY DO THAT)…and the last one doesn’t even count.
.
This post contains affiliate links for your convenience. See disclosure policy for more information.
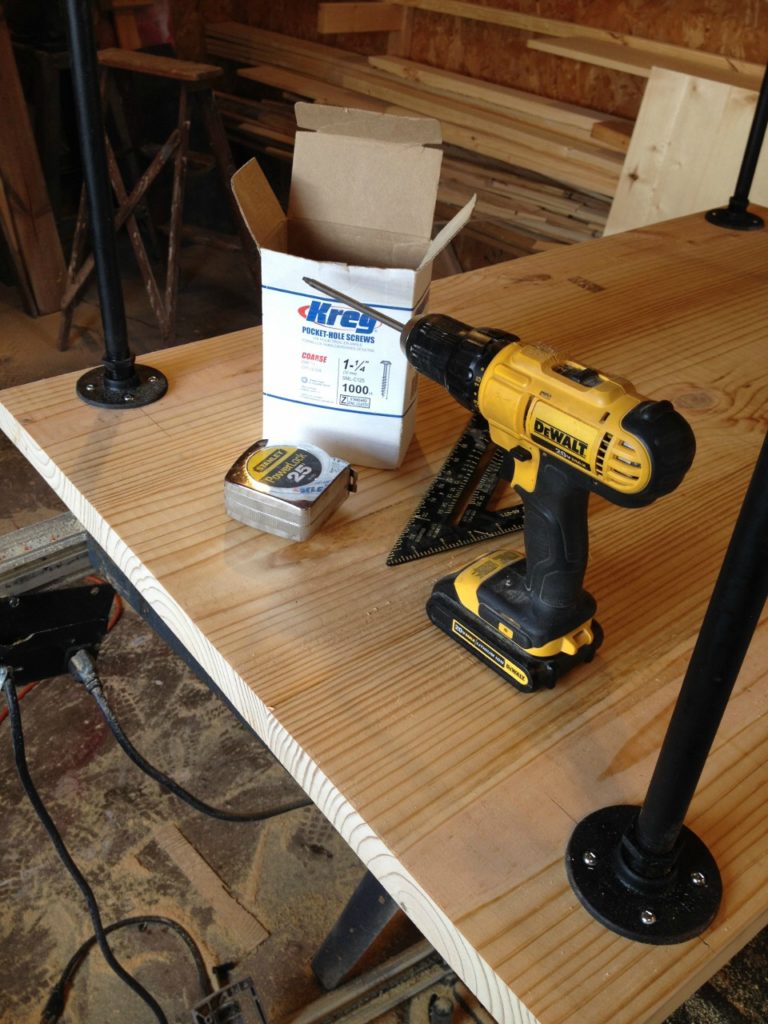
Tools needed:
Wrench or channel locks (handy, but not required)
.
Materials needed:
(4) ½″ black flanges
(4) ½″ end caps
(4) ½″ tees
Wood for top (size of boards will be determined by size desk desired)
Black Spray paint
1 ¼″ Screws (I used Kreg Screws)
.
I will give one word of caution: precut and threaded black pipe isn’t cheap. If you are able to cut and thread your own pipe, you can buy larger pieces and cut and thread them yourself to save some money. You may be able to do this at a local hardware store, but be aware they may charge for this.
.
Okay, so Step # 1: Assemble the pipe
.
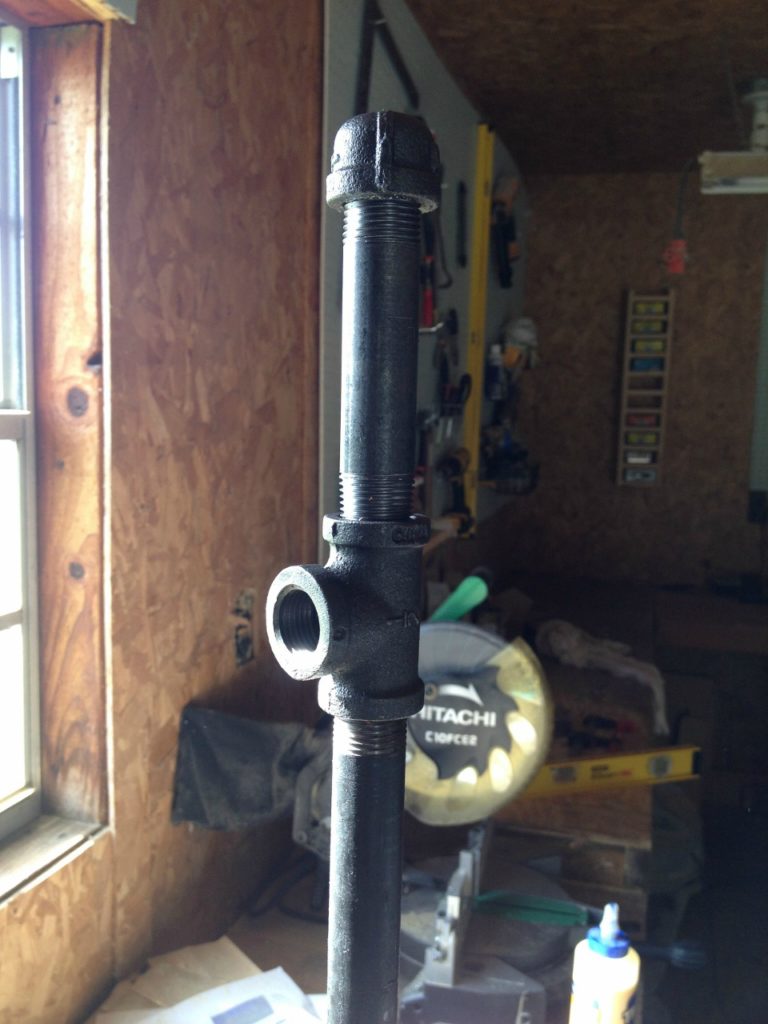
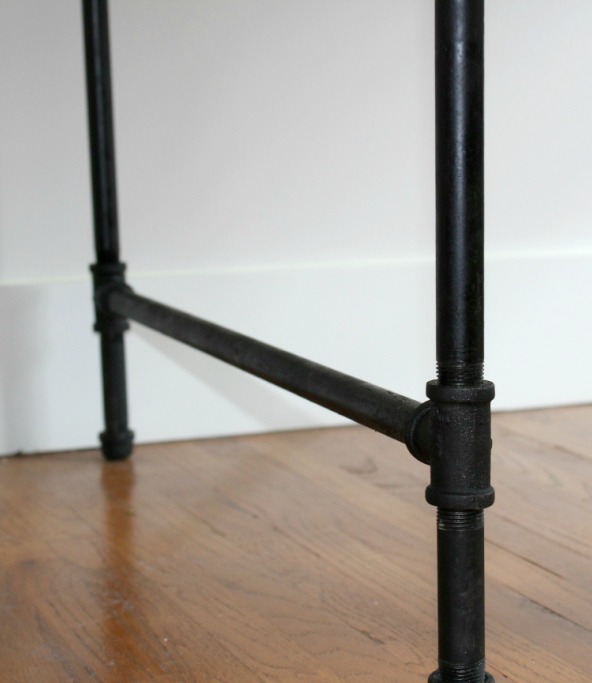
Screw the 2′ pipe into the flange first. Then add the tee onto the other end of the 2′ pipe. Screw the 4″ piece into the other end of the tee and screw the cap on the other end of the 4″ pipe. It’s easier to see in a picture. So from bottom to top we have: flange, 2′ pipe, tee, 4″ pipe, cap. Screw them as tight as possible–use a wrench or channellocks if you have them.
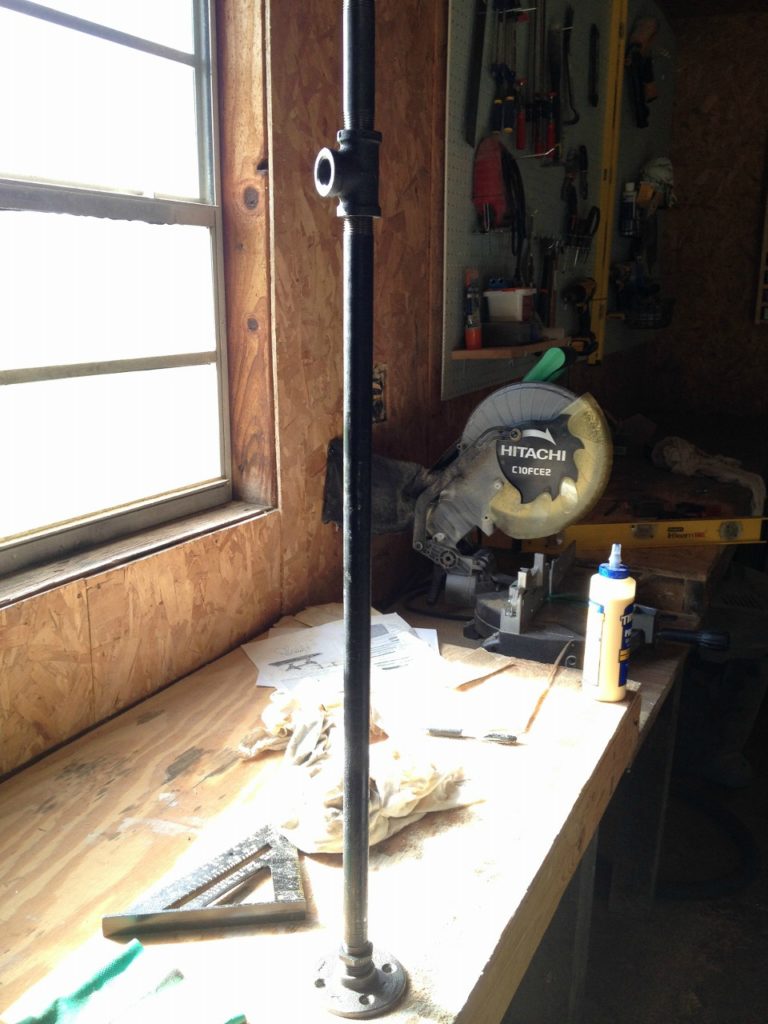
These are your legs. You will do this four times.
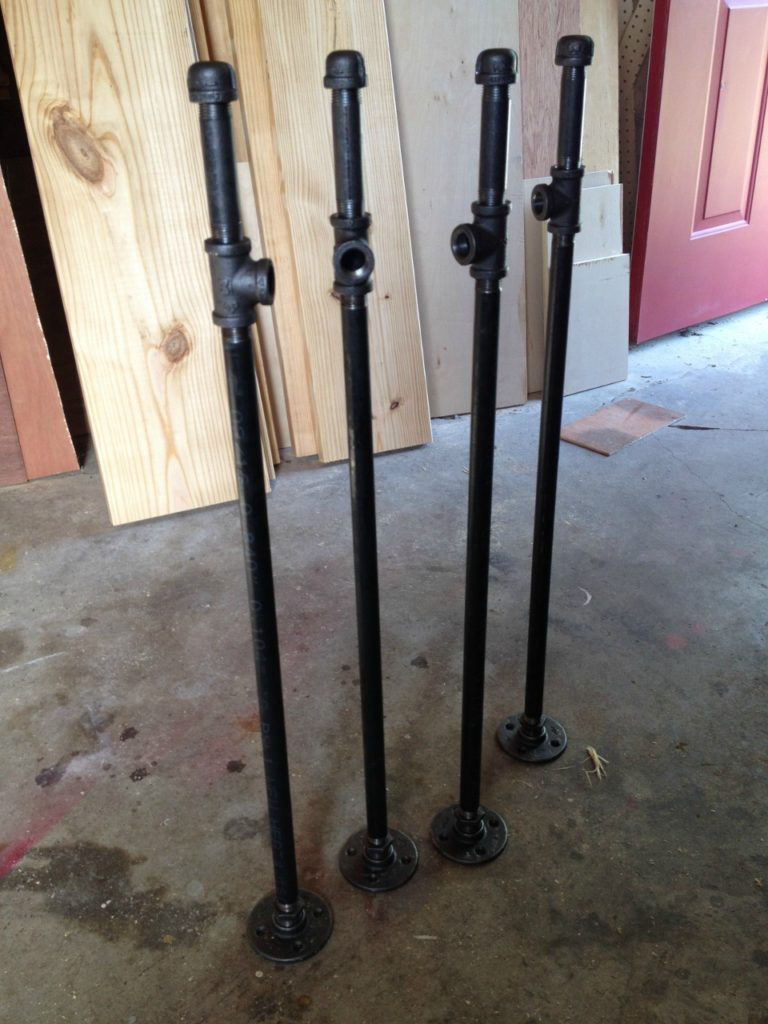
Now screw two legs together with the remaining 2′ long pipes. You will have two “sets” of two legs attached with the pipe.
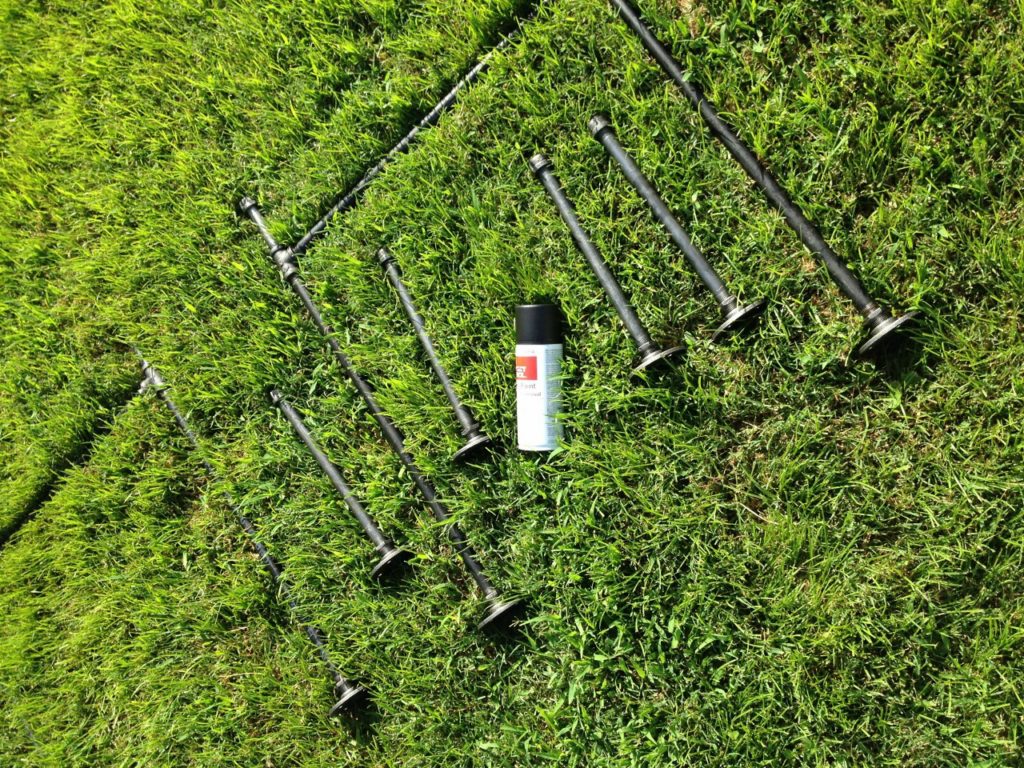
So, moving on to Step #2: Clean and paint the legs
.
The legs will be dirty. You can clean them with a rag and alcohol or Simple Green if you have any. Any type of degreaser–even dish soap–will get them pretty clean. They don’t have to be PERFECT…you just don’t want dirty hands just by touching it. Once you have the dirt and grease off, give them a couple good coats of spray paint.
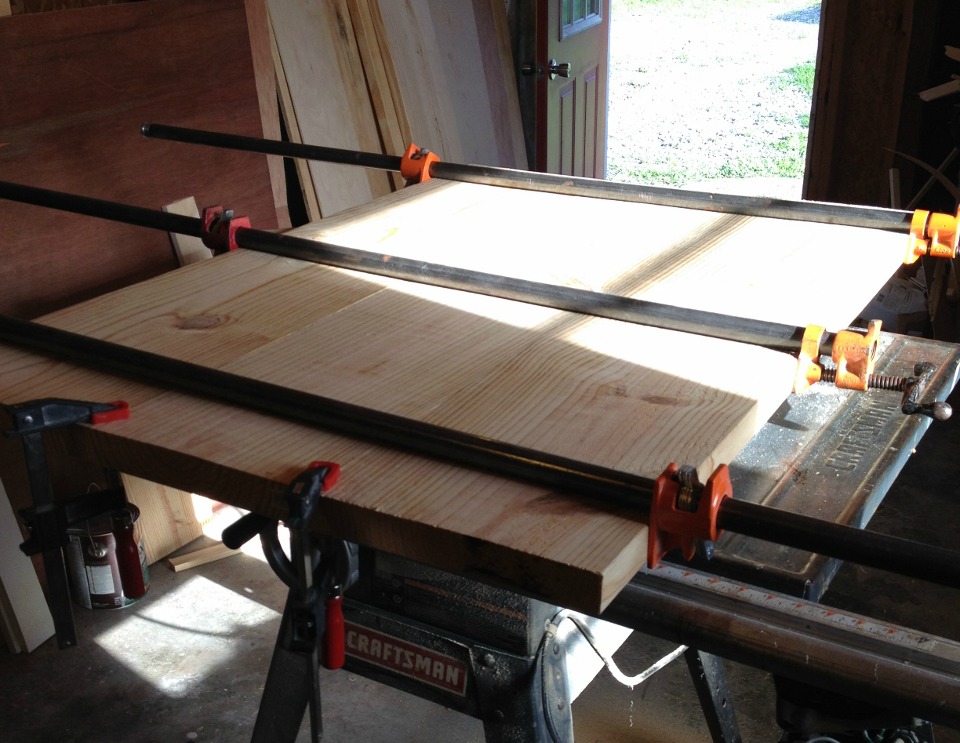
See? So far it’s easy peasy. We are already to Step #3: Assemble the top
.
You can check out my post here on how to build a table top. Basically, you glue and clamp the boards. You can square off the edges if you have a table or circular saw, but it isn’t required. My table was 48″ wide, so I glued three 2×12 boards 48″ long together. You can have them cut the boards for you at the lumber yard or the home improvement store if you do not have your own saw.
Once the glue was dry, I trimmed it to the exact size I wanted and gave it a good sanding.
.
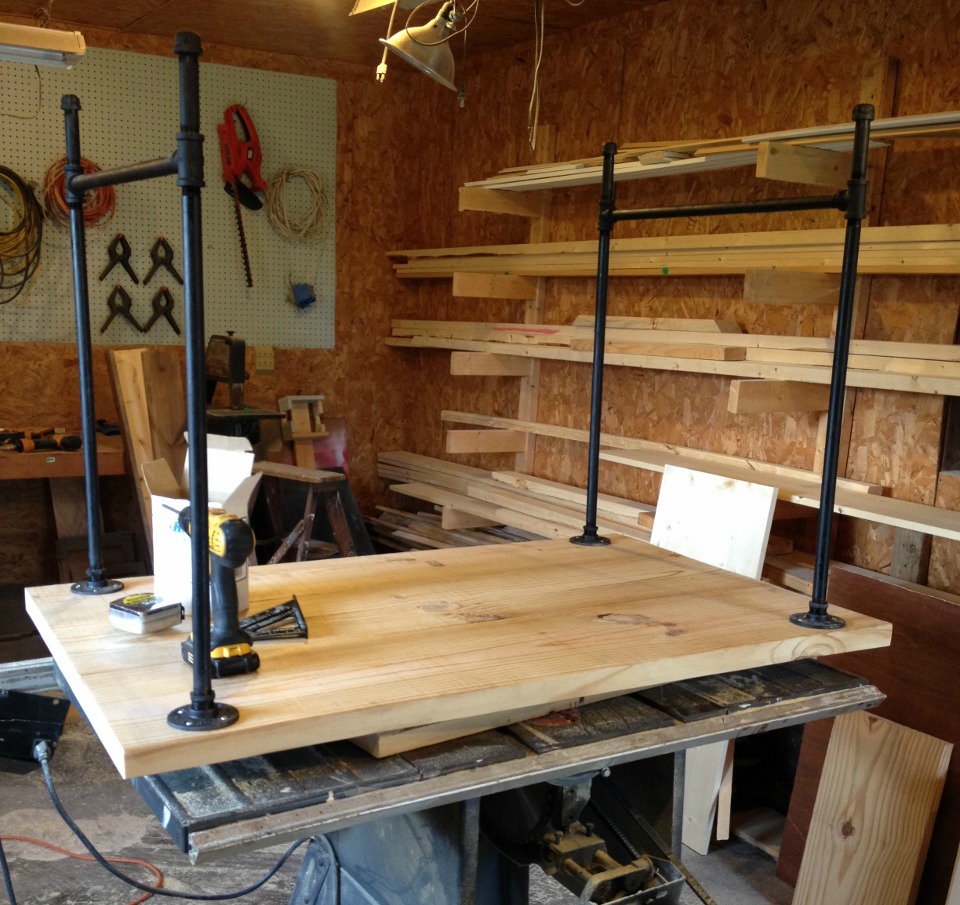
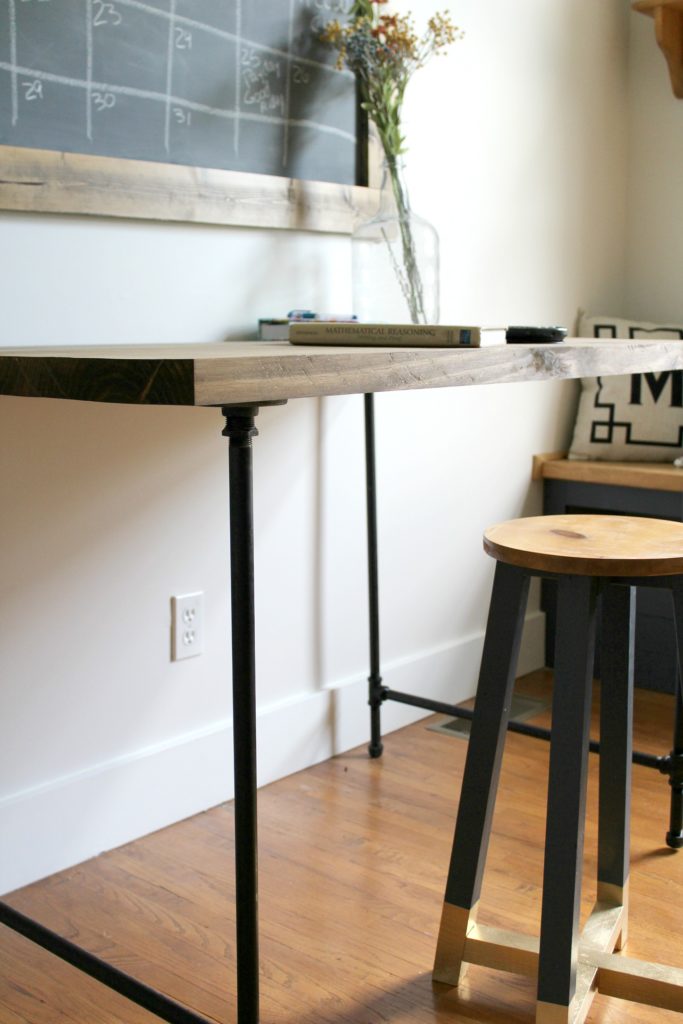
Now, for Step #4: Attach the legs
.
Turn the table top upside down (side you want to be the top should be down). Mark where you want to attach your legs. I centered mine from front to back and set the center of the flanges to be 4″ from each edge. I marked it out and screwed the flanges in place.
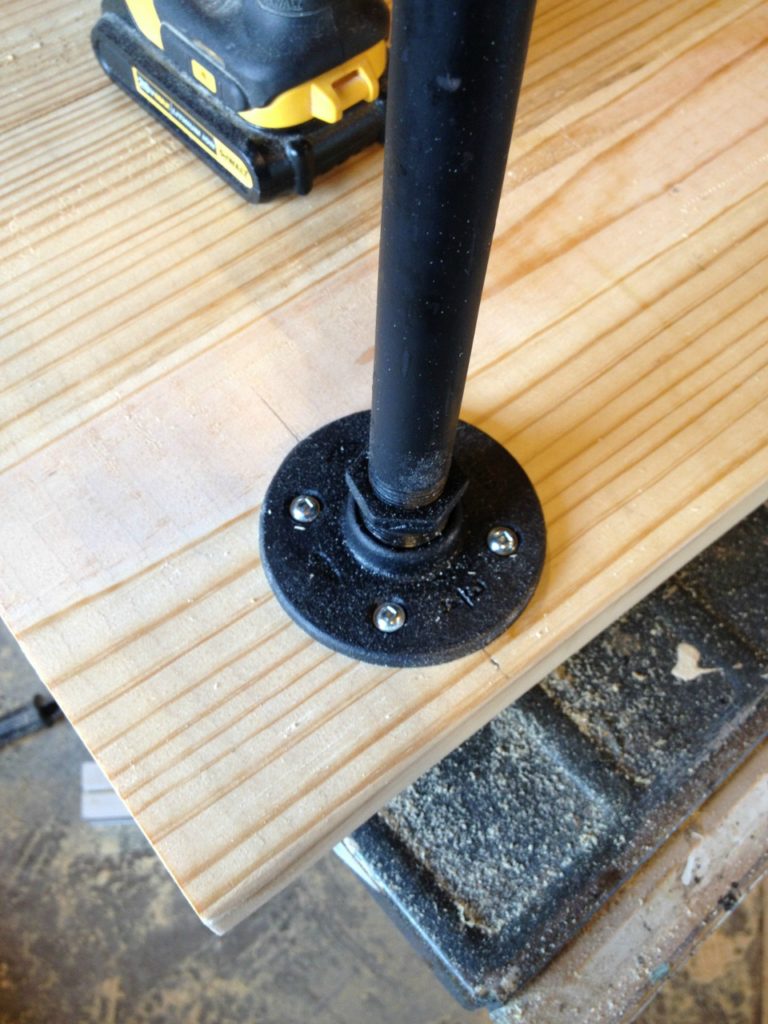
I used 1 ¼″ Kreg pocket screws because that is what I keep on hand. They fit in the flange screw holes perfectly.
Attach both leg assemblies, then you are ready for the next step! Almost done!
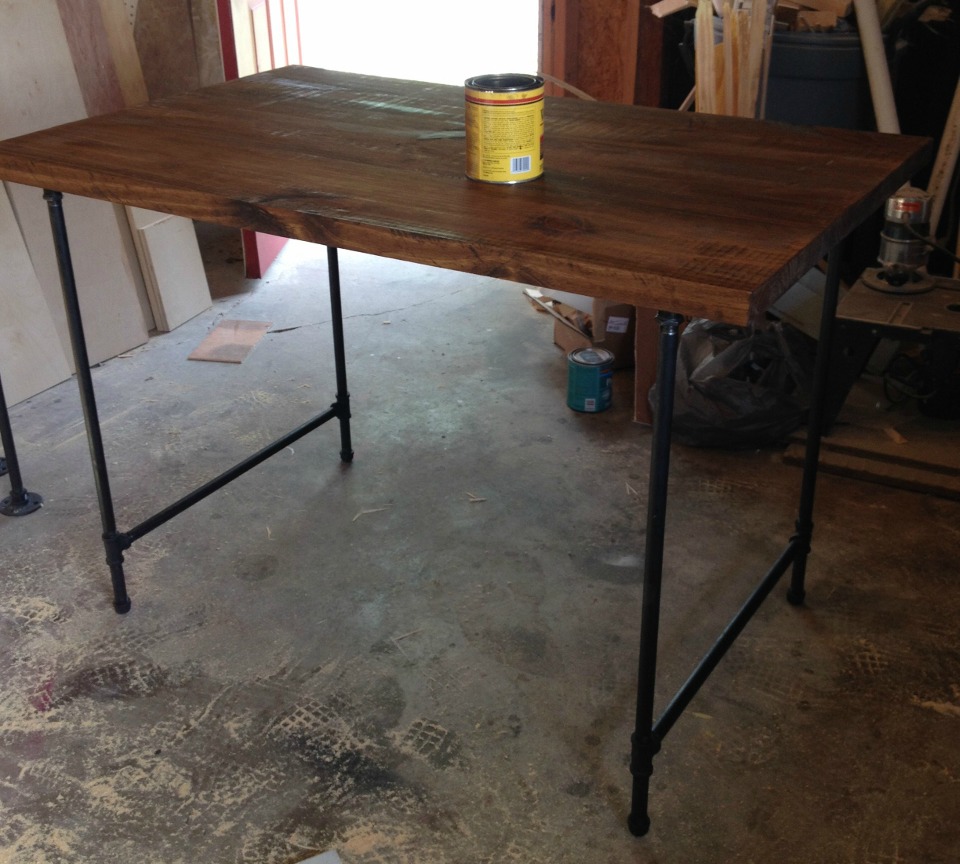
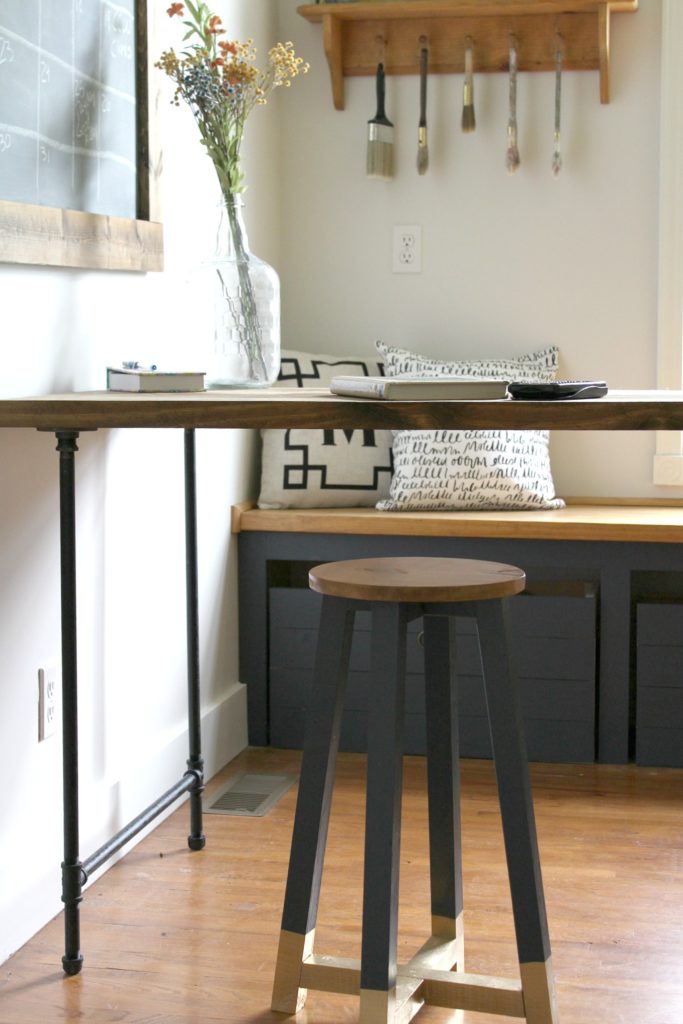
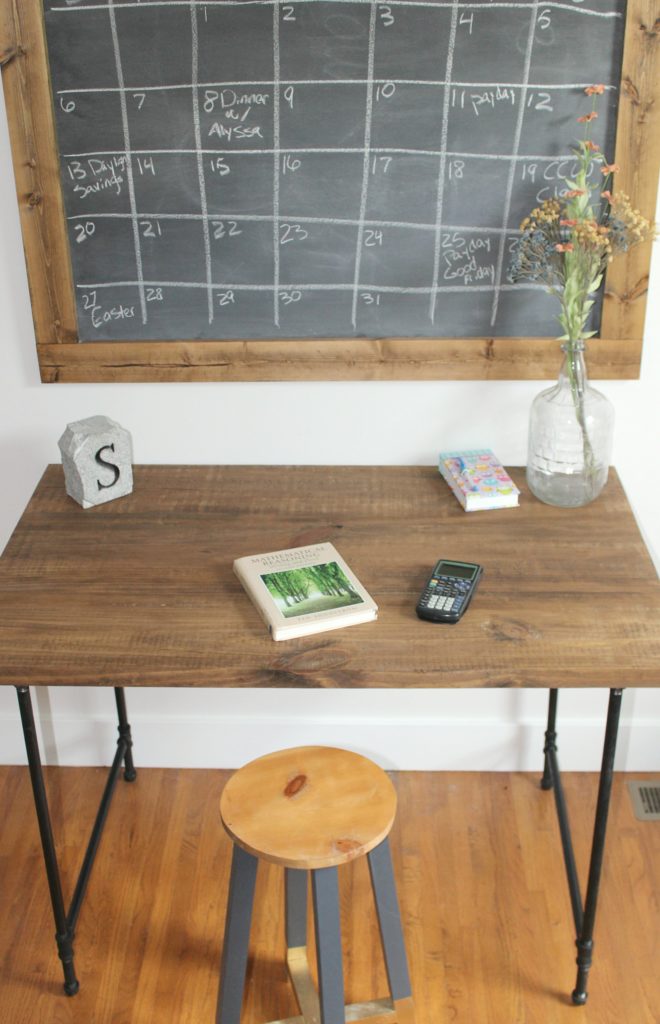
Now, this is Step #5–the step I told you really doesn’t even count: Stain and finish
.
Flip the table over and stain. I used Minwax Provincial stain. Once the stain was dry, I gave it a few coats of poly and it was good to go.
.
Of course, there is the optional Step #6: Bother your husband to help you get it inside so you can take pictures with your BRAND NEW CAMERA!!!
.
I can’t wait to tell you about it! I’ve never had a real camera before. I know, I can still use a lot of practice with it.
So, tell me what you think…about the desk, or my poor photography skills. Either is fine ; ) HA
.
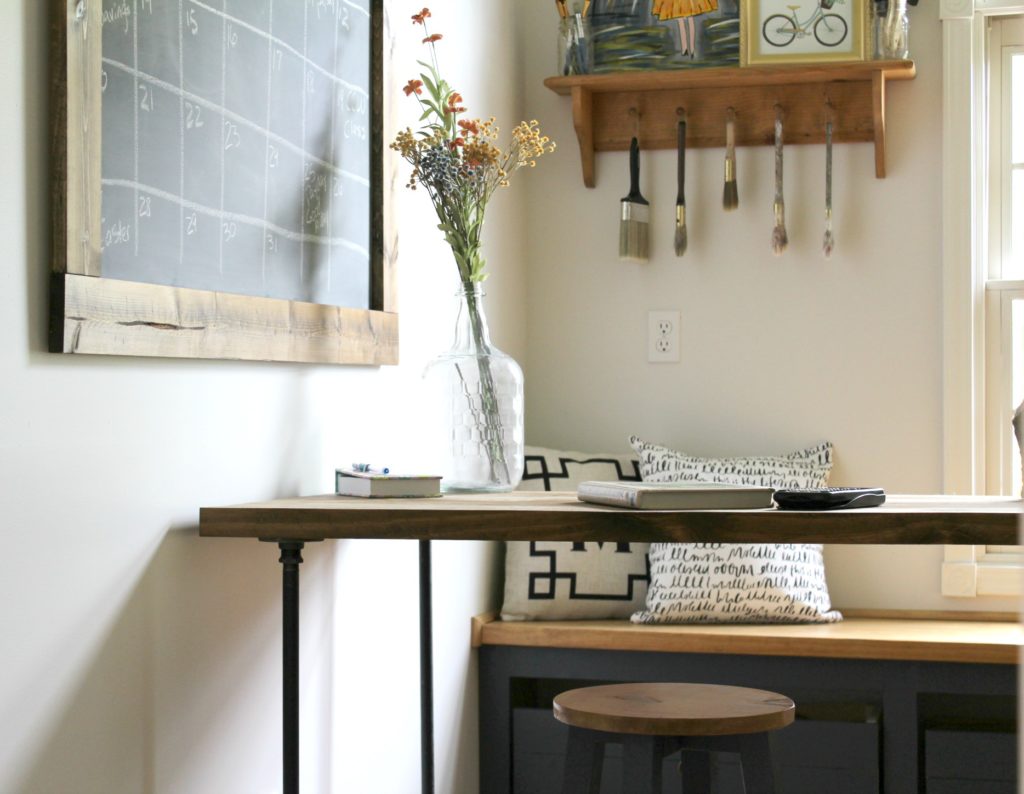
Is industrial style your thing? Or do you prefer the solid wood type stuff? Whether you like it or not, you can’t deny that it is for real the easiest to build desk ever, right?
.
So what are you waiting for? Get to building!
.
Oh, but before you go, don’t forget to pin for later!
Until next time, Happy Building 🙂
Ivory says
I am so stealing this idea, thanks for sharing.
Shara, Woodshop Diaries says
So glad you enjoyed the project! This is a pretty quick and easy one, but I love the look!
Emily says
Hi! I’ve just found your blog and love it! Love this piece especially. Quick question about the table top – do you think it’s strong enough without any joins or supports underneath? Would you recommend throwing in a few biscuit joins or a support underneath to strengthen it, or is the glue strong enough? Thanks so much! x
Shara, Woodshop Diaries says
Thank you!! I’m sure everyone will have an opinion on this one way or the other, but personally, I always make my table/desk/dresser tops the same–just glue. All of mine have held up fine so far. Wood glue is some strong stuff. Unless you will be throwing it around or something, glue alone should be just fine 🙂
Linda says
This was the most encouraging, precise, understandable and simply articulate tutorial I have ever read. I’m doin’ this. Oh, heck yes I am! I loved the table and intend to size it to my requirements. Thanks so much. BTW, I subscribed and look forward to many more wonderful, doable projects! Thought you might like to know – your audience has a wide age range of DIYers. I’m 72 years young!
Shara, Woodshop Diaries says
Aww thanks so much for your sweet and encouraging words! Sooo glad you found the tutorial helpful and clear! I’m so glad you chose to follow along, too 🙂 I really hope you keep enjoying the projects and definitely keep in touch along the way!