
Disclaimer: The water heater in this post is electric. I’ve been told this could pose a fire hazard with gas water heaters. I am not familiar with gas water heaters and the safety precautions to take with them. So, before doing this project, please consult a professional to find out if this is safe for your own application.
.
Compliments are always so nice, right? They can totally change everything. I mean you’re going along having the worst day ever and someone tells you that they think you are having a good hair day and suddenly the world is right again. “Who, me? My hair? *flips it around shoulders* Why…thank you! It is great hair, isn’t it?”
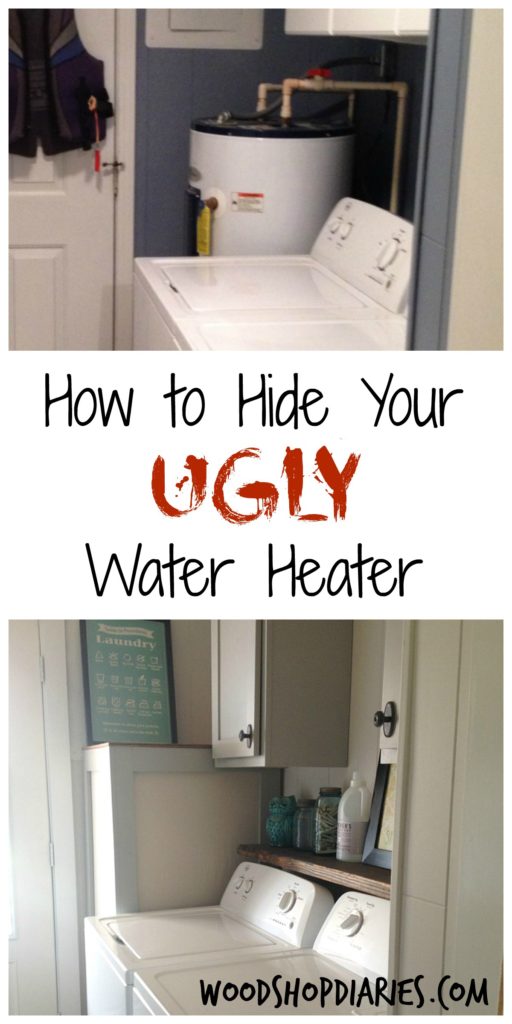
So, let me ask you something. Has anyone ever complimented your hot water heater?
No? Really? I wonder why? Is it possibly because it’s maybe just a little bit slightly kind of possibly…um….UGLY?
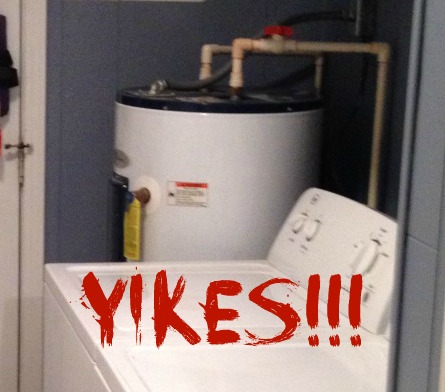
Don’t be offended, you really can’t help it. It’s just the nature of the beast…water heaters are just not pretty appliances. I don’t have a pretty one, you don’t have a pretty one. No one has a “pretty” water heater. It’s just not a thing. (Although, the tankless ones are much more attractive than the large ones with tanks…they just cost a lot more. And, hello, my middle name is cheap. Well, not really. It’s Beth. But it might as well be cheap.)
Despite their atrocious appearance, we do have to take a minute to appreciate what a water heater does. I mean…it heats our water. That’s kind of a big deal.
Several years ago when I was in college, a large part of West Kentucky (where I call home) went through an ice storm. Pretty much everyone was without power and everything was covered in ice. We had no hot water (because no electricity) for days. After three days, I had had enough and I had to take a shower whether there was hot water or not. Have you ever taken a shower so cold that you could see your breath. That’ll make you appreciate your water heater….
Said all that to say: our water heaters serve an important purpose. We can’t just toss them because they are ugly. But we CAN cover them up. And guess what? IT’S AN EASY FIX!
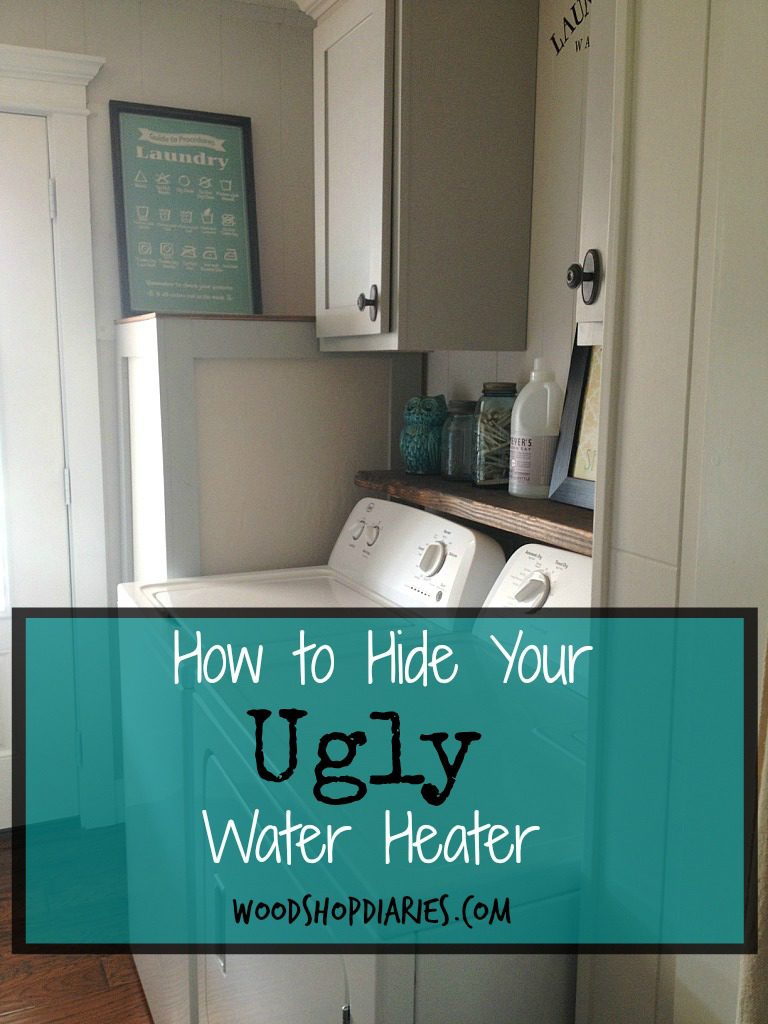
Here is how you make a water heater cover. AND guess what else? It’s easily removable for quick access in case of any leaks that you need to get to. Danny had to make sure that was a requirement 🙂
I can’t tell you exact measurements on this, because it will all be based on your own personal application. You will have to take in to consideration the space you have around your heater, and the size of your heater.
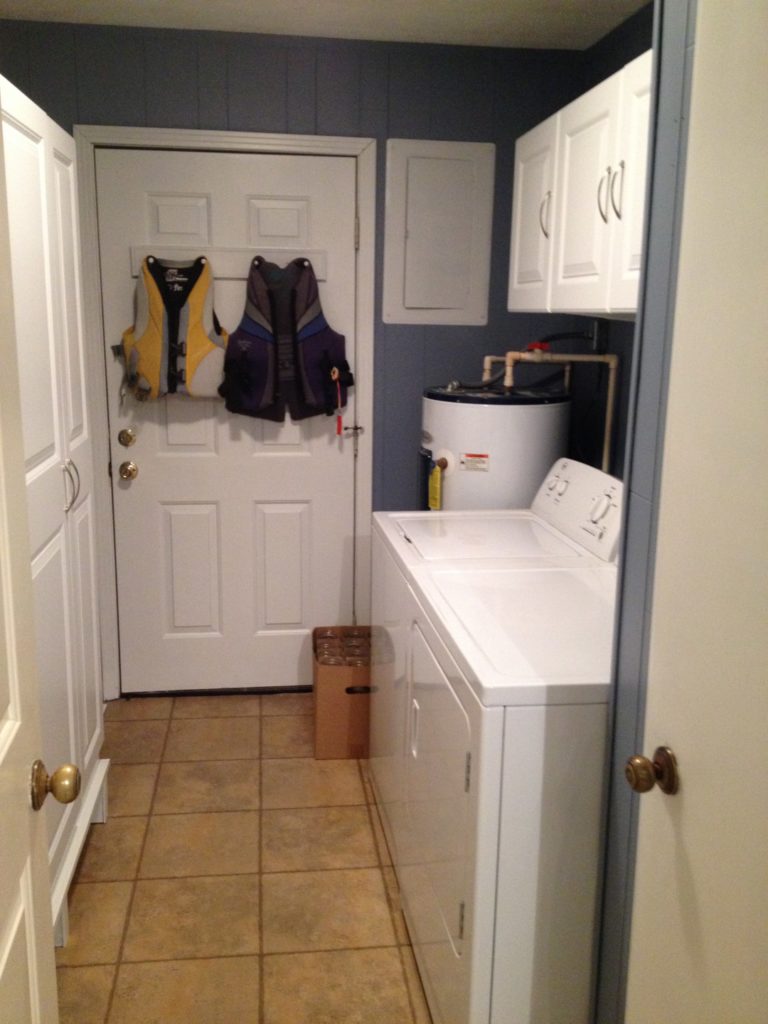
My water heater is tall and skinny. I didn’t take pictures of me making it last year when we remodeled our laundry room, but I made one for a friend of mine recently and hers was a short, fat water heater. The pictures below are from when I made that one. The process is the same, just the measurements will be different.
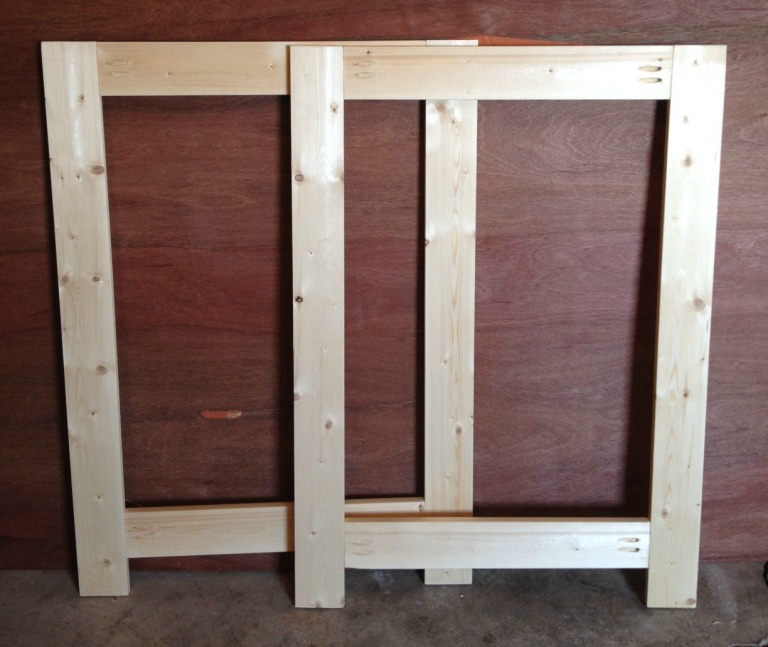
First, I cut four 1x4s for the “legs.” These will need to be slightly longer than the height of your water heater. Then, I cut 4 short pieces of 1×4. The length of these short 1x4s will be based on how wide and deep you want your cover to be. You will need to drill pocket holes in them (using your Kreg Jig–affiliate link) like the picture below.
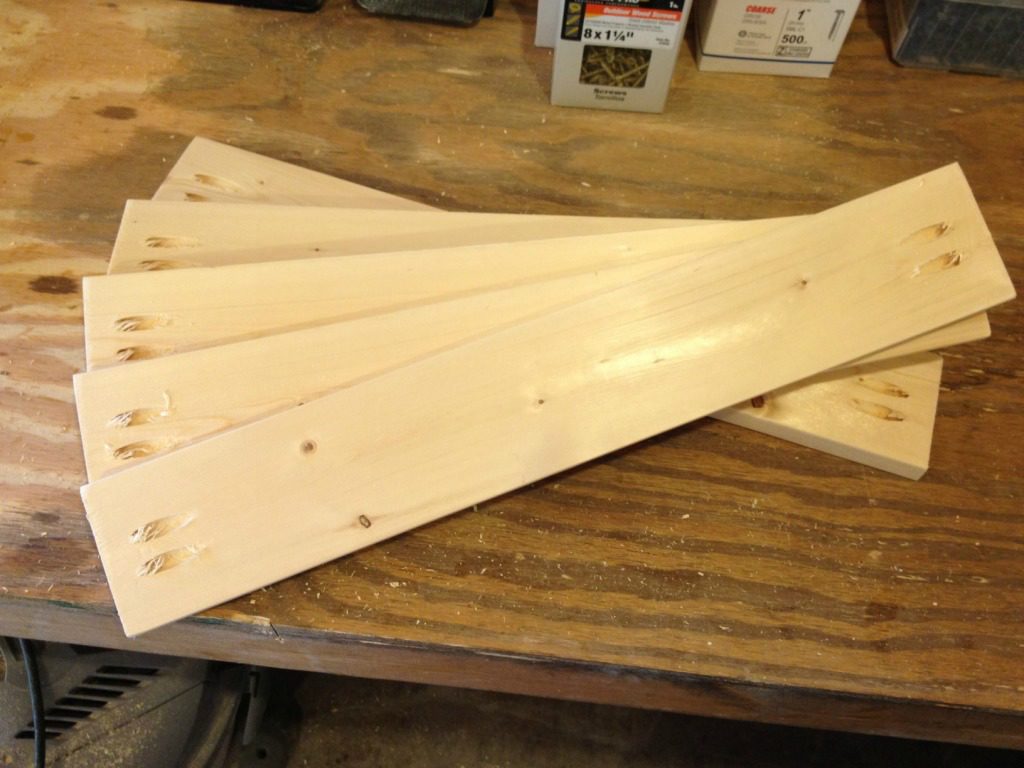
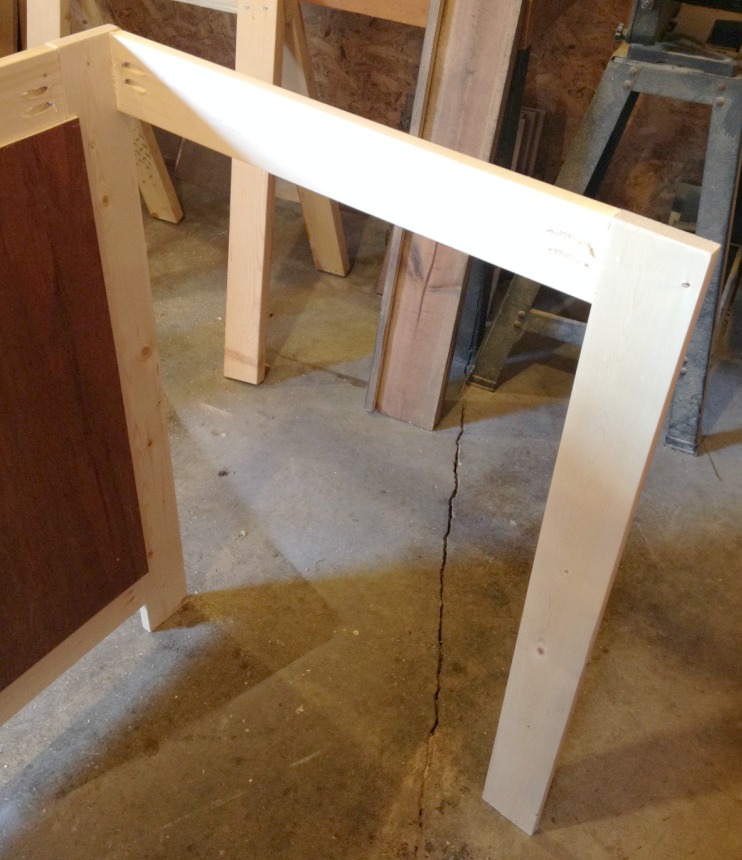
Then you will attach the short 1x4s (with pocket screws–affiliate link) to the longer “legs” to make two frames like the picture below.
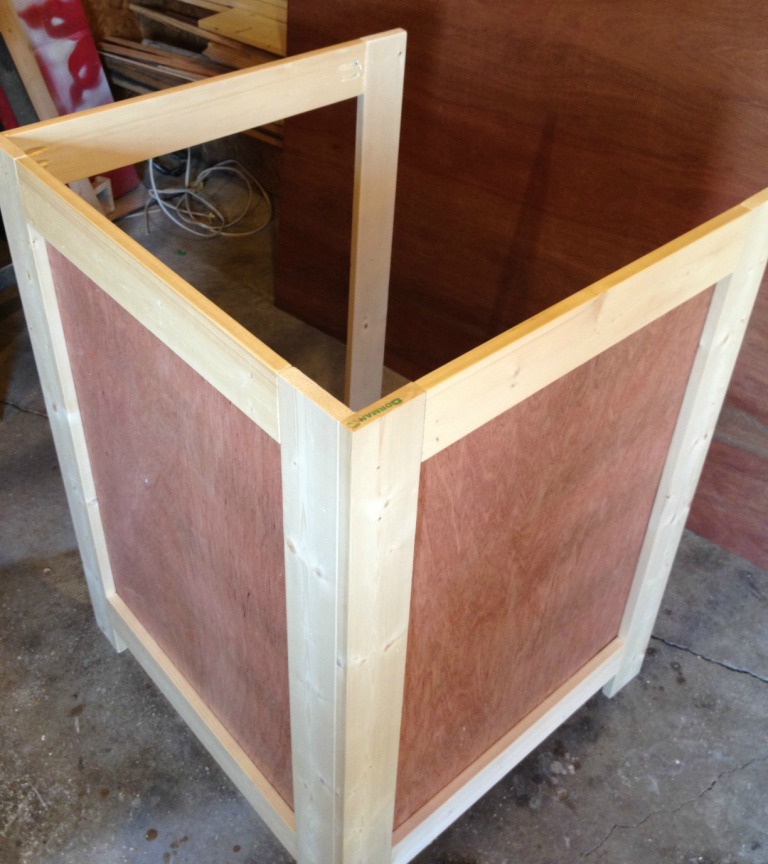
Then, I took some luan—which is like cheap ¼” plywood—and cut two pieces to size to fit in the frames. I cut them about an inch wider and an inch longer than the opening. You have to have some overlap so you can staple or nail them on. I stapled it on the back of each frame.
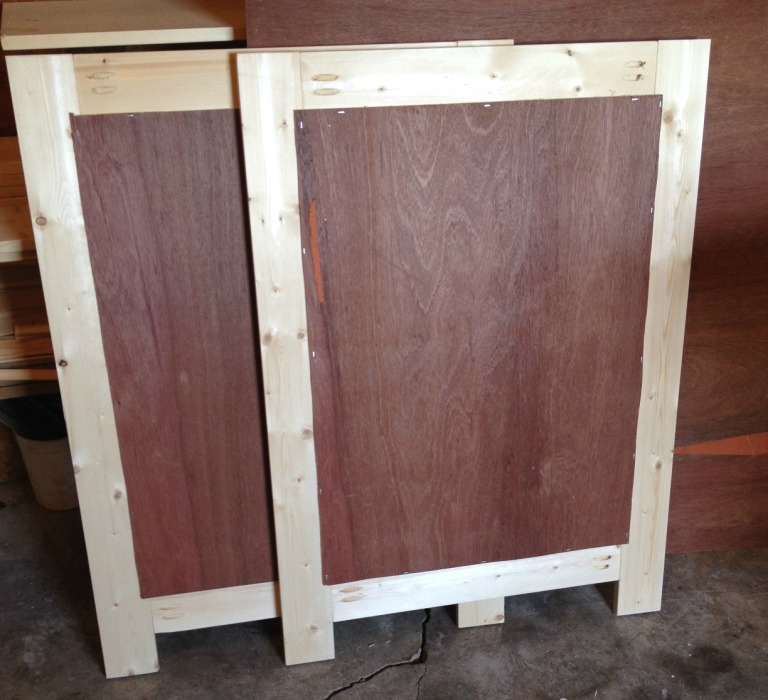
If you would rather, you can use fabric instead of luan. I used fabric for mine (it was drop cloth actually), but my friend wanted wood. Either works fine for hiding the heater 🙂
Then I drilled pocket holes in one leg of one panel like the picture below. I screwed the two panels together using pocket screws. Make sure you screw them in the right orientation for your application.
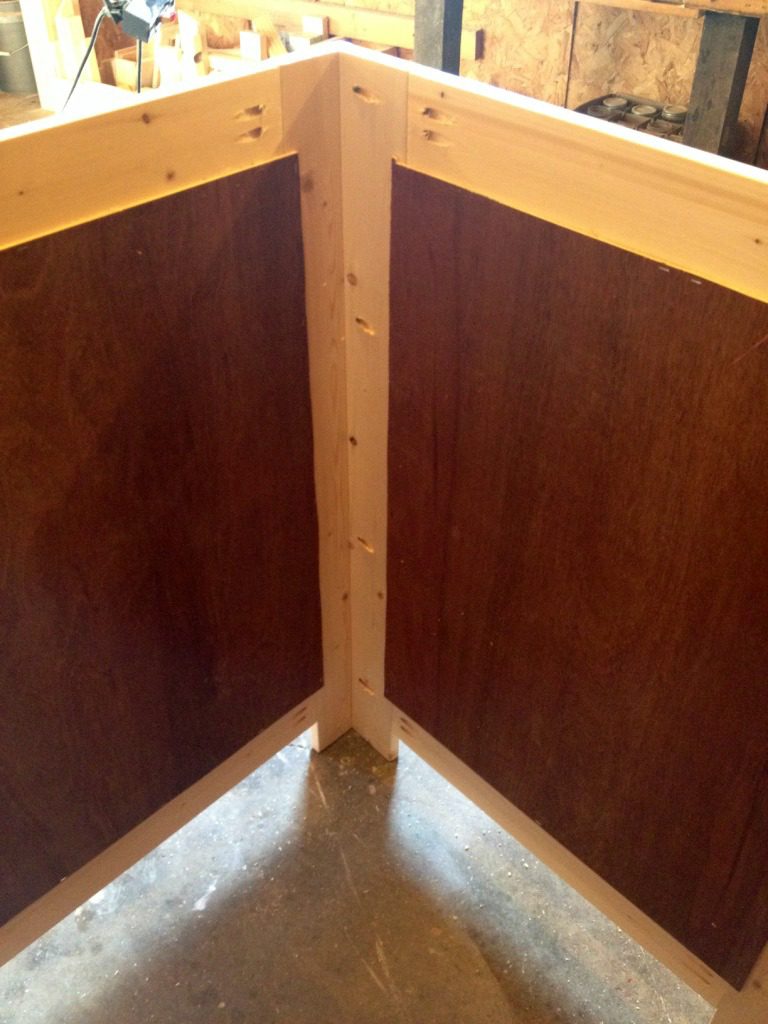
At this point, you have two options. Because I wasn’t going to be putting a lot of weight on mine and I didn’t have the space to add the extra leg for support, I just attached my top at this point.
However, if you have the space for the extra leg, I would put the extra leg in for support. If you don’t have the space, skip this step and go to the next one.
To add the extra leg, I cut another 1×4 the same length as the other legs, and a shorter 1×4 like I used for the frames.
Using pocket holes and screws, I attached it like the picture below.
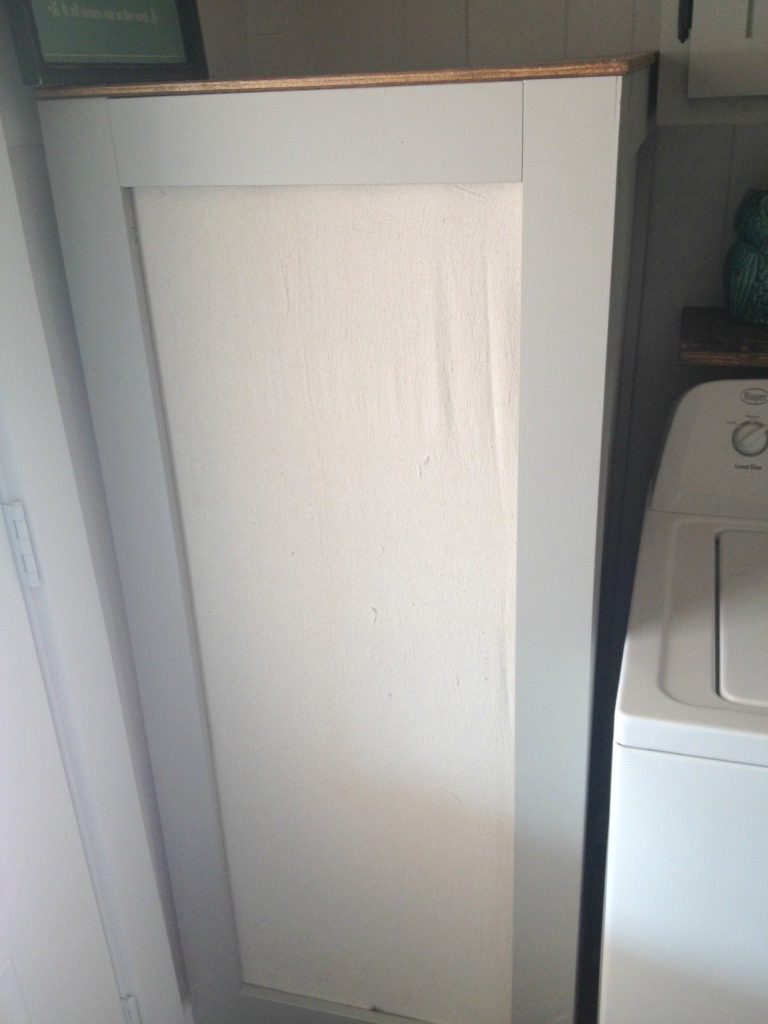
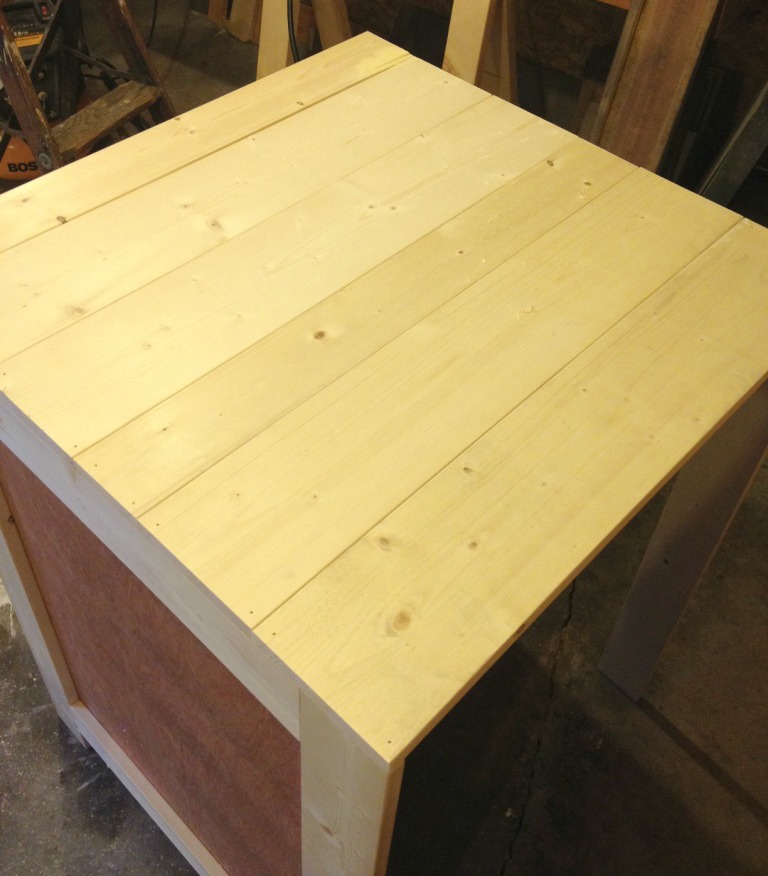
Now, you can add the top. If you weren’t able to use the extra support leg, I suggest using ½″ or ¾″ plywood for the top. If you were able to add the extra leg, you can use plywood or planks. I did planks here.
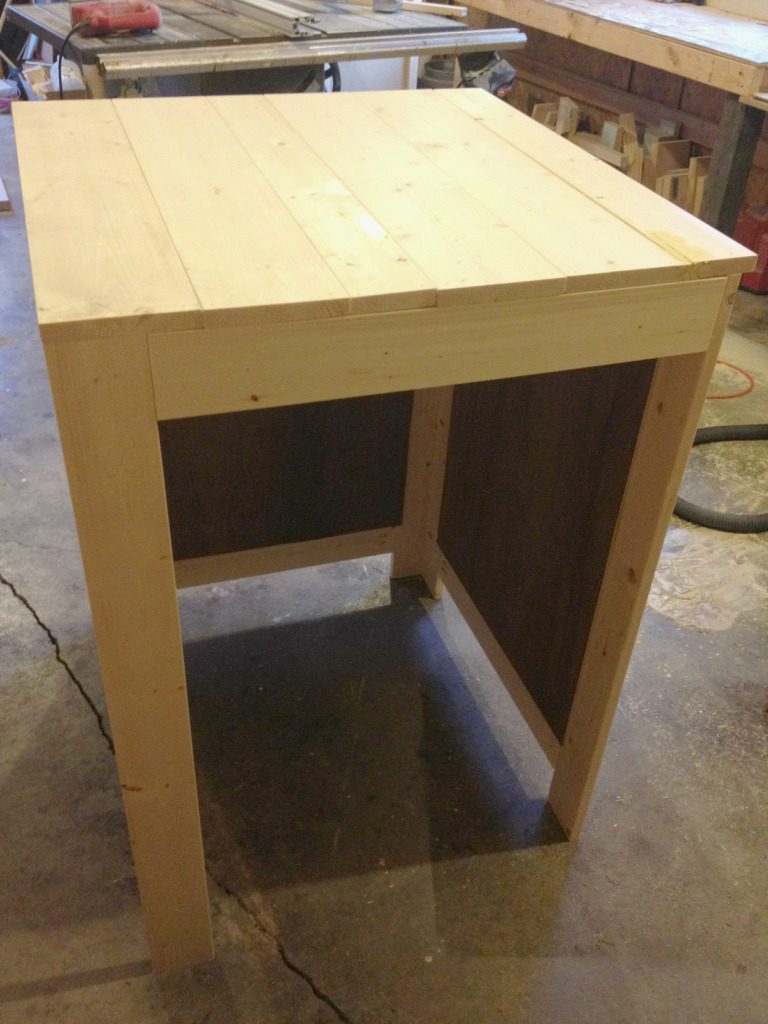
I nailed them on for the top. If you don’t have the extra leg, I would use screws to hold it in place better.
Now it’s ready for paint, or stain, or just leave it unfinished. Anything will look better than that water heater!
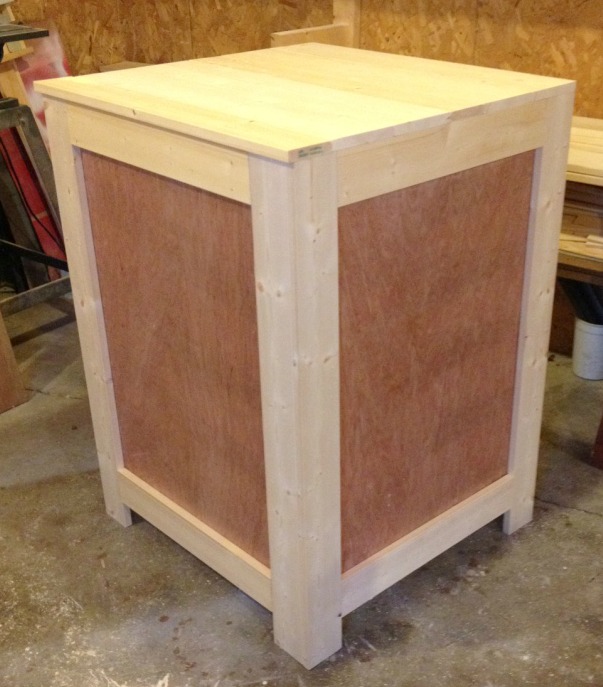
Just set it in place, and that’s it! Easy peasy! By just sitting it in place, it makes for easy removal in case you need access to your heater.
That’s much better than looking in and seeing ugly pipes and warning labels all over a big metal tank, right?
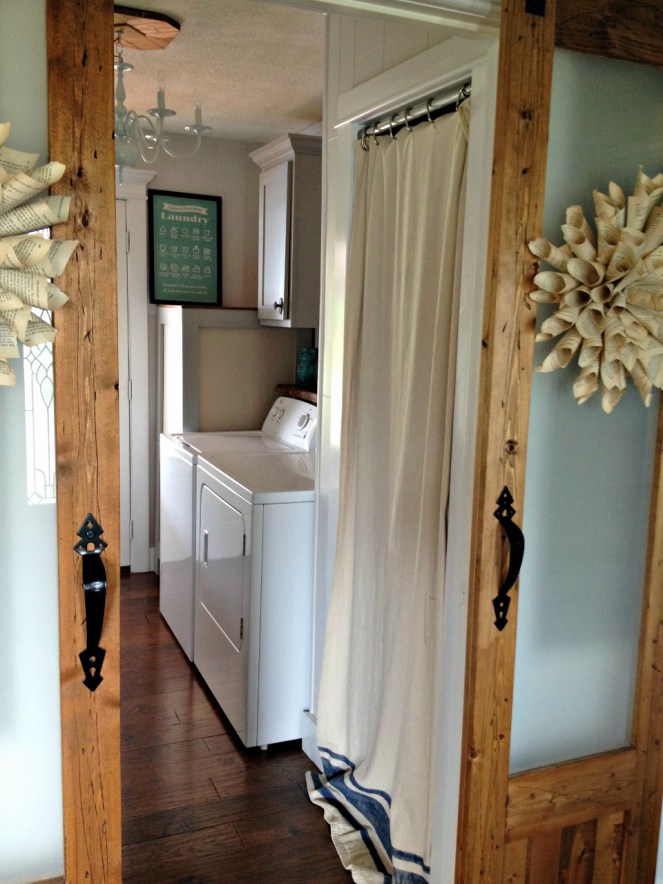
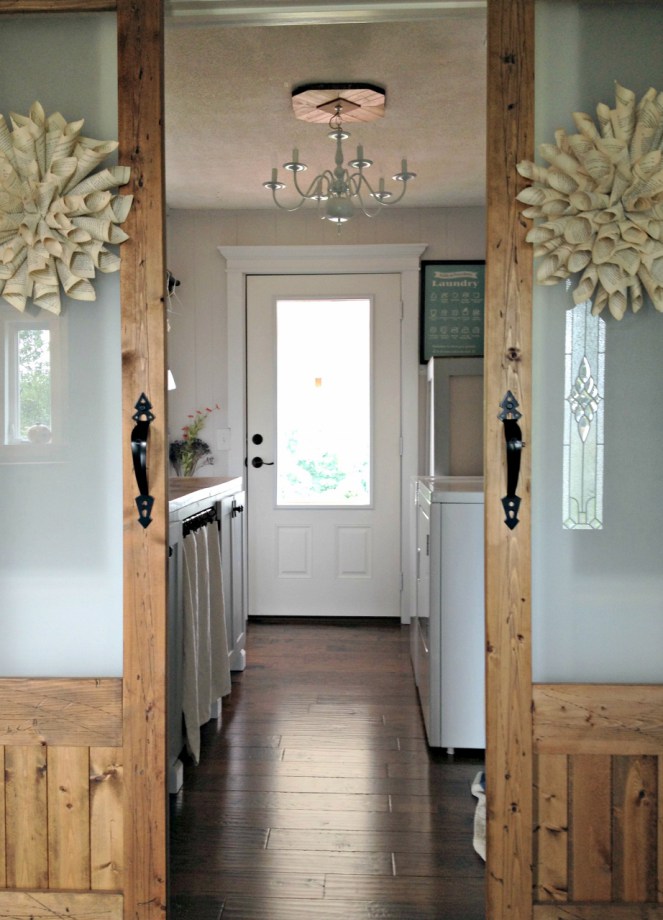
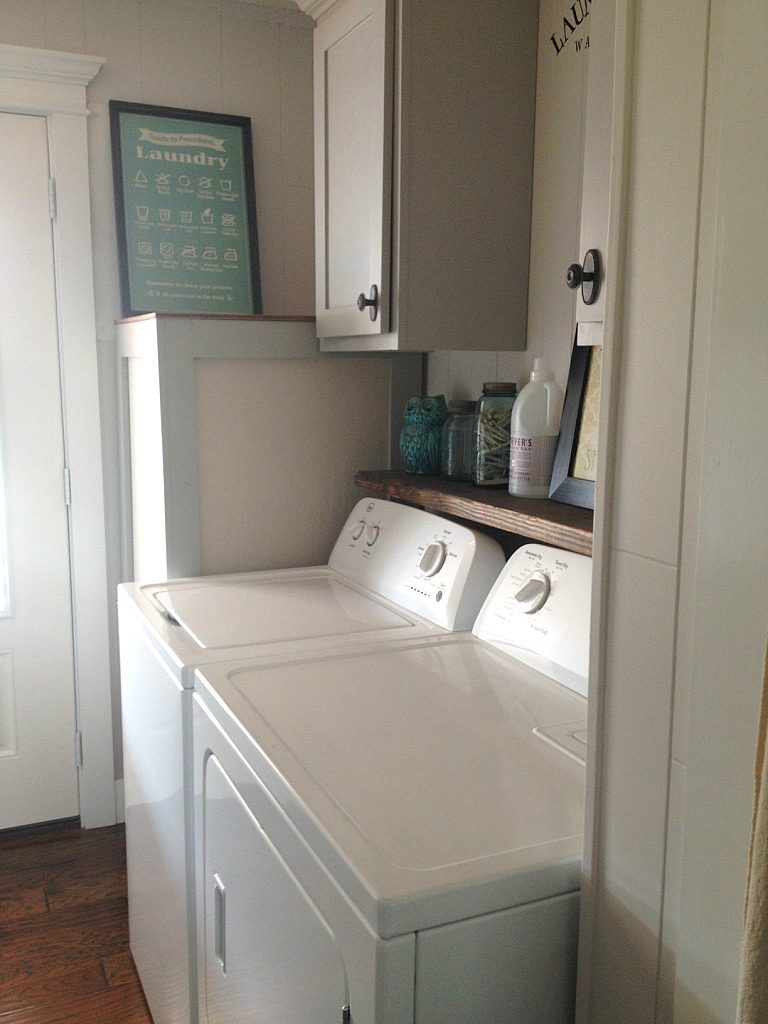
PS if you like what you see here, be sure to check out my whole laundry room remodel 🙂 It’s seriously one of my favorite rooms in the house now!
So what are you waiting for?! Get to building–you have a water heater to hide!
Don’t forget to pin for later!

carol says
That is a great idea however it is not the same room. Did you replace the full door with a window style? The crown molding was not there and where did the full size cabinets on the other wall go? Did you replace the closet door with curtains? The electric panel is also missing.
Shara, Woodshop Diaries says
I mentioned in the post that this was like what I built for my own laundry room, but that I had already remodeled the whole room by the time that I took these photos. You can check out our laundry room remodel and see where I replaced the back door, replaced the door trim, and replaced the upper cabinets as well. Covering the water heater was just a small part of the whole remodel 🙂
Tina | Water Heater Talk says
Great idea cover the ugly,it should be safe as one side is open,nice job.
Shara, Woodshop Diaries says
Thank you!!!
Dueley Lucas says
This is the perfect solution for my UGLY water heater, however, mine is a propane gas water heater and has pipes around the bottom and a vent pipe coming out of the top and goes thru the roof. duh! Well, it still will work if we figure out how to cover the pipes in the same manner as the water heater. Yours looks so great….it’s amazing! I can’t wait to fix mine! Thanks for the wonderful post!
Shara, Woodshop Diaries says
I’m so glad you liked the post! Thank you! I’m not sure, but you may could just make one similar to mine just make it go all the way to the ceiling…kind of like a room divider works?? I’ve even seen people take pretty old doors and stand them up to cover the heater. Hopefully you can find a solution for yours!
Brooke Riley~Re-Fabbed says
Great post, Shara! I love mine that you did!! Makes an eye sore much prettier!
Shara, Woodshop Diaries says
Thanks Brooke!! 🙂