
Before I get started, I have to tell you that I have never before referred to any part of my house as a “wing.” That makes it sound like a castle or something…which it most certainly is NOT.
But while I sat here trying to come up with some semi appropriate, but funny “nightstand” title, I was having little luck. By the way, do not Google “funny nightstand puns.” Just don’t. So I looked at the bigger picture. These nightstands are just a tiny part of a much larger project.
The “south side” of our house includes the master bedroom and master bathroom. Both of which offer very few things to add to my “pros” list. In other words, they need work. Our bathroom is soon to have a gut job (I CANNOT WAIT FOR DEMO DAY!), and our bedroom is going to get a fresh coat of paint, new flooring, a new layout, and (as we will see here) some new furniture–DIYed of course. 🙂
So, while we are waiting for a few things before we tear into the bathroom, I’ve decided to take some small steps on the bedroom. Starting with some new nightstands.
Before, we just had one sad little nightstand…and Danny didn’t have one. See how sad he is?
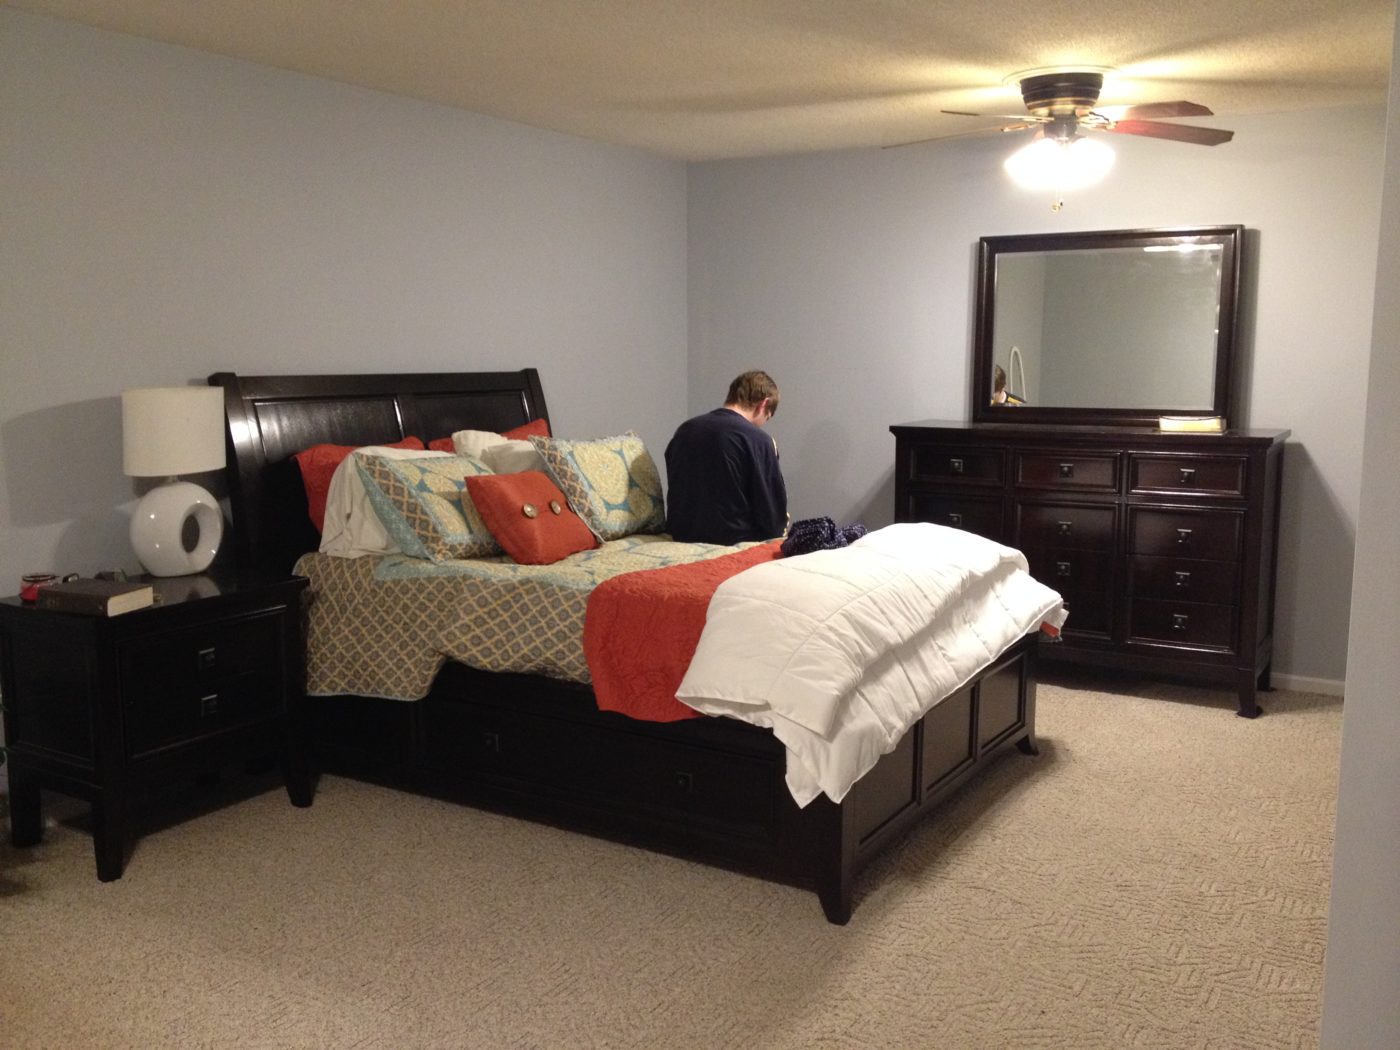
It’s really a nice nightstand…it’s just so dark and I wanted us to both have matching ones.
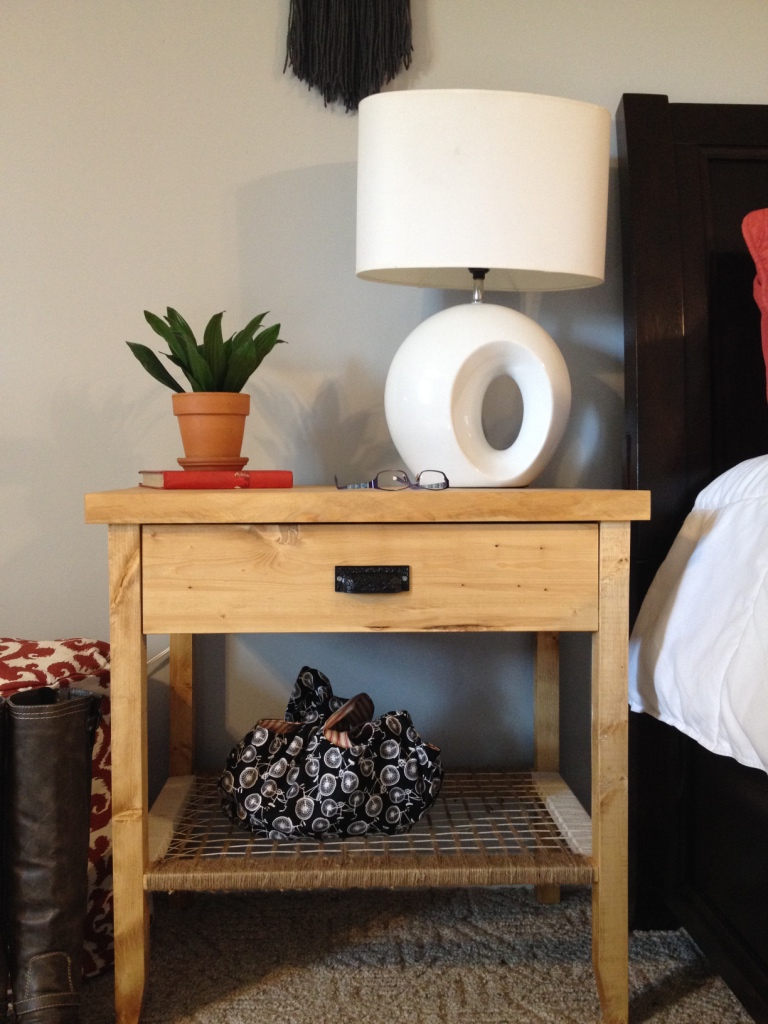
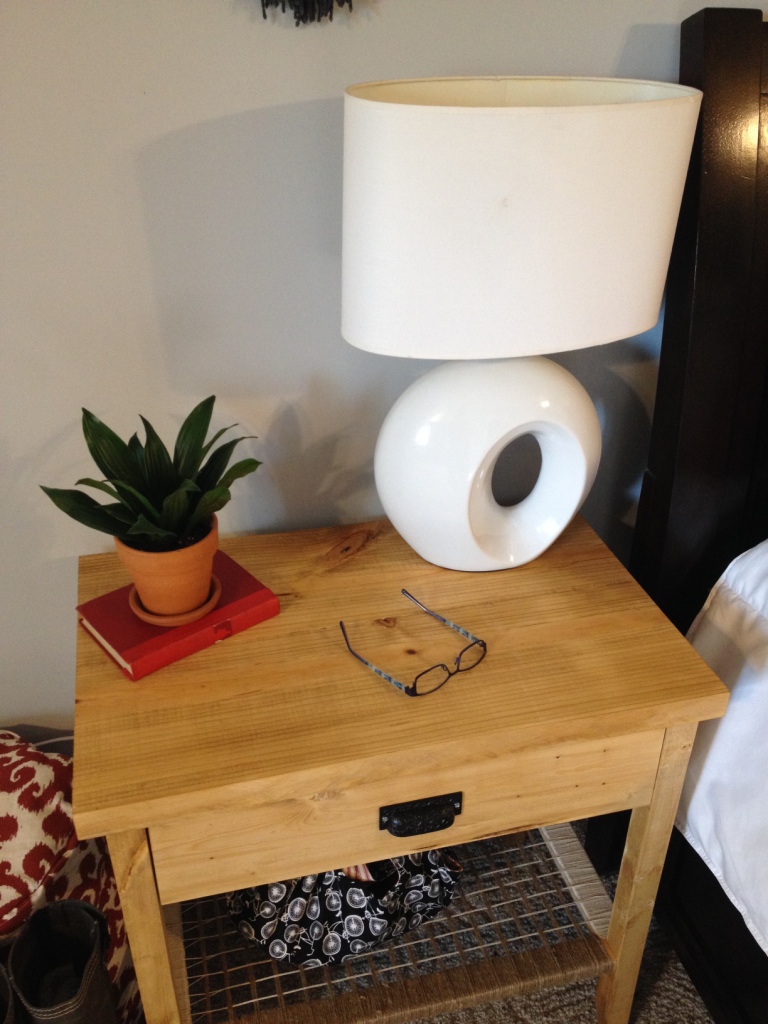
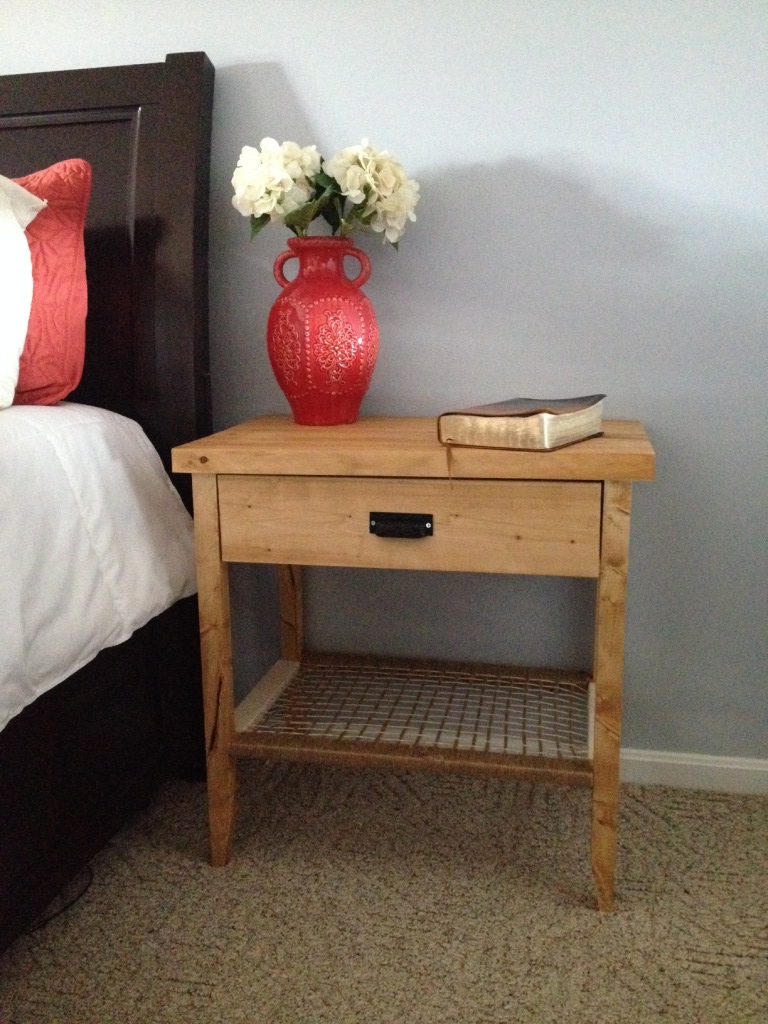
So I made these.
As always, I have provided the tutorial for them, but it will be a two parter. I will cover the woven shelf in another post later this week. For now, part one…
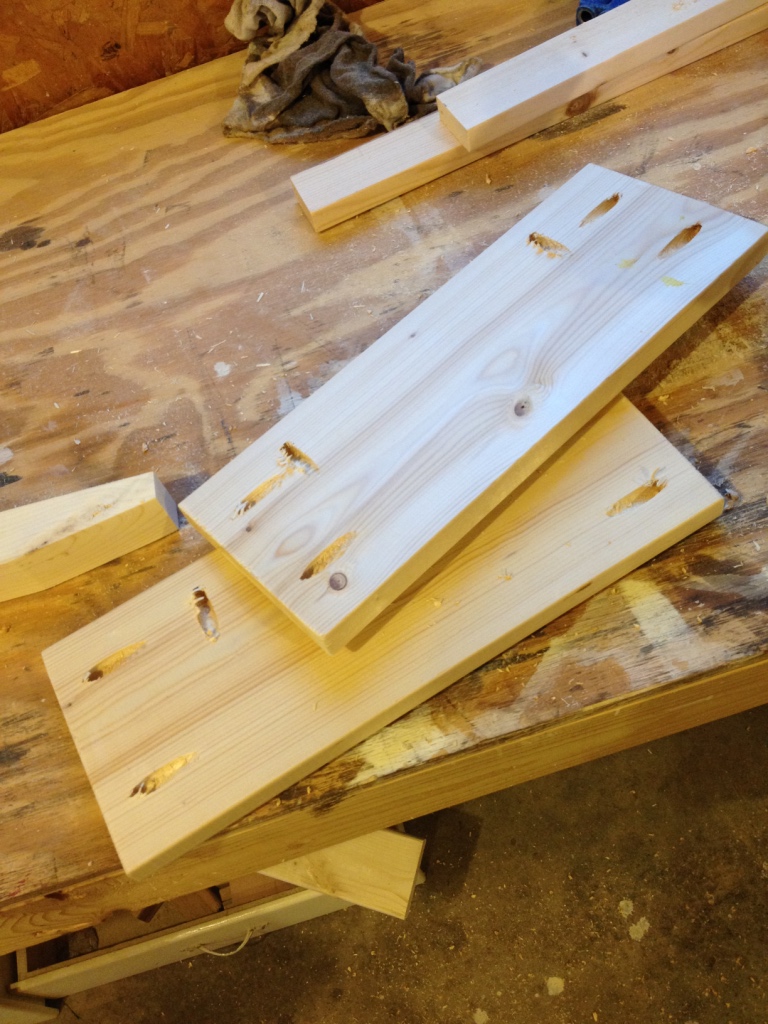
To make these nightstands, I squared off the edges of two 2x10s and glued them together. This will be the tops. It was about 5 foot long and I cut two tops from it–I made the tops about 28″ long.

While the glue was drying, I worked on the rest of the nightstand. I used 2x2s for the legs. I cut them about 26″ long and tapered the front two legs.

I cut the side pieces from 1×6 boards. You’ll need to cut these based on the depth you need. Take your top depth (front to back–mine was about 18″), subtract how much overhang you want (mine was about 1″), then subtract the width of the legs (in this case, 2 2x2s would be 3″). Cut these that long (mine were 14″) and drill pocket holes on each end and a couple for the top.
Then I attached these to the legs. Make sure to have your tapered front leg face the right direction.
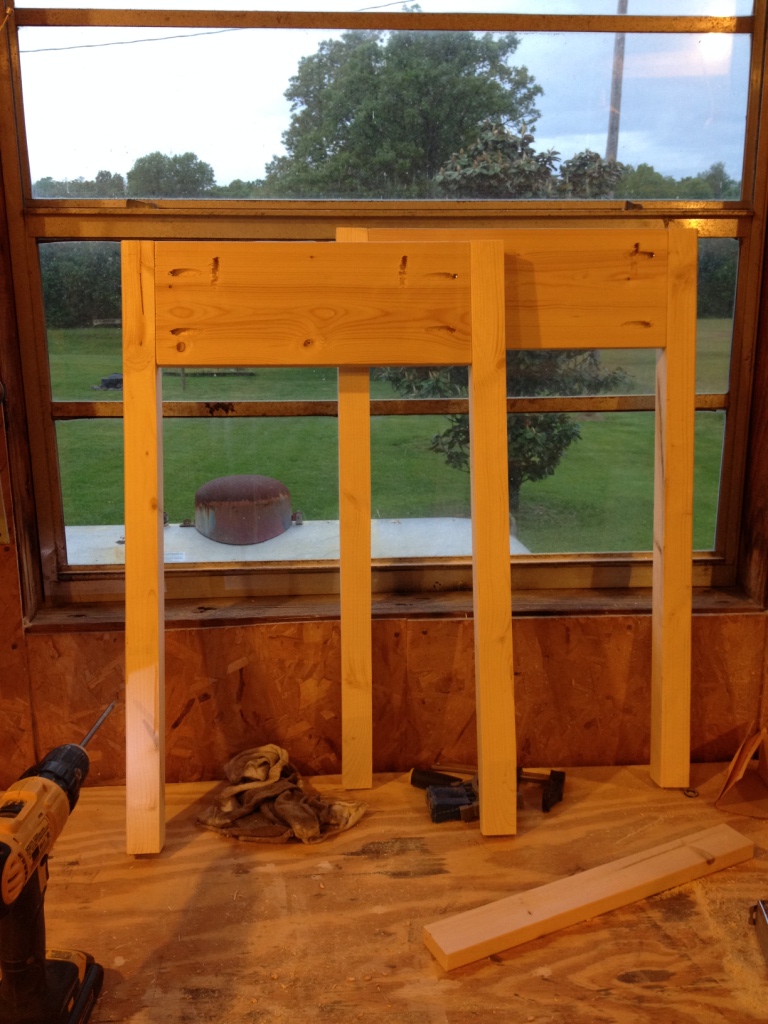
I used a scrap 1×4 (you could use 1×2 or 1×3 also) to attach the two sides together at the back using pocket holes and screws. I had a 1″ overhang on each side, plus I subtracted the width of the legs (3″), so my 1×4 was about 23″ long.

I cut 1x2s for the bottom shelf supports and attached those using pocket holes and screws as well. The picture shows them running vertical. Long story short, I later turned them to run horizontally because it worked better for the woven shelf I made.
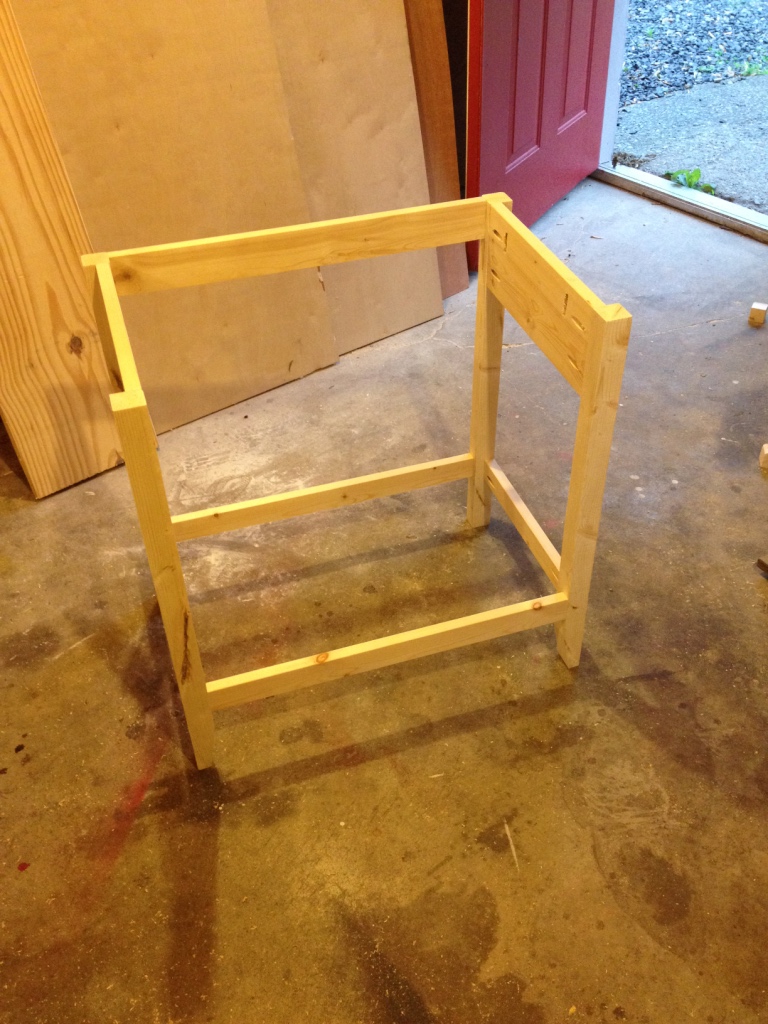
Then I attached the top using the previously mentioned pocket holes I screwed on the side pieces. I made sure everything was square when I attached the top.
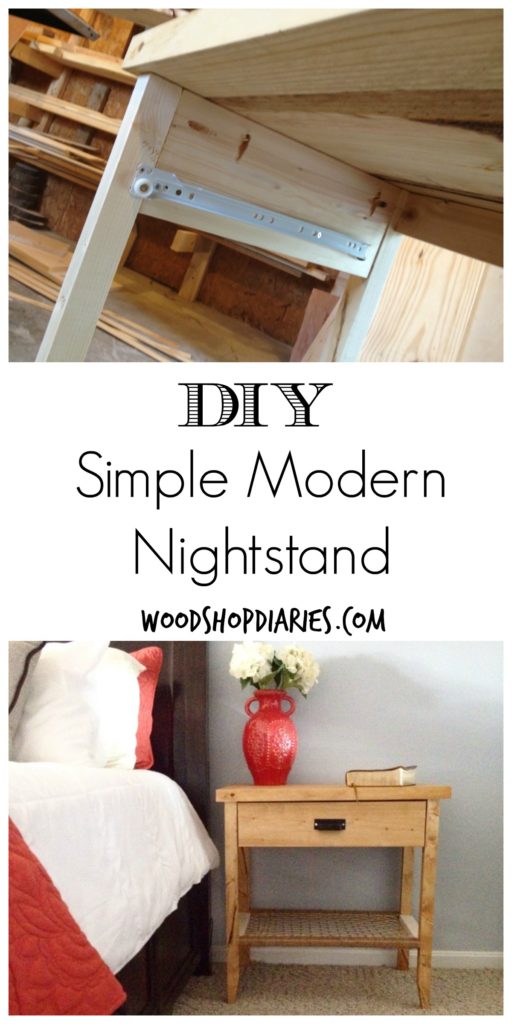
I also made a drawer using 1x4s for the side pieces and stapled ¼″ plywood to the bottom. I used the cheap white drawer slides for these since they wont be holding much weight. These can be found at the local hardware or home improvement store…and amazon if you want to wait for it to ship haha. I wanted to use a 1×6 face front on the drawer, so I installed the slides ¾″ inset so the drawer would be flush with the front.

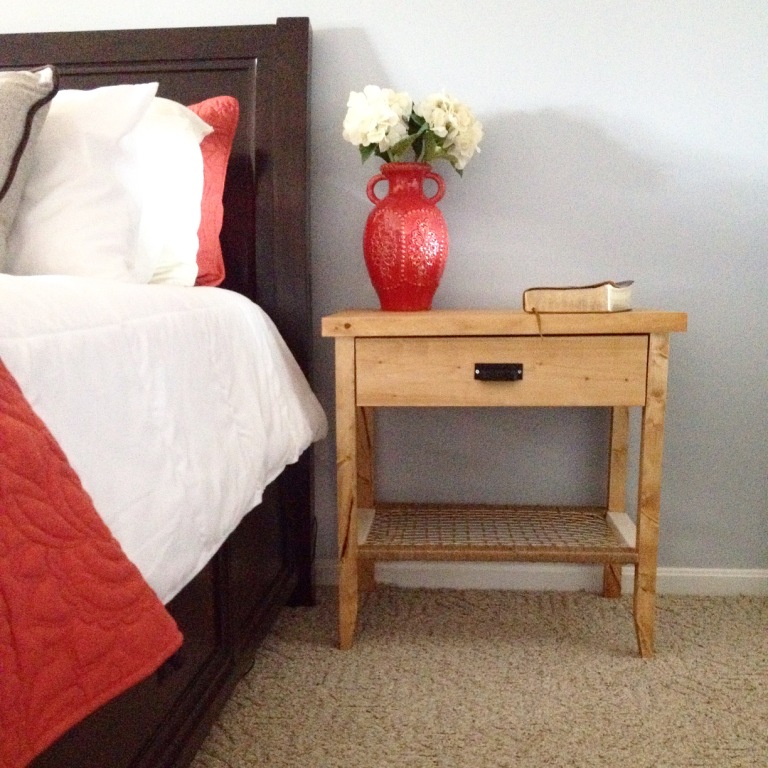
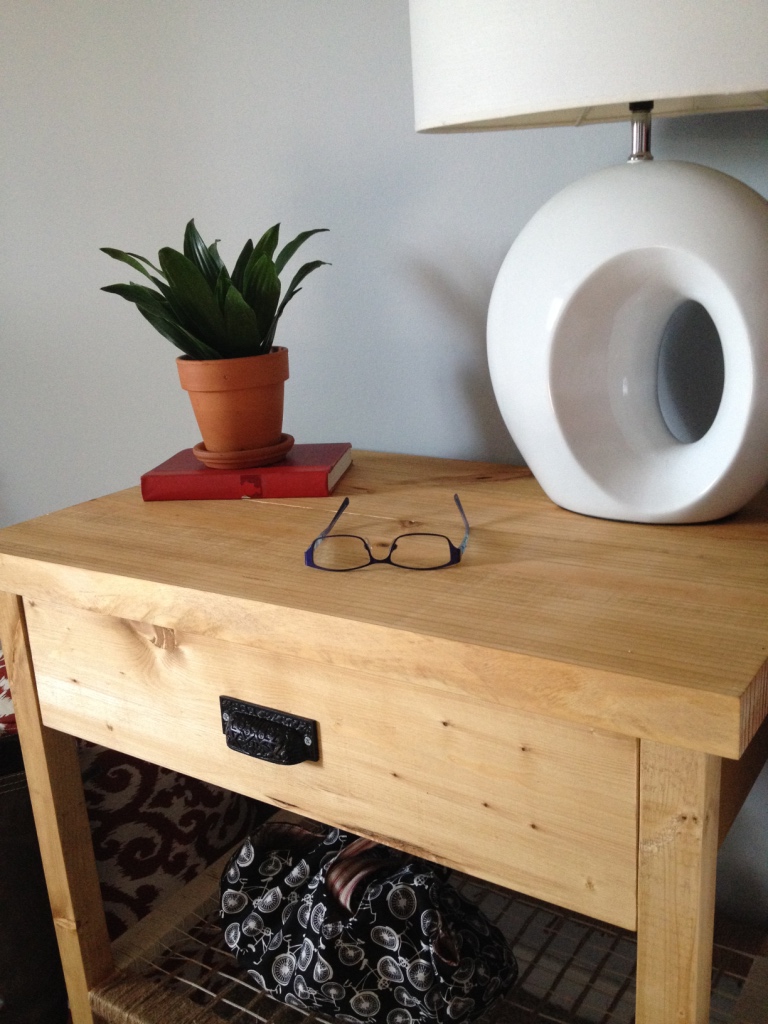
Once the drawer and slides were installed, I put the 1×6 front on (I screwed it on from the inside) and stained the entire nightstand with Minwax Puritan Pine.
I apologize about the terrible instruction on the drawer. I didn’t take pictures while making it and I just now realized, you might want to know how I did that. I will totally write a tutorial on how to make a drawer asap. I’m actually making some this week, so I’ll have that to you soon 🙂
Once the nightstand was stained, I let it dry, then I worked on weaving my bottom shelves. I wanted something different than just a wooden shelf, so I tried weaving one with jute and cotton string. I will have a separate tutorial on that later this week. It was very time consuming, but not difficult. If you wanted to use a wooden shelf, it would work just as well.
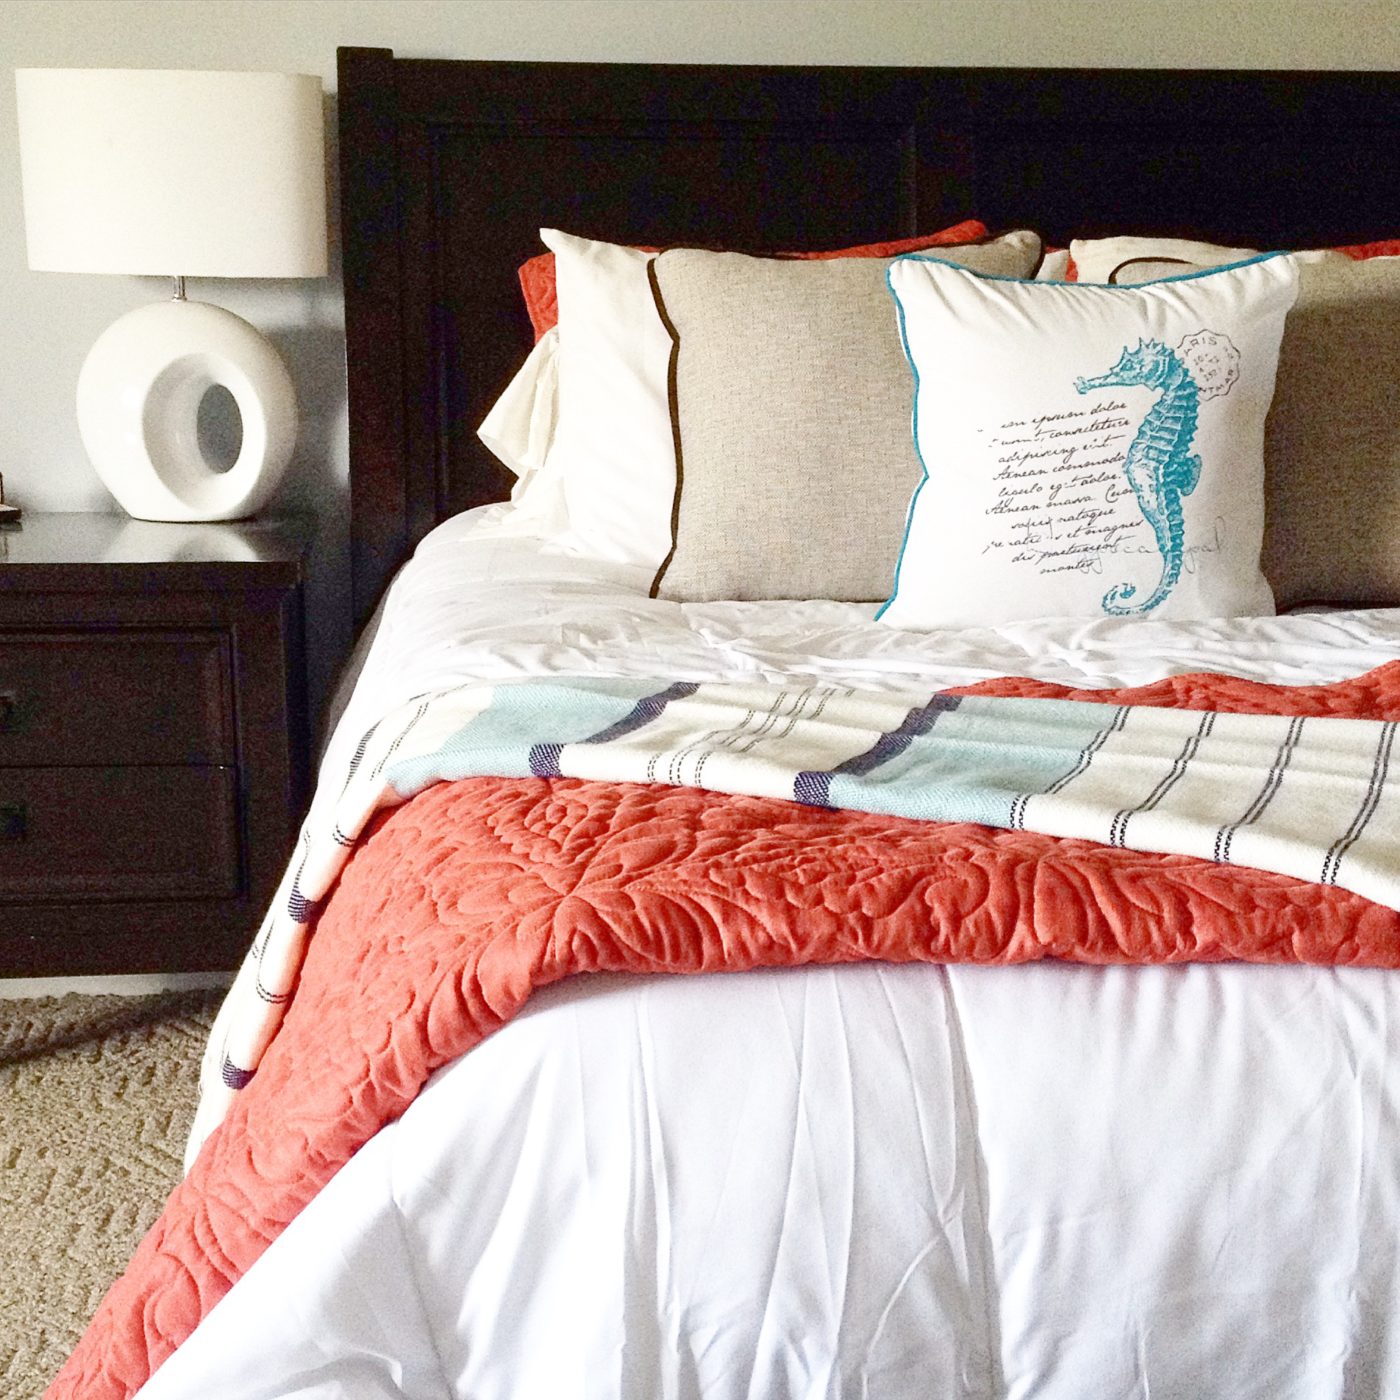
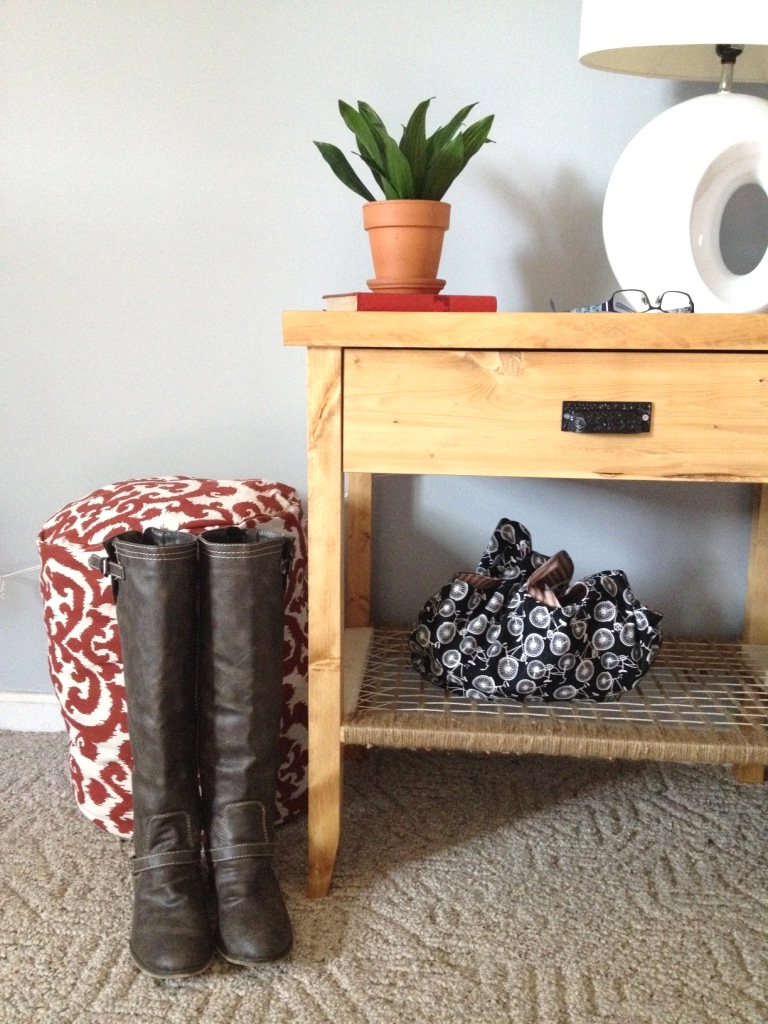
When I finally got the shelf woven…after a few blisters on my hands…I put the nightstands in place and instantly the room felt better.
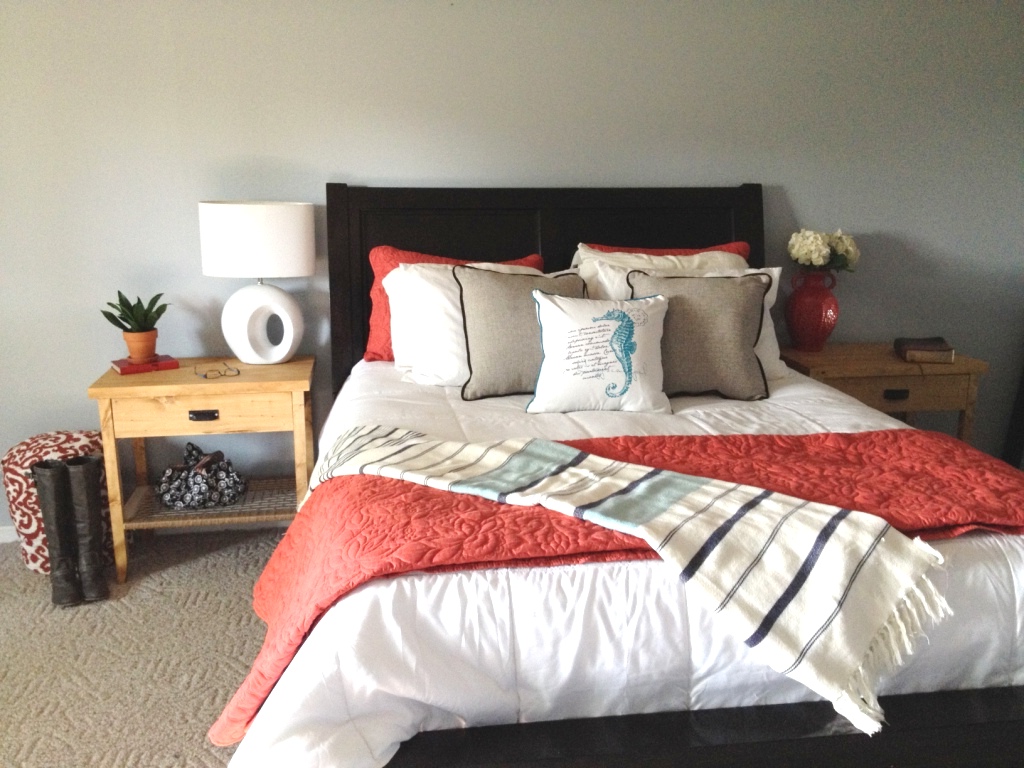
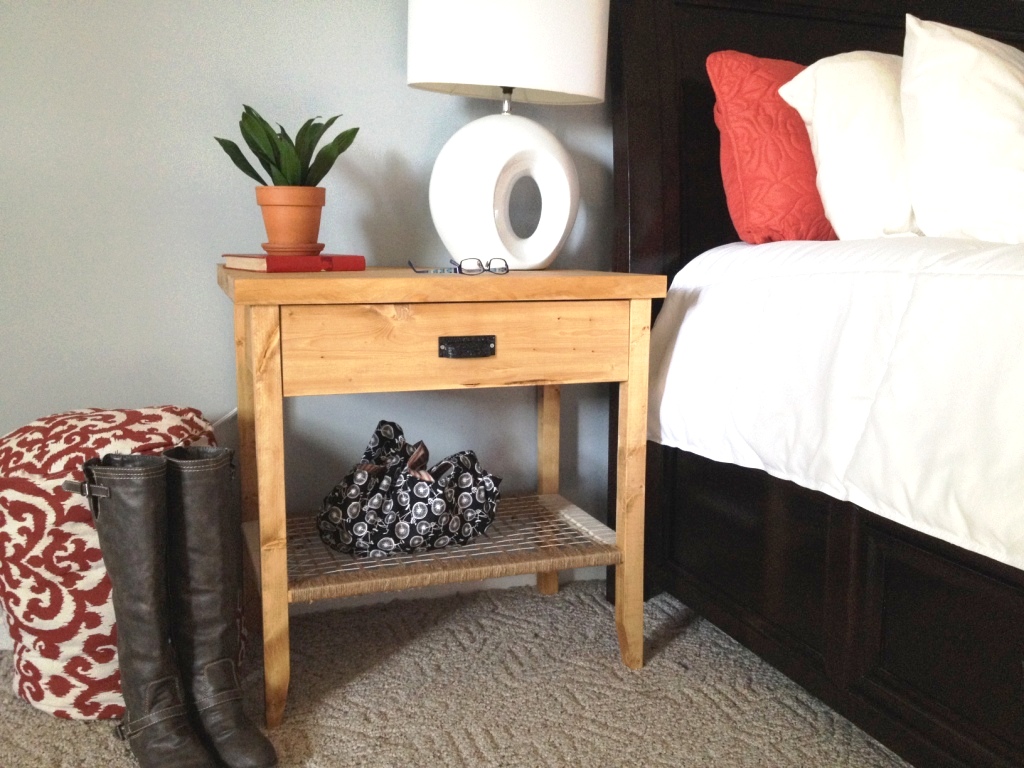
The dark nightstand (which we only had one before) was replaced with these much lighter nightstands and it feels less….”heavy.” Is that a thing? Plus, now Danny and I BOTH have a nightstand. And….they were cheap 🙂
I think they look a little funny next to the dark bed, but soon we will have a new bed and I think they will match better.
The drawer pulls were from Hobby Lobby.

And I made the floor pouf and the purse with my new sewing machine! I have ALOT to learn about sewing…so for now, I still MUCH prefer a saw 🙂
I have so many more parts to the “south wing project” and I hope you will enjoy following along. We are taking it slow and doing one step at a time with it. So I will be sure to document everything…that could be good or it could be bad haha. We want to make sure we get it exactly how we want it…when I saw “we,” I totally mean “I.”
If you LOVE these nightstands as much as I do, don’t forget to pin for later!
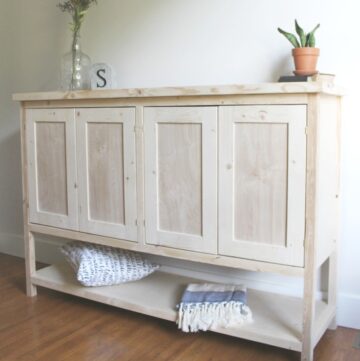
But, I’m so super excited I can’t even right now over our new bedroom dresser, though and I cannot wait to show you! So stay tuned because it’s going to be AWESOME! 🙂
Until next time, Happy DIYing! 🙂

elyse says
i had a question about the night stands. which stain did you use on them??? i love them!!!
Shara, Woodshop Diaries says
Thank you! I used Minwax Puritan Pine stain 🙂
Erica @ Dwell Beautiful says
You made these?? SO gorgeous! Looks like something you could buy at a high-end store. Love the look 🙂 Thanks so much for linking up at The DIY Collective!
Shara, Chasing A Dream says
Hi Erica! Thank you soooo much! The inspiration pic I found to make these from was actually from a high end store–with a price tag of over $3000!! Crazy! Thank you so much for hosting the link up! 🙂 I look at it each week!
judy says
Can you post how you made the drawers please? Thànk you
Shara, Chasing A Dream says
Hi, yes I plan on posting how to make drawers later this week 🙂
judy says
Thank you so much. Im going to attempt the dresser this summer for my son while he is visiting his dad
Tammara says
Excellent job! I love the base and have wanted to do something similar, although not a dresser.
Shara, Chasing A Dream says
Thank you!
kelly scanlon says
I like how you did the bottom shelf. Have you ever seen a Indian Charpoy or Daybed? I just came across some pics of them recently. They seem outrageous to buy, but look quite simple in design.
Shara, Chasing A Dream says
Thanks! I literally just googled that because I had never heard of a Charpoy before. They look cute! I’ve obviously never done it before, but it looks totally DIY-able. It looks like it would make a cute pet bed too!
Smitha Easter says
Wow great job! These look stunning in your bedroom- I love your style!
-Smitha 🙂
Shara, Chasing A Dream says
Thank you so much, Smitha! I appreciate your comments so much! 🙂
Cecilia says
First of all, I really like these. They look great. I do like the contrast between them and the bed, so matching the bed color isn’t a big deal with me. Yes, they fit the mid-century, modern, rustic style perfectly. I think your tutorial is clear. I like DIY and decor. Your blog is great!
Shara, Chasing A Dream says
Thank you so much! I appreciate your feedback! 🙂