
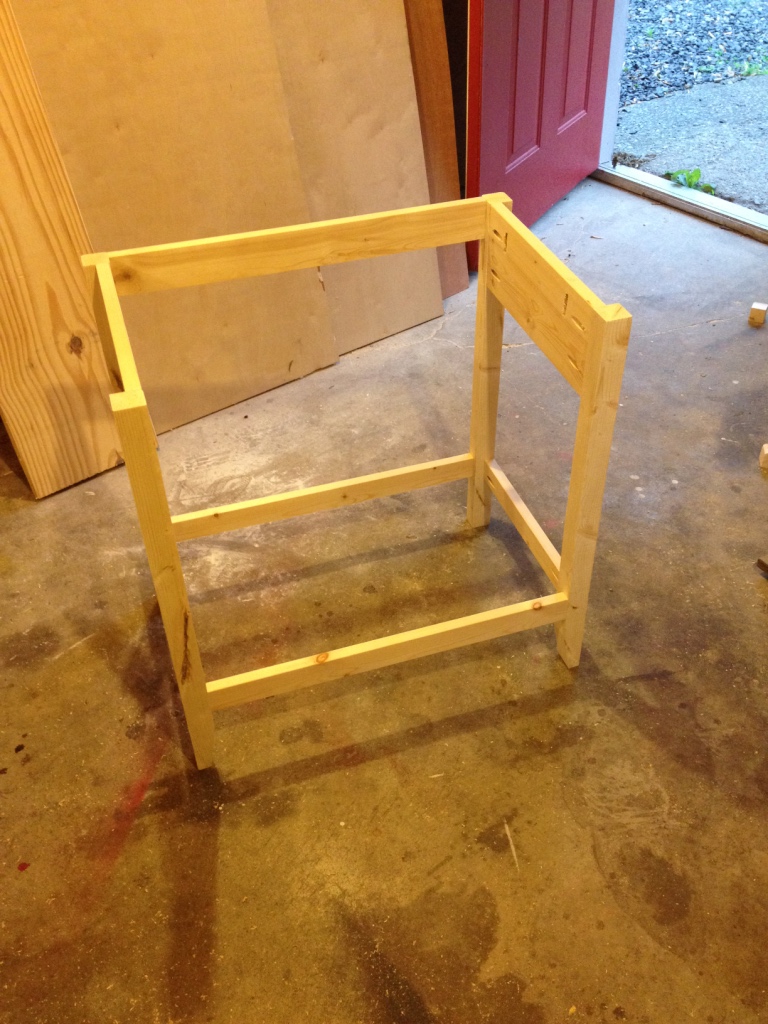
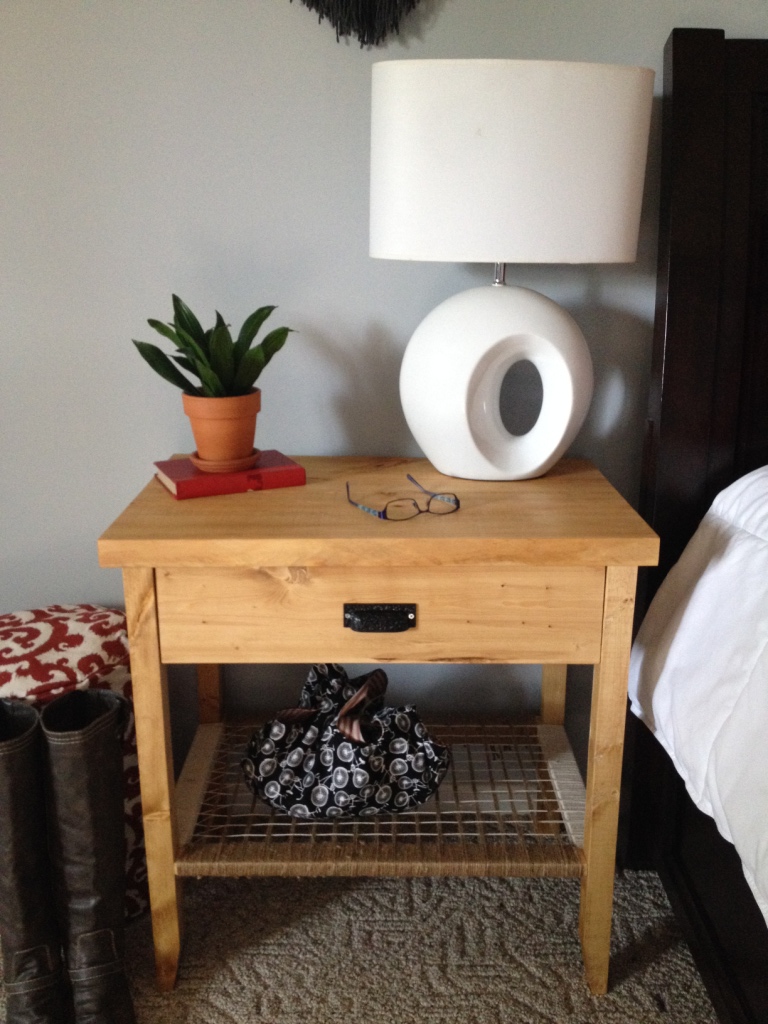
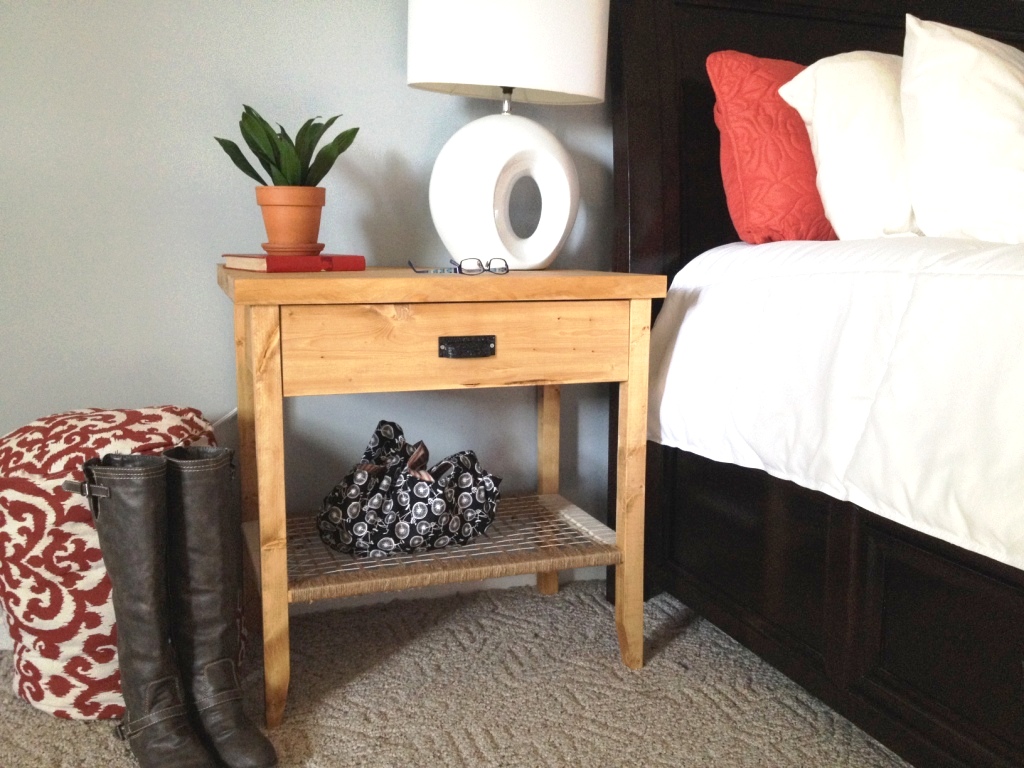
Welcome back to the “South Wing Project” saga!! As I discussed in part 1, we will be slowly (over the next few months) updating our master bedroom and master bathroom and I will be documenting as we go. The first project was new nightstands. We last left off here:

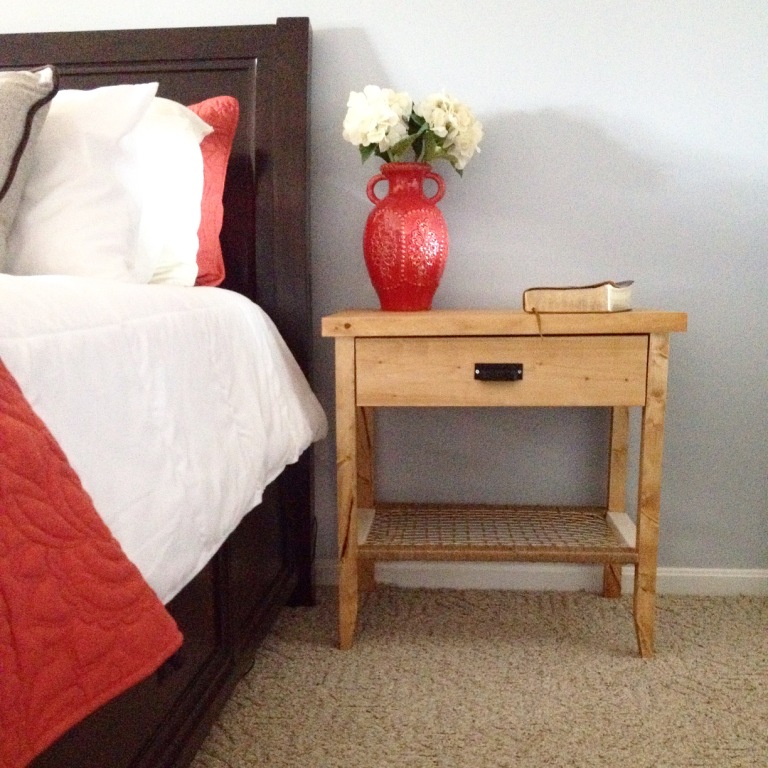
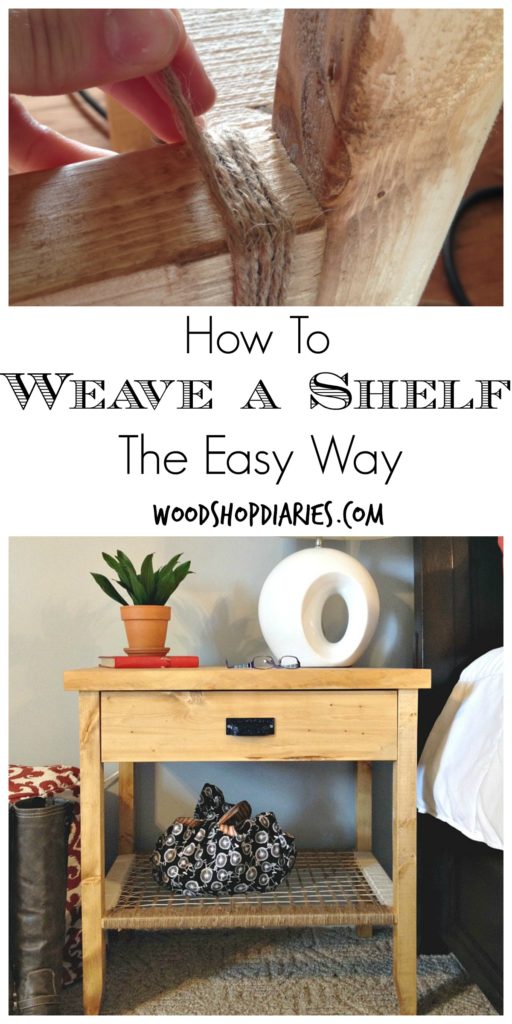
I showed you how I built the nightstands in the last post. Then I showed you the finished product and promised to come back to explain how I wove my shelves.
So here we are…part 2. The excitement continues!!! Because, for real, what’s more exciting than spending HOURS weaving a shelf?
.
I will warn you…this took me forever. I mean like a couple hours PER SHELF. I think it is a super cool feature and was worth it, but I was not prepared beforehand for it to take me this long.
.
The good news is that it is easy to do, the materials are not expensive, and it requires minimal tools–basically scissors and a staple gun.
.
This post contains affiliate links. If you purchase from these links, I may receive small commission at no extra cost to you. Thank you for supporting this blog so I can continue to provide free content. See disclosure policy for more information.
You will need:
Staple gun (You could also use a pneumatic staple gun)
Scissors
.
So, I have to preface this…I swear every time I write a blog post, I realize I am terrible at all of this. In my previous post, I mentioned that I made the shelf supports from 1x2s and ran them where the widest part of the 1×2 was going vertical. Then I changed my mind and twisted them around to be horizontal. I did all of that before I started the following process.
.
HOWEVER, I ran out of 1×2 and for one of my supports I used a 2×2 (in the back so no one would notice) because I didn’t want to cut any more 1x2s on the table saw. Of course, this is the one I chose to take pictures with. So the pictures will be a 2×2 as the back support and a 1×2 as the other supports. Just go with it. If you have a 1×2, the instructions are still the same. Please forgive me for all the confusion.
.
Okay, so here we go.
.
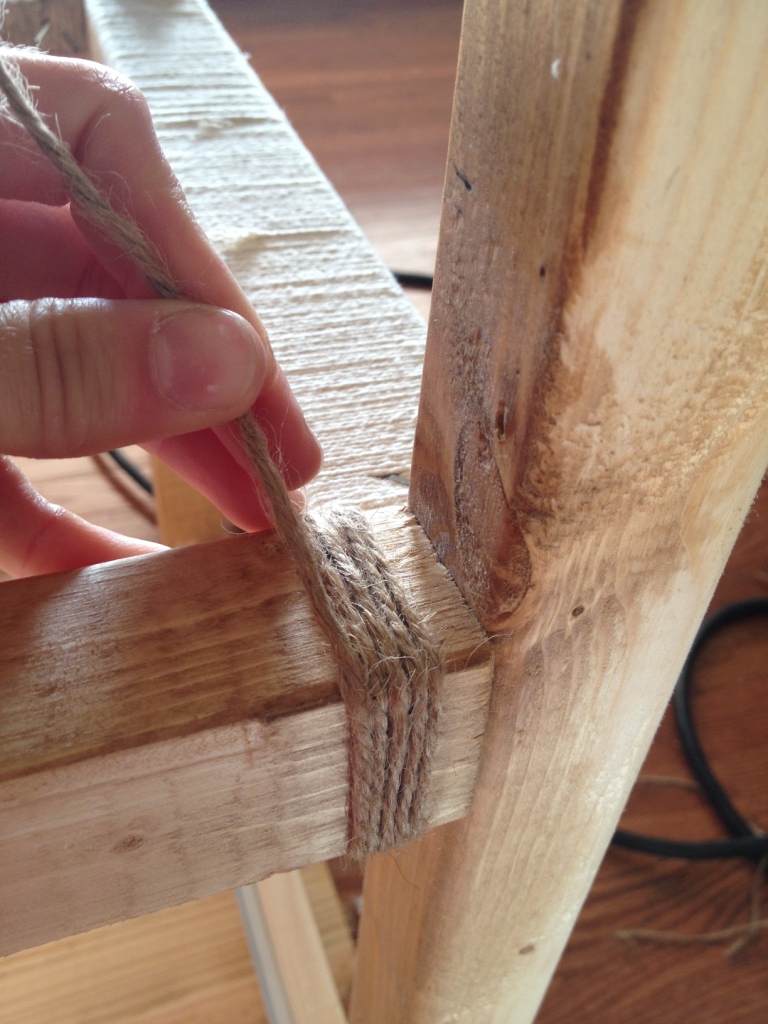
The first thing I did was wrap the entire front and back shelf support in twine. And I wrapped the two side supports with the cotton string. I was careful not to over lap any and to push the “wraps” close together. I stapled the end of the twine/cotton to the bottom of the support and just started wrapping.
I wrapped all the way across then stapled the end and cut it off. If your roll doesn’t make it to the end, just tie it off to the start of your next roll, or staple each end and start the new one where the last one left off.
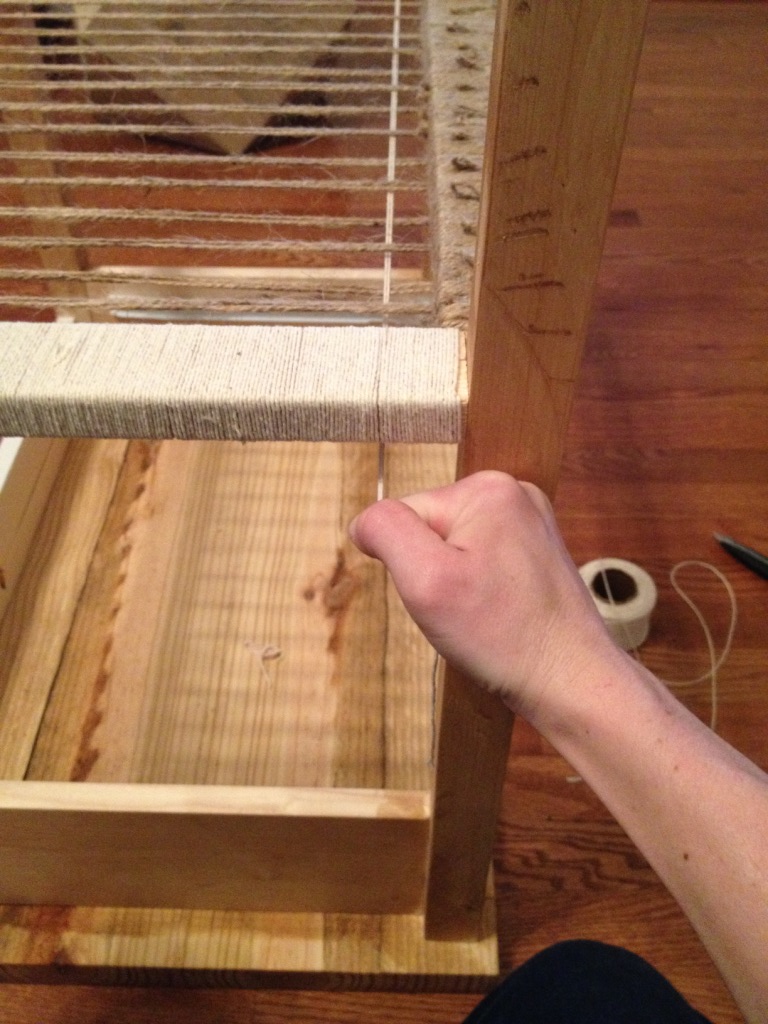
Once you have all four supports wrapped in jute and cotton, take your jute and cut a piece that is long enough to wrap around the front and back supports and add another inch or two for safe measure–you don’t want to cut it too short.
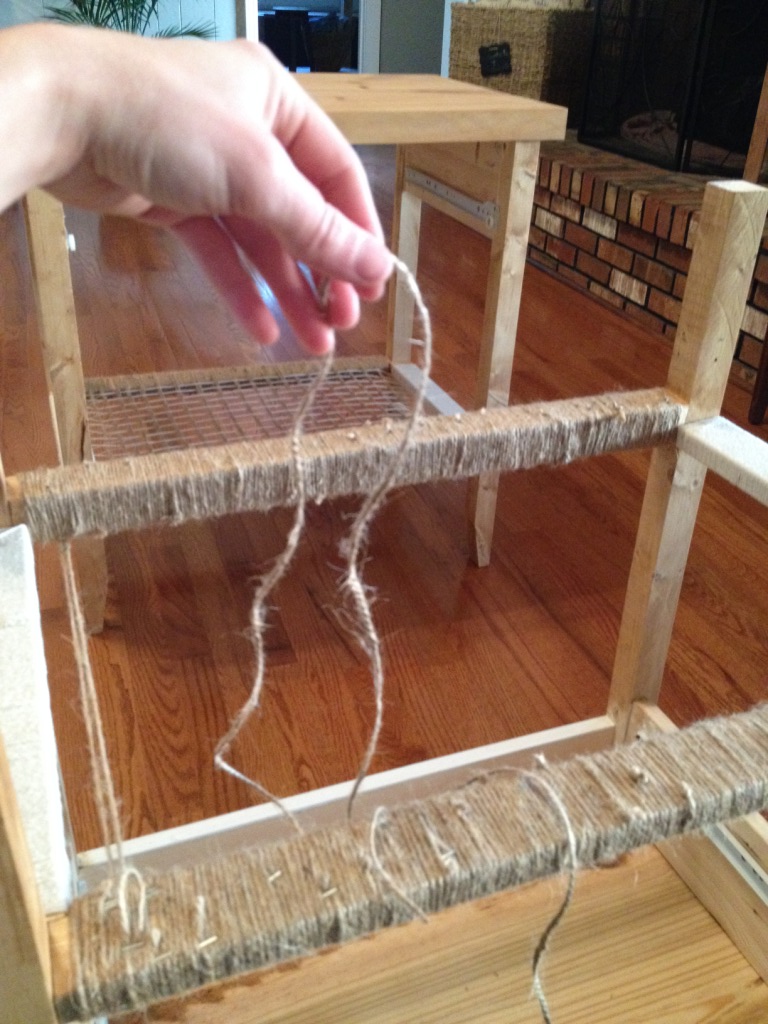
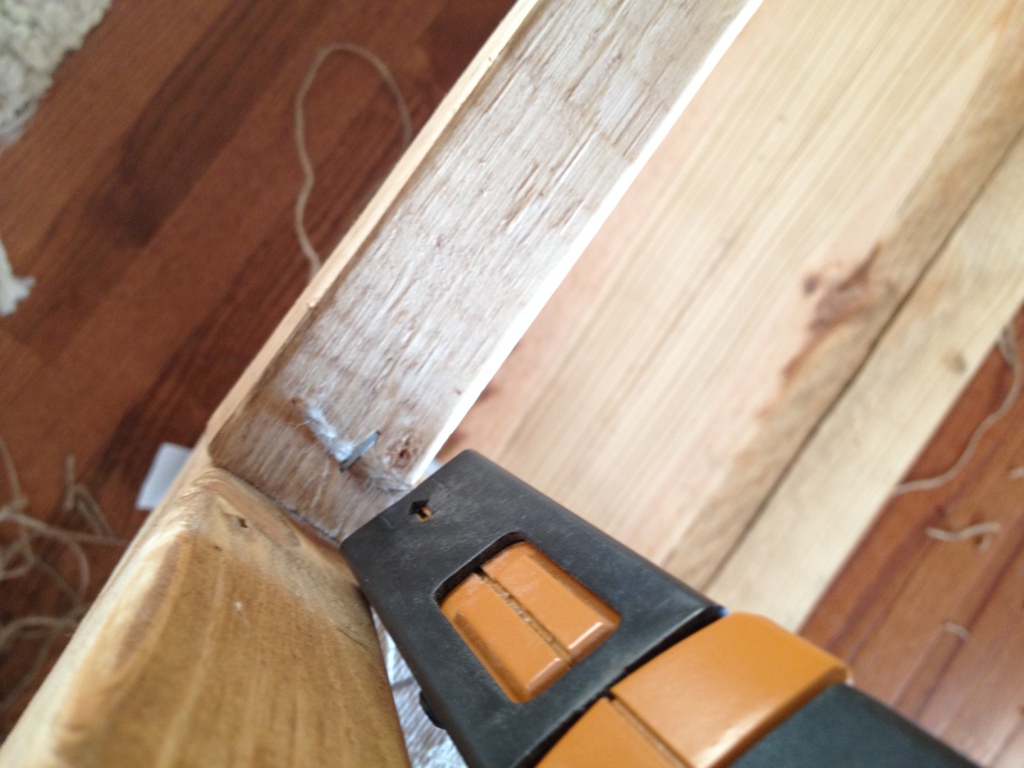
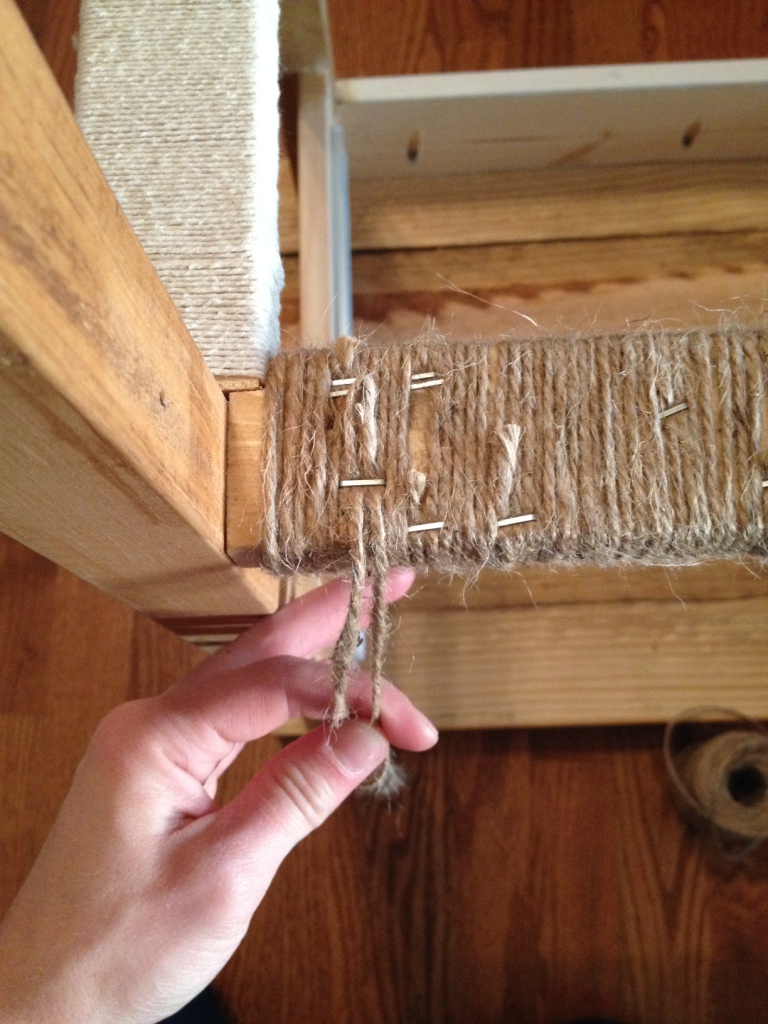
Match your ends together and staple the end of the “loop” on the underside of one of your jute wrapped supports. See picture below. (Ignore all my extra staples…I used a bunch of short leftover pieces to wrap my supports and had to staple all the ends.)
Pull the two ends tight and wrap them around the opposite jute covered support and staple to the underside.
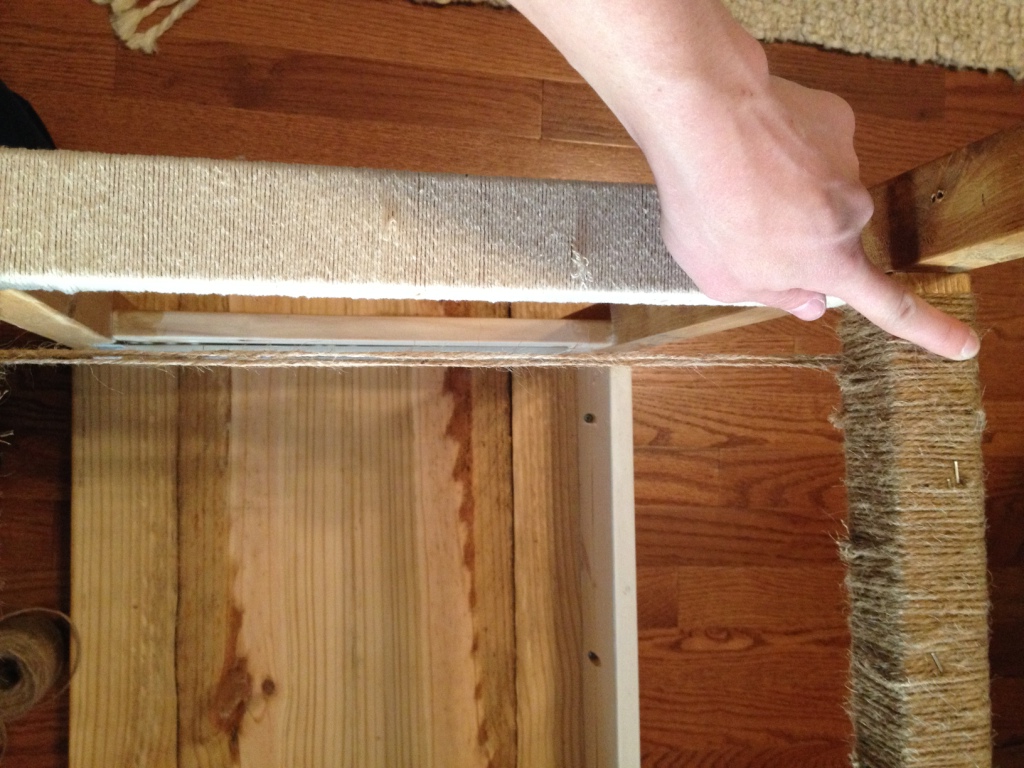
Repeat this, spacing your jute “runners” equally across the supports.
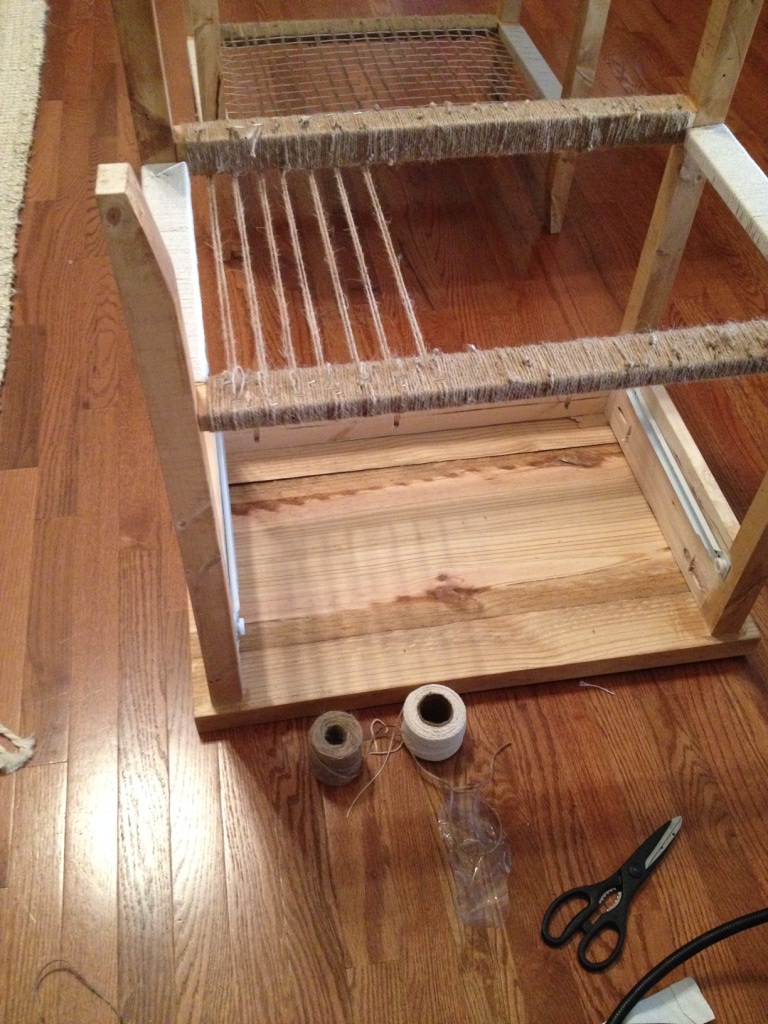
Once you make it all the way across with your jute, you can start with your cotton. Take the end of the cotton string and weave over and under your jute runners from one side to the other. Wrap the string AROUND the support and continue weaving all the way back following the same weave pattern.
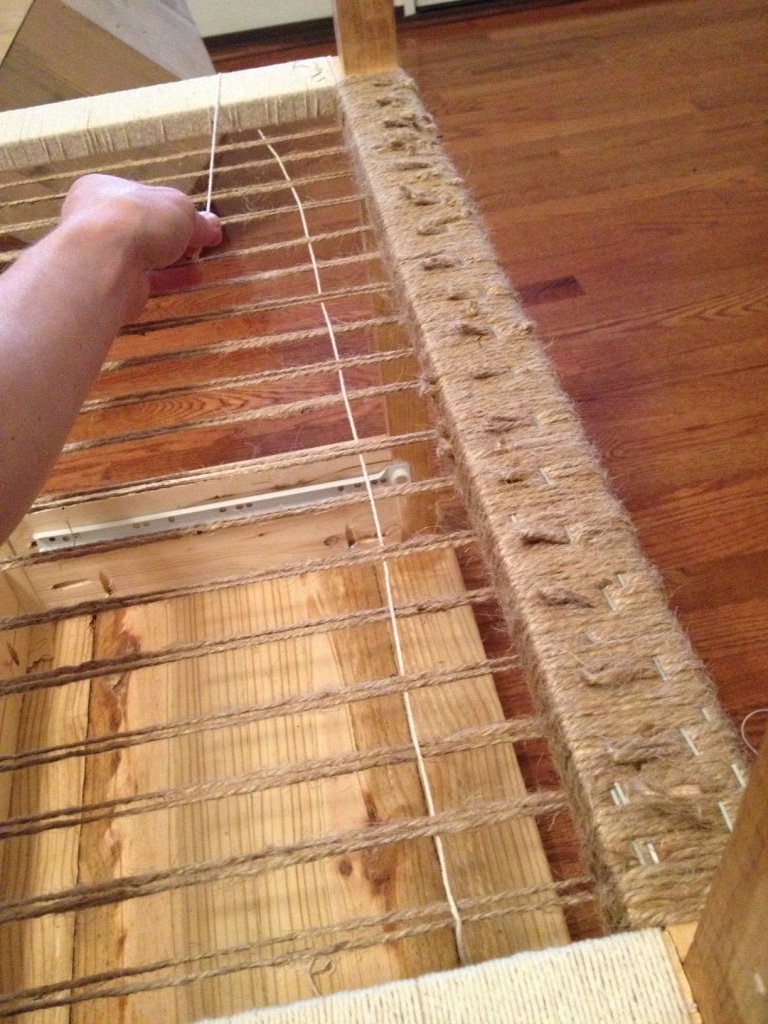
Pull the string tight and adjust its location as needed. Trim the string making sure that it will still reach to the bottom of the support, pull tight and staple in place–similar to how you stapled the jute string.

Repeat these steps alternating your weave pattern–one run goes under then over then under, etc. and the one next to it goes opposite. See picture above. Space your runs evenly and make sure to pull tight.
.
Once you have finished weaving, trim long or loose ends. That’s it!
.
Side note: pulling too tight could cause the supports to twist or break. You need to pull tight, but not TOO tight. Make sure the supports are screwed in each end with TWO screws to prevent twisting.
.
And there you have it. You’ve woven a shelf! I’m sure there are a thousand ways to weave a shelf, but this is a simple way I tried it and it’s working fine for me so far 🙂
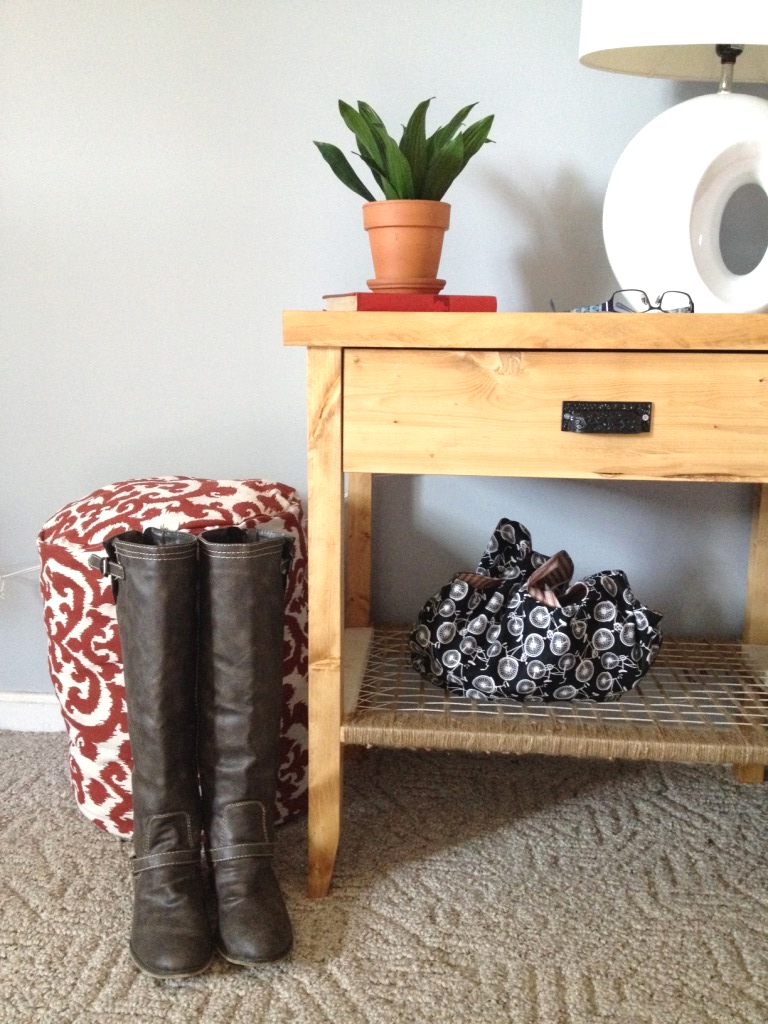
This would be super cool to do for several types of projects…not just a nightstand shelf. I think it adds that extra storage area without feeling too heavy. I guess that’s because it’s see-through haha.
.
So what do you think? Will you try it? Do you like it or would you rather have a wooden shelf? You do have to consider this, though–you don’t have to dust a woven shelf 🙂 WIN!
.
I hope you have enjoyed the making of my nightstands. Don’t forget to pin for later!
These are just a drop in the bucket of the overall project to update our bedroom and bathroom, but while we are waiting on a few things before we start the bigger projects, these were fun to make. I hope you stick around to see the rest of the projects.
.
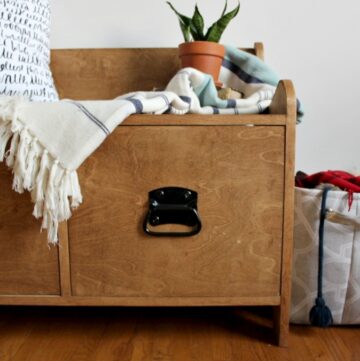
Up next–and I seriously CANNOT wait to show you guys–is my DIY dresser. I’m in the process of making it right now and I’m so excited about it. I might be the only one that thinks it’s cool, but I think it is SUPER cool!
Stay tuned and get building!! 🙂

Tom Clarke says
Shara, you had said that the results of the Mrs. Meyer’s contest would be posted on her website by the end of May but I can’t find anything. Do you have the results – good or not so good? Just being a finalist was fantastic.
Shara, Chasing A Dream says
Hi Tom! The results are on the website, but they are a little hard to find. I didn’t win, but that is okay! It was so much fun just to be a finalist. I appreciate you keeping up with it and rooting for me! Hope you are doing well.
chris aka monkey says
if i had the talent and imagination you have in your pinkie finger my house would be awesome like yours xx
Shara, Chasing A Dream says
Aww thank you! You’re way too sweet! But I promise you, if I can do it, anyone can! I appreciate your comments 🙂