
Facebook for sale pages…they are a gamble. Sometimes you get an awesome deal on something you wanted. And sometimes you get a….well, a dud.
A friend of mine recently got the latter. She bought a coffee table and she asked me if I could do something with it because it was a little wobbly. I’ve never repaired furniture before, but I’ve built it so it can’t be that hard, right?
Turns out, it’s not. I’ll show you how 🙂 But first, let me tell you a little more about this particular table.
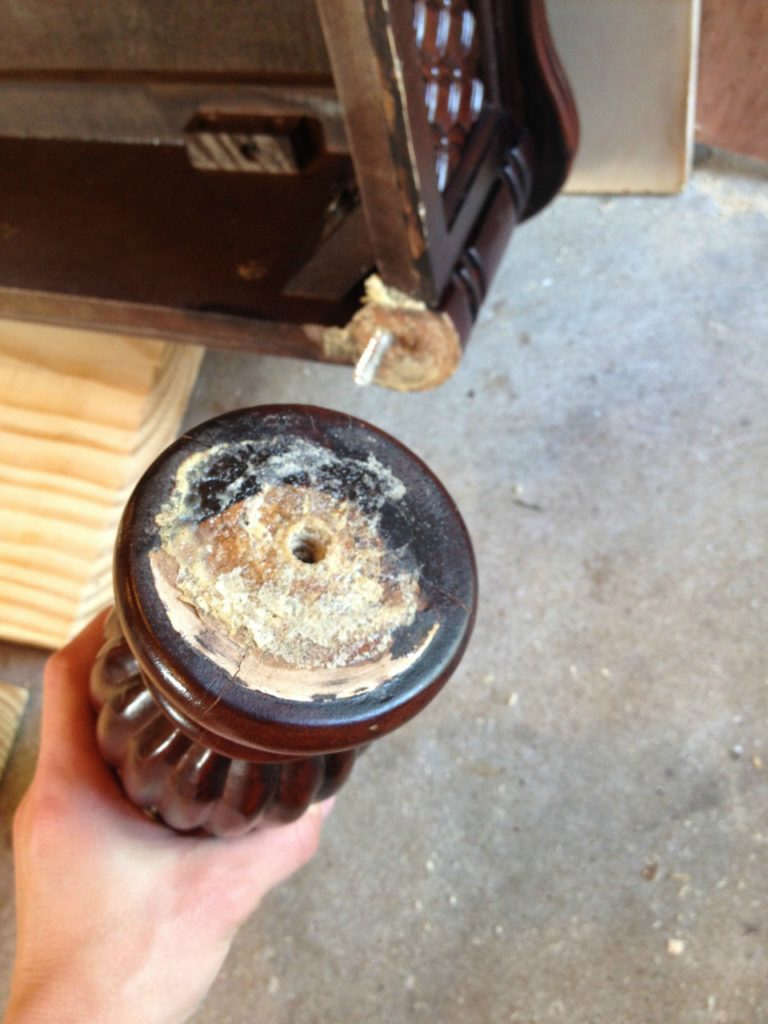
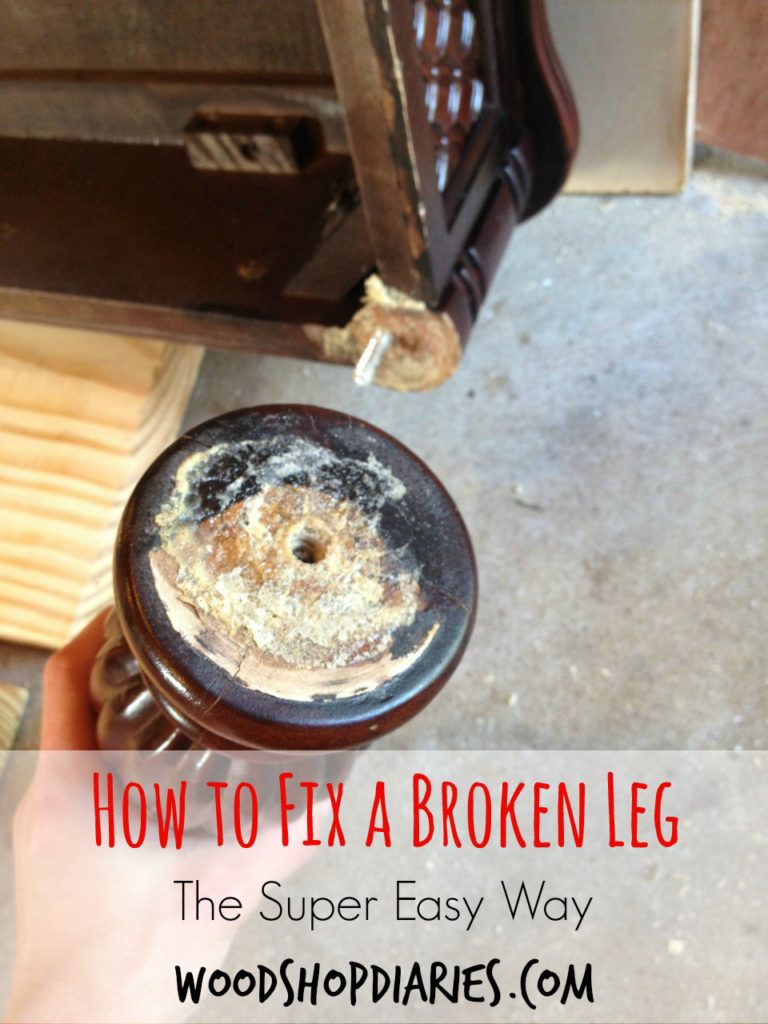
When I got it in the shop, I gave it a good look. While all the legs were a LITTLE wobbly, one was really bad. It appeared someone had tried to fix it previously with…get this…expandable foam. What? Can’t even make this stuff up.
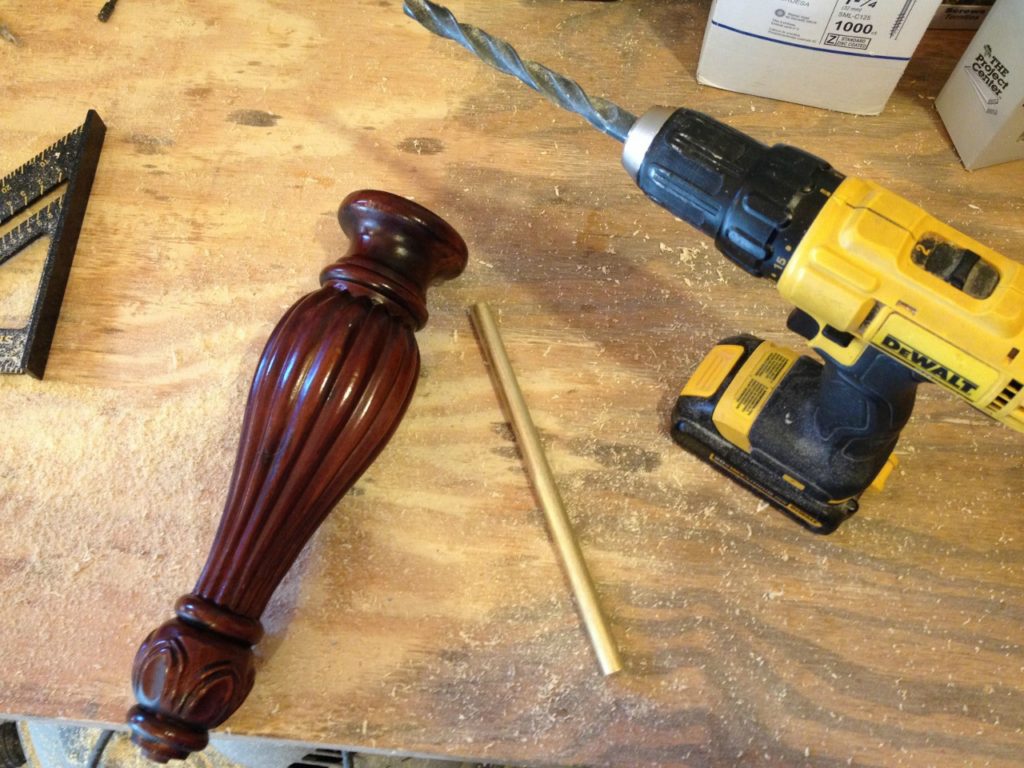
Anyway, so I looked around and unscrewed the loose table leg.
(Now, before I tell you how to fix one like this, let’s be clear. There are a million types of table legs and there are LOTS of ways they are attached. This is just one, but it is pretty common. If you have a different type of table leg that needs repair, feel free to contact me and I can try and give you some suggestions.)
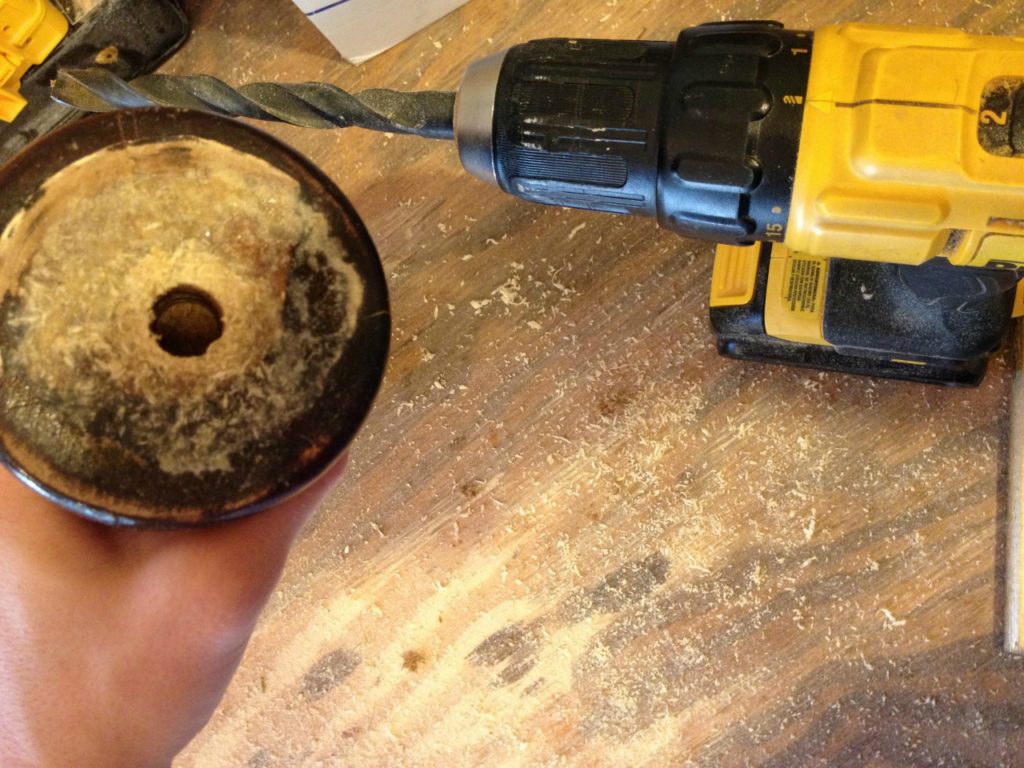
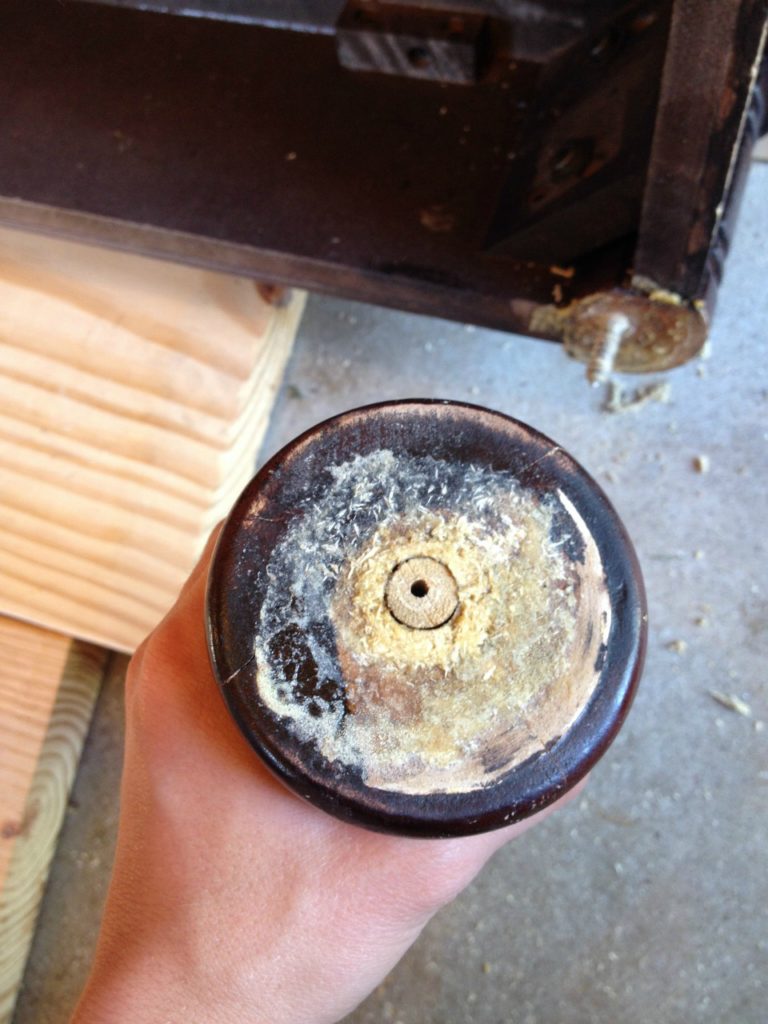
You can see the leg was supposed to screw tightly into the screw coming out of the corner piece. What happened is that the hole in the top of the leg had gotten stripped out so it would screw in, but it wouldn’t ever screw tight.
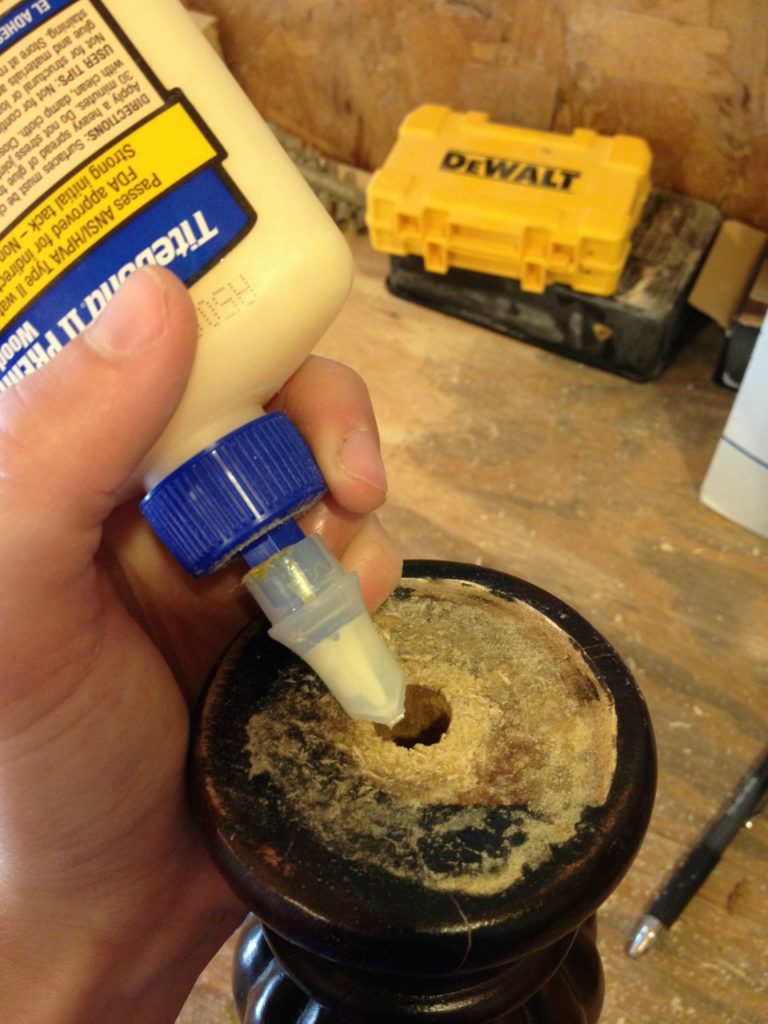
So first, I tried filling the hole with glue and sawdust. I mixed together a little paste of it and stuffed the hole.
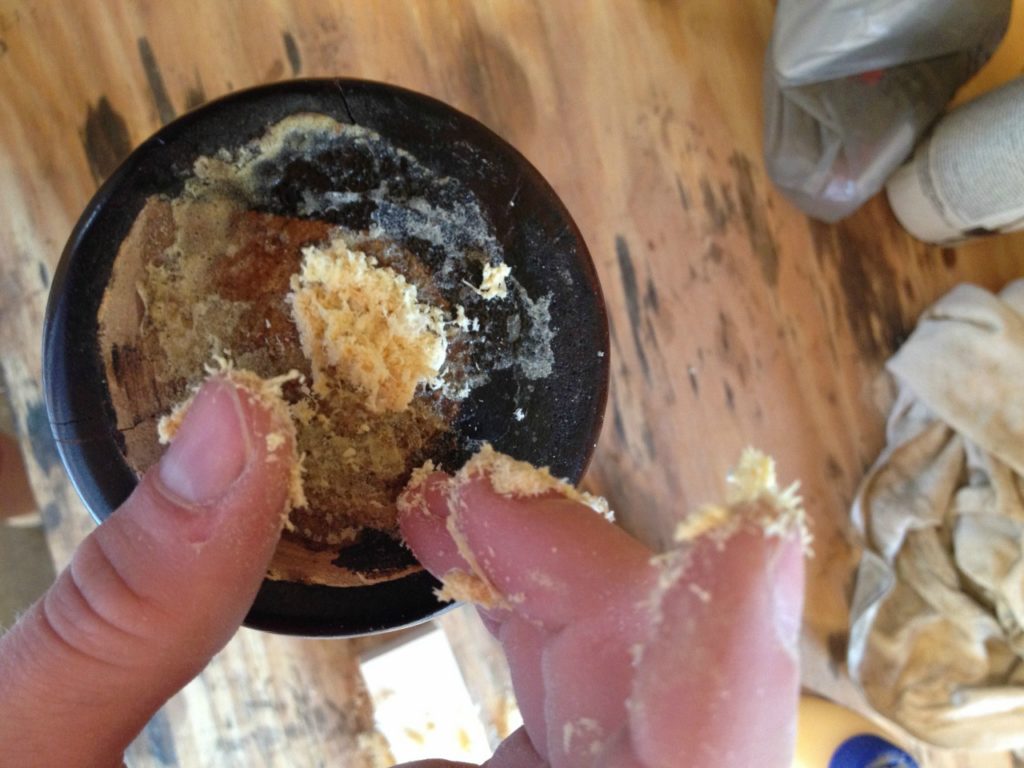
I gave it a couple days to cure then I drilled a pilot hole and tried to screw it on and see if it pulled tight.
Nope. Didn’t work. So that was a waste of two days….
So then I remembered I had a dowel rod laying around leftover from an attempt at making my own drawer pulls for my dresser. They didn’t work out, but I had already painted them gold. Ignore that….
The dowel rod was ½″ which was bigger than the screw on the table, so I thought if I could glue the dowel rod into the stripped out hole, then screwed that in, that should work.
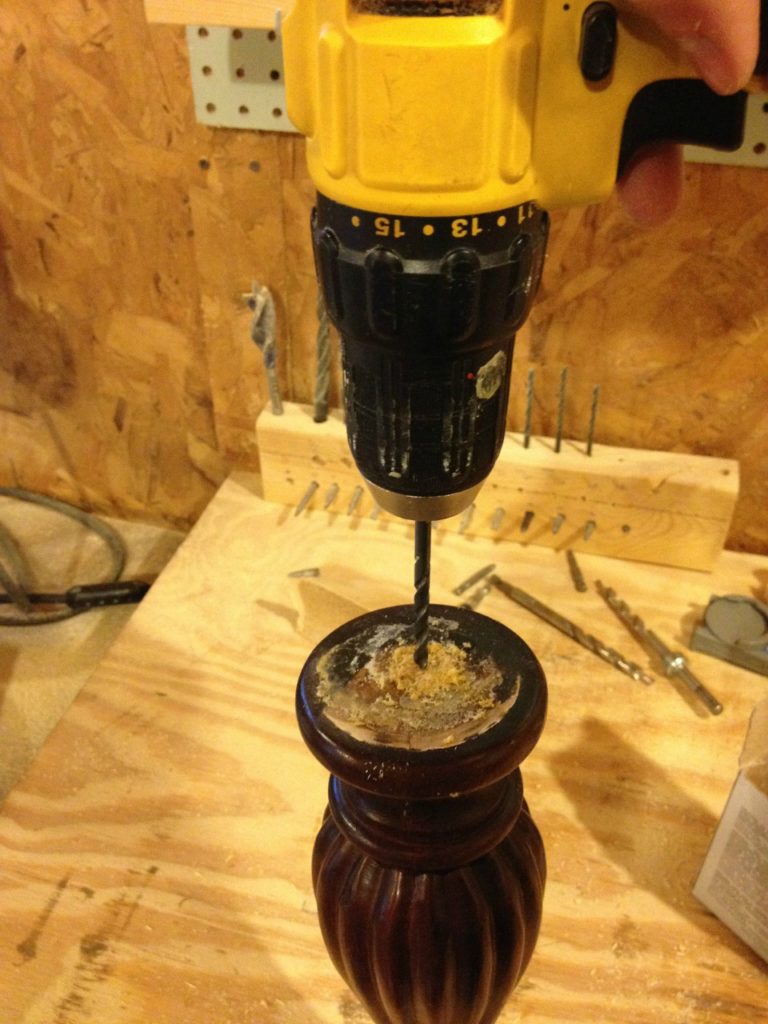
So I used a ½″ drill bit and tried to drill at straight as possible into the leg.
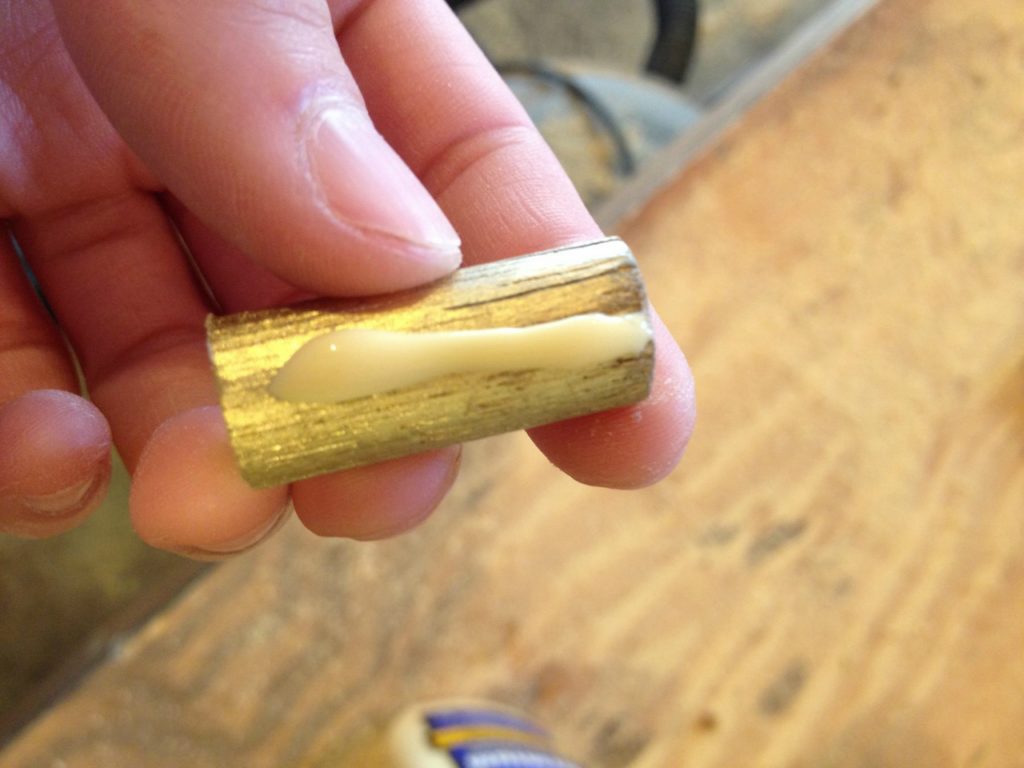
Then I cut a piece of dowel rod so it would sit in the hole and be flush to the top of the leg. I put some glue in the hole and covered the dowel with glue and slid it into the hole.
I wiped off all the excess glue that squeezed out and let it dry for a day. I was so excited, I just KNEW this was going to work and I couldn’t wait to tell you all about it because this felt like the legit way that things like this were supposed to be fixed. I was LEGIT.
So I drilled my pilot hole and screwed it in and guess what? STILL DIDN’T WORK. I think what happened was that I didn’t drill a perfect 90 degree angle and my hole ended up slightly bigger than my dowel and when I screwed it in, the dowel busted. Guess I should invest in a drill press or something…
Okay, so, at this point I threw all the “legit” out the window. And this is what actually worked. (I’m sorry to all those “proper” woodworkers who would have a much more advanced solution to this, but I just needed a solution that would work and not require me to invest in tools I don’t already have. The budget is slim ha!)
I used epoxy. For real. Why didn’t I just do this to begin with?
You can buy all different types of epoxy at the hardware store for a few bucks. Most types would have worked fine, I’m sure. But, Dad buys Domo 10 (not an affiliate link) in bulk qualities because he uses it a lot when he makes tombstones (that’s what he does for a living), so I just borrowed his. I’m a mooch.
I drilled out the dowel rod I had put in and filled the hole with epoxy. (Sorry for the blurry picture…)
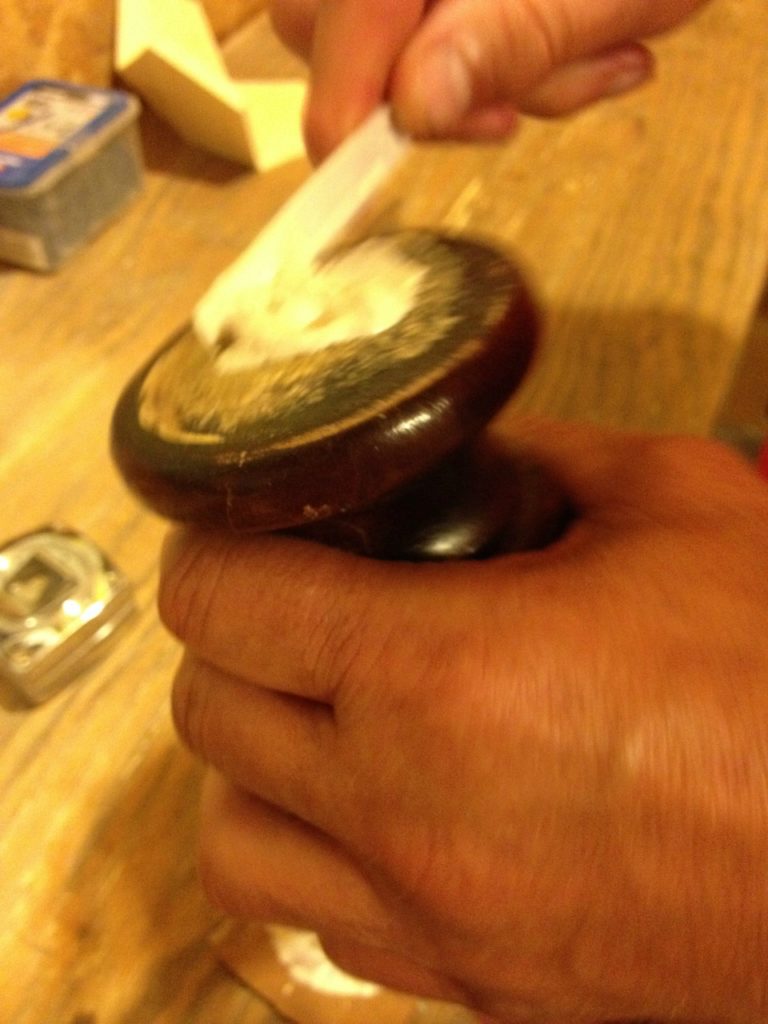
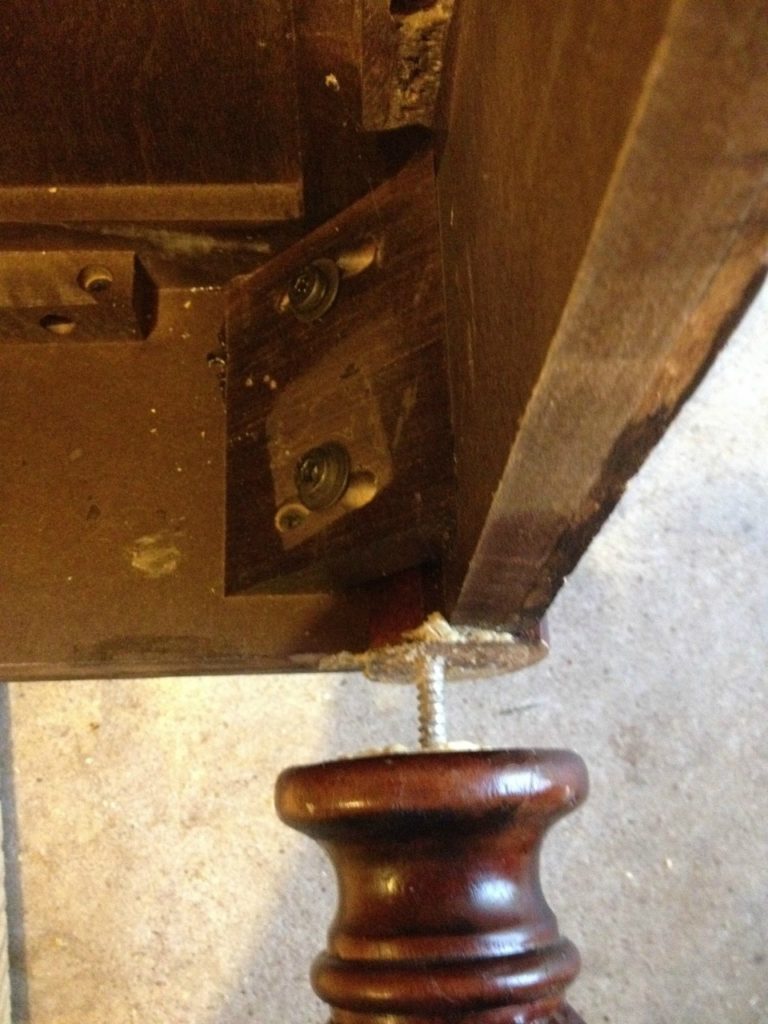
Then I stuck it on the screw,
I twisted it down good and wiped off what squeezed out and let it set for a day.
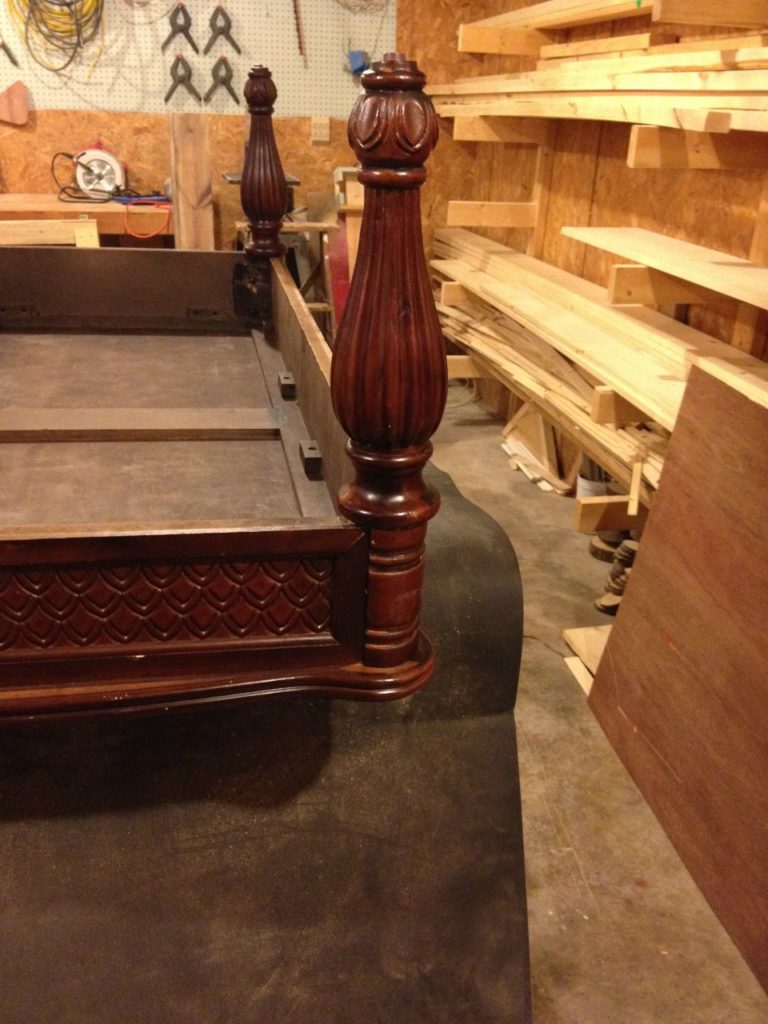
And when I checked on it, what do you know, it didn’t wiggle AT ALL. WIN!
By the way, (helpful hint) if you have a table like this (dining, coffee, any table), or chairs like this (most dining chairs these days are) that have Allen screws on the insides of the corners, you should re-tighten them occasionally. We used to re-tighten our dining table and chairs every month or so because they got a lot of use.
I brought it inside and had Danny pose with it to show how sturdy it is now.
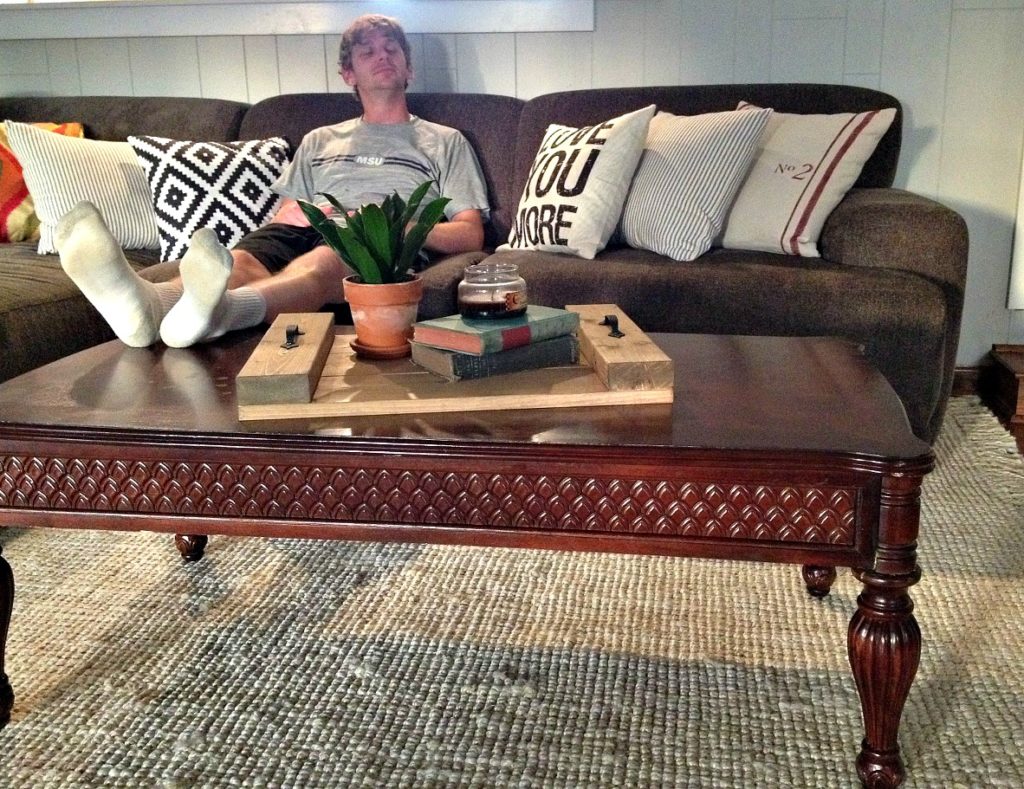
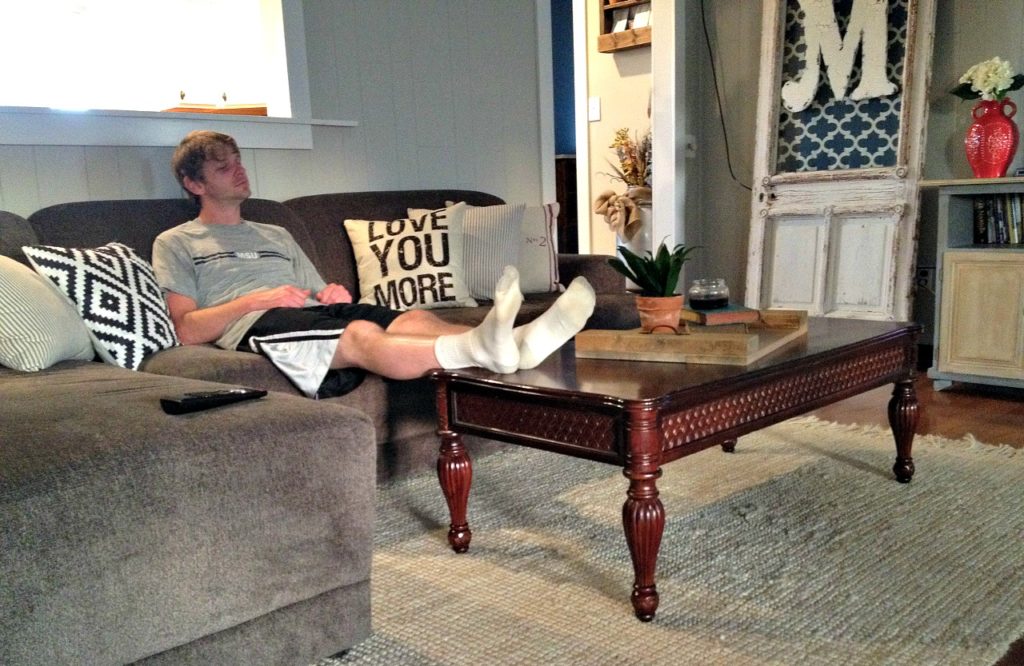
He was obviously THRILLED to be my model. He’s really the best, but sometimes he can be the worst. He was mad I made him take his shoes off to put his feet up. He’s so silly. But, you get the point. It’s now strong enough for even Danny with his chicken legs big, strong legs to prop his feet up on.
So, that was a really long way to say, you can easily fix a broken coffee table leg with epoxy as long as you don’t want to be super fancy and proper. : )
Sometimes you just got to get ‘er done, right?
I’m all for proper technique and fancy tools (neither of which I would know anything about), but then there is real life. When all else fails, and the budget is tight, epoxy.
Until next time, happy fixing broken table legs!
Don’t forget to pin for later!


Les says
Great ideal, worked perfect on my kitchen chair. And I even fixed the strike plate on the front door jam
where the screws were stripped out. Thanks You for the post.
Rick says
I have used the dowel repair method myself with success, when it doesn`t work I`ve found its usually because of not drilling the pilot hole for the screw the right size. (not big enuff )
Shara, Woodshop Diaries says
That could have been the problem. Mine seemed to be stripped out almost, though. It would twist, but just not get tight. I drilled my pilot hole one size smaller than the core of the screw. Should I have drilled it the same size?